Strolling through a bustling autumn market, the scent of spiced treats wafts by and sparks a cozy nostalgia in me. It’s the perfect moment to indulge in a sweet creation that captures the spirit of the season—like these whimsical Cauldron Cookie Cups! Made from simple ingredients, this recipe not only whips up in under 30 minutes, but also brings a playful twist to your dessert table. Imagine little cookie cups filled with luscious buttercream, shimmering with green and topped with cute candy eyeballs; they’re bound to be the talk of any Halloween gathering. Whether you’re looking to delight kids or simply enjoy a fun baking project, these cookie cups are your go-to treat. Ready to brew up some magic in your kitchen? Let’s dive into the cauldron!
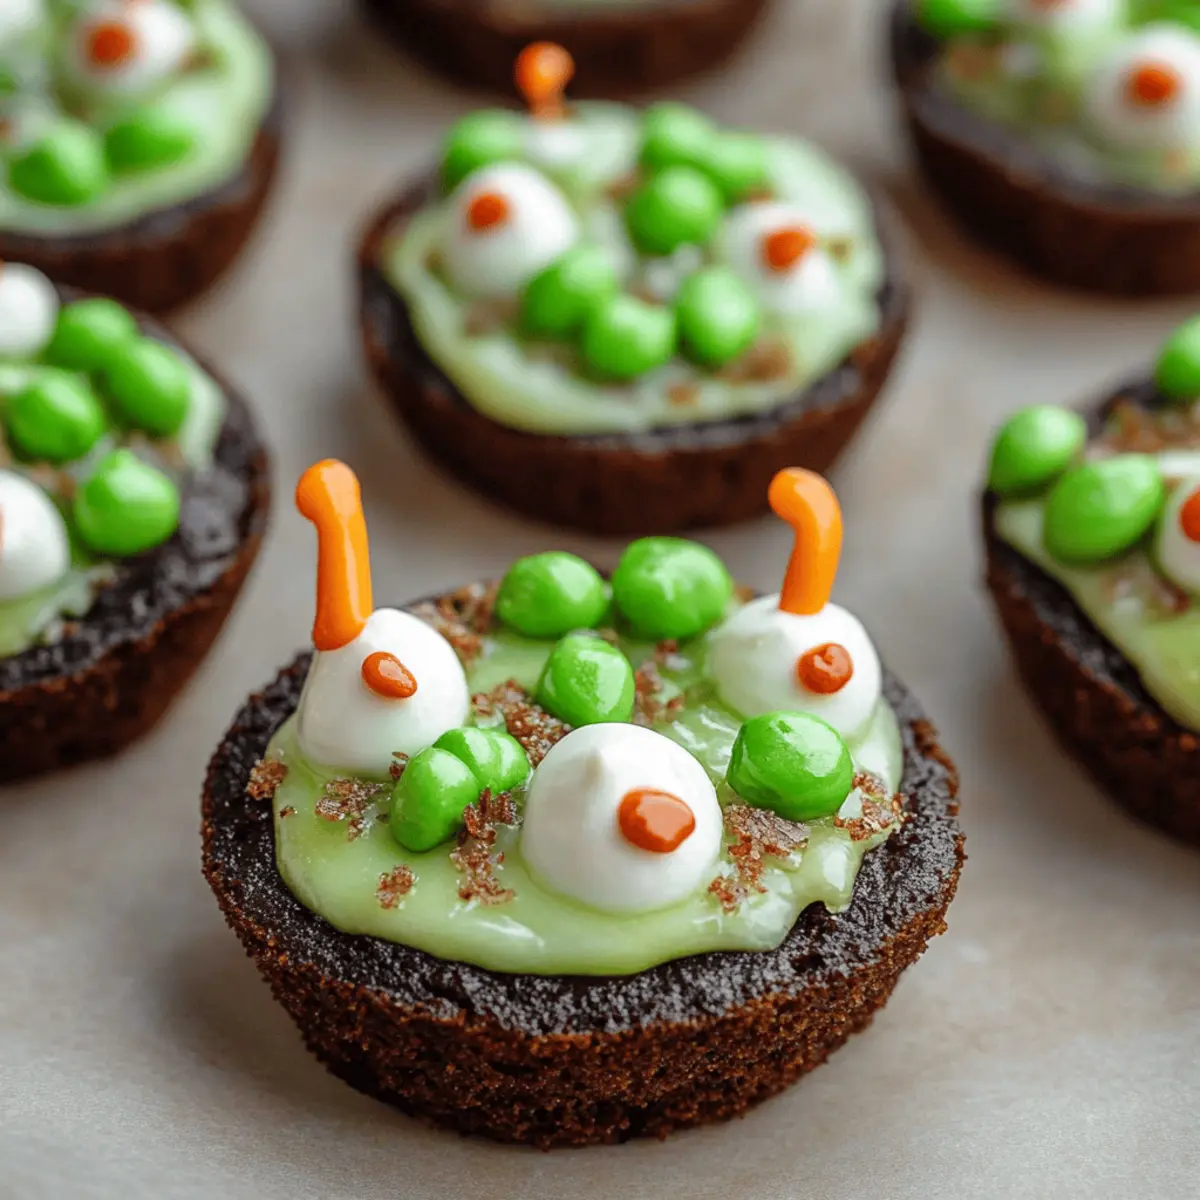
Why Are These Cookie Cups Irresistible?
Deliciously Fun: These cookie cups are not only a tasty treat but also a delightful conversation starter. Filled with vibrant buttercream and topped with whimsical decorations, they're sure to bring smiles to your gathering.
Quick and Easy: With a total time of just 28 minutes, you can whip these up last minute for a party or surprise your family after dinner.
Perfect for Any Occasion: While they shine during Halloween, these cookie cups can be easily adapted for any celebration with a change of colors and toppings.
Child-Friendly: Kids will love helping to decorate these vibrant treats, making it a fun family activity that creates delicious memories.
Bake and Share: They make for wonderful homemade gifts or holiday treats to impress friends. For more delightful ideas, check out our simple cookie recipes that will keep everyone coming back for seconds!
Cookie Cups Ingredients
Get ready to dive into the delicious world of Cookie Cups with these easy-to-follow ingredients!
For the Cookie Base
• Devil's Food cake mix – this is the magic ingredient that gives these cookie cups their rich, chocolatey flavor.
• Large eggs – binds the ingredients together for a perfect texture.
• Canola or vegetable oil – adds moisture and helps achieve that soft, chewy consistency.
• Black food coloring (optional) – enhances the spooky look of your cookie cups, perfect for Halloween!
For the Buttercream Frosting
• Unsalted butter – ensure it's softened to create a creamy, spreadable frosting.
• Powdered sugar – sweetens and thickens the frosting to perfection; make sure to sift for smoothness!
• Vanilla extract – adds a lovely aromatic flavor that pairs beautifully with the chocolate.
• Salt – just a pinch enhances the sweetness and balances flavors.
• Milk – adds the desired creaminess; adjust according to your preferred consistency.
• Green food coloring – creates that eye-catching "potion" vibe in the buttercream!
For the Decoration
• Round green sprinkles – sprinkle some magic and fun on top!
• Halloween sprinkles – these add an extra festive touch—fun for the eyes and taste buds!
• Candy eyeballs – they make these treats extra whimsical and Halloween-ready.
• Pretzel sticks – serve as adorable stir sticks to complete the cauldron look.
Get ready to create these unforgettable Cookie Cups that are sure to wow your taste buds!
Step‑by‑Step Instructions for Cookie Cups
Step 1: Preheat the Oven
Begin by preheating your oven to 350 degrees F (175 degrees C). While it's heating, lightly grease three 12-count mini muffin pans to ensure the cookie cups release easily after baking. This step is crucial for achieving those beautifully formed cauldron cookie cups!
Step 2: Mix the Cookie Dough
In a large mixing bowl, combine the Devil's Food cake mix, large eggs, canola oil, and black food coloring if desired. Use a whisk or spatula to blend the ingredients thoroughly until you have a smooth, uniform dough that is rich in color and texture. This vibrant mixture will form the base of your cookie cups.
Step 3: Form the Cookie Cups
Scoop approximately ½ tablespoon of dough and place it into each cavity of your greased mini muffin pans. With your fingers, gently flatten the dough to create a disk shape, ensuring that it fills the bottom evenly. This will allow the cookie cups to rise properly and form the cauldron shape as they bake.
Step 4: Bake and Indent
Place the filled muffin pans in the oven and bake for 8-10 minutes, or until the edges are set and slightly firm to the touch. Once baked, remove the pans from the oven and immediately use the back of a 1 tablespoon measuring spoon to press down gently into each warm cookie, creating a cavity for the buttercream filling. Allow them to cool completely in the pans.
Step 5: Prepare the Buttercream Frosting
While the cookie cups cool, make the delectable buttercream frosting. In a medium bowl, beat the softened unsalted butter with an electric mixer until creamy, about 2-3 minutes. Gradually add the powdered sugar, vanilla extract, and salt, mixing until you achieve a smooth and fluffy consistency that will perfectly fill your cookie cups.
Step 6: Achieve the Perfect Consistency
To make your buttercream pipeable, add milk, one tablespoon at a time, until you reach your desired creamy texture. Once smooth, mix in green food coloring until the frosting reaches a vibrant "potion" shade that will make your cookie cups visually captivating and deliciously fun.
Step 7: Fill the Cookie Cups
Using a piping bag or a plastic bag with a corner snipped off, pipe the green buttercream frosting into the cooled cookie cups. Fill each one generously, allowing the frosting to slightly mound and resemble bubbling cauldrons, creating that irresistible look your guests will love.
Step 8: Decorate Your Cookie Cups
Add magical finishing touches to your cauldron cookie cups! Sprinkle vibrant green sprinkles, arrange candy eyeballs, and add festive Halloween sprinkles for an extra whimsical flair. Finally, break pretzel sticks in half and gently insert one into each cookie cup, mimicking a stir stick for a delightful presentation.
Step 9: Serve and Enjoy!
Once decorated, your delightful cookie cups are ready to share! Place them on a decorative platter or serve in individual portions. These charming contributions to your dessert table will surely impress your family and friends, making any occasion a little more festive.
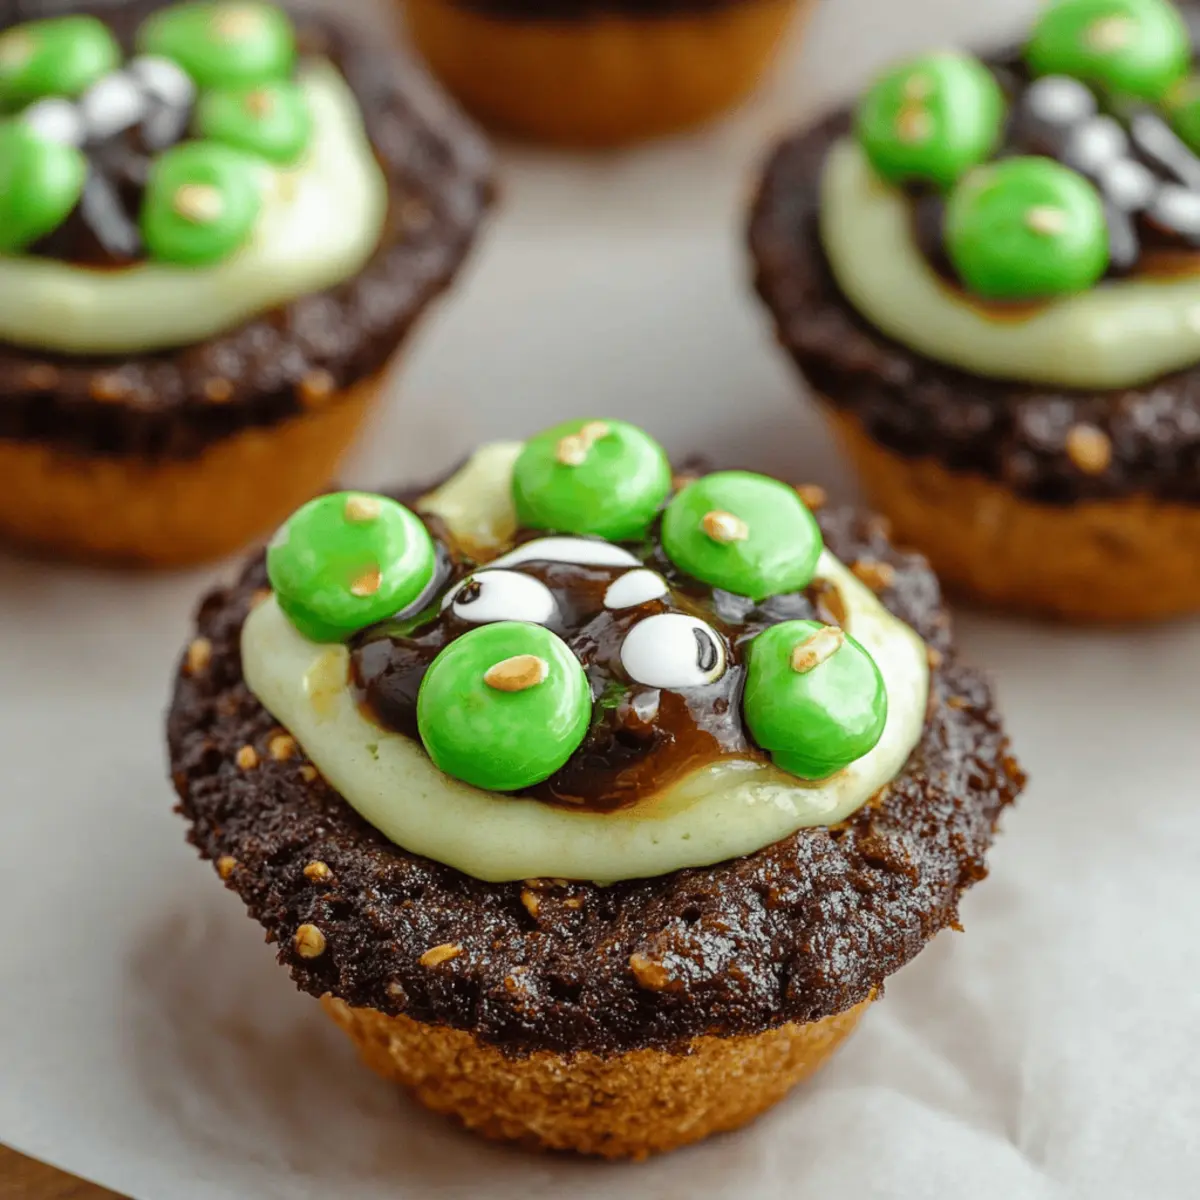
Cookie Cups Variations & Substitutions
Feel free to sprinkle your creative flair into these cookie cups and make them your own!
- Gluten-Free: Use a gluten-free cake mix instead of Devil's Food cake mix for a delicious alternative without the gluten.
- Dairy-Free: Substitute the butter in the frosting with coconut oil or dairy-free margarine, and choose almond or soy milk for a plant-based treat.
- Nutty Twist: Add ½ cup of finely chopped walnuts or pecans to the cookie dough for a delightful crunch and rich flavor.
- Spicy Kick: Mix in a pinch of cayenne pepper or cinnamon to the cookie batter for a surprising warmth that enhances the chocolatey goodness.
- Fruit Flavor: Infuse your frosting with a few drops of raspberry or orange extract for a fruity twist; it adds a refreshing contrast to the rich cookie.
- Chewy Texture: Replace the eggs with ¼ cup of applesauce for a chewier cookie cup that's also a bit lighter in flavor.
- Colorful Fun: Experiment with different shades of food coloring in the buttercream for vibrant, multi-colored "potions" that will captivate guests of all ages.
- Less Sweet: Reduce the amount of powdered sugar in the frosting to your taste, or try using honey or maple syrup for a more natural sweetness.
Your imagination is the limit! For more delightful twists, consider diving into our collection of simple cookie recipes that can inspire your baking adventures.
Make Ahead Options
These Cauldron Cookie Cups are perfect for busy home cooks looking to save time! You can prepare the cookie base up to 24 hours in advance. Simply bake and cool the cookie cups as directed, then store them in an airtight container at room temperature to maintain their softness. The buttercream can also be made up to 3 days ahead; just refrigerate it in a sealed container, and be sure to let it sit at room temperature for about 30 minutes before piping. When you're ready to serve, simply fill the cooled cookie cups with the prepared buttercream, add your favorite spooky decorations, and enjoy delightful, hassle-free treats that are just as delicious as fresh-baked!
What to Serve with Cauldron Cookies
Imagine the delight of crafting a festive feast that complements the whimsical magic of these cookie cups.
-
Halloween Punch: A bubbly, fruity drink adds a festive flair, echoing the playful spirit of the cookie cups. Add fun garnishes like gummy worms for extra charm!
-
Spooky Cheese Plate: An assortment of cheeses, crackers, and spooky-themed seasonal fruits can create a beautiful contrast, drawing everyone’s appetite to the savory and the sweet.
-
Caramel Apples: The crunchiness and caramel richness of these treats balance the softness of the cookie cups, making for an irresistible combination that every Halloween party needs.
-
Pumpkin Soup: A warm and creamy pumpkin soup offers a cozy comfort that pairs well with the festive cookie cups. With its spices, it complements the chocolatey flavor beautifully.
-
Fruit Skewers: Colorful fruit skewers add freshness and a pop of color that’ll delight guests. Think melon, grapes, and strawberries—perfect for a Halloween gathering!
-
Hot Chocolate Bar: A warm beverage station invites creativity with toppings like whipped cream, marshmallows, and even chocolate shavings, allowing everyone to personalize their drinks alongside the cookie cups.
-
Brownie Bites: For the chocolate lovers, a rich and fudgy brownie serves as a decadent pairing with the cookie cups, ensuring no sweet tooth is left unsatisfied.
-
Mini Pumpkin Muffins: These spiced muffins bring a delightful fall flavor to the table, offering a wonderful contrast to the chocolatey cookie cups and making for a festive treat.
-
Ghostly Meringues: Light and airy, these treats can serve as a playful touch, creating a beautiful dessert display when shared with the rich, luscious cookie cups.
-
Cider Donuts: Serve warm cider donuts for a seasonal sweet twist. They bring comfort and are perfect for munching alongside the cookie cups during your Halloween celebrations!
Tips for the Best Cookie Cups
-
Use Fresh Ingredients: Opt for fresh eggs and quality butter to achieve the best flavor and texture in your cookie cups. Dated ingredients can lead to unexpected results!
-
Don’t Overmix: Once you combine the ingredients for your cookie base, mix just until incorporated. Overmixing can lead to tough cookies, so keep it gentle!
-
Watch Baking Time: Keep an eye on the cookie cups while baking. The edges should be set, but they may appear soft in the center. They will firm up as they cool!
-
Cool Completely: Allow the cookie cups to cool fully in the muffin pans before frosting. This prevents the buttercream from melting and losing its shape when piped.
-
Customize Your Decor: Embrace creativity! Feel free to substitute the green sprinkles and candy eyeballs with your favorite colors or themed toppings for different occasions when making these cookie cups.
How to Store and Freeze Cookie Cups
Room Temperature: Store your cookie cups in an airtight container at room temperature for up to 3 days to keep them fresh and prevent them from drying out.
Fridge: If you need a little extra storage time, keep the cookie cups in the fridge for up to 5 days. Just ensure they are covered to maintain their flavor.
Freezer: For longer-term storage, you can freeze the cookie cups. Place them in a freezer-safe container, separating layers with parchment paper, for up to 3 months.
Reheating: To enjoy them warm, gently reheat frozen cookie cups in the oven at 300°F for about 5-7 minutes. Frosting can be served at room temperature or piped fresh after thawing.
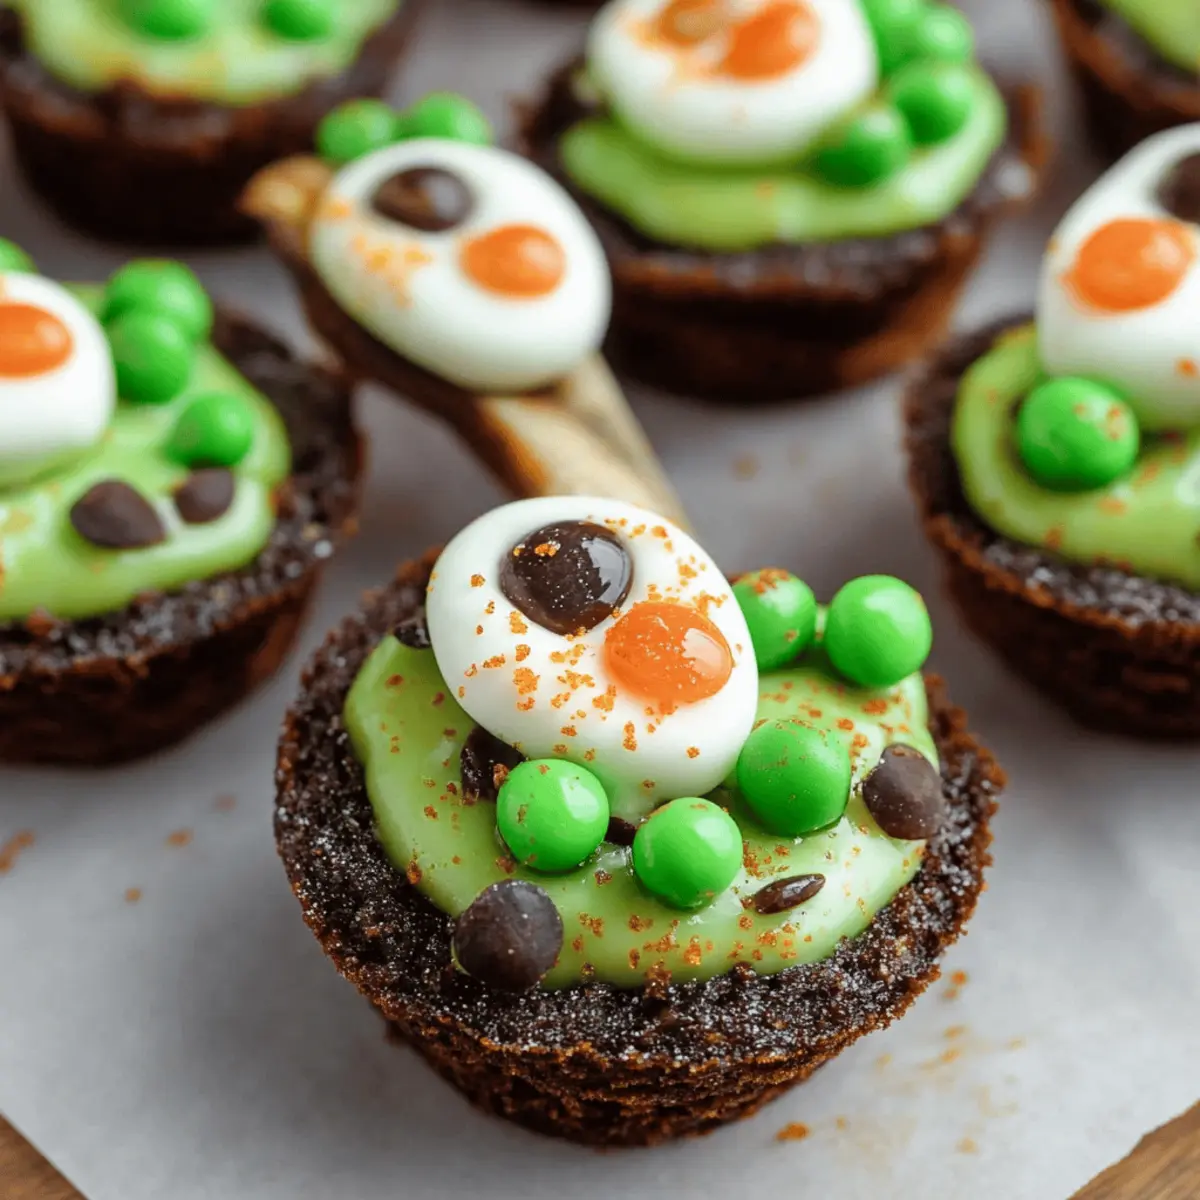
Cauldron Cookies Recipe FAQs
How do I choose the right cake mix for these cookie cups?
Absolutely! For this recipe, I recommend using a quality Devil's Food cake mix as it provides a rich, chocolatey flavor that pairs perfectly with the buttercream. Always check the expiration date to ensure freshness for the best taste.
What’s the best way to store leftover cookie cups?
Very! Store your cookie cups in an airtight container at room temperature for up to 3 days. If you'd like them to last longer, refrigerate them for up to 5 days, ensuring they're well-covered to keep their delightful flavor intact.
Can I freeze these cookie cups, and if so, how?
Absolutely, freezing is a great option! To freeze the cookie cups, first, let them cool completely. Then, place them in a freezer-safe container, separating layers with parchment paper to prevent sticking. They can be frozen for up to 3 months. When you're ready to enjoy, simply thaw them in the fridge overnight and reheat gently in the oven at 300°F for about 5-7 minutes for that fresh-baked taste.
Why did my cookie cups not hold their shape?
Very! To avoid this issue, make sure to measure your ingredients accurately. Also, don't overmix your dough, as this can lead to tough cookies that lose their shape during baking. Lastly, press down firmly with the measuring spoon right after they’re out of the oven to ensure a good indentation forms for the frosting.
Are these cookie cups kid-friendly?
Most definitely! These cookie cups are made with simple ingredients and are fun for little hands to help decorate. Just keep an eye on the candy eyeballs; some kids may find them a bit too sweet, but you can always use fewer decorations or change them to their favorite toppings!
What dietary considerations should I keep in mind?
Certainly, while these cookie cups are a treat for most, be aware of allergies to common ingredients such as eggs, dairy, or gluten in the cake mix. You can use egg replacements and gluten-free cake mixes to accommodate different dietary needs, making these delicious cookie cups accessible for various guests at your gathering.
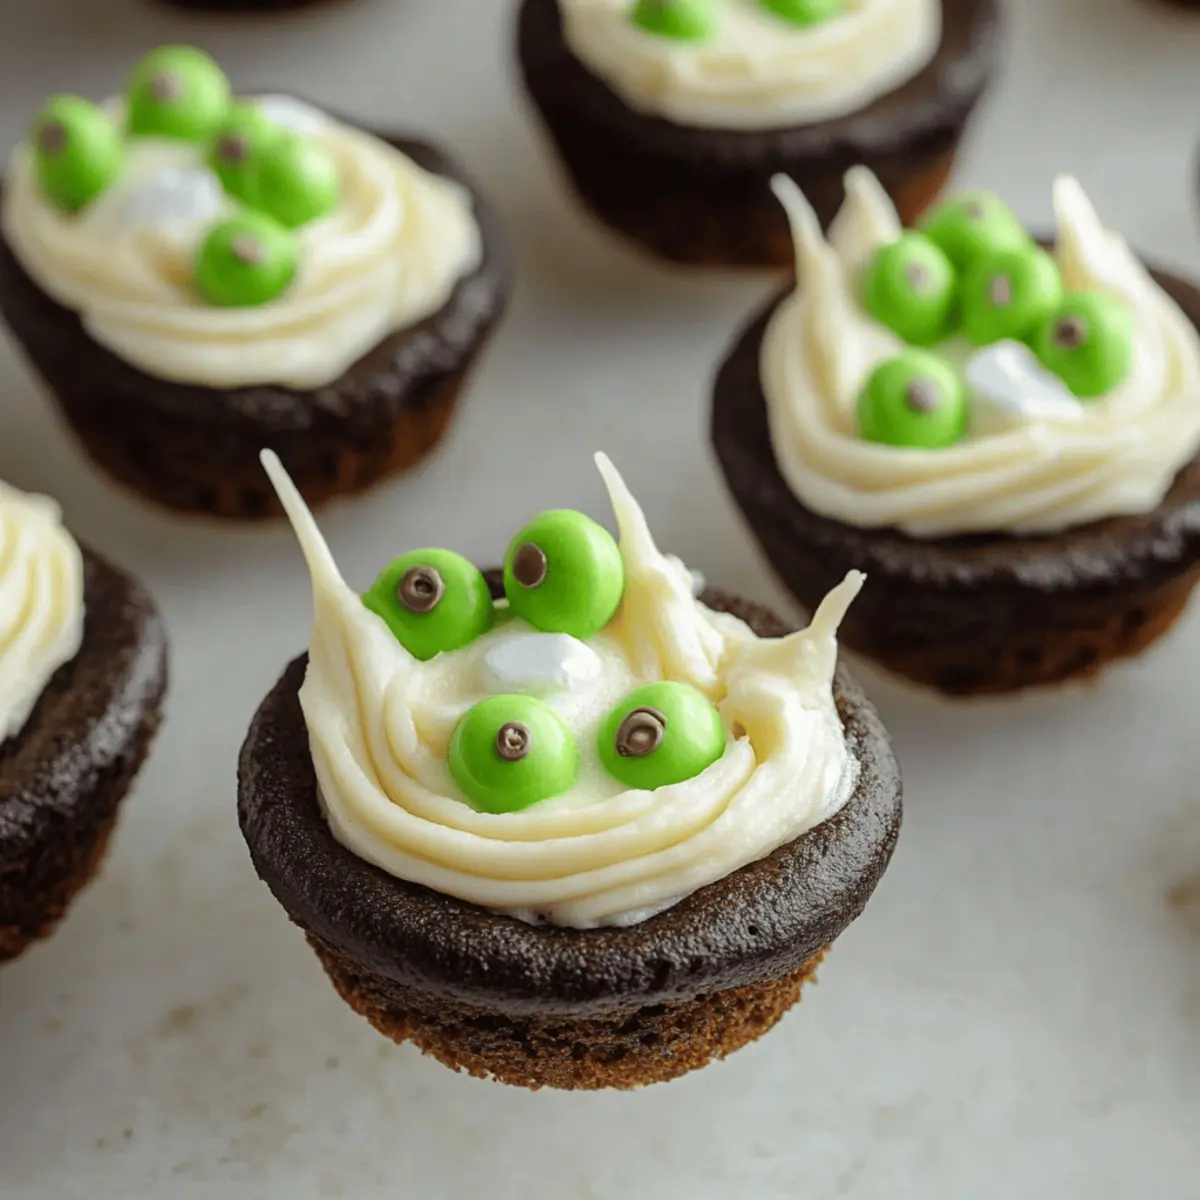
Delicious Cookie Cups That Will Wow Your Taste Buds
Ingredients
Equipment
Method
- Preheat your oven to 350 degrees F (175 degrees C) and lightly grease three 12-count mini muffin pans.
- In a large mixing bowl, combine the Devil's Food cake mix, large eggs, canola oil, and optional black food coloring until smooth.
- Scoop approximately ½ tablespoon of dough into each muffin cavity, flattening it to create a disk shape.
- Bake for 8-10 minutes until edges are set, then indent each cookie with a tablespoon to create a cavity.
- Beat softened butter with an electric mixer until creamy, then gradually add powdered sugar, vanilla extract, and salt until fluffy.
- Add milk to make the buttercream pipeable, then mix in green food coloring until desired shade is achieved.
- Pipe the green buttercream frosting into the cooled cookie cups generously.
- Decorate with green sprinkles, candy eyeballs, and Halloween sprinkles; insert pretzel sticks as stir sticks.
- Serve your delightful cookie cups on a decorative platter and enjoy!


Leave a Reply