
As the crisp air of fall settles in and Halloween approaches, I can’t help but feel that familiar excitement bubbling up—the thrill of crafting something deliciously whimsical. This year, I’ve whipped up a Hocus Pocus Snack Board that pays homage to those enchanting characters we all adore. Picture this: three brie wheels transformed into the iconic witches, garnished with playful accents like Twizzlers and olives, transforming ordinary ingredients into a spellbinding centerpiece. Not only is this charcuterie board a feast for the eyes, but it’s also customizable, making it an ideal choice for your Halloween gatherings. Plus, it takes just 30 minutes to prepare, giving you more time to enchant your guests with tasty tales while they nibble on delightful bites. Are you ready to conjure up some fun in your kitchen? Let’s dive into this magical recipe together!
Why This Hocus Pocus Snack Board Rocks?
Customization is key—tailor the ingredients to your taste or dietary needs, making it entirely your own! Easy to Assemble and fun to create, this board will have everyone pitching in to add their favorite fruits and snacks. Visually Stunning, it’s not just food; it's a Halloween work of art that captivates every guest. Perfect for All Ages, both kids and adults will love the whimsical design. And it takes only 30 minutes to prepare, allowing you to spend more time enjoying the festivities and sharing stories around the table. For a deeper dive into fun Halloween recipes, check out our Halloween gathering ideas.
Ingredients
Hocus Pocus Snack Board Ingredients
For the Board
• 3 wheels brie cheese – a creamy base that adds richness and texture.
• Crackers or chips of choice – choose something crunchy to complement the soft cheese.
For the Accents
• Twizzlers pull and peel licorice – perfect for creating playful lips on your cheese characters.
• Black olives – slice them to form eyes that bring your witches to life.
• Pepperoni – roll and skewer them for adorable curly hair!
For the Fruits
• Blackberries – pile them high on the cheesewheel for a fun hairdo.
• Green grapes – they add a pop of color and are great for Winifred's dress!
• Raspberries – use them for Sarah’s vibrant outfit.
• Small oranges – these add a citrusy sweetness and bright cheer to the board.
For Texture
• Popcorn – fluffy and fun, it makes the perfect hair for one of the witch cheesewheels.
• Sliced cheese of choice – create whimsical cheese shapes like bats with your cookie cutter!
Extra Tools
• Toothpicks – essential for assembling your charming cheese characters.
• Cookie cutter for cheese shapes (optional) – this lets you flex your creativity and fill empty spaces with themed fun!
Create an unforgettable Hocus Pocus Snack Board filled with magical ingredients that are both customizable and delightful!
Step‑by‑Step Instructions for Hocus Pocus Snack Board
Step 1: Set Up the Base
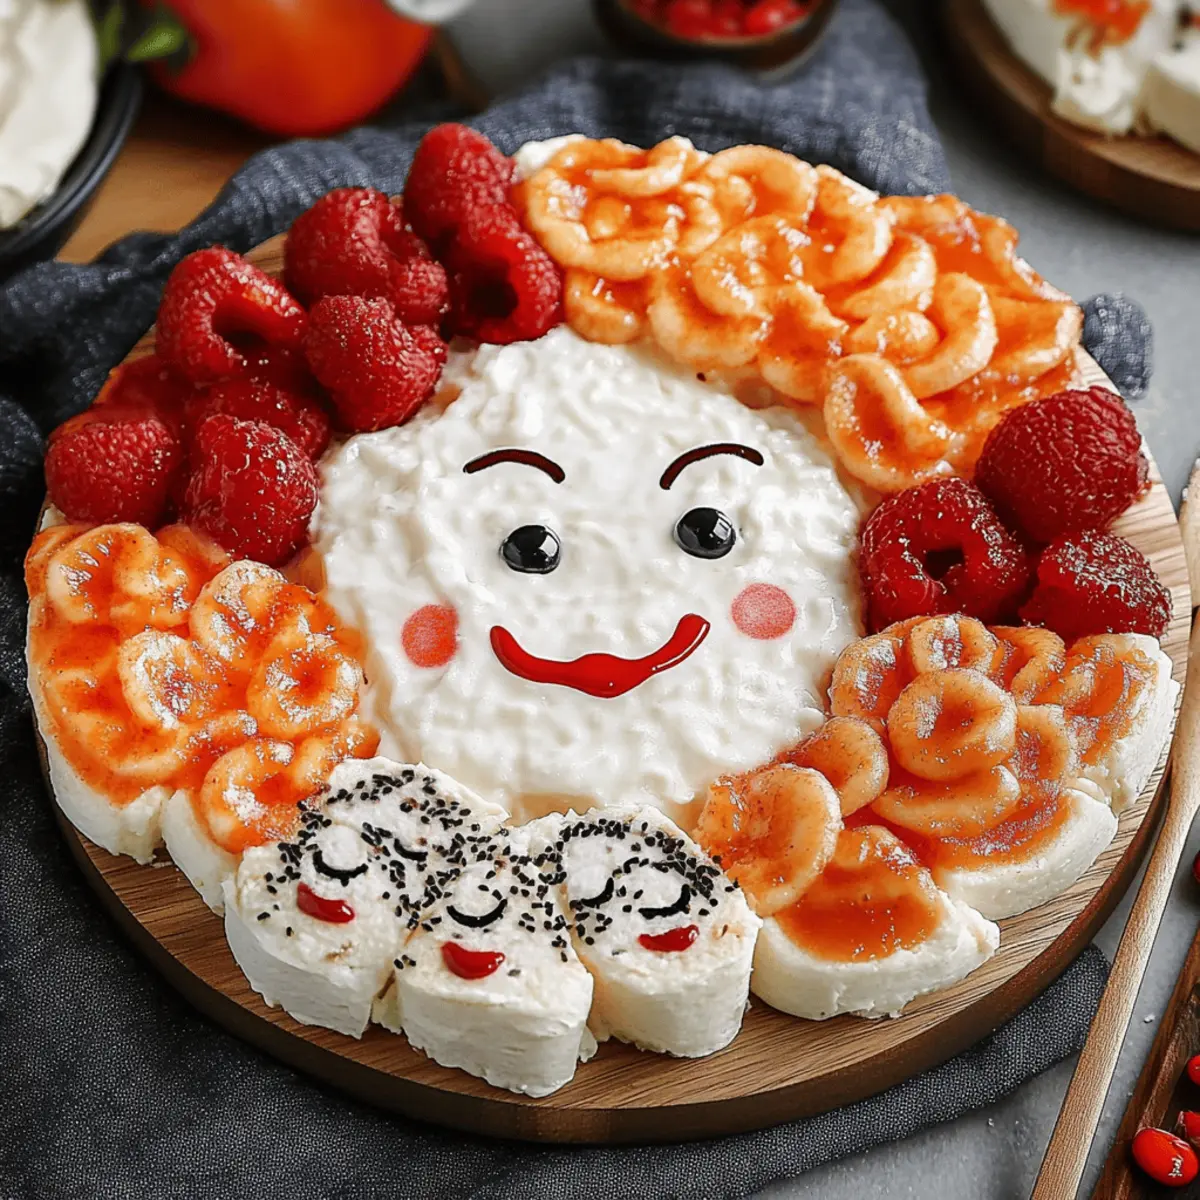
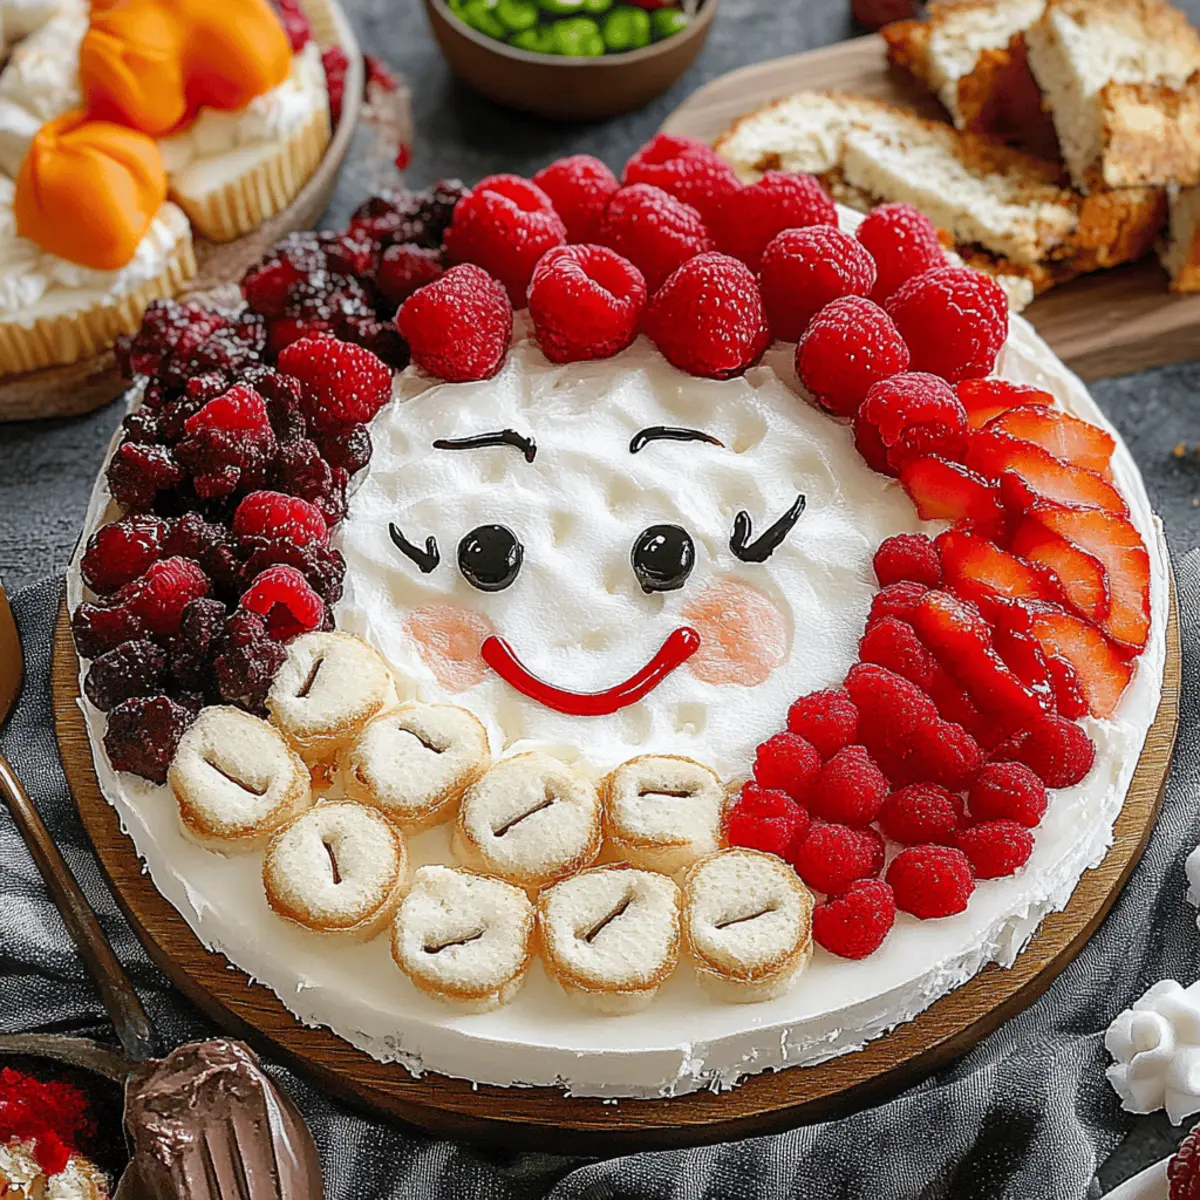
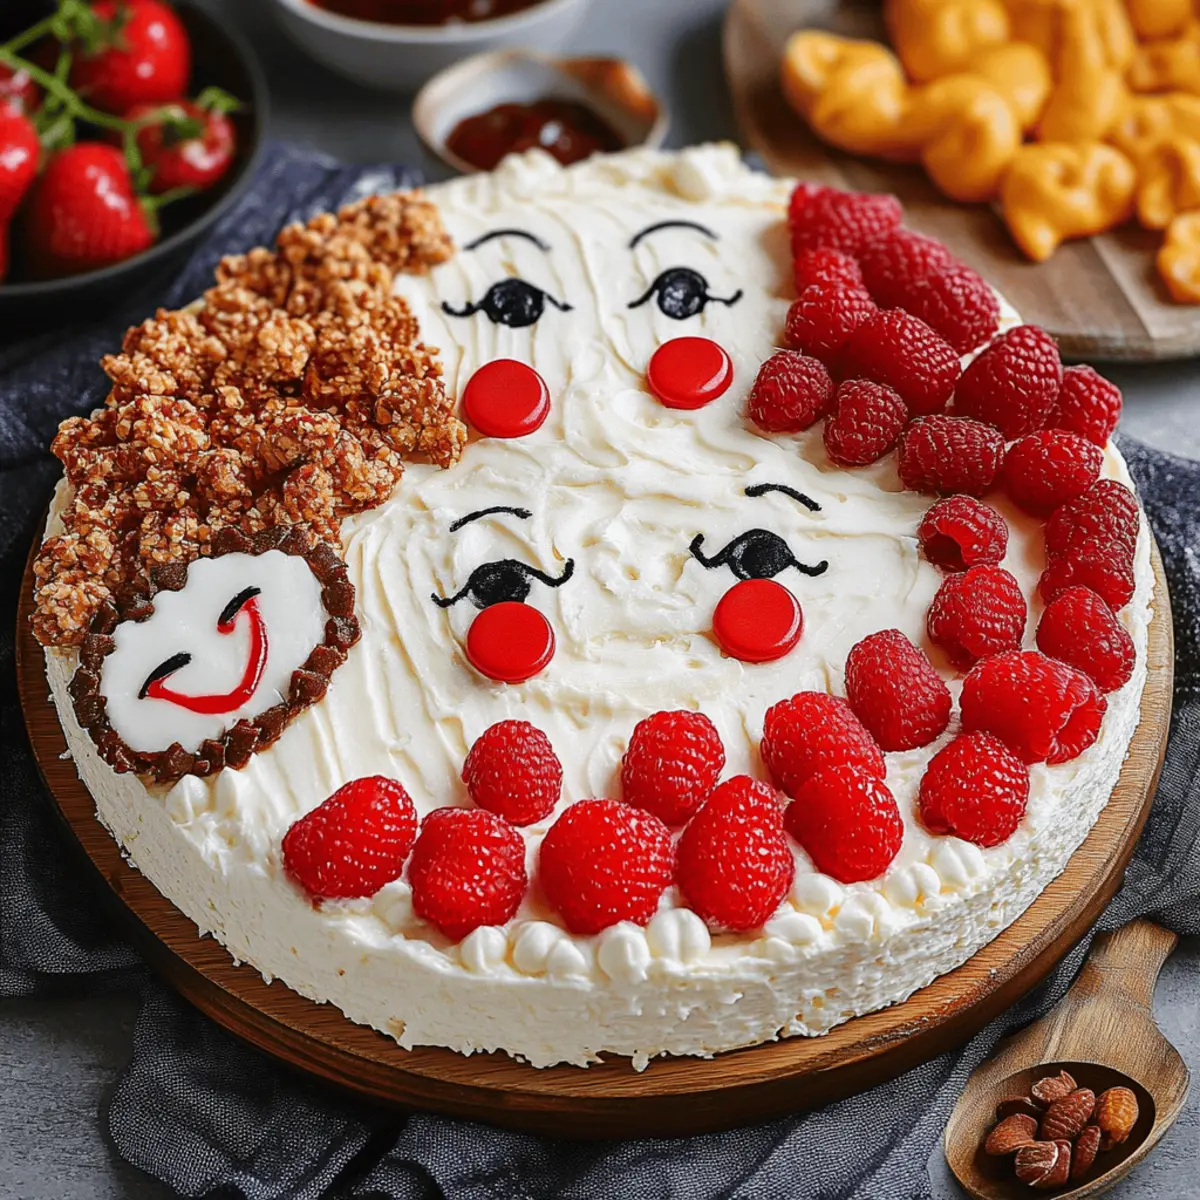
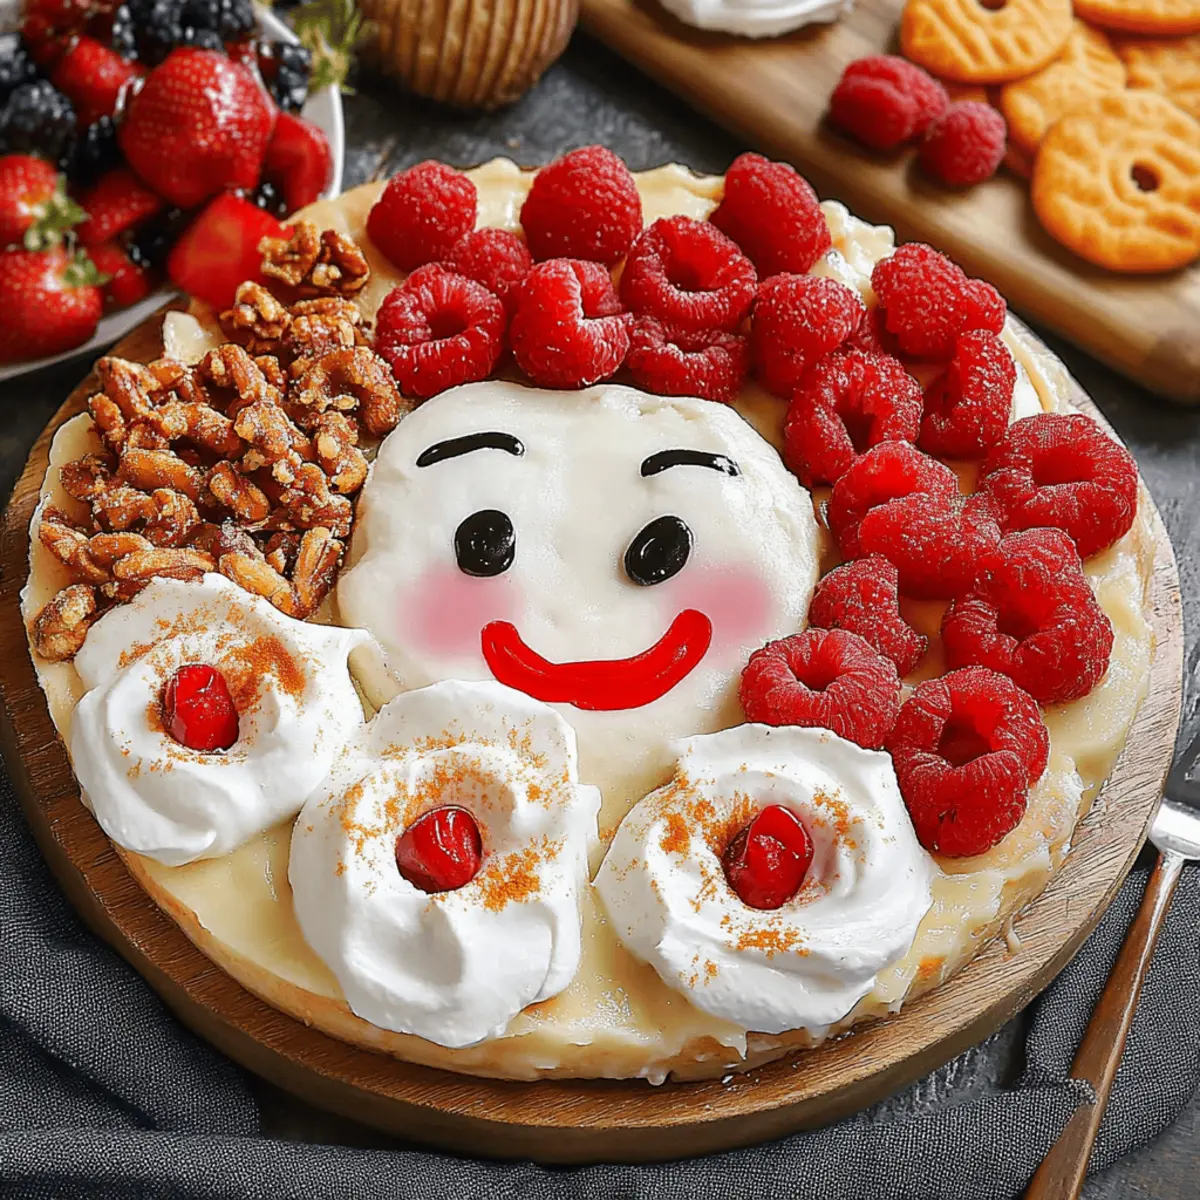
Begin by arranging the three wheels of brie cheese on a large wooden board, spacing them apart for visibility. This will create the charming foundation for your Hocus Pocus Snack Board. Use a rustic cutting board or platter to enhance the visual appeal. Keep the board ready as you gather your colorful ingredients to transform these cheese wheels into captivating witches.
Step 2: Create Playful Features
Cut Twizzlers pull and peel licorice into strips and pull them apart to form fun lips for each brie wheel. Gently press them onto the cheese’s surface, ensuring they stick well. Next, slice the black olives into rounds and place them above the Twizzlers to represent eyes, bringing your witch creations to life. This step adds a whimsical charm to your Hocus Pocus Snack Board.
Step 3: Style the Hair
For Sarah's witch, grab popcorn and pile it on top of her brie wheel to form fluffy, fun hair. The light, airy texture of the popcorn will create an inviting look that captures the spirit of the character. Meanwhile, prepare pepperoni by rolling slices and securing them on toothpicks. Stick these into Winifred’s brie, crafting her iconic curly hairstyle and adding extra dimension to your snack board.
Step 4: Assemble the Remaining Characters
Top Mary’s cheese wheel with a generous mound of blackberries, creating a textured hairdo that boasts a playful flair. Arrange the berries in a balanced fashion to add richness and color. This unique hairstyle reflects Mary’s character and enhances the overall aesthetic of your Hocus Pocus Snack Board, ensuring every piece is visually captivating.
Step 5: Dress the Witches
Use raspberries to create the vibrant dress for Sarah's witch, positioning them elegantly around her base. For Winifred, cluster green grapes around her cheese wheel, brightening up her outfit with lively hues. Lastly, arrange small orange slices around Mary’s brie to complete her look, ensuring that each character stands out on your enchanting snack board.
Step 6: Add Thematic Accents
Utilize a cookie cutter to create whimsical shapes, such as bats or broomsticks, from your sliced cheese. Place these throughout the board, filling empty spots while enhancing the Halloween theme. This playful addition not only adds texture but also embodies the Halloween spirit of your Hocus Pocus Snack Board, inviting guests to appreciate every detail.
Step 7: Fill in the Gaps
Now, take a moment to assess your board for any bare spaces. Fill these gaps with additional pieces of fruit, crackers, or chips, ensuring the layout looks abundant and enticing. Adjust the arrangement as needed to create a visually balanced presentation. This step ensures your Hocus Pocus Snack Board is a feast for the eyes as well as the tummy.
Step 8: Serve and Celebrate
Once you’re satisfied with the arrangement, serve the Hocus Pocus Snack Board immediately to showcase the lively colors and whimsical design. Encourage guests to dig in and enjoy the delightful assortment of flavors and textures. This festive board is not only a spectacular centerpiece but also a delightful snack that will enchant everyone at your Halloween gathering.
Make Ahead Options
These Hocus Pocus Snack Boards are perfect for busy cooks looking to save time! You can prepare the brie cheese wheels and arrange them on the board up to 24 hours in advance, simply cover with plastic wrap to maintain freshness. Additionally, you can slice the olives and Twizzlers, and prepare the popcorn for styling ahead of time to prevent any last-minute rush. Lastly, wash and cut the fruits (blackberries, raspberries, grapes, and oranges) and store them in airtight containers in the refrigerator for up to 3 days. When you're ready to serve, just assemble the remaining elements and garnish your board, ensuring each component is just as delightful as if made fresh!
Expert Tips for Hocus Pocus Snack Board
Maximize Freshness: Use fresh ingredients for vibrant colors and flavors. Check that fruits are ripe and firm to enhance the visual appeal of your board.
Customize to Taste: Feel free to swap out ingredients! If brie isn’t your favorite, substitute it with cheddar or gouda. Make this Hocus Pocus Snack Board your own!
Avoid Soggy Crackers: To keep your crackers crunchy, avoid placing them directly on moist ingredients. Serve them on the side or in small bowls.
Engage Your Guests: Allow friends and family to help assemble the board. This not only makes it a fun activity but also creates a memorable experience together.
Plan Your Layout: Before you start, visualize your arrangement! Lay everything out before filling in gaps, ensuring a balanced and festive presentation.
Keep it Festive: Include seasonal decorations like mini pumpkins or ghost picks to elevate the Halloween vibe, making your Hocus Pocus Snack Board a real showstopper!
How to Store and Freeze Hocus Pocus Snack Board
Fridge: Keep any leftover components of your Hocus Pocus Snack Board in an airtight container for up to 3 days to maintain freshness.
Freezer: Assembled boards are not recommended for freezing, but individual ingredients like cut fruits or brie can be frozen for up to 2 months.
Reheating: For any cheese leftovers, allow them to come to room temperature before serving. Avoid microwaving as it may affect texture.
Room Temperature: If left out, enjoy your Hocus Pocus Snack Board within 2 hours to keep it safe and delicious.
Hocus Pocus Snack Board Variations
Let your imagination run wild as you personalize this enchanting board to fit your taste and dietary preferences!
-
Vegan Delight: Substitute brie with vegan cheese options and use plant-based snacks for a delightful alternative.
Try using cashew-based cheeses, which provide creamy textures, ensuring no one misses out on the festive fun! -
Gluten-Free Twist: Use gluten-free crackers or chips to cater to dietary needs without compromising flavor.
This way, everyone can enjoy the magic, regardless of their dietary restrictions! -
Spicy Kick: Add jalapeño slices or spicy salami for a heat boost that contrasts beautifully with the creamy cheese.
For those who love a little fire, these flavors will make your board unforgettable! -
Nutty Crunch: Toss in some mixed nuts for extra texture and flavor.
These little crunchies add surprise and hearty satisfaction, elevating your snack experience even further! -
Fruity Explosion: Swap in seasonal fruits like pomegranates or apples for a fresh and vibrant flavor profile.
These earthy flavors will bring an exhilarating twist to your board and delight all fruit lovers! -
Crispy Alternatives: Experiment with popcorn flavors; try cheese or caramel-coated popcorn for a unique touch.
Both varieties will entice guests with their unexpected taste and delightful crunch! -
Savory Cheese Swap: Replace brie with goat cheese or feta for a tangy flavor that complements the rest.
This twist adds depth to your board while still keeping with the quirky charm of Hocus Pocus! -
Dessert Finish: Top it off with chocolate-covered pretzels or candy corn for a sweet ending to your board.
This classic combination brings a festive Halloween flair that guests will enjoy nibbling on!
Your Hocus Pocus Snack Board can be endlessly personalized to suit your gathering. Dive into the Halloween spirit and explore these delightful options! For more fun and spooky-themed ideas, check out our Halloween gathering ideas.
What to Serve with Hocus Pocus Charcuterie Board
As you conjure up your whimsical Hocus Pocus Snack Board, consider these delightful pairings to complete your Halloween feast.
- Crispy Breadsticks: Their crunchy texture provides a perfect contrast to the creamy brie, inviting guests to savor every bite.
- Spiced Apple Cider: Warm and aromatic, this comforting drink complements the sweetness of the fruits and spices of the season.
For a heartier touch, you might want to include:
- Savory Cheese Straws: These crunchy treats add a touch of elegance and extra flavor that pairs beautifully with creamy cheeses.
- Roasted Pumpkin Seeds: A delightful crunch with a hint of earthiness, these seeds bring seasonal flavors and make great finger snacks.
Don’t forget dessert!
-
Witch’s Brew Cupcakes: Chocolatey goodness topped with green frosting will enchant all your guests, echoing the fun theme of your board.
-
Chocolate-covered Pretzels: Their sweet and salty combination is irresistible, adding a playful pop of flavor that enhances the overall experience.
Incorporating these complements creates a memorable Halloween gathering, turning your charcuterie board into an enchanting focal point!
Hocus Pocus Charcuterie Board Recipe FAQs
How do I ensure my ingredients are fresh for the Hocus Pocus Snack Board?
Absolutely! When selecting fruits, look for berries that are plump and free of dark spots. For grapes and oranges, choose ones that feel firm to the touch and have vibrant colors. This not only enhances the visual appeal but also maximizes flavor.
What’s the best way to store leftovers from the Hocus Pocus Snack Board?
Very! Store any leftover components in an airtight container in the fridge for up to 3 days. Make sure to keep crackers separate to prevent them from getting soggy, and consume the fruit within a few days for the best taste and texture.
Can I freeze any ingredients for the Hocus Pocus Snack Board?
Sure! While I don’t recommend freezing the assembled board, individual ingredients like sliced cheese or cut fruits can be frozen. For best results, wrap them tightly in plastic wrap or place them in freezer-safe bags. They will stay fresh for up to 2 months. When ready to use, thaw them in the fridge overnight for the best texture.
How can I troubleshoot if my cheese isn't melting properly?
If your cheese isn't melting the way you'd like, it may be due to the temperature of the cheese. Always allow it to sit at room temperature for about 30 minutes before serving. This helps soften the cheese, making it easier to enjoy its rich, creamy texture.
Is there any dietary consideration for pets or allergies with the Hocus Pocus Snack Board?
It’s important to consider! Keep in mind that some ingredients, like grapes and certain types of cheese, can be harmful to pets. Double-check for any allergies among your guests, particularly with cheese and processed meats, and opt for alternative ingredients if needed, ensuring everyone has a tasty and safe experience.
What are some alternatives I can use for the ingredients in the Hocus Pocus Snack Board?
I often suggest swapping brie for a creamy goat cheese if you prefer a tangier bite, or using a vegan cheese if you need a dairy-free option. For a different crunch, you could replace popcorn with pretzels. The more fun flavors you incorporate, the merrier the board becomes!
Craft the Ultimate Hocus Pocus Snack Board for Halloween Fun
Ingredients
Equipment
Method
- Set up the base by arranging the three wheels of brie cheese on a large wooden board.
- Create playful features using Twizzlers for lips and olives for eyes.
- Style the hair using popcorn for Sarah and skewered pepperoni for Winifred.
- Assemble the remaining characters using blackberries and arrange them colorfully.
- Dress the witches with raspberries, green grapes, and orange slices.
- Add thematic accents with whimsical cheese shapes cut out with a cookie cutter.
- Fill in the gaps with additional fruits, crackers, or chips.
- Serve and celebrate the festive arrangement with your guests.
Leave a Reply