
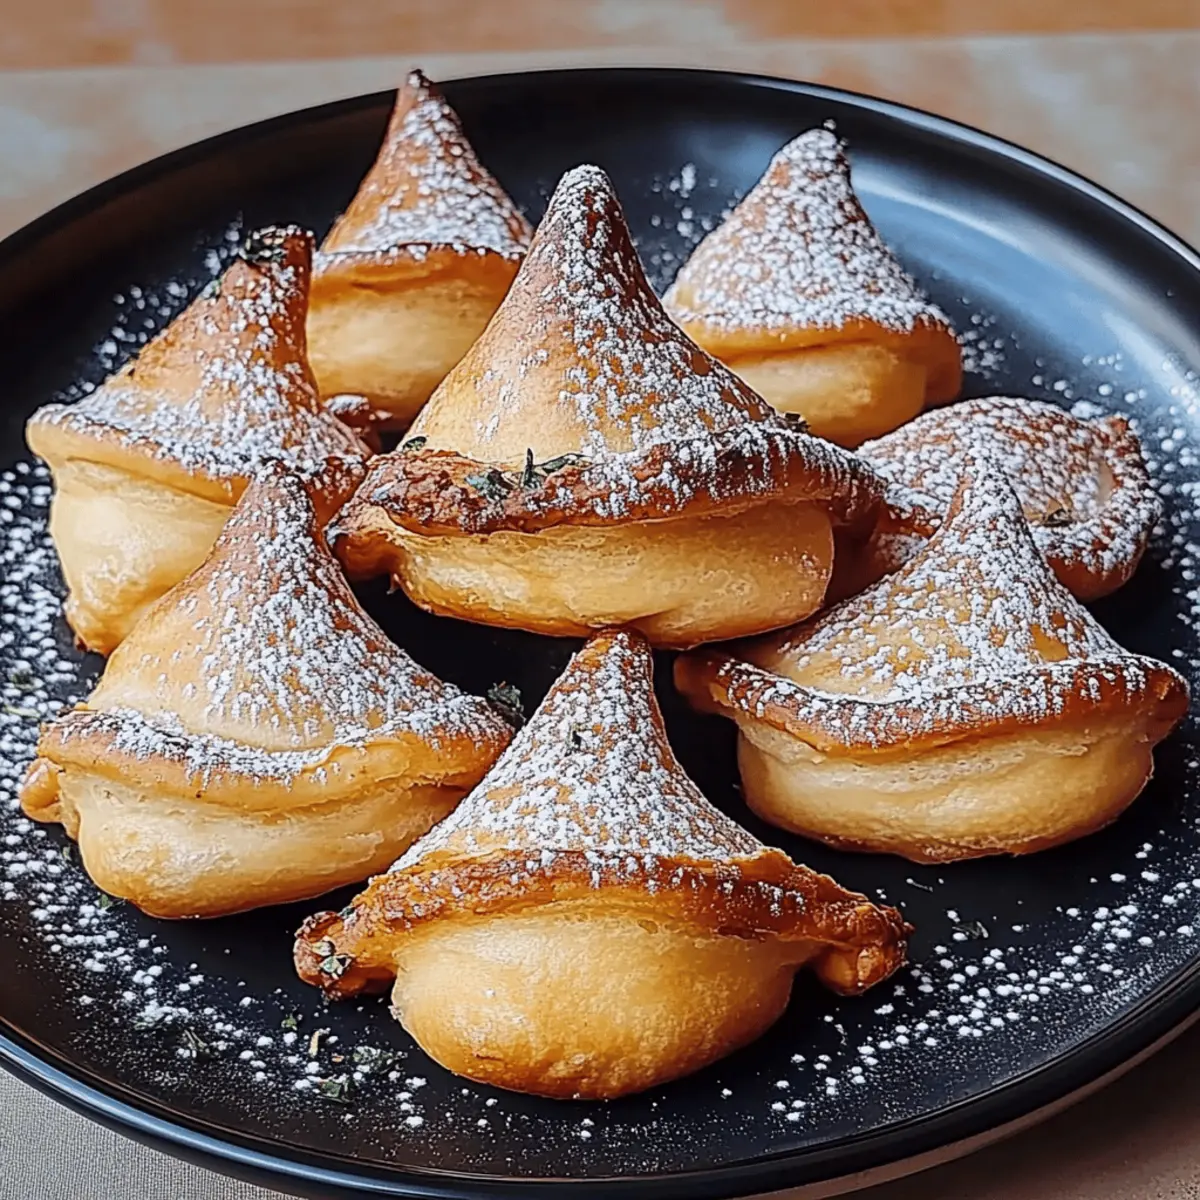
As I rummaged through the pantry, the idea struck me like a bolt of lightning: why not conjure up some delightful Crescent Roll Witch Hats? Perfect for a festive gathering or a cozy family night, these whimsical treats combine the ease of crescent roll dough with the magical sweetness of chocolate and candy corn. In just 25 minutes, you can transform simple ingredients into a crowd-pleaser that’ll have everyone reaching for seconds! Not only are they a fun twist on traditional Halloween goodies, but they also require minimal prep, making them an ideal choice for those busy weeknights. Ready to unleash your inner baker? Let's get rolling with this charming recipe!
Why are Crescent Roll Witch Hats a must-try?
Simplicity makes these delightful treats incredibly easy to prepare – perfect for both seasoned chefs and kitchen novices alike. Irresistible sweetness comes from the combination of chocolate chips and candy corn, making them a hit with kids and adults. Versatile and fun, they’re not just for Halloween; enjoy them for parties or any festive occasion! Time-saving at just 25 minutes from start to finish, they fit perfectly into your busy schedule. Try pairing these treats with warm apple cider for a cozy fall treat. You won't just love making these – your friends will love eating them!
Crescent Roll Witch Hats Ingredients
For the Batter
• Refrigerated crescent roll dough – perfect for creating flaky, delicious hats with minimal effort.
• Semi-sweet chocolate chips – these add a rich, melty sweetness that complements the dough beautifully.
For the Topping
• Candy corn – a fun and colorful touch that adds a whimsical flair to your Crescent Roll Witch Hats.
• Cooking spray – ensures your treats release easily from the baking sheet, preventing any sticky disasters!
Step‑by‑Step Instructions for Crescent Roll Witch Hats
Step 1: Preheat the Oven
Begin by preheating your oven to 375°F (190°C). While the oven warms up, grab a baking sheet and either line it with parchment paper or lightly spray it with cooking spray to prevent the crescent roll witch hats from sticking. This clever preparation sets the stage for a seamless baking experience.
Step 2: Prepare the Dough
Unroll the refrigerated crescent roll dough on a clean surface, separating it into triangles. Each triangle will form the base of your witch hats. Ensure the triangles are well-defined, as they will need to be rolled tightly around the chocolate filling. This step is vital for achieving the perfect shape when baking.
Step 3: Add the Chocolate Chips
At the wide end of each triangle, place a generous mound of semi-sweet chocolate chips. Be sure to spread them out a bit, leaving the edges clear for rolling. This ensures that every bite of your crescent roll witch hats is deliciously sweet and chocolatey, adding to their irresistible charm.
Step 4: Roll the Triangles
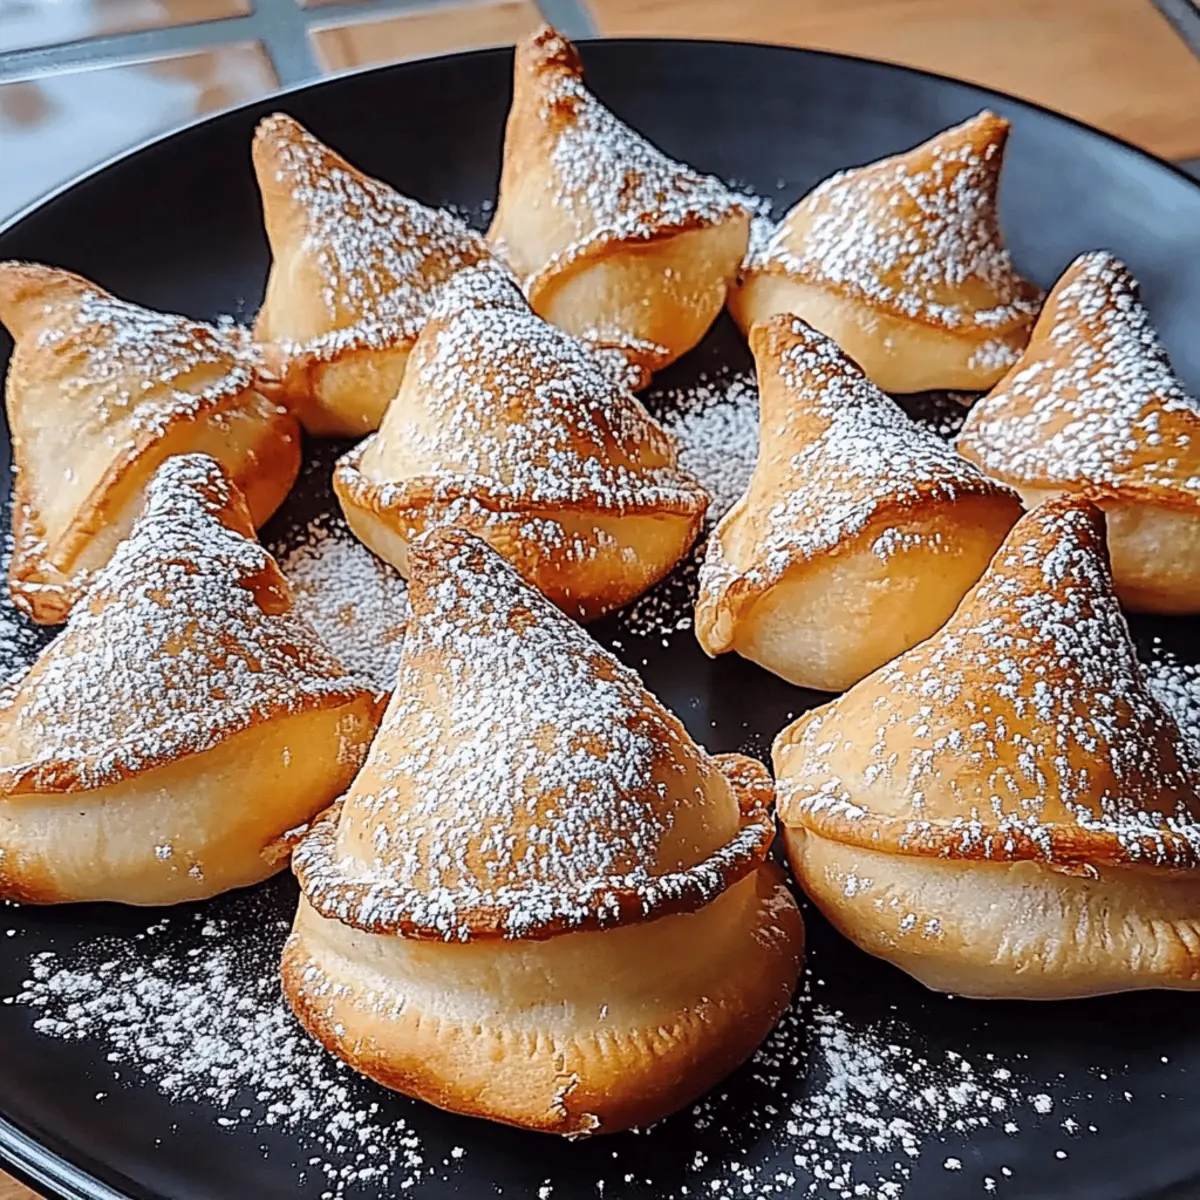
Starting from the wide end, carefully roll each triangle towards the pointy tip, shaping them into miniature hats. As you roll, pinch the seams tightly to secure the shape and prevent any chocolate from leaking out during baking. This step is essential for creating those adorable witch hats that everyone will love.
Step 5: Bake the Witch Hats
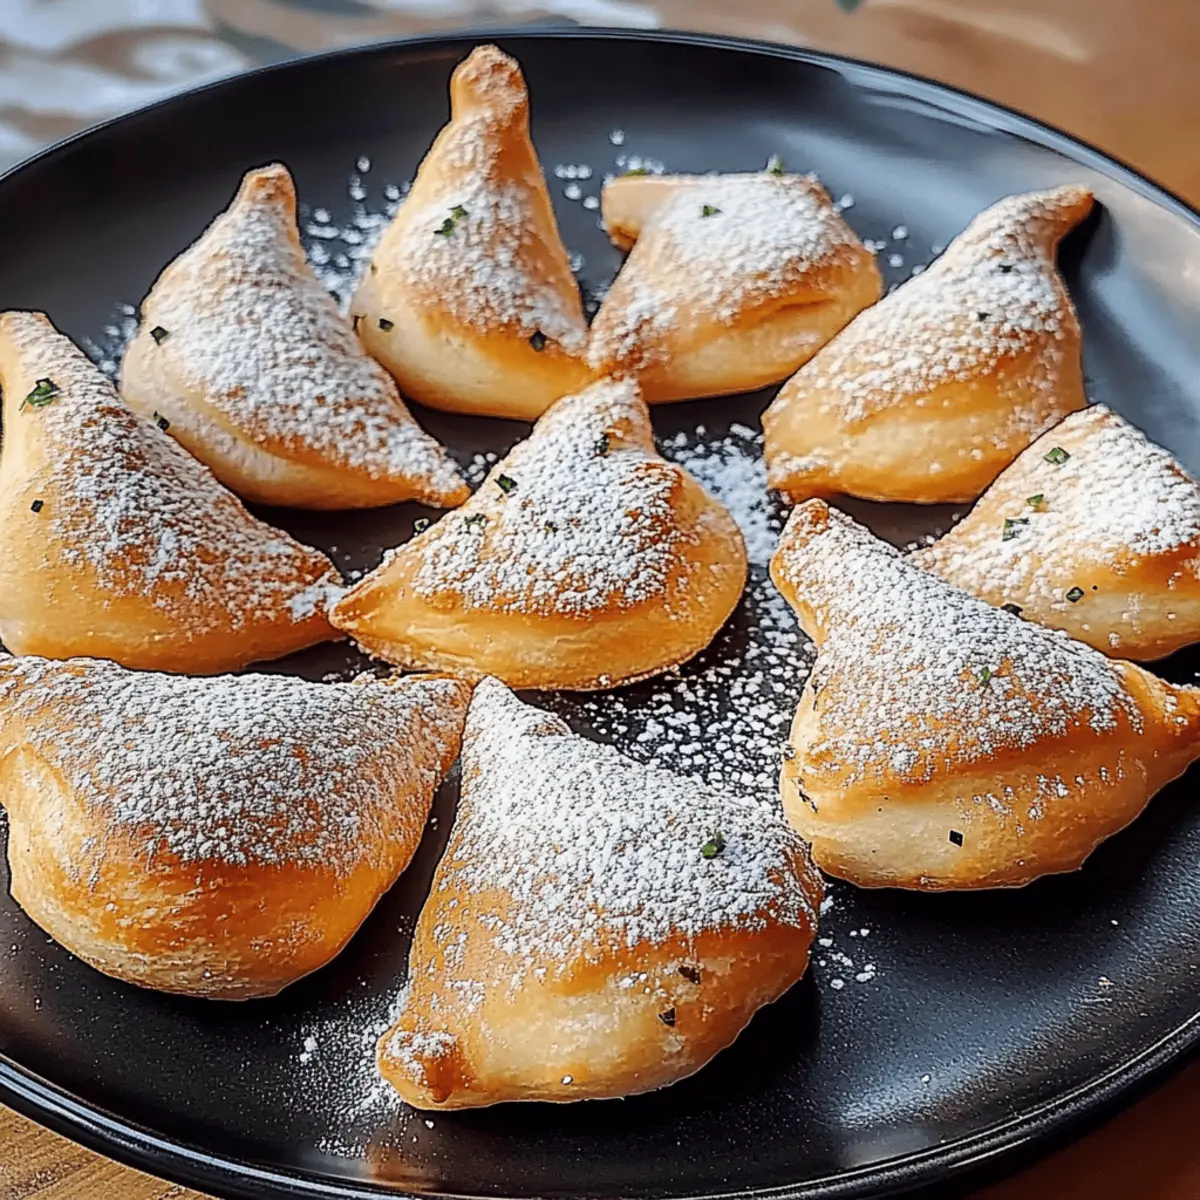
Place the rolled witch hats on the prepared baking sheet, evenly spaced apart to allow for puffing while baking. Slide the baking sheet into your preheated oven and bake for 12-15 minutes. Keep an eye on them, and look for a golden-brown color, indicating they're perfectly baked and ready for the finishing touch.
Step 6: Add Candy Corn
Once your crescent roll witch hats are golden and fragrant, remove them from the oven and let them cool slightly for a couple of minutes. While they are still warm, gently press a piece of candy corn into the top of each hat. This whimsical addition not only adds a pop of color but also a sweet crunch that complements the melty chocolate inside.
Crescent Roll Witch Hats Variations
Get ready to unleash your creativity in the kitchen by personalizing these delightful treats with your favorite flavors and textures!
-
Nutty Twist: Add a handful of chopped nuts, like walnuts or pecans, with the chocolate chips for a satisfying crunch. Nuts offer a lovely contrast to the softness of the crescent roll!
-
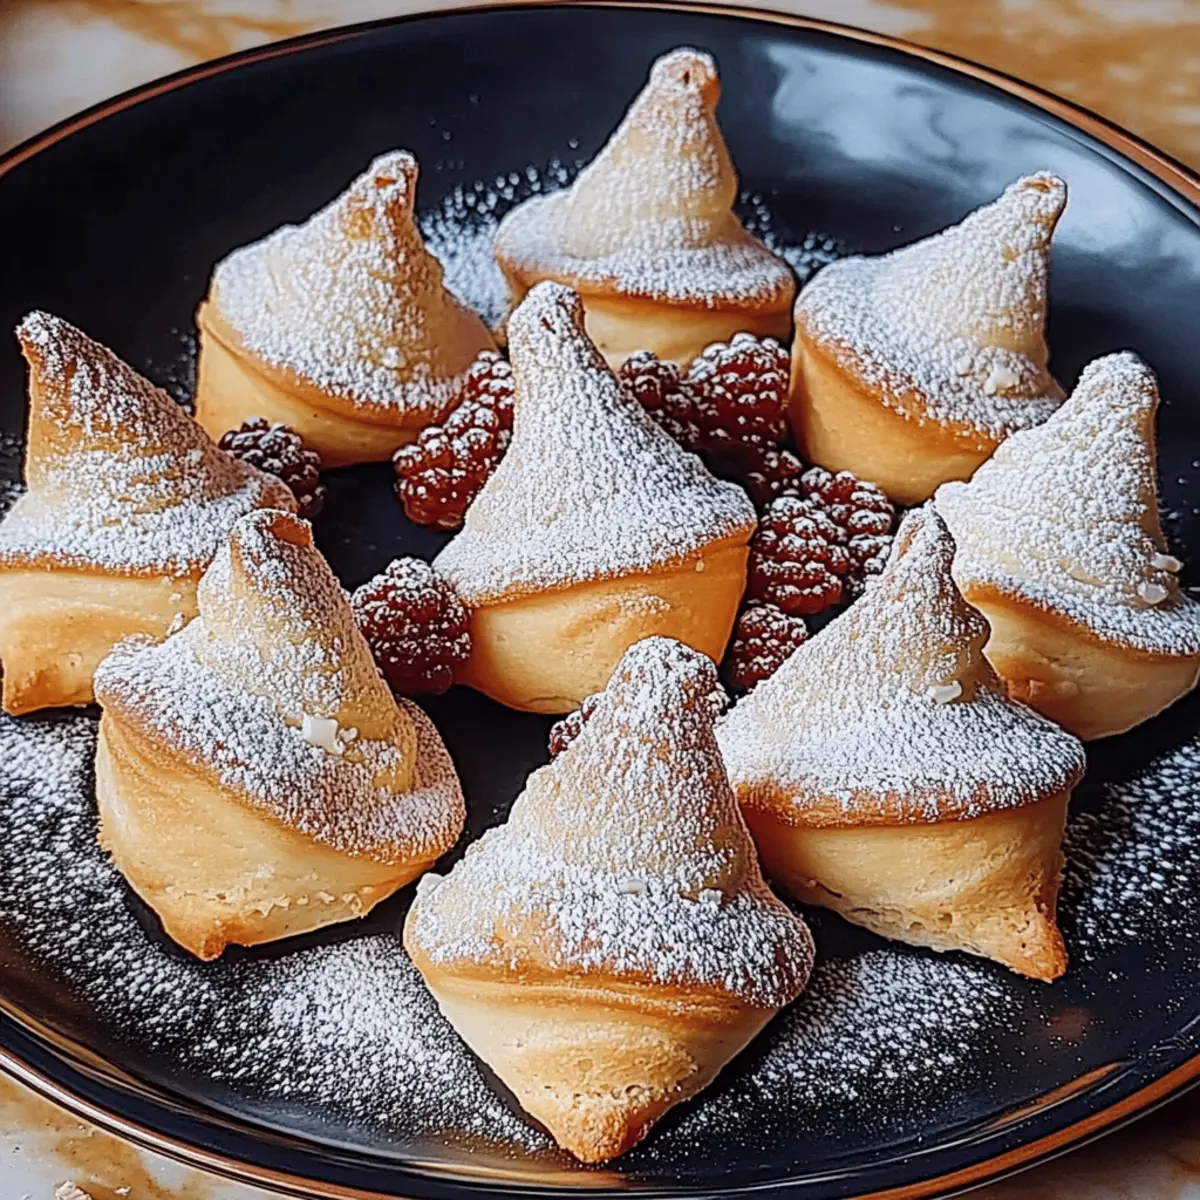
Fruit Fillings: Swap chocolate chips for mini marshmallows and thinly sliced strawberries for a fruity surprise. The sweetness of strawberries pairs beautifully with the flaky dough, adding a burst of freshness!
-
Pumpkin Spice: For a fall-inspired treat, mix pumpkin pie spice with the chocolate chips. It’ll fill your kitchen with warm, comforting aromas that will enchant your senses!
-
Cheesecake Filling: Blend cream cheese with powdered sugar and vanilla for a delightful cheesecake center. This variation brings a creamy twist that balances perfectly with the crispy outer layer.
-
Gluten-Free Option: Replace regular crescent rolls with gluten-free dough for a delicious alternative. Everyone deserves a taste of these spooky delights, no matter their dietary needs!
-
Spicy Chocolate: Add a pinch of cayenne pepper to the chocolate chips for a surprising kick. The combination of sweet and spicy will tantalize adventurous taste buds!
-
Mini Versions: Make bite-sized versions by cutting the dough triangles in half and using fewer chocolate chips. These mini treats are perfect for party platters or gatherings, ensuring everyone can indulge!
-
Decorative Sprinkles: After adding candy corn, sprinkle colorful Halloween-themed candies or edible glitter on top for an extra festive touch. It’ll turn your Crescent Roll Witch Hats into a show-stopping dessert!
As you experiment with flavors and textures, keep in mind that these wonderful treats are not just for Halloween; enjoy them for parties or any celebration. Pair them with a cozy cup of hot chocolate or a warm spice latte for an unforgettable experience!
Expert Tips for Crescent Roll Witch Hats
-
Dough Temperature: Make sure your crescent roll dough is chilled before using; softer dough can lead to melting chocolate and poorly shaped hats.
-
Spacing Out: When placing your witch hats on the baking sheet, leave enough space between them to allow for puffing. This prevents them from sticking together during baking.
-
Perfect Roll: Roll each triangle tightly and pinch seams securely. Loose rolls can lead to chocolate oozing out, ruining the shape of your Crescent Roll Witch Hats.
-
Timing is Key: Keep an eye on your baking time; they can go from golden to overbaked quickly. Start checking around the 12-minute mark to ensure perfect results.
-
Warm Topping: For a better candy corn placement, press it on the witch hats while they are still warm. This makes them stick better and melt slightly for an even more delightful finish.
What to Serve with Crescent Roll Witch Hats?
Prepare to elevate your festive gathering with delightful accompaniments that will make your dessert experience truly unforgettable!
-
Warm Apple Cider: The cozy spices of apple cider create a comforting counterpoint to the sweet, chocolatey hats. It’s perfect for chilly evenings.
-
Spooky Fruit Platter: A mix of oranges, grapes, and sliced apples provide a fresh, light contrast to your rich treats. Add some ghost-shaped cheese for fun!
-
Pumpkin Spice Ice Cream: This creamy treat brings the flavors of fall into your dessert lineup, adding a sweet and chilly contrast to the warm witch hats.
-
Chocolate Dipped Pretzels: Their salty crunch pairs wonderfully with the sweetness of your crescent roll witch hats, offering balanced textures in every bite.
-
Ghostly Meringue Cookies: Light and airy, these cookies add an elegant touch to your dessert table and create a wonderful visual alongside the witch hats.
-
Decadent Hot Chocolate: Enhance the indulgence with a warm, rich cup of hot chocolate, making every bite even more delightful as the cold weather settles in.
Whether it's a festive gathering or a cozy family night, these pairings promise to make your celebration as enchanting as your Crescent Roll Witch Hats!
Make Ahead Options
These delightful Crescent Roll Witch Hats are perfect for busy home cooks looking to save time! You can prepare the crescent roll triangles and store them in an airtight container in the refrigerator up to 24 hours ahead of baking. When ready to finish, simply add the chocolate chips and roll them into hats before baking. This ensures the dough remains fresh and flaky. If you’d like to get a head start on the assembly, you can also shape the hats and refrigerate them, but be sure to add the candy corn right after baking for the best quality. By prepping ahead, you’ll have these sweet treats ready for any surprise gathering with minimal effort!
How to Store and Freeze Crescent Roll Witch Hats
Room Temperature: Store any leftover Crescent Roll Witch Hats in an airtight container for up to 2 days. Enjoying them fresh is always best!
Fridge: If you need to keep them longer, refrigerate the hats in an airtight container for up to 5 days. Reheat them in the oven for a few minutes to restore crispiness.
Freezer: For longer storage, freeze the baked witch hats in a single layer, then transfer them to a freezer bag. They can be kept for up to 2 months. Thaw before reheating in the oven.
Reheating: When you're ready to enjoy those treats again, preheat your oven to 350°F (175°C) and heat them for about 5-7 minutes. This will bring back their delightful crispness!
Crescent Roll Witch Hats Recipe FAQs
What type of crescent roll dough should I use?
Absolutely! I recommend using refrigerated crescent roll dough as it provides the perfect balance of flakiness and ease. Make sure it's fresh, with no dark spots on the packaging, and check the expiration date to ensure the best results.
How should I store leftover Crescent Roll Witch Hats?
For best quality, store any leftovers in an airtight container at room temperature for up to 2 days. If you want to keep them longer, refrigerating them can extend their freshness to about 5 days. Just remember to reheat them in the oven for a few minutes to bring back that delightful crispiness!
Can I freeze the Crescent Roll Witch Hats?
The more, the merrier! You can freeze the baked witch hats for up to 2 months. To do this, place them in a single layer on a baking sheet to freeze initially. Once solid, transfer them to a freezer bag or airtight container. When you're ready to enjoy them, simply thaw in the fridge, then reheat in the oven at 350°F (175°C) for about 5-7 minutes.
What if my chocolate chips are melting during the roll process?
Very! If your chocolate chips are melting while you're rolling the triangles, it may be due to the dough being too warm. Try chilling the dough in the fridge for about 10-15 minutes before working with it, or work quickly during the rolling step to maintain the integrity of the dough.
Are there any dietary considerations to keep in mind for this recipe?
Absolutely! If you're making these for a party, be aware of potential allergies. The Crescent Roll Witch Hats contain gluten and dairy. If you're accommodating guests with gluten intolerance, consider using gluten-free crescent dough. Also, watch out for chocolate allergies; you can substitute with allergy-safe chocolate chips to ensure everyone can enjoy these festive treats!
How do I know when the witch hats are perfectly baked?
Look for a beautiful golden-brown color and a delightful aroma! Start checking around the 12-minute mark, and if they seem lightly golden and puffed up, it's time to take them out of the oven. Trust your senses!
Crescent Roll Witch Hats for a Spooky & Sweet Treat Night
Ingredients
Equipment
Method
- Preheat your oven to 375°F (190°C) and prepare a baking sheet.
- Unroll the crescent roll dough and separate it into triangles.
- Place a mound of chocolate chips at the wide end of each triangle.
- Roll each triangle from the wide end to the tip, pinching seams tightly.
- Place rolled hats on the baking sheet and bake for 12-15 minutes.
- Press a piece of candy corn into the top of each warm hat after baking.


Leave a Reply