
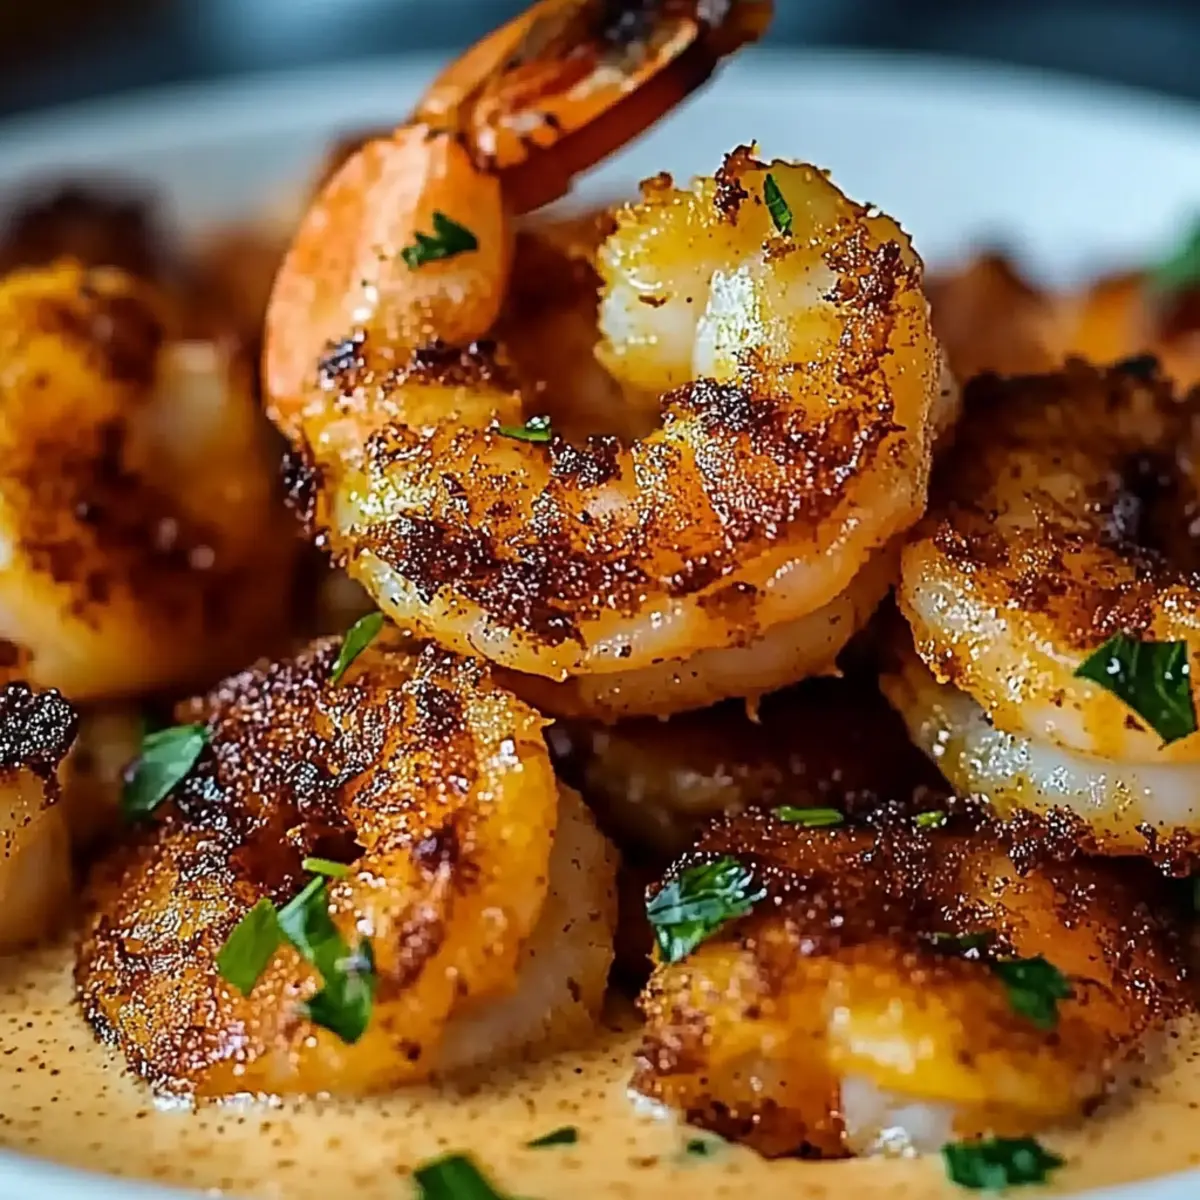
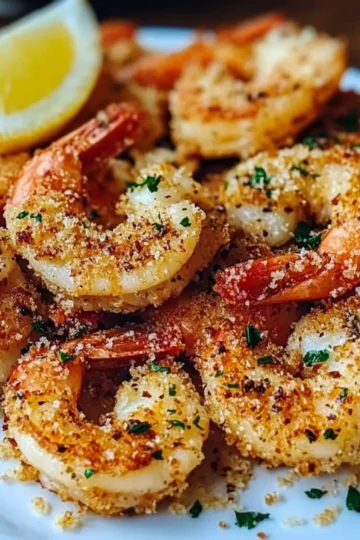
The aroma of baked coconut shrimp wafting through my kitchen instantly transports me to a sun-soaked beach, where the sea meets the sky. As a passionate home-chef, I’m always on the lookout for dishes that tick all the boxes—quick prep time and irresistibly crispy textures are my favorites! This Baked Coconut Shrimp recipe delivers just that, combining tender shrimp with a crunchy coconut panko coating. What makes it even better? It's an easy oven-baked option, giving you a guilt-free indulgence that's perfect for any gathering or cozy night in. Pair it with sweet chili mayo for dipping, and you’ve got a crowd-pleaser that’s sure to impress. Ready to turn your kitchen into a tropical paradise? Let’s dive in!
Why is Baked Coconut Shrimp a Must-Try?
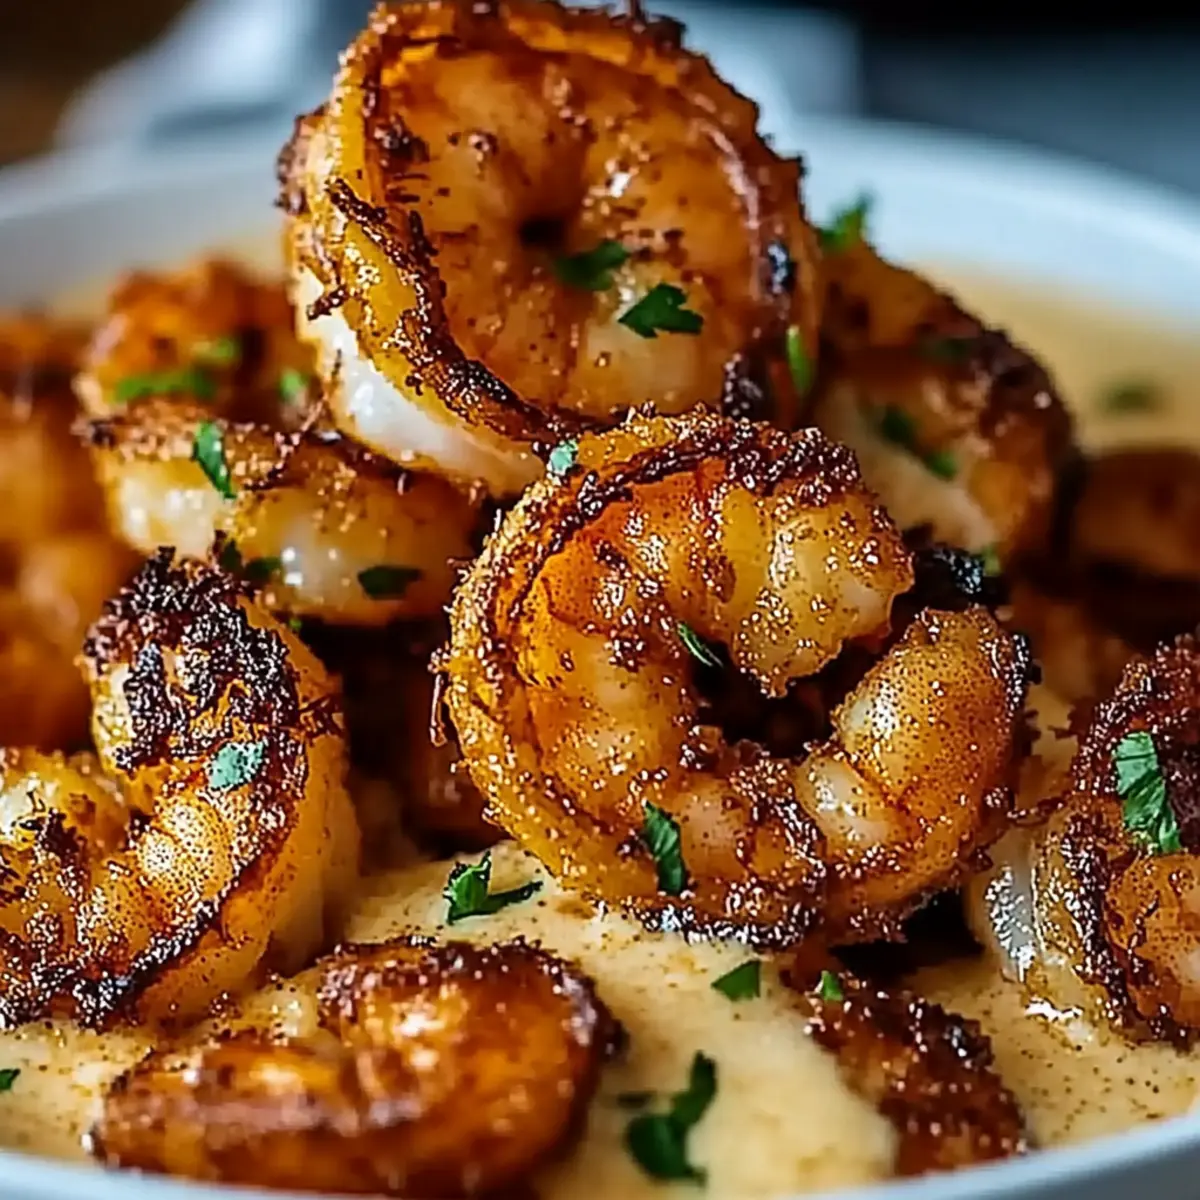
Irresistible Crispiness: The combination of coconut and panko creates a delightful crunch that elevates this dish above mere shrimp. Each bite is a textural masterpiece!
Tropical Flavors: Savor the taste of the tropics with every morsel. The sweet coconut pairs perfectly with the shrimp, making for an irresistible flavor combination.
Quick and Easy: Ready in just 35 minutes, this recipe is perfect for busy weeknights or spontaneous gatherings.
Versatile Delight: Serve it as an appetizer, snack, or part of a meal alongside a fresh salad or some Baked Feta Potatoes for a complete feast.
Crowd-Pleasing Appeal: Whether you're entertaining friends or enjoying a cozy night in, this Baked Coconut Shrimp is guaranteed to impress and satisfy.
Transform your dining experience with a dazzling dish that’s simple to make and sure to wow!
Baked Coconut Shrimp Ingredients
Experience the tropical bliss of Baked Coconut Shrimp with these simple ingredients!
For the Breading
- All-purpose flour – Helps the coating adhere perfectly to the shrimp.
- Shredded coconut – Adds a sweet, tropical flavor and delightful texture.
- Panko breadcrumbs – Provides a light and crispy crunch.
- Salt – Enhances all the flavors in the dish.
- Black pepper – Adds a subtle heat to balance the sweetness.
- Paprika – Gives a hint of smokiness and vibrant color.
For the Shrimp
- Medium or jumbo shrimp – Provides that juicy, tender base for the baked shrimp.
For Dipping
- Sweet chili sauce – Complements the shrimp's crunch with its sweet and spicy flavors; perfect for a delightful dipping experience!
Step‑by‑Step Instructions for Baked Coconut Shrimp
Step 1: Preheat the Oven
Begin by preheating your oven to 400°F (200°C). This ensures that the baking session starts at the right temperature for achieving perfectly crisp Baked Coconut Shrimp. While the oven heats up, prepare your baking sheet by lining it with parchment paper for easy cleanup and to prevent sticking, allowing a smooth cooking process.
Step 2: Create Your Breading Station
Set up a breading station with three shallow bowls to make coating the shrimp easy. In the first bowl, add all-purpose flour for a fine base. Beat a couple of eggs in the second bowl for binding, and mix shredded coconut, panko breadcrumbs, salt, pepper, and paprika in the third bowl. This flour-egg-coconut-panko assembly line will cover your shrimp in delicious layers!
Step 3: Coat the Shrimp
Now it's time to coat the shrimp! Take each peeled and deveined shrimp and dredge it in the flour, ensuring an even coating. Next, dip it into the beaten egg, allowing any excess to drip off. Finally, roll the shrimp in the coconut panko mixture, pressing gently to make sure it adheres well. Repeat this process until all shrimp are coated, creating a delightful crispy layer.
Step 4: Arrange on Baking Sheet
Once all the shrimp are breaded, place them on the lined baking sheet in a single layer. Ensure there’s a little space between each shrimp to allow hot air to circulate, which helps them crisp up beautifully. This arrangement is key for the Baked Coconut Shrimp to achieve that coveted golden brown hue during baking.
Step 5: Bake to Crispy Perfection
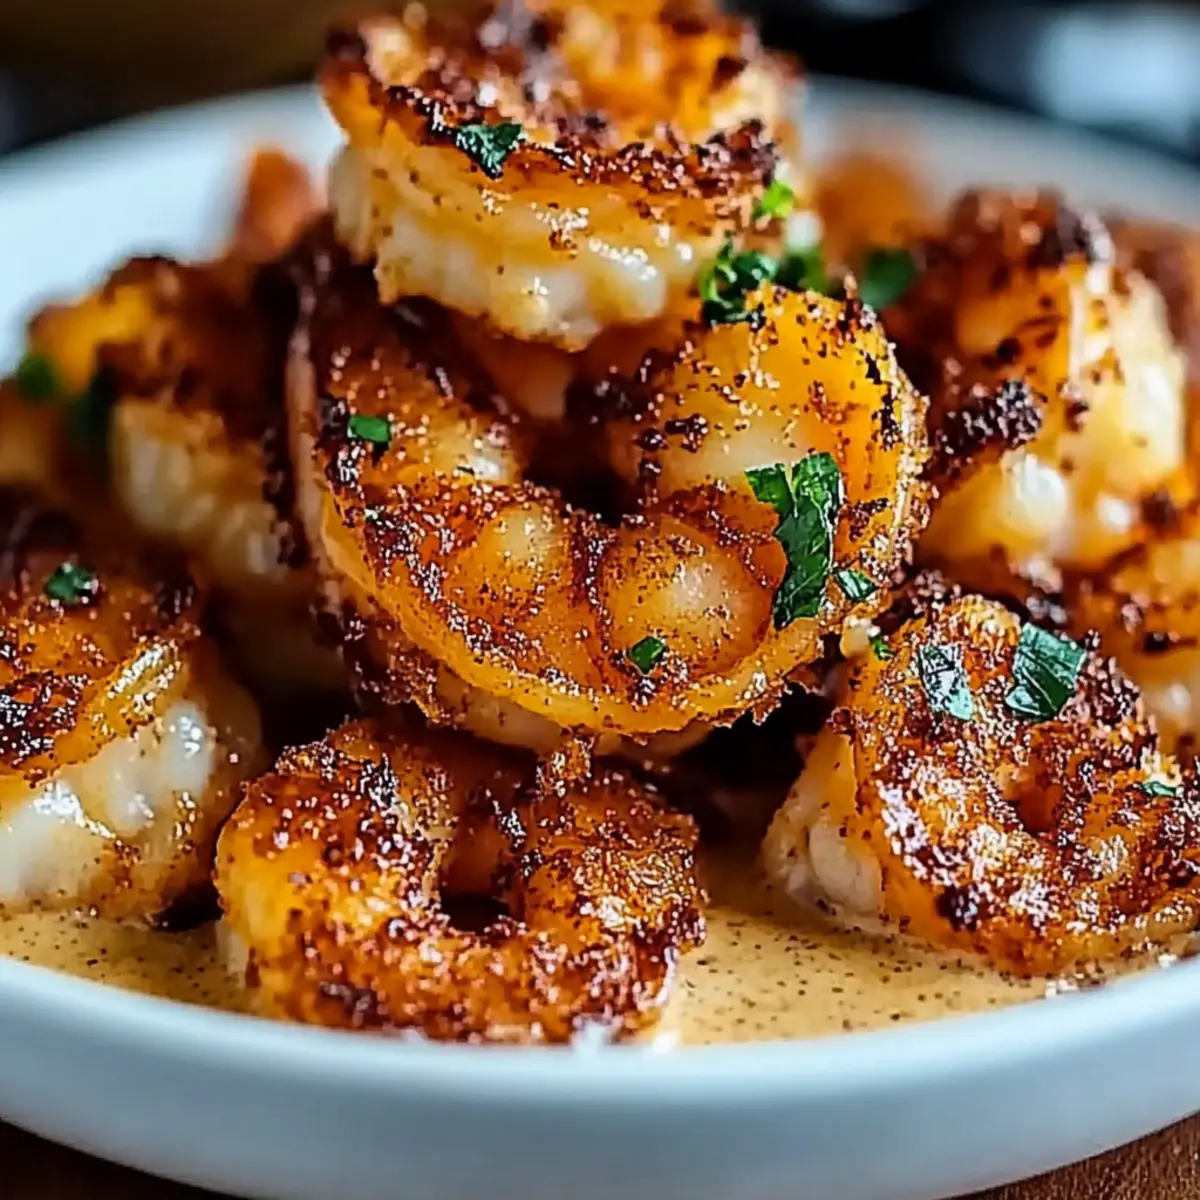
Slide the baking sheet into the oven and bake the shrimp for about 15-20 minutes. Halfway through the baking time, flip the shrimp gently to ensure they brown evenly on both sides. You'll know they're done when they're pink, crispy, and golden—an irresistible sight that promises deliciousness!
Step 6: Serve with Dipping Sauce
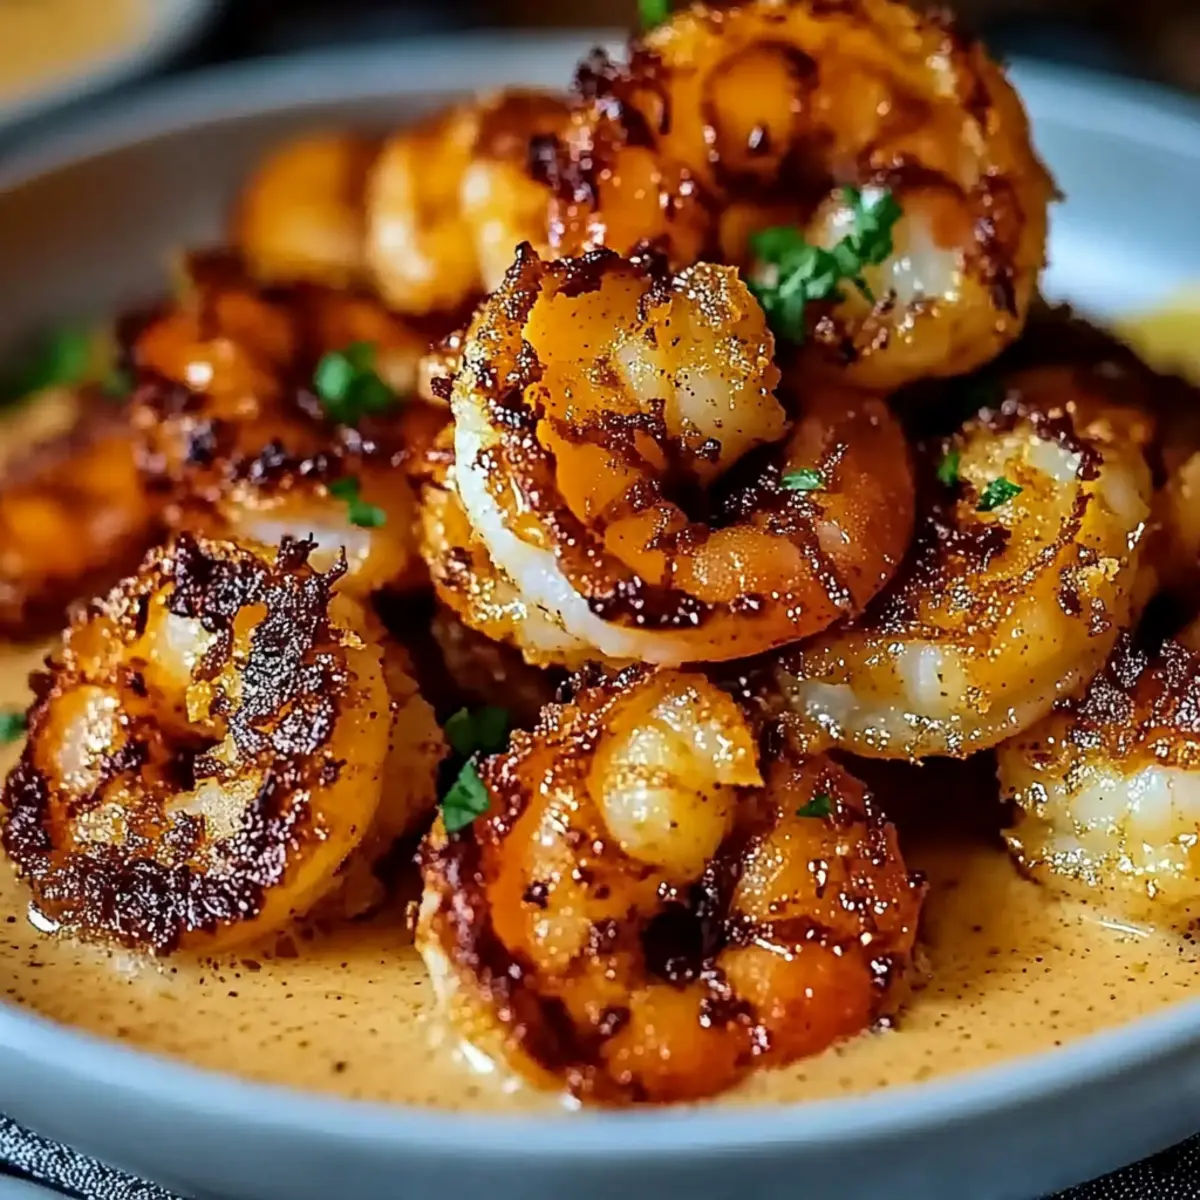
Once the Baked Coconut Shrimp are baked to crispy perfection, remove them from the oven and let them cool slightly. Serve immediately with sweet chili sauce alongside for dipping. The blend of crunchy shrimp with the sweet, spicy sauce makes for a mouthwatering experience that’s perfect for any occasion. Enjoy the delightful combination!
Make Ahead Options
These Baked Coconut Shrimp are a fantastic choice for anyone looking to save time in the kitchen! You can bread the shrimp up to 24 hours in advance, ensuring your meal prep is a breeze. Simply follow the breading steps and place the coated shrimp on a baking sheet lined with parchment paper, then cover it tightly with plastic wrap and refrigerate. When you're ready to enjoy, just pop them in a preheated oven and bake for 15-20 minutes until they’re crispy and golden. This way, you’ll achieve that delightful crunch just as if you made them fresh, making your busy weeknights feel a little less hectic!
How to Store and Freeze Baked Coconut Shrimp
Room Temperature: Serve Baked Coconut Shrimp fresh for the best taste, but they can sit at room temperature for up to 2 hours securely.
Fridge: Store leftover shrimp in an airtight container in the fridge for up to 3 days. Reheat in the oven for a crispier result!
Freezer: If you wish to freeze, place uncooked breaded shrimp in a single layer on a baking sheet, freeze until solid, then transfer to a freezer bag for up to 2 months.
Reheating: To reheat, bake thawed shrimp at 400°F (200°C) for about 10 minutes, ensuring they regain their delightful crunch.
What to Serve with Baked Coconut Shrimp
The perfect meal is just a few accompaniments away from elevating those tropical flavors!
-
Zesty Tropical Salad: A refreshing mix of mango, avocado, and greens provides a bright contrast to the crispy shrimp's richness. The sweet and tangy notes will complement your dish beautifully!
-
Garlic Butter Rice: This fluffy rice, infused with garlic and butter, acts as a comforting base to soak up the sweet chili mayo. Each spoonful is a warm hug alongside your shrimp.
-
Creamy Coleslaw: The crunch of cabbage mixed with creamy dressing offers a delightful textural harmony. A cool, creamy coleslaw can balance the heat of the sweet chili sauce.
-
Coconut Rice: Amplify the tropical theme by serving with coconut-infused rice. The mild, sweet flavors echo the shrimp’s coconut crust, making for a harmonious pairing.
-
Grilled Pineapple: Savory and slightly caramelized, grilled pineapple brings out the sweetness of the shrimp and contrasts with its crispy texture. Adding a touch of tropical flair is always a hit!
-
Lightly Sparkling Water: Keep drinks light and refreshing to accompany your meal. A splash of lime in sparkling water will enhance the tropical vibe of the evening.
-
Chocolate Dipped Fruit: For dessert, try fresh fruit dipped in chocolate, creating a satisfying sweet note. It caps off your meal with a touch of indulgence.
Expert Tips for Baked Coconut Shrimp
-
Egg Addition: Don’t skip the beaten egg! It acts as a glue that holds the breading in place, ensuring a crispy and flavorful coating.
-
Quality Shrimp: Choose fresh or properly thawed shrimp; frozen shrimp can release excess moisture, which affects crispiness.
-
Even Coating: Be generous when coating your shrimp with the coconut panko mixture; a thick layer leads to better crunch during baking.
-
Flipping Technique: Flip the shrimp carefully halfway through baking to maintain their coating and achieve an even golden color.
-
Perfect Dip Pairing: Experiment with the sweet chili sauce; adding a dash of lime juice can elevate the dip and enhance flavors in your Baked Coconut Shrimp!
Baked Coconut Shrimp Variations & Substitutions
Feel free to explore new dimensions of flavor and texture with your Baked Coconut Shrimp!
-
Gluten-Free: Substitute all-purpose flour and panko with gluten-free flour and breadcrumbs for an equally tasty alternative.
-
Spicy Kick: Add cayenne pepper or chili flakes to the coconut panko mixture for a delightful heat that complements the sweetness.
-
Coconut Flour: Swap the all-purpose flour for coconut flour to amplify the coconut flavor in this already tropical dish.
-
Seasoned Panko: Use seasoned panko breadcrumbs to introduce additional savory flavors, enhancing the overall profile of the shrimp.
-
Vegetarian Delight: Try replacing shrimp with crispy tofu cubes for a vegetarian version that’s just as mouthwatering. Pair it with a creamy dip for added delight!
-
Honey Glaze: Drizzle honey over the shrimp before baking for a sweet, caramelized layer that pairs beautifully with the coconut.
-
Herb Infusion: Incorporate finely chopped fresh herbs like cilantro or parsley into the panko mixture for a fresh burst of flavor with each bite.
-
Fruit Salsa: Serve Baked Coconut Shrimp alongside a mango or pineapple salsa to introduce a refreshing contrast to the crispy shrimp. Pair it with your favorite beverage to create a tropical gathering!
Baked Coconut Shrimp Recipe FAQs
How do I select ripened shrimp?
Absolutely! When choosing shrimp, look for those that are firm, shiny, and have a mild, clean ocean scent. Avoid shrimp with dark spots or a strong fishy odor, which might indicate they're past their prime.
What’s the best way to store leftover Baked Coconut Shrimp?
Very! After your delightful meal, store leftover Baked Coconut Shrimp in an airtight container in the refrigerator for up to 3 days. If you want to maintain that crispy texture, reheat them in the oven at 400°F (200°C) for about 10 minutes.
Can I freeze Baked Coconut Shrimp? How?
The more the merrier! You can freeze uncooked breaded shrimp. First, arrange the shrimp in a single layer on a baking sheet and freeze until they're solid. Then, transfer them into a freezer-safe bag or container, and they can last for up to 2 months. When ready to cook, bake directly from frozen, adding a few extra minutes to the cooking time.
What should I do if my coating is falling off during baking?
No worries! Ensure that the shrimp is well-dredged in flour first, followed by a complete coating in the beaten egg, and lastly, press the coconut panko mixture firmly onto the shrimp. Give each shrimp a gentle shake to remove excess flour before rolling, as moisture can cause the breading to slip off during baking.
Are there any dietary considerations for Baked Coconut Shrimp?
Certainly! This dish contains allergens such as shellfish (shrimp) and gluten (in the flour and breadcrumbs). For those allergic to these ingredients, consider using gluten-free flour and breadcrumbs or substituting shrimp with a different protein, like chicken or tofu. Always consult with friends or family regarding food allergies before serving.
How can I enhance the flavor of the dipping sauce?
Absolutely! Mix the sweet chili sauce with a dash of lime juice or a sprinkle of chopped cilantro for an exciting flavor twist. You could even add a touch of sriracha if you like it spicy, making it a perfect match for your crispy Baked Coconut Shrimp!
Crispy Baked Coconut Shrimp with Sweet Chili Bliss
Ingredients
Equipment
Method
- Preheat your oven to 400°F (200°C) and line a baking sheet with parchment paper.
- Set up a breading station with flour, beaten eggs, and a coconut panko mixture.
- Coat each shrimp in flour, then egg, and finally the coconut panko mixture.
- Arrange the breaded shrimp on the baking sheet in a single layer.
- Bake for 15-20 minutes, flipping halfway through until golden and crispy.
- Serve with sweet chili sauce for dipping.

Leave a Reply