
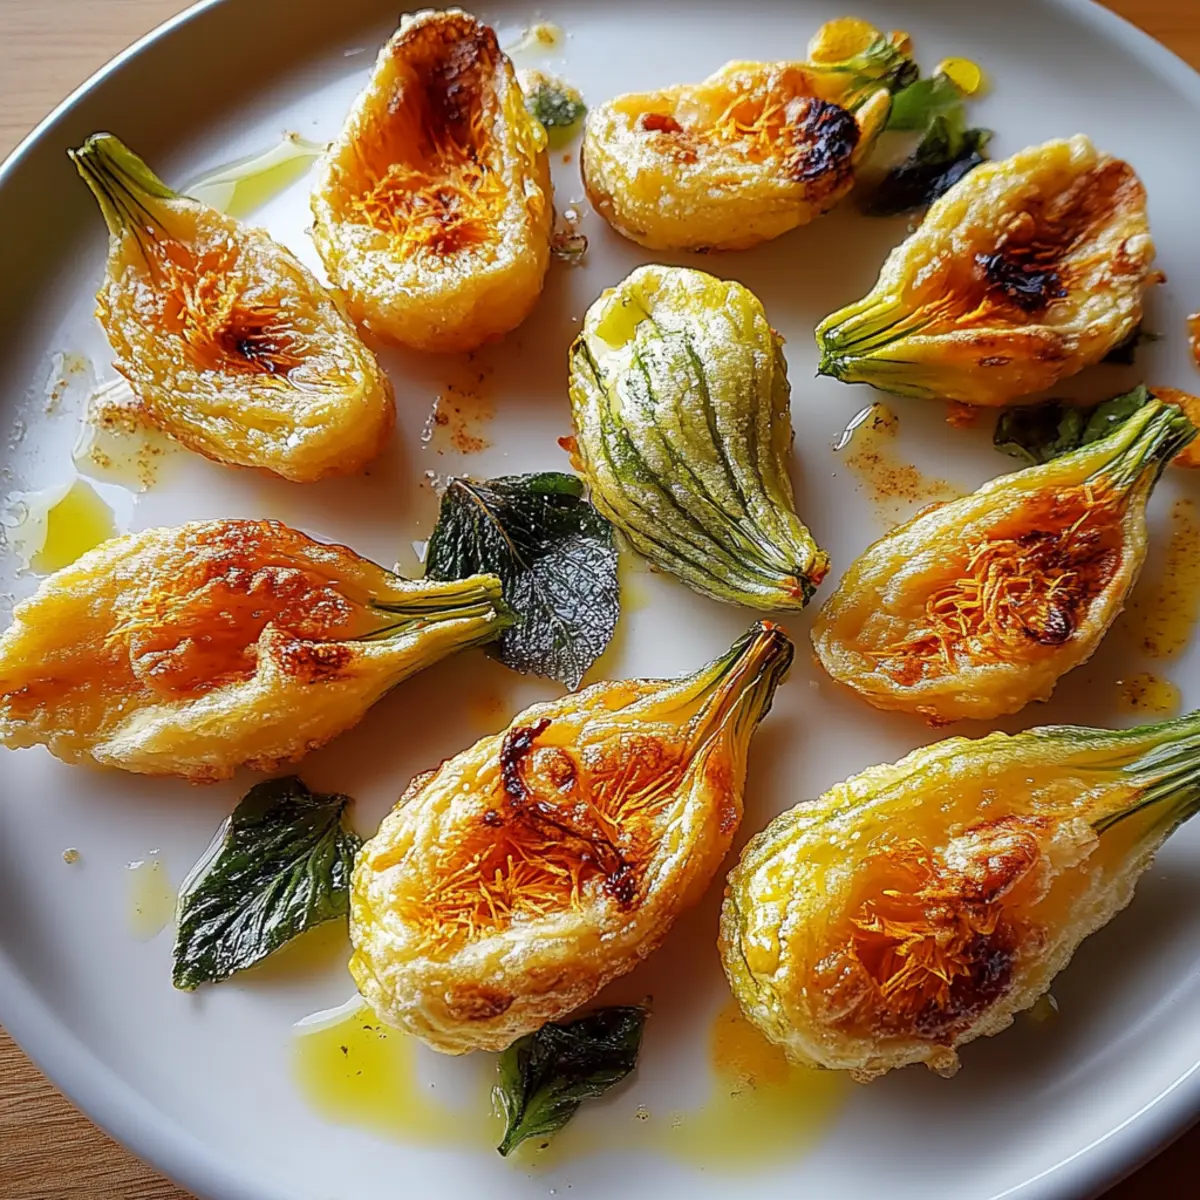
As I wandered through my local market one sunny morning, the vibrant display of fresh pumpkin blossoms instantly caught my eye. Their delicate petals and subtle, earthy aroma beckoned me to create something special—enter my Healthy Pumpkin Blossoms recipe! This delightful dish not only celebrates seasonal ingredients but also offers a quick and wholesome alternative to your typical fried fare. With just a handful of ingredients and a mere 35 minutes from prep to plate, these crispy blossoms make for an irresistible side or appetizer. Imagine serving them warm, paired with a squeeze of zesty lemon, perfect for impressing guests or treating yourself after a long day. Ready to dive into this deliciously different culinary adventure? Let’s get cooking!
Why are Healthy Pumpkin Blossoms irresistible?
Crispy Texture: Each bite delights with a beautiful crunch, making these blossoms an exciting alternative to fried snacks.
Wholesome Ingredients: Packed with nutritious elements like chickpea flour, these blossoms are not just delicious but also healthy.
Easy to Make: In just 35 minutes, you can whip up this gourmet dish, perfect for busy weeknights or spontaneous gatherings.
Zesty Flavor: The addition of fresh lemon elevates the taste, creating a refreshing complement to the savory filling. Serve them alongside your favorite dipping sauce for an extra flavor boost!
Perfect Appetizer: Impress your guests with this elegant dish that's not often seen but loved by all; they won't believe it's so simple to prepare!
Healthy Pumpkin Blossoms Ingredients
• Master the art of making Healthy Pumpkin Blossoms with these simple, wholesome ingredients!
For the Batter
- Chickpea flour – A nutritious base that adds a delightful nutty flavor and is gluten-free!
- Water – Essential for achieving the right consistency for your batter.
- Olive oil – Provides moisture and helps the batter adhere to the blossoms.
- Garlic powder – Infuses the dish with savory undertones that complement the blossoms.
- Onion powder – Adds sweetness and a depth of flavor to the batter.
- Salt – Enhances all the flavors within the batter to make them pop!
- Black pepper – A touch of spice that balances out the earthy flavors.
- Chili flakes (optional) – For those who crave a little heat, sprinkle these in!
For the Cooking
- Olive oil spray – A light mist for non-stick cooking; it keeps the blossoms crispy without excess oil.
- Additional olive oil – Use as needed for greasing your skillet if you prefer traditional cooking methods.
For Serving
- Lemon wedges – A refreshing garnish that elevates the dish with a zesty kick!
Step‑by‑Step Instructions for Healthy Pumpkin Blossoms
Step 1: Prepare the Blossoms
Gently wash the fresh pumpkin blossoms in cold water, carefully removing any dirt or impurities. Pat them dry with a kitchen towel to ensure they’re free of moisture, then carefully remove the stamens or pistils from inside each blossom. This will create space for the filling and help the blossoms fry evenly, resulting in perfectly cooked Healthy Pumpkin Blossoms.
Step 2: Make the Batter
In a mixing bowl, combine the chickpea flour, water, olive oil, garlic powder, onion powder, salt, black pepper, and optional chili flakes. Whisk the mixture together until it reaches a smooth, lump-free consistency, ensuring that all the seasonings are evenly distributed. This aromatic batter is key to creating crispy Healthy Pumpkin Blossoms that are packed with flavor.
Step 3: Preheat the Skillet
Set a non-stick skillet or frying pan over medium heat and allow it to preheat for a few minutes. Once warm, lightly grease the surface with olive oil spray or a small amount of olive oil. A properly heated pan is essential for achieving that golden-brown crispiness on your Healthy Pumpkin Blossoms, so keep an eye on it as you prepare the next step.
Step 4: Coat the Blossoms
With the blossoms in hand, dip each one into the chickpea batter, gently holding the stem to ensure they are thoroughly coated. Allow any excess batter to drip off, ensuring an even layer. This step is crucial for achieving a crunchy texture and delightful flavor in the finished Healthy Pumpkin Blossoms, so take your time to coat them evenly.
Step 5: Fry the Blossoms
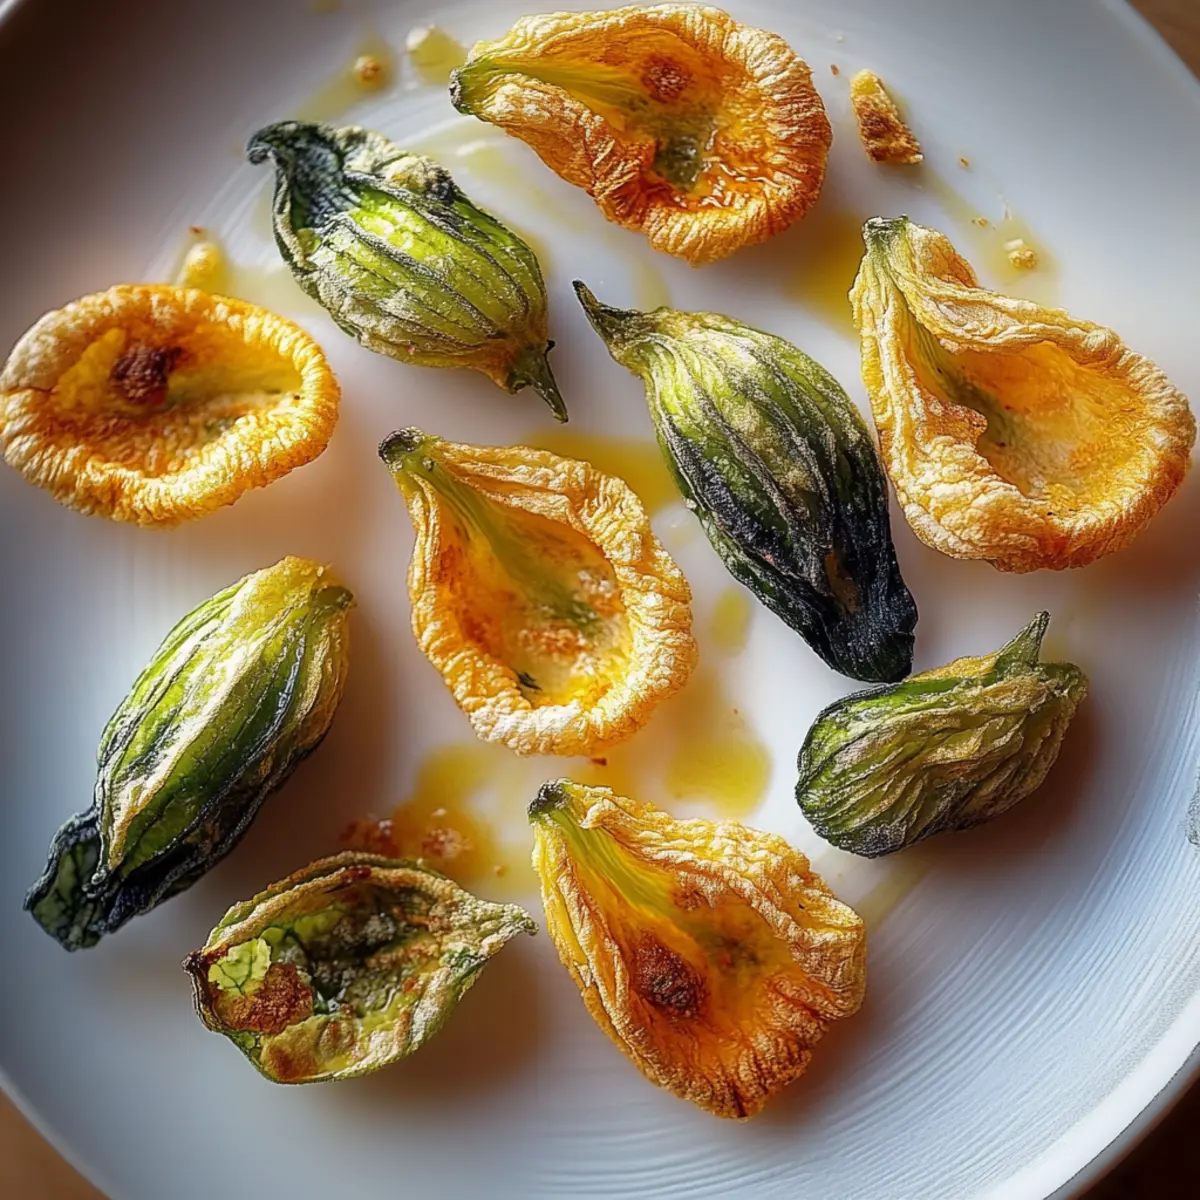
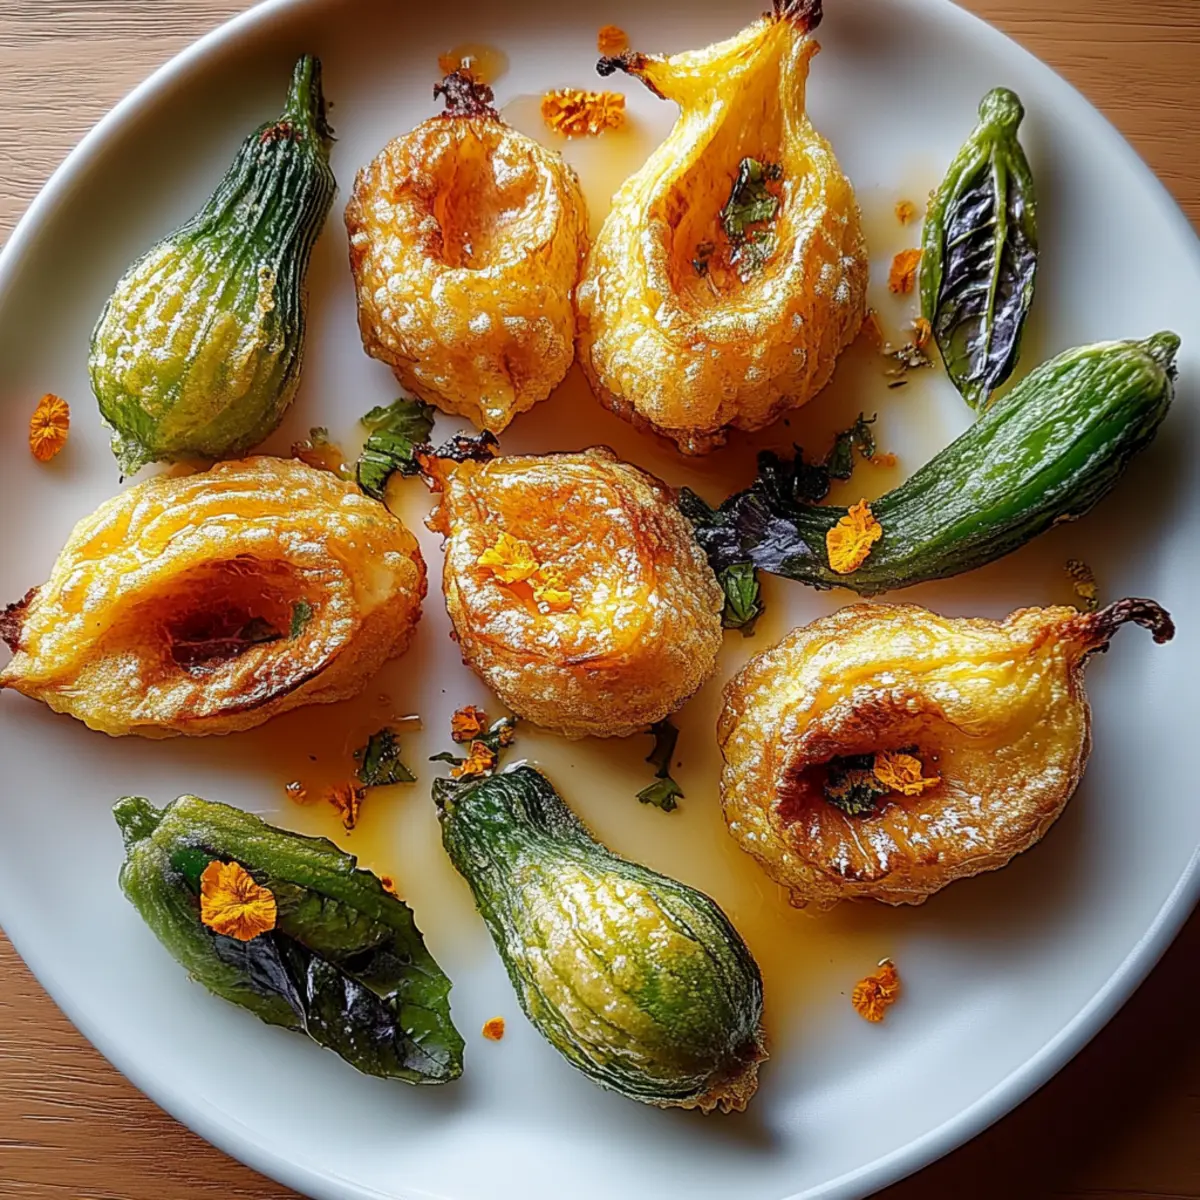
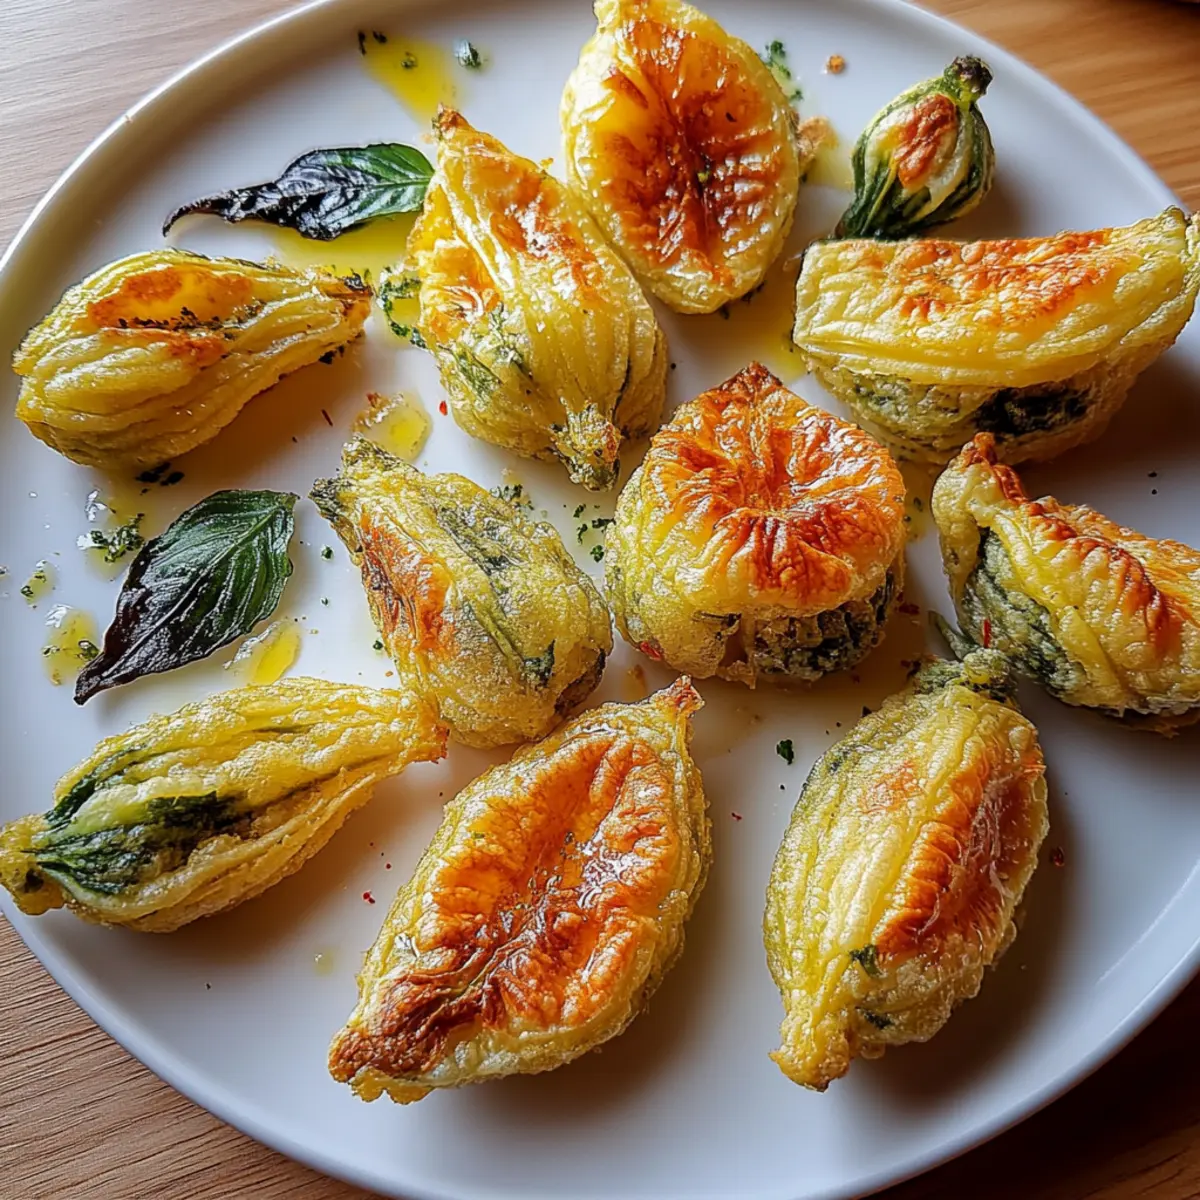
Carefully place the battered blossoms onto the preheated skillet, making sure not to overcrowd the pan. Cook them for about 3-4 minutes on one side until they become golden brown and crispy. Flip each blossom gently with a spatula and continue to fry for another 3-4 minutes on the other side. The sizzling sound and rich color are signs of perfectly cooked Healthy Pumpkin Blossoms.
Step 6: Drain Excess Oil
Once the blossoms are beautifully golden brown, remove them from the skillet and place them on a plate lined with paper towels. This step will help drain any excess oil, keeping your Healthy Pumpkin Blossoms light and crispy. Allow them to cool slightly as you prepare for serving, locking in all the flavor and texture.
Step 7: Serve with a Twist
Serve the Healthy Pumpkin Blossoms warm, accompanied by lemon wedges for a zesty squeeze of citrus. The brightness of the lemon pairs perfectly with the savory batter, enhancing each delicious bite. Enjoy your creations as a delightful appetizer or a stylish side dish that impresses family and friends alike!
Healthy Pumpkin Blossoms Variations
Have fun customizing these delightful crispy blossoms with some simple swaps and creative twists!
- Gluten-Free: Substitute chickpea flour with gluten-free all-purpose flour or a blend like almond flour for a nutty flavor.
- Vegan Option: Replace water with non-dairy milk, such as almond or soy milk, for a creamier batter.
- Stuffed Blossoms: Add a spoonful of ricotta or goat cheese inside the blossoms before battering for a creamy surprise!
- Herbed Batter: Include fresh herbs like basil or cilantro into the batter for an aromatic twist that brightens each bite.
- Spiced Up: Toss in more chili flakes or a dash of cayenne pepper for those who enjoy a spicy kick; it's a fun way to elevate the flavor!
- Savory Additions: Mix in finely chopped spinach or shredded carrots into the batter for added nutrition and a pop of color.
- Cheesy Bliss: Add nutritional yeast to the batter for a cheesy flavor grab, perfect for those who want a little bit of savory richness.
- Honey Drizzle: For a sweet contrast, finish them with a drizzle of honey after cooking to balance the savory taste—trust me, it's a game changer!
Don’t hesitate to get creative and try these variations, or even mix and match your ideas! Exploring flavors is all part of the culinary adventure, just like with my other recipes like Zucchini Fritters! Enjoy playing with these cheerful blossoms; they’ll surely bring smiles to your table!
How to Store and Freeze Healthy Pumpkin Blossoms
Room Temperature: Serve your Healthy Pumpkin Blossoms right away for the best flavor and texture. If left unrefrigerated, they can stay fresh for up to 1 hour.
Fridge: Store any leftovers in an airtight container for up to 3 days. To prevent them from becoming soggy, avoid stacking them too closely.
Freezer: For longer storage, freeze the blossoms before frying. Layer them on a baking sheet, freeze until solid, then transfer to a freezer bag for up to 2 months.
Reheating: To reheat, place the blossoms in a preheated oven at 350°F (175°C) for about 10-15 minutes to regain their crispiness. Enjoy them warm with a dash of lemon!
Tips for the Best Healthy Pumpkin Blossoms
-
Gentle Washing: Always wash pumpkin blossoms lightly to avoid tearing them. Damage can lead to oil absorption and a less crispy texture.
-
Batter Consistency: Ensure your chickpea flour batter is smooth and lump-free. A thick batter will not adhere well, while a runny one won’t create the perfect crispy coating.
-
Preheated Skillet: Always use a properly heated non-stick skillet; this is key to achieving that golden brown and crispy finish on your Healthy Pumpkin Blossoms.
-
Don’t Overcrowd: Fry the blossoms in batches, allowing space between them. Overcrowding can lower the pan's temperature and lead to soggy blossoms.
-
Drain Well: Place the fried blossoms on paper towels immediately after cooking. Allow drainage of excess oil to keep them light and prevent them from turning soggy.
-
Serve Fresh: Enjoy your Healthy Pumpkin Blossoms immediately after cooking for the best texture and flavor. They’re at their crispiest and most delightful right out of the pan!
What to Serve with Healthy Pumpkin Blossoms?
Imagine a festive gathering where every bite delights your senses, capturing the essence of homemade culinary goodness.
-
Zesty Quinoa Salad: This colorful, refreshing salad brings a burst of flavors, balancing the crispy texture of the blossoms with crunchy veggies.
-
Creamy Garlic Dip: A rich and velvety garlic dip that pairs beautifully, enhancing the savory notes of your blossoms while adding a decadent touch.
-
Herbed Couscous: Light and fluffy, this herbal couscous offers a lovely contrast in texture and can be infused with lemon for a zesty undertone that complements the blossoms perfectly.
-
Grilled Vegetable Medley: Smoky, charred vegetables add layers of flavor and color to your table, seamlessly blending with the crispy pumpkin blossoms for a wholesome experience.
-
Lightly Chilled White Wine: A crisp Chardonnay or Sauvignon Blanc refreshes the palate, ensuring every bite is as delightful as the last.
-
Lemon Sorbet: A light and tangy dessert that cleanses the palate, providing a sweet end to your meal while echoing the citrus notes of your blossoms.
Each of these pairings creates an inviting feast that elevates the simple joys of eating homemade food, making your healthy pumpkin blossoms even more memorable.
Make Ahead Options
These Healthy Pumpkin Blossoms are a fantastic option for meal prep enthusiasts! You can wash and prepare the pumpkin blossoms up to 24 hours in advance by gently removing the stamens and pistils, then storing them in an airtight container in the refrigerator. The chickpea batter can also be mixed ahead of time; simply whisk together all the batter ingredients and keep it refrigerated for up to 3 days. When you're ready to cook, just dip the blossoms in the prepared batter and fry them according to the recipe instructions. This not only saves time but also ensures that your blossoms are just as delicious and crispy as when they are made fresh!
Healthy Pumpkin Blossoms Recipe FAQs
What should I look for when selecting pumpkin blossoms?
Absolutely! When selecting pumpkin blossoms, look for fresh, vibrant petals that are free from dark spots or blemishes. The blossoms should feel firm and pliable, indicating they're fresh and have not begun to wilt. It's best to use them the same day they're picked for optimal flavor.
How should I store leftover Healthy Pumpkin Blossoms?
Store any leftovers in an airtight container in the refrigerator for up to 3 days. Be careful not to stack them too closely, as this can cause them to become soggy. To retain their crispy texture, reheat them in a preheated oven at 350°F (175°C) for about 10-15 minutes before enjoying!
Can I freeze Healthy Pumpkin Blossoms before cooking them?
Yes, you can! To freeze your Healthy Pumpkin Blossoms, first prepare them up to the frying stage. Place the coated blossoms on a baking sheet in a single layer and freeze them until solid, typically 2-3 hours. Once frozen, transfer them to a freezer bag and store them for up to 2 months. When you’re ready to cook, simply fry them directly from frozen—just add a minute or two to the cooking time.
What should I do if my batter is too thick or too runny?
If your batter is too thick, add a little more water, one tablespoon at a time, until you reach a smooth, pourable consistency. If it’s too runny, gradually mix in a bit more chickpea flour until the desired thickness is achieved. The perfect batter should coat the blossoms well without dripping too much.
Are Healthy Pumpkin Blossoms safe for pets?
While pumpkin blossoms themselves are not toxic to pets, it’s always best to keep human food away from them. The spices and batter used in this recipe may not be suitable for your furry friends, so it's best to enjoy them yourself!
Can I make the batter in advance?
Very! If you’d like to prepare the batter ahead of time, you can mix it up to 2 hours in advance and store it covered in the refrigerator. Just give it a good whisk before using as it may thicken slightly while sitting. This way, you can have your Healthy Pumpkin Blossoms ready to fry at a moment’s notice!
Crispy Healthy Pumpkin Blossoms with a Zesty Lemon Twist
Ingredients
Equipment
Method
- Gently wash the fresh pumpkin blossoms in cold water, carefully removing any dirt or impurities. Pat them dry with a kitchen towel.
- Remove the stamens or pistils from inside each blossom to create space for the filling.
- In a mixing bowl, combine chickpea flour, water, olive oil, garlic powder, onion powder, salt, black pepper, and chili flakes. Whisk until smooth.
- Preheat a non-stick skillet over medium heat and lightly grease with olive oil spray.
- Dip each blossom into the chickpea batter, ensuring they are thoroughly coated.
- Place the battered blossoms onto the skillet and cook for 3-4 minutes on one side until golden brown.
- Flip the blossoms and fry for an additional 3-4 minutes until golden brown on the other side.
- Remove the fried blossoms and drain on a plate lined with paper towels.
- Serve warm with lemon wedges for a zesty kick.
Leave a Reply