
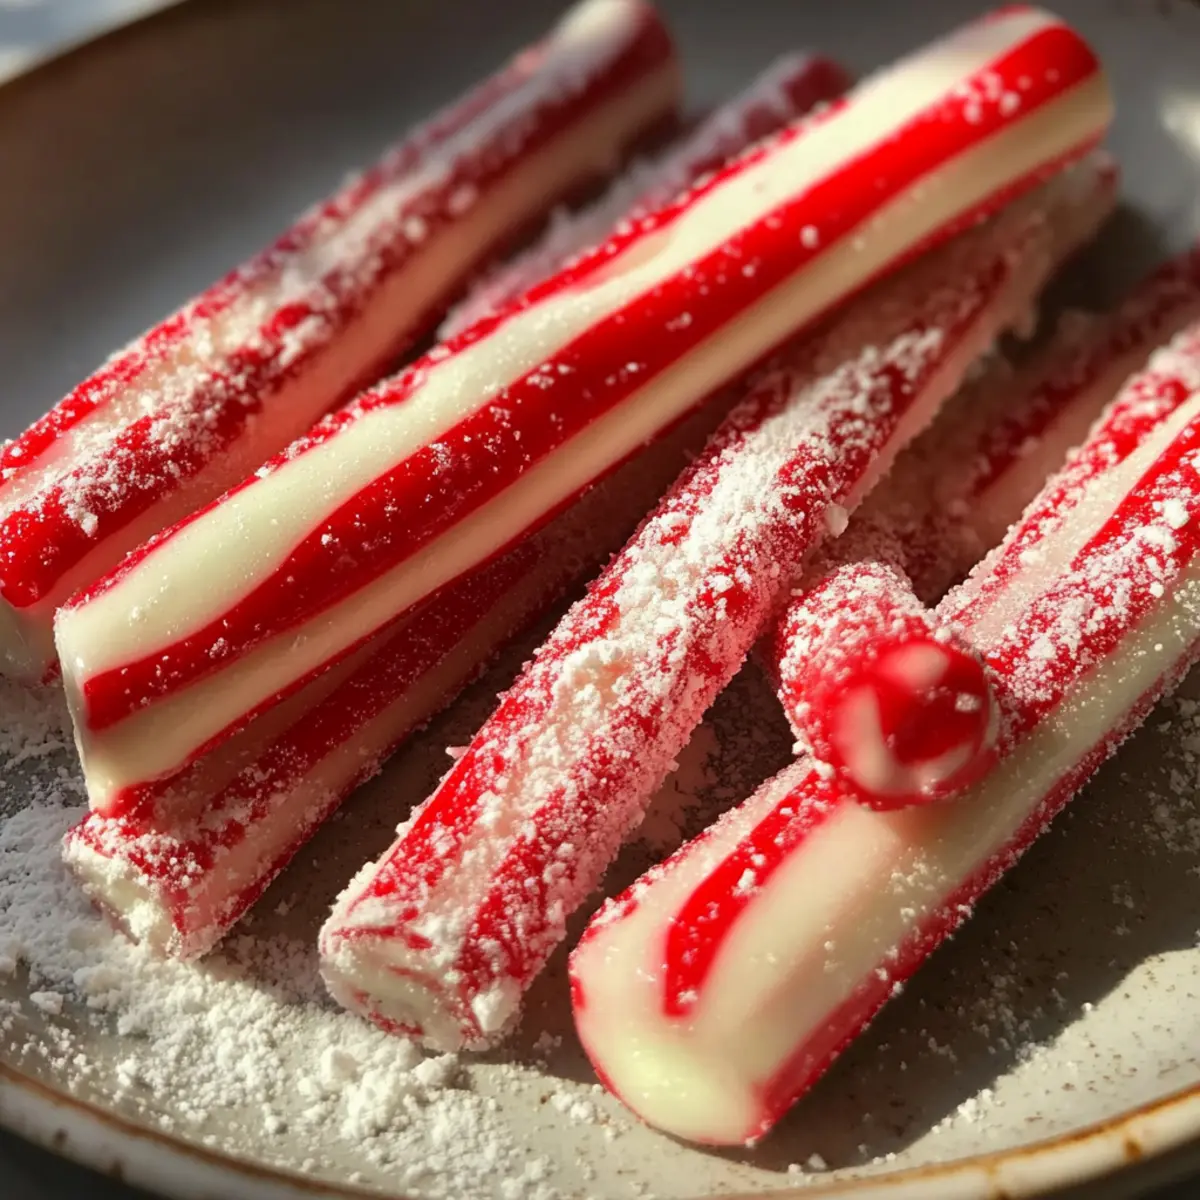
As the holiday season approaches, I can almost hear the delightful crunch of peppermint sticks coming to life in my kitchen. Making Homemade Christmas Peppermint Sticks is not just an enjoyable craft—it's a fantastic way to spread a little cheer among family and friends. This charming recipe combines just a handful of ingredients, ensuring a fun and quick prep process that anyone can master. Plus, the homemade twist guarantees a unique touch that will make your treats stand out at any festive gathering. Just imagine the joy on your loved ones' faces when they unwrap these sweet, twisty beauties! Are you ready to add a dash of holiday magic to your celebrations?
Why Make Your Own Peppermint Sticks?
Homemade Peppermint Sticks are not only delightful to eat but incredibly easy to make! Unique Flavor: The fresh peppermint extract delivers a vibrant taste that beats store-bought alternatives. Festive Fun: Get the family involved in twisting and shaping these treats for a memorable holiday activity. Quality Control: You control the ingredients—no preservatives or artificial flavors here! Gift-Worthy: Wrapped in a cute box, they make perfect homemade gifts. For more sweet inspiration, check out my Christmas Cracker Candy recipe!
Christmas Peppermint Sticks Ingredients
• Perfect for festive fun!
For the Candy Mixture
- Granulated sugar – A crucial ingredient that helps form the base of your peppermint sticks with just the right sweetness.
- Light corn syrup – Prevents the sugar from crystallizing, ensuring a smooth finish in your candy.
- Water – Acts as a solvent for the sugar, helping to create the right consistency for your peppermint sticks.
- Peppermint extract – Infuses your sticks with that signature minty flavor that screams holiday cheer!
For the Colors
- Red food coloring – Adds a cheerful hue to your sticks, enhancing their visual appeal.
- White food coloring – Helps achieve the classic appearance of traditional peppermint candies.
For Dusting
- Powdered sugar – A light sprinkle keeps your peppermint sticks from sticking together and adds a touch of sweetness.
Step‑by‑Step Instructions for Christmas Peppermint Sticks
Step 1: Prepare Your Surface
Begin by preparing a clean, flat surface where your homemade Christmas peppermint sticks can cool. Lightly dust the area with powdered sugar to prevent any sticking. This base will help you manage the finished candy as you shape it into delightful peppermint sticks.
Step 2: Combine Ingredients
In a medium-sized saucepan, mix together the granulated sugar, light corn syrup, and water. Stir the ingredients over medium heat until the sugar completely dissolves, which usually takes about 5 minutes. Keep an eye on the mixture, and ensure it’s smooth without any sugar granules remaining.
Step 3: Boil the Mixture
Once the sugar is dissolved, stop stirring and allow the mixture to come to a boil. Use a candy thermometer to track the temperature as it rises to 260°F (the hard-ball stage). This process will take around 10 minutes, so stay nearby and watch for bubbling that signifies it's nearly ready.
Step 4: Cool Slightly
After reaching the desired temperature, carefully remove the saucepan from heat. Let it rest for about 5 minutes without stirring, allowing the mixture to cool slightly. This is a crucial step to ensure safe handling when you’re ready to add the peppermint extract.
Step 5: Add Flavoring
Next, stir in the peppermint extract, taking care as the mixture may bubble up. The refreshing aroma will fill your kitchen, making it feel festive. Mixing this in well will ensure each of your Christmas peppermint sticks has that delightful minty flavor.
Step 6: Color the Mixture
Divide the candy mixture evenly into two bowls. Add red food coloring to one bowl and white food coloring to the other. Stir each mixture until the colors are fully incorporated. You’ll end up with a vibrant red and a bright white mixture, perfectly festive for your homemade peppermint sticks.
Step 7: Cool for Handling
Allow the colored candy to cool for about 10-15 minutes, or until it’s safe to handle. It should feel pliable but not too hot to touch. This stage is essential for achieving the right consistency for stretching the candy without burning your hands.
Step 8: Prepare Your Hands
Grease your hands lightly with a little vegetable oil to prevent the candy from sticking while you stretch it. This will make it easier to work with the cooled candy mix, ensuring that your Christmas peppermint sticks come out smooth and glossy.
Step 9: Twist the Colors
Start with one color, stretching and pulling it until smooth and shiny. Repeat with the other color. Carefully twist the two colors together, creating a beautiful spiral as you roll them into ropes. This delightful visual will enhance the appeal of your homemade Christmas peppermint sticks.
Step 10: Shape the Candy
Once you have your twisted ropes, cut them into 6-inch pieces. If you like, pinch one end of each piece to form a hook shape — classic for peppermint sticks! This adds a charming touch that makes them look truly festive.
Step 11: Cool Completely
Place your shaped peppermint sticks on the powdered sugar-dusted surface and allow them to cool completely for about 30 minutes. This process helps them to harden and hold their shape, ready for gifting or enjoying.
Step 12: Final Touches
Once the sticks are cool, sprinkle a little more powdered sugar over them to keep them from sticking together. This final touch ensures your homemade Christmas peppermint sticks remain as delightful and manageable as they are beautiful!
How to Store and Freeze Christmas Peppermint Sticks
Room Temperature: Store your Christmas peppermint sticks in an airtight container at room temperature for up to 2 weeks. This keeps them fresh while maintaining their delightful crunch.
Fridge: If you’d like to extend their lifespan, keep the peppermint sticks in the fridge for up to 1 month. Make sure they’re in a sealed bag or container to prevent moisture absorption.
Freezer: For longer storage, you can freeze your peppermint sticks. Wrap them individually in plastic wrap, then place them in a freezer bag. They’ll last up to 3 months—just thaw before enjoying!
Reheating: There’s no need to reheat peppermint sticks; simply enjoy them as they are! If they lose their crunch, let them sit at room temperature for a few minutes before indulging.
What to Serve with Homemade Christmas Peppermint Sticks?
As you prepare these charming treats, consider pairing them with delightful accompaniments to create a festive feast.
- Rich Hot Chocolate: A warm, comforting drink that perfectly balances the cool freshness of the peppermint sticks. Sip it slowly while enjoying the holiday spirit.
- Classic Sugar Cookies: Soft, buttery sugar cookies provide a sweetness that complements the minty flavor. Decorate them with festive icing for an extra touch!
- Creamy Eggnog: The rich, spiced flavor of eggnog enhances the sweetness of the peppermint. It’s a delightful combination that brings back childhood memories of holiday gatherings.
- Chocolate Truffles: Indulge in smooth chocolate truffles that contrast beautifully with the peppermint's crispness. Their velvety texture creates a satisfying bite alongside the candy.
- Spiced Nuts: A mix of roasted spiced nuts adds a crunchy texture and savory element that balances the sweetness of the peppermint sticks. The flavor contrast is festive and satisfying.
- Cinnamon Apple Cider: Enjoy a mug of warm apple cider infused with cinnamon for a cozy, aromatic drink that pairs wonderfully with the peppermint flavor.
- Vanilla Ice Cream: Serve a scoop of creamy vanilla ice cream topped with crushed peppermint sticks for a refreshing dessert that combines cold and crunchy, perfect for any holiday table!
- Gingerbread Cookies: The spicy warmth of gingerbread cookies beautifully complements the fresh sweetness of peppermint sticks, creating an inviting holiday treat.
- Sparkling Water with Lime: An effervescent drink that cleanses your palate while adding a zesty twist to the sweet flavors of the peppermint sticks, perfect for holiday entertaining!
Christmas Peppermint Sticks Variations
Feel free to play around with these ideas to make your homemade Christmas peppermint sticks even more special and suited to your taste!
-
Dairy-Free: Substitute light corn syrup with maple syrup for a rich, natural sweetness without any dairy.
-
Flavored Twist: Add a few drops of almond or chocolate extract to the mixture for a unique flavor profile that surprises and delights!
-
Color Variations: Instead of just red and white, use green food coloring for a festive twist or even mix colors for a fun marbled effect.
-
Spicy Kick: Incorporate a pinch of cayenne pepper to one color for a surprising heat that adds dimension to your peppermint sticks.
-
Chocolate Coated: Once cooled, dip the sticks into melted dark or white chocolate for an indulgent treat that brings a lovely contrast to the mintiness.
-
Peppermint Crunch: Crush some peppermint candies and roll the sticks in them for extra texture and a delightful crunch on the outside.
-
Mini Sticks: For bite-sized treats, cut the twisted ropes into smaller sections, creating adorable mini peppermint sticks perfect for gifting or sharing.
-
Festive Packaging: Pair your sticks with a homemade hot cocoa mix or place them in a festive bag with a sprinkle of powdered sugar for a delightful gift with a personal touch.
Remember, the joy of making these Christmas peppermint sticks comes from the love and creativity you pour into every twist! Don’t hesitate to explore and enjoy the process.
Expert Tips for Christmas Peppermint Sticks
- Candy Thermometer Use: Ensure you have a reliable candy thermometer for accuracy. Missing the hard-ball stage can lead to a sticky mess instead of perfect peppermint sticks.
- Color Mixing: When adding food coloring, start with a few drops and increase gradually. It's easier to deepen the color than to lighten overly vibrant mixtures.
- Cooling Time: Do not skip the cooling time! If the mixture is too hot when handling, it can stick to your hands and lose that glossy finish for your Christmas peppermint sticks.
- Grease Your Hands: Always remember to grease your hands lightly. This small tip can save you from frustration while stretching and twisting the candy.
- Storage Tips: Store your peppermint sticks in an airtight container, layered between sheets of wax paper, to keep them fresh and prevent sticking.
Make Ahead Options
These Homemade Christmas Peppermint Sticks are perfect for meal prep enthusiasts looking to simplify their holiday celebrations! You can prepare the candy mixture up to 24 hours in advance by completing steps one through five, then refrigerating the flavored mixtures separately in airtight containers. This way, you ensure the fresh peppermint flavor is preserved and ready for forming into sticks. When you're ready to finish, allow the mixture to come to room temperature before continuing with steps six through twelve. This method will save you valuable time during the busy festive season, giving you delicious, homemade peppermint sticks that taste just as delightful as if they were made fresh!
Christmas Peppermint Sticks Recipe FAQs
How do I choose the best peppermint extract?
Absolutely! When selecting peppermint extract, look for products labeled as "pure" rather than "imitation." Pure extracts will provide a richer and more intense flavor that's essential for your Christmas peppermint sticks. Additionally, check for a clear liquid without any sediment; this indicates a high-quality extract.
What’s the best way to store leftover peppermint sticks?
Very! Store your Christmas peppermint sticks in an airtight container at room temperature for up to 2 weeks. If you want to keep them fresher for longer, you can refrigerate them for up to 1 month. Just make sure to wrap them well to prevent them from drying out or absorbing any unwanted moisture.
Can I freeze Christmas peppermint sticks? How?
Of course! Freezing your peppermint sticks is a great way to extend their shelf life. Wrap each stick individually in plastic wrap to prevent freezer burn and then place them in a sturdy freezer bag. They’ll keep well for up to 3 months. When you’re ready to enjoy them, simply let them sit at room temperature for a few minutes—no reheating is necessary!
What if my candy mixture crystallizes?
Oh no, crystallization can happen! To prevent this, make sure you don’t stir the mixture once it starts to boil, as this can cause sugar crystals to form. If crystallization does occur and you find that your sticks are grainy, you can try adding a small amount of water and gently reheating the mixture over low heat while stirring until smooth again.
Are there any dietary restrictions I should consider?
Yes, definitely! For those with dietary concerns, ensure your peppermint extract is alcohol-free if you're avoiding it for dietary reasons. Additionally, be cautious when it comes to food coloring; some options may not be suitable for specific diets. Always read ingredient labels carefully, especially if you're preparing these delightful treats for pets or individuals with allergies.
Delicious Christmas Peppermint Sticks for Festive Gatherings
Ingredients
Equipment
Method
- Prepare a clean, flat surface lightly dusted with powdered sugar to prevent sticking.
- In a medium-sized saucepan, mix the granulated sugar, light corn syrup, and water. Stir over medium heat until dissolved, about 5 minutes.
- Allow the mixture to boil without stirring until it reaches 260°F (the hard-ball stage), approximately 10 minutes.
- Remove from heat and let it rest for about 5 minutes without stirring to cool slightly.
- Stir in the peppermint extract carefully, as the mixture may bubble.
- Divide the candy mixture into two bowls, adding red food coloring to one and white to the other. Mix until fully incorporated.
- Allow the colored candy to cool until it feels safe to handle, about 10-15 minutes.
- Lightly grease your hands with vegetable oil to prevent sticking.
- Stretch and twist the red and white colors together into a spiral and roll into ropes.
- Cut the twisted ropes into 6-inch pieces and pinch one end to form a hook shape if desired.
- Place shaped sticks on the powdered sugar-dusted surface and allow them to cool completely for about 30 minutes.
- Sprinkle more powdered sugar on cooled sticks to prevent sticking.


Leave a Reply