
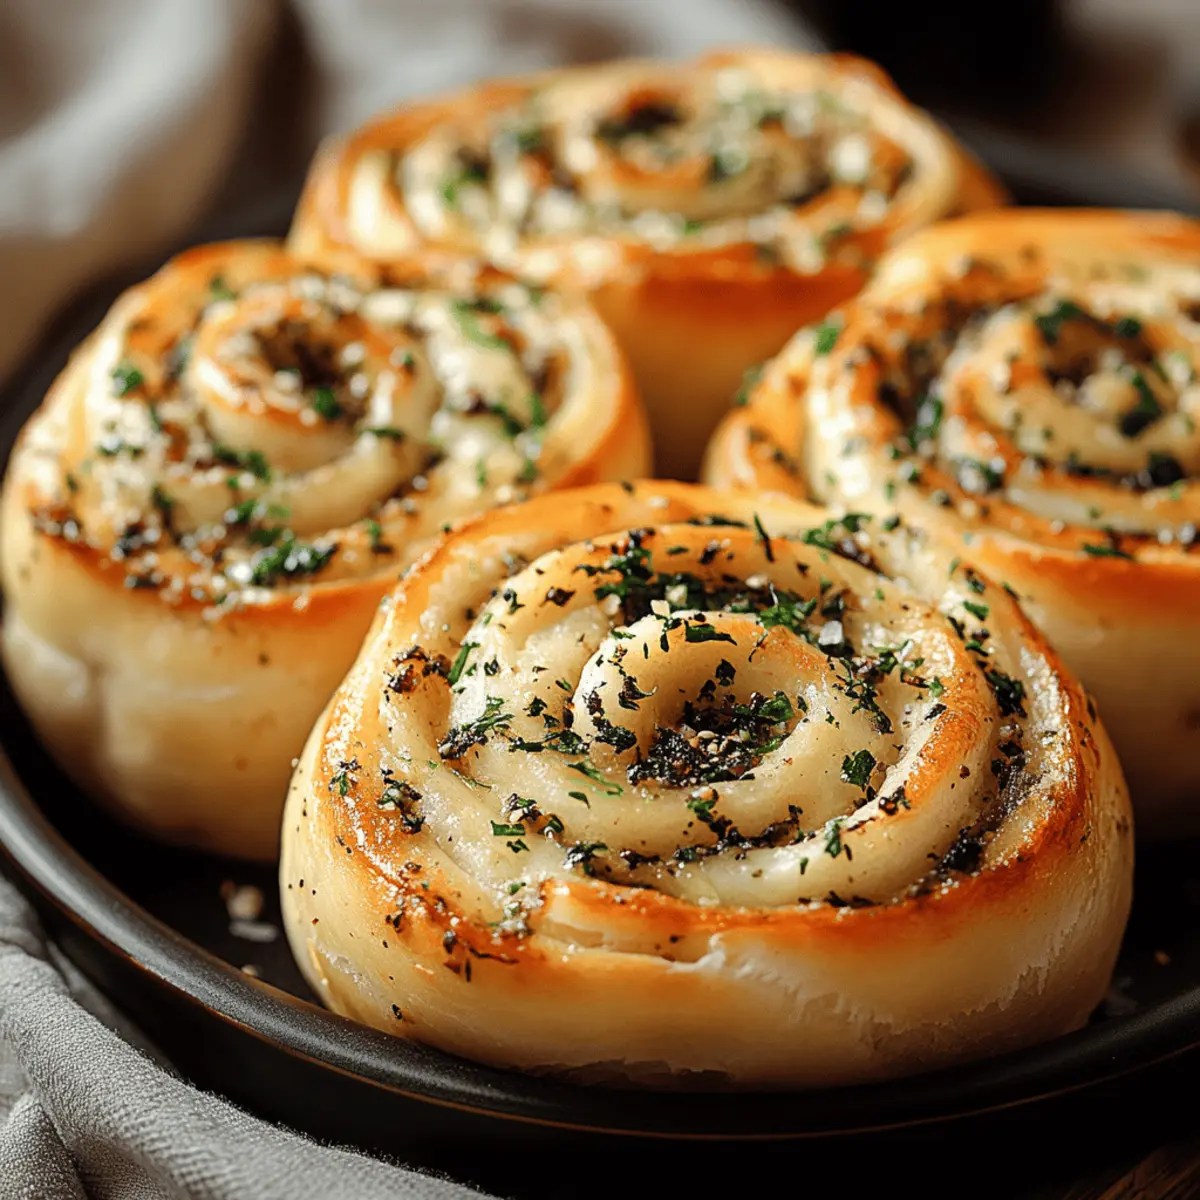
The first whiff of warm, garlicky goodness wafting through my kitchen brings back memories of Sunday family dinners. With every bite of these Garlic-Swirl Rolls, you’ll feel like you’re indulging in a comforting hug from your favorite home-cooked meal. You’ll love how effortlessly these rolls transform the ordinary into something extraordinary while adding a delicious touch to any dinner table. They’re not only easy to make but also an impressive crowd-pleaser—perfect for impressing guests or simply enjoying on a cozy night in. As the smell envelops your home, what will you serve alongside these delightful treats?
Why are Garlic-Swirl Rolls a Must-Try?
Bold Flavors: Infused with robust garlic and hints of herbs, these rolls are a flavor explosion that will tantalize your taste buds.
Easy to Master: Even if you’re a beginner in the kitchen, the straightforward steps will have you feeling like a pro in no time.
Perfect Pairing: Serve them alongside your favorite soups or salads for an elevated dining experience, making any meal feel special.
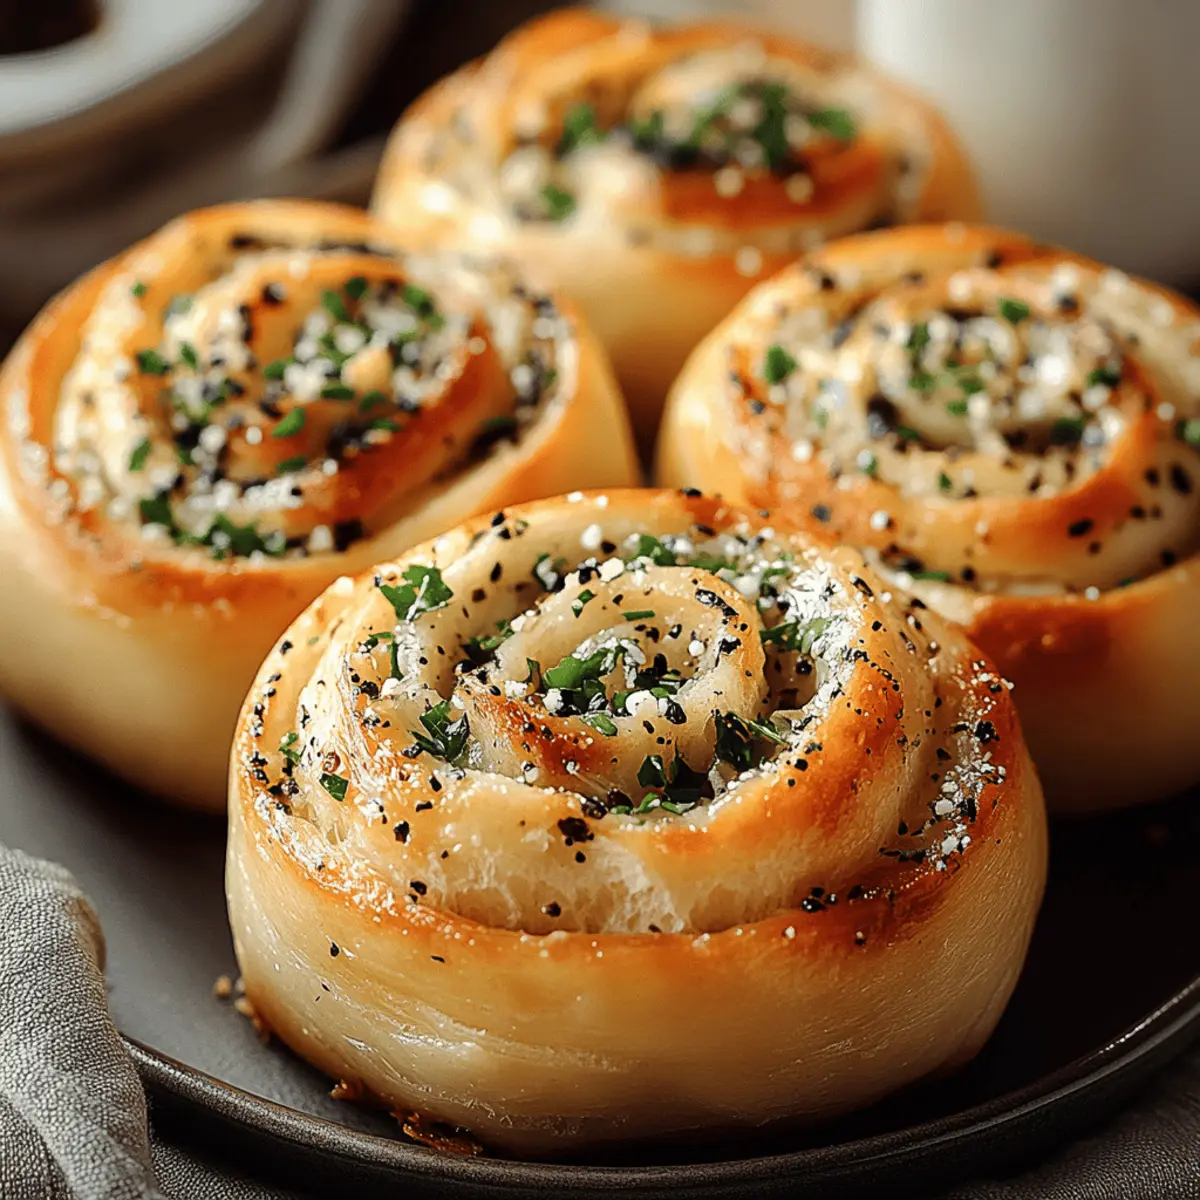
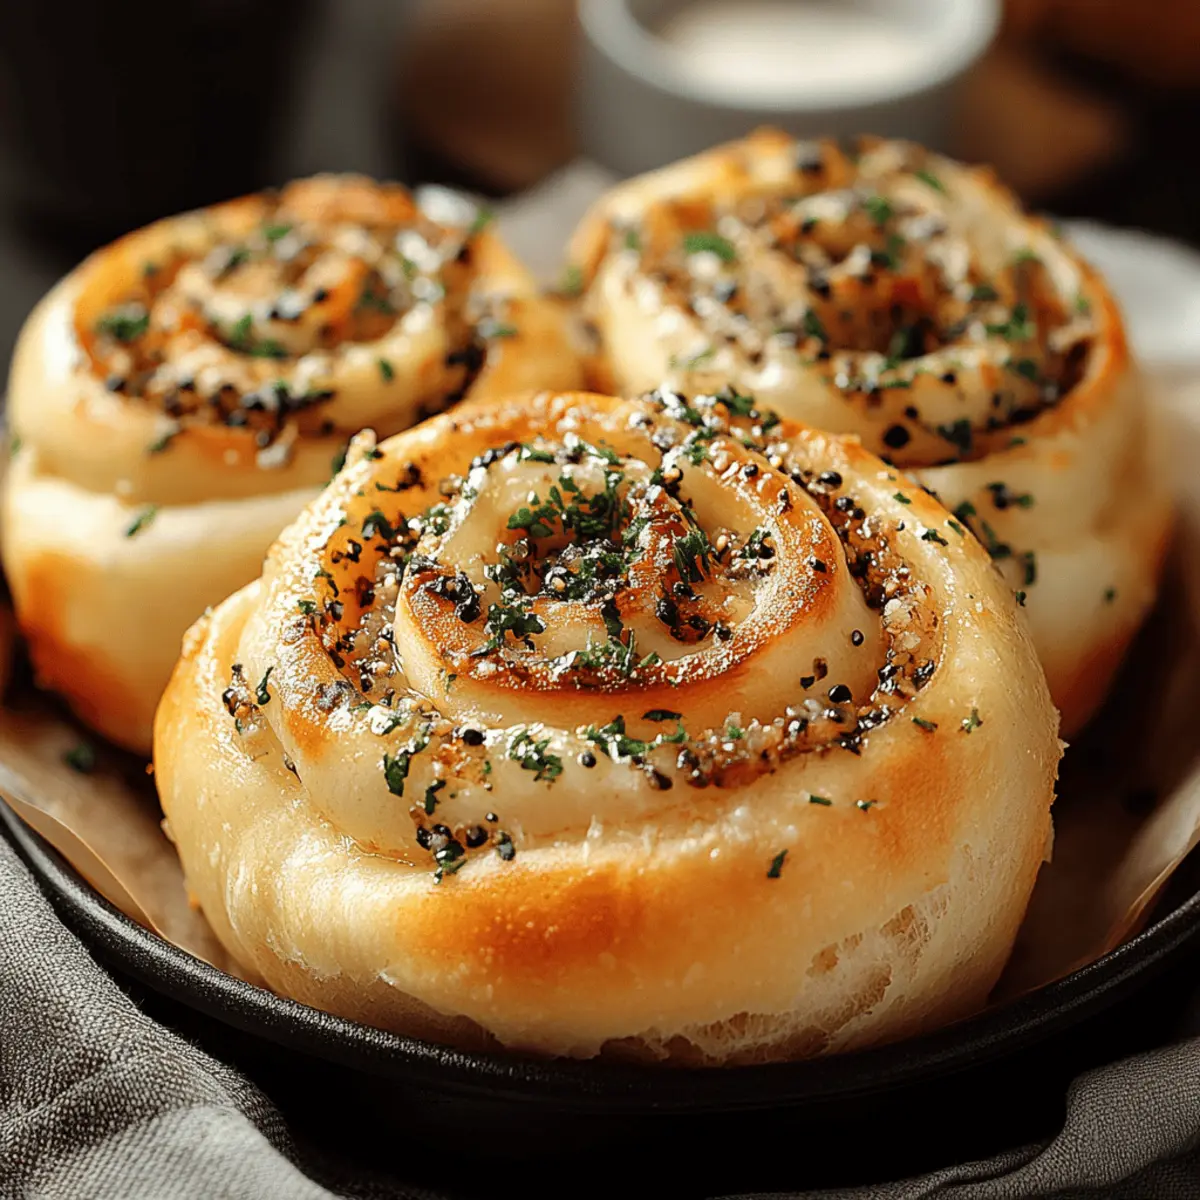
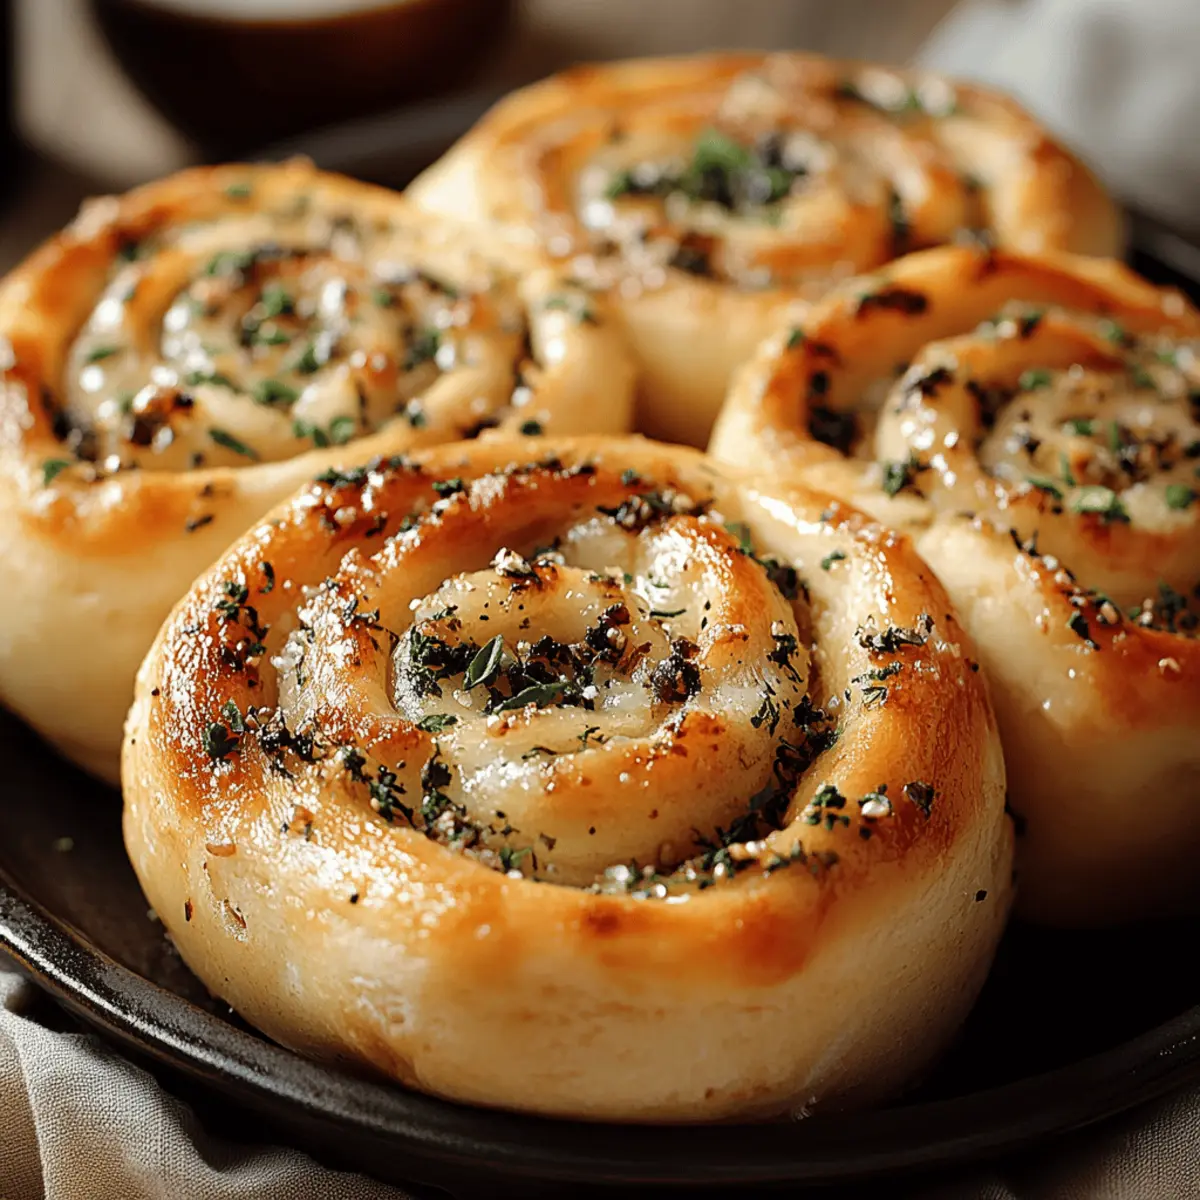
Impressive Presentation: The elegant swirl design makes these rolls an eye-catching centerpiece on your dinner table, impressing even the pickiest of eaters.
Time-Saving Delight: With minimal hands-on time, you can enjoy fresh, homemade Garlic-Swirl Rolls without spending all day in the kitchen.
Soothing Aroma: The irresistible scent while they bake will create a warm, inviting atmosphere that keeps everyone coming back for more!
Garlic-Swirl Rolls Ingredients
For the Dough
- All-purpose flour – the foundation of the rolls, providing that soft, fluffy texture you crave.
- Active dry yeast – essential for that perfect rise, giving the rolls a light, airy feel.
- Warm water – activates the yeast; be sure it's between 100°F and 110°F for best results.
- Sugar – aids in yeast activation and adds a touch of sweetness to balance the flavors.
- Salt – enhances flavor; don’t skip this step as it brings everything together.
- Olive oil – adds richness and helps keep the dough moist.
For the Filling
- Garlic cloves – fresh minced garlic is key for that delightful, bold flavor.
- Butter – melted, to help distribute the garlic goodness throughout the dough.
- Dried herbs – think oregano or thyme for an aromatic kick that complements the garlic.
- Parmesan cheese – optional, but it adds a savory depth that elevates your Garlic-Swirl Rolls.
These ingredients come together to create irresistibly soft and flavorful Garlic-Swirl Rolls, perfect for any meal!
Step‑by‑Step Instructions for Garlic-Swirl Rolls
Step 1: Prepare the Dough
In a large mixing bowl, combine 4 cups of all-purpose flour, 2 teaspoons of sugar, and 1 teaspoon of salt. In a separate bowl, dissolve 2 teaspoons of active dry yeast in 1½ cups of warm water (between 100°F and 110°F). Let it sit for about 5 minutes until frothy, then mix it with the dry ingredients. Add 3 tablespoons of olive oil and knead the dough for about 8-10 minutes until smooth and elastic.
Step 2: Allow the Dough to Rise
Shape the dough into a ball and place it in a greased bowl, covering it with a damp cloth. Allow the dough to rise in a warm spot for about 1 hour, or until it has doubled in size. Check for a puffed, airy texture—this is key for your Garlic-Swirl Rolls to be light and fluffy.
Step 3: Prepare the Filling
While the dough is rising, prepare the flavorful filling. In a small saucepan, melt ½ cup of butter over low heat and add 4-6 cloves of minced garlic along with 1 tablespoon of your favorite dried herbs like oregano or thyme. Stir for 1-2 minutes until fragrant, but take care not to burn the garlic. Set aside to cool slightly.
Step 4: Shape the Rolls
Once the dough has risen, punch it down gently to release the air. On a floured surface, roll it out into a rectangle about ¼ inch thick. Spread the melted garlic butter mixture evenly over the dough, leaving a small border. If using, sprinkle grated Parmesan cheese on top before rolling the dough tightly into a log.
Step 5: Cut and Arrange the Rolls
With a sharp knife, slice the rolled dough into 1-inch thick pieces. Place each slice cut side up in a greased baking dish, ensuring they are close but not touching. Cover the dish with a cloth and allow the rolls to rise for another 30-40 minutes until puffy and well-formed.
Step 6: Bake the Rolls
Preheat your oven to 375°F (190°C). Once the rolls have risen, bake them in the preheated oven for 20-25 minutes, or until they are golden brown and sound hollow when tapped. The delightful aroma of Garlic-Swirl Rolls will fill your kitchen, making it a cozy space for everyone.
Step 7: Cool and Serve
Once baked, allow the rolls to cool in the pan for about 5 minutes. Transfer them to a wire rack to cool completely or serve warm. These Garlic-Swirl Rolls are best enjoyed fresh and are sure to be a hit at any meal!
How to Store and Freeze Garlic-Swirl Rolls
Fridge: Store leftover Garlic-Swirl Rolls in an airtight container for up to 3 days. This keeps them fresh, maintaining their delightful flavor and texture.
Freezer: Individually wrap Garlic-Swirl Rolls in plastic wrap, then place them in a freezer bag. They’ll last for up to 3 months, perfect for quick meals or snacks.
Reheating: To reheat, simply remove the rolls from the fridge or freezer and pop them in a preheated oven at 350°F (175°C) for about 10-15 minutes. Enjoy warm, as if just baked!
Thawing: For frozen rolls, thaw them overnight in the fridge. You can also let them sit at room temperature for a few hours before reheating.
What to Serve with Garlic-Swirl Rolls
Indulging in these aromatic rolls sets the stage for a delightful meal experience, perfectly harmonizing with numerous accompaniments.
- Rich Tomato Soup: The tangy sweetness of tomato soup complements the garlicky flavors and adds a comforting touch to your meal.
- Zesty Salad: A fresh salad with citrus dressing brings a vibrant contrast that balances the richness of the rolls beautifully.
- Creamy Herb Dip: Pair with a creamy dip infused with herbs for a delightful contrast of textures and flavors that enhances your dining experience.
- Spicy Chicken Wings: The kick of spice from wings brings excitement to your plate, contrasting the soft warmth of the rolls.
- Roasted Vegetables: The caramelized sweetness of roasted seasonal vegetables provides a hearty, nutritious side that pairs wonderfully with garlic.
- Chilled White Wine: A crisp Chardonnay or Sauvignon Blanc refreshes your palate, elevating the meal’s overall indulgence without overpowering the garlic.
- Decadent Chocolate Cake: For dessert, the rich bittersweet flavors of chocolate cake after savoring the rolls create a delightful final impression on your taste buds.
Garlic-Swirl Rolls Variations
Feel free to let your creativity flow while making these delightful rolls; every twist can lead to a new favorite!
-
Dairy-Free: Substitute butter with olive oil or a vegan butter alternative for a plant-based option.
Enjoy the same garlicky flavor without the dairy, making it perfect for vegan gatherings. -
Herb-Infused: Experiment with different herbs like basil or rosemary in your filling for a bold flavor punch.
Each herb brings its own unique aroma, elevating your Garlic-Swirl Rolls with fragrant surprises. -
Cheesy Delight: Add a mix of your favorite cheeses such as mozzarella or cheddar inside for extra gooeyness.
This luscious cheese stretch will tantalize cheese lovers, taking every bite to a heavenly level. -
Spicy Kick: Incorporate red pepper flakes into the garlic butter mixture for a pleasant heat.
If you love a bit of spice, this variation will surely awaken your taste buds and add excitement. -
Garlic Lovers: Want even more garlic? Add roasted garlic paste into the filling for a deeper flavor.
The rich, caramelized notes of roasted garlic create a sweet taste that amplifies the experience. -
Sweet Twist: Spread a layer of cinnamon sugar filling instead of garlic for a sweet version.
This playful swap transforms the rolls into a sweet treat, perfect for brunch or dessert. -
Gluten-Free: Replace all-purpose flour with a gluten-free blend for a suitable alternative.
Enjoy the same soft texture without gluten worries, making it inclusive for everyone at your table. -
Vegetable Boost: Mix in sautéed spinach or sun-dried tomatoes into your filling for added nutrition and flavor.
This twist introduces delightful bites of savory goodness, perfectly balancing the garlic essence.
Each variation adds a special character to the original recipe, inviting you to explore new culinary adventures. Why not serve these alongside a warm, comforting bowl of homemade soup, or perhaps a light garden salad to contrast the rich flavors? Your dinner table is endless with possibilities!
Make Ahead Options
These Garlic-Swirl Rolls are perfect for meal prep enthusiasts who want to enjoy homemade goodness with minimal fuss on busy days! You can prepare the dough and filling up to 24 hours in advance. Simply follow the steps to make the dough, allow it to rise, then shape the rolls and place them in a greased baking dish. Cover them tightly with plastic wrap and refrigerate. When you're ready to bake, let the rolls come to room temperature for about 30 minutes, then allow them to rise for an additional 30-40 minutes before baking. This way, you’ll have delicious, fresh Garlic-Swirl Rolls that are just as delightful as if made from scratch on the same day!
Expert Tips for Garlic-Swirl Rolls
-
Yeast Success: Always check if your yeast is active by letting it bubble in warm water before mixing. If it doesn’t froth, your rolls may not rise properly.
-
Dough Handling: Avoid over-kneading the dough; a smooth, elastic texture is ideal. Watch for it becoming tough, which can lead to dense rolls.
-
Flavor Boost: Feel free to customize the herb mix in the filling. Fresh herbs will intensify the flavor of your Garlic-Swirl Rolls, making them unforgettable.
-
Perfect Baking: For crispy tops, place a small oven-safe dish with water in the oven while baking. This creates steam, ensuring a beautiful rise and texture.
-
Cooling Time: Allow the rolls to slightly cool before serving to enhance their flavor. Serve them warm for the best experience, fully enjoying that garlicky goodness!
Garlic-Swirl Rolls Recipe FAQs
How do I select the right garlic for the filling?
Absolutely! When choosing garlic, look for firm, unblemished bulbs without any dark spots or soft areas. Fresh garlic should have a papery skin and should feel heavy for its size. Using fresh garlic cloves will ensure that bold flavor we all love in Garlic-Swirl Rolls!
How should I store my Garlic-Swirl Rolls?
To keep your Garlic-Swirl Rolls fresh, store them in an airtight container at room temperature for up to 3 days. If you’re holding onto them longer, refrigeration may be necessary but could dry them out. For the best texture, I recommend freezing them if you won't consume them in that time frame.
Can I freeze Garlic-Swirl Rolls? If so, how?
Yes, you can freeze Garlic-Swirl Rolls with just a few steps! First, allow the rolls to cool completely after baking. Then, wrap each roll individually in plastic wrap to prevent freezer burn, and place them in a freezer-safe bag or container. They’ll stay delicious for up to 3 months. When you’re ready to enjoy, simply thaw them overnight in the fridge or leave them at room temperature for a few hours before reheating at 350°F (175°C) for about 10-15 minutes.
What if my dough doesn’t rise properly?
Very! If your dough isn't rising, it could be due to inactive yeast. Always check the yeast by letting it bubble in warm water before combining with dry ingredients. If it remains flat after mixing, it could also be too hot or too cold in your rising environment—ideal temperatures are around 75°F to 85°F. Be patient, and give it another 15-30 minutes if needed!
Are there any dietary considerations for Garlic-Swirl Rolls?
Yes, there are a couple of things to keep in mind! If you’re serving these rolls to guests with dietary restrictions, you can easily adapt by using gluten-free flour or dairy-free butter alternatives. Additionally, be mindful of allergies, especially to gluten and dairy, but they can still be enjoyed by many through these simple substitutions.
How do I tell when my Garlic-Swirl Rolls are done baking?
To ensure your rolls are perfectly baked, look for a golden-brown color on top and tap the bottom of the rolls—they should sound hollow! This auditory cue is a great sign that they are ready to be devoured. Allow them to cool slightly before digging in, and enjoy that dreamy garlic aroma!
Delicious Garlic-Swirl Rolls That Will Wow Your Taste Buds
Ingredients
Equipment
Method
- In a large mixing bowl, combine flour, sugar, and salt. Dissolve yeast in warm water and let sit until frothy, then mix with dry ingredients. Add olive oil and knead for 8-10 minutes until smooth.
- Shape dough into a ball, place in a greased bowl, cover with a damp cloth, and let rise in a warm spot for about 1 hour until doubled in size.
- Melt butter in a saucepan, add minced garlic and herbs, and stir for 1-2 minutes until fragrant.
- Roll out the dough into a rectangle. Spread melted garlic butter mixture on top, sprinkle with Parmesan if desired, then roll tightly into a log.
- Slice rolled dough into 1-inch pieces and place cut side up in a greased baking dish. Cover and let rise for 30-40 minutes.
- Preheat oven to 375°F (190°C) and bake rolls for 20-25 minutes until golden and hollow-sounding.
- Allow rolls to cool in the pan for 5 minutes, then transfer to a wire rack or serve warm.

Leave a Reply