
The scent of autumn wafts through the kitchen, bringing with it a delightful sense of nostalgia as Halloween approaches. This year, why not transform your breakfast table into a whimsical feast with my Witch Hat Waffles? These adorable, chocolatey creations are not just a treat for the eyes; they also pack a punch in flavor and creativity. Picture your family’s delighted smiles as they dig into these spooky yet scrumptious waffles, topped with fluffy whipped cream and colorful sprinkles for that fun twist. Perfect for both kids and adults, this recipe is a quick and easy way to bring a festive spirit to your morning routine—who said breakfast can’t be magical? Ready to brew up some deliciousness? Let’s get flipping!
Why You'll Love Witch Hat Waffles
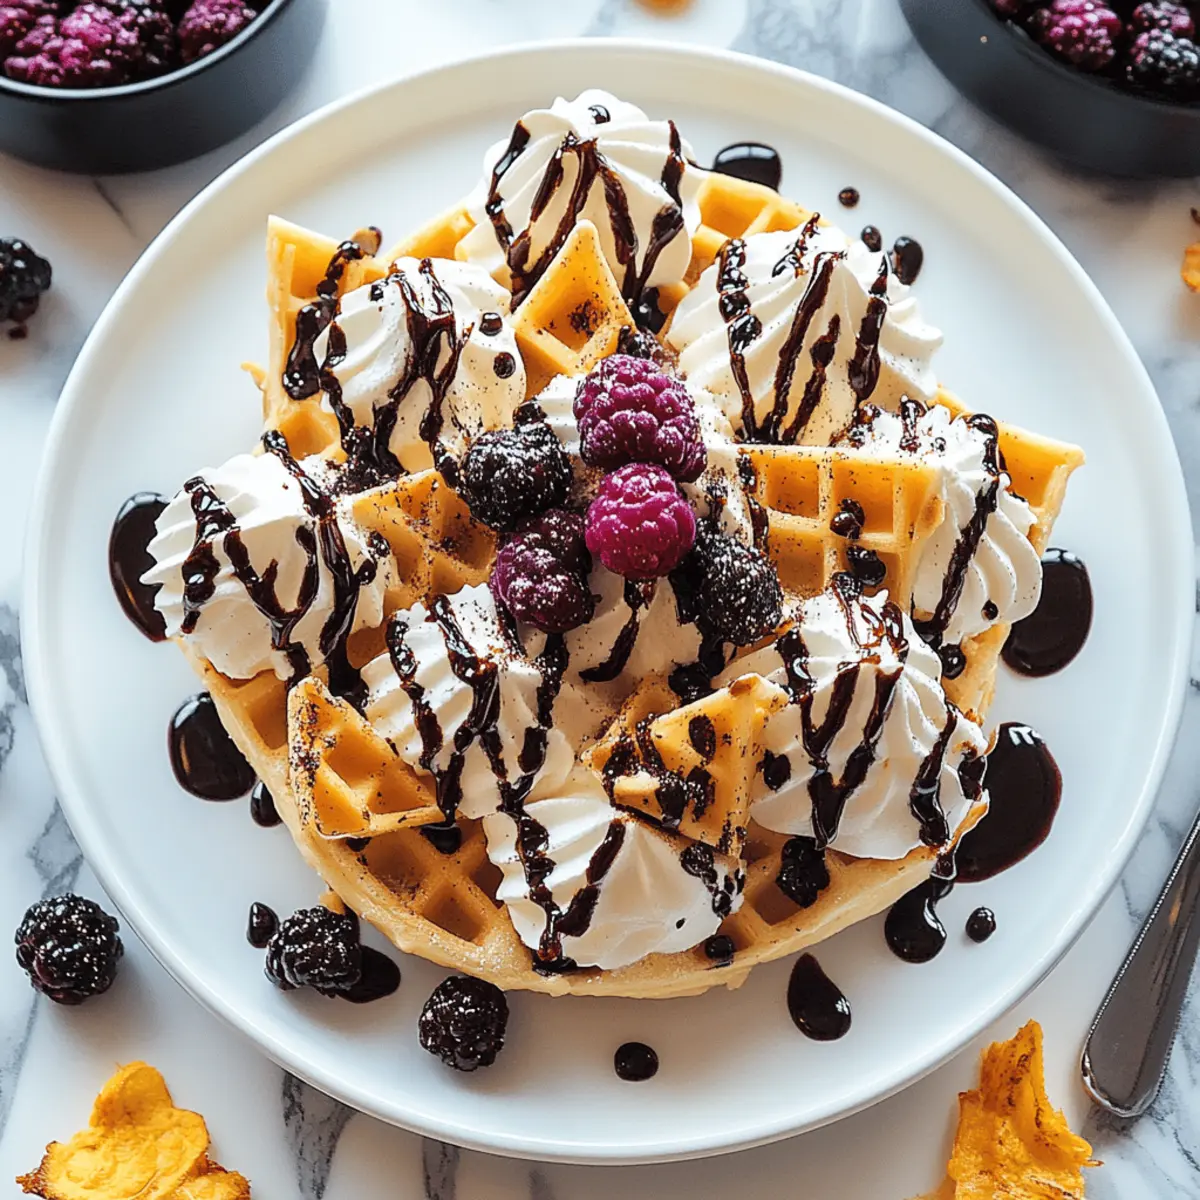
Irresistible Charm: These waffles are not only delicious but also visually stunning, making them the star of your Halloween breakfast table.
Quick and Easy: With minimal prep time, you can whip up a batch in no time, perfect for busy mornings.
Fun for Everyone: Kids and adults alike will adore decorating these chocolatey creations with whipped cream and sprinkles—an activity that's as enjoyable as eating them!
Versatile Delight: Whether served at a Halloween party or a cozy family brunch, they cater to all occasions.
Flavorful Twist: The rich chocolate flavor paired with light, fluffy texture makes for a delightful bite that everyone will love.
Serve with a Scary Story: Pair these cute waffles with a spooky tale, and make breakfast a memorable occasion! For more breakfast inspiration, check out my Halloween Breakfast Ideas for a full festive spread.
Witch Hat Waffle Ingredients
For the Waffle Batter
- 1 cup all-purpose flour – use whole wheat flour for a healthier twist.
- ¼ cup cocoa powder – brings rich chocolate flavor to your waffles.
- 1 teaspoon baking powder – helps the waffles rise and become fluffy.
- 1 teaspoon baking soda – enhances the texture for a perfect crunch.
- ¼ cup maple syrup – adds a natural sweetness, perfect for Halloween.
- 1 cup milk – substitute with almond milk for a dairy-free option.
- 2 large eggs – acts as a binder, creating a fluffy texture.
For the Topping
- ½ cup whipped cream – for a cloud-like finish, it resembles the witch's hat.
- ¼ cup colorful sprinkles – adds festive flair and fun to your presentation.
- ¼ cup chocolate syrup – drizzled on top to enhance the chocolatey theme.
For Decoration
- Chocolate waffle cones – to create the point of the witch's hat, offering a crunchy element.
- Gummy worms – for a playful touch that pairs perfectly with the theme of spooky fun.
These Witch Hat Waffles are sure to enchant your breakfast!
Step‑by‑Step Instructions for Witch Hat Waffles
Step 1: Prepare the Waffle Batter
In a large mixing bowl, whisk together 1 cup of all-purpose flour, ¼ cup of cocoa powder, 1 teaspoon of baking powder, and 1 teaspoon of baking soda until combined. In another bowl, mix ¼ cup of maple syrup, 1 cup of milk, and 2 large eggs until smooth. Gradually combine the wet ingredients with the dry and stir until just mixed; be careful not to overmix.
Step 2: Preheat the Waffle Maker
Plug in your waffle maker and set it to medium-high heat for about 5 minutes or until it indicates it's ready. Lightly grease the plates with non-stick cooking spray to ensure your witch hat waffles easily release once they’re cooked. This will help you achieve that beautifully fluffy texture that everyone loves while also preventing any sticking.
Step 3: Cook the Waffles
Pour an appropriate amount of batter (approximately ½ cup) onto the center of the preheated waffle maker, spreading it slightly for even cooking. Close the lid and cook for about 4-5 minutes until the waffles are crispy and dark brown. Open the lid carefully and check with a fork or tongs; cooked waffles should be firm and not soggy.
Step 4: Shape the Waffles into Hats
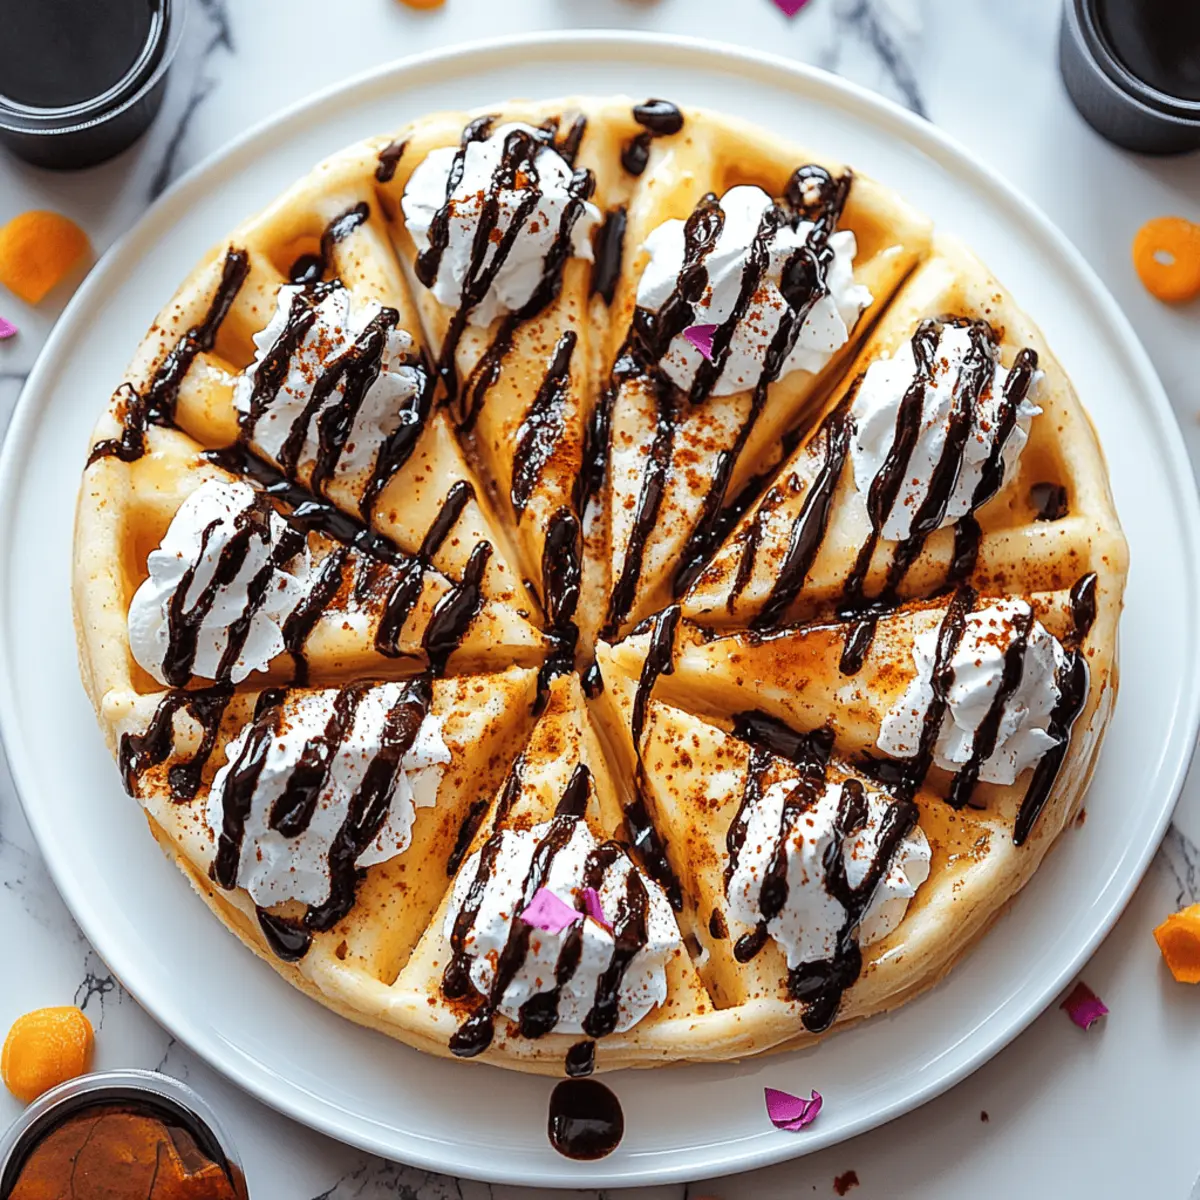
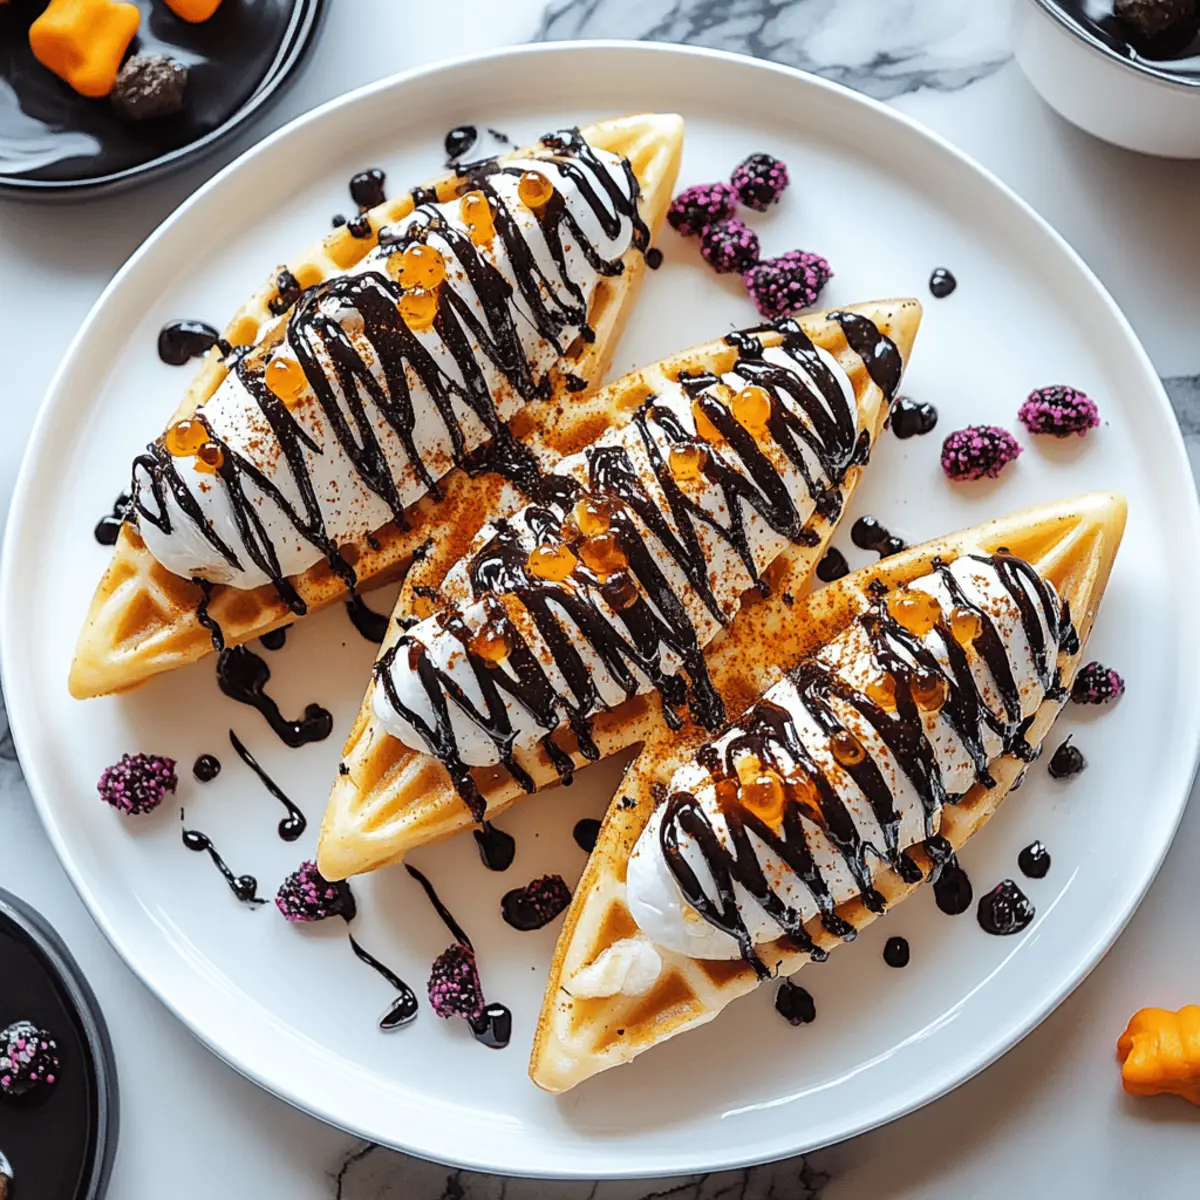
Once cooked, carefully remove the waffles from the iron. Using a sharp knife, trim each waffle into a triangular shape to create the iconic witches' hat style. Place the triangular pieces on a serving plate, allowing the shape to mimic a witch's hat for that festive flair.
Step 5: Add Toppings
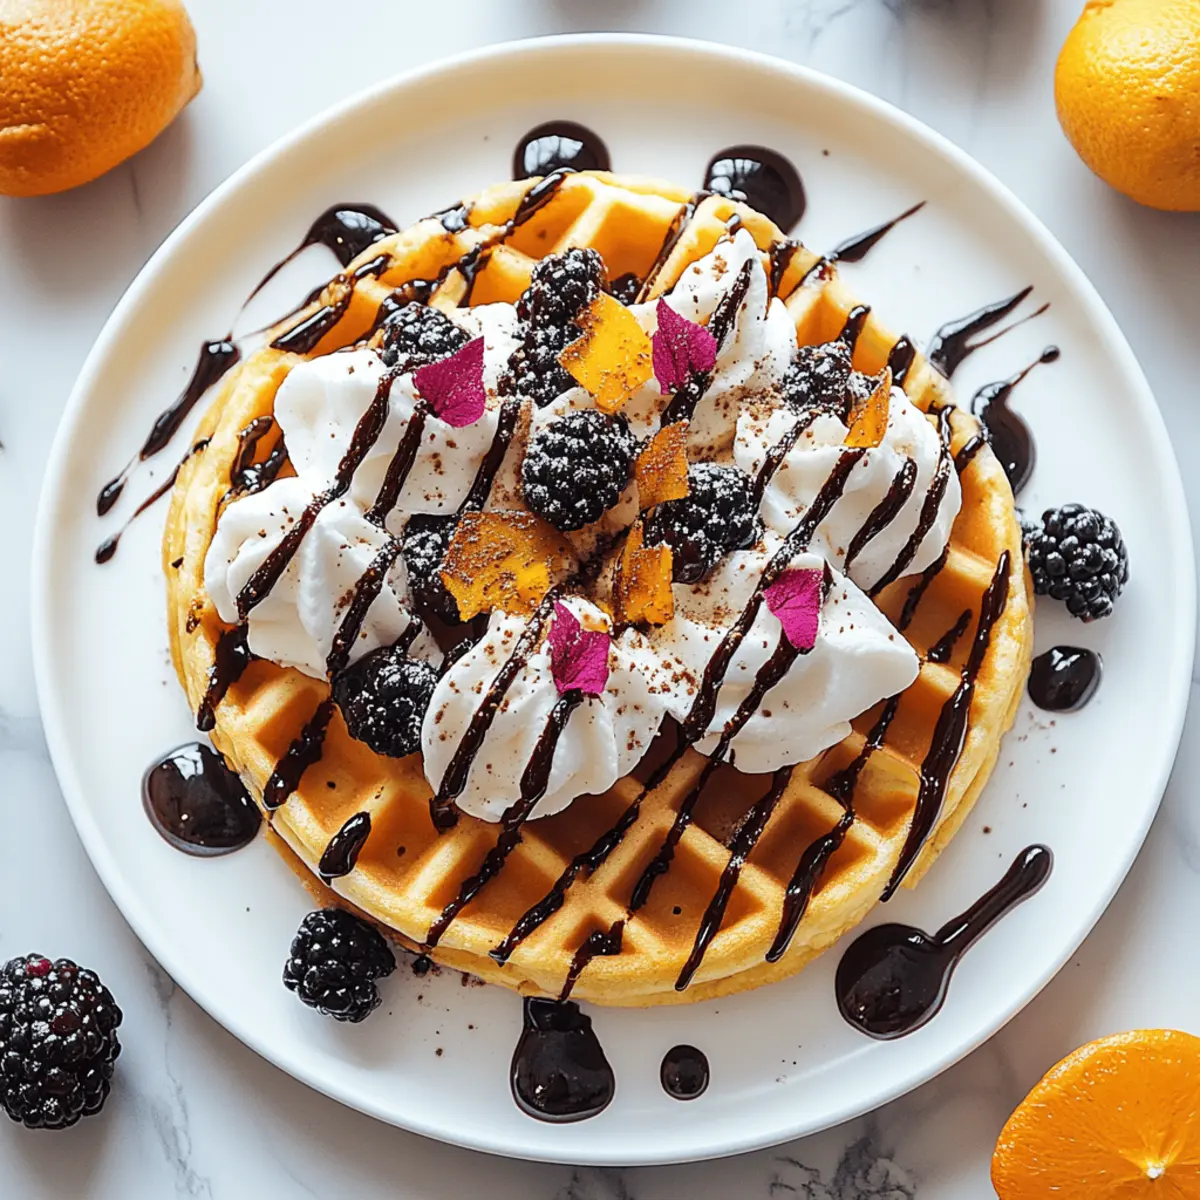
Generously dollop ½ cup of whipped cream on top of each waffle triangle, allowing it to slightly cascade down the sides like a fluffy hat. Drizzle with chocolate syrup for a delightful chocolatey finish. Then, sprinkle about ¼ cup of colorful sprinkles to add a festive touch that makes the witch hat waffles pop with excitement.
Step 6: Decorate with Cones and Worms
To complete the witch hat look, place a chocolate waffle cone upside down on the whipped cream atop each waffle triangle. This will represent the point of the hat beautifully. For a playful finish, sprinkle a few gummy worms around the plate to enhance the spooky fun of these witch hat waffles.
Step 7: Serve and Enjoy
Present your witch hat waffles with a flourish! Gather your family around as you serve these delightful creations. Pair them with a seasonal beverage or perhaps a spooky story for the perfect Halloween breakfast experience. Watch as smiles light up the room with every delicious bite!
Make Ahead Options
These Witch Hat Waffles are perfect for busy mornings and can be prepped in advance to make your Halloween breakfast even easier! You can prepare the waffle batter up to 24 hours in advance by mixing all dry ingredients (flour, cocoa powder, baking powder, and baking soda) and storing them in an airtight container. Whisk the wet ingredients (maple syrup, milk, and eggs) just before cooking to preserve their freshness. Additionally, you can cook the waffles and freeze them for up to 3 days. To maintain their quality, make sure to separate each waffle with parchment paper before placing them in a freezer bag. When ready to serve, simply reheat the waffles in a toaster or oven, decorate with whipped cream, chocolate syrup, and the witch hat cones, and enjoy a delightful meal that's just as magical!
How to Store and Freeze Witch Hat Waffles
Room Temperature: Store leftover waffles at room temperature for up to 2 hours, ensuring they're covered to keep them soft and fresh.
Fridge: If you have any waffles left, place them in an airtight container and refrigerate for up to 3 days. Reheat them in a toaster or microwave for a quick breakfast.
Freezer: For longer storage, freeze the cooled waffles in a single layer on a baking sheet, then transfer to a freezer-safe bag. They can last up to 3 months.
Reheating: To enjoy frozen witch hat waffles, simply toast them or heat them in the microwave until warmed through. They’ll taste just as delightful as when freshly made!
Witch Hat Waffles Variations & Substitutions
Feel free to let your creativity shine as you put your spin on these enchanting waffles!
-
Gluten-Free: Swap the all-purpose flour with a gluten-free flour blend for a delightful, gluten-free version.
-
Dairy-Free: Use coconut milk instead of regular milk, and opt for a dairy-free whipped topping to keep it creamy and delicious.
-
Vegan: Replace the eggs with flaxseed meal mixed with water (1 tablespoon flaxseed mixed with 3 tablespoons water equals 1 egg) and use maple syrup in place of honey for sweetness.
-
Sugar-Free: Substitute maple syrup with a sugar-free sweetener, like monk fruit or erythritol, and enjoy a guilt-free breakfast treat!
-
Add Spices: To enhance the flavor, incorporate a pinch of cinnamon or nutmeg into the batter for a warm, aromatic twist that complements the chocolate.
-
Fruit Fillings: Fold in some mashed bananas or shredded zucchini directly into the batter for added moisture and natural sweetness—your waffles will thank you!
-
Nutty Crunch: Stir in chopped nuts or granola for a satisfying crunch, elevating both texture and flavor, making every bite an adventure.
-
Chocolate Chip: Want more chocolate? Toss in a handful of chocolate chips for a decadent little surprise within each waffle. Perfect for the chocoholic in your life!
Explore these variations to create a breakfast experience that's truly your own! Pair your Witch Hat Waffles with my Halloween Breakfast Ideas for a feast that’ll capture everyone’s imagination and taste buds!
Tips for the Best Witch Hat Waffles
Perfectly Cooked Waffles: Ensure you preheat your waffle maker thoroughly for even cooking; undercooked waffles may fall apart instead of forming the classic hat shape.
Avoid Overmixing: Mix your batter gently; overmixing can lead to tough waffles. The batter should be slightly lumpy for the best texture in your Witch Hat Waffles.
Use Fresh Ingredients: Always opt for fresh eggs and milk for richer flavor and better fluffiness. Stale ingredients can affect the taste and texture.
Customize Toppings: Feel free to get creative with your toppings! Use fruits, nuts, or different sprinkles to cater to your family’s tastes while keeping the witchy theme alive.
Check for Doneness: The visual indicator on your waffle maker might not be foolproof. Open the lid carefully and check if they’re crispy—soft waffles won't hold the hat shape.
Serve Warm: For optimal enjoyment, serve the witch hat waffles immediately after cooking. Cold or soggy waffles can dampen the magical breakfast experience.
What to Serve with Witch Hat Waffles
The magic of breakfast comes alive when you pair these whimsical waffles with delightful sides that enchant the senses.
-
Autumn Spiced Hot Cider: This warm drink captures the flavors of fall, making your breakfast feel cozy and festive.
-
Goblin Green Smoothie: Packed with spinach, banana, and almond milk, this healthy concoction offers a refreshing contrast to the sweet waffles.
-
Pumpkin Spice Yogurt Parfait: Layered with yogurt, granola, and seasonal berries, this dish adds crunch and sweet flavors that complement the chocolatey waffles beautifully.
-
Scrambled Monster Eggs: Fluffy scrambled eggs tinted with vibrant colors or spices bring a playful yet savory note to the table.
-
Freaky Fruit Salad: A mix of colorful seasonal fruits will enliven your breakfast spread while keeping the magic in each bite. Add a hint of lime to brighten it up!
-
Gourd-acious Orange Juice: Freshly squeezed orange juice offers a bright, citrusy zing that lifts the sweet flavors of the waffles.
Serve these alongside your Witch Hat Waffles to create a Halloween breakfast that’s both breathtaking and delicious!
Witch Hat Waffles Recipe FAQs
How do I choose the best ingredients for Witch Hat Waffles?
Absolutely! When selecting your ingredients, look for high-quality cocoa powder and flour. Fresh eggs are vital for fluffy waffles, while good maple syrup adds sweetness. If you're opting for almond milk, make sure it’s unsweetened for a healthier choice. Fresh produce like berries or sprinkles will enhance the overall presentation and taste.
How should I store leftover Witch Hat Waffles?
To keep your Witch Hat Waffles fresh, let any leftovers cool down before storing. Place them in an airtight container and refrigerate for up to 3 days. You can reheat them in a toaster or microwave when you're ready to enjoy them again! Just remember, they taste best when they're warm!
Can I freeze my Witch Hat Waffles?
Certainly! Freezing is a great option for these whimsical waffles. After they’ve cooled completely, lay them out in a single layer on a baking sheet and freeze until solid. Then, transfer them to a freezer-safe bag. They’ll keep well for up to 3 months. When you're ready to eat, simply toast or microwave them until warmed through!
What if my waffle batter is too thick or too thin?
Very! If your batter seems too thick, add a splash of milk to reach your desired consistency. Conversely, if it’s too thin, sprinkle in a bit more flour until it thickens up. The right texture should be pourable but not runny, which will help create those perfect Witch Hat shapes.
Are Witch Hat Waffles suitable for different dietary restrictions?
Yes! You can easily adapt the Witch Hat Waffles for various dietary needs. For a gluten-free version, use a gluten-free all-purpose flour blend. Substitute eggs with flax eggs or applesauce for a vegan alternative. Just make sure to check your toppings (like whipped cream) for allergens, potentially using coconut whipped cream for a dairy-free option.
How can I ensure my waffles come out crispy?
To achieve the perfect crispy texture, make sure to preheat your waffle maker thoroughly! Avoid opening the lid too early; cook the waffles until they are a deep golden brown. Greasing the plates lightly can also help, ensuring the waffles don’t stick while achieving that delightful crunch on the outside.
Delicious Witch Hat Waffles That Spook Up Your Breakfast!
Ingredients
Equipment
Method
- In a large mixing bowl, whisk together 1 cup of all-purpose flour, ¼ cup of cocoa powder, 1 teaspoon of baking powder, and 1 teaspoon of baking soda until combined. In another bowl, mix ¼ cup of maple syrup, 1 cup of milk, and 2 large eggs until smooth. Gradually combine the wet ingredients with the dry and stir until just mixed; be careful not to overmix.
- Plug in your waffle maker and set it to medium-high heat for about 5 minutes or until it indicates it's ready. Lightly grease the plates with non-stick cooking spray to ensure your witch hat waffles easily release once they’re cooked.
- Pour an appropriate amount of batter (approximately ½ cup) onto the center of the preheated waffle maker, spreading it slightly for even cooking. Close the lid and cook for about 4-5 minutes until the waffles are crispy and dark brown.
- Carefully remove the waffles from the iron. Using a sharp knife, trim each waffle into a triangular shape to create the iconic witches' hat style.
- Generously dollop ½ cup of whipped cream on top of each waffle triangle, allowing it to slightly cascade down the sides. Drizzle with chocolate syrup and sprinkle with colorful sprinkles.
- Place a chocolate waffle cone upside down on the whipped cream atop each waffle triangle. Sprinkle a few gummy worms around the plate to enhance the spooky fun.
- Serve your witch hat waffles with a flourish, pairing them with a seasonal beverage or a spooky story.

Leave a Reply