
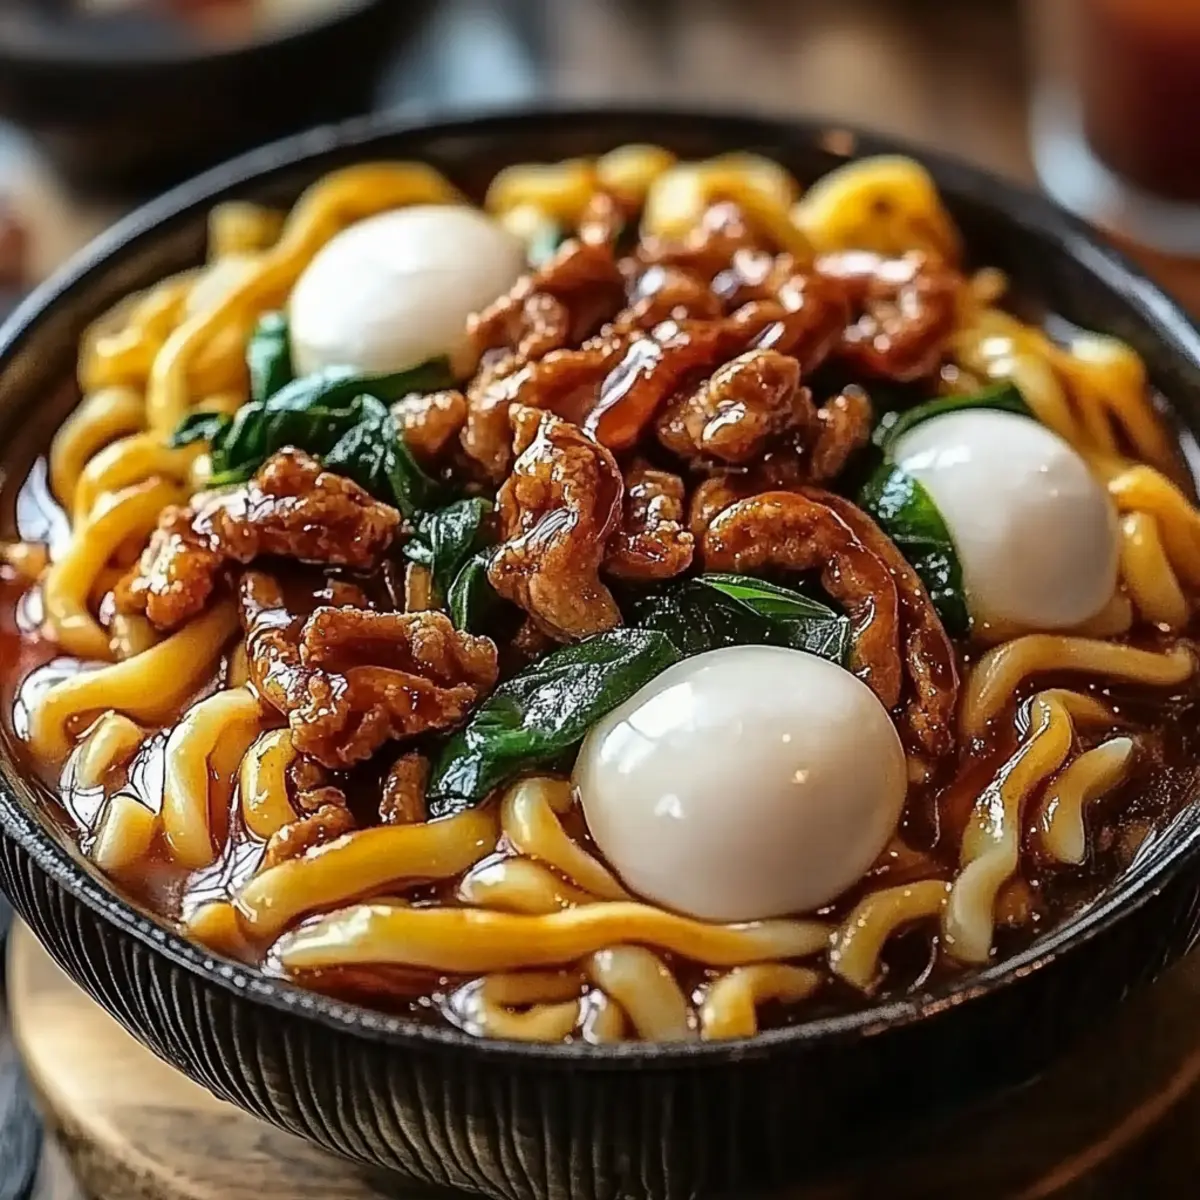
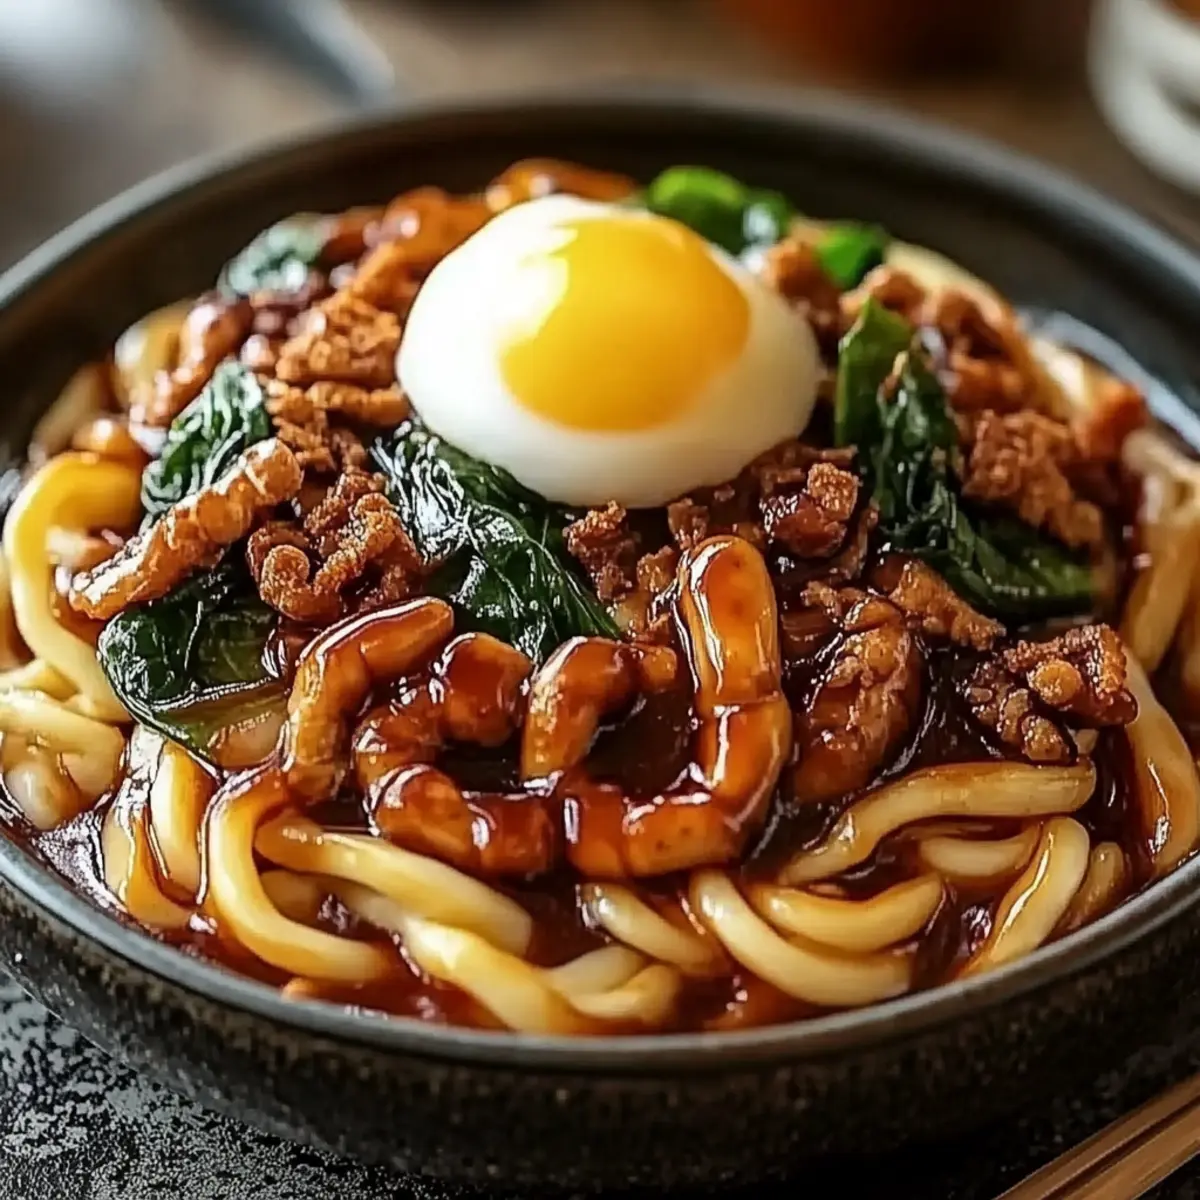
A tantalizing aroma wafted through my kitchen as I tossed together the vibrant colors of fresh vegetables and perfectly cooked udon noodles. This Yaki Udon recipe has become my go-to whenever I crave a quick yet satisfying meal. It’s not just about the delightful sizzle of the ingredients coming together; it offers the irresistible perks of being a crowd-pleaser and a versatile dish that you can customize with your favorite protein, whether chicken, shrimp, or tofu. In just 30 minutes, you can whip up this fantastic comfort food that feels elegant yet cozy. Are you ready to bring some excitement to your dinner table? Let’s dive into the step-by-step guide to creating your very own Yaki Udon!

Why is Yaki Udon a must-try?
Flavor Explosion: Each bite of Yaki Udon is a harmonious blend of savory soy sauce and rich oyster sauce that will leave your taste buds dancing.
Quick and Easy: With just 30 minutes from start to finish, this recipe is perfect for busy weeknights or spontaneous dinner guests.
Customizable: Choose your favorite protein—chicken, shrimp, or tofu—and mix in seasonal veggies for a personalized touch.
Nutrient-Packed: This dish not only tantalizes your taste buds but also provides a balanced meal rich in protein and fiber, perfect for any home chef.
Comfort Food: There’s something inherently comforting about a warm bowl of noodles; top it with green onions and sesame seeds for that extra flair! For more delicious noodle ideas, check out my popular recipes for stir-fry noodles.
Yaki Udon Ingredients
Discover the essential elements for crafting this delicious dish!
For the Noodles
• Udon noodles – 14 ounces of these thick and chewy noodles hold onto flavors beautifully.
For the Protein
• Protein of choice – 1 cup, pick chicken, shrimp, or tofu to make it your own.
For the Vegetables
• Mixed vegetables – 1 cup; snow peas, bok choy, cabbage, or mushrooms add essential nutrients and a pop of color.
For the Sauces
• Soy sauce – 2 tablespoons to give that signature umami flavor.
• Oyster sauce – 2 tablespoons for a touch of sweetness and depth.
For the Aromatics
• Sesame oil – 1 tablespoon elevates the dish with a nutty fragrance.
• Vegetable oil – 1 tablespoon ensures that everything cooks evenly.
• Garlic – 1 teaspoon minced for an aromatic kick.
• Ginger – 1 teaspoon minced; it brings warmth and zest to your Yaki Udon.
For the Eggs
• Eggs – 2; they add richness and a fluffy texture when scrambled into the mixture.
For Seasoning
• Salt and pepper – to taste, round out the flavors beautifully.
With these Yaki Udon ingredients, you're on your way to a wholesome, soul-satisfying meal in no time!
Step‑by‑Step Instructions for Yaki Udon
Step 1: Cook the Udon Noodles
Begin by bringing a large pot of water to a boil over high heat. Add 14 ounces of udon noodles and cook according to the package instructions, usually around 8-10 minutes. Once soft, drain the noodles in a colander and set them aside, letting any excess water drip off while you prepare the other ingredients.
Step 2: Sauté Aromatics
In a large skillet or wok, heat 1 tablespoon of vegetable oil over medium-high heat. Add 1 teaspoon of minced garlic and 1 teaspoon of minced ginger, sautéing for about 1-2 minutes until fragrant and golden. This step is crucial for infusing your Yaki Udon with a robust flavor as the aromas begin to fill your kitchen.
Step 3: Cook Your Protein
Add 1 cup of your chosen protein—whether chicken, shrimp, or tofu—into the skillet. Cook for approximately 5-7 minutes, stirring frequently, until the protein is browned and fully cooked through. Ensure that the protein has a nice sear to enhance the overall taste and texture of your Yaki Udon.
Step 4: Add the Vegetables
Once your protein is cooked, stir in 1 cup of mixed vegetables such as snow peas, bok choy, or mushrooms. Continue to sauté for another 3-4 minutes until the vegetables become tender but still vibrant. The delightful combination of colors will make your Yaki Udon visually appealing as it comes together.
Step 5: Scramble the Eggs
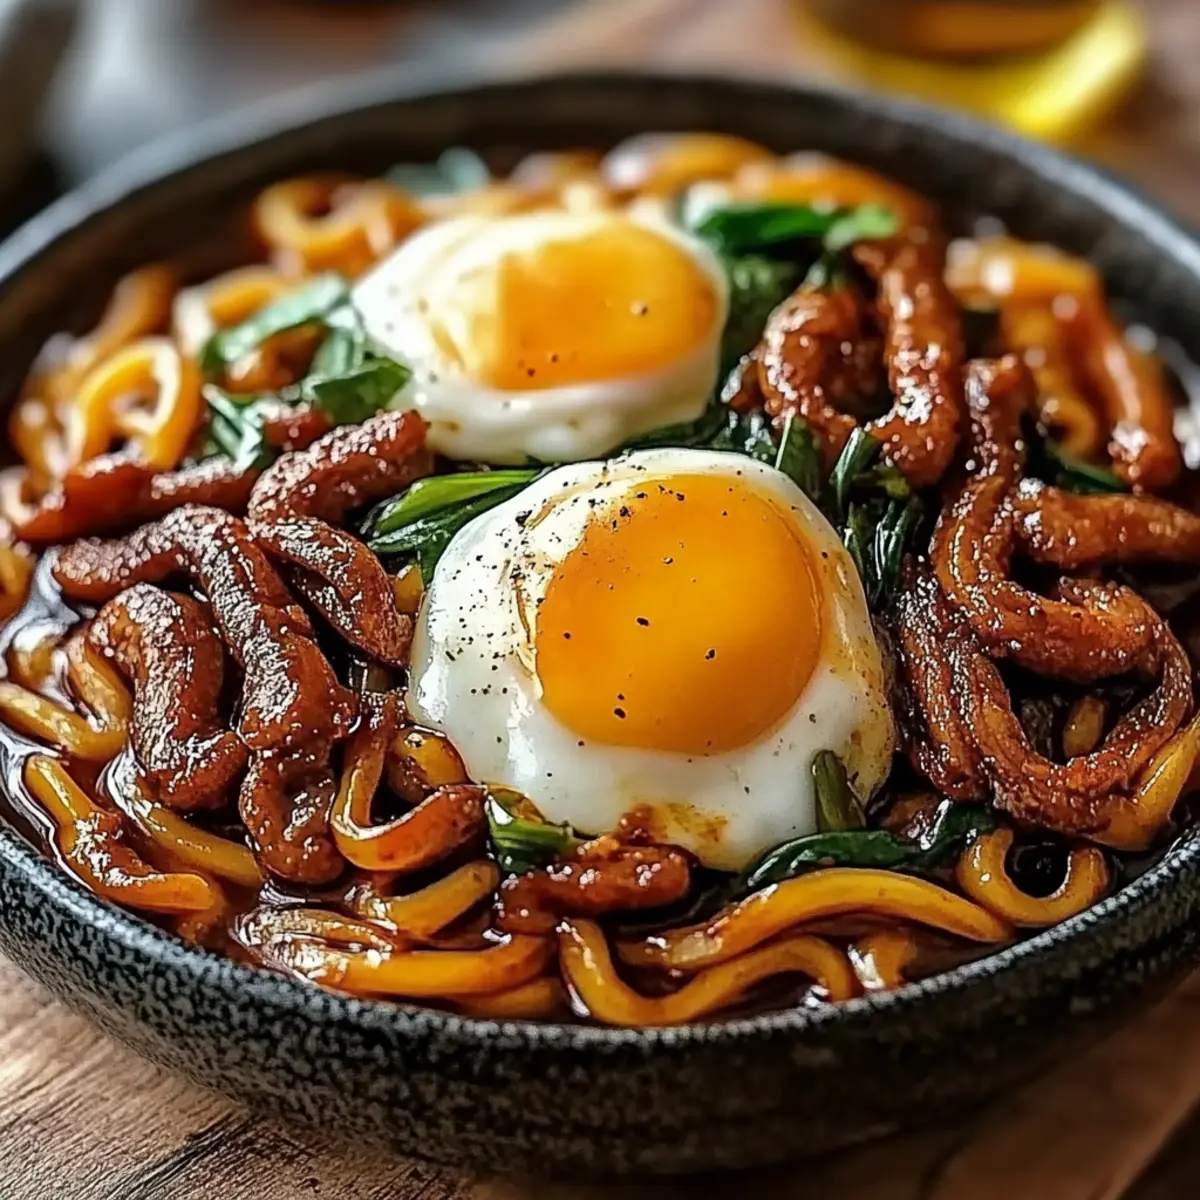
Now, move the cooked protein and vegetables to one side of the skillet, creating space in the center. Crack 2 eggs into the empty space and scramble them gently with a spatula until they are cooked through, about 2 minutes. Incorporating the eggs adds richness and creaminess to your dish, tying all components beautifully.
Step 6: Combine Noodles and Sauce
Next, add the reserved udon noodles back into the skillet. Pour in 2 tablespoons of soy sauce and 2 tablespoons of oyster sauce over everything. Quickly toss the mixture together for about 2-3 minutes, ensuring that the noodles are well-coated and heated through, emitting enticing savory aromas that fill the air.
Step 7: Final Touches
Drizzle 1 tablespoon of sesame oil over the Yaki Udon and season with salt and pepper to taste. Gently mix everything one final time, allowing the sesame oil to enhance the dish with its rich flavor. At this point, your fabulous Yaki Udon is ready to serve!
What to Serve with Yaki Udon
Creating a delightful dining experience is easy when you pair your Yaki Udon with these fantastic sides and drinks.
- Crispy Spring Rolls: These golden bites offer a crunchy contrast to the chewy noodles, stuffed with your favorite fillings for added flavor.
- Steamed Edamame: Lightly salted and nutritious, edamame brings a delightful pop of freshness and a fun element to snack on.
- Sesame Cucumber Salad: This refreshing salad with a tangy dressing perfectly balances the savory richness of Yaki Udon.
A splash of color and crunch can enhance your overall meal experience.
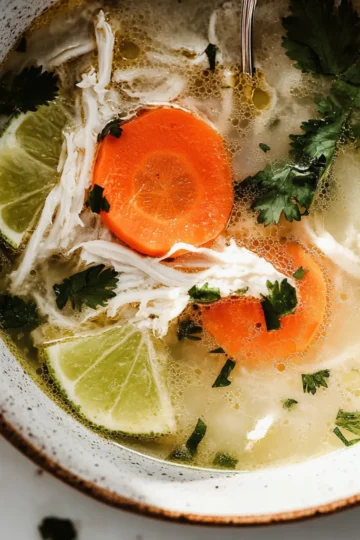
- Miso Soup: A warm bowl of miso soup provides a comforting contrast with a delicate umami flavor that complements the hearty noodles.
- Teriyaki Chicken Skewers: Juicy teriyaki chicken served on skewers adds a sweet, smoky flavor that pairs beautifully with your Yaki Udon.
- Japanese Green Tea: Sipping this soothing tea provides a light finish to your meal, cleansing the palate in a refreshing way.
These pairings transform your dining table into a feast, ensuring that your Yaki Udon is as memorable as it is delicious!
Make Ahead Options
Yaki Udon is perfect for busy home cooks looking to save time during hectic weeknights! You can chop and refrigerate your mixed vegetables up to 3 days in advance, keeping them fresh in an airtight container to maintain their crunch. Additionally, you can cook the udon noodles ahead of time, allowing them to cool before storing them in the fridge for up to 24 hours. When you’re ready to serve, simply reheat the noodles and vegetables in a skillet, adding your pre-cooked protein and sauces as you toss everything together. This way, you enjoy all the deliciousness of Yaki Udon with minimal effort and just as much flavor!
Yaki Udon Variations & Substitutions
Feel free to get creative and give your Yaki Udon a personal touch that suits your taste buds!
- Gluten-Free: Use gluten-free udon noodles or substitute with rice noodles for a suitable alternative.
- Spicy Kick: Add a teaspoon of sriracha or chili paste to the stir-fry for a fiery flavor boost.
- Vegetable Boost: Incorporate seasonal vegetables like bell peppers or zucchini for added freshness and crunch.
- Soy-Free: Replace soy sauce with tamari or coconut aminos for a soy-free version that's still delicious!
- Extra Protein: For added nutrients, toss in some edamame or chickpeas along with your chosen protein.
- Creamy Twist: Mix in a tablespoon of peanut butter or almond butter for a nutty, creamy texture that adds depth.
- Herb Infusion: Finish with a sprinkle of fresh herbs such as cilantro or basil for a fragrant finish that elevates your dish.
- Rice Variation: Swap out the udon noodles for steamed rice or quinoa for a unique twist on this classic recipe.
Experimenting is half the fun! For more inspirations on enhancing your noodle dishes, don't miss my delightful recipes for vegetable stir-fry and noodle salad.
Helpful Tricks for Yaki Udon
Ingredient Prep: Always chop your vegetables and protein before starting. This will help you cook everything quickly and evenly, avoiding a soggy Yaki Udon.
Noodle Timing: Don't overcook the udon noodles—al dente is the way to go! They’ll continue to cook when you toss them in the skillet, so keep them firm.
Sauce Balance: Adjust the soy and oyster sauce to your taste preferences. If you like it saltier, add a bit more soy sauce; for sweetness, a dash more oyster sauce works wonders.
Egg Scramble: Scramble the eggs separately in a bowl before adding to the skillet if you want a fluffier texture. This way, they’ll incorporate evenly into the Yaki Udon.
Serving Fresh: Enjoy your Yaki Udon immediately for the best taste. If you have leftovers, use a splash of water when reheating to prevent dryness.
How to Store and Freeze Yaki Udon
Fridge: Store leftover Yaki Udon in an airtight container in the refrigerator for up to 3 days. It’s best enjoyed fresh, but you can keep it for meal prep.
Freezer: If you want to keep it longer, freeze Yaki Udon in portions using freezer-safe containers or zip-top bags. It will last for up to 2 months; just remember to label them with the date.
Reheating: To reheat, place the Yaki Udon in a skillet over low heat with a splash of water or soy sauce. This helps regain moisture and ensures it warms through without drying out.
Make-Ahead Tip: Consider prepping the vegetables in advance, storing them separately, to make cooking Yaki Udon a quick weekday meal option.
Yaki Udon Recipe FAQs
How do I choose the right udon noodles?
Absolutely! Look for fresh udon noodles in the refrigerated section of your grocery store for the best texture. Dried udon noodles work just fine too; just ensure you follow package instructions to get them perfectly cooked. Avoid noodles with dark spots or a heavy scent, as they may be past their prime.
What’s the best way to store leftover Yaki Udon?
Leftover Yaki Udon can be stored in an airtight container in the refrigerator for up to 3 days. Make sure to let it cool down to room temperature before sealing. When you're ready to reheat, pop it back into a skillet over low heat, adding a splash of water or soy sauce to keep it juicy!
Can I freeze Yaki Udon?
Yes, you can! To freeze Yaki Udon, portion it into freezer-safe bags or containers, ensuring the air is squeezed out. It can last for up to 2 months in the freezer. To thaw, simply place it in the fridge overnight before reheating, or sauté it directly from frozen, adding a little water to aid the cooking.
What if my Yaki Udon seems dry after reheating?
Very common! If your Yaki Udon appears dry, add a little splash of water or broth while reheating. This will help to moisten the noodles without losing flavor. Stir gently until everything warms through, and it should become appetizingly saucy again.
Are there any dietary considerations I should be aware of?
Absolutely! For those with gluten sensitivities, opt for gluten-free udon made from rice flour. If you have allergies, make sure to check the soy sauce and oyster sauce for any potential allergens. Always consider your guests’ dietary needs when selecting your protein and vegetables.
Delicious Yaki Udon: Your Quick Fix for Flavorful Noodles
Ingredients
Equipment
Method
- Cook the udon noodles in boiling water according to package instructions, about 8-10 minutes. Drain and set aside.
- Sauté minced garlic and ginger in vegetable oil for 1-2 minutes until fragrant.
- Add protein of choice and cook for 5-7 minutes until browned and fully cooked.
- Stir in mixed vegetables and sauté for another 3-4 minutes until tender.
- Scramble eggs in the center of the skillet, cooking until set.
- Combine udon noodles and sauces in the skillet, tossing everything together for 2-3 minutes to heat through.
- Drizzle with sesame oil and season with salt and pepper. Mix gently and serve.


Leave a Reply