
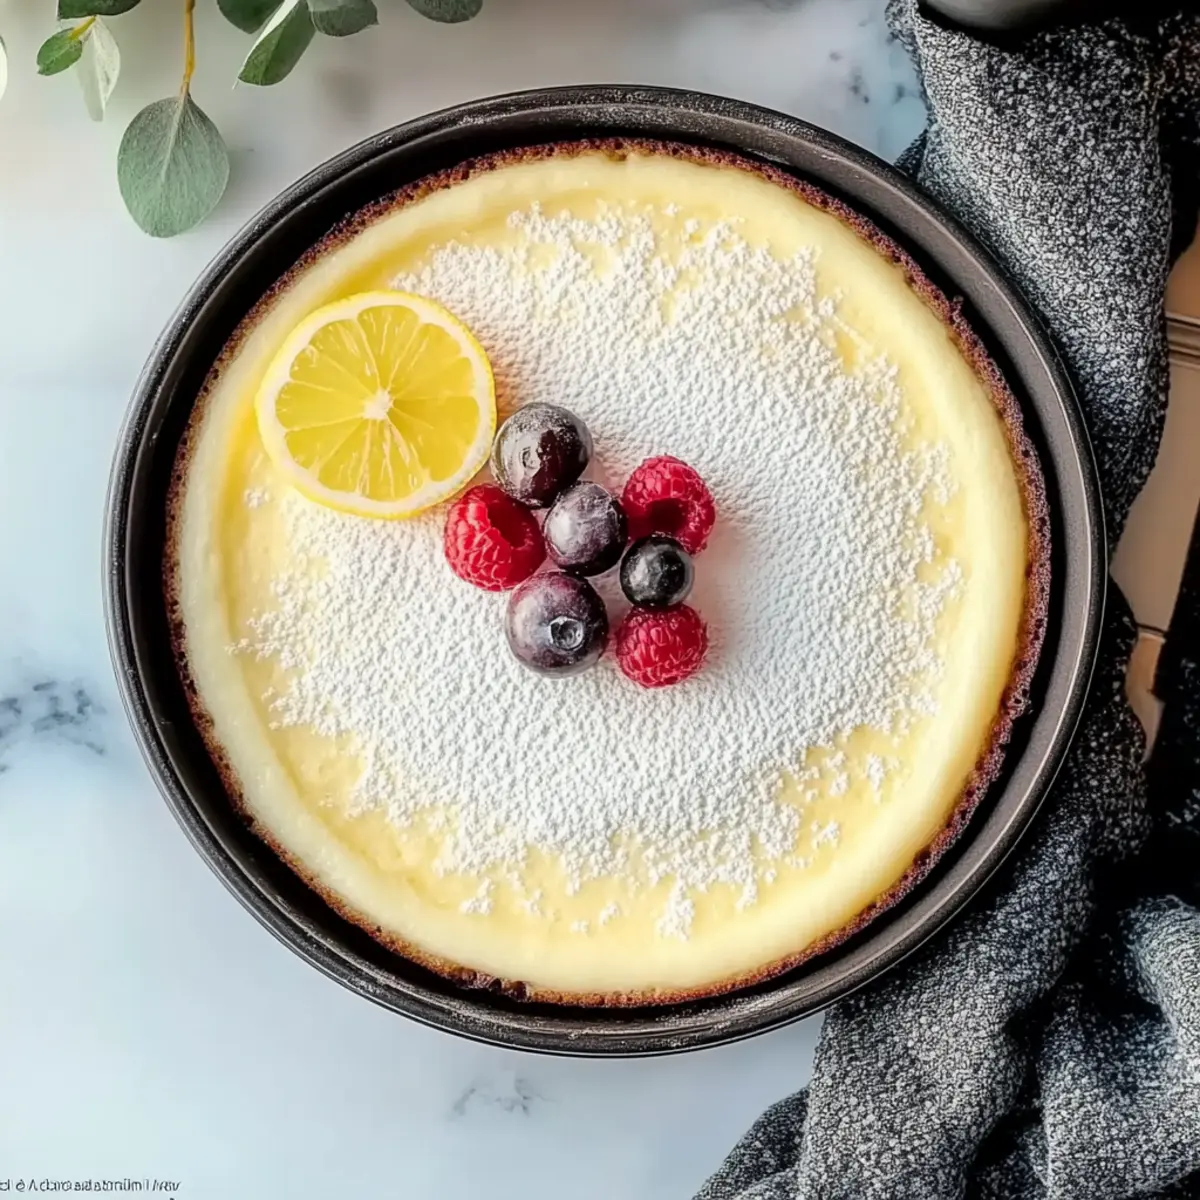
As I took a bite of this moist slice of Creamy Yogurt Cake, my taste buds danced in delight, awakening a wave of memories from my grandmother's kitchen. This delightful dessert is not just a treat; it’s an easy way to elevate your baking game without a ton of fuss. With just a handful of simple ingredients and about 15 minutes of prep, you can whip up this crowd-pleaser that’s perfect for both casual family dinners and special occasions. Plus, it’s wonderfully versatile—you can dress it up with fresh fruit or serve it plain with a dusting of powdered sugar. Are you ready to discover how this comforting cake can become a staple in your home?
Why is Creamy Yogurt Cake a Must-Try?
Simplicity: This recipe is quick and effortless, allowing even novice bakers to create something truly special.
Moist and Flavorful: Thanks to the yogurt, each bite is incredibly moist, elevating this cake beyond ordinary desserts.
Versatile Delight: You can customize it with seasonal fruits or a drizzle of chocolate, making it suitable for any occasion.
Time-Saving: With a total time of just 50 minutes, you can have this delightful treat ready in no time—perfect for busy weeks!
Crowd-Pleasing: Its tender texture and subtle sweetness will have everyone asking for seconds, whether at a gathering or a sweet treat for yourself.
If you want to explore more delightful desserts, consider checking out my recipe for Easy Vanilla Cupcakes or treat yourself with a slice of Classic Cheesecake!
Creamy Yogurt Cake Ingredients
For the Dry Ingredients
- All-purpose flour – essential for structure; make sure to spoon it into your measuring cup for accuracy.
- Baking powder – helps the cake rise and gives it a fluffy texture.
- Baking soda – balances acidity from the yogurt; don’t skip this for even rise.
- Salt – a pinch enhances flavor, bringing out the sweetness of the cake.
For the Wet Ingredients
- Granulated sugar – sweetens the cake and contributes to its moisture.
- Plain yogurt – adds creaminess and keeps the cake moist; Greek yogurt works well as a substitute too!
- Vegetable oil – contributes moisture; can be replaced with melted butter for a richer flavor.
- Large eggs – bind the ingredients together and provide lift.
- Vanilla extract – adds depth of flavor; pure vanilla extract is best for a rich aroma.
- Milk – helps achieve the perfect batter consistency; use any milk you prefer, including non-dairy options.
Enjoy baking your Creamy Yogurt Cake!
Step‑by‑Step Instructions for Creamy Yogurt Cake
Step 1: Preheat the Oven
Begin by preheating your oven to 350°F (175°C). While the oven warms up, grab a 9-inch round cake pan and either grease it thoroughly with butter or oil or line it with parchment paper for easy removal. This step is crucial for ensuring your Creamy Yogurt Cake bakes evenly and releases smoothly from the pan.
Step 2: Mix Dry Ingredients
In a medium mixing bowl, whisk together 1 ½ cups of all-purpose flour, 1 teaspoon of baking powder, ½ teaspoon of baking soda, and ¼ teaspoon of salt until well combined. As you whisk, take care to break up any lumps in the flour. This mixture forms the foundation of your cake's texture, so be sure it is uniform before setting it aside.
Step 3: Combine Wet Ingredients
In a separate large bowl, whisk together ½ cup of granulated sugar, ½ cup of plain yogurt, ¼ cup of vegetable oil, 2 large eggs, and 1 teaspoon of vanilla extract until the mixture is smooth and fully combined. The yogurt will create a luscious, creamy base for your Creamy Yogurt Cake, ensuring each bite is as moist as possible.
Step 4: Blend Dry and Wet Ingredients
Carefully add the dry ingredients to the wet ingredients, mixing gently with a spatula or whisk until just combined. Be cautious not to overmix the batter; a few small lumps are perfectly fine. This step ensures that your cake will be light and fluffy, so embrace that tender texture.
Step 5: Add Milk to the Batter
Pour in ¼ cup of milk and stir it into the batter until the mixture is smooth and homogenous. The milk helps achieve the ideal consistency for your cake, making it easy to pour into the pan. The batter should be thick yet pourable for the best results when baking your Creamy Yogurt Cake.
Step 6: Pour Batter into Cake Pan
Transfer the batter into your prepared cake pan, using a spatula to evenly spread it across the bottom. Make sure to smooth out the top for a uniform bake. This even layer is vital for consistent cooking, allowing the Creamy Yogurt Cake to rise perfectly without any uneven spots.
Step 7: Bake the Cake
Place the pan into the preheated oven and bake for about 30 to 35 minutes. Keep an eye on the cake, and use a toothpick inserted into the center to check for doneness; it should come out clean when the cake is fully baked. Your kitchen will soon be filled with a delightful aroma as it bakes.
Step 8: Cool the Cake in the Pan
Once baked, carefully remove the cake from the oven and allow it to cool in the pan for about 10 minutes. This allows the cake to firm up slightly and makes it easier to turn out later. Look for the edges to pull away slightly from the pan, a sign that it’s ready for the next step.
Step 9: Transfer to Wire Rack
After the initial cooling, gently turn the cake out of the pan onto a wire rack. Remove the parchment paper if you used it, and let the cake cool completely. This step is crucial to prevent the cake from becoming soggy, ensuring your Creamy Yogurt Cake stays light and airy.
Step 10: Slice and Serve
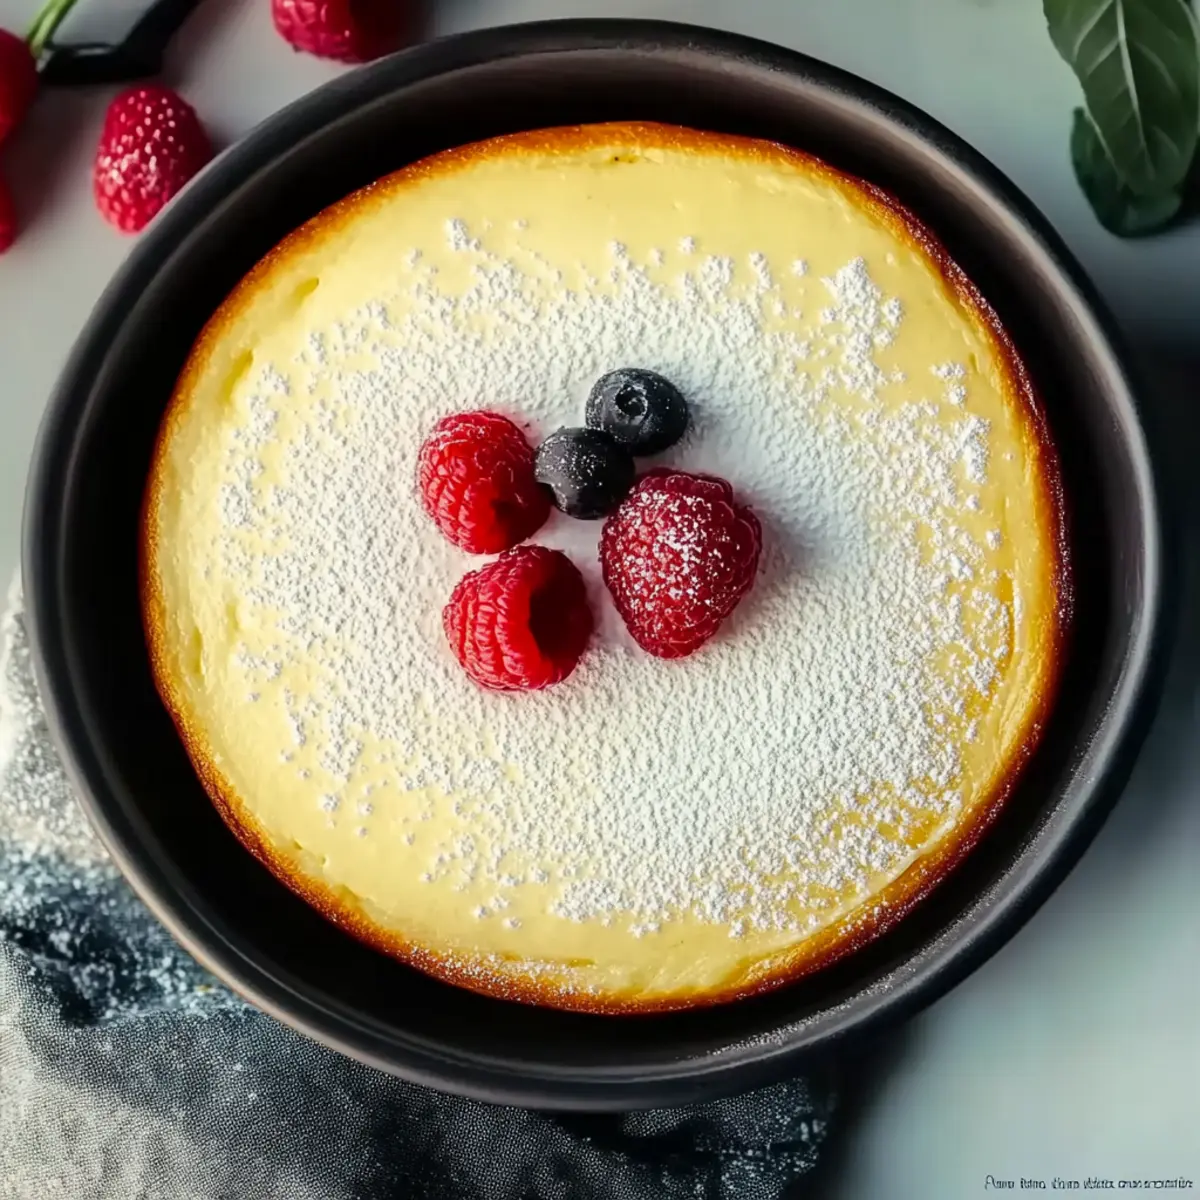
Once the cake has completely cooled, go ahead and slice it into pieces. Now you can serve your delightful Creamy Yogurt Cake, either plain or dressed up with your favorite toppings! Enjoy sharing this sweet treat with family and friends as you savor those wonderfully moist flavors.
What to Serve with Creamy Yogurt Cake
As you savor the delightful flavors of your moist cake, consider these delicious companions to create a full, heartwarming meal.
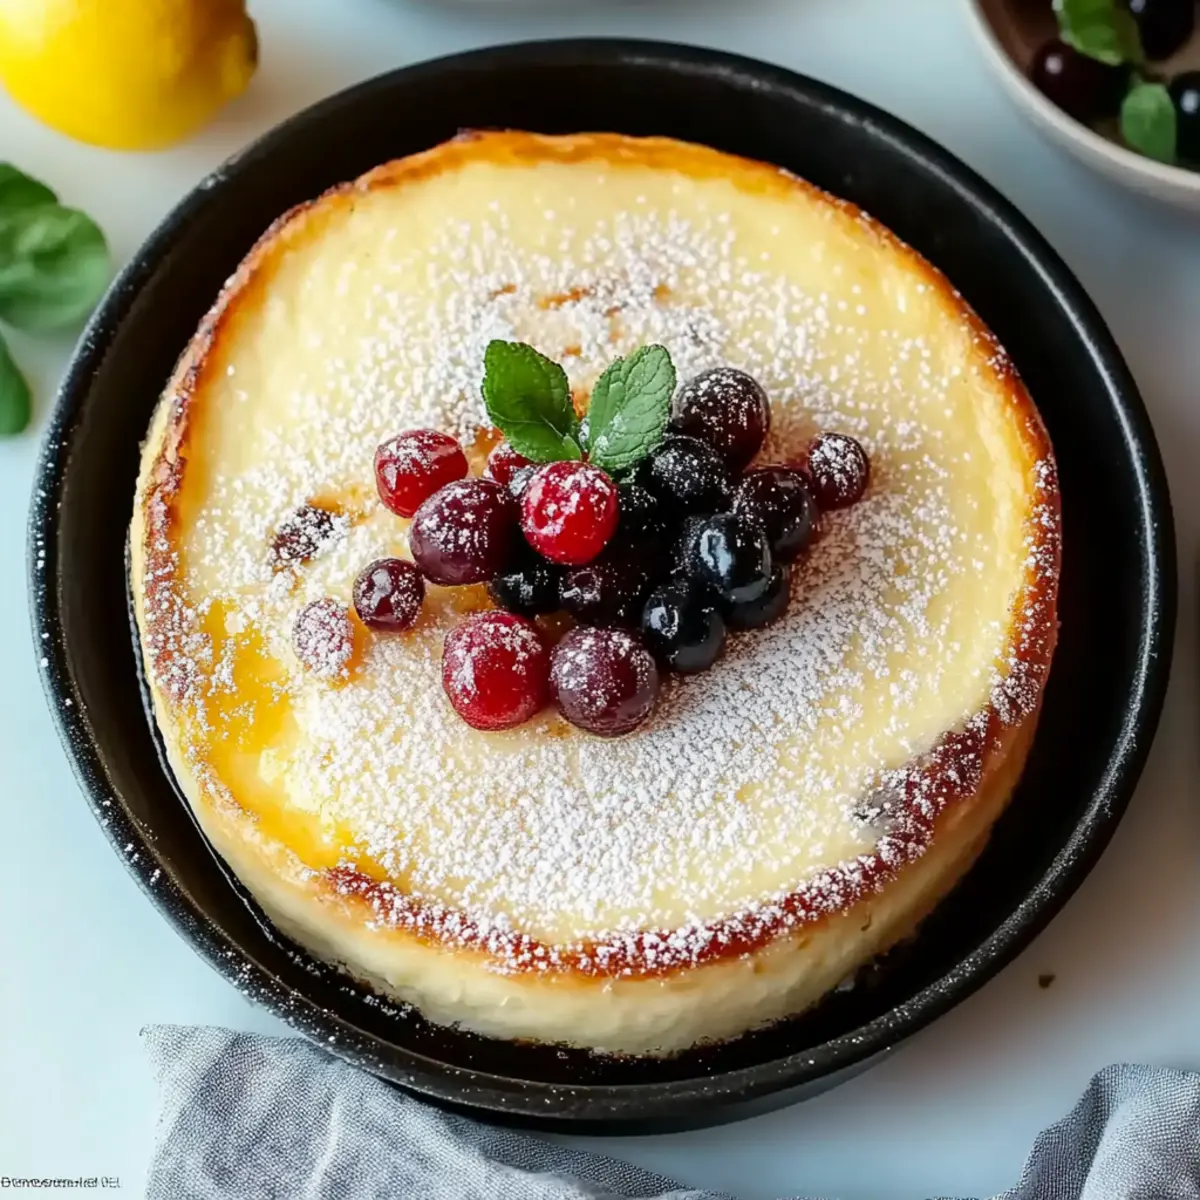
- Fresh Berries: The tartness of mixed berries brings a vibrant pop of flavor that beautifully contrasts with the sweet, creamy cake.
- Whipped Cream: A dollop of freshly whipped cream adds a luxurious texture, making each bite of cake feel indulgent.
- Coffee or Tea: A warm cup of coffee or soothing tea perfectly complements the cake's sweetness, enhancing your cozy dessert experience.
- Lemon Glaze: A light lemon glaze adds brightness and acidity, cutting through the richness and elevating the cake's moist layers.
- Vanilla Ice Cream: A scoop of creamy vanilla ice cream creates a delightful hot-and-cold combination that’s nothing short of heavenly.
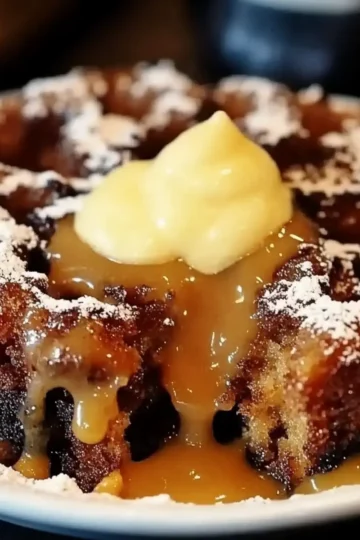
- Chocolate Sauce: Drizzling chocolate sauce brings a decadent touch, transforming your Creamy Yogurt Cake into a divine treat.
- Toasted Nuts: Chopped, toasted nuts add a crunchy texture that contrasts wonderfully with the soft cake, enhancing the overall experience.
- Coconut Whipped Cream: For a tropical twist, use coconut whipped cream to transport your taste buds to paradise while bringing a luscious flavor.
How to Store and Freeze Creamy Yogurt Cake
Room Temperature: If you plan to enjoy your Creamy Yogurt Cake in a few days, store it covered at room temperature for up to 3 days to retain its freshness.
Fridge: For longer storage, place the cake in an airtight container and refrigerate it for up to 5 days. This keeps it moist and delicious.
Freezer: Wrap slices of the cake tightly in plastic wrap and then place them in a freezer-safe bag. You can freeze for up to 3 months for a sweet treat anytime.
Reheating: Thaw in the fridge overnight before serving or warm in the microwave for 10-15 seconds for a cozy slice that tastes just baked!
Make Ahead Options
These Creamy Yogurt Cake preparations are perfect for busy home cooks! You can measure and mix the dry ingredients (flour, baking powder, baking soda, and salt) and store them in an airtight container up to 3 days in advance—this not only saves time but ensures they’re fresh and ready to go. Additionally, you can whisk together the wet ingredients (sugar, yogurt, oil, eggs, and vanilla) and refrigerate them for up to 24 hours to keep everything conveniently prepared. When you're ready to bake, simply combine the wet and dry ingredients, add the milk, and proceed with the baking steps. This way, your Creamy Yogurt Cake will be just as delicious with minimal effort when you need it!
Creamy Yogurt Cake Variations & Substitutions
Feel free to personalize your Creamy Yogurt Cake with these delightful twists that tickle the taste buds!
- Flavor Boost: Add 1 tablespoon of lemon zest or almond extract for a refreshing twist. This simple addition brightens the cake and adds a wonderful layer of flavor.
- Gluten-Free: Substitute all-purpose flour with a 1:1 gluten-free baking blend. This way, everyone can enjoy a slice of this delicious cake!
- Fruit-Infused: Fold in 1 cup of fresh berries or diced peaches into the batter for a fruity explosion in each bite. Feel the burst of flavor as you sink your fork into the cake!
- Nutty Texture: Incorporate ½ cup of chopped walnuts or almonds for added crunch and taste. The extra texture elevates the overall experience of each slice!
- Chocolatey Indulgence: Mix in ½ cup of mini chocolate chips or swirl in some cocoa powder for a chocolate version of this cake. A rich chocolatey dessert is a sure way to impress!
- Dairy-Free: Replace yogurt and milk with almond or coconut yogurt and plant-based milk. It’s creamy and flavorful without any dairy ingredients.
- Spicy Kick: Add a teaspoon of cinnamon or a pinch of nutmeg to the dry ingredients for a warm, spicy touch. This aromatic twist can make your cake feel even cozier!
- Frosted Delight: Top with whipped cream or a light frosting to elevate the cake into a stunning dessert. Serve a slice with a dollop on top for an irresistible treat!
If you’re eager for more delightful variations, check out my Easy Vanilla Cupcakes for another versatile baking adventure!
Expert Tips for Creamy Yogurt Cake
Avoid Overmixing: Gently fold the dry ingredients into the wet until just combined; overmixing can lead to a dense cake.
Choose the Right Yogurt: Use plain yogurt for best results. Greek yogurt works, too, but may yield a denser texture in your Creamy Yogurt Cake.
Check for Doneness: Always insert a toothpick into the center; if it comes out clean, your cake is ready. Avoid opening the oven too soon.
Cooling Time Matters: Letting the cake cool in the pan helps maintain its structure. Don’t rush this step for a perfect texture!
Customizable Additions: Feel free to mix in seasonal fruits or a handful of nuts for a delightful twist that can elevate your Creamy Yogurt Cake.

Creamy Yogurt Cake Recipe FAQs
What type of yogurt works best for this cake?
Absolutely! Plain yogurt is ideal for this recipe as it provides the right moisture and tang. You can also use Greek yogurt; however, keep in mind that it may result in a denser texture due to its thickness.
How can I ensure my cake is moist and not dry?
To keep your Creamy Yogurt Cake perfectly moist, avoid overmixing the batter once you combine the wet and dry ingredients. Mix until just combined, and make sure to follow the baking times, checking for doneness with a toothpick. If it comes out clean, your cake is ready!
How should I store my Creamy Yogurt Cake?
If you plan to enjoy your cake within a few days, simply cover it and leave it at room temperature for up to 3 days. For longer storage, transfer it to an airtight container and refrigerate for up to 5 days. This helps maintain its delightful texture.
Can I freeze leftover slices of the cake?
Absolutely! To freeze your Creamy Yogurt Cake, wrap individual slices tightly in plastic wrap and then place them in a freezer-safe bag. They’ll stay fresh for up to 3 months. When you're ready, simply thaw in the fridge overnight or microwave for 10-15 seconds for a cozy treat.
What should I do if my cake sinks in the middle?
Very good question! If your cake sinks, it’s often due to overmixing the batter or not baking it long enough. Be sure to mix just until combined and always check for doneness by inserting a toothpick in the center. If it comes out clean, that's your green light!
Are there any dietary considerations for this recipe?
If you or your guests have dietary restrictions, feel free to substitute the all-purpose flour with a gluten-free blend. Additionally, if anyone has dairy allergies, you can use a dairy-free yogurt alternative, keeping in mind that it might slightly alter the texture but will still yield a delicious cake!
Deliciously Easy Creamy Yogurt Cake for Sweet Moments
Ingredients
Equipment
Method
- Preheat your oven to 350°F (175°C) and prepare a 9-inch round cake pan.
- In a medium bowl, whisk together the dry ingredients until well combined.
- In a large bowl, whisk together the wet ingredients until smooth.
- Gently mix the dry ingredients into the wet ingredients until just combined.
- Add milk and stir until the mixture is smooth.
- Pour the batter into the prepared cake pan.
- Bake in the preheated oven for 30 to 35 minutes, or until a toothpick comes out clean.
- Allow the cake to cool in the pan for 10 minutes, then transfer to a wire rack.
- Slice and serve the cake once it has cooled completely.


Leave a Reply