
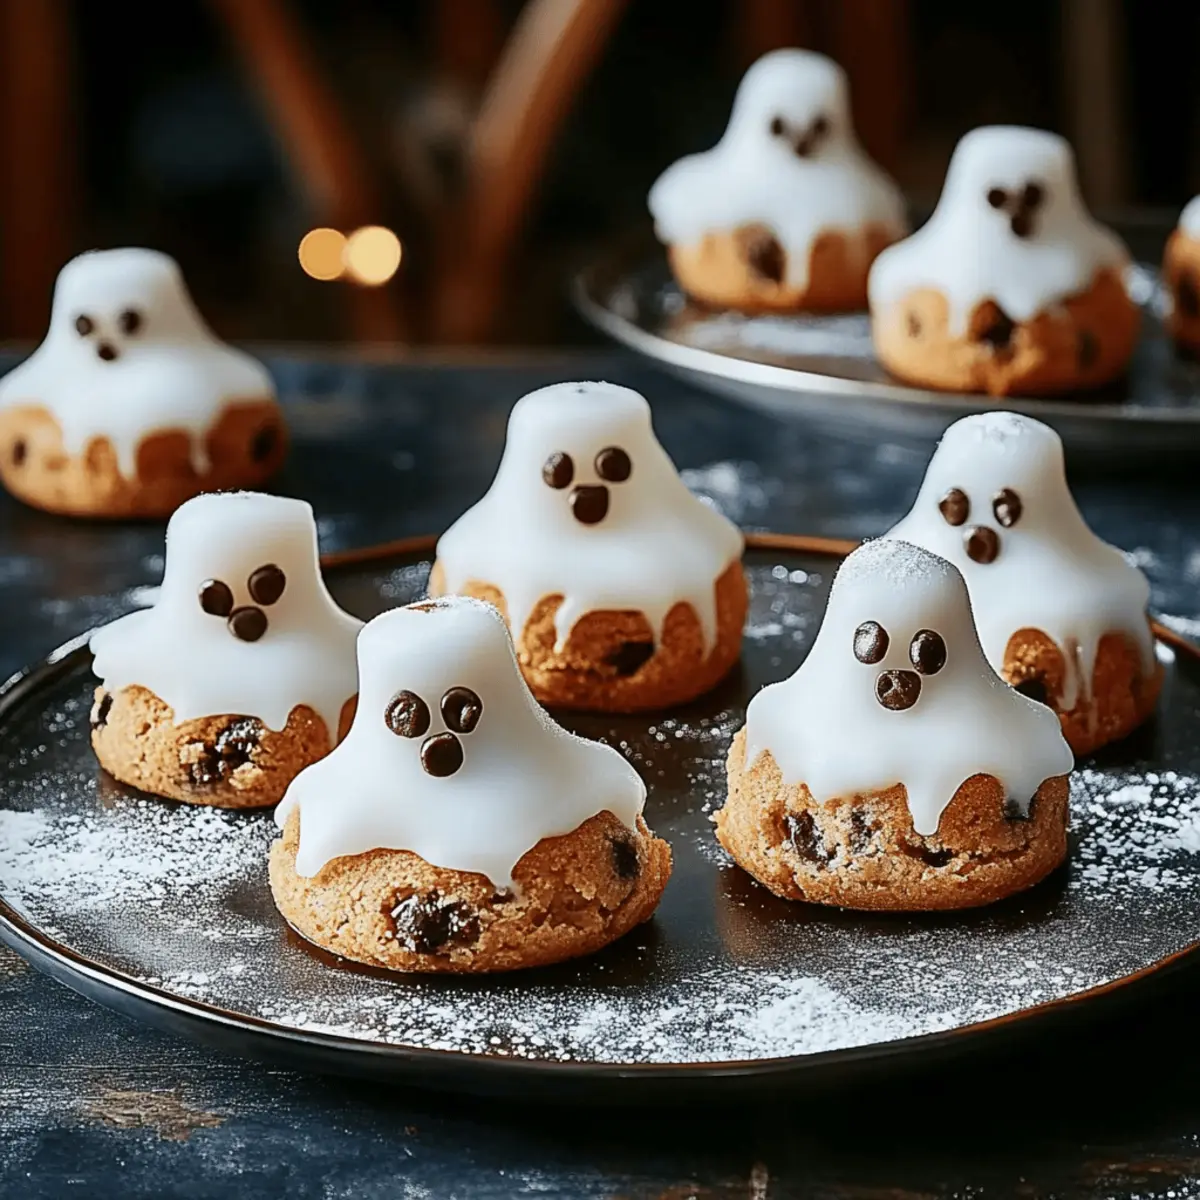
As I unpacked my seasonal decorations, I stumbled upon an old recipe card tucked between the ribbons and candles. It was for Ghost Cookies, a hauntingly delightful treat that has become a staple in my kitchen each Halloween season. These whimsical cookies are not just fun to make; they’re a delightful project that brings everyone together while keeping things simple. With a quick prep time and a minimal ingredient list, you can conjure up a batch of sweet, friendly ghosts in no time. Plus, they’re perfect for sharing at parties or enjoying as a cozy treat at home. Who wouldn’t love a cookie that gives you a chance to unleash your creativity? Ready to transform your kitchen into a spooky bakery? Let’s dive in!
Why are Ghost Cookies a Must-Make?
Simplicity: These Ghost Cookies require just a few pantry staples, making them accessible for bakers of all skill levels. Fun Activity: Perfect for families, they offer a delightful way to spend an afternoon creating edible art. Charming Presentation: With their whimsical ghost shapes, they’re a festive treat that adds a playful touch to your Halloween spread. Versatile Designs: Customize them with different toppings or decorations, allowing your creativity to shine. Crowd-Pleaser: Whether at a party or just a cozy night in, these cookies will surely delight friends and family alike.
Ghost Cookies Ingredients
For the Cookie Base
• All-purpose flour – This is the primary ingredient that gives the cookies their structure.
• Granulated sugar – Sweetens the cookies, balancing the flavors perfectly.
• Butter – Always use unsalted for more control over the cookie's flavor.
• Egg – Acts as a binder, helping to keep the cookie together.
• Baking powder – This will give your cookies that perfect lift.
• Vanilla extract – Adds a warm, inviting flavor that complements the sweetness.
For the Frosting
• Powdered sugar – The main ingredient for creating a smooth and sweet frosting.
• Milk – Adjust the consistency of the frosting for easy spreading.
• Black food coloring – Use sparingly to create spooky ghost eyes and mouths; you can also use chocolate chips for a more classic look.
For Decorating
• Candy eyes – These fun little details make your Ghost Cookies come alive!
• Sprinkles – Optional, but they add a festive touch to your spooky creations.
Creating these Ghost Cookies will not only haunt your taste buds with delight but also allow you to have fun in the kitchen!
Step‑by‑Step Instructions for Ghost Cookies
Step 1: Prepare the Cookie Dough
Begin by preheating your oven to 350°F (175°C). In a large mixing bowl, combine 2 cups of all-purpose flour, 1 cup of granulated sugar, ½ cup of softened unsalted butter, 1 egg, 1 teaspoon of baking powder, and 1 teaspoon of vanilla extract. Use an electric mixer to blend the ingredients until smooth and well combined. The dough should be slightly sticky but manageable.
Step 2: Shape the Cookies
Once the dough is ready, dust your work surface with a little flour to prevent sticking. Roll out the dough to about ¼ inch thick. Use a ghost-shaped cookie cutter to create fun silhouettes, and place each ghost on a baking sheet lined with parchment paper, leaving space between the cookies for spreading. Bake for 10-12 minutes, or until the edges are lightly golden.
Step 3: Cool the Cookies
After baking, remove the cookies from the oven and let them cool on the baking sheet for about 5 minutes. Then, carefully transfer them to a wire rack to cool completely. This cooling process is crucial, as hot cookies can collapse if you try to frost them too soon!
Step 4: Make the Frosting
While your cookies cool, prepare the frosting by whisking together 2 cups of powdered sugar and 2-3 tablespoons of milk in a medium bowl. Adjust the consistency until you achieve a smooth, spreadable texture. If desired, add a few drops of black food coloring to give your frosting a spooky hue, perfect for your Ghost Cookies.
Step 5: Frost the Cookies
With your cookies cooled and frosting ready, grab a butter knife or spatula, and spread a layer of frosting over each ghost-shaped cookie. Be creative and cover the entire surface to create a smooth “ghostly” look! Aim for a thicker coat to help the candy eyes stick.
Step 6: Add the Finishing Touches
To bring your ghost creations to life, place candy eyes onto the frosting while it's still wet. You can also add sprinkles for extra flair! Allow the frosting to set for about 30 minutes, letting your Ghost Cookies become both spooky and delightful before serving or storing.

Make Ahead Options
These Ghost Cookies are perfect for home cooks looking to save time during the busy Halloween season! You can prepare the cookie dough up to 24 hours in advance; simply wrap it tightly in plastic wrap and refrigerate. This helps maintain the dough's freshness and flavor. When ready to bake, let it sit at room temperature for about 15 minutes before rolling it out and cutting your ghost shapes. Additionally, you can frost the cookies up to 3 days ahead of your event. Store them in an airtight container to keep them just as delightful. When it's time to serve, just add a few more candy eyes for that fresh look, and you'll have a hauntingly good treat ready to enjoy!
What to Serve with Ghost Cookies
Cozy up your Halloween festivities with delightful pairings that enhance the spirit of these whimsical treats.
-
Hot Chocolate: A rich, creamy beverage that complements the sweetness of cookies perfectly, making for a comforting duo.
-
Pumpkin Spice Latte: The warm spices harmonize with the ghostly sweetness, bringing a festive autumn vibe.
-
Spiced Apple Cider: This warm, fragrant drink adds a seasonal touch that pairs beautifully with the cookie’s soft texture.
-
Sugar Cookies: Celebrate the spirit of Halloween with more cookies! Their simple sweetness makes a great contrast to the spooky look of Ghost Cookies.
-
Cheese Platter: An assortment of cheeses with crackers adds a savory dimension, balancing the sweetness for a well-rounded treat table.
-
Caramel Dipping Sauce: For an extra treat, drizzle some over your cookies; the flavor pairs wonderfully with the vanilla notes.
-
Chocolate Covered Strawberries: Their fruity freshness balances the cookies’ sweetness, delivering a burst of flavor that enchants the taste buds.
-
Halloween Candy: Create a fun, festive assortment for guests to nibble alongside the cookies, enhancing the celebratory atmosphere.
-
Vanilla Ice Cream: A scoop of creamy goodness brings a delightful cold contrast to soft, sweet Ghost Cookies, creating a luxurious treat experience!
Tips for the Best Ghost Cookies
• Chill Your Dough: Refrigerating the dough for 30 minutes can help prevent spreading and ensures your cookies hold their ghostly shapes.
• Even Baking: Make sure the cookies are spaced well on the baking sheet to avoid them merging together, disrupting their cute ghost silhouettes.
• Frosting Consistency: A smooth frosting is key. If it’s too thick, add a drop more milk; if too thin, a sprinkle more powdered sugar will do.
• Decorate Quickly: Frosting should be spread thickly and decorated while wet to make candy eyes and sprinkles stick better.
• Perfect Storage: Store your Ghost Cookies in an airtight container at room temperature to keep them soft and flavorful for days!
Creating these delightful Ghost Cookies is all about fun and creativity; follow these tips to make them a haunting success!
Ghost Cookies Variations & Substitutions
Feel free to let your creativity shimmer as you customize these cookies to suit your taste!
-
Gluten-Free: Substitute all-purpose flour with a 1:1 gluten-free blend for delicious cookies everyone can enjoy. It’s a simple swap that doesn’t sacrifice flavor or texture.
-
Dairy-Free: Use coconut oil or vegan butter instead of regular butter, and your Ghost Cookies will be friendly to dairy-free diets! They’ll still turn out soft and delightful.
-
Nutty Flavor: Introduce almond flour into the mix for a subtle nutty aroma and flavor. Aim for a combination of half all-purpose and half almond flour to keep the texture just right.
-
Chocolate Lovers: Add cocoa powder to your dough for a chocolatey twist! Simply replace ¼ cup of flour with cocoa powder; the result is an indulgent dark ghost cookie.
-
Spiced Up: Sprinkle in some pumpkin pie spice or cinnamon for a warm, festive taste. This flavor boost will evoke cozy fall vibes while enjoying your treats.
-
Colorful Creations: Instead of black food coloring, use colored gel food dyes to create a rainbow of frosting! Your kids will love helping make these vibrant ghosts.
-
Sweets and Treats: Top your cookies with mini marshmallows or Halloween-themed candies for extra sweetness and charm. These little additions will bring more joy to your spooky display.
-
Peppermint Twist: For a fresh flavor, mix in a few drops of peppermint extract. It’s a wonderful way to give your Ghost Cookies a seasonal twist without compromising the cookie’s haunting aesthetics.
Embrace your culinary adventures and explore all the delightful twists you can bring to these Ghost Cookies! For an extra spooky activity, consider pairing your cookie-making session with a fun storytime featuring tales from Halloween folklore to make it an exciting evening for all!
How to Store and Freeze Ghost Cookies
Airtight Container: Store your Ghost Cookies at room temperature in an airtight container for up to 5 days to maintain their softness and flavor.
Fridge: If you prefer a cooler treat, refrigerate them in a sealed container for up to 7 days, but be aware they may lose a little of their original texture.
Freezer: For longer storage, freeze the cookies in a single layer on a baking sheet before transferring them to a freezer-safe bag. They can last up to 3 months!
Reheating: To enjoy your frozen Ghost Cookies, simply thaw them in the fridge overnight, or reheat them in a 350°F oven for a few minutes until warmed through before serving!
Ghost Cookies Recipe FAQs
What type of flour is best for Ghost Cookies?
I recommend using all-purpose flour for your Ghost Cookies, as it provides the perfect balance of structure and tenderness. If you're looking for gluten-free alternatives, you can substitute it with a 1:1 gluten-free baking flour, but keep in mind the texture might vary slightly.
How should I store my Ghost Cookies?
Store your Ghost Cookies in an airtight container at room temperature for up to 5 days. This helps keep them soft and flavorful. Alternatively, you can refrigerate them in a sealed container for up to 7 days, though this might slightly alter their texture.
Can Ghost Cookies be frozen?
Absolutely! To freeze your Ghost Cookies, first place them in a single layer on a baking sheet and put them in the freezer until firm. Then transfer them to a freezer-safe bag or container. They can last up to 3 months in the freezer. To enjoy, simply thaw them in the fridge overnight or warm them in a 350°F oven for a few minutes.
What if my cookie dough is too sticky?
If your dough feels overly sticky, try chilling it in the refrigerator for about 30 minutes. This will make it easier to handle and shape without compromising the adorable ghost designs. Alternatively, sprinkle a little flour on your work surface while rolling it out.
Can I make Ghost Cookies with my kids?
Definitely! These cookies are great for a fun family activity. Just ensure they are supervised, especially with the cutting and decorating stages. Kids will love the creative process—making edible ghosts is a delightful way to bond and enjoy some quality time.
Are there any allergy considerations for Ghost Cookies?
Yes, be cautious with allergies. The classic recipe includes common allergens such as butter (dairy) and eggs. If you’re accommodating allergies, consider using dairy-free margarine and egg replacements like flaxseed or applesauce for the binding. Always double-check the labels on your ingredients to ensure they meet your dietary needs.
Ghost Cookies That Haunt Your Taste Buds with Delight
Ingredients
Equipment
Method
- Preheat your oven to 350°F (175°C). In a large mixing bowl, combine all the cookie base ingredients using an electric mixer until smooth and well combined.
- Dust your work surface with flour and roll out the dough to about ¼ inch thick. Use a ghost-shaped cookie cutter to create silhouettes and place on a baking sheet lined with parchment paper.
- Bake cookies for 10-12 minutes, or until the edges are lightly golden. Remove from the oven and let cool on the baking sheet for about 5 minutes before transferring them to a wire rack.
- Prepare frosting by whisking together powdered sugar and milk until smooth. Add black food coloring for a spooky hue.
- Spread a layer of frosting over each cooled cookie, covering the surface for a smooth 'ghostly' look.
- While frosting is still wet, place candy eyes on top and add sprinkles if desired. Let frosting set for about 30 minutes.


Leave a Reply