
As I pulled my first batch of these delightful chocolate oat cookies from the oven, the sweet, chocolatey aroma immediately filled the kitchen, wrapping me in a warm embrace. These 4-Ingredient Gluten-Free Chocolate Oat Cookies are not just a snack; they're a heartfelt reminder of simple, satisfying indulgence that delivers both comfort and joy. With only a handful of wholesome ingredients, you can whip them up quickly, leaving fast food far behind. Plus, they’re versatile enough to cater to your dietary needs, whether you’re gluten-free, vegan, or just craving something sweet yet wholesome. Can you resist the thought of a chewy, chocolatey treat that’s both delicious and guilt-free? Let’s dive in!
Why Choose Chocolate Oat Cookies?
Quick and Easy: With just four ingredients, these cookies are a breeze to make, even for beginner bakers!
Guilt-Free Indulgence: Enjoy a rich chocolate flavor that satisfies your sweet tooth without any of the guilt, making them a healthier alternative to snacks.
Versatile Recipe: Whether you opt for gluten-free oats or swap ingredients for vegan needs, this recipe adapts to your lifestyle seamlessly.
Perfect for Sharing: Friends and family will love these chewy delights, and they make a fantastic addition to any gathering, just like my Cheesy Scalloped Potatoes.
Irresistible Aroma: As they bake, your kitchen will fill with a heavenly chocolate scent that beckons everyone to join in the treat!
Dive into this recipe, and you’ll discover that homemade comfort can indeed be simple and scrumptious.
Chocolate Oat Cookies Ingredients
• Get ready to make your taste buds dance!
For the Batter
- Oats – Foundation of texture; ensure you use certified gluten-free oats for a gluten-free recipe.
- Cocoa Powder – Gives these cookies their chocolatey goodness; try carob powder for a caffeine-free twist.
- Banana – Adds natural sweetness and moisture; unsweetened applesauce works well as a vegan alternative.
- Maple Syrup – Enhances flavor and sweetness; for a non-vegan option, honey or agave nectar can be used.
Embrace the wholesome goodness of these Chocolate Oat Cookies, a delightful way to enjoy a sweet snack!
Step‑by‑Step Instructions for Chocolate Oat Cookies
Step 1: Preheat Your Oven
Begin by preheating your oven to 350°F (175°C) and lining a baking sheet with parchment paper to ensure easy cookie removal later. This sets the stage for even baking and helps avoid any sticky situations. While the oven heats, you’ll have plenty of time to prepare the delicious batter for your Chocolate Oat Cookies.
Step 2: Mash the Banana
In a large mixing bowl, take a ripe banana and use a fork to mash it until it's completely smooth and creamy. Aim for a consistency that resembles applesauce, as this will provide the perfect moisture and sweetness for your cookies. The aroma of the ripe banana will start to fill the air, hinting at the delightful flavors to come.
Step 3: Mix in Cocoa Powder and Maple Syrup
Now, add in the cocoa powder and maple syrup to the mashed banana. Stir vigorously until the mixture is fully combined and uniform in texture. You should see a deep, rich chocolate color forming. Take a moment to appreciate the delightful chocolate aroma that starts to envelop your kitchen—it’s a sign of the indulgent Chocolate Oat Cookies about to be born!
Step 4: Fold in the Oats
Next, gently fold in the certified gluten-free oats into your chocolate mixture until they are evenly coated. Make sure there are no dry spots; you want each oat to get that chocolate goodness. This step is crucial for achieving the chewy texture that will make these cookies unforgettable.
Step 5: Shape the Cookies
Using a spoon or a cookie scoop, drop spoonfuls of the mixture onto the prepared baking sheet, spacing them about two inches apart. Lightly shape each mound into a round cookie form; they won’t spread much during baking, so shape them as desired. The anticipation builds as you see your Chocolate Oat Cookies starting to take shape on the tray.
Step 6: Bake the Cookies
Place the baking sheet into the preheated oven and bake for 10-12 minutes. You’ll know they are done when the edges appear firm but the centers still seem slightly soft—this ensures a wonderful chewy texture once they cool. Carefully keep an eye on them; overbaking can lead to less delightful results.
Step 7: Cooling Time
After baking, remove your cookies from the oven and allow them to cool on the baking sheet for a few minutes. This resting time is essential as the cookies will firm up slightly as they cool. You can see them transitioning from soft spots puffing up nicely into perfectly chewy treats—what a joy it is to make these Chocolate Oat Cookies!
Step 8: Transfer to a Wire Rack
Finally, transfer your cookies to a wire rack to cool completely before enjoying them. This step helps air circulate around the cookies, preventing them from becoming soggy. Your kitchen will be filled with a heavenly chocolate scent, and you can savor the anticipation of taking that first bite of your homemade Chocolate Oat Cookies!
Chocolate Oat Cookies Variants
Feel free to explore these wonderful variations to create your perfect chocolate oat cookie experience!
-
Gluten-Free: Use certified gluten-free oats to ensure the recipe stays compliant for gluten sensitivity while still being delicious and satisfying.
-
Vegan Alternative: Replace the ripe banana with unsweetened applesauce for a plant-based binding agent, keeping your cookies both moist and flavorful.
-
Flavor Boost: Stir in a teaspoon of vanilla extract to enhance the cookies’ flavor, creating a delightful vanilla-chocolate twist that everyone will love.
-
Nutty Addition: Fold in a quarter cup of chopped walnuts or pecans for a delightful crunch that complements the chewy texture of the cookies.
-
Choco-Chip Delight: Why not add a handful of dairy-free chocolate chips for melting goodness? They add an extra layer of richness and won't disappoint true chocolate lovers!
-
Fruity Surprise: Mix in dried fruit like cranberries or cherries for a fruity burst that brightens each bite, balancing the chocolate with a touch of natural sweetness.
-
Spice Things Up: A pinch of cinnamon or sea salt can elevate the flavor dramatically, creating a warm, inviting taste that feels just like home.
-
Carob Twist: Swap cocoa powder for carob powder for a caffeine-free alternative that still brings a delightful richness, perfect for little ones or caffeine-sensitive folks.
Experiment with these variations; each one brings a unique twist to the classic, much-loved chocolate oat cookie! Looking for more tasty treats? Check out my Carrot Cake or indulge in the rich flavors of an Apple Pecan Cake with Caramel Glaze.
Make Ahead Options
These 4-Ingredient Gluten-Free Chocolate Oat Cookies are perfect for meal prep, saving you precious time on busy days! You can prepare the cookie batter and refrigerate it for up to 24 hours before baking, ensuring they stay fresh and delicious. Simply mix the mashed banana, cocoa powder, and maple syrup, then fold in the oats, and store the batter in an airtight container. When you're ready to bake, just scoop the batter onto a lined baking sheet and pop them in the oven for a quick treat. This way, you can enjoy homemade cookies without the last-minute rush, all while maintaining the chewy, chocolatey goodness that makes these cookies a family favorite!
What to Serve with 4-Ingredient Gluten-Free Chocolate Oat Cookies
A cozy snack is always better when enjoyed with delightful pairings that elevate the experience.
-
Fresh Berries: Juicy, sweet berries provide a refreshing contrast, enhancing the rich chocolate flavor of the cookies. Their natural acidity brightens each bite!
-
Nut Butter Dip: Spread a layer of almond or peanut butter onto your cookies for a creamy, protein-packed twist that takes your snacking to the next level.
-
Greek Yogurt: Creamy and tangy, a dollop of Greek yogurt makes for a fun dipping option while adding a rich texture that complements the chewy cookies.
-
Coffee or Espresso: A warm cup of coffee brings out the chocolate notes beautifully with its bold, rich flavor. It’s perfect for an afternoon pick-me-up!
-
Coconut Flakes: Sprinkling toasted coconut on top of the cookies adds a tropical flair while providing a delightful crunch, balancing the softness of the cookie’s center.
-
Vanilla Ice Cream: For an indulgent treat, serve with a scoop of vanilla ice cream; the cool creaminess enhances the rich chocolate flavor, creating a heavenly dessert experience!
-
Chai Tea: The warming spices in chai create a cozy pairing that contrasts perfectly with the chewy texture of the cookies, perfect for chilly days.
Enjoy transforming your chocolate oat cookies into a delightful part of a well-rounded treat!
Storage Tips for Chocolate Oat Cookies
Room Temperature: Store cookies in an airtight container at room temperature for up to 5 days to maintain their delightful chewiness.
Fridge: For longer freshness, keep the cookies in the refrigerator for up to 1 week. Just ensure they’re in a sealed container to prevent drying out.
Freezer: Freeze cookies for up to 3 months in a freezer-safe bag or container. Layer them with parchment paper to avoid sticking together.
Reheating: Enjoy thawed cookies at room temperature or reheat in the oven at 300°F (150°C) for a few minutes to restore that fresh-baked goodness. Don’t forget, these Chocolate Oat Cookies are a delicious treat you can savor anytime!
Expert Tips for Chocolate Oat Cookies
-
Ripe Bananas Are Key: Ensure your bananas are very ripe for maximum sweetness; unripe bananas can lead to a bland flavor in your cookies.
-
Avoid Overbaking: Keep an eye on the cookies as they bake; removing them while the centers are soft helps maintain that delightful chewy texture.
-
Parchment Paper Benefits: Using parchment paper not only prevents sticking but also allows for easier cleanup and perfect cookie removal.
-
Experiment with Mix-ins: Feel free to add nuts or chocolate chips for added flavor; just make sure they complement the chocolate oat cookies without overwhelming them.
-
Cooling is Important: Allow cookies to cool on the baking sheet briefly before moving them to a wire rack to prevent breakage; this step enhances their structure.
Chocolate Oat Cookies Recipe FAQs
What kind of oats should I use for this recipe?
I recommend using certified gluten-free oats to keep these Chocolate Oat Cookies safe for those with gluten sensitivities. Regular oats can contain gluten due to cross-contamination during processing, so it’s best to be cautious if gluten is a concern.
How should I store the cookies?
Store your cookies in an airtight container at room temperature for up to 5 days. If you want to keep them fresh longer, you can refrigerate them for up to a week. Just make sure the container is sealed well to prevent them from drying out.
Can I freeze Chocolate Oat Cookies, and how?
Absolutely! To freeze your cookies, place them in a single layer on a baking sheet and freeze for about 1 hour. Once they’re firm, transfer them to a freezer-safe bag or container, separating layers with parchment paper to prevent sticking. They can be safely frozen for up to 3 months. When you’re ready to enjoy, just thaw them at room temperature or reheat in the oven at 300°F (150°C) for a few minutes!
What if my cookies come out too crumbly?
If your cookies are crumbly, it might be because the banana wasn’t ripe enough, or there wasn't enough moisture in the mixture. Make sure to use very ripe bananas for natural sweetness and moisture. If they still seem dry, you could try adding a little extra maple syrup or a tablespoon of nut butter to bring the dough together.
Are there any dietary considerations for these cookies?
These cookies are naturally vegan and gluten-free when using appropriate substitutes. If you're concerned about allergens, be cautious with added ingredients like nuts or chocolate chips. I often make a nut-free version for kids with nut allergies, and using rolled oats ensures the recipe remains safe and delicious for everyone!
How can I customize the flavors in these cookies?
Feel free to get creative! You can swap cocoa powder for vanilla extract for a non-chocolate version. Add in some chopped nuts or dairy-free chocolate chips for extra texture. Dried fruits like cranberries or raisins can also give a delightful fruity twist to your cookies. The more the merrier!

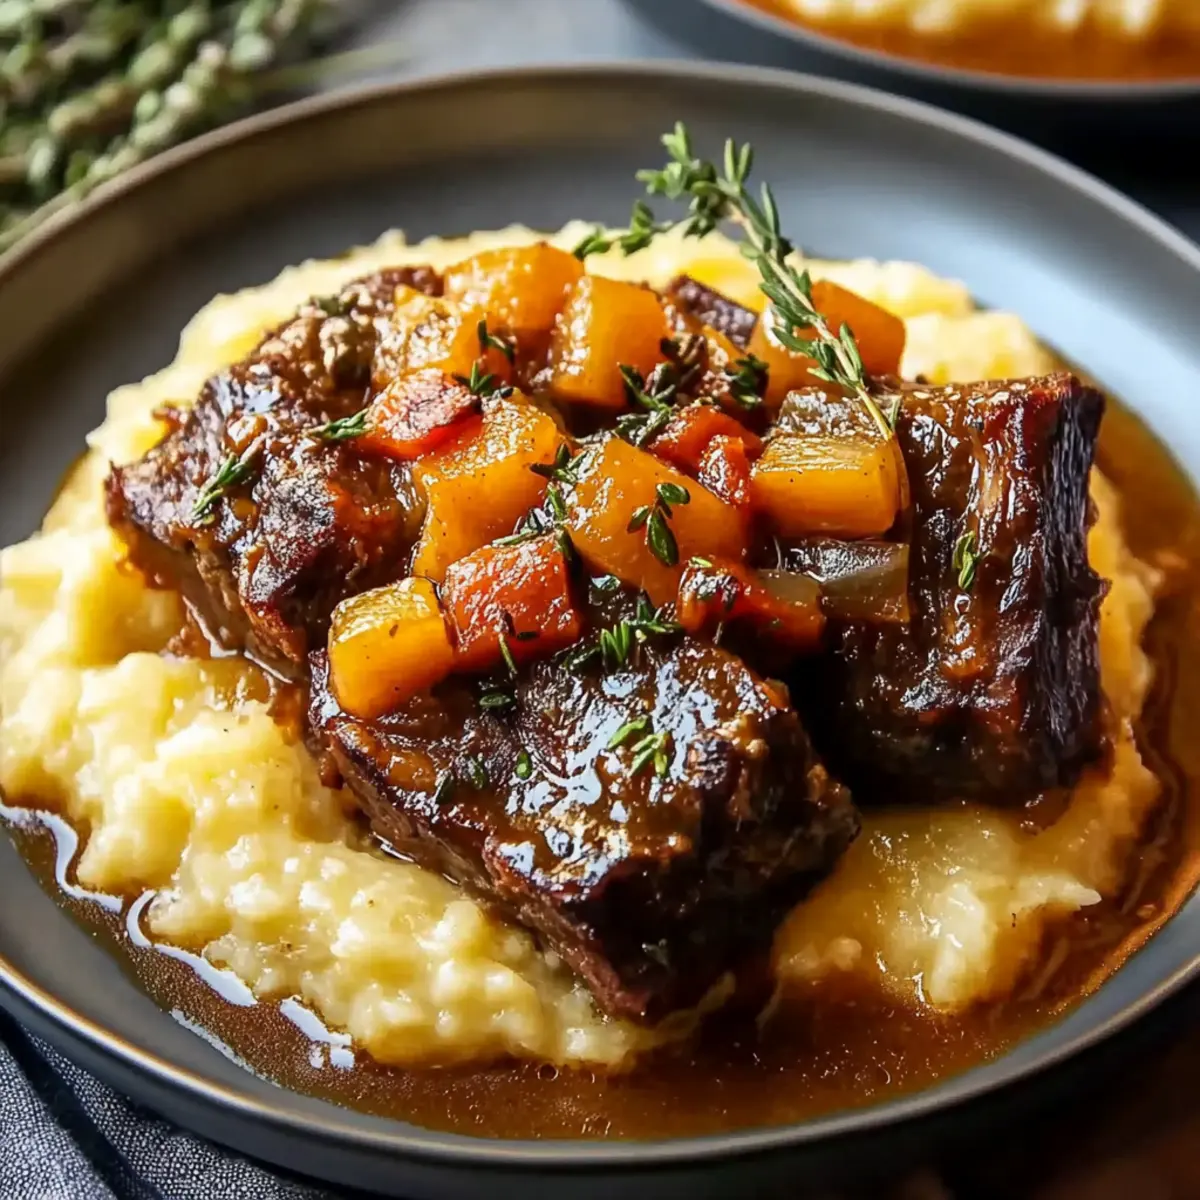
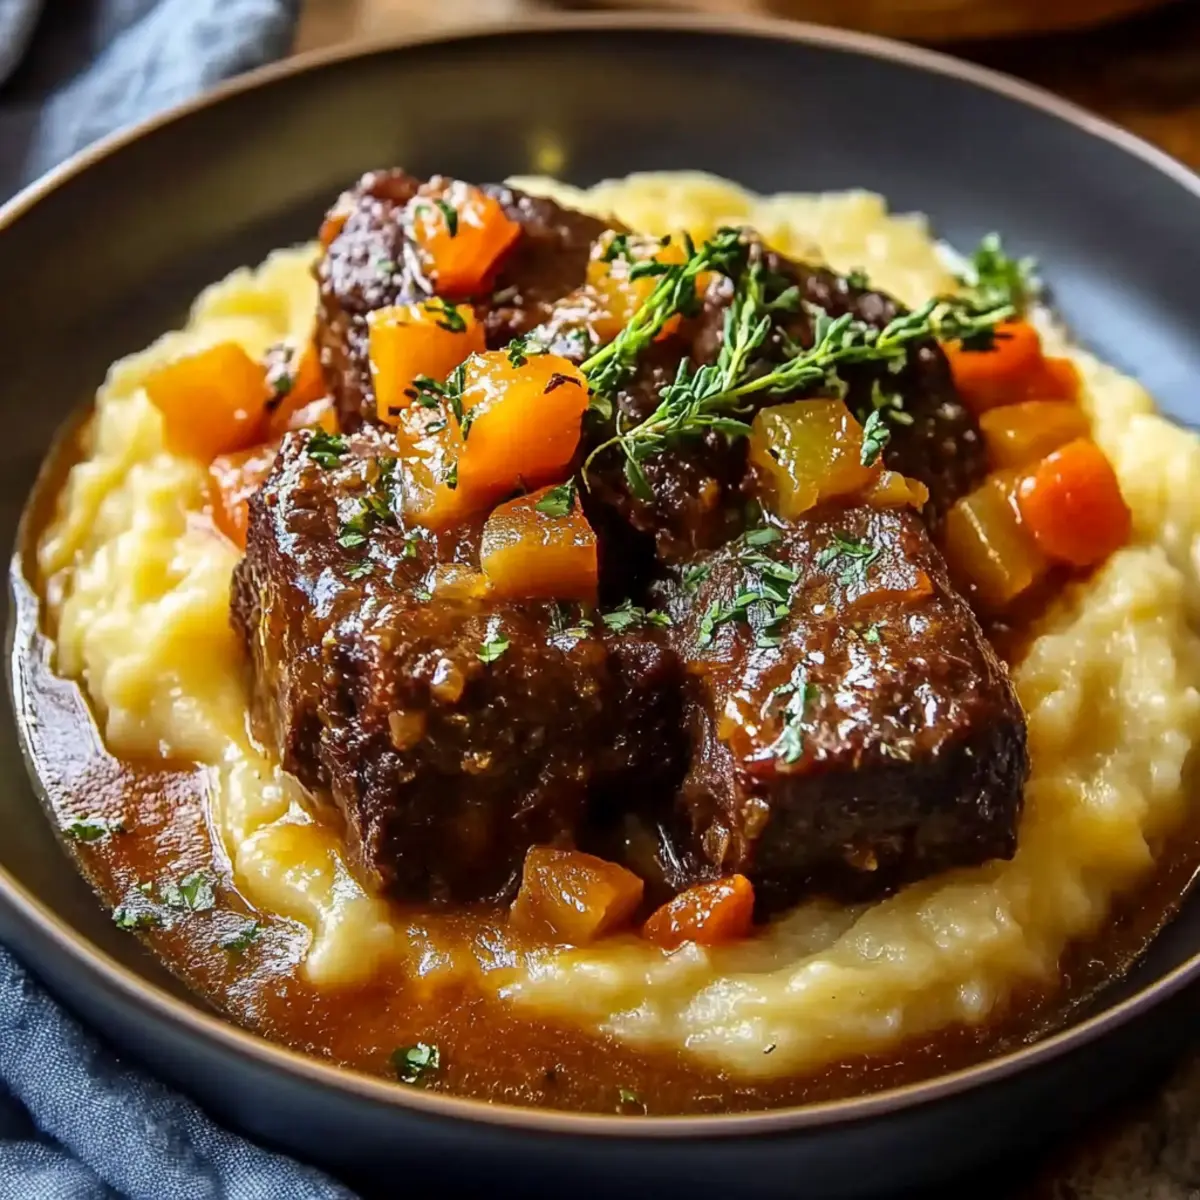
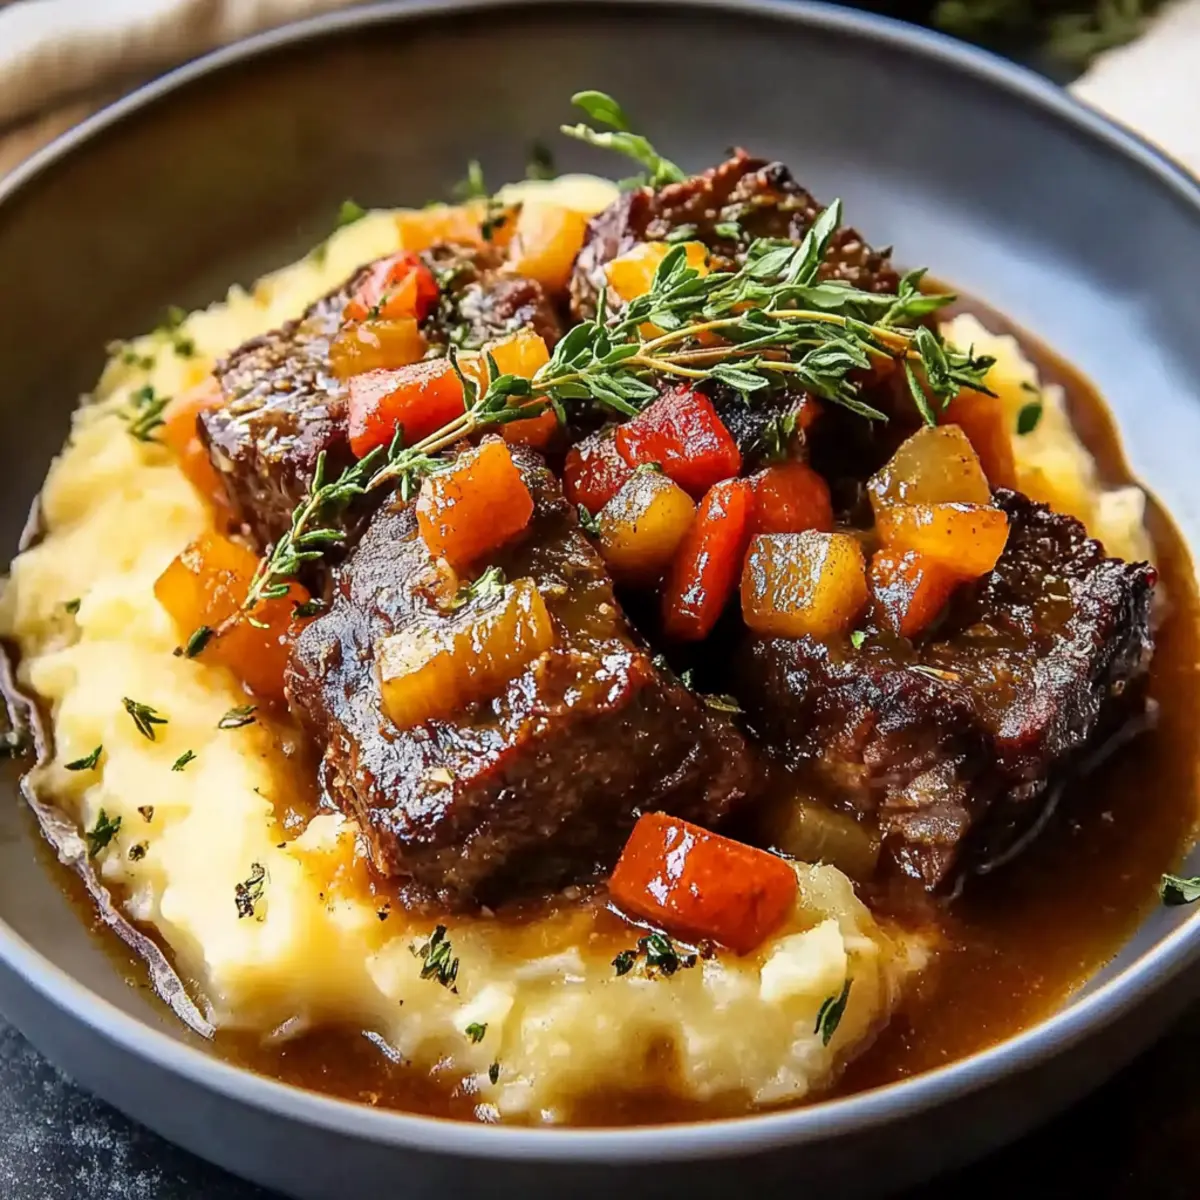
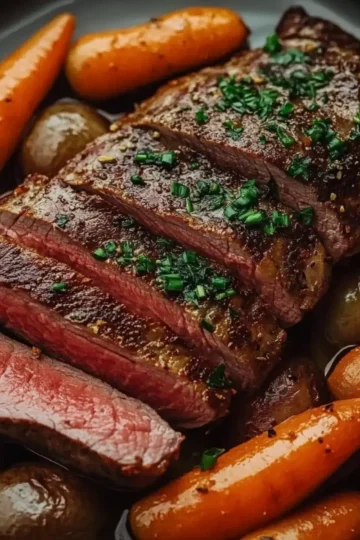
Indulgent Apple Cider Braised Short Ribs Recipe You’ll Love
Ingredients
Equipment
Method
- Preheat your oven to 325°F (163°C).
- Season the short ribs with salt and pepper.
- In a Dutch oven, heat olive oil over medium-high heat and sear the short ribs until browned on all sides.
- Remove the short ribs and set them aside.
- In the same pot, add onions, garlic, carrots, and celery; sauté until softened.
- Add apple cider, beef broth, soy sauce, and apple cider vinegar to the pot; stir well.
- Return the short ribs to the pot, ensuring they are submerged in the liquid.
- Cover the pot and transfer to the oven; braise for 2 hours until the meat is tender.
- Remove from the oven and let rest for 10 minutes before serving.


Leave a Reply