
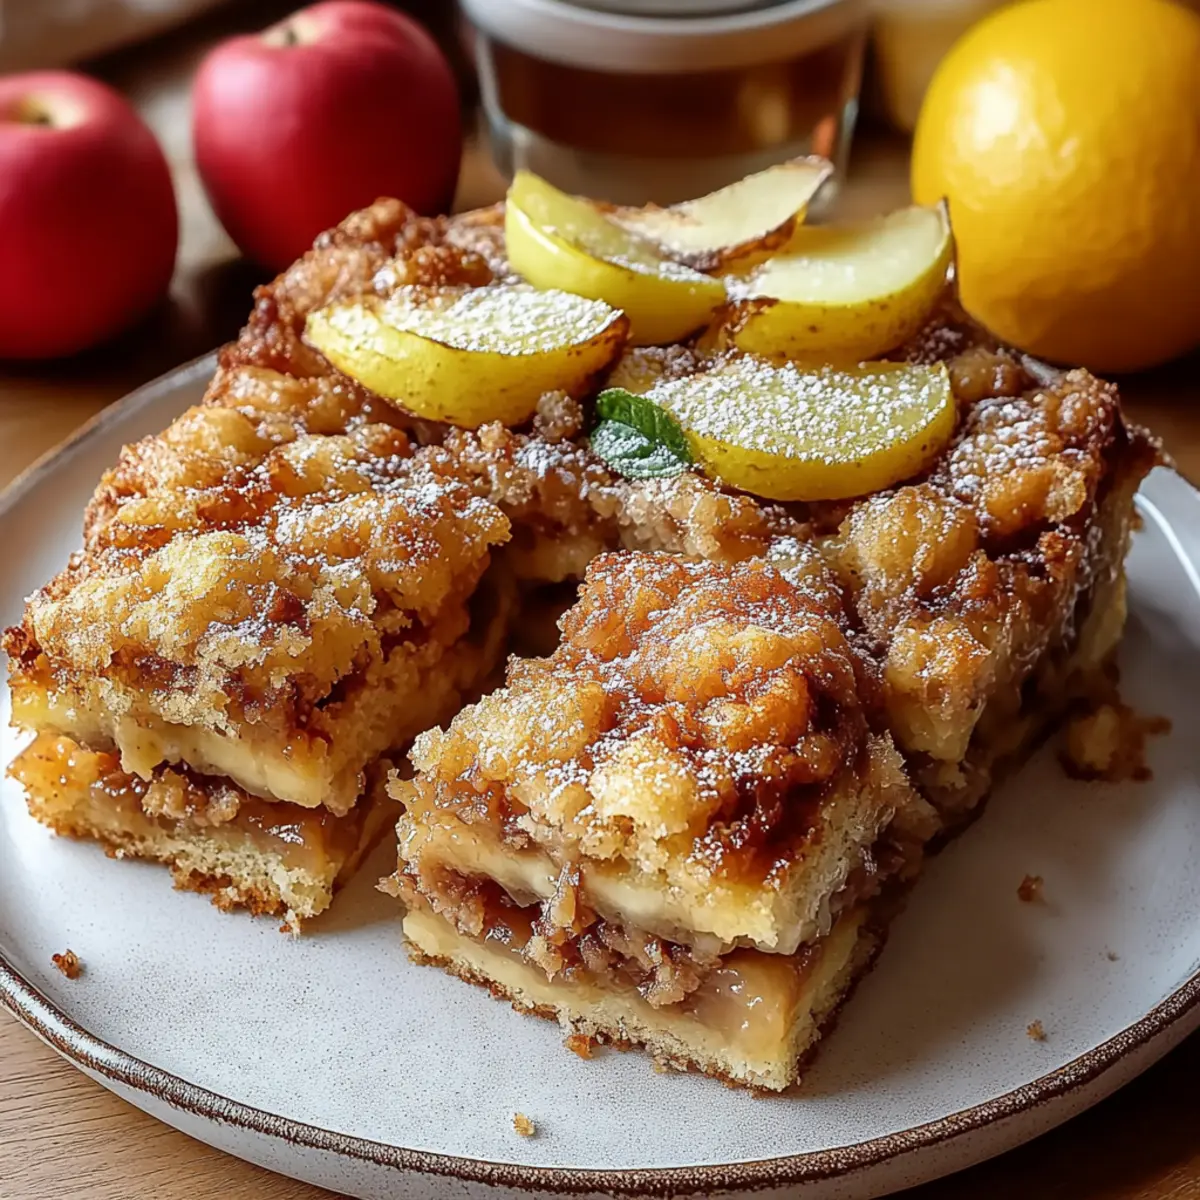
As I pulled a tray of golden-brown bars from the oven, the warm aroma of cinnamon and baked apples wrapped around me like a comforting hug. There’s something undeniably delightful about Apple Pie Bars—they transform the classic dessert into a portable treat that’s perfect for any occasion. Not only are these bars a crowd-pleaser, but they also require less time than traditional pie, making them an ideal choice for busy weeknights or weekend gatherings with friends. With layers of buttery crust and luscious apple filling, they have quickly become a staple in my baking repertoire. Each bite feels like a cozy autumn afternoon, no matter the season. What’s your favorite way to enjoy apple desserts? Let’s dive into this recipe together!
Why are Apple Pie Bars so special?
Irresistible, these Apple Pie Bars are a delightful twist on the classic dessert that everyone loves. Quick and easy, you’ll have them ready in under two hours, perfect for busy schedules. Flavor-packed, the combination of tart apples and warm spices creates an unforgettable taste sensation. Customizable, feel free to swap in your favorite fruits or add a drizzle of caramel for extra indulgence. Crowd-pleaser, they’re sure to impress friends and family at any gathering—cut them into bite-sized pieces for an even more inviting treat!
Apple Pie Bars Ingredients
• Dive into the heart of this delicious recipe with the essentials needed for your Apple Pie Bars!
For the Crust
- 2 ½ cups all-purpose flour – a staple that gives structure to your bars.
- ¼ teaspoon salt – enhances flavors and balances sweetness.
- 1 cup unsalted butter – brings richness; make sure it's softened for easy mixing.
- ½ cup granulated sugar – adds sweetness for a delightful crust.
- ½ teaspoon vanilla extract – infuses a lovely, warm flavor.
For the Apple Filling
- 4 medium-sized apples (preferably Granny Smith) – tart apples provide a perfect balance to the sweetness.
- ⅓ cup granulated sugar – sweetens the apple filling; adjust based on apple tartness.
- 1 teaspoon ground cinnamon – the warm spice that makes this dish feel like home.
- ¼ teaspoon ground nutmeg – adds depth and a hint of fall flavor.
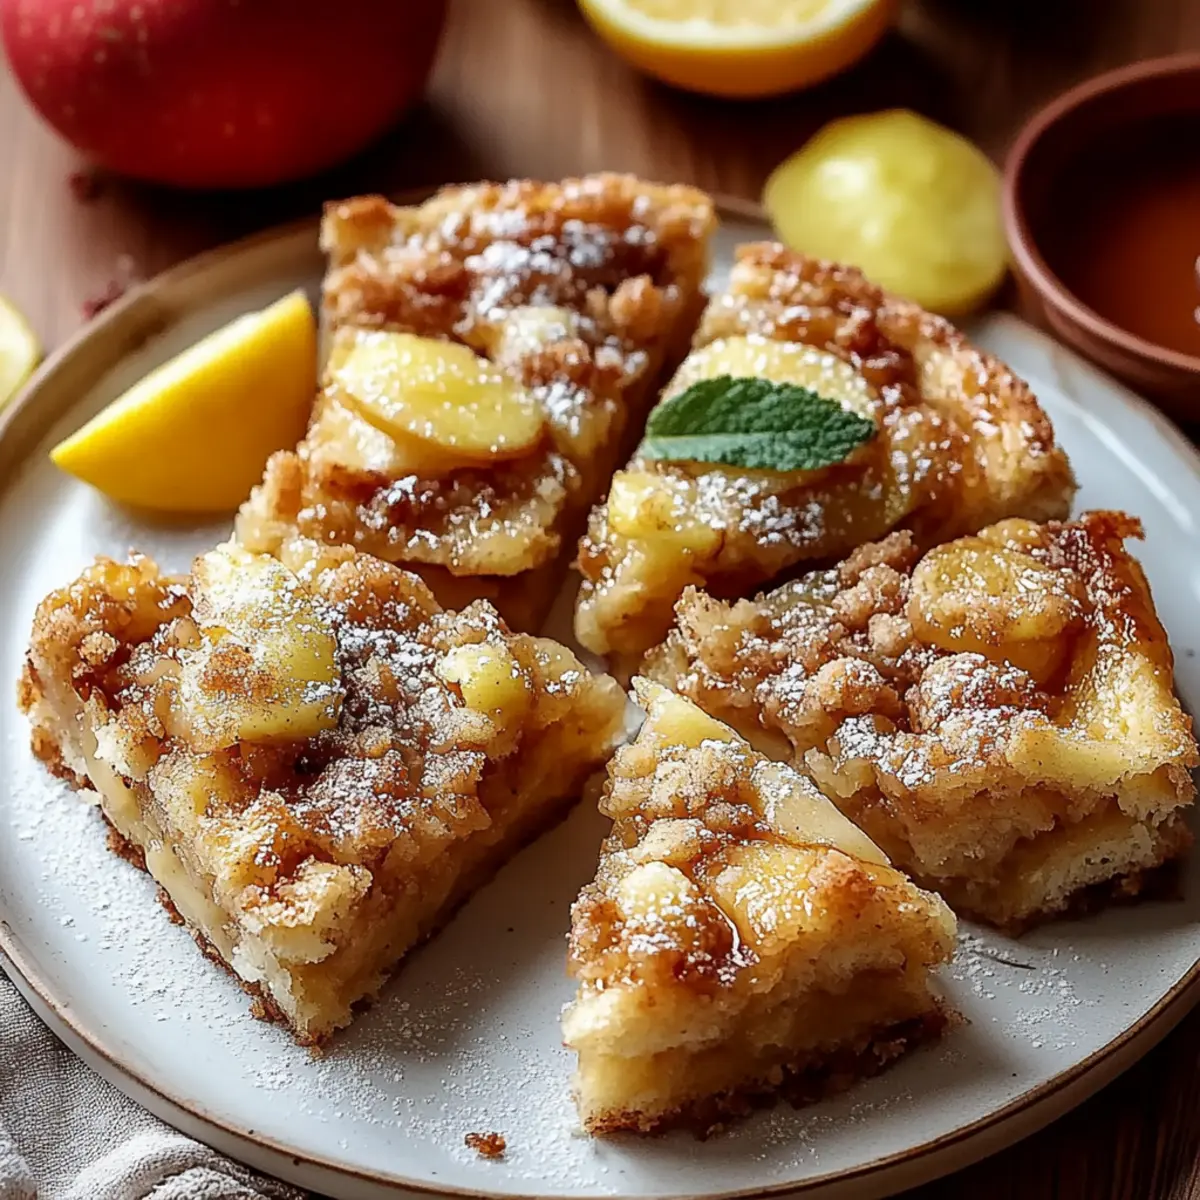
- 1 tablespoon lemon juice – brightens the apple mixture and prevents browning.
- 1 teaspoon cornstarch – thickens the filling, keeping everything nicely together.
Optional Topping
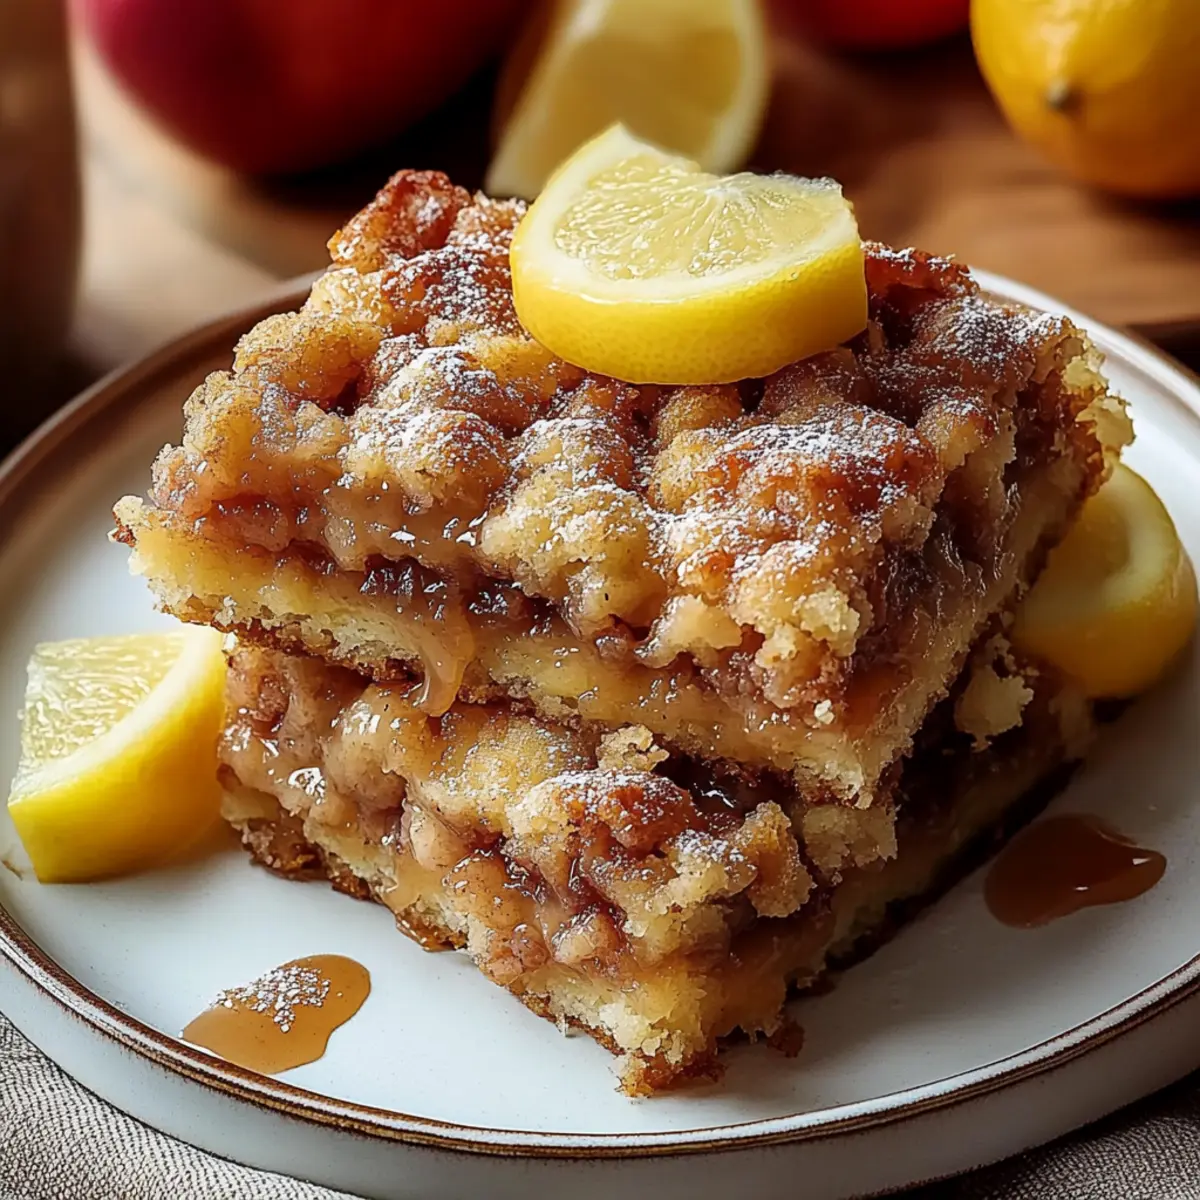
- ¼ cup caramel sauce – drizzle this for an extra touch of sweetness and decadence.
Enjoy making these Apple Pie Bars that are perfect for any gathering or cozy night in!
Step‑by‑Step Instructions for Apple Pie Bars
Step 1: Preheat the Oven
Begin by preheating your oven to 350°F (175°C). While it warms up, take a moment to grease a 9x13-inch baking dish with butter or non-stick spray. This ensures that your Apple Pie Bars will release easily once they’re baked, setting the stage for a successful treat!
Step 2: Prepare the Crust Mix
In a large mixing bowl, combine 2 ½ cups of all-purpose flour with ¼ teaspoon of salt, stirring until well blended. This mixture forms the base of your delectable bars. Set it aside for now, as you’ll be incorporating it into the buttery goodness shortly.
Step 3: Cream the Butter and Sugar
In another large mixing bowl, cream together 1 cup of softened unsalted butter and ½ cup of granulated sugar until you achieve a fluffy, pale mixture. Add in ½ teaspoon of vanilla extract, mixing it until the aroma fills your kitchen, preparing a sweet foundation for your Apple Pie Bars.
Step 4: Combine the Dough Ingredients
Gradually add the flour mixture to the creamed butter and sugar, stirring just until a crumbly dough forms. This step should take about 2-3 minutes; you want to incorporate the ingredients without overmixing. This dough will be a comforting and rich base for your bars.
Step 5: Press the Crust into the Baking Dish
Now, take about two-thirds of your dough and evenly press it into the bottom of the prepared baking dish, creating a solid and smooth layer. This part of the process should feel satisfying as the dough molds to the dish, so make sure to compact it well for durability.
Step 6: Prepare the Apple Filling
In a separate bowl, combine your thinly sliced apples with ⅓ cup of sugar, 1 teaspoon of ground cinnamon, ¼ teaspoon of ground nutmeg, 1 tablespoon of lemon juice, and 1 teaspoon of cornstarch. Toss the apples lightly to coat them evenly, filling your kitchen with delightful aromas that hint at the yumminess to come.
Step 7: Layer the Apple Mixture
Evenly layer the apple mixture over the crust in the baking dish. The apples should be piled high and beautifully arranged as they will soften and meld into your Apple Pie Bars while baking, creating a deliciously spiced offering.
Step 8: Crumble the Remaining Dough
Next, take the remaining one-third of your dough and crumble it over the top of the apple layer. This creates a rustic, crumbly topping that will turn golden brown and crispy while baking. Aim for an even distribution to ensure every bite is delightful.
Step 9: Bake the Bars
With everything assembled, place your dish in the preheated oven. Bake for 40-45 minutes, watching until the top is a lovely golden brown and the apples are tender. Your kitchen will fill with mouthwatering scents, signaling that your Apple Pie Bars are almost ready!
Step 10: Cool and Slice
Once baked, remove the dish from the oven and allow the bars to cool for at least 30 minutes. This cooling period is crucial for easy slicing; the filling will settle, making each piece beautifully neat and visually appealing.
Step 11: Optional Caramel Drizzle
If desired, drizzle your Apple Pie Bars with caramel sauce just before serving. This sweet touch adds a decadent flair that enhances the beloved flavors of your homemade dessert, making it a delightful treat for any occasion.
Helpful Tricks for Apple Pie Bars
- Perfectly Soft Apples: Use sweet-tart apples like Granny Smith for a balanced flavor. Avoid overcooking them to keep some texture in your Apple Pie Bars.
- Avoid a Soggy Crust: Make sure to press the crust firmly in the baking dish and bake until golden brown to ensure it holds up against the juicy filling.
- Even Dough Crumbles: When crumbling the remaining dough on top, aim for small, uniform pieces for a consistent texture and baking.
- Cooling Time is Key: Let the bars cool for at least 30 minutes before slicing. This helps set the filling and makes clean cuts easier.
- Customization Possibilities: Don’t hesitate to mix in other fruits or nuts to the apple mixture for a unique flavor twist in your Apple Pie Bars!
Apple Pie Bars Variations
Feel free to explore these creative twists to make these Apple Pie Bars your own!
- Gluten-Free: Substitute all-purpose flour with a gluten-free blend for a tasty alternative.
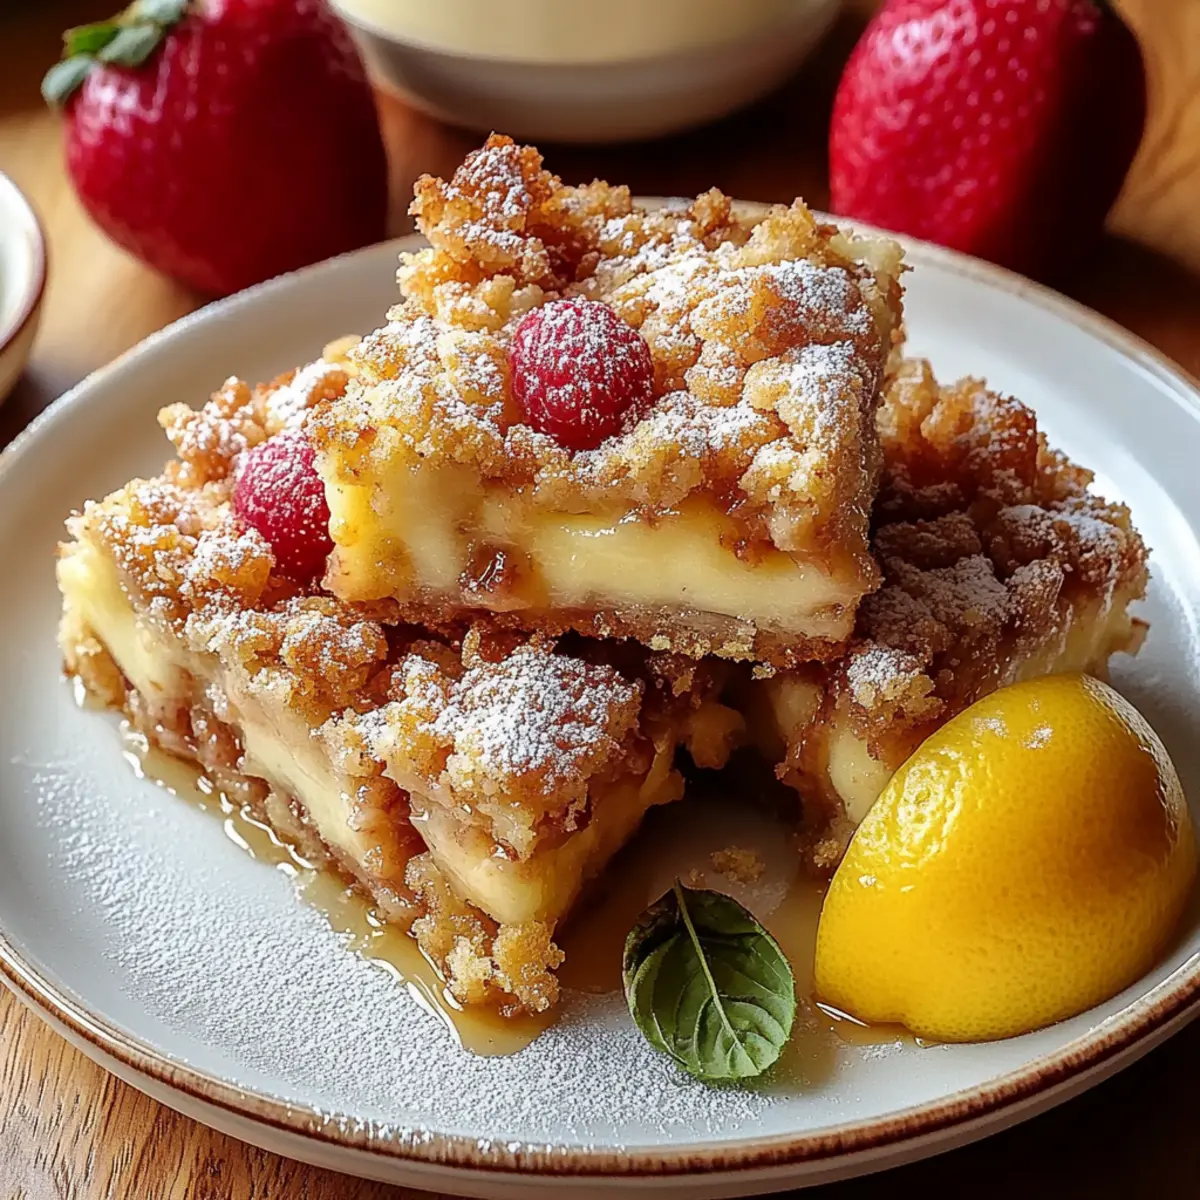
- Fruit Medley: Mix in pears or berries for a colorful fruit combination that adds sweetness and flair.
- Oat Topping: Replace the crumbled dough with a mixture of oats and brown sugar for a hearty, crunchy topping.
- Nutty Crunch: Add chopped pecans or walnuts to the apple filling for a delightful texture contrast and nutty flavor.
- Spicy Kick: Introduce a pinch of cayenne pepper or ginger to the apple mixture for a sweet heat that excites the taste buds.
- Maple Syrup: Swap the granulated sugar in the filling for maple syrup to infuse a rich, warm sweetness that balances with the apples.
- Caramel Swirl: Stir some caramel sauce into the apple filling before layering for pockets of gooey delight in every bite.
- Coconut Flakes: Sprinkle shredded coconut over the top before baking for a tropical twist that complements the apples beautifully.
Feel encouraged to mix and match these suggestions to create a version of Apple Pie Bars that brings you joy at every bite!
What to Serve with Apple Pie Bars
Imagine a delightful spread that complements the cozy warmth of apple pie bars and elevates your dessert experience!
-
Vanilla Ice Cream: The classic pairing of cold, creamy vanilla ice cream contrasts beautifully with the warm apple bars, creating a delightful temperature experience.
-
Whipped Cream: Light and fluffy, a dollop of whipped cream enhances the sweet, spiced flavors while adding a creamy texture to each bite.
-
Coffee: A rich cup of freshly brewed coffee offers a perfect balance to the sweetness of the apple pie bars, enhancing the overall taste experience.
-
Caramel Sauce: Drizzling additional caramel sauce on top not only adds a luxurious touch but also brings out the fruity flavors of the apples beautifully.
-
Spiced Apple Cider: Warm spiced apple cider mirrors the apple filling's flavors and enriches your dessert table with fall-inspired goodness for a festive touch.
-
Cheese Platter: Think cheddar or gouda; the savory notes from cheese provide a lovely contrast to the sweet and spiced bars, creating a balanced palate experience.
-
Chai Tea: The fragrant spices in chai tea echo the cinnamon and nutmeg of the bars, creating a harmonious pairing that feels like a warm hug.
-
Chocolate Drizzle: For an indulgent twist, a light drizzle of melted chocolate can complement the sweetness and add a rich new dimension to your dessert.
-
Fresh Berries: Tart, juicy berries like raspberries or blueberries add a refreshing burst of flavor, brightening the palate with their tanginess after each sweet bite.
How to Store and Freeze Apple Pie Bars
Fridge: Keep your Apple Pie Bars in an airtight container to enjoy within 3-5 days. Place parchment paper between layers to prevent sticking.
Freezer: For longer storage, wrap individual bars in plastic wrap and freeze in a zip-top bag for up to 2 months. Thaw overnight in the fridge when ready to enjoy.
Reheating: To warm, simply place the bars in a preheated 350°F (175°C) oven for about 10-15 minutes, or until heated through for that fresh-baked taste.
Make Ahead Options
These Apple Pie Bars are a fantastic option for meal prep, saving you precious time during busy weeks! You can prepare the dough and apple filling up to 24 hours in advance. Simply make the dough as directed and store it in an airtight container in the refrigerator. The apple mixture can be prepared ahead as well; just toss the sliced apples with lemon juice to prevent browning, then refrigerate. When you're ready to bake, layer the filling over the crust and crumble the topping before baking at 350°F for 40-45 minutes to achieve those golden, delicious results. Just as wonderful as when made fresh, these bars will be a hit!
Apple Pie Bars Recipe FAQs
What apples are best for Apple Pie Bars?
Absolutely! For your Apple Pie Bars, I highly recommend using Granny Smith apples. Their tartness balances perfectly with the sweetness of the sugar, enhancing the overall flavor. They also hold their shape well during baking, ensuring a delightful texture in every bite.
How should I store Apple Pie Bars?
You can keep your Apple Pie Bars in an airtight container in the fridge for up to 3-5 days. Make sure to place parchment paper between layers to prevent sticking. If you notice any dark spots on the bars, that's a sign they may be past their prime, so try to enjoy them while they're still fresh!
Can I freeze Apple Pie Bars?
Very much! To freeze your Apple Pie Bars, wrap each individually in plastic wrap and place them in a zip-top freezer bag. They can be stored in the freezer for up to 2 months. When you’re ready to enjoy them, simply thaw overnight in the fridge and reheat if desired!
What should I do if my crust turns out soggy?
Great question! If your crust ends up soggy, it might be because it wasn’t baked long enough or was too thick. Make sure to press the dough firmly into the baking dish and bake until it’s golden brown. If you’d like a crispy crust, try pre-baking the crust for 10 minutes before adding the filling.
Are Apple Pie Bars suitable for people with allergies?
Very! However, do keep in mind that these Apple Pie Bars contain gluten from the flour and dairy from the butter. If you or someone you’re serving has gluten sensitivities, you can try using a gluten-free flour blend. Dairy-free options can also be used by substituting vegan butter or a dairy-free margarine. Always check labels for allergies!
Irresistible Apple Pie Bars for Cozy Dessert Moments
Ingredients
Equipment
Method
- Preheat your oven to 350°F (175°C) and grease a 9x13-inch baking dish.
- In a large bowl, combine 2 ½ cups of all-purpose flour with ¼ teaspoon of salt.
- Cream together 1 cup of softened unsalted butter and ½ cup of granulated sugar until fluffy. Add in ½ teaspoon of vanilla extract.
- Gradually add the flour mixture to the creamed butter and sugar until a crumbly dough forms.
- Press about two-thirds of the dough into the bottom of the baking dish.
- In a separate bowl, combine thinly sliced apples with ⅓ cup of sugar, 1 teaspoon of cinnamon, ¼ teaspoon of nutmeg, 1 tablespoon of lemon juice, and 1 teaspoon of cornstarch.
- Layer the apple mixture over the crust in the baking dish.
- Crumble the remaining dough over the top of the apple layer.
- Bake for 40-45 minutes until the top is golden brown and the apples are tender.
- Remove from oven and allow to cool for at least 30 minutes before slicing.
- Optional: Drizzle with caramel sauce before serving.


Leave a Reply