
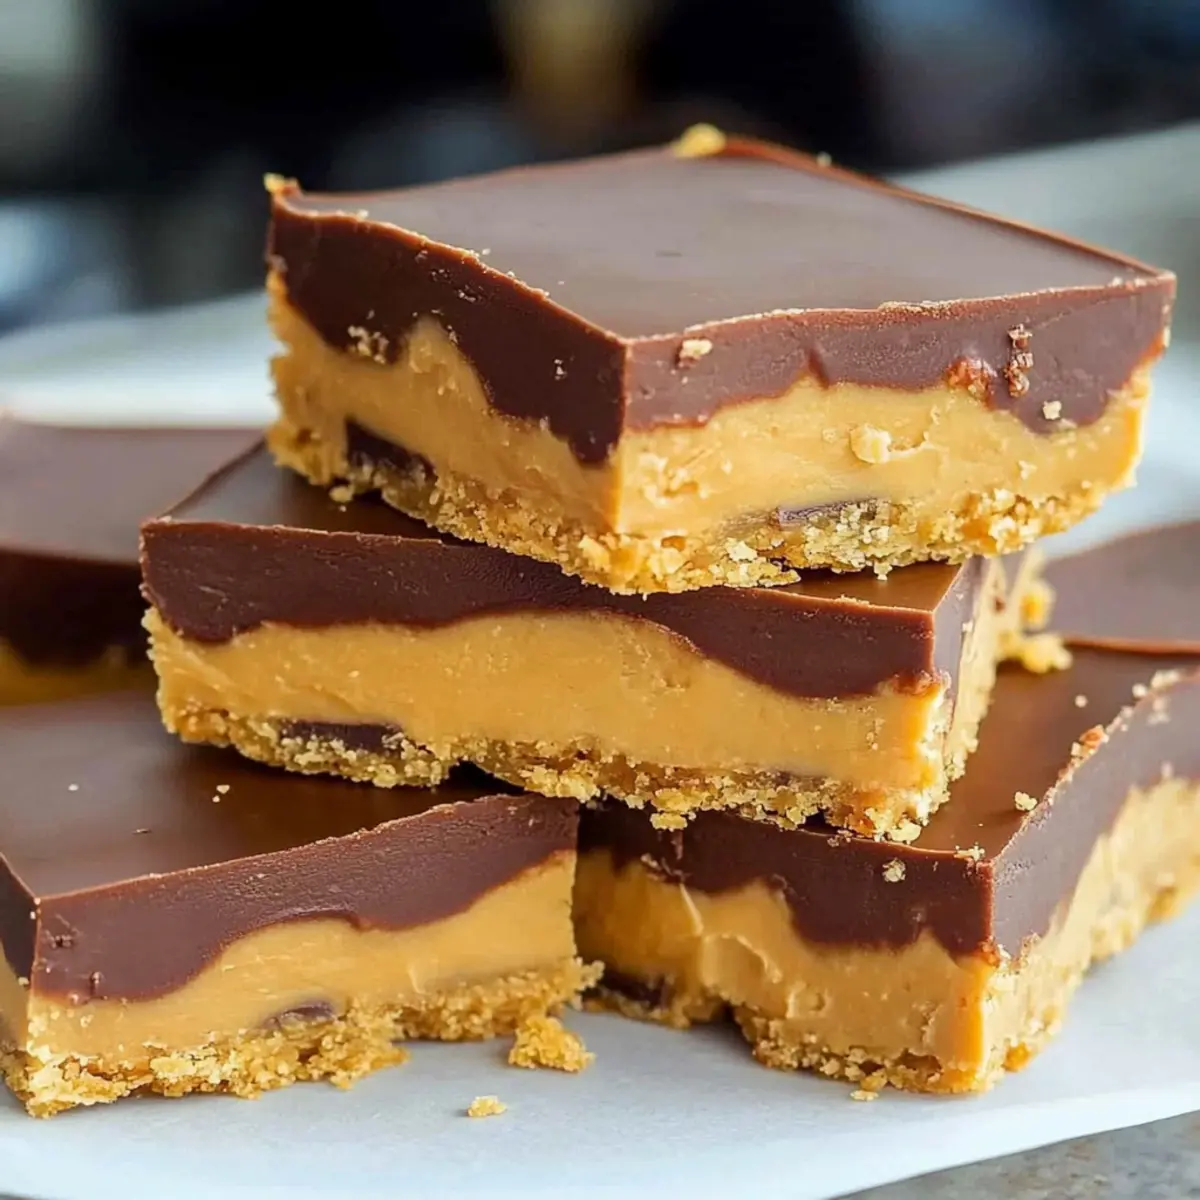
As I stood in my kitchen, the sweet aroma of melting chocolate began to fill the air, transporting me to cozy afternoons spent with loved ones and scrumptious treats. That's the magic of these No-Bake Peanut Butter Bars—they're not just a recipe; they’re a taste of nostalgia that comes together in just 15 minutes. Perfect for those busy days when you crave something irresistible without turning on the oven, these bars marry creamy peanut butter with a graham cracker crunch, finished with a smooth chocolate layer that’s hard to resist. They're an instant crowd-pleaser and make for an excellent snack to keep in the fridge for whenever that sweet tooth strikes. Have you ever attempted to squeeze a bit of childhood joy into your busy life? Let’s dive into the simple steps to create these delightful bars!
Why Are No-Bake Peanut Butter Bars Amazing?
Effortless to whip up in just 15 minutes, these bars require no baking skills—perfect for beginner chefs and busy individuals alike. Indulgent flavors combine creamy peanut butter and rich chocolate, delivering a taste that feels decadent yet comforting. Versatile as ever, you can enjoy them chilled or slightly softened, making them a go-to treat for any occasion. Crowd-pleasing delights, they disappear quickly at gatherings; everyone will be asking for the recipe! For similar easy treats, check out our scrumptious no-bake dessert options that will make your taste buds dance!
No-Bake Peanut Butter Bars Ingredients
-
For the Base
• Unsalted butter – melts beautifully to bind all the ingredients together.
• Creamy peanut butter – use a good quality peanut butter for the richest flavor.
• Graham cracker crumbs – gives the bars their signature crunch and sweetness.
• Powdered sugar – adds the necessary sweetness for a melt-in-your-mouth experience. -
For the Topping
• Semi-sweet chocolate chips – perfect for creating a luscious chocolate layer that enhances the bars.
• Creamy peanut butter – a little extra on top adds to the delicious peanut butter flavor in this favorite No-Bake Peanut Butter Bars recipe!
Step‑by‑Step Instructions for No-Bake Peanut Butter Bars
Step 1: Prepare the Pan
Start by lining an 8×8-inch baking pan with parchment paper, making sure to leave some overhang on the sides. This will make it easier to lift the No-Bake Peanut Butter Bars out of the pan later. Lightly press the parchment into the corners to ensure it stays in place.
Step 2: Mix the Base Ingredients
In a large mixing bowl, combine the melted unsalted butter, 1 cup of creamy peanut butter, graham cracker crumbs, and powdered sugar. Use a sturdy spatula or wooden spoon to blend everything together until fully incorporated. You should have a thick mixture that holds together when pressed, about 2–3 minutes of stirring.
Step 3: Press into the Pan
Once the mixture is well-combined, pour it into the prepared baking pan. Using your hands or a flat spatula, press the peanut butter mixture firmly into an even layer across the bottom of the pan. Aim for a smooth, flat surface, which will help the chocolate layer spread evenly later.
Step 4: Melt the Chocolate Topping
In a microwave-safe bowl, combine the semi-sweet chocolate chips and the remaining ¼ cup of creamy peanut butter. Heat in the microwave in 20-second intervals, stirring well after each session, until the mixture is smooth and fully melted. This usually takes around 1–2 minutes, depending on your microwave.
Step 5: Spread the Chocolate Layer
Once the chocolate and peanut butter mixture is smooth, pour it over the pressed peanut butter base in the pan. Use an offset spatula or the back of a spoon to spread the chocolate evenly to the edges. This will create a beautiful, glossy topping on your No-Bake Peanut Butter Bars.
Step 6: Chill the Bars
Now, it's time to chill the bars! Place the pan into the refrigerator and let it set for 1 to 2 hours. You’ll know they’re ready when the chocolate is firm and the bars are set but still slightly soft to the touch.
Step 7: Slice and Serve
Once fully chilled and set, carefully lift the bars from the pan using the parchment overhang. Place them on a cutting board and slice into squares or rectangles, based on your preference. Serve them chilled for a delightful treat or slightly softened for a melt-in-your-mouth experience!
Make Ahead Options
These No-Bake Peanut Butter Bars are a fantastic choice for meal prep enthusiasts! You can prepare the peanut butter base and layer it in the baking pan up to 24 hours in advance, just be sure to cover it tightly with plastic wrap to prevent any drying out. For the chocolate topping, melt it right before serving to ensure it remains glossy and smooth. When you're ready to enjoy, simply follow the chilling step for 1 to 2 hours, slice them, and you’ll have a delightful treat waiting for you. With a little prep work, you’ll save time during busy weeknights and still indulge in these delicious bars!
What to Serve with No-Bake Peanut Butter Bars
These peanut butter bars are a sweet indulgence that deserves a delightful meal to accompany them!
- Fresh Fruit Salad: A vibrant mix of seasonal fruits provides a refreshing contrast to the rich bars, balancing flavors beautifully.
- Chocolate Chip Cookies: Keep the sweetness flowing with warm cookies that perfect the cozy vibe of a dessert-filled gathering.
- Vanilla Ice Cream: A scoop of creamy vanilla ice cream creating a decadent pairing. The cold creaminess against the chewy bars is utterly heavenly.
- Milk or Almond Milk: Sip on a glass of cold milk for the ultimate nostalgic experience. It’s a classic duo that can't be beaten!
- Espresso or Coffee: Rich and bold, a cup of coffee enhances the chocolatey notes in the bars while providing a delightful pick-me-up.
- Caramel Drizzle: Drizzling caramel on top adds a unique flavor twist, enriching the peanut butter and chocolate goodness with a buttery sweetness.
- Chocolate Fondue: Dip pieces of the bars into warm chocolate fondue for an extra layer of indulgence, making for a fun dessert experience.
- Whipped Cream: A dollop of lightly sweetened whipped cream can take these bars to new heights, making each bite feel like a cloud of delight.
Expert Tips for No-Bake Peanut Butter Bars
-
Quality Matters: Use high-quality creamy peanut butter for a richer and more authentic flavor in your No-Bake Peanut Butter Bars.
-
Mixing Technique: When blending the base ingredients, ensure they are well combined; this helps prevent a crumbly texture in the final product.
-
Press Firmly: Make sure to press the peanut butter mixture firmly into the pan for a solid base; a loose mixture can lead to a messy slice.
-
Chocolate Melting: Melt the chocolate in short bursts to avoid scorching; stirring frequently will ensure a smooth and creamy topping.
-
Chilling Time: Allow adequate chilling time; if the bars are under-set, they may fall apart when slicing, ruining the perfect presentation.
How to Store and Freeze No-Bake Peanut Butter Bars
Fridge: Keep your No-Bake Peanut Butter Bars in an airtight container for up to 5 days. This will maintain their smooth texture and fresh flavor.
Freezer: For longer storage, wrap individual bars in plastic wrap and then place them in a freezer-safe container. They can be frozen for up to 3 months without losing their deliciousness.
Thawing: When you’re ready to enjoy them, simply transfer what you need from the freezer to the fridge for a few hours or counter for about 30 minutes to soften slightly.
Reheating: These bars are best enjoyed chilled, but if you prefer a softer texture, let them sit at room temperature for 10-15 minutes before serving.
No-Bake Peanut Butter Bars Variations
Feel free to get creative with these delightful bars and customize them to fit your taste preferences!
-
Nut-Free: Substitute creamy peanut butter with sunflower seed butter for a delicious, allergy-friendly treat that’s just as satisfying.
Explore new flavors with nut butters—sunflower seed or tahini can add unique twists, while still delivering that rich, creamy texture! -
Vegan: Use coconut oil instead of butter and swap in maple syrup for powdered sugar. This makes your bars plant-based and still divine.
The sweet hint of maple blends beautifully with the peanut butter, giving you a delicious vegan version that's just as indulgent. -
Sugar-Free: Replace powdered sugar with a sugar substitute like erythritol to keep the sweetness without the calories.
Imagine enjoying every creamy bite without the guilt—perfect for those watching their sugar intake! -
Crispy: For an extra crunch, mix in some chopped peanuts or crushed rice cereal into the base mixture.
The added texture lends a wonderful bite, making each bar an exciting treat that's hard to resist. -
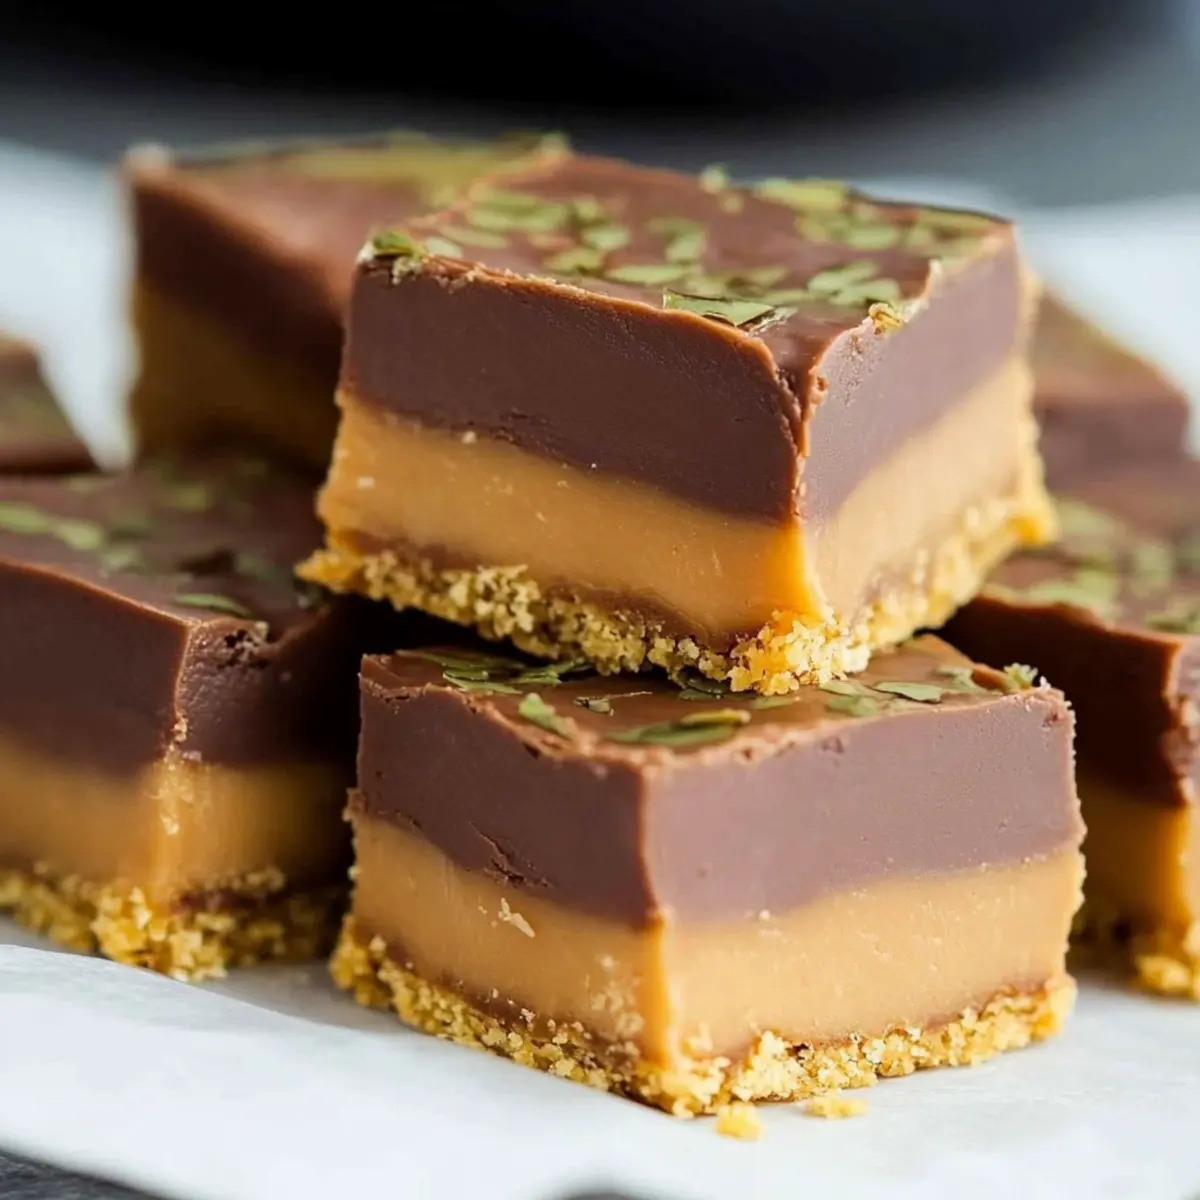
Minty: Add a few drops of peppermint extract to the chocolate layer for a refreshing twist. Perfect for mint lovers!
This cool flavor adds a delightful surprise that elevates your bars to a whole new level of tasty nostalgia. -
Spicy: Mix in a sprinkle of cayenne pepper or cinnamon into the peanut butter mixture for a surprising kick.
This fiery twist balances the sweetness perfectly, creating a beautiful harmony of flavors that will keep your taste buds guessing. -
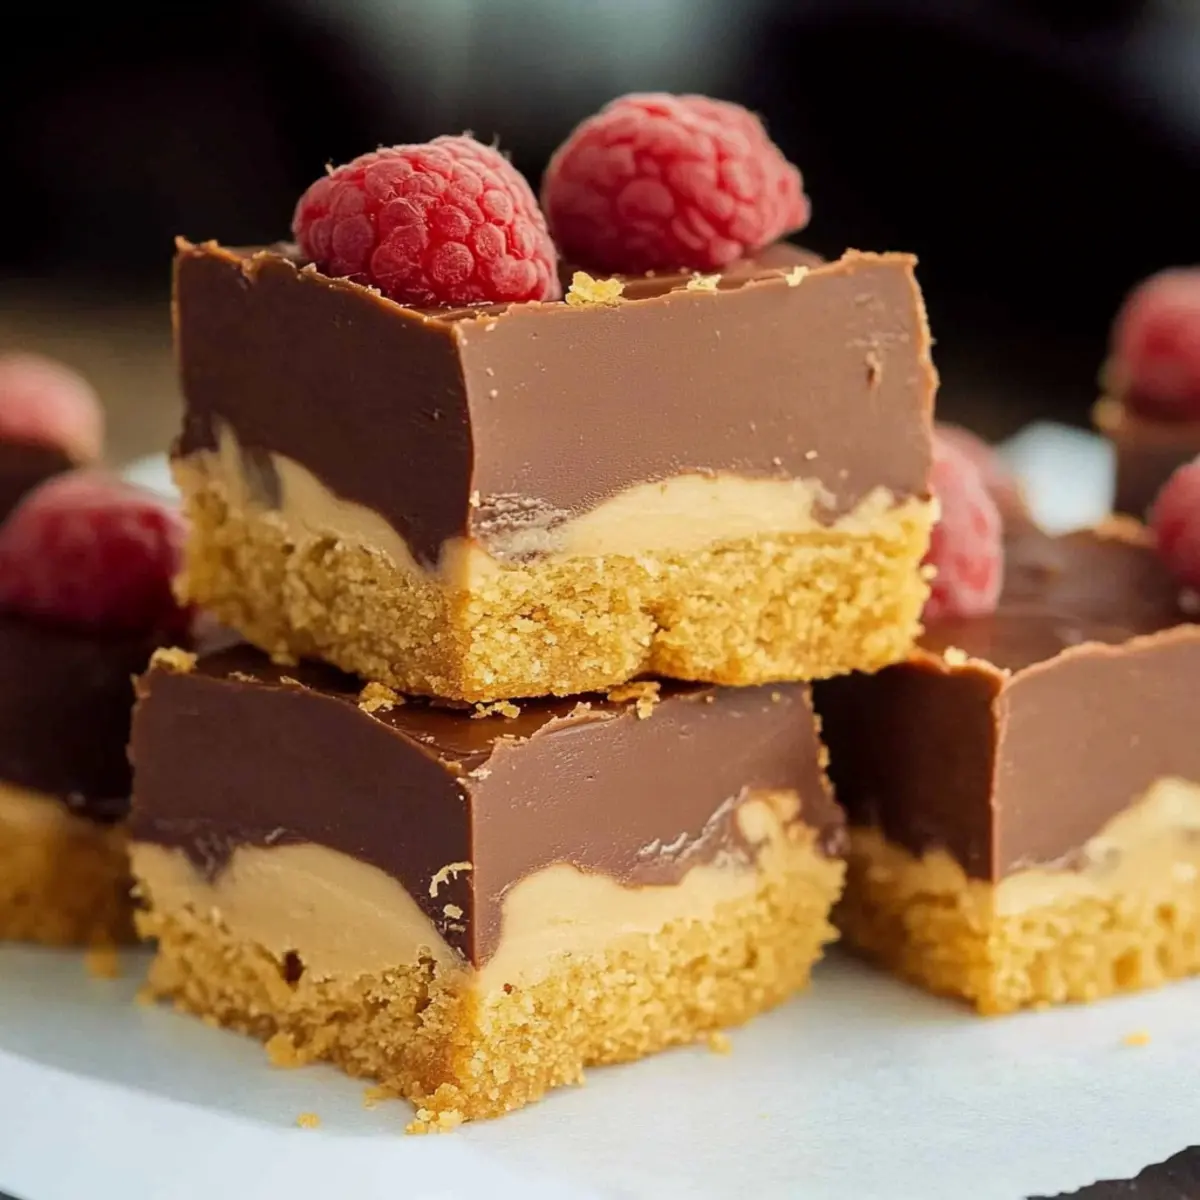
Fruit Infused: Sprinkle in dried cranberries or chopped dates for bursts of sweetness and a chewy texture throughout.
The fruity notes harmonize well with the peanut butter, adding unexpected moments of flavor in every bite. -
Chocolate Lovers: Double the amount of chocolate chips in the topping, or drizzle melted chocolate on top for an indulgent finish.
Rich layers of chocolate are sure to satisfy any chocolate cravings while enhancing the overall decadence of your bars!
Give these variations a try, and don't hesitate to mix and match until you've found your perfect blend of flavors! If you're looking for more no-bake inspiration, be sure to check out our fantastic no-bake dessert options that will keep your sweet tooth delighted!
No-Bake Peanut Butter Bars Recipe FAQs
How do I choose the right peanut butter for this recipe?
Absolutely! For the creamiest and richest flavor in your No-Bake Peanut Butter Bars, I recommend using a high-quality, creamy peanut butter that contains minimal additives. Look for natural options without added sugars or hydrogenated oils. This will enhance the taste and texture significantly.
What’s the best way to store No-Bake Peanut Butter Bars?
To keep your delicious No-Bake Peanut Butter Bars fresh, store them in an airtight container in the refrigerator for up to 5 days. If you're keeping them longer, you can freeze them—just wrap individual bars tightly in plastic wrap and place them in a freezer-safe container. They’ll stay fresh for up to 3 months!
Can I freeze No-Bake Peanut Butter Bars, and if so, how?
Absolutely, you can freeze these delightful bars! After preparing and cooling them, wrap each bar in plastic wrap tightly to protect them from freezer burn. Place them in a freezer-safe container or a resealable freezer bag. When you’re ready to enjoy, thaw them in the fridge for a few hours or let them sit at room temperature for about 30 minutes before savoring the taste of your No-Bake Peanut Butter Bars.
What should I do if my chocolate topping doesn’t melt smoothly?
Very good question! If your chocolate topping doesn’t melt smoothly, it may have been heated too quickly. To fix this, return it to the microwave and heat in 10-second intervals, stirring in between. If it seems too thick, you can add a bit of coconut oil or a teaspoon of milk to achieve a smoother consistency. Just remember to melt slowly and stir well to prevent scorching!
Can these bars be safe for allergies or dietary restrictions?
Great consideration! If you or your guests have allergies, you can make substitutions. For a nut-free version, swap out the peanut butter for sunflower seed butter. Be sure to check all ingredients for potential allergens. Additionally, you can use gluten-free graham cracker crumbs for those avoiding gluten. Just ensure that the chocolate chips are dairy-free if someone is avoiding dairy as well. Enjoying these treats shouldn't mean compromising on health!
Irresistibly Creamy No-Bake Peanut Butter Bars You'll Love
Ingredients
Equipment
Method
- Prepare the Pan: Line an 8×8-inch baking pan with parchment paper, ensuring overhang on the sides.
- Mix the Base Ingredients: Combine melted butter, 1 cup creamy peanut butter, graham cracker crumbs, and powdered sugar in a large mixing bowl. Mix until fully incorporated.
- Press into the Pan: Pour the mixture into the prepared pan and press firmly into an even layer.
- Melt the Chocolate Topping: Combine chocolate chips and ¼ cup creamy peanut butter in a microwave-safe bowl. Microwave in 20-second intervals, stirring until smooth.
- Spread the Chocolate Layer: Pour the chocolate mixture over the base, spreading evenly to the edges.
- Chill the Bars: Refrigerate for 1-2 hours until set.
- Slice and Serve: Lift the bars from the pan using the parchment overhang and slice into squares or rectangles.


Leave a Reply