
As I flipped through a stack of old pictures from last Halloween, I stumbled upon a snapshot of my kids, faces smeared with frosting, eagerly munching on green Monster Muffins. These whimsical treats are not just festive—they're a magical way to kickstart the spooky season with a family-friendly breakfast that keeps everyone smiling. Halloween is the perfect excuse to get creative in the kitchen, and these muffins are a delightful blend of whole wheat goodness and fun! They pack in some surprise nutrition, so you can feel good about what your little goblins are devouring. Plus, they’re easy to whip up ahead of time, making your morning routine a breeze. Ready to treat your family to a breakfast that is as frightful as it is delightful? Let’s dive into these Monster Muffins and awaken the inner ghouls in your kitchen!
Why Are Monster Muffins a Must-Try?
Whimsical Fun: These muffins add a playful twist to your Halloween morning, ensuring smiles all around!
Nutritious Boost: Crafted with whole wheat flour, they bring nutrition without sacrificing taste—perfect for active kids!
Simple to Prepare: Quick and easy to make, these muffins are a breeze to whip up when you're short on time.
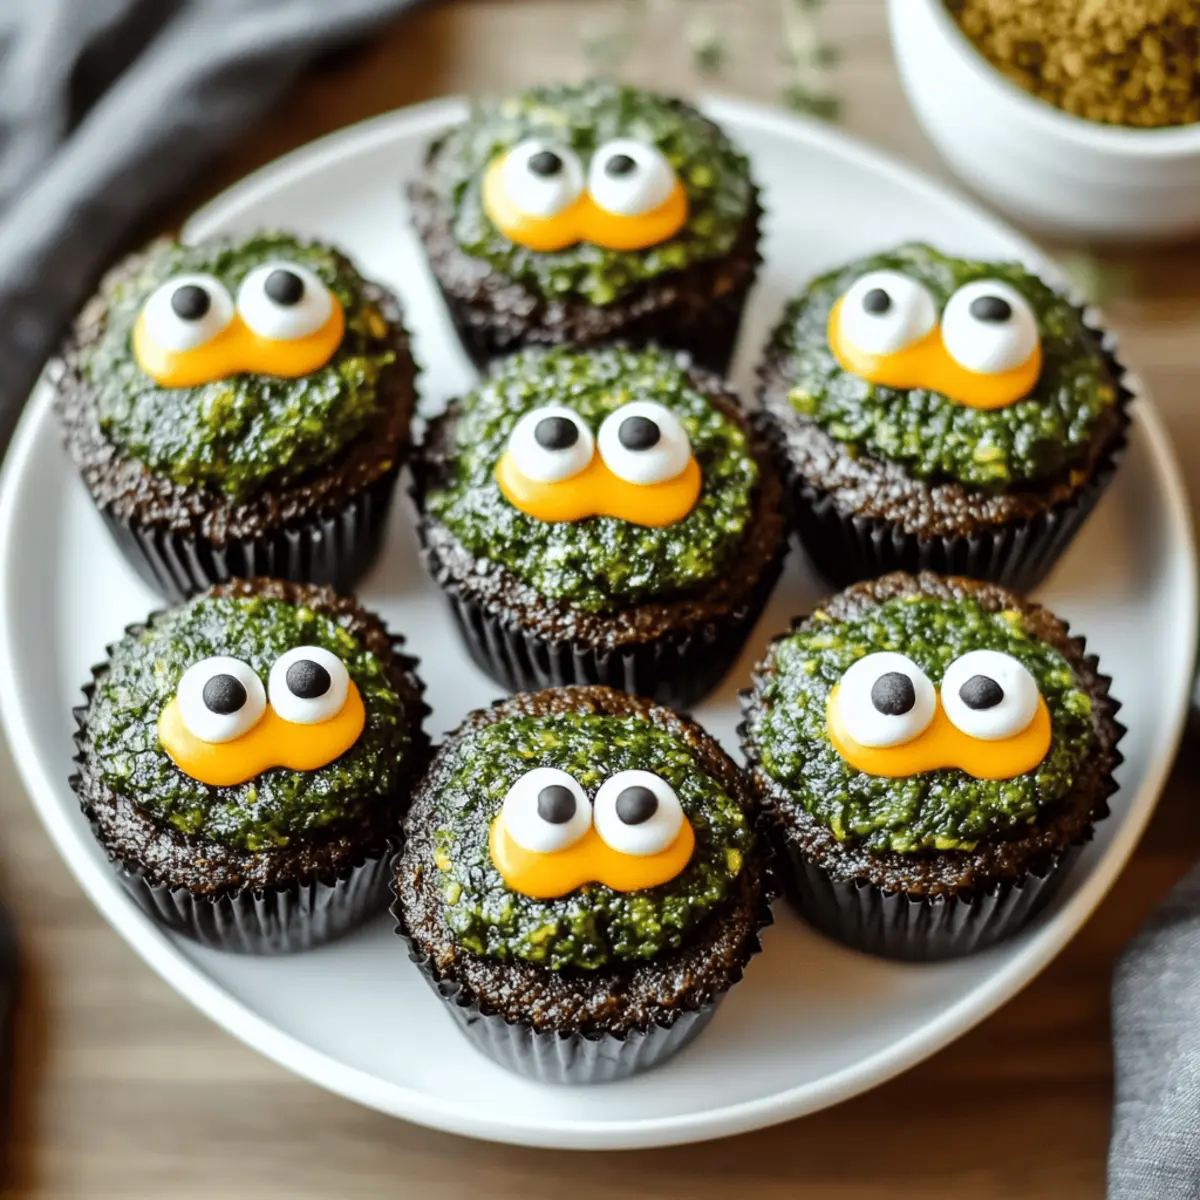
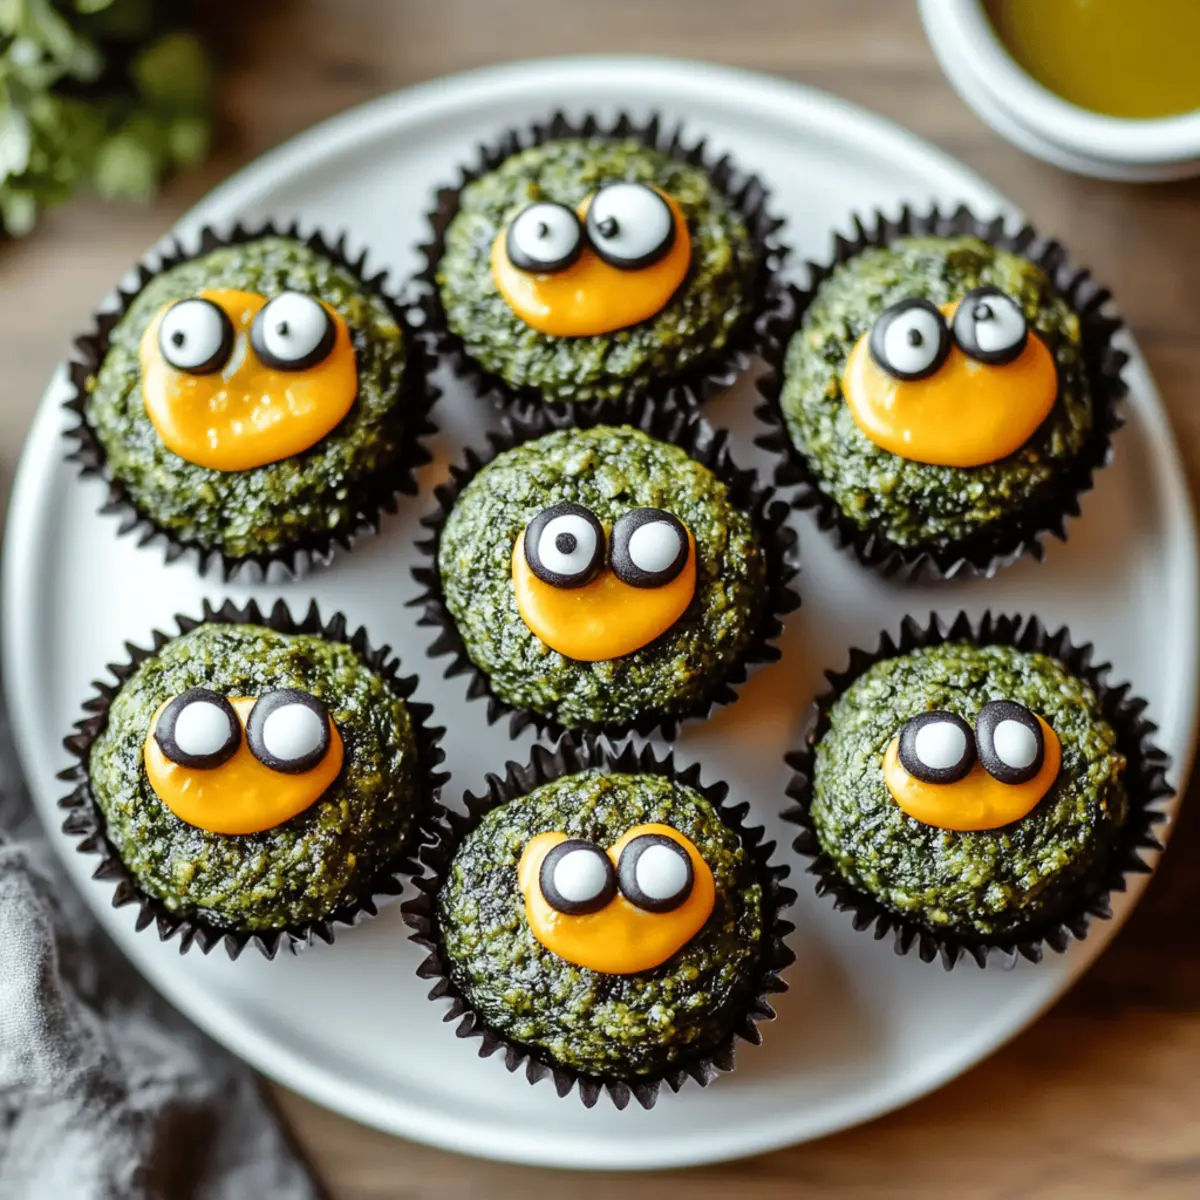
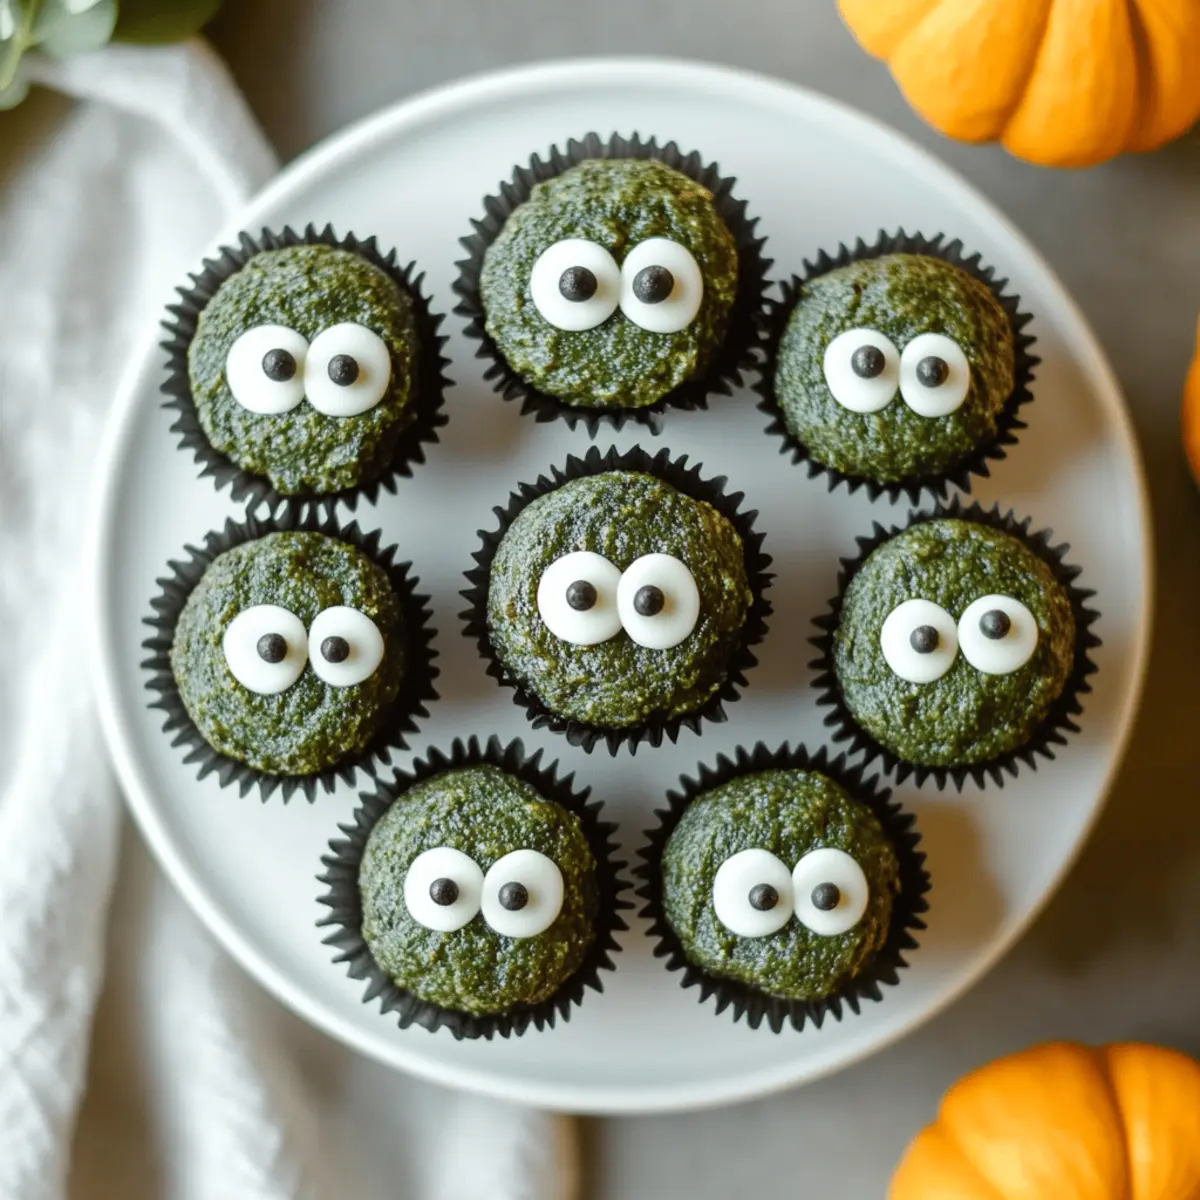
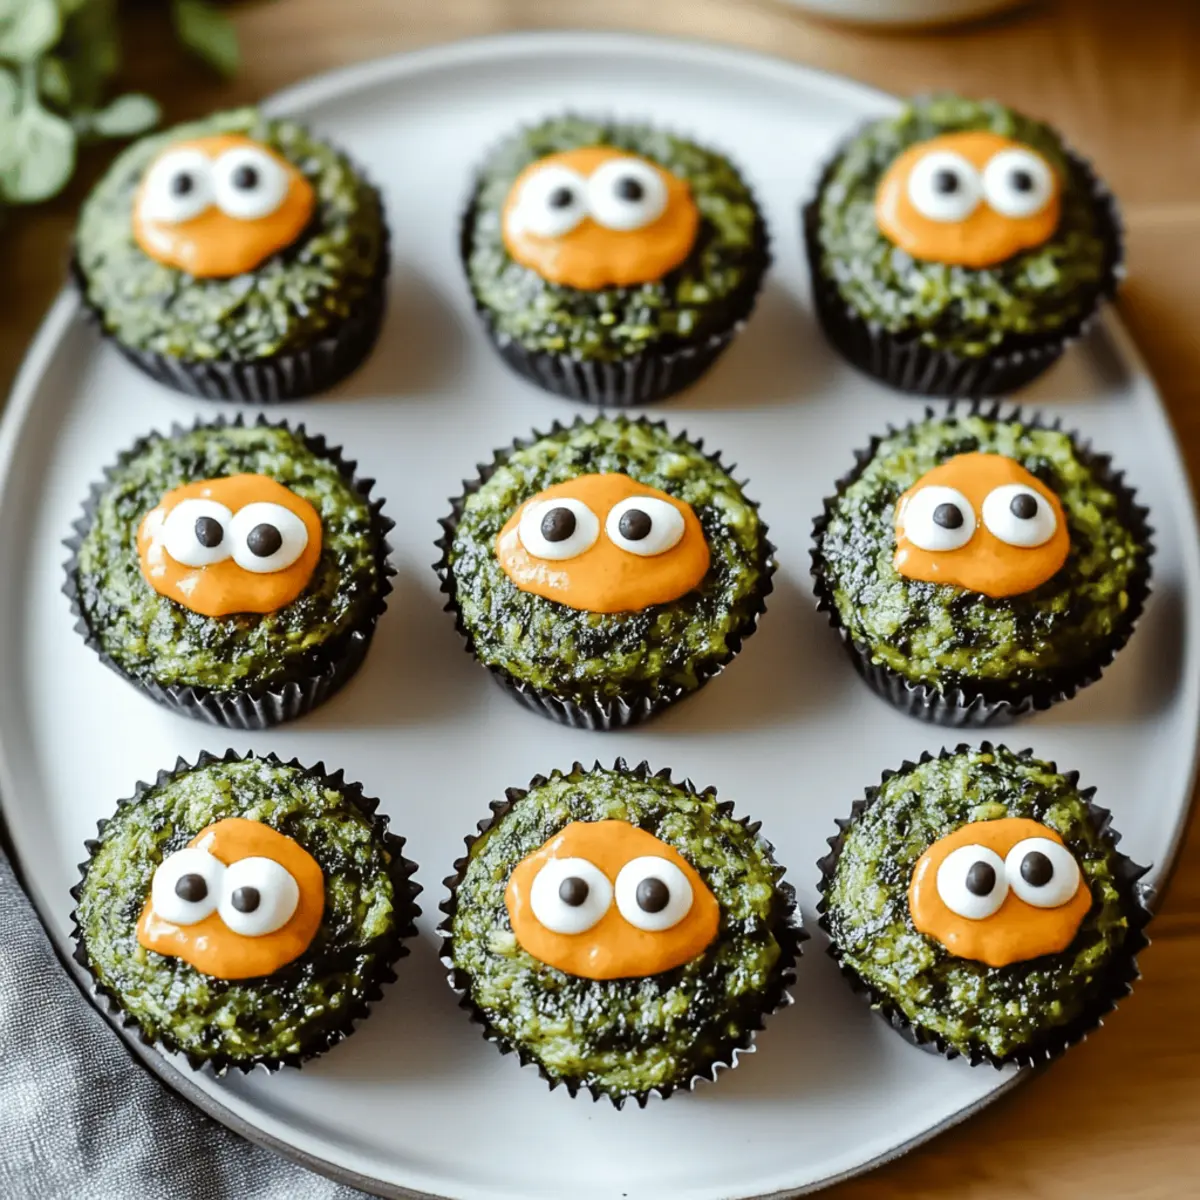
Delightfully Decorative: Customize with googly eyes to create a visually striking treat that kids will love to help out with!
Versatile Variations: Feel free to swap ingredients based on your family's preferences, making these muffins a hit for everyone!
Get even more festive with other Halloween Breakfast Ideas that will surely enchant your family, making your celebrations memorable!
Monster Muffin Ingredients
For the Muffins
- Whole Wheat Flour – provides a nutritious base that keeps these treats hearty and wholesome.
- Baking Powder – ensures your muffins rise beautifully, creating that fluffy texture.
- Baking Soda – works with the baking powder to give your muffins an extra lift.
- Salt – enhances the flavors, balancing out the sweetness.
- Honey or Maple Syrup – adds natural sweetness and contributes to moisture for a delectable bite.
- Eggs – binds the ingredients together and provides protein for that energy boost!
- Milk (or Plant-Based Alternative) – keeps the mixture juicy, and can be swapped for almond milk or oat milk for dietary needs.
- Green Food Coloring – creates that fun monster appearance; feel free to adjust for your desired hue.
- Chocolate Chips or Googly Eyes – adds a whimsical touch that makes each muffin a delightful surprise!
For the Toppings
- Frosting (optional) – use your favorite icing to enhance the festive look—let the kids help with this part!
- Sprinkles – brighten up the muffins with colorful sprinkles for a fun, festive flair.
Embrace the Halloween spirit with these Monster Muffins that are as nutritious as they are fun! Get ready to see the smiles on your family's faces as they enjoy these delightful morning treats!
Step‑by‑Step Instructions for Monster Muffins
Step 1: Preheat the Oven
Begin by preheating your oven to 350°F (175°C). This ensures an ideal baking environment for creating those fluffy Monster Muffins. While the oven heats up, gather all your ingredients, including whole wheat flour, honey or maple syrup, and chocolate chips. This will help streamline the mixing process later on.
Step 2: Combine Dry Ingredients
In a large mixing bowl, whisk together 2 cups of whole wheat flour, 2 teaspoons of baking powder, 1 teaspoon of baking soda, and ½ teaspoon of salt. Mixing these dry ingredients thoroughly will prepare the foundation for your Monster Muffins, ensuring consistent texture and even rising. Set the bowl aside as you prepare the wet ingredients.
Step 3: Mix Wet Ingredients
In a separate bowl, beat 2 eggs and combine them with ¾ cup of milk and ½ cup of honey or maple syrup. If you’re feeling adventurous, add a few drops of green food coloring at this stage for that monster-like hue! Whisk until everything is well blended, producing a smooth, colorful mixture to complement your dry ingredients.
Step 4: Combine Mixtures
Pour the wet mixture into the bowl of dry ingredients, then gently fold them together with a spatula. Aim for a batter with a few lumps—overmixing will result in dense muffins! As you fold, you can also stir in ½ cup of chocolate chips or googly eyes to make your Monster Muffins even more festive and fun.
Step 5: Prepare the Muffin Tin
Line a standard muffin tin with paper liners or lightly grease it with cooking spray. This will prevent your Monster Muffins from sticking and make cleanup a breeze. Use an ice cream scoop or ladle to fill each muffin cup about two-thirds full with batter, ensuring they have enough room to rise beautifully.
Step 6: Bake the Muffins
Place the muffin tin in your preheated oven and bake for 18-20 minutes, or until the tops are golden brown and a toothpick inserted in the center comes out clean. Keep an eye on them towards the end to avoid over-baking. The delightful aroma of Monster Muffins should start wafting through your kitchen!
Step 7: Cool and Decorate
Once the muffins are baked, remove them from the oven and let them cool in the pan for 5 minutes. After that, transfer them to a wire rack to cool completely. This is the perfect moment to let your kids help decorate—add frosting and colorful sprinkles for an extra festive touch, making these Monster Muffins a visual treat!
How to Store and Freeze Monster Muffins
Room Temperature: Keep your Monster Muffins in an airtight container for up to 3 days to maintain their moisture and flavor while avoiding any staleness.
Fridge: For longer freshness, store the muffins in the refrigerator where they can last up to a week—just make sure they're in a sealed container!
Freezer: To freeze, wrap each muffin individually in plastic wrap and then place them in a freezer-safe bag or container. They’ll stay delicious for up to 3 months.
Reheating: When ready to enjoy, thaw frozen muffins overnight in the fridge. For a warm treat, reheat in the microwave for about 20 seconds or in a toaster oven until warmed through.
What to Serve with Monster Muffins
These vibrant Monster Muffins are the perfect festive treat to start your Halloween morning with a smile and a bit of magic.
- Spooky Spider Eggs: Hard-boiled eggs dressed up with olive “spiders” create a fun, protein-packed side that adds a savory note to the meal.
- Ghostly Yogurt Parfaits: Layering vanilla yogurt with granola and berries mimics a ghostly apparition, making for a sweet and nutritious addition.
- Witch Hat Waffles: Chocolate waffles shaped into hats topped with whipped cream bring an extra layer of whimsy that complements the muffins nicely.
- Pumpkin Spice Overnight Oats: Creamy and sweet, these oats blend seamlessly with the monster theme while providing a wholesome option to fuel your day.
- Bloody Berry Smoothies: This vibrant smoothie using mixed berries and beet juice adds a spooky touch—perfect for a Halloween brunch that kids will love!
- Haunted Hash Browns: Shaped like ghosts, these crispy potatoes can serve as a crunchy, savory contrast to the sweet Monster Muffins.
Get creative with your Halloween breakfast and watch as your family revels in this delightful spread of ghoulish delights!
Tips for the Best Monster Muffins
Right Texture: Use whole wheat flour for a hearty muffin that’s both nutritious and fluffy. It’s essential for the perfect Monster Muffins.
Avoid Overmixing: When combining dry and wet ingredients, mix just until combined. Overmixing can lead to dense, heavy muffins instead of light and fluffy ones!
Perfect Baking Time: Keep an eye on the muffins as they bake. Start checking around 18 minutes to ensure they don’t dry out and stay moist and delicious.
Customize Toppings: Get creative with toppings! Let your kids sprinkle on the googly eyes and any decorations they fancy, making each muffin unique and special.
Store Properly: To maintain freshness, store leftover Monster Muffins in an airtight container. They can last for a few days and make for a quick breakfast treat!
Monster Muffins: Delightful Customizations
Feel free to explore a world of creativity while making your Monster Muffins, transforming them with fun and exciting twists!
- Gluten-Free: Substitute whole wheat flour with a gluten-free blend for a safe and scrumptious option that everyone can enjoy.
- Nut-Free: Use sunflower seed butter instead of nut-based spreads to eliminate allergens and ensure all little ghouls can dig in.
- Add Fruit: Toss in some shredded zucchini or mashed banana to amplify moisture and introduce a touch of natural sweetness to your muffins.
- Extra Spices: Enhance the flavor with spices like cinnamon or nutmeg, creating a warm and inviting aroma that fills your kitchen.
- Protein Boost: Mix in a scoop of your favorite protein powder to sneak in some added nourishment for those energetic little monsters.
- Choco Delight: Try dark chocolate chips or white chocolate pieces for a different flavor burst that will surprise and delight the taste buds.
- Boo-tiful Icing: Top with lavender or purple frosting to add a touch of spooky elegance—perfect for impressing Halloween party guests!
- Fun Shapes: Bake in whimsical muffin tins shaped like bats or pumpkins for an eye-catching presentation that doubles the fun!
Let your imagination roam wild and create your own version of these Monster Muffins. If you’re looking for even more fun ideas, be sure to check out other Halloween Breakfast Ideas—because every Halloween should start with a smile!
Make Ahead Options
These delightful Monster Muffins are perfect for meal prep enthusiasts looking to save time during the busy Halloween season! You can prepare the dry ingredients (2 cups of whole wheat flour, baking powder, baking soda, and salt) and store them in an airtight container up to 3 days in advance. Additionally, you can mix the wet ingredients (eggs, milk, honey or maple syrup, and green food coloring) and refrigerate them up to 24 hours before baking. When you're ready to enjoy these spooky treats, simply combine the dry and wet mixtures, fold in the chocolate chips, bake them as directed, and you'll have these tasty muffins just waiting to be gobbled up! This method keeps your muffins as fluffy and fun as freshly baked!
Monster Muffins Recipe FAQs
Can I use all-purpose flour instead of whole wheat flour?
Absolutely! While I recommend whole wheat flour for its nutritional benefits, you can substitute it with all-purpose flour. Just keep in mind that the texture may be slightly different, and you might want to adjust the amount of liquid as needed since all-purpose flour absorbs moisture differently.
How should I store leftover Monster Muffins?
To maintain their freshness, store your Monster Muffins in an airtight container at room temperature for up to 3 days. If you'd like them to last longer, the fridge is a good option where they can stay fresh for up to a week. Be sure they are sealed well to prevent them from drying out!
Can I freeze Monster Muffins? What’s the best way to do it?
Yes, you can absolutely freeze them! To freeze your Monster Muffins, wrap each muffin individually in plastic wrap, then place them in a freezer-safe zip-top bag. They’ll keep well for up to 3 months. When you're ready to enjoy them, just thaw them overnight in the fridge. For a cozy treat, reheat in the microwave for about 20 seconds or in a toaster oven.
How can I make these muffins gluten-free?
To make gluten-free Monster Muffins, substitute the whole wheat flour with a 1:1 gluten-free baking flour blend. Make sure to check that the other ingredients, especially the baking powder and any additives, are gluten-free as well. This way, everyone can enjoy these festive treats!
What can I use instead of eggs?
If you're looking to make your Monster Muffins egg-free, you can substitute each egg with a flaxseed meal replacement. Simply mix 1 tablespoon of flaxseed meal with 2.5 tablespoons of water, let it sit for about 5 minutes to thicken, then add it to your wet ingredients. This will help bind everything together while keeping those monster vibes alive!
Monster Muffins: Fun, Festive Treats for Halloween Mornings
Ingredients
Equipment
Method
- Preheat your oven to 350°F (175°C) and gather all ingredients.
- In a large bowl, whisk together whole wheat flour, baking powder, baking soda, and salt.
- In a separate bowl, beat eggs and combine with milk and honey or maple syrup. Add green food coloring if desired.
- Pour the wet mixture into the dry ingredients and fold them together gently.
- Line a muffin tin with paper liners and fill each cup ⅔ full with batter.
- Bake for 18-20 minutes or until golden brown and a toothpick comes out clean.
- Cool in the pan for 5 minutes, then transfer to a wire rack and let kids help decorate with frosting and sprinkles.


Leave a Reply