
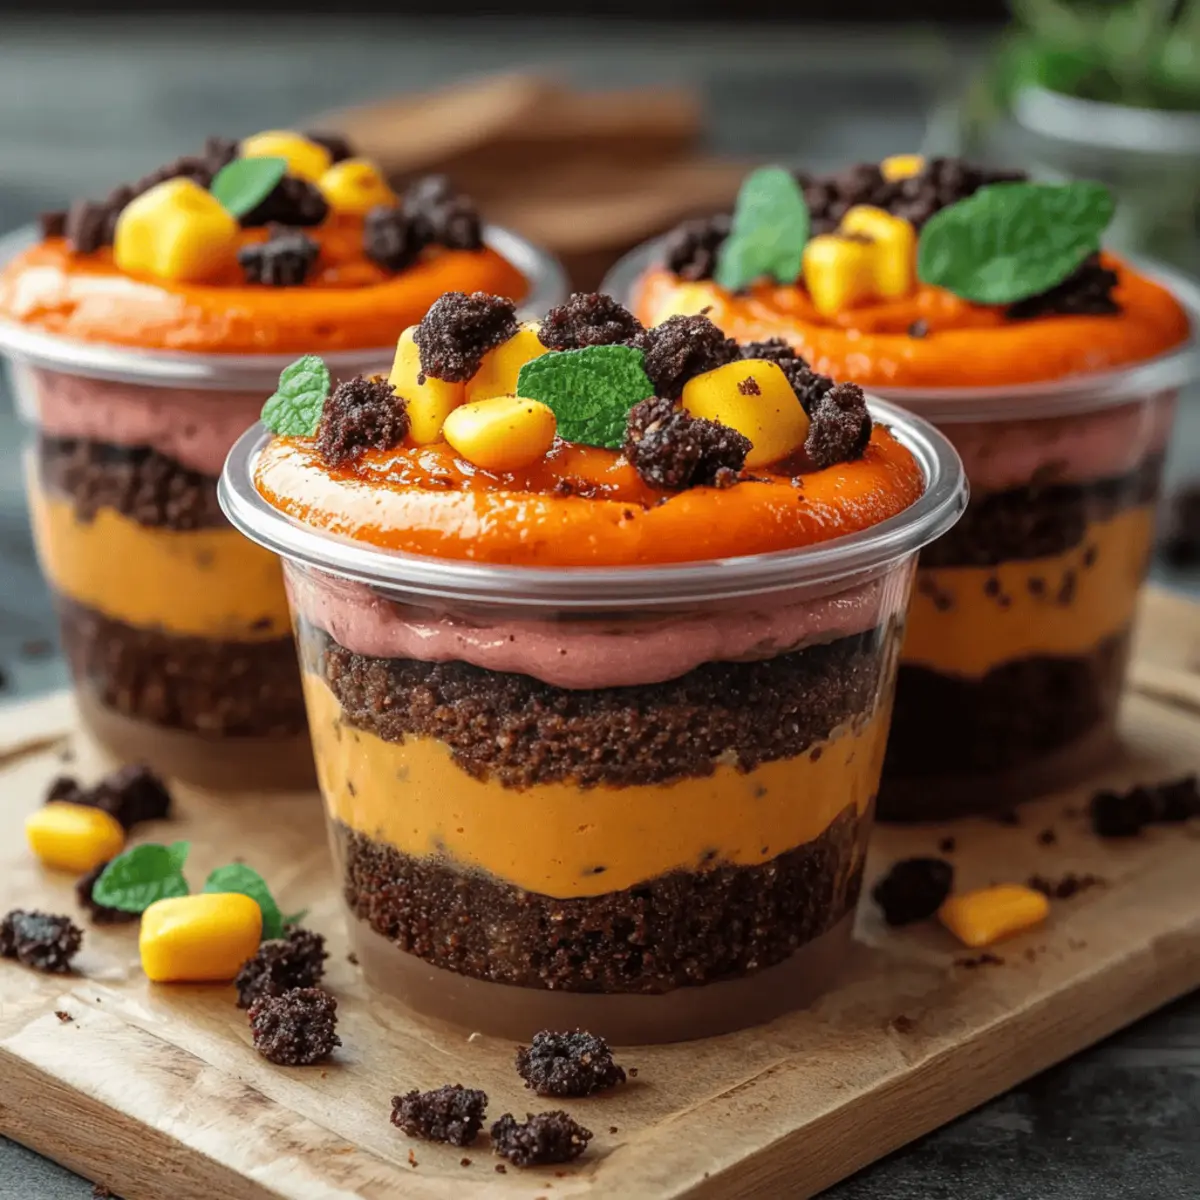
As I rummaged through my pantry, a forgotten box of chocolate pudding caught my eye, and suddenly, inspiration struck: Pumpkin Patch Dirt Cups! These delightful desserts are not only a whimsical nod to fall but also incredibly easy to whip up, making them an instant favorite with both kids and adults alike. Just a few simple ingredients—think chocolate pudding, crushed Oreos, and cute candy pumpkins—blend together to create a fun and satisfying treat that brings joy to any gathering. Plus, they're a fantastic make-ahead option, perfect for your next get-together or cozy night in. Ready to dive into these festive cups of nostalgia? Let’s create some sweet memories together!
Why are Pumpkin Patch Dirt Cups a must-try?
Whimsical Appeal: These delightful cups bring the magic of fall right to your table with their cute candy pumpkin toppings.
Speedy Prep: In just 15 minutes, you can have these delectable treats ready for chilling—perfect for busy days!
Crowd-Pleaser: Kids and adults alike will adore the combination of rich chocolate pudding and crunchy Oreos.
Versatility: Feel free to customize with gummy worms or use gluten-free cookies to cater to all dietary preferences.
Nostalgic Flavor: This recipe offers a comforting throwback to childhood favorites while delivering a delicious dessert experience. Grab your ingredients and let’s whip up some joy with these Pumpkin Patch Dirt Cups!
Pumpkin Patch Dirt Cups Ingredients
• Here’s what you need for these scrumptious Pumpkin Patch Dirt Cups!
For the Pudding Mixture
- Chocolate pudding mix – This is the base for your dessert, providing a rich chocolate flavor that pairs perfectly with the other ingredients.
- Milk – Use whole milk for creaminess, but feel free to substitute with almond or oat milk for a dairy-free option.
- Whipped cream – Adds a light, fluffy texture to the pudding and balances the richness of the chocolate.
For the Layering
- Oreos (or gluten-free cookies) – Crushed Oreos offer a delightful crunch; gluten-free cookies can be substituted to cater to dietary needs.
For the Topping
- Candy pumpkins – These cute decorations make your dirt cups look festive and fun, embodying the fall spirit.
- Optional: Gummy worms – Add a creepy twist, perfect for kids’ parties or Halloween gatherings!
Step‑by‑Step Instructions for Pumpkin Patch Dirt Cups
Step 1: Prepare the Pudding
In a mixing bowl, combine the chocolate pudding mix with 2 cups of milk. Whisk vigorously for about 2 minutes until fully blended and no lumps remain. The mixture should start to thicken after a few minutes of resting, making it rich and creamy, perfect for our Pumpkin Patch Dirt Cups.
Step 2: Fold in the Whipped Cream
Once your pudding has thickened, gently fold in 1 cup of whipped cream using a spatula. This folding technique will keep the mixture light and airy, enhancing the texture of your dessert. Be sure to stop once you see a smooth consistency, ensuring the creamy goodness is evenly distributed.
Step 3: Layer the Cups
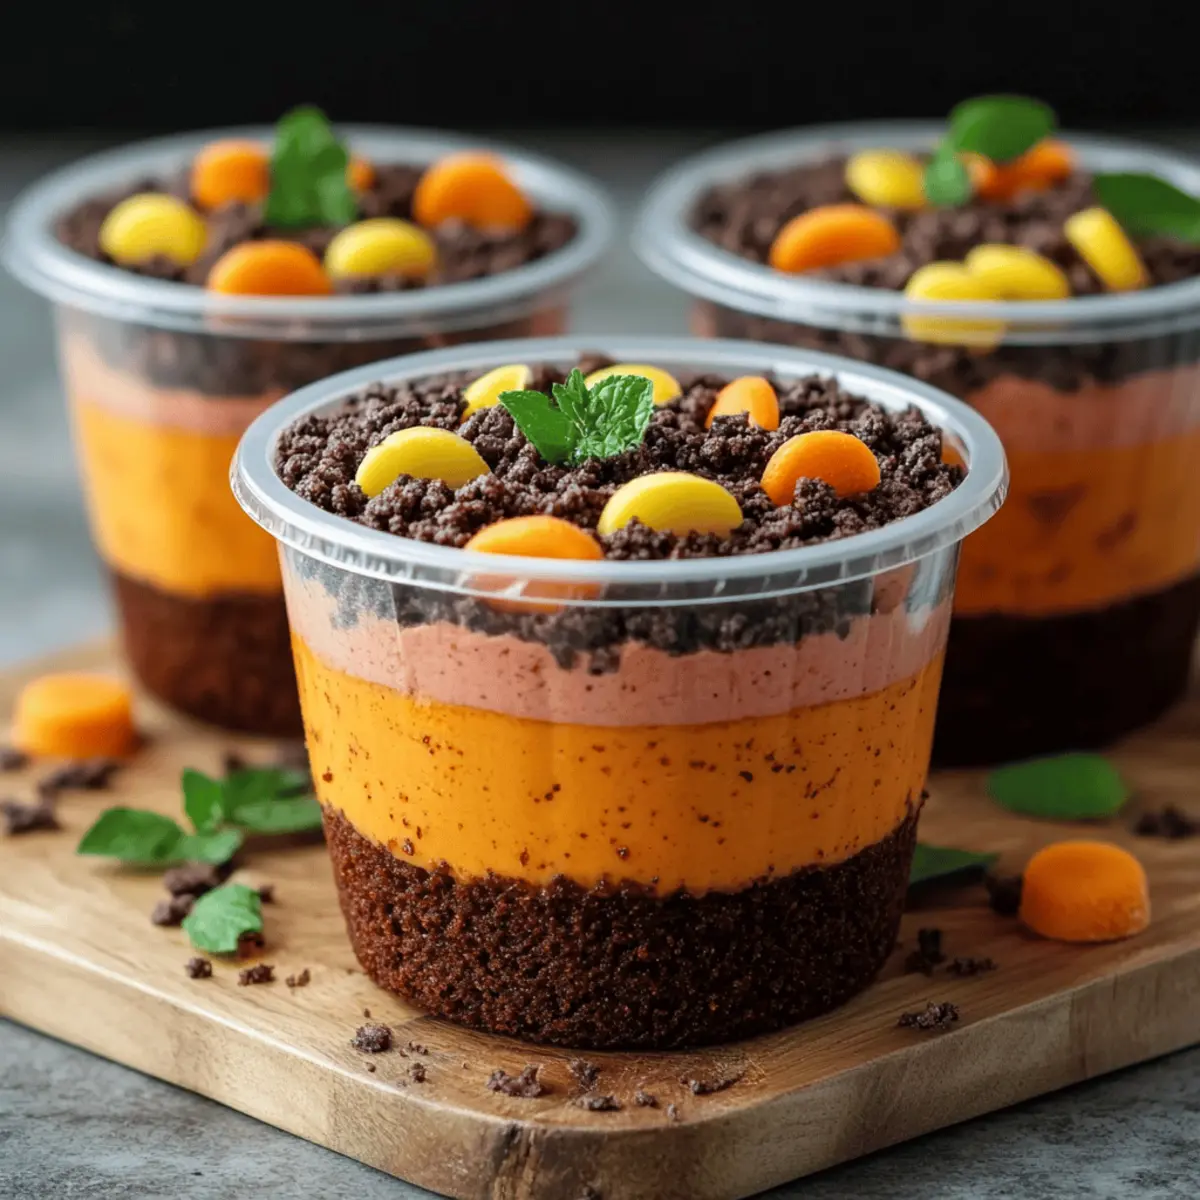
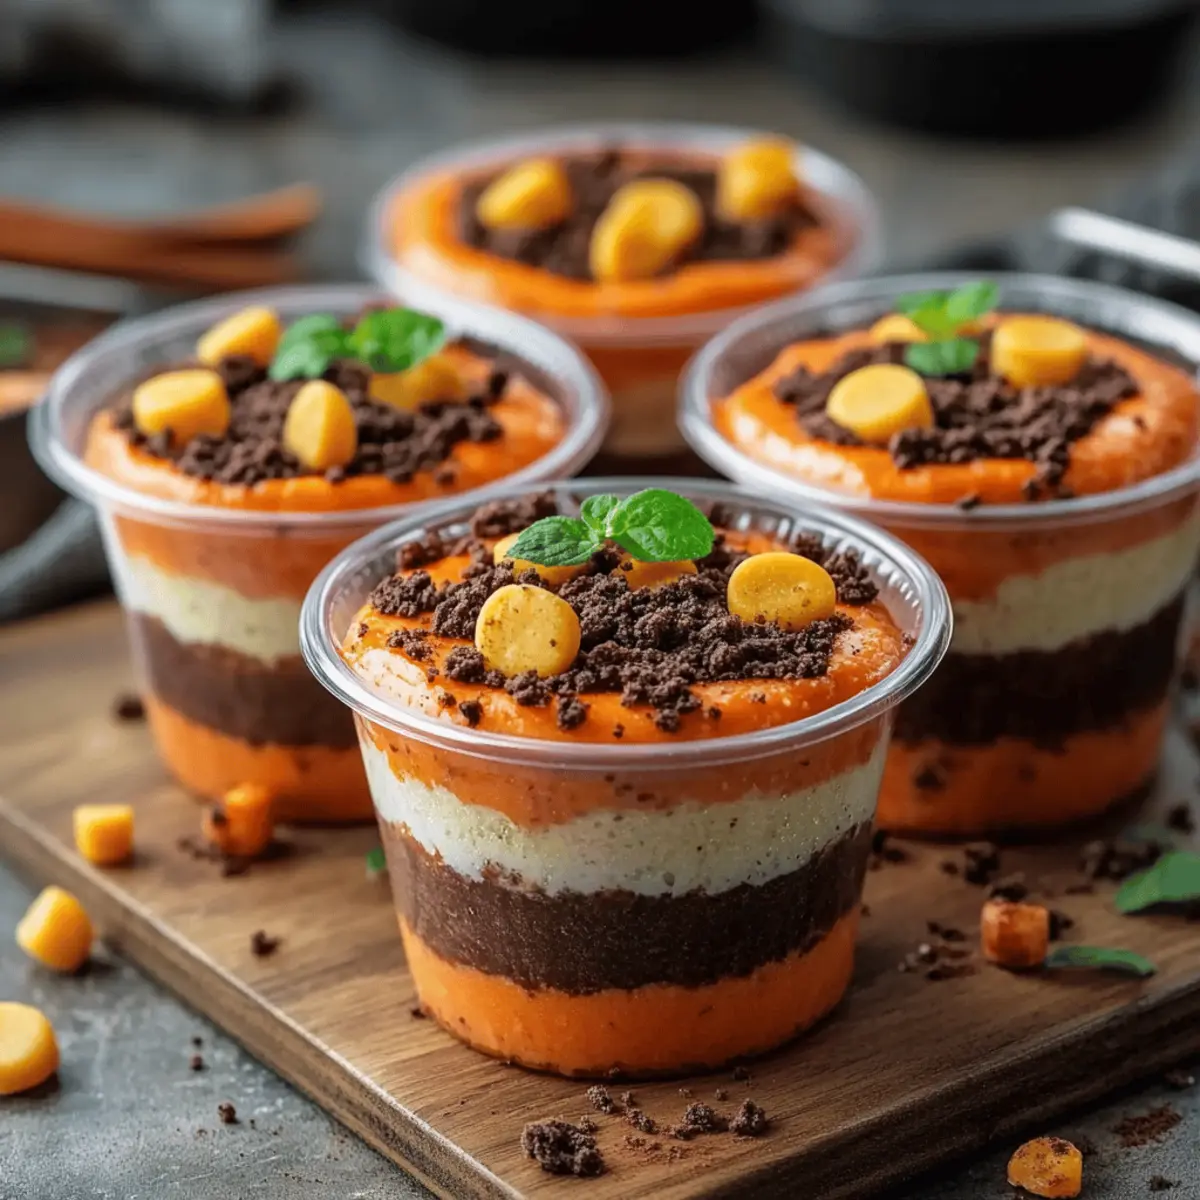
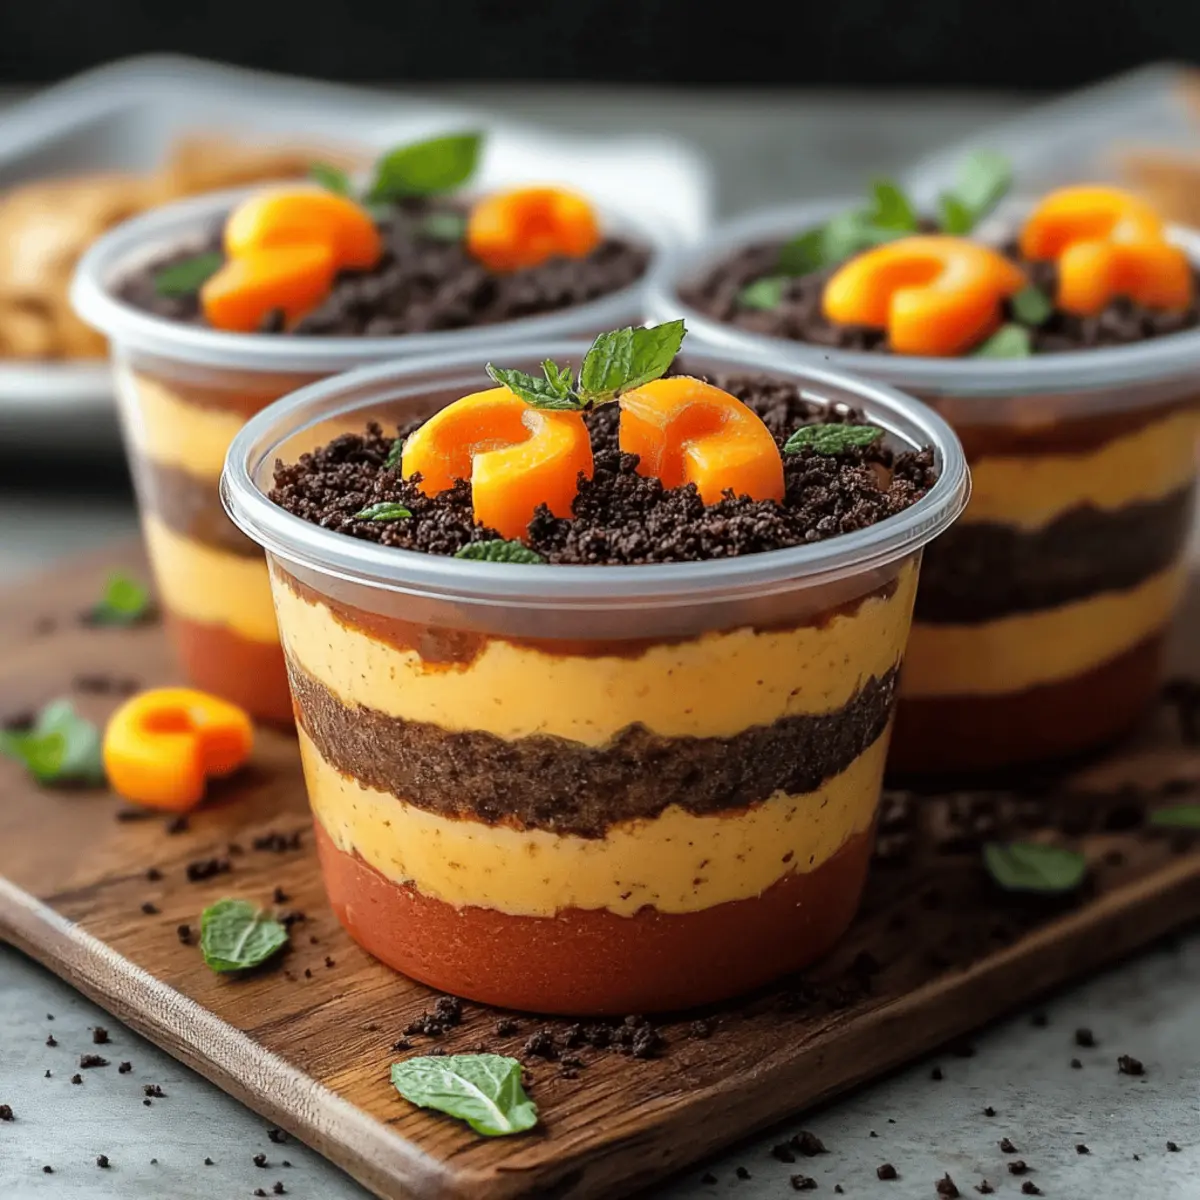
Grab your clear plastic cups or dessert glasses and start with a layer of the chocolate pudding mixture. Next, sprinkle a generous layer of crushed Oreos over the pudding. Repeat this layering process until each cup is filled to the brim, finishing with a delightful layer of crushed Oreos on top for that classic dirt effect.
Step 4: Add the Finishing Touches
Top each cup with a dollop of whipped cream for a fluffy crown, then artfully place candy pumpkins and optional gummy worms on top for decoration. This playful presentation is what makes the Pumpkin Patch Dirt Cups so inviting and perfect for fall festivities.
Step 5: Chill and Serve
Finally, place the assembled cups in the refrigerator for at least 30 minutes. This chilling time allows the flavors to meld beautifully. When you’re ready to serve, simply take them out, and watch everyone delight in these whimsical Pumpkin Patch Dirt Cups!
Pumpkin Patch Dirt Cups Variations
Feel free to unleash your creativity by customizing these delightful treats to suit your taste buds and preferences!
- Dairy-Free: Substitute milk with almond or coconut milk and use coconut whipped cream for a dairy-free delight.
- Gluten-Free: Use gluten-free chocolate pudding and crushed gluten-free cookies to cater to everyone’s dietary needs, ensuring no one misses out!
- Flavor Twist: Add a teaspoon of vanilla extract to the pudding mixture for a subtle depth of flavor that enhances the chocolate richness.
- Nutty Crunch: Try folding in crushed nuts like pecans or almonds for an added crunch, creating a delightful texture contrast with the creaminess.
- Pumpkin Spice: Incorporate a dash of pumpkin spice into the pudding mix for an extra autumnal touch, marrying beautifully with the chocolate flavors.
- Layered Surprise: Include a layer of fruit, such as fresh strawberries or raspberries, between the pudding and cookie layers for a refreshing surprise.
- Heat It Up: For an adult twist, sprinkle a hint of cayenne pepper into the pudding for a surprising heat that complements the sweetness.
- Presentation Perfect: Serve these cups in mason jars for an adorable, rustic look that’s perfect for fall gatherings, enhancing the overall experience!
What to Serve with Pumpkin Patch Dirt Cups
Imagine the sweet aroma of autumn swirling around your kitchen as you craft the perfect meal to accompany these delightful dessert cups.
- Creamy Mashed Potatoes: Their buttery smoothness and rich flavor create a perfect contrast to the chocolatey sweetness of the cups.
- Honey-Glazed Carrots: These sweet, vibrant veggies add a pop of color and a hint of caramelized sweetness to your meal.
- Roasted Brussels Sprouts: Crispy and slightly bitter, they balance the indulgent flavors of the Pumpkin Patch Dirt Cups beautifully.
- Apple Cider: A warm or chilled glass enhances the autumnal vibe, complementing the flavors of fall desserts with its sweetness.
- Mini Cornbread Muffins: Their slightly sweet, crumbly texture is an inviting contrast that pairs irresistibly with the creamy desserts.
- Pumpkin Spice Latte: Take the fall flavors to the next level with this spiced coffee, giving a cheerful nod to the season.
- Ice Cream Sundae Bar: Let guests personalize their treats, creating fun combinations that pair sweetly with the dirt cups.
- Cranberry Sauce: The tartness of cranberries brings a refreshing zing, enticing taste buds between bites of rich dessert.
- Chocolate Chip Cookies: With their comforting familiarity, warm cookies are a delightful addition to balance the playful dessert cups.
- Cinnamon Apple Crisp: The warm spices and fruity goodness of this dessert echo the vibes of fall, enhancing the festive mood.
How to Store and Freeze Pumpkin Patch Dirt Cups
Fridge: Keep the Pumpkin Patch Dirt Cups in an airtight container in the refrigerator for up to 3 days. This preserves their creamy texture and delightful flavors.
Freezer: While not recommended for freezing due to potential texture changes in the pudding, you can freeze the unassembled layers (pudding and cookies) for up to 1 month. Just thaw and layer before serving.
Reheating: There's no need to reheat these cups since they're best served cold. Simply remove from the fridge before serving to allow the flavors to come alive.
Serving Size: If you plan a gathering, consider portioning them out individually; they make for easy grab-and-go snacks!
Expert Tips for Pumpkin Patch Dirt Cups
- Quality Pudding Mix: Choose a high-quality chocolate pudding mix for the best flavor. Cheap mixes can lead to a bland dessert.
- Whipping Cream: Use chilled whipped cream and fold gently to maintain fluffiness; overmixing can deflate your delicious pudding layer.
- Crush Oreos Properly: Ensure the Oreos are crushed to a fine consistency for better layering; large chunks can disrupt the dessert's look and texture.
- Chill Time Matters: Don’t skip the refrigeration! Letting the cups chill for at least 30 minutes enhances the flavors and makes serving them a breeze.
- Creative Garnishes: Feel free to get creative with your toppings! Try adding chocolate sprinkles or seasonal candies for a personal twist on these Pumpkin Patch Dirt Cups.
Make Ahead Options
These Pumpkin Patch Dirt Cups are perfect for busy home cooks looking to save time! You can prepare the chocolate pudding mixture and layer it with crushed Oreos up to 24 hours in advance. Just follow the first three steps, then cover the cups tightly with plastic wrap and refrigerate. This ensures the pudding retains its rich flavor while the Oreos stay crunchy. When you’re ready to serve, simply top each cup with whipped cream and the cute candy pumpkins and optional gummy worms. This way, you’ll have delicious, festive treats ready to impress your guests with minimal last-minute effort!
Pumpkin Patch Dirt Cups Recipe FAQs
What is the best way to choose ripe ingredients for Pumpkin Patch Dirt Cups?
Absolutely! When selecting your ingredients, choose a chocolate pudding mix without any artificial flavors for a richer taste. For milk, whole milk creates creaminess, but if you have lactose sensitivities, almond or oat milk works wonderfully too. As for the whipped cream, always look for fresh options to ensure the fluffiness you want in your cups.
How should I store Pumpkin Patch Dirt Cups, and how long do they last?
These delightful treats are best stored in the refrigerator in an airtight container for up to 3 days. This will keep them fresh and maintain that creamy, indulgent texture. If you're planning on serving them later, just pop them in the fridge after preparing; they'll be waiting for you when it's time to enjoy!
Can I freeze Pumpkin Patch Dirt Cups?
Freezing these cups is not advisable due to potential texture changes in the pudding. However, you can freeze the unassembled layers—like the pudding and crushed Oreos—for up to 1 month! To do this, simply layer the pudding and crushed Oreos in separate containers. When you're ready to enjoy, thaw them in the fridge, and then layer and top as usual.
What should I do if my pudding mixture does not thicken properly?
Very! If your pudding mixture doesn’t thicken as expected, ensure that you’ve whisked it well with the milk for at least 2 minutes. If it still seems too runny after a few minutes of resting, you can try letting it sit a little longer or adding a couple of extra minutes of whisking. Sometimes, adjusting the milk slightly (adding a few more tablespoons or reducing the amount) can help achieve that desired thickness.
Are there any dietary considerations I should keep in mind for Pumpkin Patch Dirt Cups?
Yes, definitely! If you're catering to dietary restrictions, consider using gluten-free cookies instead of Oreos to accommodate those with gluten intolerance. Additionally, check the labels of your chocolate pudding mix for any allergens, as some may contain dairy or eggs. For a vegan option, use plant-based milk and whipped cream; there are many delicious coconut or almond-based whipped cream options available now!
Can I add other toppings to my Pumpkin Patch Dirt Cups?
The more the merrier! In addition to candy pumpkins and gummy worms, consider using chocolate sprinkles, crushed nuts, or seasonal candies like candy corn for a festive touch. Each additional topping can add another layer of flavor and visual excitement to your dessert!
Delicious Pumpkin Patch Dirt Cups Perfect for Fall Treats
Ingredients
Equipment
Method
- In a mixing bowl, combine the chocolate pudding mix with 2 cups of milk. Whisk vigorously for about 2 minutes until fully blended and no lumps remain.
- Once your pudding has thickened, gently fold in 1 cup of whipped cream using a spatula.
- Start layering the cups with a layer of chocolate pudding mixture, then sprinkle a layer of crushed Oreos. Repeat until each cup is filled.
- Top each cup with a dollop of whipped cream, then add candy pumpkins and optional gummy worms.
- Place the assembled cups in the refrigerator for at least 30 minutes before serving.


Leave a Reply