
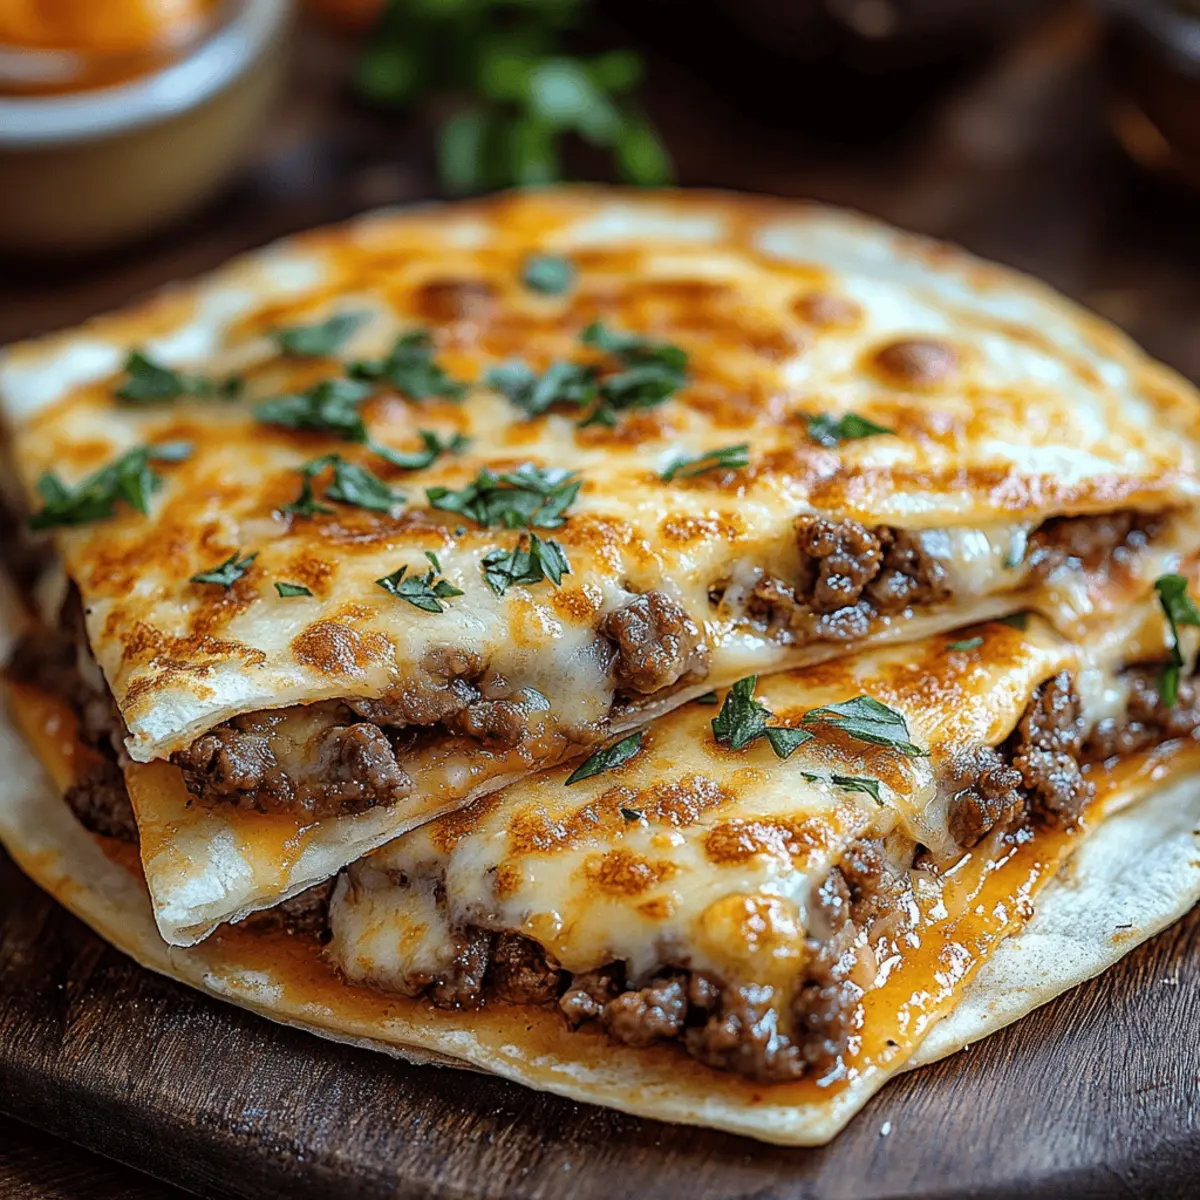
Late-night cravings? We've all been there, and that's how my Smashburger Quesadillas came to life! Imagine the delight of a juicy burger nestled inside a crispy tortilla, combining two of our favorite comfort foods into one drool-worthy treat. This recipe not only promises a quick prep time of just 10 minutes but also makes for a perfect crowd-pleaser at your next gathering. Whipping up these Smashburger Quesadillas means you can say goodbye to greasy takeout and hello to delicious homemade goodness—without the fuss. Who knew burger night could be this easy and fun? Are you ready to transform your dinner routine?
Why Are Smashburger Quesadillas Amazing?
Savory Delight: The succulent ground beef paired with melty cheese creates an indulgent flavor explosion.
Quick and Easy: Perfect for when you're short on time, this meal comes together in just 20 minutes!
Versatile Toppings: Customize your quesadillas by adding your favorite burger toppings, from pickles to onions.
Crowd-Pleaser: Ideal for game day or family dinners, everyone will love this fusion of flavors.
Comfort Food Reinvented: Say goodbye to boring takeout—these quesadillas deliver mouthwatering satisfaction with every bite. For more fun recipes, check out my guide on homemade quesadillas.
Smashburger Quesadillas Ingredients
Get ready to dive into this mouthwatering creation!
For the Quesadillas
• 1 lb ground beef – The star of the show, providing juicy flavor that embodies a classic burger.
• Salt, pepper, garlic powder – Essential seasonings that enhance the taste of the beef for a satisfying bite.
• 4 large flour tortillas – The perfect vessel for wrapping up all that deliciousness, ensuring a crispy finish.
• 1 cup shredded cheddar or American cheese – Melts beautifully, adding creaminess that complements the savory beef.
For Serving (Optional)
• Pickles – Adds a tangy crunch that brightens up each bite, making your quesadillas even more delightful.
• Diced onions – A fresh touch that elevates the flavor, bringing a classic burger essence to the dish.
• Burger sauce – Drizzle or dip for extra zing, enhancing the overall experience of these incredible Smashburger Quesadillas!
Step‑by‑Step Instructions for Smashburger Quesadillas
Step 1: Preheat Your Cooking Surface
Begin by heating a large skillet or griddle over medium-high heat, allowing it to reach a hot temperature that will sear the ground beef perfectly. This should take about 3-5 minutes. You want to hear a sizzle when you place the beef down. This initial heat is crucial to ensure your Smashburger Quesadillas have that deliciously crispy exterior.
Step 2: Prepare the Beef on Tortillas
While your skillet is heating, take a small handful of ground beef and press it directly onto one half of each tortilla. Be sure to season generously with salt, pepper, and garlic powder to enhance the flavor. This should only take a minute or two. Lay the beefy side down onto the hot skillet, ensuring each tortilla is ready to transform into a scrumptious quesadilla.
Step 3: Cook the Beef Side Down
Cook the tortillas with the beef side down for 2–3 minutes, until the beef is browned and you can see the juices starting to bubble. Peek beneath to check for a rich, golden-brown color—this indicates perfect doneness and flavor development. The aroma should be mouthwatering, signaling that your Smashburger Quesadillas are on their way to becoming something special.
Step 4: Flip and Add Cheese
Once the meat is beautifully browned, carefully flip each tortilla over to cook the cheese side. Immediately sprinkle a generous handful of shredded cheddar or American cheese over the cooked beef. Fold the tortilla in half, covering the cheese and meat, and press down gently with a spatula. This should only take about a minute as you wait for the cheese to melt and the tortilla to become golden and crispy.
Step 5: Grill Until Crispy
Continue grilling both sides of the folded quesadilla for an additional 2-3 minutes until they develop a crispy exterior and the cheese is gooey and melted. Keep an eye on the color—you’re aiming for a delightful golden-brown that signals perfection. The tempting smell of the Smashburger Quesadillas will surely have everyone hungry and waiting.
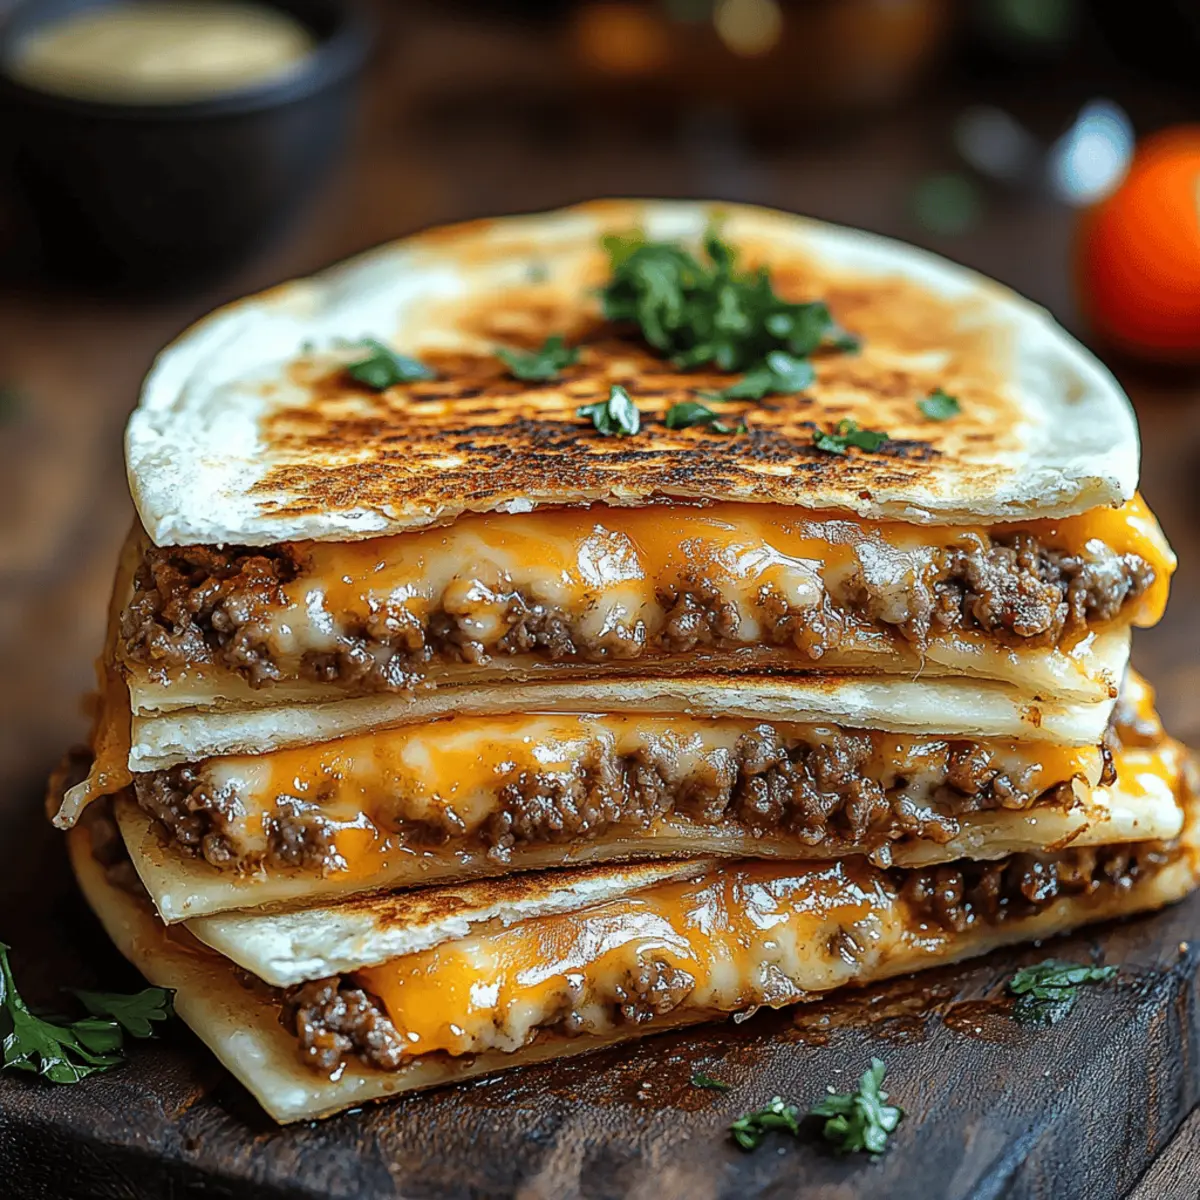
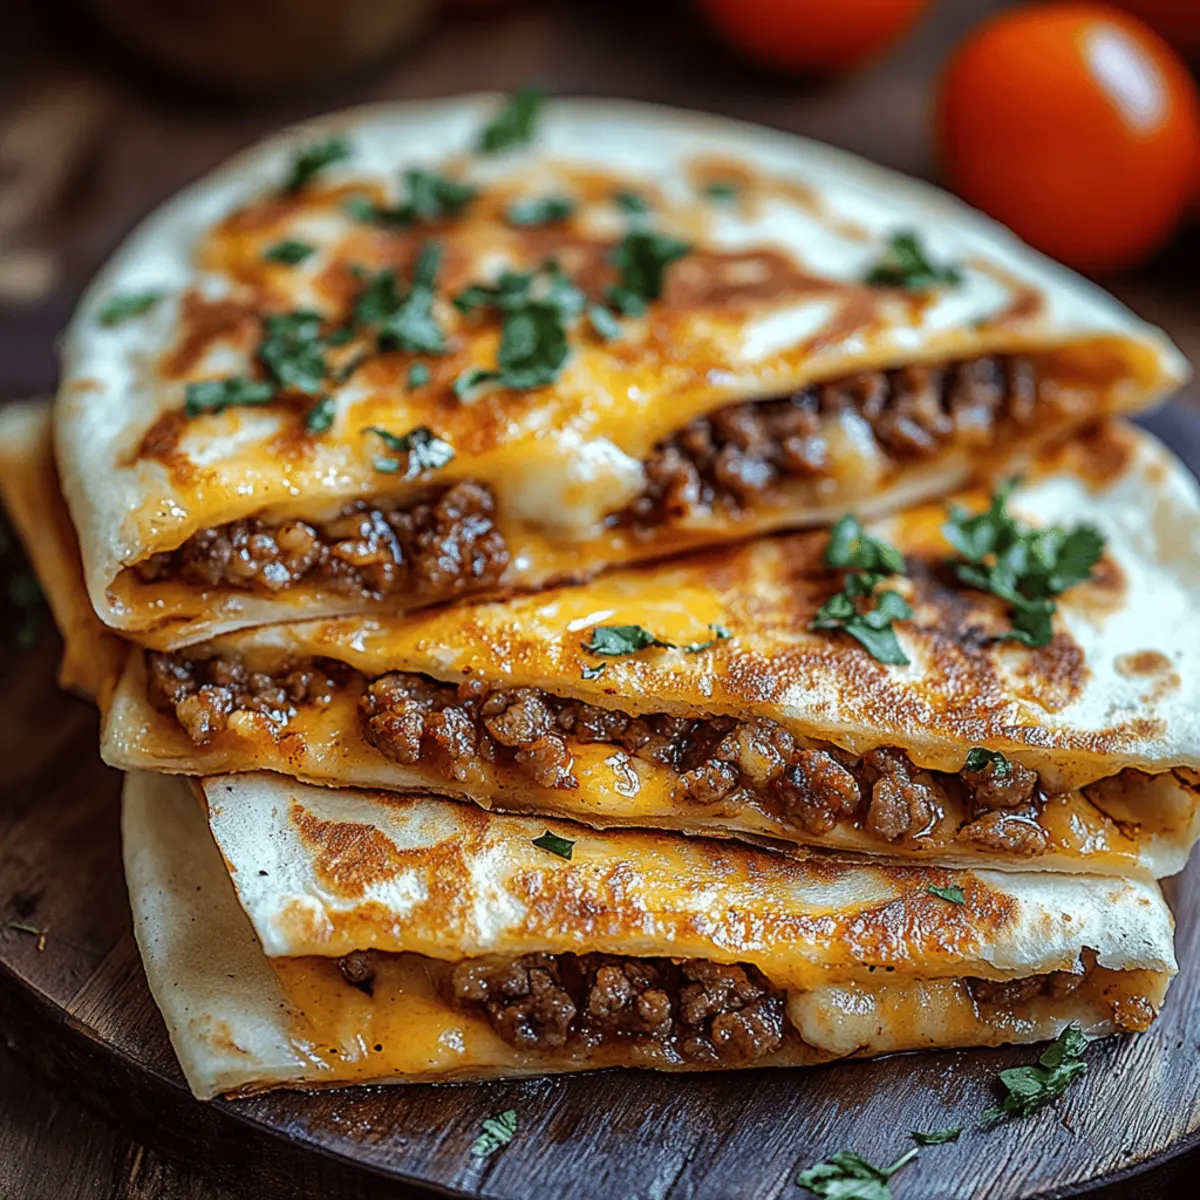
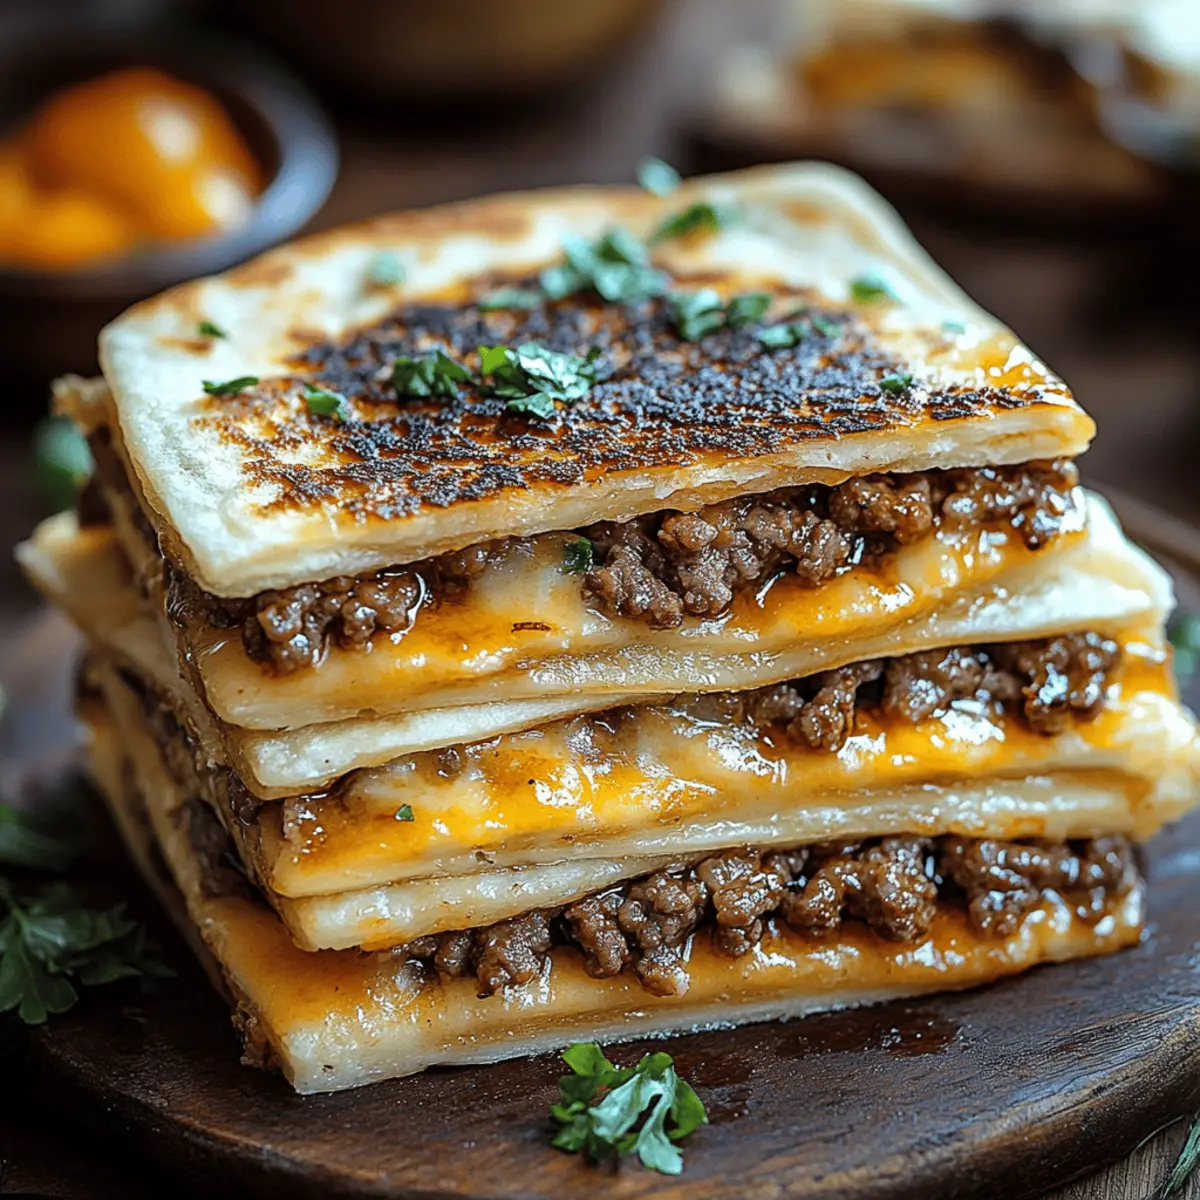
Step 6: Slice and Serve
Once nicely crispy, carefully remove the quesadillas from the skillet and let them rest for a minute. Using a sharp knife or pizza cutter, slice each quesadilla into wedges for easy serving. You can serve these irresistible Smashburger Quesadillas with your favorite burger toppings like pickles, diced onions, or a drizzle of burger sauce for an extra burst of flavor. Enjoy!
What to Serve with Smashburger Quesadillas
Elevate your meal by pairing these delightful quesadillas with tasty sides and drinks that enhance their flavors.
- Crispy French Fries: Perfect for soaking up any extra juices, these golden fries add a satisfying crunch to your plate.
- Guacamole: This creamy dip balances the savory notes of the quesadillas with a rich, fresh taste that’s simply irresistible.
- Chili Con Queso: A cheesy, spicy dip that invites a flavor explosion, pairing perfectly with the quesadillas for a comforting bite.
- Coleslaw: A crunchy, tangy salad provides a refreshing contrast, cutting through the richness while adding a delightful crunch.
- Tomato Salsa: Fresh and zesty, this vibrant salsa complements the quesadillas beautifully, adding a pop of color and brightness.
- Iced Tea: A refreshing drink choice that quenches your thirst and complements the bold flavors of the quesadillas without overpowering them.
- Brownies: End on a sweet note with fudgy brownies, offering a deliciously rich dessert that everyone will adore after the savory feast.
Expert Tips for Smashburger Quesadillas
• Perfectly Browned Beef: Ensure the ground beef is well-browned before flipping. This step is crucial for achieving the rich flavor that makes Smashburger Quesadillas irresistible.
• Crispy Tortillas: Use medium-high heat to get that golden, crispy exterior. If the skillet isn’t hot enough, the quesadillas may turn out soggy.
• Cheese Variety: Feel free to mix cheeses for added flavor! Cheddar and American combo melts perfectly, but pepper jack adds a spicy twist.
• Avoid Overfilling: Don't overstuff your quesadillas. A small handful of beef and cheese works best for easy flipping and to prevent tearing.
• Resting Time: Allow the quesadillas to cool for a minute after grilling. This helps the cheese set slightly, making them easier to slice and enjoy!
How to Store and Freeze Smashburger Quesadillas
Fridge: Store leftover quesadillas in an airtight container in the fridge for up to 3 days. Reheat in a skillet over medium heat for a few minutes to restore their crispiness.
Freezer: For longer storage, wrap individual quesadillas tightly in plastic wrap and then in aluminum foil. They can be frozen for up to 2 months.
Reheating: To reheat frozen Smashburger Quesadillas, let them thaw in the fridge overnight, then warm them in a skillet until heated through and crispy.
Serving Fresh: Enjoy quesadillas straight from the skillet for the best texture and flavor. They're best consumed fresh but can still be delightful when reheated!
Smashburger Quesadillas Variations
Feel free to mix and match these ideas to create the ultimate quesadilla just for you!
-
Dairy-Free: Substitute dairy cheese with a plant-based cheese alternative for a creamy yet guilt-free delight.
This swap ensures that everyone can enjoy these Smashburger Quesadillas without compromising on flavor. -
Spicy Kick: Add jalapeño slices or a dash of hot sauce while grilling for an added kick.
If you love heat, this tweak will keep your taste buds dancing and elevate your meal to the next level. -
Veggie-Loaded: Incorporate sautéed bell peppers and onions for a colorful, hearty twist.
Not only does this add nutritional value, but it also brings in a beautiful sweetness that balances the savory beef. -
Ground Turkey: Swap ground beef with ground turkey for a leaner option that’s just as satisfying.
This variation still delivers juicy goodness, making it a healthier alternative perfect for any day. -
Crunchy Texture: Add crushed tortilla chips inside the quesadilla for an extra crunch.
This delightful twist gives your Smashburger Quesadillas an unexpected texture, creating a delightful experience with every bite! -
BBQ Flavor: Mix in BBQ sauce with the ground beef during cooking for a smoky, tangy flavor.
Embracing this twist not only amps up the taste but also transports your quesadilla to the backyard grill vibes. -
Sweet & Savory: Toss in some caramelized onions or a hint of brown sugar to play with flavors.
This adds a sweet note that beautifully contrasts the savory elements, making your quesadilla truly gourmet. -
Loaded Toppings: Go wild with toppings! Think diced tomatoes, avocado, and a dollop of sour cream for a fresh touch.
Adding these crowd-pleasers turns your quesadillas into a feast that’s filled with textures and flavors everyone will love.
Don't forget, for more delicious ideas, check out my tips on easy quesadilla variations and how to make delicious burger sauces. Enjoy customizing your Smashburger Quesadillas!
Make Ahead Options
These Smashburger Quesadillas are perfect for busy weeknights when you need to save time while enjoying delicious homemade food. You can prep the ground beef mixture and season it up to 24 hours in advance. Simply store it in an airtight container in the refrigerator to keep it fresh. Additionally, consider assembling the quesadillas (without cooking) and wrapping them tightly in plastic wrap; they can be refrigerated for up to 3 days. When you're ready to serve, just heat a skillet over medium-high and cook each quesadilla for about 5-7 minutes until crispy and melty. This way, you’ll have restaurant-quality Smashburger Quesadillas on the table with minimal effort!
Smashburger Quesadillas Recipe FAQs
How do I select the best ground beef for Smashburger Quesadillas?
Absolutely! I recommend choosing ground beef with an 80/20 fat ratio. This ensures a juicy, flavorful filling without being overly greasy. Look for a bright red color without any dark spots, which indicates freshness. Purchasing from a trusted butcher can also make a significant difference in quality.
What’s the best way to store leftover Smashburger Quesadillas?
Store leftover quesadillas in an airtight container in the fridge for up to 3 days. To maintain their delicious crispiness, reheat them in a skillet over medium heat for a few minutes—this will keep the exterior golden and crispy while warming the filling perfectly.
Can I freeze Smashburger Quesadillas, and if so, how?
Yes, you can! For the best results, wrap each quesadilla tightly in plastic wrap and then in aluminum foil to protect them from freezer burn. They can be stored in the freezer for up to 2 months. When you’re ready to enjoy them, thaw in the fridge overnight, and then reheat them in a skillet until they're hot and crispy.
What should I do if my quesadillas are soggy after cooking?
If your quesadillas turn out soggy, it might be due to the skillet not being hot enough when you started cooking, or using too much filling. For your next batch, ensure your skillet is properly preheated, and avoid overstuffing them. Cooking over medium-high heat helps achieve that crispy texture that makes Smashburger Quesadillas so enjoyable!
Are Smashburger Quesadillas suitable for my gluten-free diet?
Certainly! Just swap out the flour tortillas for gluten-free tortillas made from corn or alternative flours. Additionally, ensure that your seasonings and any condiments are gluten-free. This way, you can still enjoy the delicious flavors without compromising your dietary needs.
Savor the Crunch: Smashburger Quesadillas You’ll Love
Ingredients
Equipment
Method
- Preheat your skillet over medium-high heat for 3-5 minutes.
- Press ground beef onto half of each tortilla and season. Place beef side down on the skillet.
- Cook tortillas for 2–3 minutes until beef is browned.
- Flip tortillas, sprinkle cheese over beef, fold and press with spatula. Cook until cheese melts.
- Grill both sides for an additional 2-3 minutes until crispy.
- Slice into wedges and serve with toppings.


Leave a Reply