As I stared at a bag of graham cracker crumbs, a lightbulb moment hit me—why not transform these pantry staples into something downright magical? That’s how my quest for the ultimate S’mores Bars began. Trust me; this sweet treat is the perfect blend of nostalgia and convenience, whether it’s a cozy family night or an impromptu gathering with friends. Not only are these S’mores Bars incredibly simple to whip up, but they’re also a total crowd-pleaser—goodbye, boring snacks! The combination of gooey marshmallows, rich chocolate, and a crispy crust will make everyone come back for seconds. Intrigued? Let’s dive into this delectable adventure and recreate a campfire classic right in your kitchen!
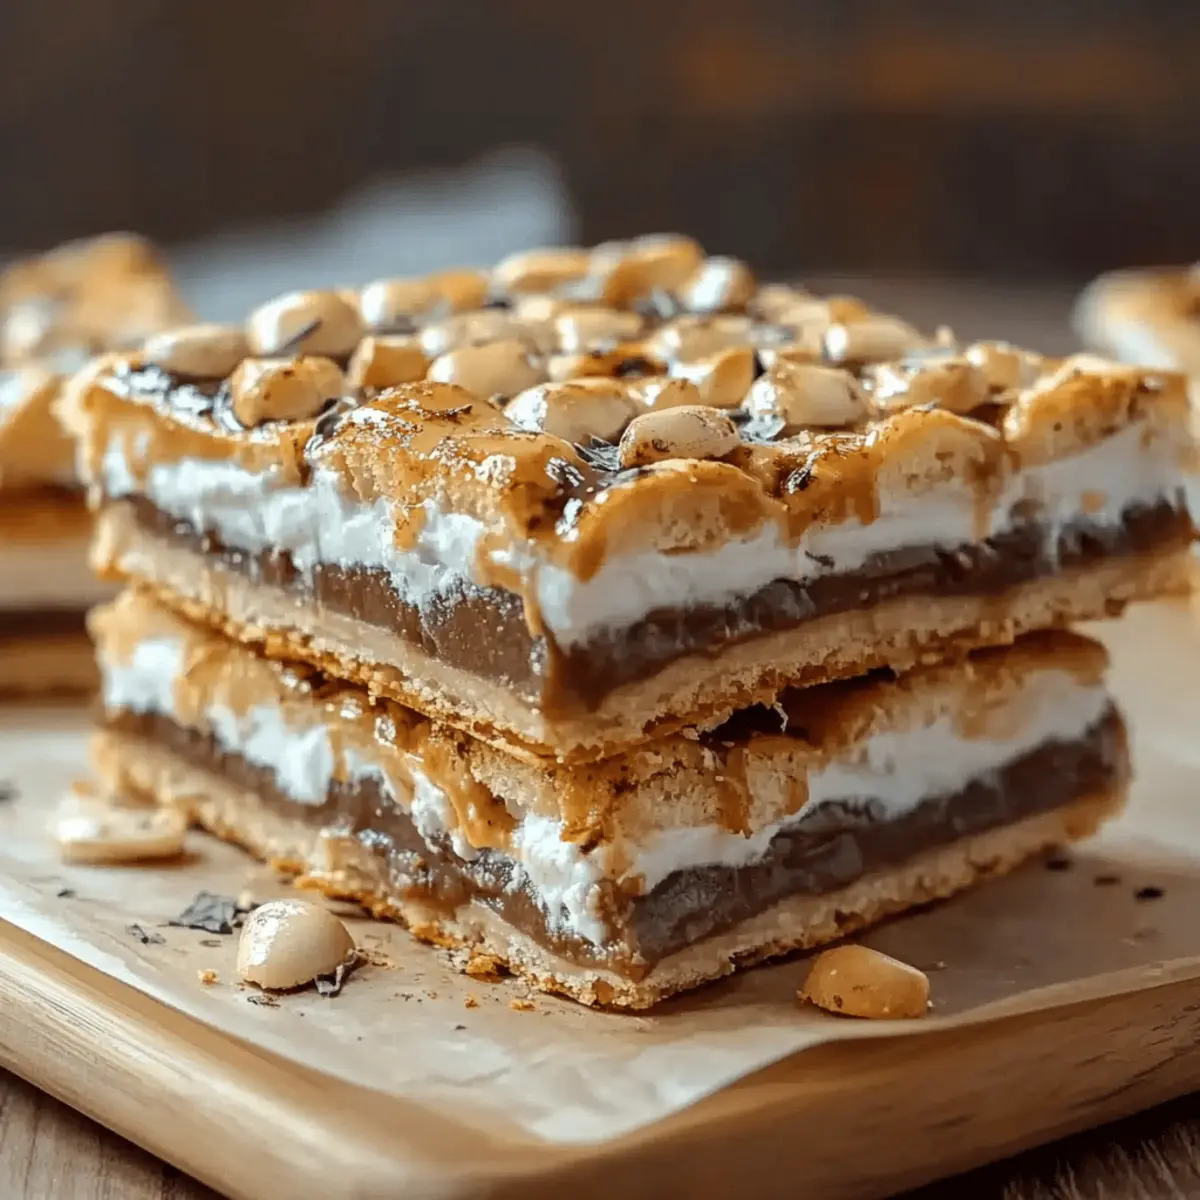
Why are S’mores Bars a game changer?
Simplicity at Its Best: These S’mores Bars are incredibly quick to prepare and pack a delightful punch, making them a go-to for busy weeknights or last-minute gatherings.
Nostalgic Comfort: Every bite takes you on a trip down memory lane, evoking summer campfires and cozy backyard evenings.
Crowd-Pleasing Delight: Friends and family will be flocking to the dessert table, eager for more of this sweet treat that combines rich chocolate and fluffy marshmallows.
Customizable Fun: Feel free to switch up the chocolate or add your favorite nuts for a twist on this classic recipe. For those looking for even more desserts, check out these no-bake treats that are sure to impress!
Quick Cleanup: Easy preparation means less time washing dishes—who doesn’t love that? Dive into these delightful bars for a dessert that feels gourmet without the hassle!
S’mores Bars Ingredients
For the Crust
• Graham cracker crumbs – essential for that classic crunch and flavor.
• Powdered sugar – sweetens the mixture while helping keep it crumbly.
• Unsalted butter, melted – binds the crust ingredients together, creating richness.
For the Filling
• Hershey chocolate bars – this will provide that melt-in-your-mouth chocolate experience; you can substitute with your favorite chocolate!
• Mini marshmallows – these create that gooey layer, making your S’mores Bars irresistibly delicious!
Transform your next gathering with these S’mores Bars, and watch as everyone dives in for more of this delightful treat!
Step‑by‑Step Instructions for S’mores Bars
Step 1: Preheat the Oven
Begin by preheating your oven to 350°F (175°C). This step ensures the oven is perfectly heated for baking, allowing your S’mores Bars to have that delightful crispness on the edges. While the oven warms up, gather your ingredients and equipment, including a greased 9×13-inch baking pan to prepare for the next steps.
Step 2: Mix the Crust Ingredients
In a mixing bowl, combine 2 cups of graham cracker crumbs, 1 cup of powdered sugar, and ½ cup of melted unsalted butter. Stir these ingredients together until they form a crumbly yet cohesive mixture. Be sure to add the melted butter gradually to prevent over-saturation. This step creates the crunchy base for your S’mores Bars.
Step 3: Press the Crust into the Pan
Take the graham cracker mixture and press it firmly into the bottom of your prepared greased baking pan. Use the back of a measuring cup or your hands to ensure it’s tightly packed and even. This creates a solid foundation for the delicious layers to come. Once done, it's time to bake!
Step 4: Bake the Crust
Place the pan in the preheated oven and bake for 5–8 minutes. Keep an eye on it; you’re looking for the edges to turn a beautiful golden brown. This baking time allows the crust to firm up, making it the perfect base for your S’mores Bars. Remove it from the oven and let it cool slightly.
Step 5: Add the Chocolate Layer
While the crust is still warm, place 2 Hershey chocolate bars on top, covering the whole surface. Return the pan to the oven for about 3 minutes, just enough for the chocolate to soften and shine. This step enhances the deliciousness of your S’mores Bars by creating a melty layer that complements the crust.
Step 6: Press on the Marshmallows
After letting the chocolate sit for 1–2 minutes, evenly scatter 2 cups of mini marshmallows across the softened chocolate layer. Press them gently down to ensure they adhere. This step is crucial as it creates a fluffy, gooey topping that is iconic in S’mores Bars and adds to the decadent texture.
Step 7: Broil for a Toasted Finish
Switch your oven setting to broil and return the pan to the oven for 1–2 minutes. Watch closely as the marshmallows begin to turn golden brown; this will create that most desired toasted marshmallow flavor. Remove them once you achieve that perfect color, as they can burn quickly!
Step 8: Cool and Slice the Bars
Allow your S’mores Bars to cool completely at room temperature, which may take about 30 minutes. For easier slicing, refrigerate them for an additional 30 minutes. When ready to cut, use a sharp knife warmed under hot water to ensure clean cuts. Wipe the knife between cuts to keep the bars looking neat.
Step 9: Store Leftovers
If you have any S’mores Bars left after sharing with family and friends (which might be rare!), store them in an airtight container at room temperature. They will stay fresh for up to 3 days, making them a delightful treat whenever you have a craving for something sweet!
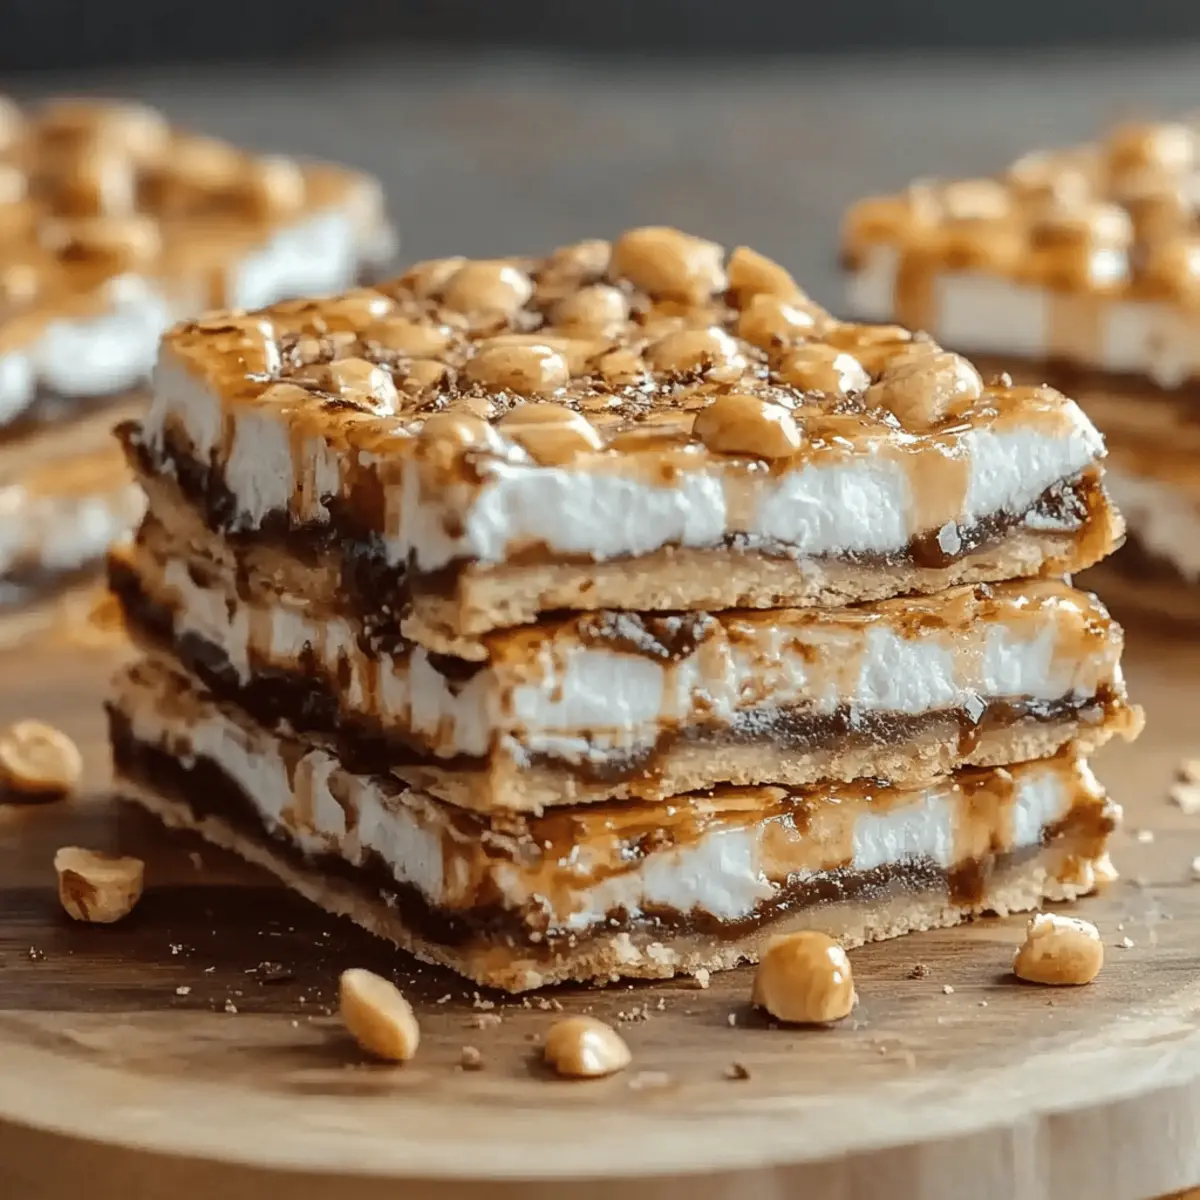
S’mores Bars Variations & Substitutions
Feel free to get creative with these sweet bars and make them uniquely yours!
- Nutty Delight: Add 1 cup of chopped nuts, like walnuts or pecans, to the crust mix for a delightful crunch. Nuts add a satisfying texture and rich flavor that elevates this classic treat.
- Dairy-Free: Substitute the chocolate bars with dairy-free chocolate for a vegan option, ensuring that everyone can enjoy these bars. The rich flavor of dairy-free chocolate will keep the indulgence alive!
- Spicy Kick: Incorporate a pinch of cayenne pepper or chili powder into the melted chocolate layer for a surprising heat that balances the sweetness. This unexpected twist will make your S’mores Bars memorable!
- Fruit Fusion: Layer in fresh sliced strawberries or banana between the chocolate and marshmallows for a fruity finish. The sweetness of the fruit pairs beautifully with the rich chocolate, adding a fresh element to each bite.
- Fun with Flavors: Experiment with flavored chocolate, such as caramel or mint, to bring a new taste profile to your S’mores Bars. Flavored chocolate can add a delightful depth of flavor that will make your bars extra special.
- Gluten-Free: Use gluten-free graham crackers to create a gluten-free version of these scrumptious bars. This swap allows everyone to indulge without worry, making it perfect for gatherings!
- Cookie Crust: Replace graham cracker crumbs with crushed chocolate or peanut butter cookies for a uniquely flavored crust. A cookie crust adds an interesting twist that enhances the overall taste experience.
- Marshmallow Variations: For a twist, substitute regular mini marshmallows with flavored ones, such as strawberry or chocolate marshmallows. These variations can add fun and excitement, making every bite a little different!
Feel inspired? Discover more delicious dessert recipes that showcase your creativity, like these no-bake treats that are sure to impress your friends and family!
Expert Tips for S’mores Bars
Press Firmly: Ensure you press the graham cracker crust firmly into the pan; this creates a sturdy base so the bars hold together well.
Watch the Oven: Keep a close eye when broiling the marshmallows. They can go from golden to burnt in seconds, so don’t walk away!
Remove Warmly: For the best chocolate melt, add the chocolate bars while the crust is warm; it helps achieve that dreamy, gooey layer in your S’mores Bars.
Cool Completely: Allow the bars to cool completely before slicing. This step is crucial for achieving clean cuts without squishing the layers.
Store Wisely: Keep leftovers in an airtight container for up to 3 days. For freshness, you may reheat them briefly in the microwave for that 'just made' feel!
Make Ahead Options
These S’mores Bars are a fantastic choice for meal prep, allowing you to savor that sweet nostalgia without the last-minute hustle! You can prepare the graham cracker crust and bake it up to 24 hours in advance; simply let it cool and store it wrapped at room temperature. Additionally, feel free to layer the chocolate and mini marshmallows ahead of time, keeping them in the fridge for up to 3 days. When you’re ready to enjoy, just broil the marshmallows for that perfect golden toast. This prep-ahead strategy ensures your S’mores Bars taste just as delicious while saving you time — perfect for busy weeknights or unexpected gatherings!
How to Store and Freeze S’mores Bars
Room Temperature: Store your S’mores Bars in an airtight container at room temperature for up to 3 days. This keeps them fresh and ready for snacking!
Refrigerator: If you prefer chilled bars, place them in the fridge for up to a week. Chilled S’mores Bars offer a different texture and flavor experience.
Freezer: To freeze, wrap the S’mores Bars tightly in plastic wrap and then in aluminum foil, ensuring there are no air pockets. They can be stored in the freezer for up to 2 months.
Reheating: When you're ready to enjoy frozen S’mores Bars, thaw them overnight in the fridge and enjoy them cold, or microwave for 10–15 seconds to get that gooey goodness back!
What to Serve with S’mores Bars
As the warm, sweet aroma of S’mores Bars fills your kitchen, let’s explore some delightful sides and treats that create the perfect meal!
-
Chilled Milk: A classic pairing that soothes the sweetness of S’mores Bars. The cold creaminess balances the richness perfectly.
-
Fresh Fruit Salad: Bright, refreshing fruits like strawberries, blueberries, and kiwi offer a contrast to the decadent bars, making every bite delightful.
-
Vanilla Ice Cream: A scoop of creamy vanilla ice cream beside your S’mores Bars brings an indulgent contrast in temperature and texture, making this duo irresistible.
-
Hot Chocolate: Luxuriously rich hot chocolate topped with whipped cream enhances the cozy vibes of your dessert table while echoing the marshmallow flavor.
-
Peanut Butter Dip: A thick peanut butter dip creates an unexpected blend of flavors, adding a nutty warmth that complements the chocolatey goodness beautifully.
-
Graham Cracker Sticks: For those who want an extra crunch, serve graham cracker sticks alongside the bars for a playful, interactive snack option.
-
Sparkling Water: Bright, effervescent sparkling water provides a refreshing cleanse between bites while keeping the gathering lively.
Pairing your S’mores Bars with these delightful sides will surely elevate your dessert game and leave everyone wanting more!
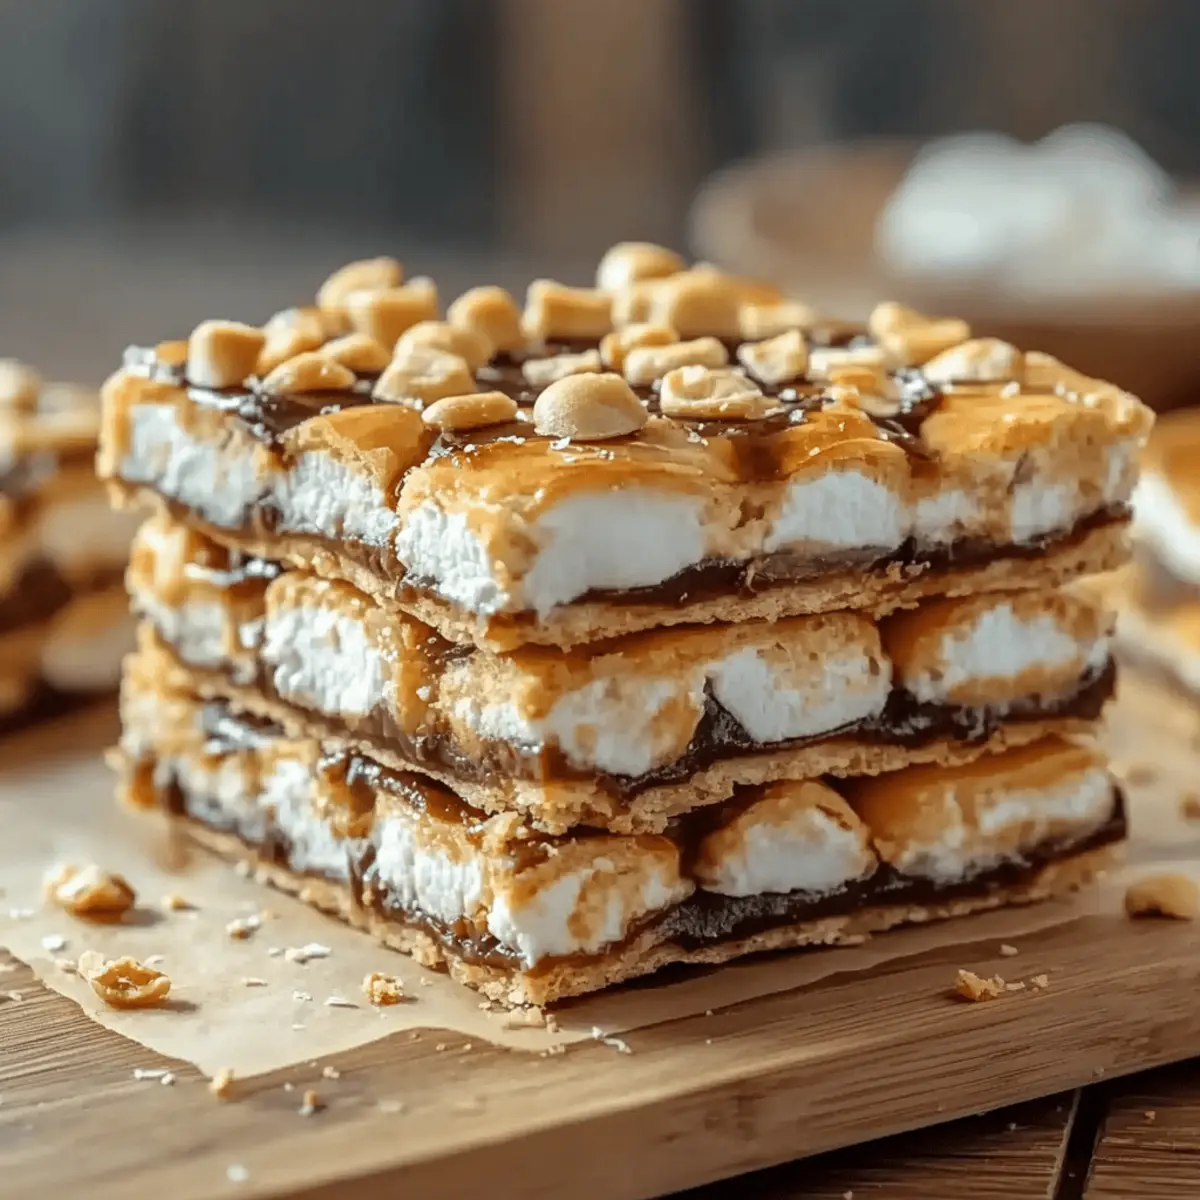
S’mores Bars Recipe FAQs
How do I choose the right graham crackers for S’mores Bars?
Absolutely, I recommend looking for graham crackers that are fresh and crisp. Check for a consistent color without dark spots or signs of moisture; this ensures a crunchy crust. Honey-flavored graham crackers add a delightful twist!
What is the best way to store leftover S’mores Bars?
Store your S’mores Bars in an airtight container at room temperature for up to 3 days. If you prefer them chilled, pop them in the fridge, where they can last for about a week. Just make sure to separate layers with parchment paper to avoid sticking.
Can I freeze S’mores Bars, and if so, how?
Yes, you can freeze S’mores Bars! Wrap them tightly in plastic wrap and then in aluminum foil, ensuring all air is removed to prevent freezer burn. They can be safely stored in the freezer for up to 2 months. When you're ready to enjoy them, simply thaw them overnight in the refrigerator or microwave for 10–15 seconds to bring back that gooey texture.
What should I do if my marshmallows burn while broiling?
If your marshmallows burn, don’t worry! Simply remove them from the oven immediately if they start to darken too much. For next time, it’s a good idea to watch closely as they can go from perfect to overdone in seconds. You might also try lowering the oven rack to create more distance from the broiler to help prevent burning while still getting that nice toasted top.
Are there any allergy concerns with S’mores Bars?
Yes, S’mores Bars contain common allergens like dairy (butter and chocolate) and gluten (graham crackers). Always check ingredient labels for potential allergens, especially if you're serving them to guests with dietary restrictions. You can easily swap ingredients—try gluten-free graham crackers or dairy-free chocolate for alternative options that fit different dietary needs.
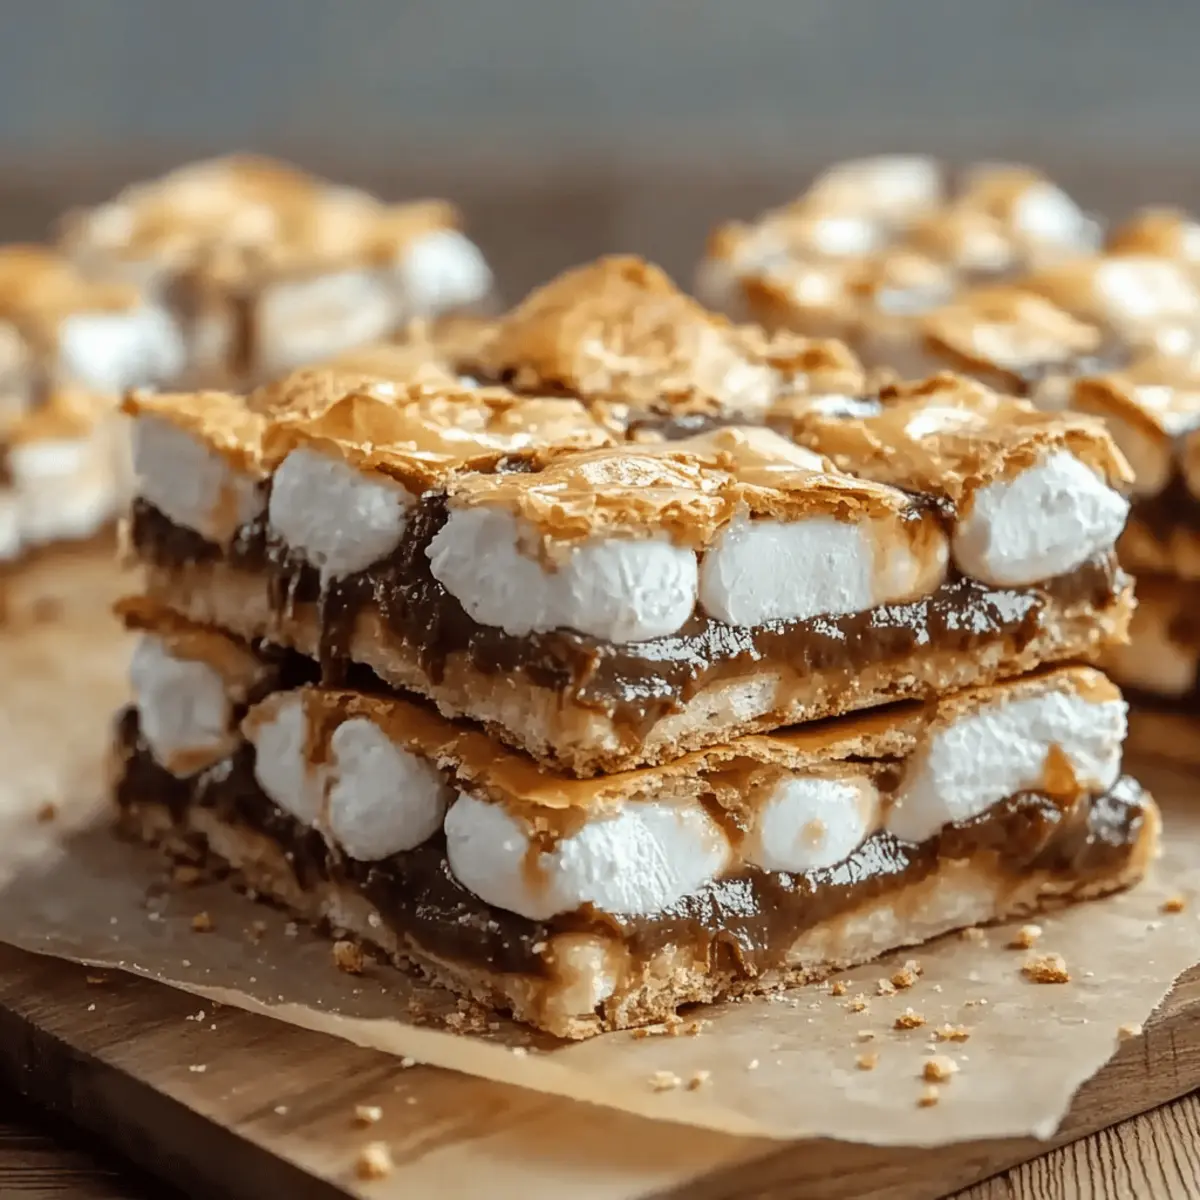
Irresistibly Gooey S’mores Bars for Ultimate Comfort Treats
Ingredients
Equipment
Method
- Preheat your oven to 350°F (175°C).
- In a mixing bowl, combine 2 cups of graham cracker crumbs, 1 cup of powdered sugar, and ½ cup of melted unsalted butter. Stir until cohesive.
- Press the graham cracker mixture into the bottom of your prepared greased baking pan.
- Bake for 5–8 minutes until edges turn golden brown.
- While warm, place 2 Hershey chocolate bars on top, covering the surface. Bake for 3 minutes to soften.
- Evenly scatter 2 cups of mini marshmallows across the softened chocolate layer.
- Broil for 1–2 minutes until marshmallows are golden brown. Watch closely!
- Allow to cool completely at room temperature for about 30 minutes, then refrigerate for 30 minutes.
- Use a sharp knife to slice into bars, wiping the knife between cuts for neatness.
- Store leftovers in an airtight container at room temperature for up to 3 days.


Leave a Reply