
As I pulled a tray of Cheesy Beef Nachos from the oven, the aroma filled my kitchen like a warm hug. This dish is my go-to for when family and friends come over, effortlessly transforming an ordinary snack into a mouthwatering centerpiece. What I love most about these nachos is how quickly they come together—gathering your favorite toppings and throwing them in the oven takes just 25 minutes! Plus, with layers of seasoned beef, melty cheese, and all those colorful toppings, they’re a crowd-pleaser that will make you the star of any get-together. Are you ready to elevate your snacking game to delicious new heights?
Why are these nachos a must-try?
Quick and Easy: With just 25 minutes from prep to plate, you can whip up a stunning dish that satisfies.
Decadent Layers: The combination of seasoned ground beef and gooey cheese makes each bite heavenly.
Customizable Delight: From jalapeños to fresh cilantro, you can personalize each plate to match your crowd's preferences.
Perfect for Gatherings: These Cheesy Beef Nachos are always an instant hit at parties, ensuring you’re the host with the most!
Ultimate Comfort Food: Whether for a family night or a casual get-together, this nacho recipe never disappoints with its warm, comforting flavors.
Cheesy Beef Nachos Ingredients
• Everything you need to create this crowd-pleasing dish!
For the Beef Layer
- Ground beef – use lean ground beef for a healthier option.
- Taco seasoning – this adds the perfect zesty kick to your nachos.
- Salt – enhances the flavors; adjust to your taste.
- Pepper – brings a subtle warmth; use freshly ground for best flavor.
For the Cheese
- Shredded cheddar cheese – gives that classic nacho taste and beautiful color.
- Shredded Monterey Jack cheese – adds creaminess and melts wonderfully.
For the Toppings
- Tortilla chips – choose a sturdy brand that can hold all the delicious toppings!
- Diced tomatoes – fresh and juicy, they add brightness to your nachos.
- Black olives – offers a salty depth; feel free to omit if you prefer.
- Jalapeños (optional) – add a spicy flair for those who love a kick.
- Fresh cilantro – a sprinkle adds freshness and vibrant color.
- Sour cream – balances the flavors with a creamy touch.
- Green onions – adds a mild oniony flavor and a nice crunch.
Dive into making these Cheesy Beef Nachos, and let the flavors tell the story of your next gathering!
Step‑by‑Step Instructions for Cheesy Beef Nachos
Step 1: Cook the Beef
In a large skillet over medium heat, add the 10 ounces of ground beef. Sprinkle in the taco seasoning, salt, and pepper, then cook for about 5–7 minutes, breaking it apart with a spatula until it’s browned and no longer pink. Make sure to stir occasionally to ensure even cooking. Once cooked through, drain any excess fat, and set the skillet aside.
Step 2: Preheat Your Oven
While the beef cools slightly, preheat your oven to 350°F (175°C). This temperature creates the perfect environment for melting your cheese while warming the nachos without burning them. A warm oven guarantees a delightful, cheesy finish to your Cheesy Beef Nachos that everyone will love.
Step 3: Prepare the Chips
On a large baking sheet, spread out the tortilla chips in an even layer, ensuring they overlap a little for maximum crunch. Take care not to pile them too high, as you want all the chips to have a generous topping of cheesy goodness. This step is key to creating a well-balanced snack that holds up under all the delicious layers.
Step 4: Layer the Ingredients
Top the arranged tortilla chips with the cooked ground beef, distributing it evenly across the surface. Follow this by generously sprinkling the shredded cheddar and Monterey Jack cheeses over the chips to create a gooey, cheesy layer. Aim for an even coverage, ensuring every chip gets a taste of the savory, melty goodness.
Step 5: Bake the Nachos
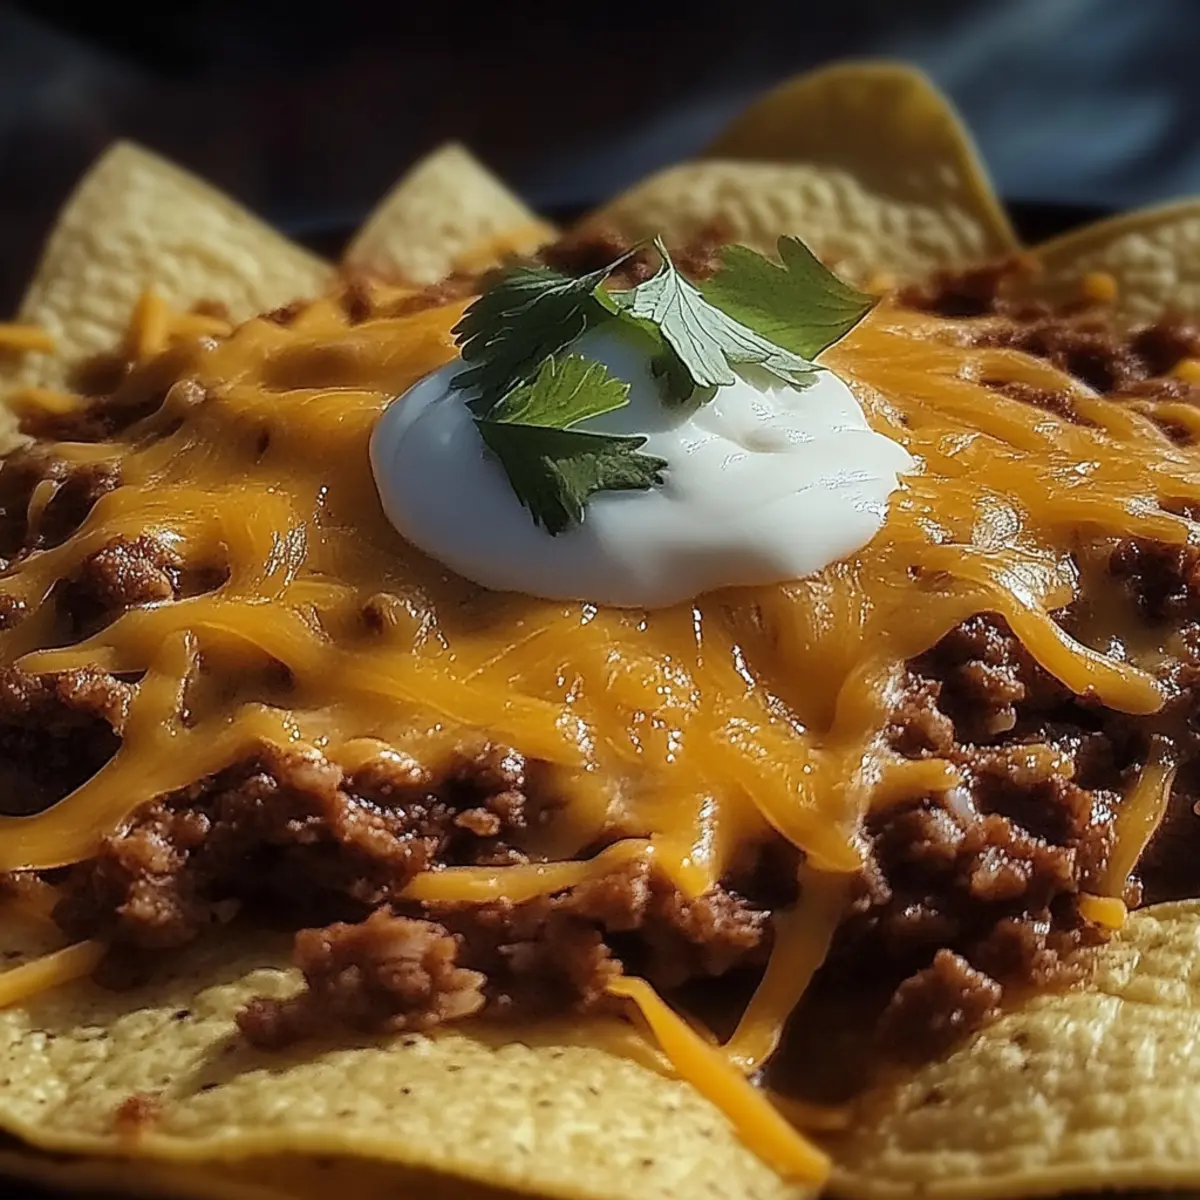
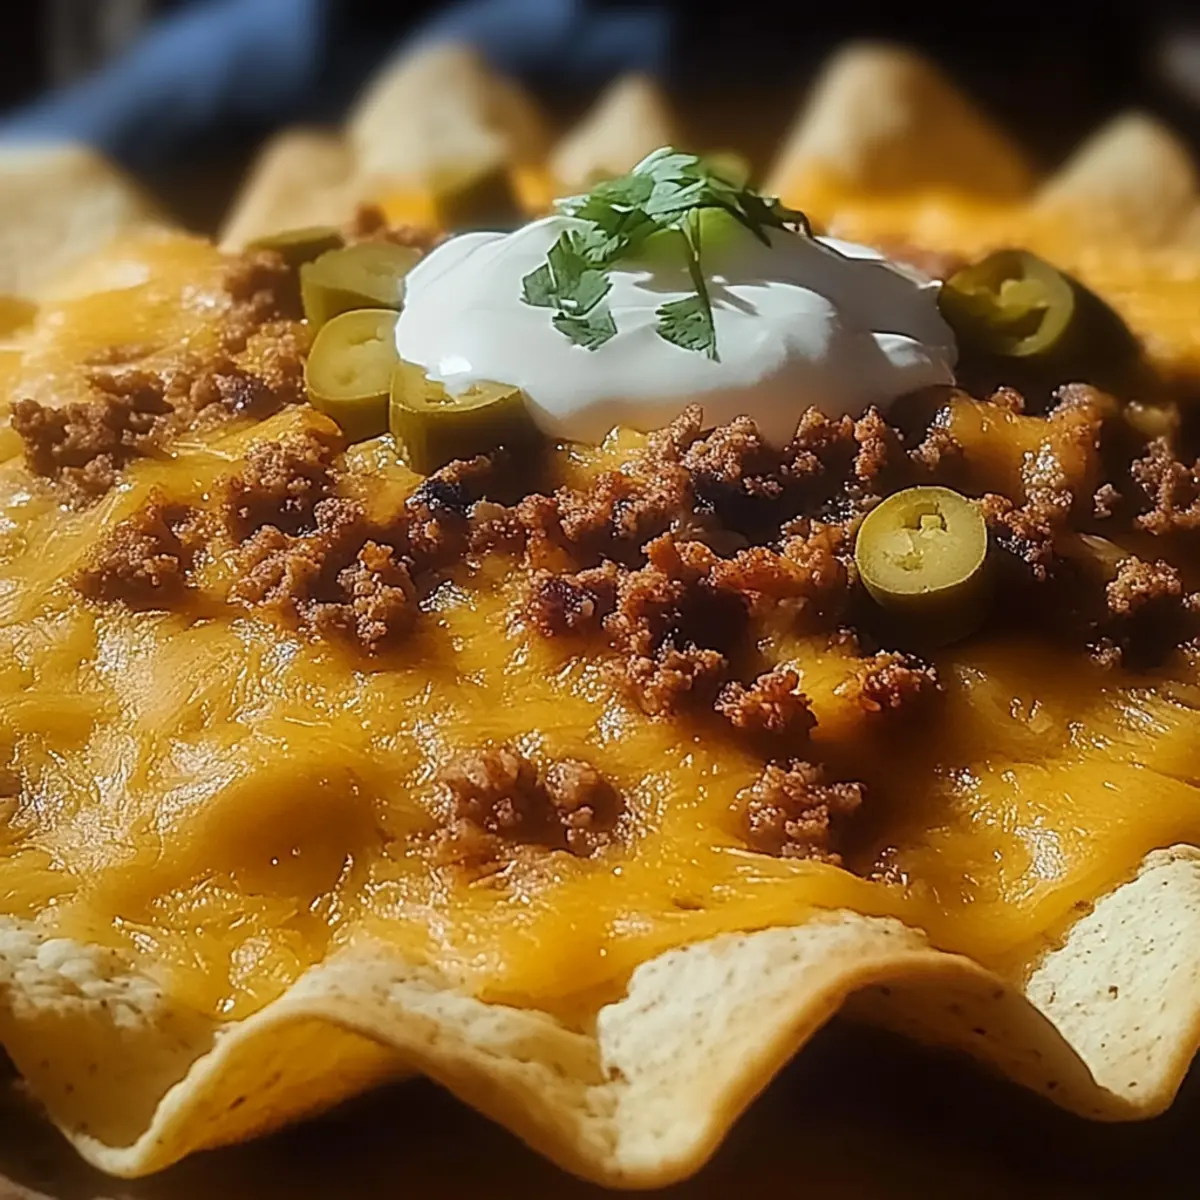
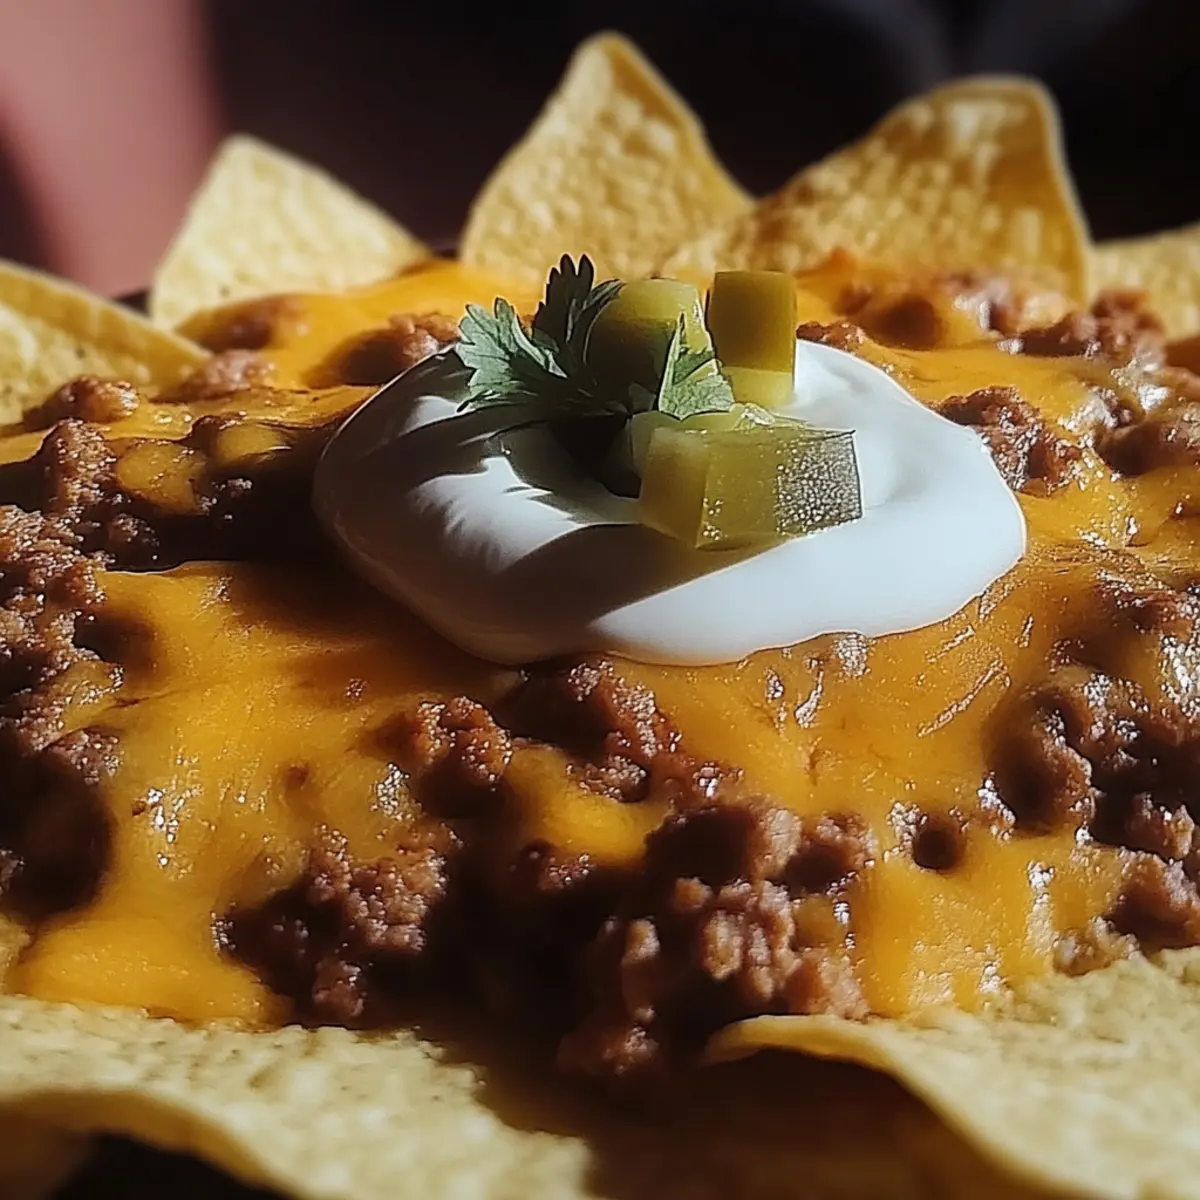
Place the baking sheet in your preheated oven and allow the nachos to bake for about 10 minutes. Keep an eye on them until the cheese is melted and bubbly, a golden sign of deliciousness! The aroma that fills your kitchen is sure to excite everyone waiting at the table.
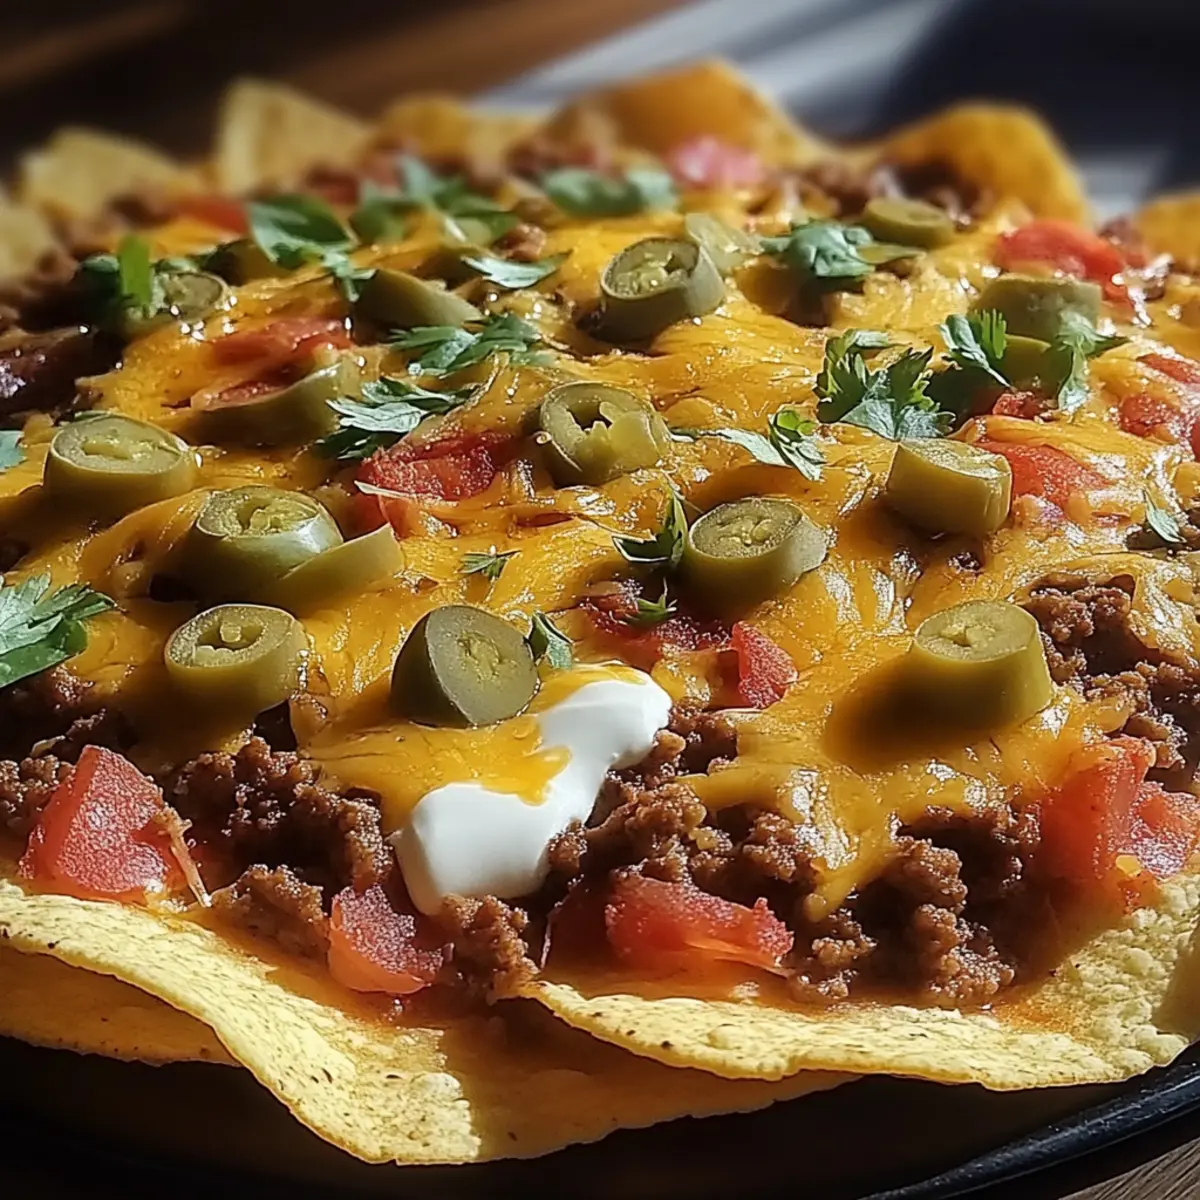
Step 6: Add Fresh Toppings
Once baked to perfection, carefully remove the nachos from the oven. Top your cheesy creation with fresh diced tomatoes, black olives, and jalapeños if desired, adding vibrant colors and flavors. The warmth of the nachos will enhance the freshness of these toppings, making your Cheesy Beef Nachos even more irresistible.
Step 7: Drizzle and Serve
Finally, drizzle sour cream generously over the nachos, and sprinkle the chopped green onions for added crunch and flavor. Serve immediately while everything is still warm and melty, allowing everyone to dig in and enjoy this flavorful fiesta night treat!
Make Ahead Options
These Cheesy Beef Nachos are perfect for meal prep, allowing you to enjoy a delicious snack with minimal last-minute effort! You can cook the ground beef and mix it with taco seasoning up to 3 days in advance, refrigerating it in an airtight container to maintain its flavor. Additionally, you can prepare the fresh toppings, like diced tomatoes and sliced jalapeños, and store them in the fridge for 24 hours before serving. When you're ready to enjoy your nachos, simply layer the chips, beef, and cheese, then bake as directed. By prepping ahead, you’ll have a delightful dish that's just as tasty and ready almost instantly for those busy weeknights!
How to Store and Freeze Cheesy Beef Nachos
Fridge: Store any leftover Cheesy Beef Nachos in an airtight container in the fridge for up to 3 days. Be sure to separate the toppings to keep the chips crispy.
Freezer: For longer storage, freeze the nacho layers (without toppings) in an airtight container for up to 2 months. Toppings should be stored separately.
Reheating: To reheat, thaw overnight in the fridge, then bake at 350°F (175°C) for about 10-15 minutes until warmed through and the cheese is melty again.
Room Temperature: If serving at a party, keep uneaten nachos at room temperature for no more than 2 hours to ensure food safety.
What to Serve with Cheesy Beef Nachos
Elevate your snacking experience with these delightful pairings that complement the rich goodness of your nachos.
-
Creamy Guacamole: A smooth and creamy guacamole adds a fresh, zesty contrast to the cheesy layers, enhancing your nacho experience.
-
Spicy Salsa: Fresh salsa brings a burst of flavor and acidity, balancing the richness of the meat and cheese with its tangy taste.
-
Crispy Coleslaw: The crunch and slight sweetness from a coleslaw offer a refreshing bite that contrasts beautifully with gooey nachos.
Indulging in nachos is fun, but pairing them with fresh, vibrant sides can elevate your meal. Consider adding some grilled shrimp or chicken for some delightful protein balance!
-
Chilled Beverages: Pair with ice-cold margaritas or a light cerveza. These drinks bring a bright citrusy note that cuts through the richness of the nachos.
-
Sweet Treat: Don't forget dessert! Chocolate-covered strawberries or mini churros drizzled with caramel can provide a sweet ending to your nacho fiesta.
Expert Tips for Cheesy Beef Nachos
-
Use Lean Beef: Choosing lean ground beef not only reduces excess grease but also creates a healthier nacho option without sacrificing flavor.
-
Layer Strategically: To avoid soggy chips, layer your ingredients carefully, starting with chips, then beef, and finally cheese. This method keeps everything crispy longer.
-
Monitor Baking Time: Keep a close eye on your nachos in the oven; melted cheese is great, but burnt edges aren't! Aim for about 10 minutes of baking.
-
Fresh Toppings Matter: Adding fresh ingredients like diced tomatoes and cilantro right after baking increases flavor complexity and adds vibrant color to your Cheesy Beef Nachos.
-
Customize for Your Crowd: Don't hesitate to swap or add toppings based on your guests’ preferences. Try grilled chicken, black beans, or avocado for extra variety!
-
Serve Immediately: Nachos are best enjoyed fresh out of the oven, so plan to serve them right away for maximum cheesiness and crunch.
Cheesy Beef Nachos Variations
Feel free to get creative and make these nachos your own with exciting twists and substitutions!
-
Vegetarian: Substitute ground beef with black beans or lentils, seasoned with taco spices for a protein-rich alternative. The result is just as satisfying, with all the hearty flavors you love.
-
Spicy Kick: Add sliced fresh jalapeños or swap part of the cheese for pepper jack to turn up the heat. For those who crave heat, this little change can elevate your nachos to a whole new level of excitement.
-
Cheese Lovers Delight: Experiment with different cheeses like Gouda or Monterey Jack for a unique flavor combination that’s irresistibly creamy. Each bite will surprise you with its delightful depth and richness.
-
Low-Carb Version: Use baked zucchini chips or cauliflower chips instead of traditional tortilla chips for a guilt-free treat. You’ll still savor every cheesy, savory bite without the carbs!
-
Taco-Inspired: Layer on traditional taco toppings like diced red onion, salsa, and shredded lettuce for a fun twist reminiscent of your favorite taco. This adds freshness and a pleasing crunch to your nacho experience.
-
Creamy Avocado: Replace sour cream with mashed avocado or guacamole for a creamy layer that brings vibrancy and healthy fats to your dish. The added richness will keep everyone coming back for more!
-
Breakfast Nachos: Top with scrambled eggs and diced bell peppers for a hearty breakfast twist that can start your day on a delicious note. A sprinkling of fresh herbs will round out the morning flavors.
-
Loaded Vegan: Use plant-based cheese and substitute beef with crumbled tofu or tempeh seasoned with taco spices. This variation means everyone can enjoy a hearty plate of nachos without compromising their dietary choices.
Feel free to explore these options and craft the perfect plate of nachos that reflects your unique taste! If you’re looking for more fun recipes, don’t miss out on these Delicious Tacos or Hearty Quesadillas that make great companions for any nacho feast!
Cheesy Beef Nachos Recipe FAQs
What type of ground beef should I use for nachos?
Using lean ground beef (around 80/20) is ideal for Cheesy Beef Nachos. It provides enough flavor without excess grease. If you prefer a healthier option, you can also use ground turkey or chicken for a lighter twist!
How should I store leftover nachos?
Absolutely! Store any leftover Cheesy Beef Nachos in an airtight container in the fridge for up to 3 days. It’s a good idea to separate the toppings (like tomatoes and sour cream) from the chips to keep them crispy and fresh. This way, you can enjoy them again without sacrificing texture!
Can I freeze Cheesy Beef Nachos?
Yes! To freeze, layer the Cheesy Beef Nachos (without toppings) in an airtight container or freezer bag for up to 2 months. For best results, wrap the nachos tightly to prevent freezer burn. Toppings should be stored separately.
How do I reheat frozen nachos?
Reheating frozen nachos is simple! Start by thawing them overnight in the fridge. Once thawed, preheat your oven to 350°F (175°C), then bake for about 10-15 minutes until warmed through and the cheese is melty again. This helps maintain the delicious flavor and texture!
What can I do if my nachos come out soggy?
To avoid soggy nachos, ensure you layer your ingredients correctly. Start with the sturdy tortilla chips followed by the beef and then the cheese. Also, avoid adding fresh toppings until after baking. If you do end up with soggy nachos, a quick turn in the oven for a few minutes can help crisp them up again!
Are Cheesy Beef Nachos safe for pets?
While the ingredients in Cheesy Beef Nachos may be fine for humans, it's best to avoid giving them to pets. Ingredients like cheese and sour cream can upset their stomachs, and seasonings like taco seasoning can be harmful. Always consult your vet for guidance on what treats are safe for your furry friends!
Ultimate Cheesy Beef Nachos for a Flavorful Fiesta Night
Ingredients
Equipment
Method
- In a large skillet over medium heat, add the ground beef. Sprinkle in the taco seasoning, salt, and pepper, then cook for about 5–7 minutes, breaking it apart until it's browned and no longer pink.
- While the beef cools slightly, preheat your oven to 350°F (175°C). This temperature ensures your cheese melts perfectly while warming the nachos.
- On a large baking sheet, spread out the tortilla chips in an even layer, ensuring they overlap a little for maximum crunch.
- Top the arranged tortilla chips with the cooked ground beef, distributing it evenly. Follow with a generous sprinkle of cheddar and Monterey Jack cheeses.
- Place the baking sheet in your preheated oven and bake for about 10 minutes until the cheese is melted and bubbly.
- Carefully remove the nachos from the oven and top with fresh diced tomatoes, black olives, and jalapeños, if desired.
- Drizzle sour cream generously over the nachos, and sprinkle the chopped green onions for added crunch and flavor. Serve immediately!


Leave a Reply