As I rummaged through my pantry, I stumbled upon an old spice jar labeled “witching”! Suddenly inspired, I conjured up a delightful recipe for Witchy Cookies that makes magic right in your kitchen. These enchanting treats blend the comforting familiarity of chocolate chip cookies with a sprinkle of imagination, converting any ordinary day into an extraordinary one. With a quick prep time of just 15 minutes and a soft, chewy center that pairs perfectly with a glass of milk, these cookies are an instant crowd-pleaser. Plus, they're a fantastic way to bring a little whimsy into your baking routine! Ready to enchant your family and friends with something sweet? Let’s dive into the magic of baking these irresistible Witchy Cookies!
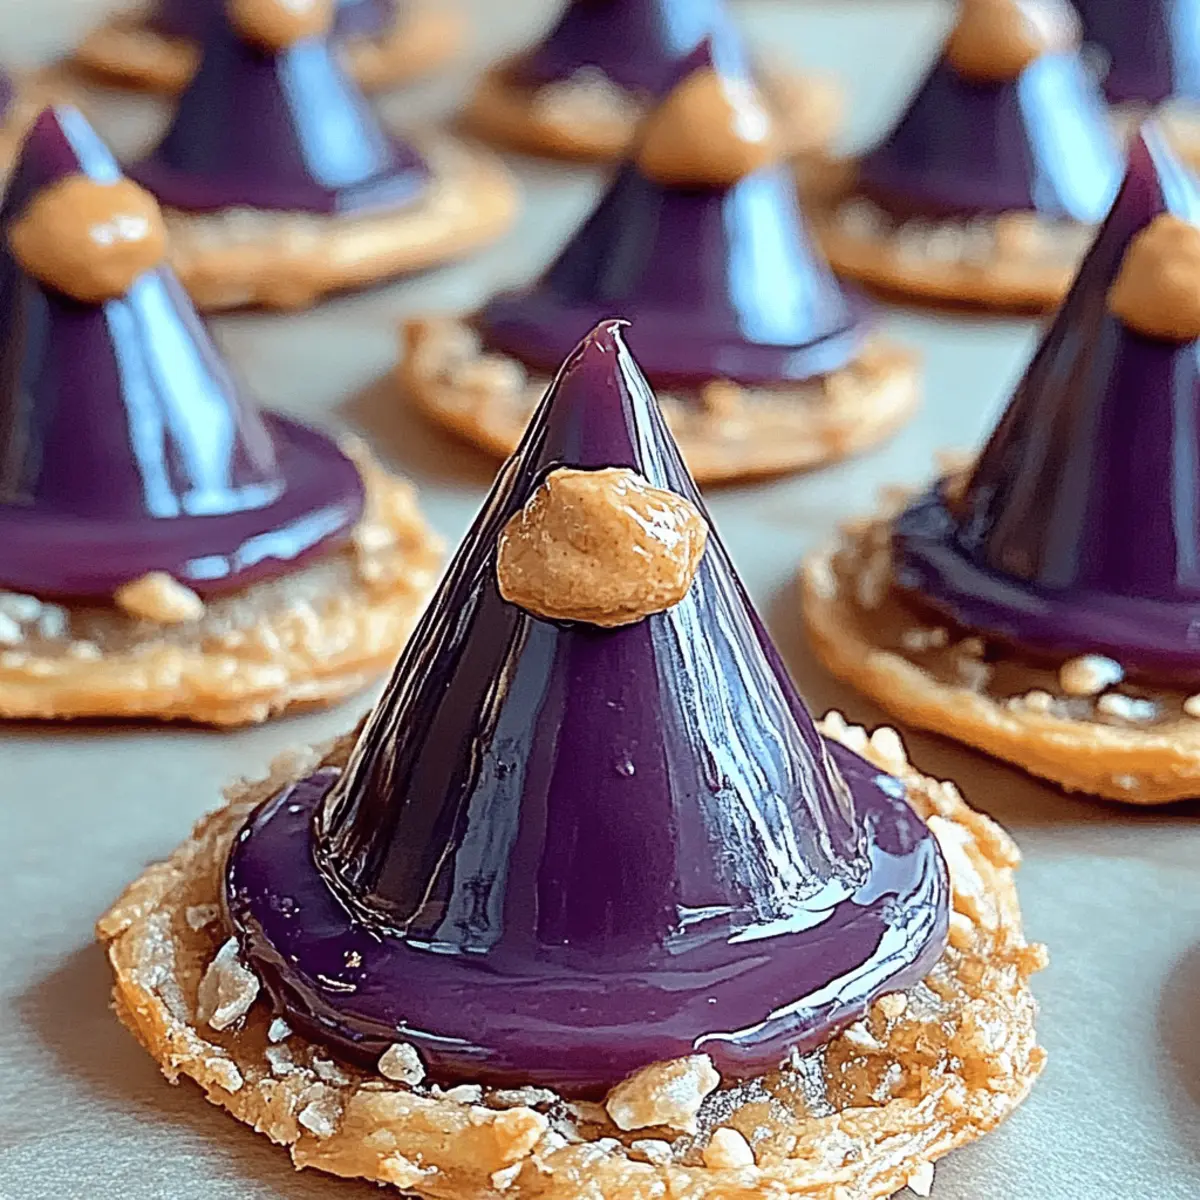
Why are Witchy Cookies so spellbinding?
Irresistible aroma: The scent of melted chocolate and buttery dough fills your home as they bake, creating a warm and inviting atmosphere.
Quick and easy: With just 15 minutes of prep, you can whip up these delightful cookies without any hassle.
Perfectly chewy: Their soft texture, combined with delicious chocolate chip goodness, makes them an instant favorite.
Versatile: Whether enjoyed with milk as a snack or served at parties, they are sure to dazzle your guests. Explore more cookie delights with our best chocolate chip cookie recipe for even more fun in the kitchen!
Fun for everyone: Baking these cookies is a magical activity for kids and adults alike, making it a delightful family event.
Witchy Cookies Ingredients
• Get ready to enchant your baking with these must-have ingredients!
For the Cookie Dough
- All-purpose flour – 2 ¼ cups, this forms the base of your Witchy Cookies and gives them their structure.
- Baking soda – 1 tsp, essential for the perfect rise and chewy texture.
- Sea salt – ½ tsp, a pinch enhances the sweetness of the chocolate chips.
- Unsalted butter – 1 cup (room temperature), creates a creamy base and rich flavor.
- Granulated sugar – ¾ cup, this adds sweetness and helps the cookies spread.
- Brown sugar – ¾ cup (packed), brings moisture and a hint of caramel flavor.
- Large eggs – 2, essential for binding all the ingredients together.
- Vanilla extract – 2 tsp, a magical touch that enhances the overall flavor.
- Chocolate chips – 2 cups (semi-sweet or dark), the star of the Witchy Cookies, providing delicious bursts of chocolate.
These ingredients come together to create irresistible Witchy Cookies that are sure to charm everyone who takes a bite!
Step‑by‑Step Instructions for Witchy Cookies
Step 1: Preheat the Oven
Begin by preheating your oven to 350°F (175°C). This crucial step ensures that your Witchy Cookies bake evenly and achieve that golden, tantalizing color. As your oven warms up, grab your baking sheets and line them with parchment paper to prevent sticking, making cleanup a breeze later.
Step 2: Whisk the Dry Ingredients
In a medium bowl, whisk together 2 ¼ cups of all-purpose flour, 1 teaspoon of baking soda, and ½ teaspoon of sea salt until well combined. This mixture lays the foundation for your cookies' structure. Set this bowl aside, allowing the ingredients to mingle while you prepare the wet mixture for your delightful Witchy Cookies.
Step 3: Cream the Butter and Sugars
In a large mixing bowl, beat 1 cup of room-temperature unsalted butter along with ¾ cup of granulated sugar and ¾ cup of packed brown sugar using an electric mixer. Beat for about 3 minutes until the mixture is light and creamy. This step is essential to incorporating air, which will make your cookies wonderfully soft.
Step 4: Incorporate the Eggs and Vanilla
Once your butter and sugars are fluffy, add 2 large eggs one at a time, mixing well after each addition. Follow with 2 teaspoon of vanilla extract, blending until everything is fully combined. This luscious blend will add depth to your Witchy Cookies and a heavenly aroma to your kitchen.
Step 5: Combine Wet and Dry Ingredients
Gradually add the dry flour mixture to the wet ingredients, stirring gently until just combined. Be careful not to overmix; you want a tender cookie dough for your Witchy Cookies. This gentle approach helps maintain the soft, chewy texture that everyone will love.
Step 6: Fold in Chocolate Chips
Now, take 2 cups of semi-sweet or dark chocolate chips and fold them into the dough with a spatula. Distributing the chocolate evenly is key, as it creates those delightful pockets of melted chocolate in every bite of your Witchy Cookies.
Step 7: Scoop and Bake
Using a cookie scoop or tablespoon, drop spoonfuls of the dough onto your lined baking sheets, spacing them about 2 inches apart. Place them in the preheated oven and bake for 10-12 minutes. Watch carefully; the cookies should be golden around the edges but still soft in the center for that perfect chewy texture.
Step 8: Cool and Transfer
Once your Witchy Cookies are golden brown, remove them from the oven and let them cool on the baking sheet for about 5 minutes. This allows them to set before carefully transferring them to wire racks to cool completely. Letting the cookies cool enhances their magical texture and flavor.
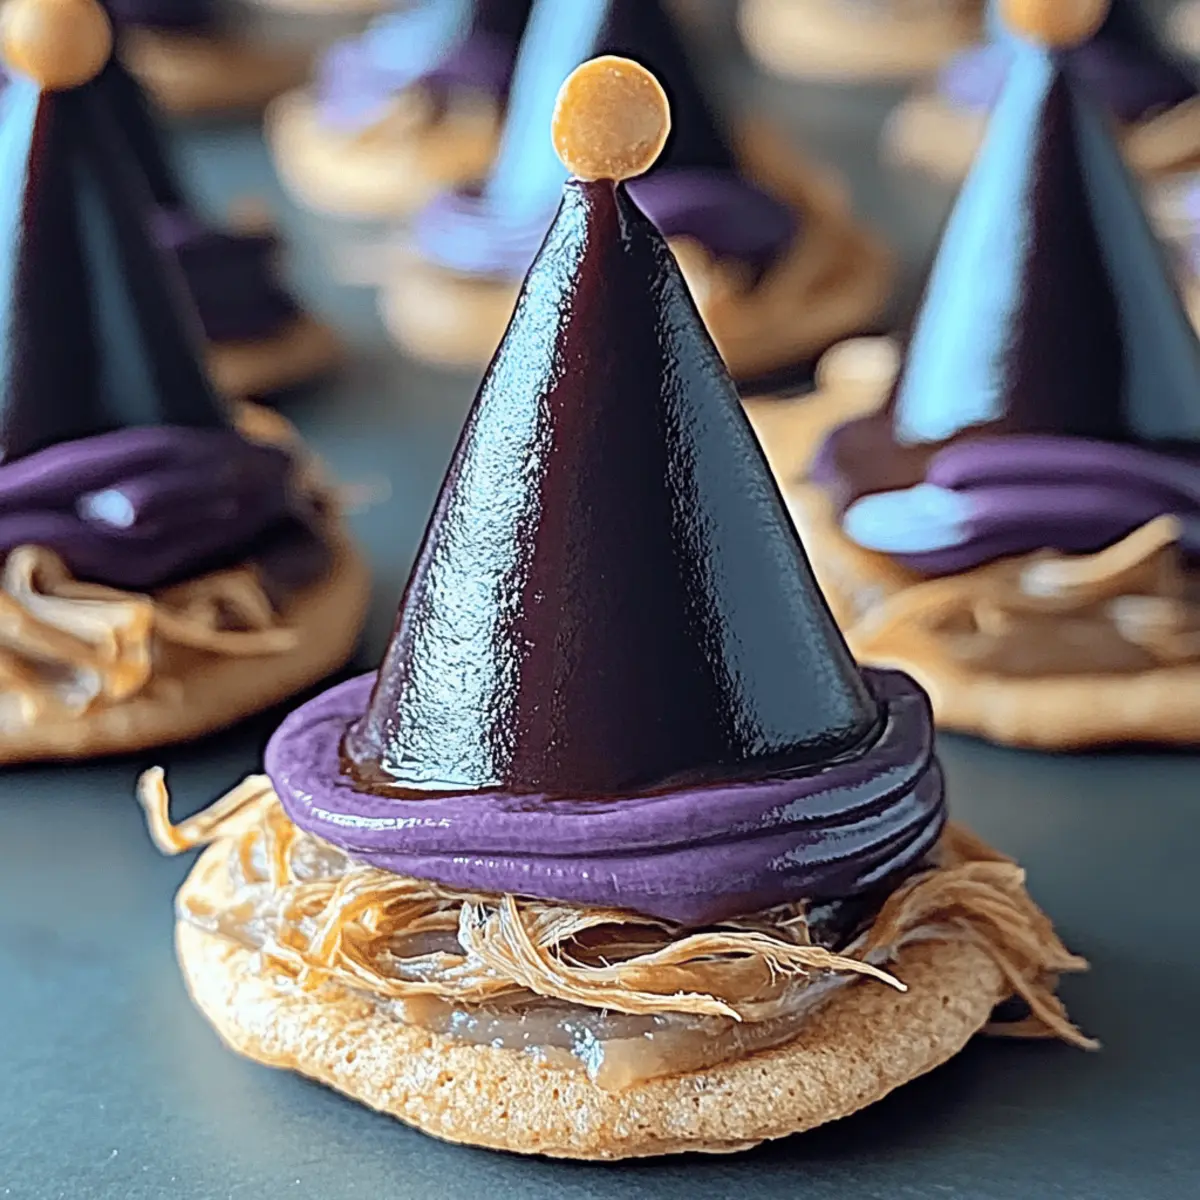
Storage Tips for Witchy Cookies
Room Temperature: Store your cooled Witchy Cookies in an airtight container at room temperature for up to 5 days to maintain their soft texture and flavor.
Fridge: If you want them to last a bit longer, place the cookies in the fridge, where they'll stay fresh for about a week. Just remember to let them come to room temperature before serving!
Freezer: For longer storage, freeze the cookies in an airtight container or freezer bag for up to 3 months. Thaw them at room temperature or pop them in the microwave for a few seconds to enjoy a warm treat.
Reheating: To revive the soft, chewy texture, reheat your Witchy Cookies in a preheated oven at 350°F (175°C) for about 5 minutes. Enjoy the magic all over again!
What to Serve with Witchy Cookies
Looking to create a delightful spread that will make your Witchy Cookies even more enchanting?
- Chilled Milk: The classic pairing, a tall glass of cold milk perfectly complements the rich chocolate in your cookies.
- Vanilla Ice Cream: Serve warm Witchy Cookies alongside a scoop of creamy vanilla for a dreamy dessert experience. The contrast of temperatures creates a magical balance.
- Fresh Berries: Juicy strawberries or raspberries add a refreshing tartness that cuts through the sweetness of the cookies, balancing each bite beautifully.
- Caramel Sauce: Drizzle some warm caramel over your cookies; the gooey sweetness elevates the chocolate and makes each bite a decadent treat.
- Herbal Tea: A soothing chamomile or mint tea adds a gentle herbal touch, enhancing the flavors of your cookies while providing a cozy vibe.
- Mocha Coffee: For adult gatherings, pair your cookies with a rich mocha coffee; the deep flavors of chocolate and coffee unite in sheer bliss.
- Chocolate-Covered Strawberries: Elevate your cookie experience with these treats; the blend of textures and flavors will have everyone enchanted!
- Peanut Butter Dip: A smooth peanut butter dip brings a nutty contrast, and it’s perfect for dipping the soft cookies right into a pool of creamy goodness.
Make Ahead Options
These Witchy Cookies are perfect for busy home cooks looking to save time during the week! You can prepare the cookie dough up to 24 hours in advance; simply scoop the dough onto lined baking sheets and cover them tightly with plastic wrap before refrigerating. This method allows the flavors to deepen while maintaining their magical texture. When you're ready to bake, just take the dough out and let it sit at room temperature for about 10 minutes before baking as directed. Alternatively, you can freeze the uncooked dough balls for up to 3 months. To bake from frozen, add a couple of extra minutes to the baking time. Enjoy fresh, warm cookies with minimal effort!
Witchy Cookies Variations & Substitutions
Get ready to sprinkle some creativity into your Witchy Cookies!
- Gluten-Free: Substitute all-purpose flour with a 1:1 gluten-free flour blend for a delightful alternative. Your cookies will still be soft and chewy!
- Dairy-Free: Replace unsalted butter with coconut oil or a vegan butter substitute. Enjoy the same wonderful flavors without the dairy.
- Nutty Bliss: Fold in 1 cup of chopped nuts like walnuts or pecans along with the chocolate chips. This adds a fabulous crunch and enhances the cookie's richness.
- Spiced Up: Mix in 1 teaspoon of cinnamon or a pinch of nutmeg to the dry ingredients for a warm, spicy twist. Your cookies will have a cozy aroma that’s perfect for fall!
- Chocolate Lovers: Use a combination of milk chocolate and dark chocolate chips. This mix will provide a beautiful balance of sweet and rich flavors that are oh-so indulgent.
- Pumpkin Magic: For a seasonal twist, replace one large egg with ½ cup of pumpkin puree. The cookies will have a lovely fall flavor and a soft, moist texture.
- Sweet Heat: Add a pinch of cayenne pepper or crushed red pepper flakes to the dough for a surprising kick. The heat complements the sweetness beautifully!
- Fun Mix-Ins: Toss in some festive sprinkles or crushed candies for color and a fun crunch. This is perfect for special occasions or to let the kids get creative with their baking!
Feel inspired? For even more delightful ideas, check out our recipes that bring a magical touch to your baking adventures, like our best chocolate chip cookie recipe!
Expert Tips for Witchy Cookies
- Perfect Butter Temperature: Ensure the butter is at room temperature for optimal creaming. Cold butter can lead to dense cookies instead of the soft texture you desire.
- Don’t Overmix: When combining wet and dry ingredients, mix gently. Overmixing can lead to tough cookies, while a delicate hand keeps them soft and chewy.
- Baking Time Watch: Keep a close eye on the cookies as they bake. They should be golden around the edges yet soft in the center to achieve the delightful chewiness typical of Witchy Cookies.
- Cooling Matters: Letting the cookies sit on the baking sheet for a few minutes before transferring helps them firm up. This step prevents breakage and maximizes their enchanting texture.
- Storage Tips: Store cooled cookies in an airtight container at room temperature to keep them fresh for days. You can also freeze unbaked dough for up to a month—just scoop and bake when the craving hits!
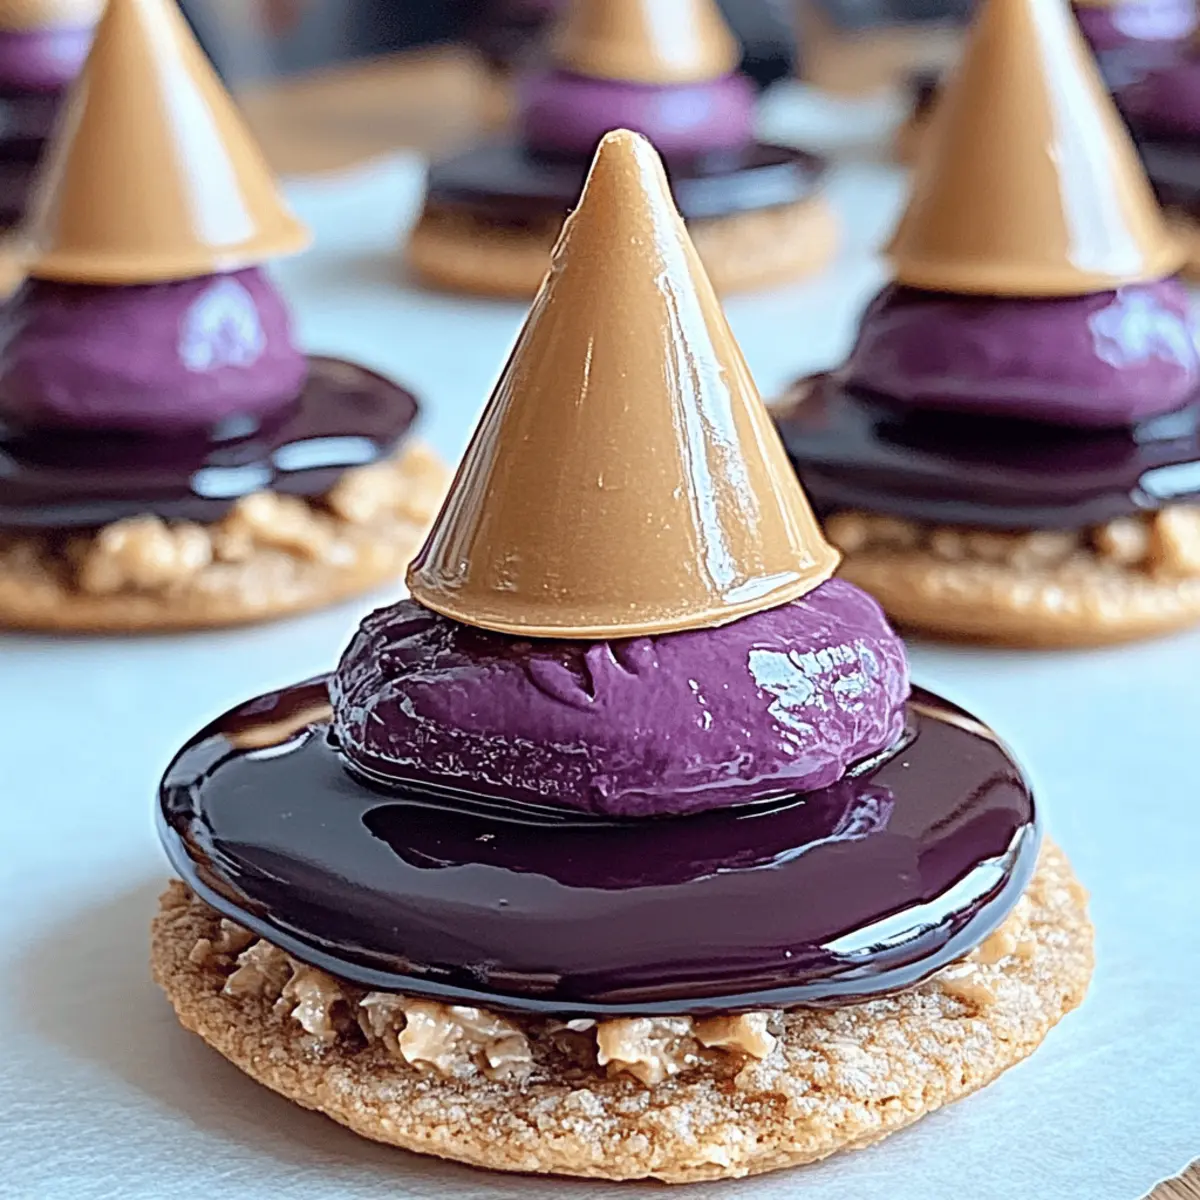
Witchy Cookies Recipe FAQs
What is the best way to select ripe ingredients for Witchy Cookies?
Absolutely! When choosing your chocolate chips, look for bags that say "semi-sweet" or "dark" for richer flavor. For butter, pick a quality unsalted variety and ensure it’s at room temperature, which you can test by pressing it gently—if it yields, you’re good to go!
How should I store my Witchy Cookies, and how long will they last?
Store your cooled Witchy Cookies in an airtight container at room temperature for up to 5 days. If you want them to last longer, pop them in the fridge, where they’ll stay fresh for about a week. Just make sure to allow them to reach room temperature before enjoying!
Can I freeze Witchy Cookies for later?
Yes, indeed! To freeze your Witchy Cookies, let them cool completely, then place them in an airtight container or a freezer bag, separating layers with parchment paper. They can be frozen for up to 3 months. When you’re ready to enjoy, simply thaw at room temperature and, if preferred, warm them slightly in the oven!
What should I do if my cookie dough seems too dry?
Sometimes dough can be a bit dry; if this happens, don't worry! Start by adding a teaspoon of milk or water, mix slightly, and see if that helps. You’re aiming for a dough that sticks together without being too wet. If the dough still feels crumbly, repeat this step until you achieve the right consistency.
Are there any dietary considerations I should keep in mind with Witchy Cookies?
Absolutely! If you’re baking for someone with allergies, remember that these Witchy Cookies are made with gluten and dairy. If needed, you can substitute all-purpose flour with a gluten-free blend and use dairy-free chocolate chips and butter to make them allergen-friendly. Always check the labels to ensure they meet dietary needs!
How can I fix cookies that spread too much while baking?
Very! If your cookies spread too much, it could be due to warm dough or too much butter. To fix this, ensure your dough is cold—chill it in the fridge for 30 minutes before baking. Additionally, measure your flour accurately, and consider using an extra tablespoon of flour in your recipe to help maintain their shape.
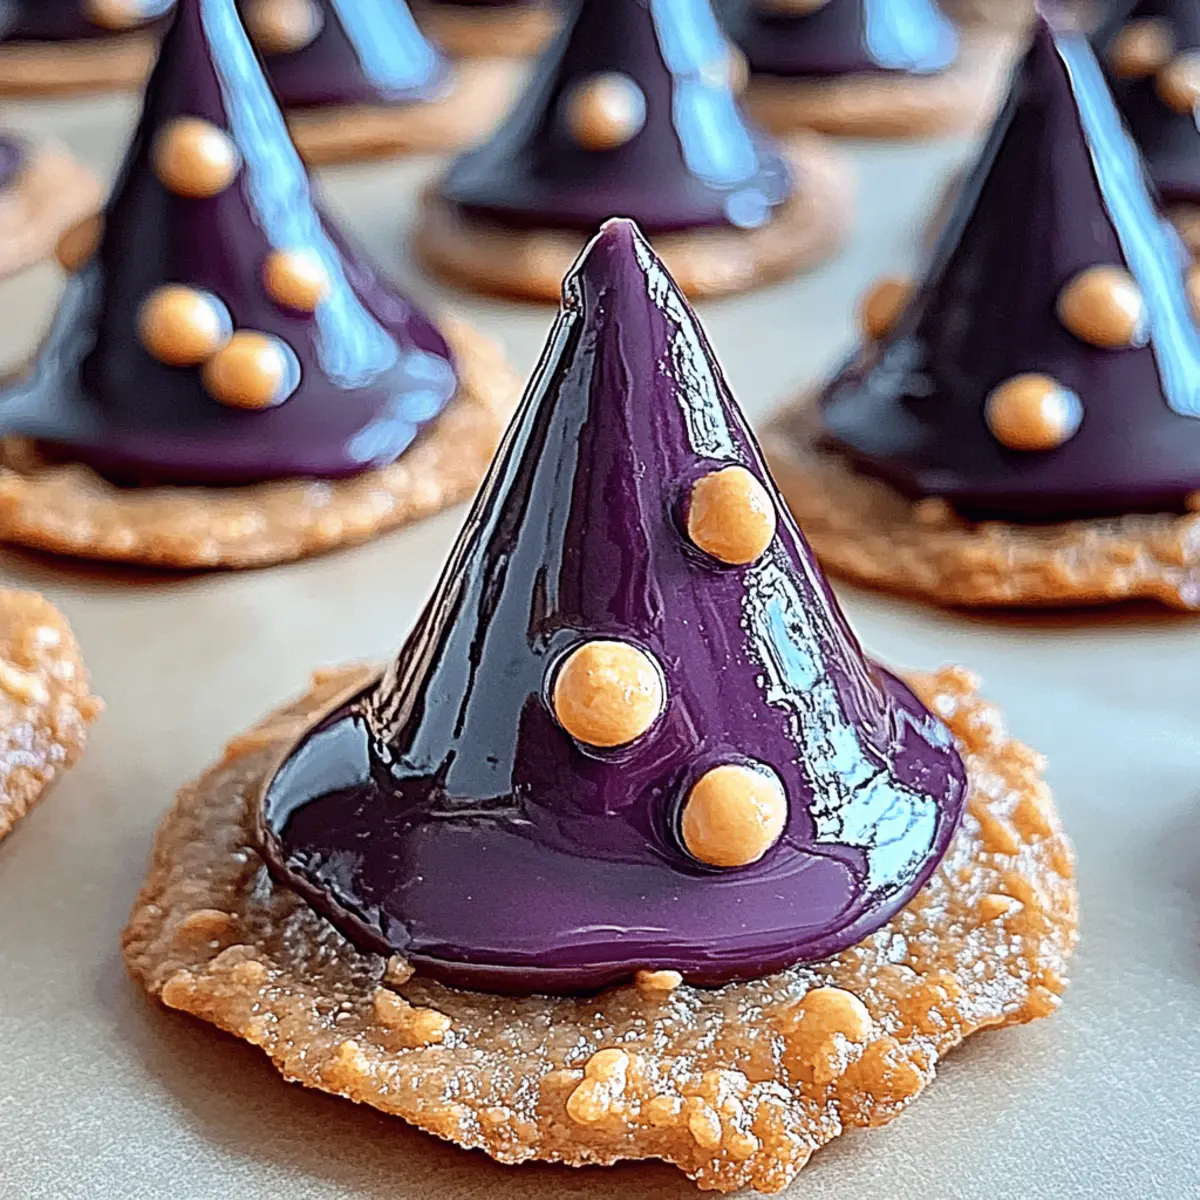
Witchy Cookies: Enchantingly Soft & Chewy Chocolate Treats
Ingredients
Equipment
Method
- Preheat your oven to 350°F (175°C) and line baking sheets with parchment paper.
- In a medium bowl, whisk together 2 ¼ cups of all-purpose flour, 1 teaspoon of baking soda, and ½ teaspoon of sea salt.
- In a large mixing bowl, beat 1 cup of room-temperature unsalted butter, ¾ cup of granulated sugar, and ¾ cup of packed brown sugar until light and creamy.
- Add 2 large eggs one at a time, then mix in 2 teaspoon of vanilla extract until fully combined.
- Gradually add the dry flour mixture to the wet ingredients, stirring gently until just combined.
- Fold in 2 cups of chocolate chips into the dough.
- Drop spoonfuls of dough onto baking sheets, spacing them about 2 inches apart, and bake for 10-12 minutes.
- Cool on the baking sheet for 5 minutes before transferring to wire racks.


Leave a Reply