Go Back
+ servings
Sticky Garlic Chicken Noodles

Sticky Garlic Chicken Noodles That Melt in Your Mouth

Discover Sticky Garlic Chicken Noodles, a delightful meal blending savory and sweet flavors that will rekindle your love for quick homemade dinners.
Prep Time 20 minutes
Cook Time 30 minutes
Marination Time 20 minutes
Total Time 1 hour 10 minutes
Servings: 4 servings
Course: Main Dishes
Cuisine: Asian
Calories: 400

Ingredients
  

For the Chicken Marinade
  • 500 g Boneless chicken thighs or breasts sliced into strips for quick cooking and tenderness
  • 1 tablespoon Soy sauce adds a deep, umami flavor to the marinade
  • 1 tablespoon Oyster sauce enhances the savory profile of the dish
  • 1 teaspoon Cornstarch works as a tenderizer and helps the sauce cling to the chicken
  • 1 teaspoon Sesame oil optional, adds a nutty richness to the marinade
  • ½ teaspoon Ground white or black pepper for a hint of spice
  • ¼ teaspoon Salt or to taste, balancing the flavors
For the Noodles and Vegetables
  • 250 g Dried egg noodles, wheat or rice noodles the foundation for this sticky dish
  • 2 tablespoon Vegetable oil divided for cooking the chicken and sautéing vegetables
  • 1 Medium onion thinly sliced to add sweetness
  • 1 Medium carrot julienned for a crunchy texture
  • 1 Red bell pepper thinly sliced for color and sweetness
  • 1 cup Shredded green or napa cabbage optional, adding volume and nutrition
  • 3–4 Spring onions (scallions) sliced with whites and greens separated for layering flavors
  • 4–6 cloves Garlic finely minced, which is the star of this recipe
  • 1–2 Fresh red chilies finely sliced (optional) for those craving heat
For the Sticky Sauce
  • 4 tablespoon Soy sauce light or all-purpose to build the sauce’s foundation
  • 1 ½ tablespoon Dark soy sauce for that perfect color and depth of flavor
  • 3 tablespoon Oyster sauce enhances the stickiness
  • 2–3 tablespoon Hoisin sauce adding sweetness and richness
  • 2 tablespoon Rice vinegar or apple cider vinegar for acidity to brighten the dish
  • 3–4 tablespoon Honey or brown sugar adjust for desired sweetness
  • cup Water or low-sodium chicken stock to ensure the sauce melds perfectly
  • 1 tablespoon Cornstarch to thicken the sauce
  • 1 teaspoon Chili sauce or sriracha optional for added kick
  • ½ teaspoon Freshly ground black pepper to round out the flavors
  • 1–2 teaspoon Toasted sesame seeds perfect for garnishing
  • 1 Fresh coriander (cilantro) leaves, roughly chopped (optional) add a fresh finish
  • Extra sliced spring onion greens for garnish, bringing a pop of color

Equipment

  • Medium bowl
  • large wok or deep pan

Method
 

Step-by-Step Instructions
  1. In a medium bowl, combine the sliced chicken with ingredients for the marinade. Cover and let it marinate for at least 15–20 minutes.
  2. Prepare the dried noodles according to package instructions, cooking until just al dente—about 6–8 minutes. Drain and rinse under cold water.
  3. In a separate medium bowl, whisk together the ingredients for the sticky sauce until completely dissolved. Set aside.
  4. In a large wok or deep pan, heat 1 tablespoon of vegetable oil over medium-high heat. Add onion and cook until softened. Then, add carrot, bell pepper, and optional cabbage.
  5. In the same pan, heat the remaining vegetable oil, add marinated chicken, and stir-fry until fully cooked through.
  6. Pour the prepared sticky sauce over the chicken, stirring constantly for 1–2 minutes as it thickens.
  7. Add the cooked noodles and sautéed vegetables back into the pan, tossing everything to coat well.
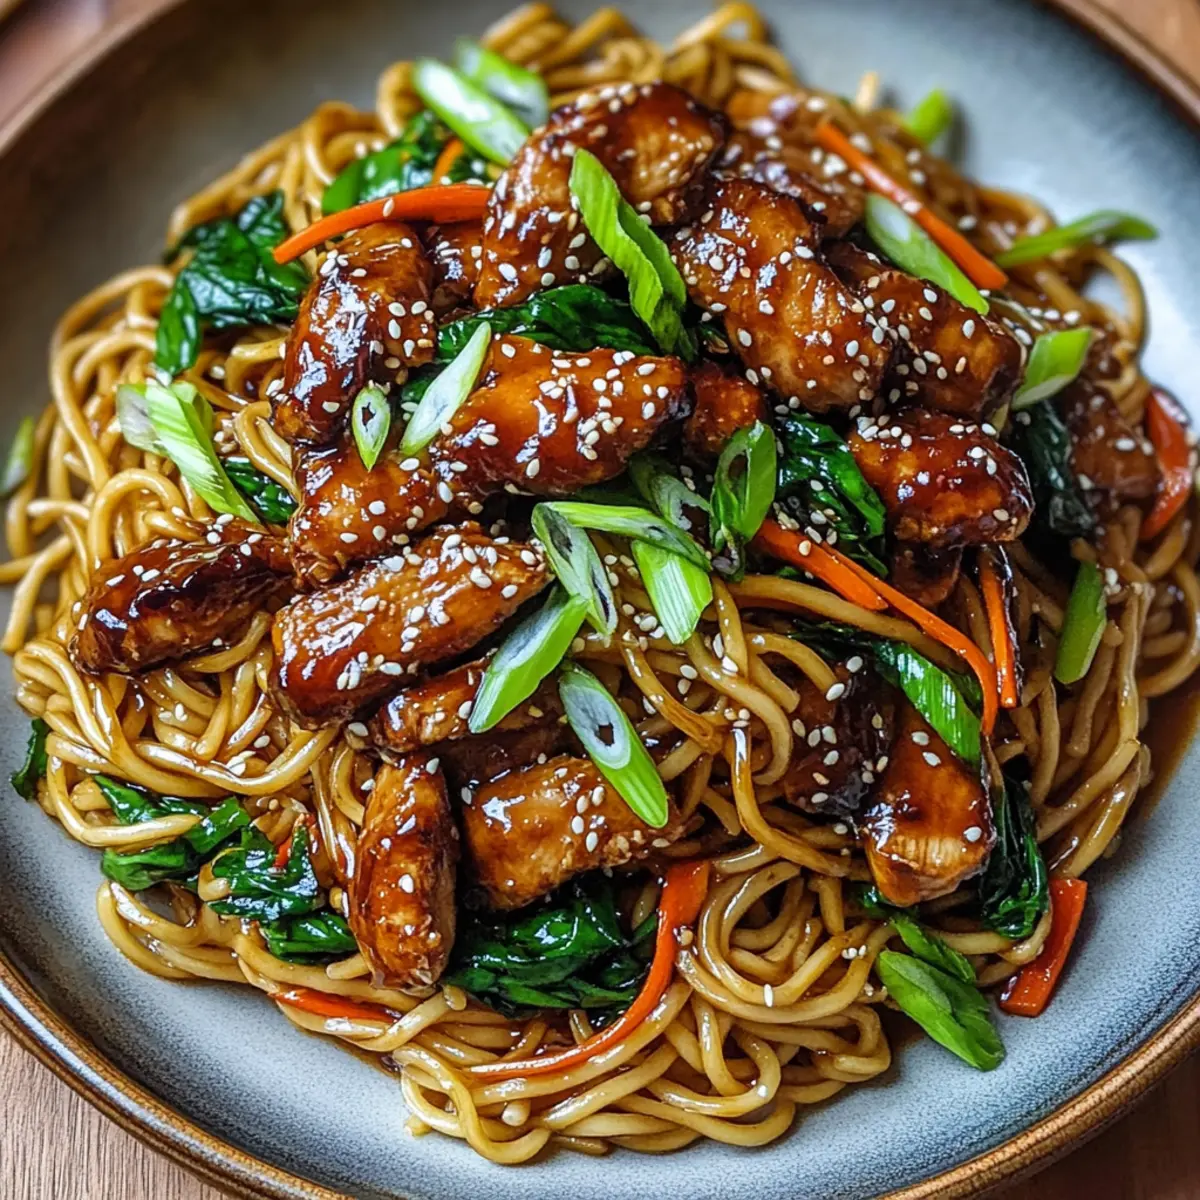
  8. Serve hot, garnished with toasted sesame seeds, spring onion greens, and optional chopped coriander.

Nutrition

Serving: 1plateCalories: 400kcalCarbohydrates: 45gProtein: 25gFat: 15gSaturated Fat: 3gPolyunsaturated Fat: 5gMonounsaturated Fat: 5gCholesterol: 70mgSodium: 800mgPotassium: 500mgFiber: 3gSugar: 5gVitamin A: 10IUVitamin C: 30mgCalcium: 4mgIron: 10mg

Notes

Store leftover noodles in an airtight container for up to 3 days. For freezing, store in a freezer-safe container for up to 3 months.

Tried this recipe?

Let us know how it was!