
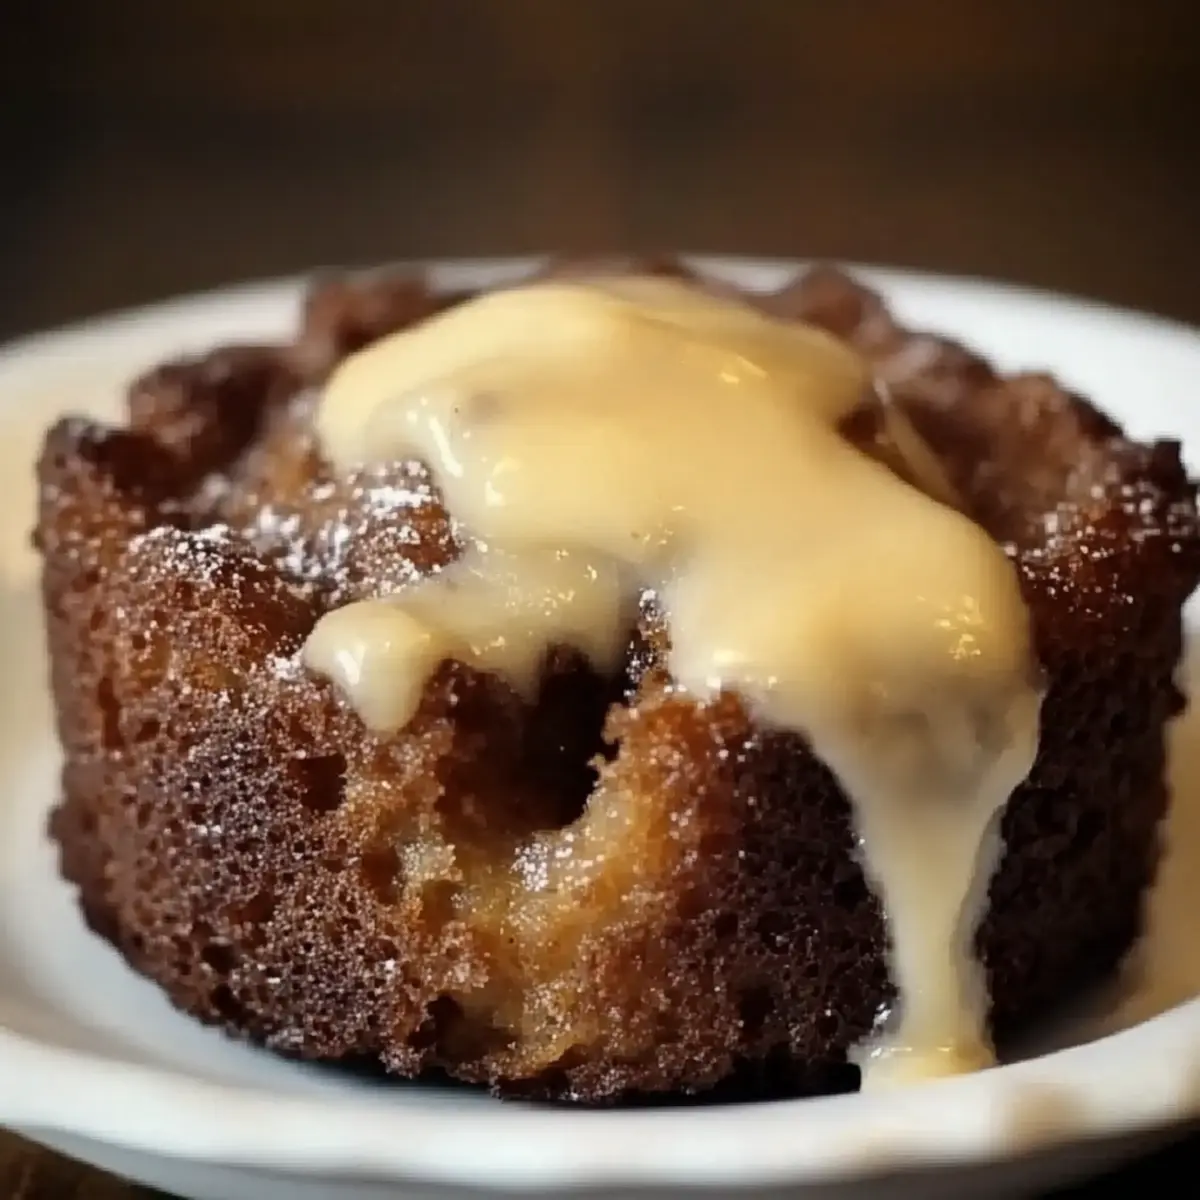
As I stood in the kitchen, the sweet, earthy aroma of chopped dates wafted through the air, instantly transporting me to a cozy corner of my childhood. This is the magic that happens when making Sticky Date Self-Saucing Pudding—a dessert that warms not just your belly but your heart. With its rich, self-saucing goodness and a delightful texture, this comfort food gem promises to become a family favorite. You’ll love the fact that it’s not only a crowd-pleaser but also requires just 15 minutes of prep time. So, whether you’re winding down after a long day or hosting a gathering, this pudding is your ticket to creating lasting memories at the table. Are you ready to whip up a batch of pure joy?
Why is this pudding so irresistible?
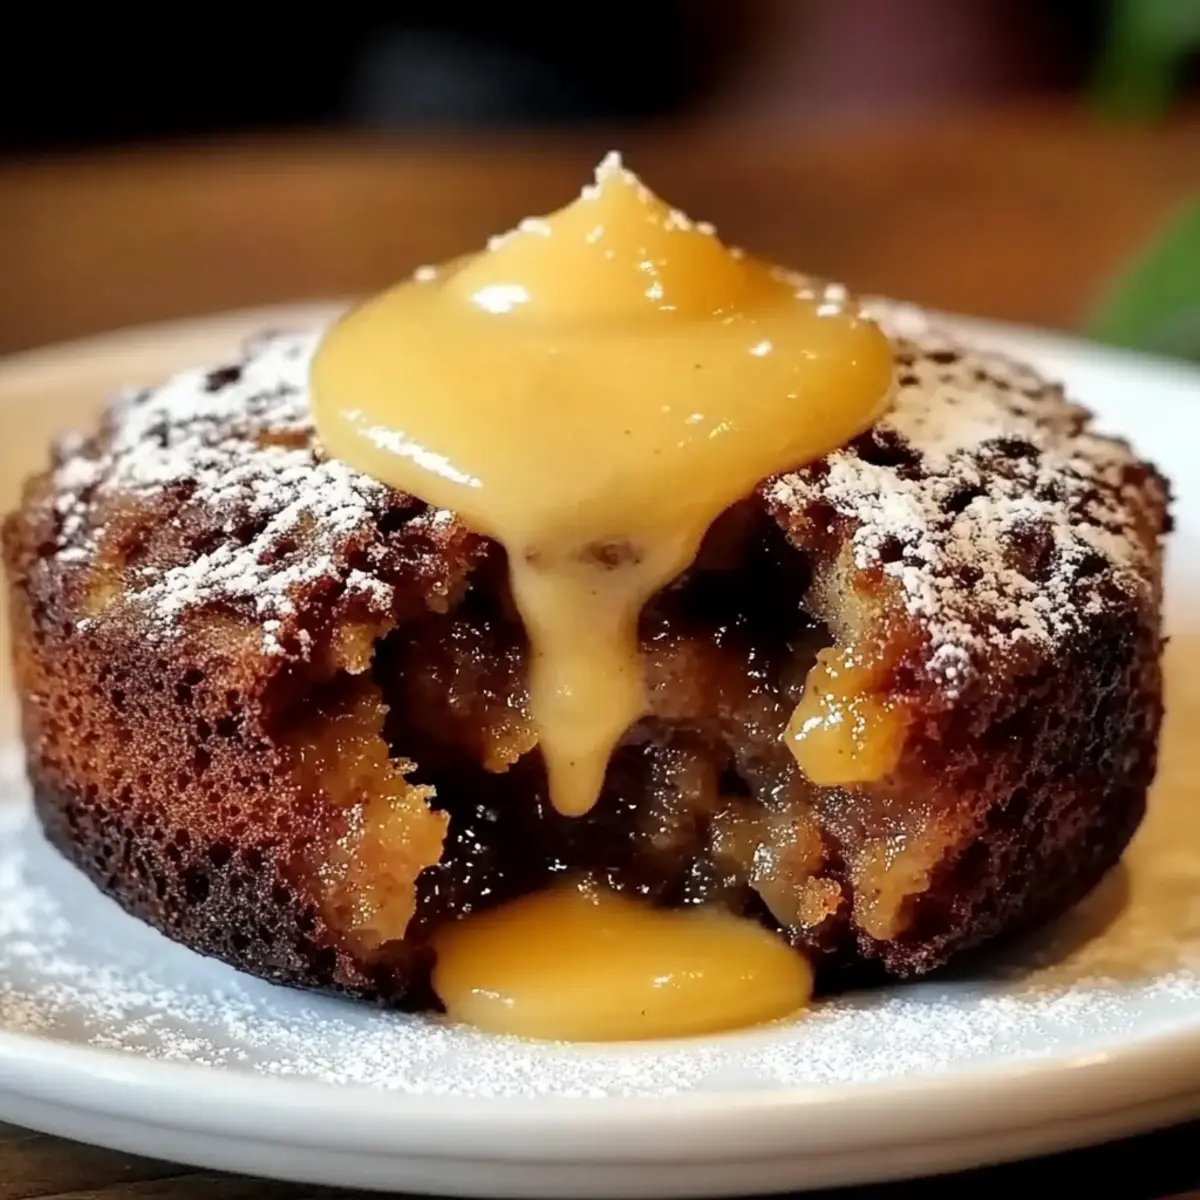
Comforting Warmth: The Sticky Date Self-Saucing Pudding embraces you with its warm, gooey center that melts in your mouth.
Quick Prep: With just 15 minutes of hands-on time, you’ll have a stunning dessert without the fuss.
Crowd Favorite: Perfect for gatherings, this pudding consistently wins hearts, leaving everyone craving seconds.
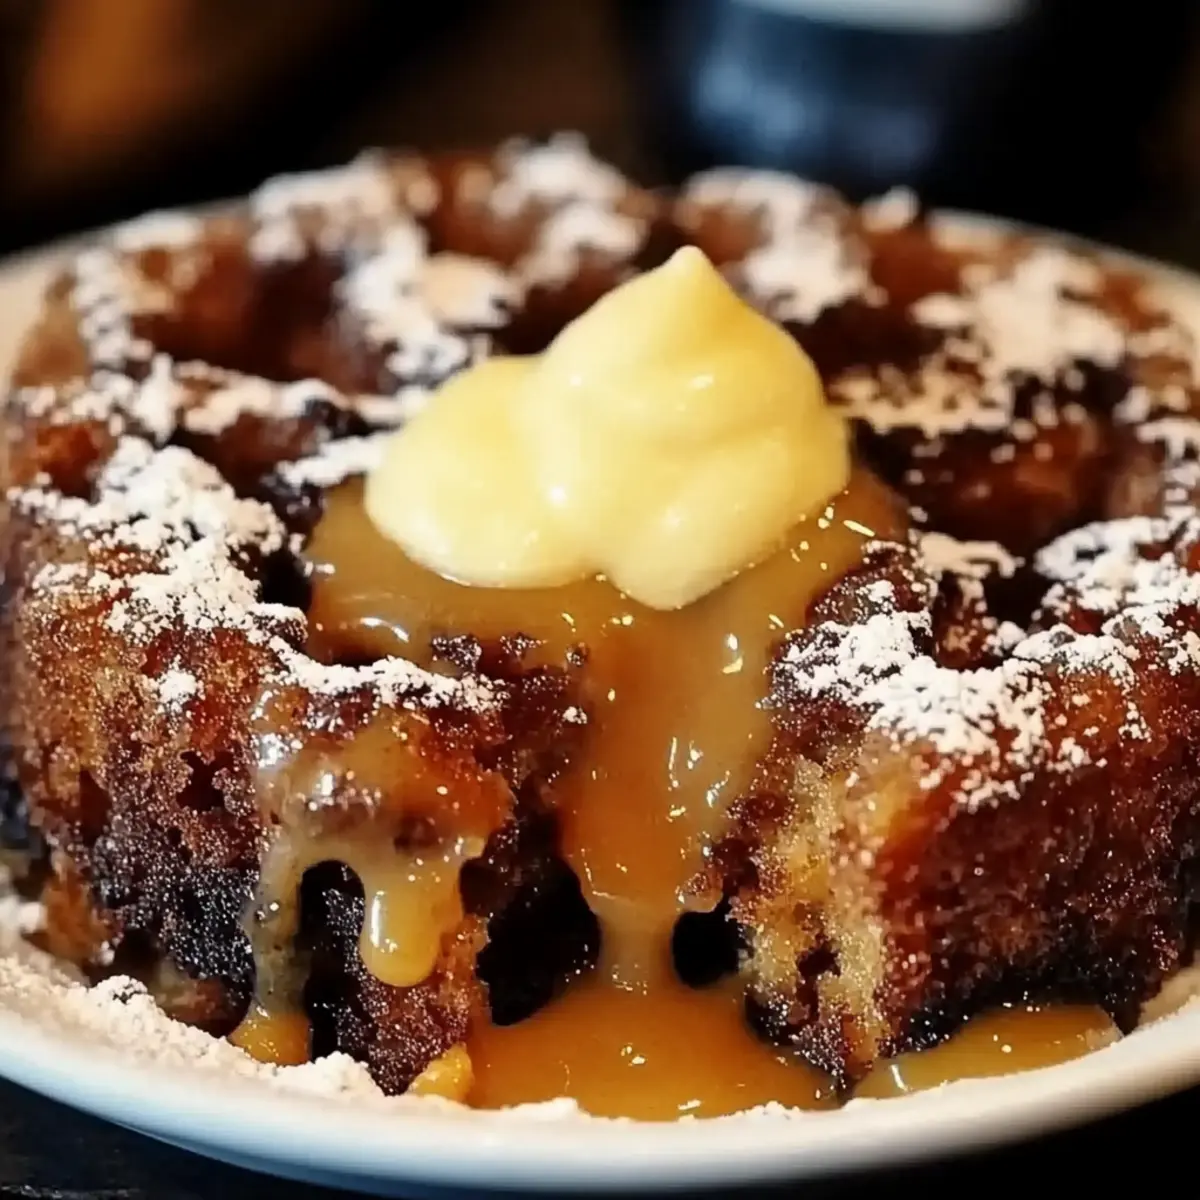
Decadent Flavor: The sweet, rich notes of dates harmonize with a luscious, chocolate-like sauce that is simply divine.
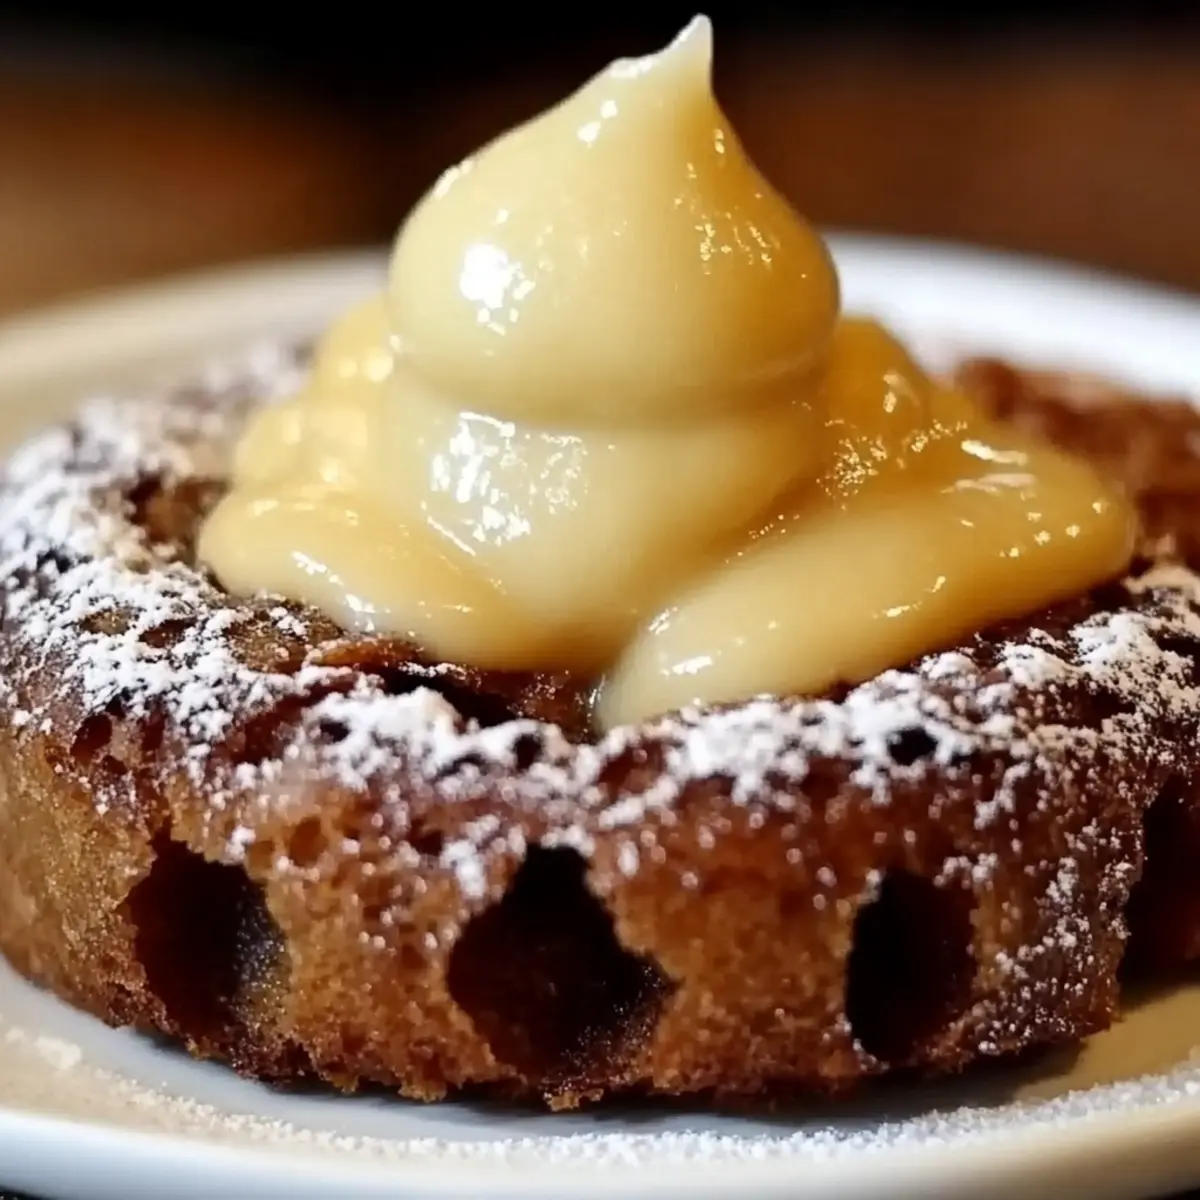
Versatile Serving: Whether paired with creamy ice cream or velvety custard, every bite offers a delightful contrast that enhances this classic treat.
You'll definitely want to check out more indulgent dessert recipes to keep the joy coming!
Sticky Date Self-Saucing Pudding Ingredients
• Get ready to indulge!
For the Pudding
• 1 cup pitted dates, chopped – these sweet gems bring a rich, caramel-like flavor to the pudding.
• 1 teaspoon baking soda – helps soften and enhance the texture of the dates.
• 1 ½ cups boiling water – softens the dates for an ooey-gooey consistency.
• 1 cup all-purpose flour – provides the necessary structure for our delectable dessert.
• 1 teaspoon baking powder – ensures the pudding rises beautifully in the oven.
• ½ teaspoon salt – balances the sweetness and enhances the flavors.
• ½ cup unsalted butter, softened – gives a rich, creamy base to the batter.
• 1 cup brown sugar, packed – infuses the pudding with deep, molasses-like sweetness.
• 2 large eggs – bind the ingredients and contribute to the pudding's moist texture.
• 1 teaspoon vanilla extract – adds a warm, aromatic note to the mix.
For the Sauce
• 1 cup brown sugar – turns into a luscious, irresistible sauce while baking.
• 2 cups boiling water – creates a magical self-saucing effect.
• 1 tablespoon cornflour (cornstarch) – thickens the sauce and enhances its velvety texture.
For Serving
• Ice cream or custard – the perfect complement to drizzle over each warm slice of pudding!
This Sticky Date Self-Saucing Pudding is a delightful journey of flavors and memories, just waiting to be enjoyed.
Step‑by‑Step Instructions for Sticky Date Self-Saucing Pudding
Step 1: Preheat the Oven
Begin by preheating your oven to 350°F (175°C). While the oven warms up, take a moment to grease an 8×8 inch baking dish with butter or cooking spray to ensure easy serving once your Sticky Date Self-Saucing Pudding is baked to perfection.
Step 2: Prepare the Dates
In a mixing bowl, combine 1 cup of chopped, pitted dates with 1 teaspoon of baking soda. Carefully pour in 1 ½ cups of boiling water, allowing the mixture to sit for about 10 minutes. This will soften the dates, making them tender and ready to incorporate into the pudding batter.
Step 3: Mix Dry Ingredients
While the dates are soaking, whisk together 1 cup of all-purpose flour, 1 teaspoon of baking powder, and ½ teaspoon of salt in a separate bowl. This dry mixture will provide structure to your Sticky Date Self-Saucing Pudding, so ensure it’s well combined and then set it aside for later use.
Step 4: Cream Butter and Sugar
In a large mixing bowl, use an electric mixer to beat together ½ cup of softened unsalted butter and 1 cup of packed brown sugar. Mix until the mixture becomes light and fluffy, which usually takes about 2-3 minutes. The combination should look creamy and pale, creating a lovely base for your pudding.
Step 5: Add Eggs and Vanilla
Now, add 2 large eggs to the butter and sugar mixture, one at a time, ensuring you beat well after each addition. Next, stir in 1 teaspoon of vanilla extract, allowing its warm aroma to mingle with the buttery sweetness. This step enriches the flavor of your Sticky Date Self-Saucing Pudding.
Step 6: Combine Batter Ingredients
Gradually fold the dry flour mixture into the creamed butter mixture, alternating with the softened date mixture. Continue stirring until just combined, being careful not to overmix, as you want your pudding to stay tender and fluffy once baked.
Step 7: Transfer Batter to Baking Dish
Gently pour the prepared batter into the greased baking dish, using a spatula to spread it evenly. This ensures that your Sticky Date Self-Saucing Pudding bakes uniformly, resulting in a delightful texture throughout.
Step 8: Prepare the Sauce
In a separate bowl, mix together 1 cup of brown sugar and 1 tablespoon of cornflour. Carefully stir in 2 cups of boiling water until you achieve a smooth consistency. The mixture will transform into a sauce as it bakes, adding luxurious moisture to the pudding.
Step 9: Pour the Sauce Over Batter
Slowly and carefully pour the sauce over the batter in the baking dish. This step is crucial for creating the self-saucing effect, where the sauce seeps into the pudding as it bakes, ensuring each bite is flavorful and moist.
Step 10: Bake the Pudding
Place the baking dish in your preheated oven and bake for 40-45 minutes. You’ll know the Sticky Date Self-Saucing Pudding is done when the top is set, and a skewer inserted into the center comes out clean. The kitchen should smell heavenly at this point!
Step 11: Cool and Serve
Once baked, remove the pudding from the oven and let it cool for about 10 minutes, allowing the sauce to settle. As it rests, this delightful dessert will continue to self-sauce, creating a delectable, gooey center ready to be paired with ice cream or custard for serving.
What to Serve with Sticky Date Self-Saucing Pudding
As you dive into this cozy dessert, consider rounding out your meal with delightful pairings that elevate every bite.
-
Creamy Ice Cream: A scoop of vanilla ice cream adds a wonderful chill and creaminess that beautifully complements the warm pudding.
-
Velvety Custard: Pouring warm custard over the pudding enhances its richness, bringing a lovely, decadent experience to every spoonful.
-
Fresh Berries: The tartness of fresh raspberries or strawberries cuts through the sweetness, offering a refreshing contrast that brightens the dish.
-
Toasted Nuts: Chopped pecans or walnuts sprinkled on top add a satisfying crunch and nutty flavor, enhancing the overall texture and taste.
-
Spiced Tea: A cup of chai or cinnamon-spiced herbal tea creates a cozy atmosphere, mingling with the sweet notes of the pudding.
-
Chocolate Sauce: Drizzling a bit of chocolate sauce brings an extra layer of indulgence to the dessert, making it irresistible for chocoholics.
These pairings allow you to create a warm and heartwarming meal experience, perfect for sharing with loved ones!
Expert Tips for Sticky Date Self-Saucing Pudding
Date Quality Matters: Use fresh, high-quality dates for the best flavor. Dried or stale dates can leave your pudding lacking in sweetness and texture.
Don’t Overmix: When combining the wet and dry ingredients, mix until just combined. Overmixing can lead to a dense pudding instead of light and fluffy.
Watch Baking Time: Keep an eye on your pudding as it bakes—oven temperatures vary! It should be set in the center with a slight jiggle when done but not overshot to dryness.
Sauce Thickness: If you prefer a thicker sauce, add a bit more cornflour (cornstarch) to the sauce mixture before baking. This can enhance that wonderfully gooey texture!
Rest Before Serving: Allow the pudding to cool for about 10 minutes before digging in. This helps the sauce settle and ensures each serving is blissfully gooey.
Enjoy every moment making your Sticky Date Self-Saucing Pudding—you’re in for a heartwarming treat!
Sticky Date Self-Saucing Pudding Variations
Feel free to make this comforting dessert your own with these delightful twists!
-
Vegan Option: Substitute eggs with flaxseed meal and butter with coconut oil for a plant-based delight.
Embrace those warm flavors without compromising your dietary choices; it's still rich and satisfying! -
Nutty Addition: Stir in ½ cup of chopped nuts for added crunch and flavor.
Walnuts or pecans work beautifully in this pudding, giving each bite a wonderful contrast of textures. -
Chocolate Lover's Dream: Add ¼ cup of cocoa powder to the dry ingredients for a chocolatey twist.
Chocolate complements the sweetness of dates perfectly, elevating this classic dessert to new heights! -
Spicy Kick: Mix in 1 teaspoon of cinnamon or ginger for a warming spice infusion.
A hint of spice can transform the flavor profile, making it ideal for cozy nights by the fire. -
Fruity Enhancements: Toss in some dried cranberries or cherries for a tart contrast.
These fruits balance the sweetness while introducing a pop of color and flavor within your pudding. -
Caramel Sauce: Drizzle homemade caramel sauce over the finished pudding for indulgence.
For those extra special occasions, this touch adds decadence and a delightful surprise in every slice. -
Almond Flour Swap: Replace half of the all-purpose flour with almond flour for a gluten-free option.
This nutty variation not only accommodates dietary preferences but also adds a lovely flavor twist.
As you experiment, consider pairing your creations with a scoop of homemade vanilla ice cream or a drizzle of luscious custard. Whatever your choice, this Sticky Date Self-Saucing Pudding will surely be a hit at your table! Don’t forget to check out more scrumptious dessert ideas to keep the joy and flavor flowing!
How to Store and Freeze Sticky Date Self-Saucing Pudding
Room Temperature: Allow the pudding to cool completely before storing it at room temperature for up to 2 days in an airtight container to maintain moisture.
Fridge: Store leftover Sticky Date Self-Saucing Pudding in the fridge for up to 5 days. Make sure to cover it well to retain its deliciously gooey texture.
Freezer: If you want to save it for later, freeze individual portions wrapped tightly in plastic wrap for up to 3 months. Thaw in the fridge overnight before reheating.
Reheating: To enjoy, warm it gently in the microwave or oven. Add a splash of water before reheating to keep it moist, or serve with warm custard or ice cream for that extra cozy touch!
Make Ahead Options
Preparing your Sticky Date Self-Saucing Pudding ahead of time is a fantastic way to save precious minutes on busy weeknights! You can combine the date mixture (step 2) and let it chill in the refrigerator for up to 3 days, ensuring its flavor melds beautifully. Additionally, you can mix the dry ingredients (step 3) and store them in an airtight container for up to 24 hours. When you're ready to enjoy this comforting dessert, simply proceed with steps 4 through 10, baking right after mixing the batter. To maintain quality, keep the sauce components separate until right before baking, as this will ensure a fresh, gooey center that’s just as irresistible. Happy meal prepping!
Sticky Date Self-Saucing Pudding Recipe FAQs
What kind of dates should I use?
Absolutely, the quality of dates matters! Look for fresh, plump Medjool dates, as they are naturally sweet and have a deliciously rich, caramel-like flavor. Avoid dried or stale dates, as these can yield a less satisfying texture and sweetness in your Sticky Date Self-Saucing Pudding.
How long does Sticky Date Self-Saucing Pudding last in the fridge?
Very! If stored properly in an airtight container, your Sticky Date Self-Saucing Pudding can last in the fridge for up to 5 days. Just be sure to cover it well to maintain its gooey goodness and prevent it from drying out.
Can I freeze Sticky Date Self-Saucing Pudding?
Absolutely! To freeze, I recommend cutting the pudding into individual portions and wrapping each slice tightly in plastic wrap. This way, you can pull out just what you need later. The pudding can stay fresh in the freezer for up to 3 months. When you're ready to enjoy it, simply thaw in the fridge overnight before reheating.
What should I do if my pudding is too dry?
If you find your Sticky Date Self-Saucing Pudding is a bit on the dry side, don’t worry! You can add a splash of boiling water over the top before reheating, which will help to moisten it up and bring back that cake-y goodness. Servicing it with a generous scoop of ice cream or warm custard will definitely help enhance the overall experience!
Is this pudding safe for pets or those with allergies?
Keep in mind that Sticky Date Self-Saucing Pudding contains ingredients like butter, eggs, and sugar, which are not ideal for pets. If you have a specific dietary restriction or allergy (e.g., gluten-free needs), you can substitute the all-purpose flour with a 1:1 gluten-free flour blend. Enjoy this dessert with a thoughtful approach if you're considering dietary restrictions!
Irresistible Sticky Date Self-Saucing Pudding for Cozy Nights
Ingredients
Equipment
Method
- Preheat your oven to 350°F (175°C) and grease an 8×8 inch baking dish with butter or cooking spray.
- In a mixing bowl, combine 1 cup of chopped, pitted dates with 1 teaspoon of baking soda. Pour in 1 ½ cups of boiling water and let sit for about 10 minutes.
- Whisk together 1 cup of all-purpose flour, 1 teaspoon of baking powder, and ½ teaspoon of salt in a separate bowl.
- Beat together ½ cup of softened unsalted butter and 1 cup of packed brown sugar until light and fluffy for 2-3 minutes.
- Add 2 large eggs one at a time, mixing well after each addition, then stir in 1 teaspoon of vanilla extract.
- Gradually fold the dry mixture into the creamed mixture, alternating with the softened date mixture until just combined.
- Gently pour the batter into the greased baking dish, spreading it evenly.
- In a separate bowl, mix 1 cup of brown sugar and 1 tablespoon of cornflour, then stir in 2 cups of boiling water until smooth.
- Pour the sauce over the batter in the baking dish.
- Bake for 40-45 minutes until the top is set and a skewer inserted comes out clean.
- Let the pudding cool for about 10 minutes before serving.


Leave a Reply