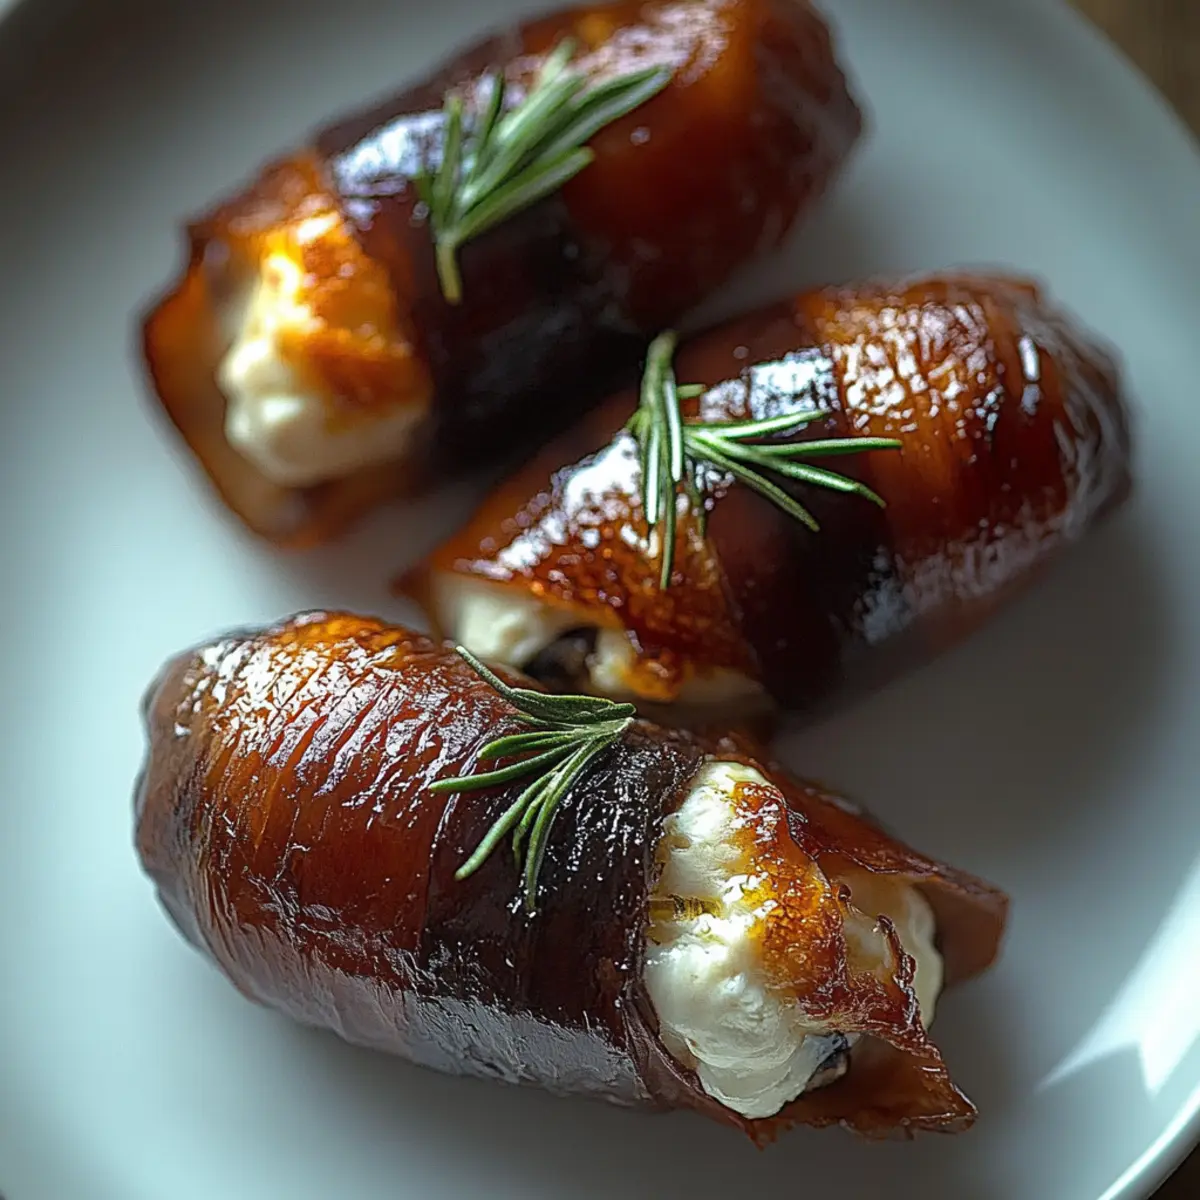
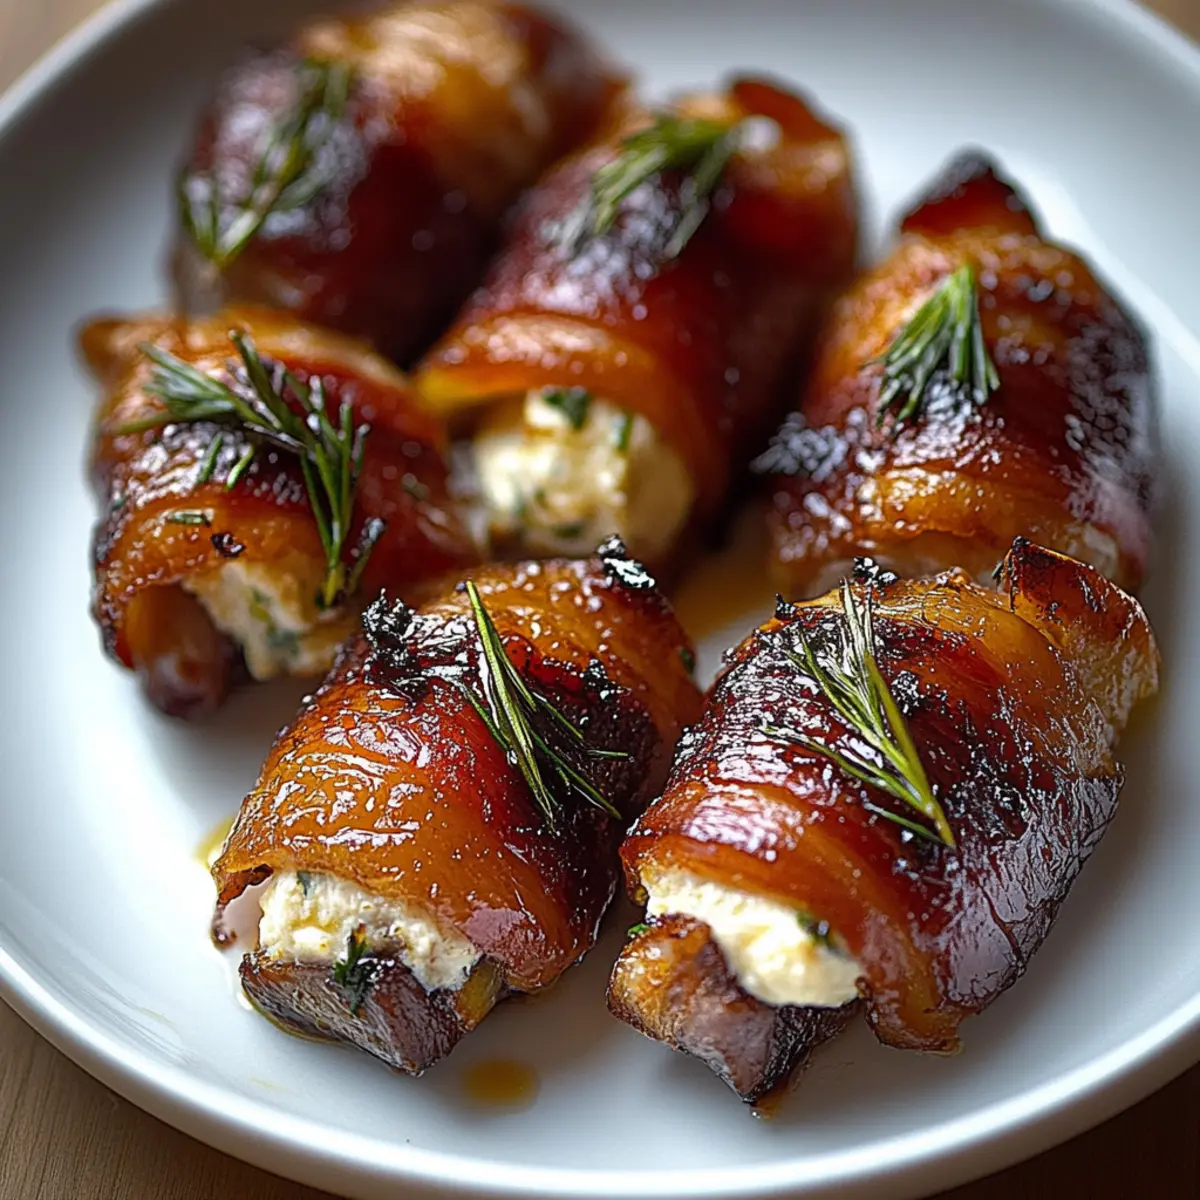
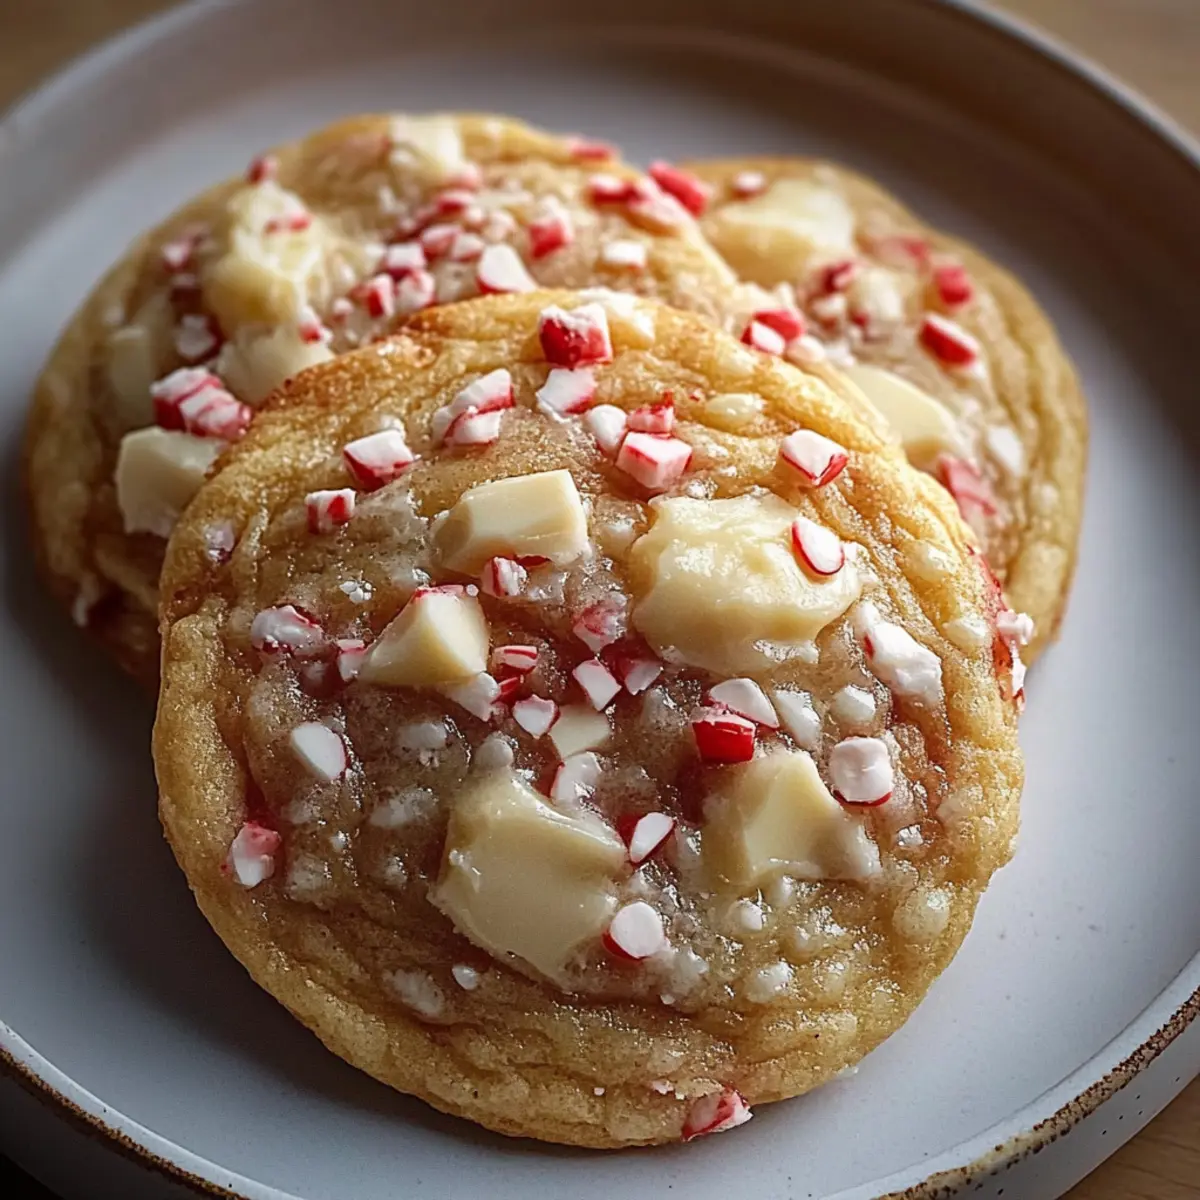
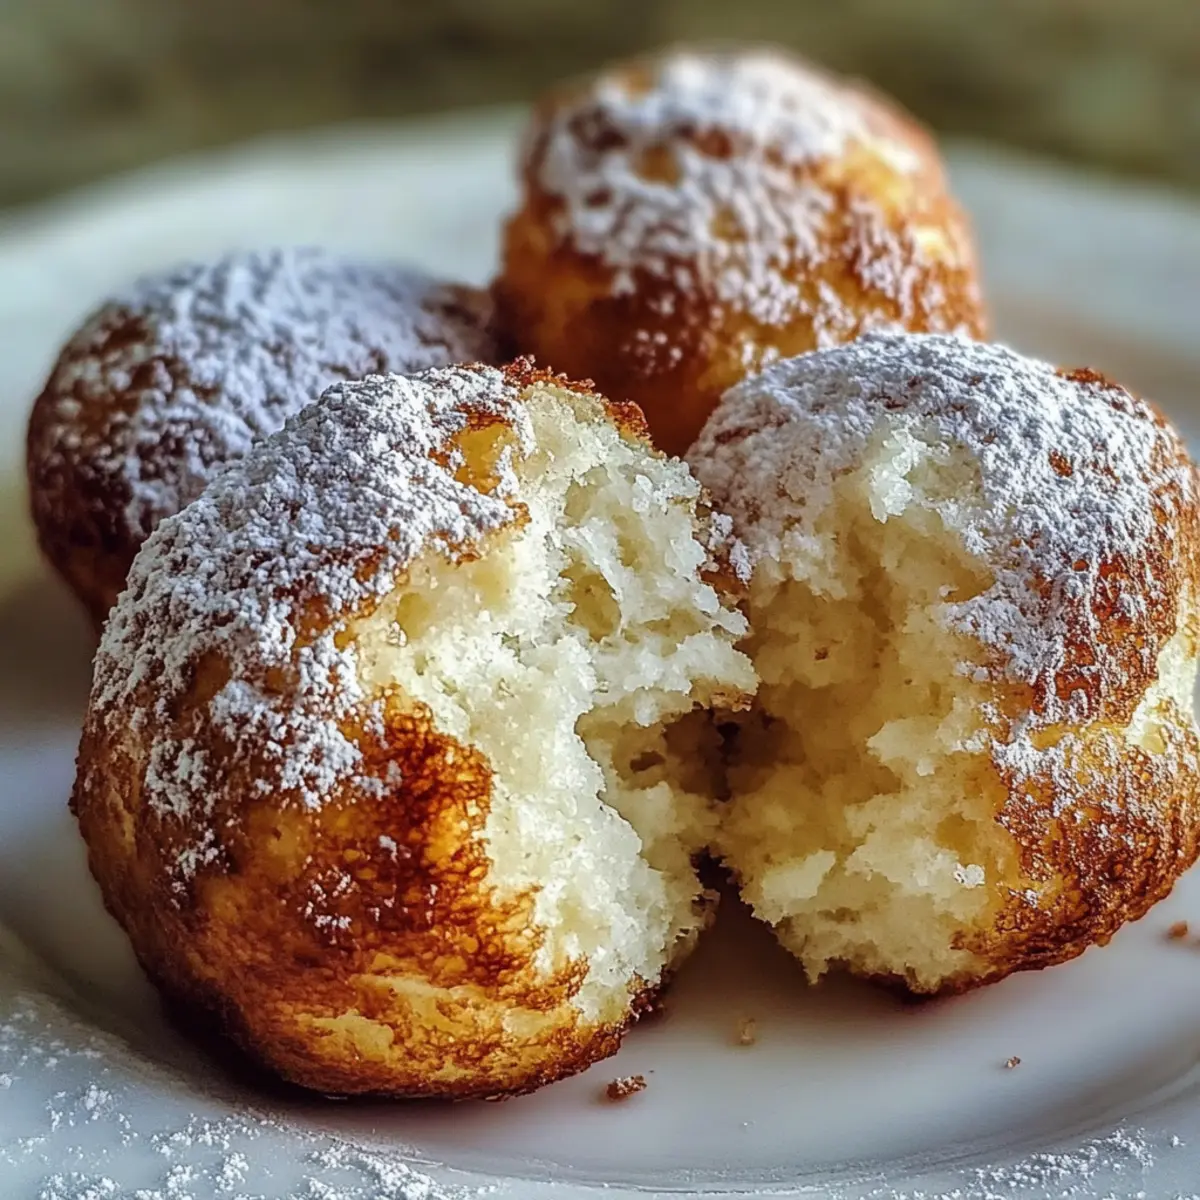
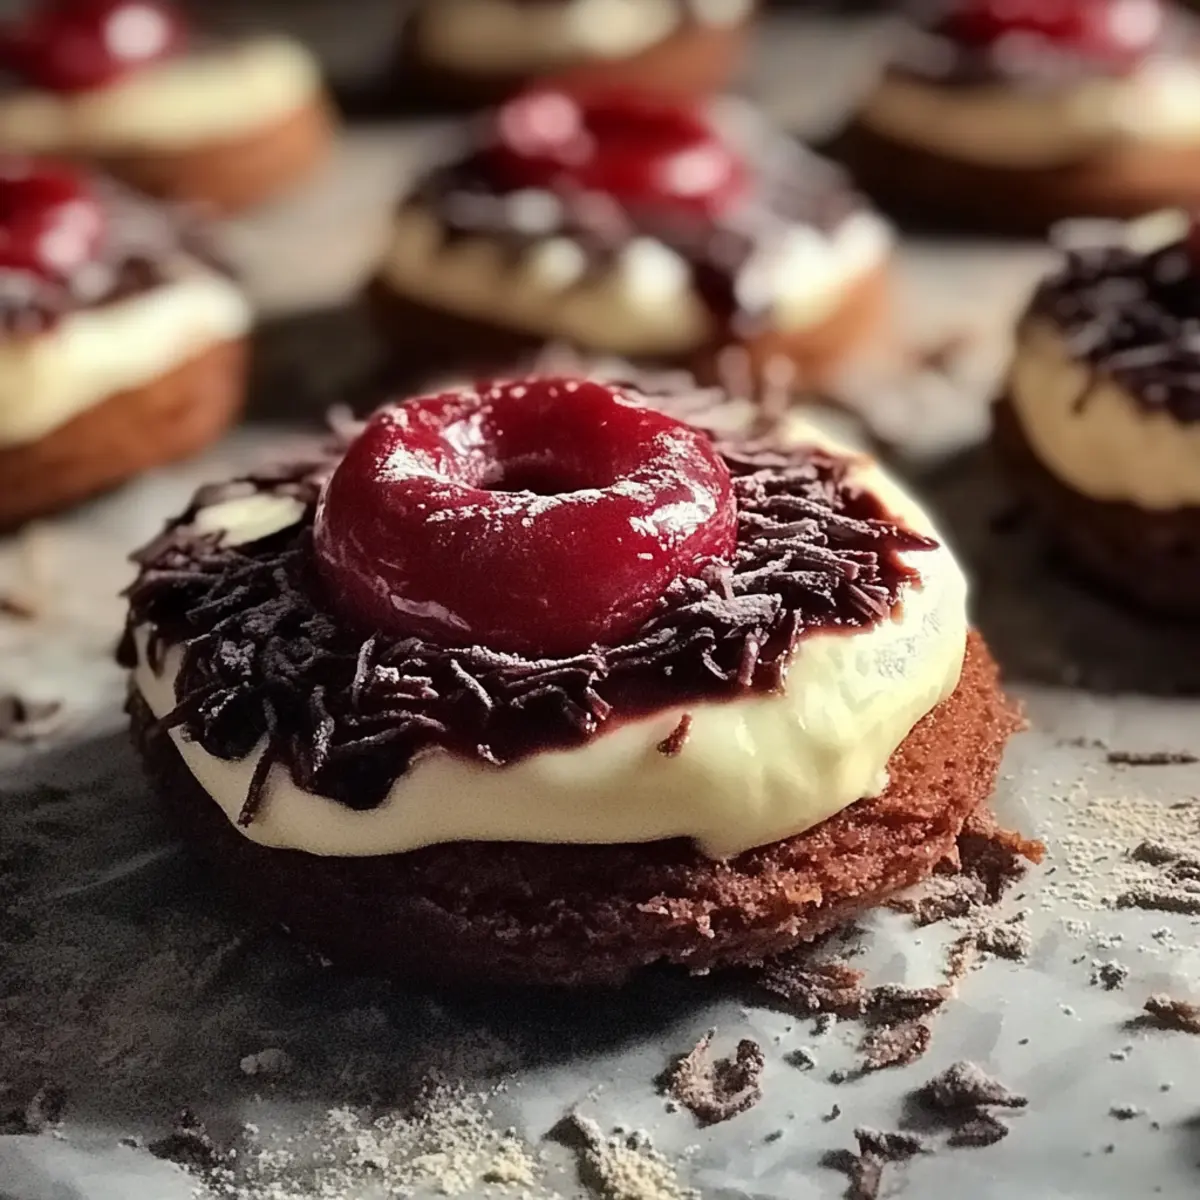
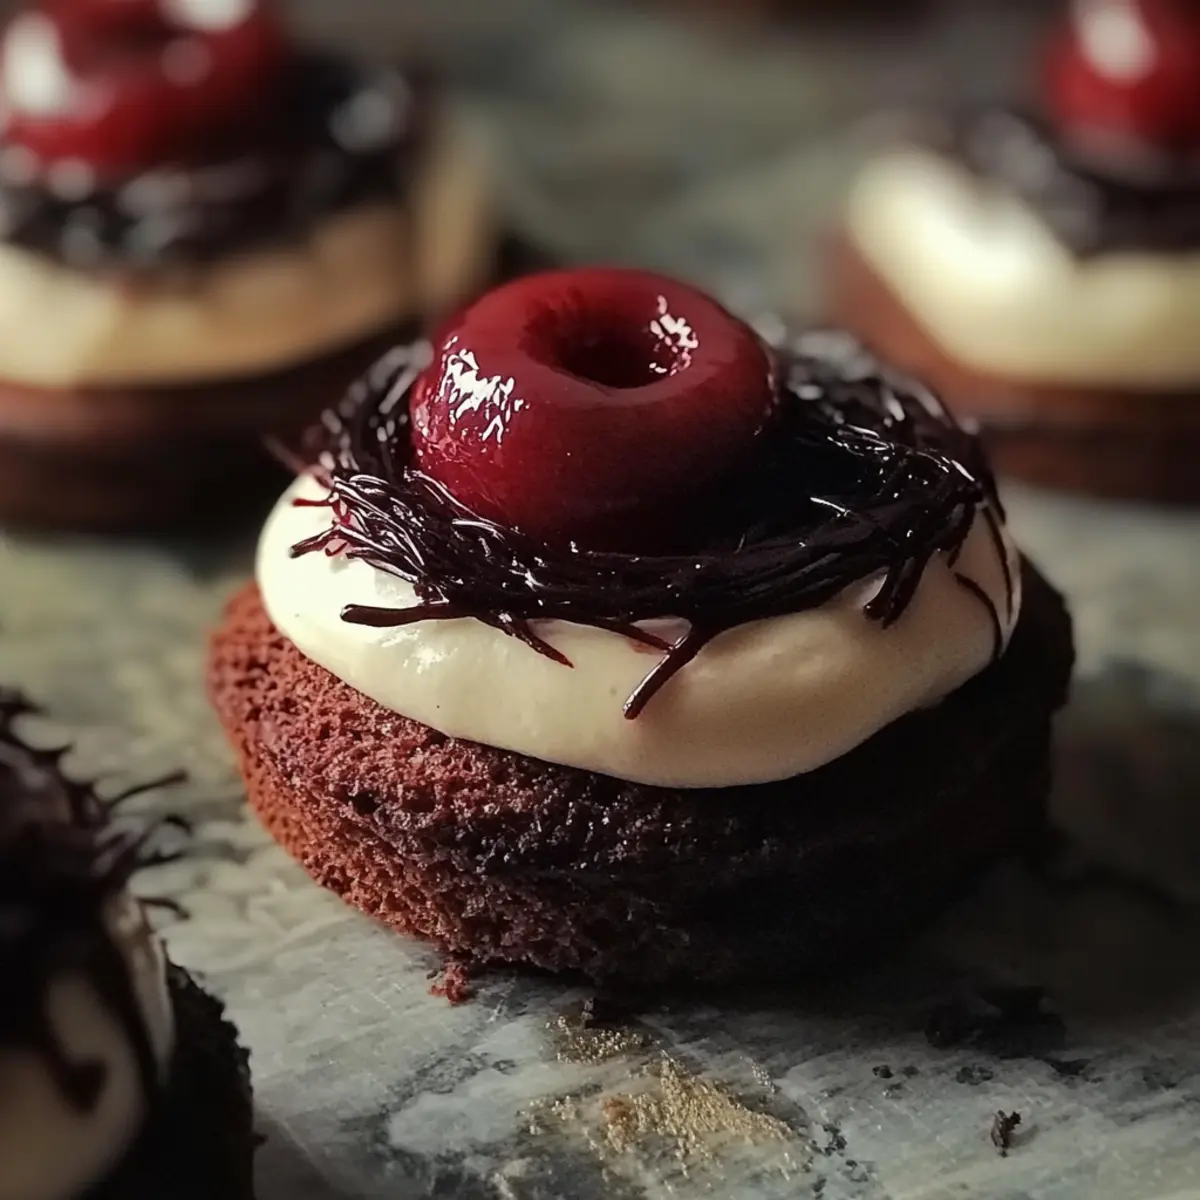
As I stood in my kitchen, the sweet aroma of cocoa wafted through the air, instantly sparking joy and the promise of indulgence. Today, I'm thrilled to share one of my favorite treats: No-Bake Dubai Chocolate Balls! This delightful recipe will captivate your taste buds while saving you precious time in the kitchen. Made with wholesome ingredients like pitted dates, walnuts, and almond butter, they are not only incredibly easy to prepare—taking just 20 minutes—but also a healthier alternative to traditional sweets. Plus, the option to dip them in dark chocolate adds a touch of elegance that makes them perfect for sharing at gatherings or treating yourself after a long day. Do you crave a guilt-free dessert that satisfies that chocolate itch? You’re in for a delightful surprise!
Why are No-Bake Dubai Chocolate Balls irresistible?
Healthier indulgence: These treats are packed with natural sweetness from dates and the crunch of walnuts, making them a guilt-free dessert option.
Quick prep time: In just 20 minutes, you can whip up a batch, perfect for a last-minute craving or unexpected guests.
Versatile flavors: Customize them with your favorite nuts and add-ins, so you'll never get bored!
Choco-dipped delight: The melted dark chocolate dip elevates these little bites to an elegant snack, perfect for sharing or special occasions.
Crowd-pleaser: Whether for a party or a cozy evening in, these No-Bake Dubai Chocolate Balls are a hit with everyone! Your friends will be asking for the recipe, so consider checking out my healthy dessert ideas for more inspiration!
No-Bake Dubai Chocolate Balls Ingredients
For the Base
• Pitted dates – provide natural sweetness and a sticky texture that holds the balls together.
• Walnuts – add a delightful crunch and healthy fats, contributing to the overall richness.
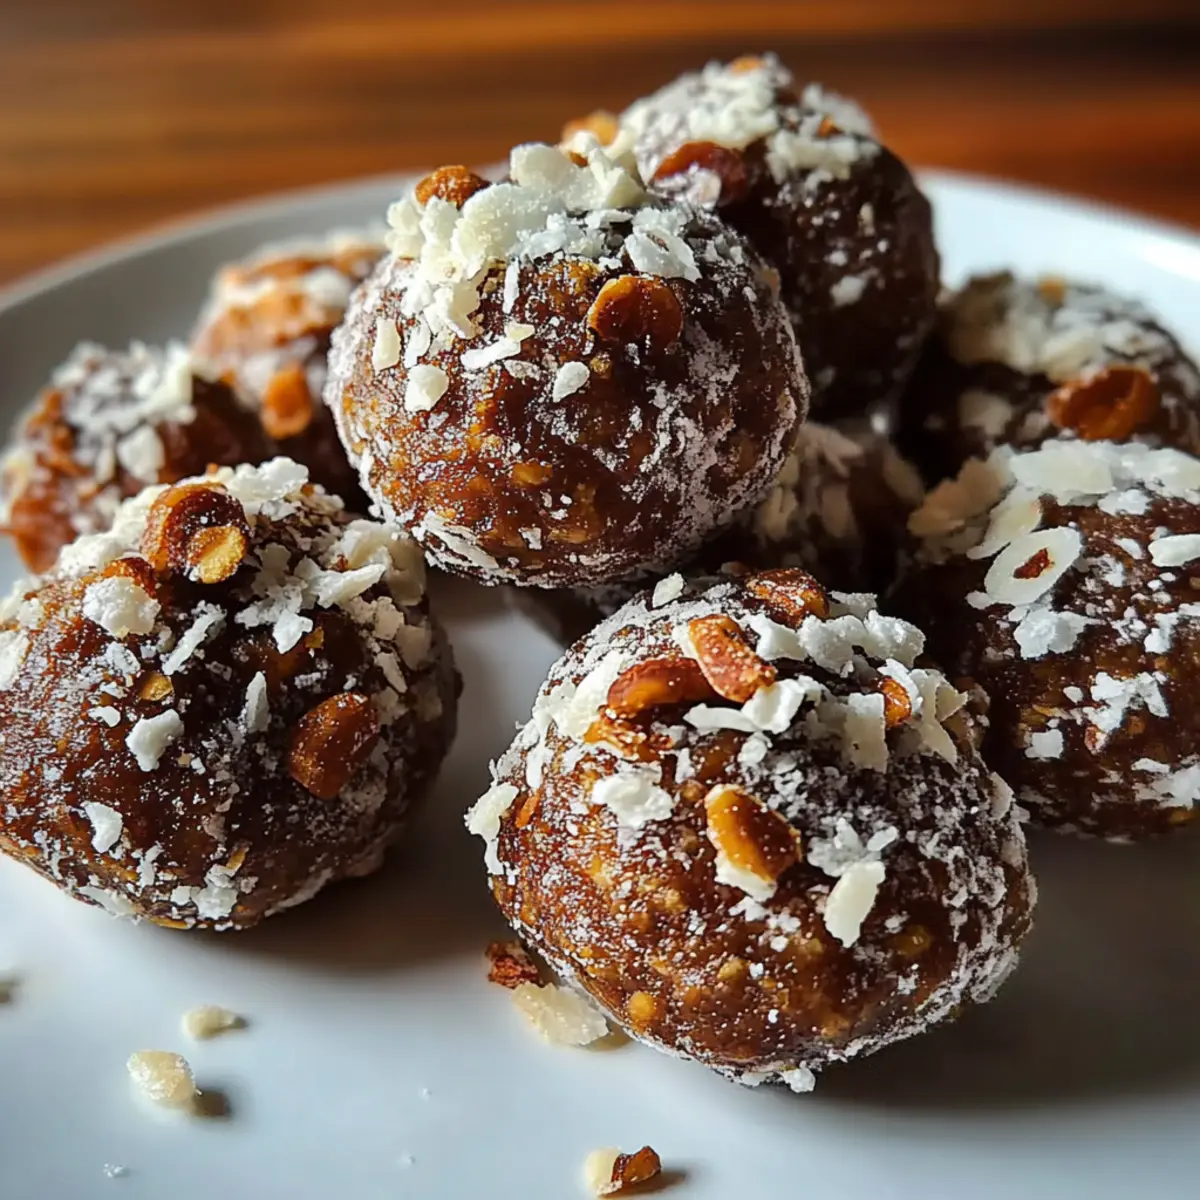
• Shredded coconut – gives a tropical twist and enhances the chewy texture; reserve some for rolling.
• Cocoa powder – adds a rich chocolate flavor that makes these balls truly irresistible.
• Vanilla extract – infuses a warm, aromatic note that elevates the overall taste.
• Sea salt – enhances the sweetness and balances the flavors beautifully.
For the Creamy Element
• Almond butter – acts as a binding agent, providing creaminess and healthy nutrients; swap for any nut butter you like.
• Honey or maple syrup (optional) – adds extra sweetness, perfect for satisfying your sweet cravings.
For the Chocolate Dip
• Dark chocolate chips – use for melting and dipping, adding a luxurious touch to your No-Bake Dubai Chocolate Balls; dark chocolate is a great choice for a health boost!
With these carefully curated ingredients, you’re well on your way to creating these delightful morsels. Get ready to enjoy a satisfying treat that’s as healthy as it is delicious!
Step‑by‑Step Instructions for No-Bake Dubai Chocolate Balls
Step 1: Process the Dates
Begin by placing your finely chopped pitted dates into a food processor. Pulse them for about 1-2 minutes until they transform into a sticky, smooth paste. This will serve as the base of your No-Bake Dubai Chocolate Balls, so ensure there are no chunks remaining and the mixture is cohesive.
Step 2: Combine Ingredients
Next, add 1 cup of chopped walnuts, ½ cup of shredded coconut, ¼ cup of cocoa powder, 1 teaspoon of vanilla extract, and ¼ teaspoon of sea salt to the food processor. If you prefer a sweeter touch, drizzle in 1 tablespoon of honey or maple syrup. Pulse the mixture for another 1-2 minutes until all the ingredients are fully integrated and begin to form a sticky dough.
Step 3: Add Almond Butter
Now, introduce ¼ cup of almond butter to the mixture in the food processor. Pulse again for 30 seconds to 1 minute, or until the almond butter is thoroughly mixed in, creating a thick and moldable consistency. Scrape down the sides of the bowl if needed, ensuring an even blend that fills your kitchen with a deliciously rich aroma.
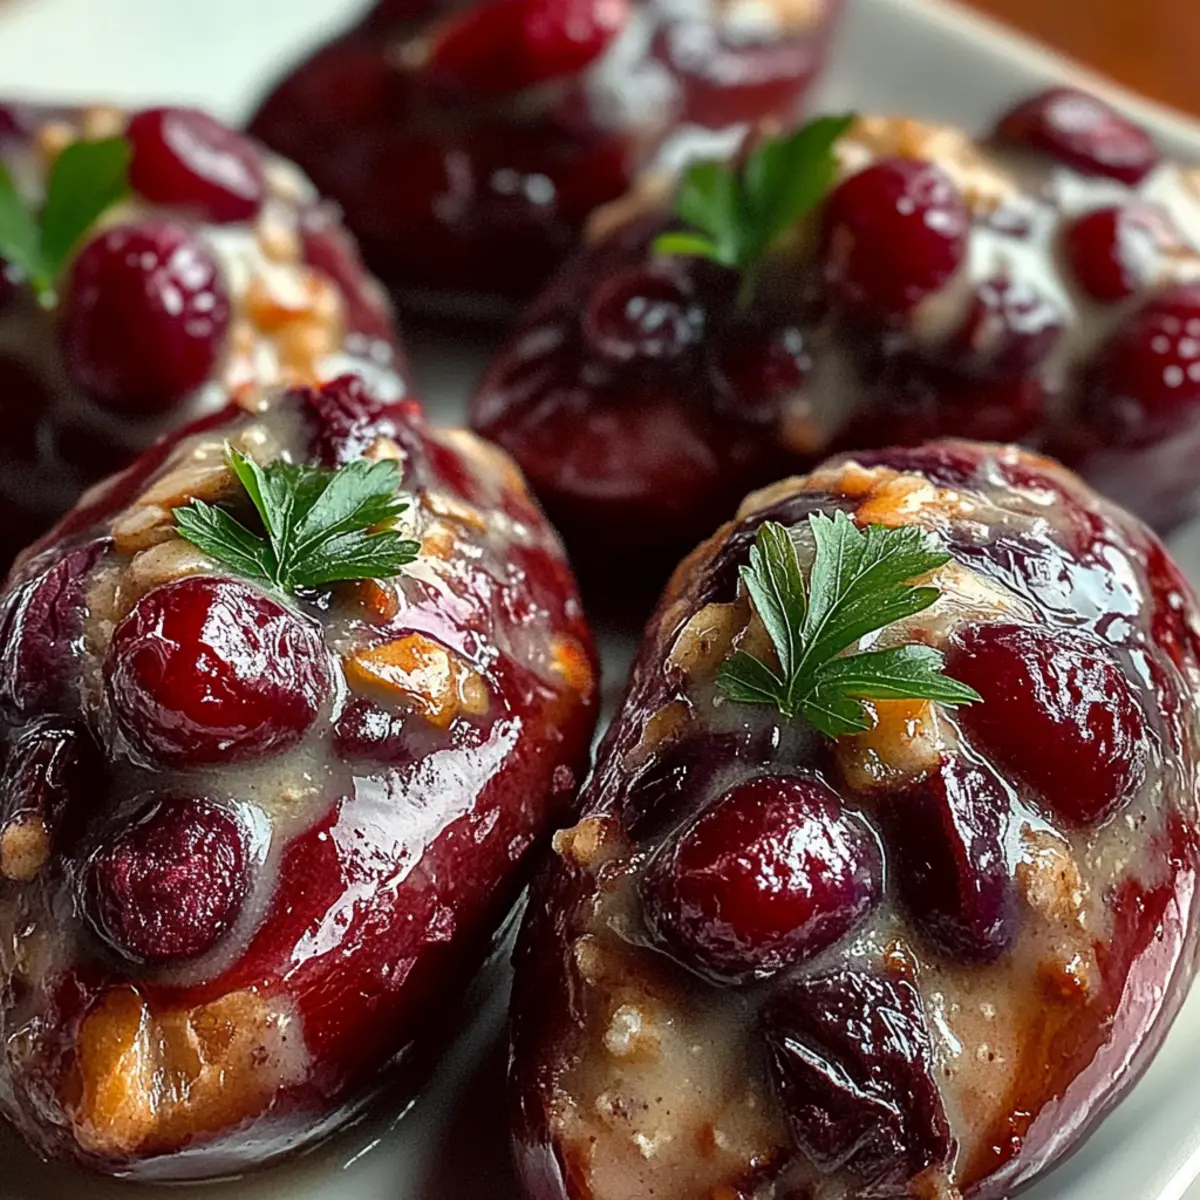
Step 4: Roll into Balls
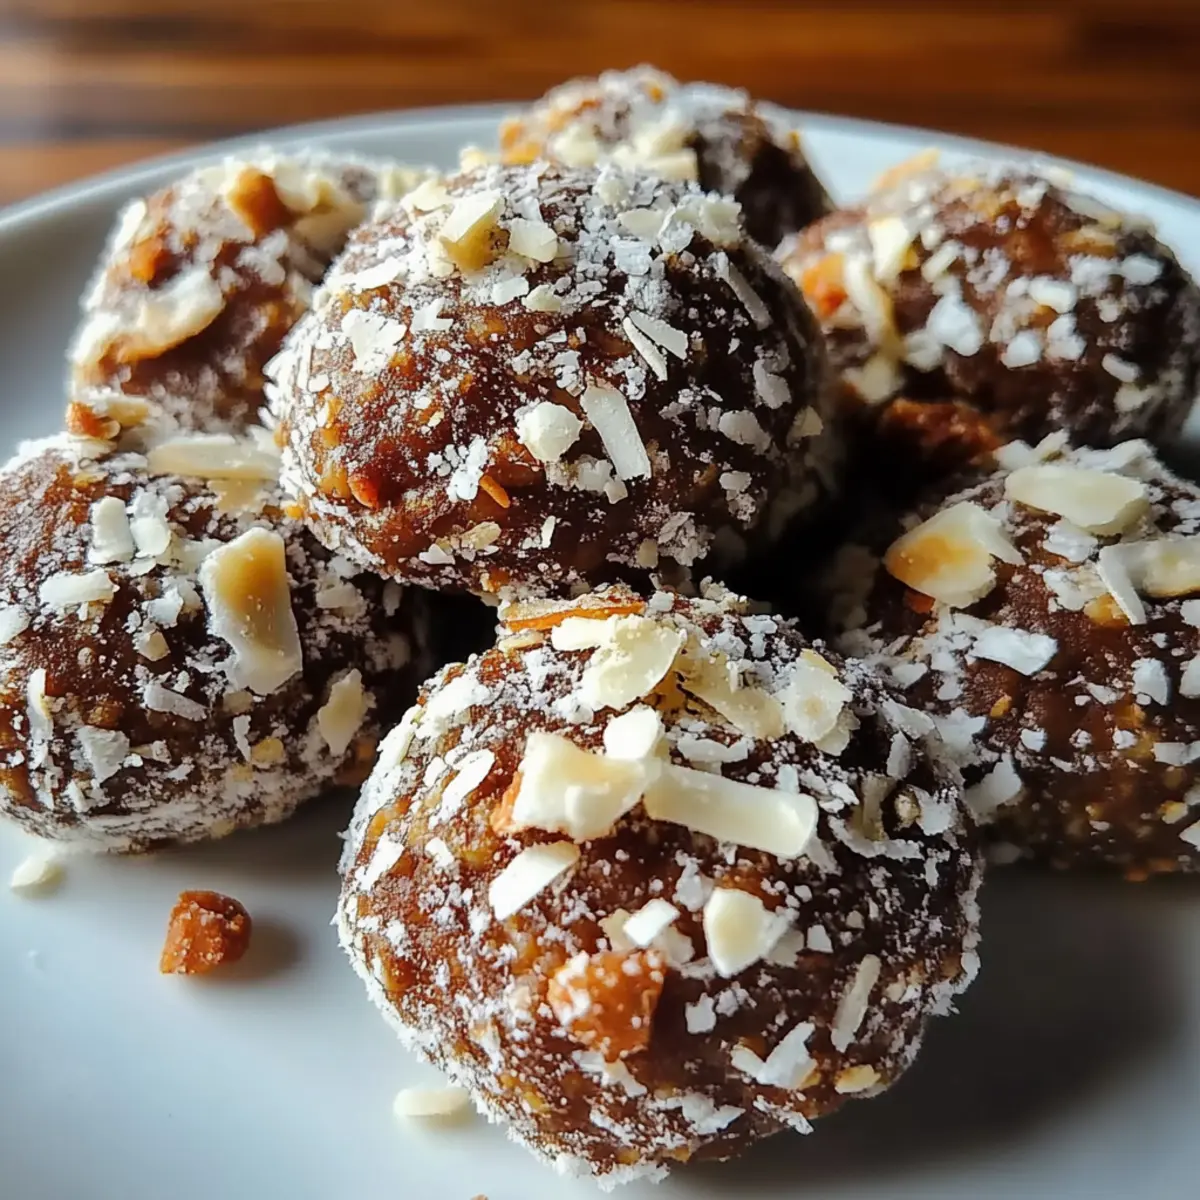
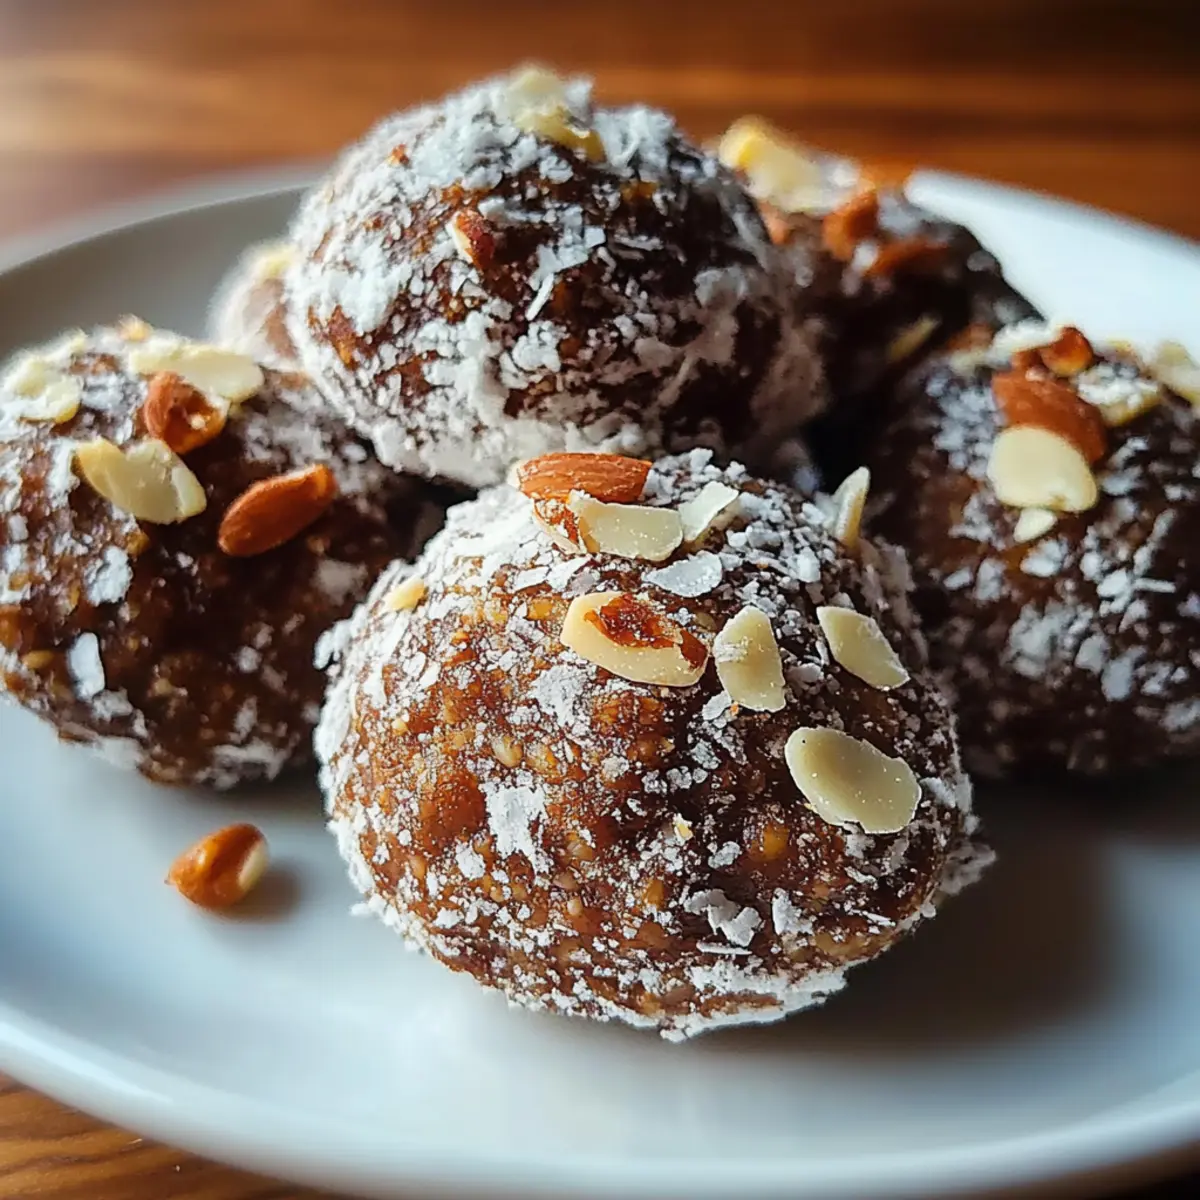
Using your hands, scoop out small portions of the mixture and roll them into bite-sized balls, about 1 inch in diameter. If your hands become sticky, lightly moisten them with water to make rolling easier. Place these lovely No-Bake Dubai Chocolate Balls onto a parchment-lined baking sheet, creating a delightful assembly of sweet treats waiting to be coated.
Step 5: Coat with Coconut
Take the remaining shredded coconut and roll each ball in it to coat evenly. This will add a lovely texture and a hint of tropical flavor to your No-Bake Dubai Chocolate Balls. After rolling, arrange them neatly on the baking sheet, making sure they are spaced apart to prevent sticking.
Step 6: Melt Chocolate for Dipping
For an indulgent touch, melt ½ cup of dark chocolate chips in a microwave-safe bowl. Heat them in 30-second intervals, stirring between each until the chocolate is smooth and fully melted. The glossy sheen of the chocolate will signal that it’s ready for dipping, elevating your No-Bake Dubai Chocolate Balls to a new level.
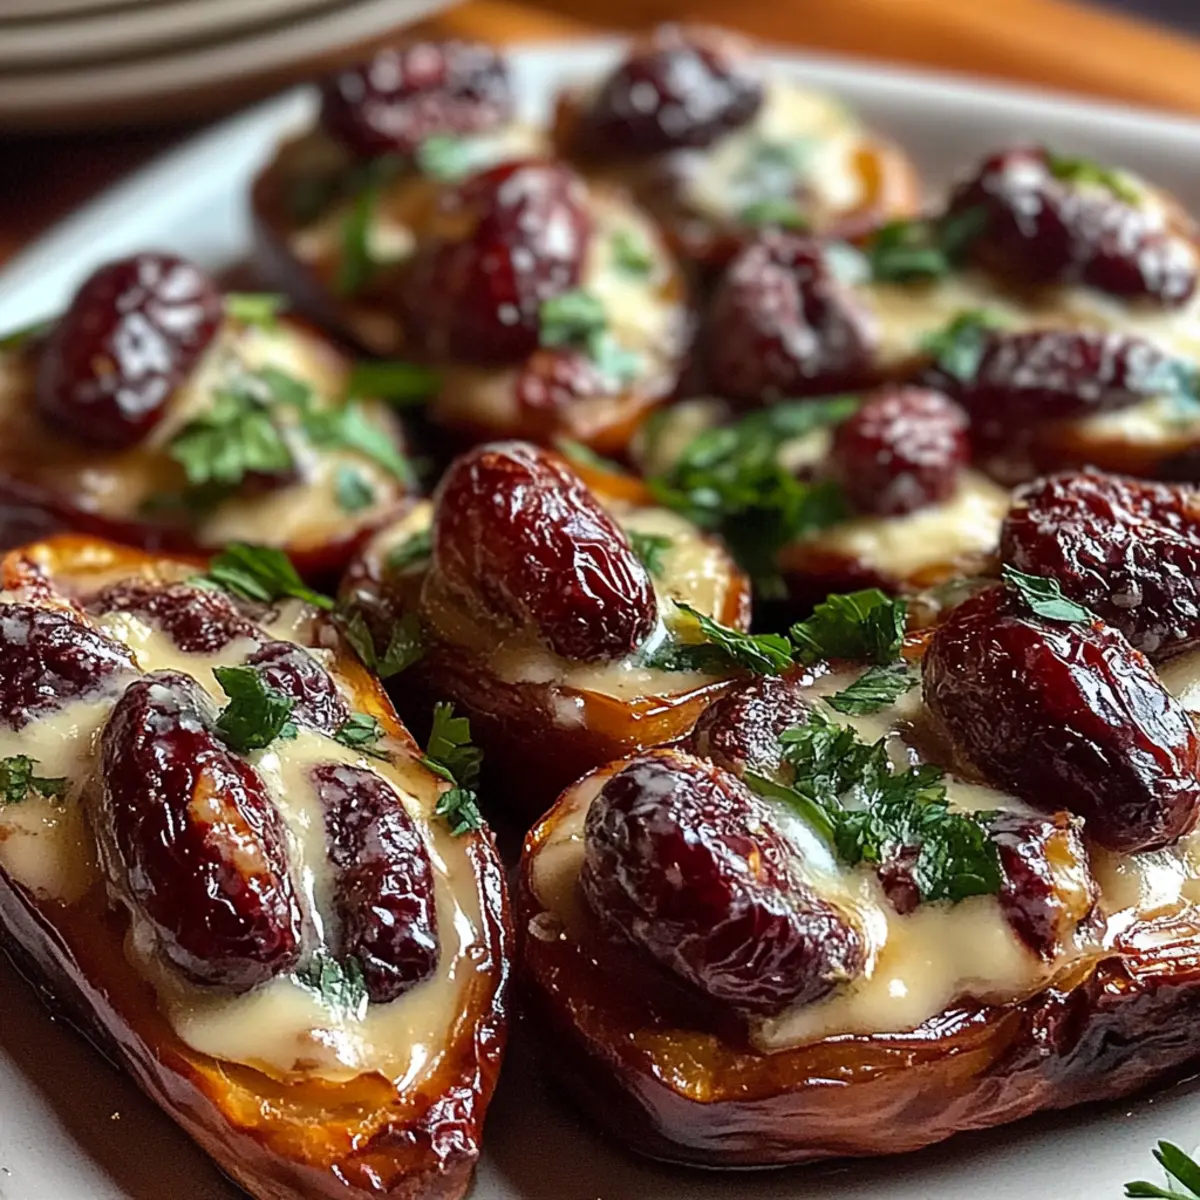
Step 7: Dip the Balls
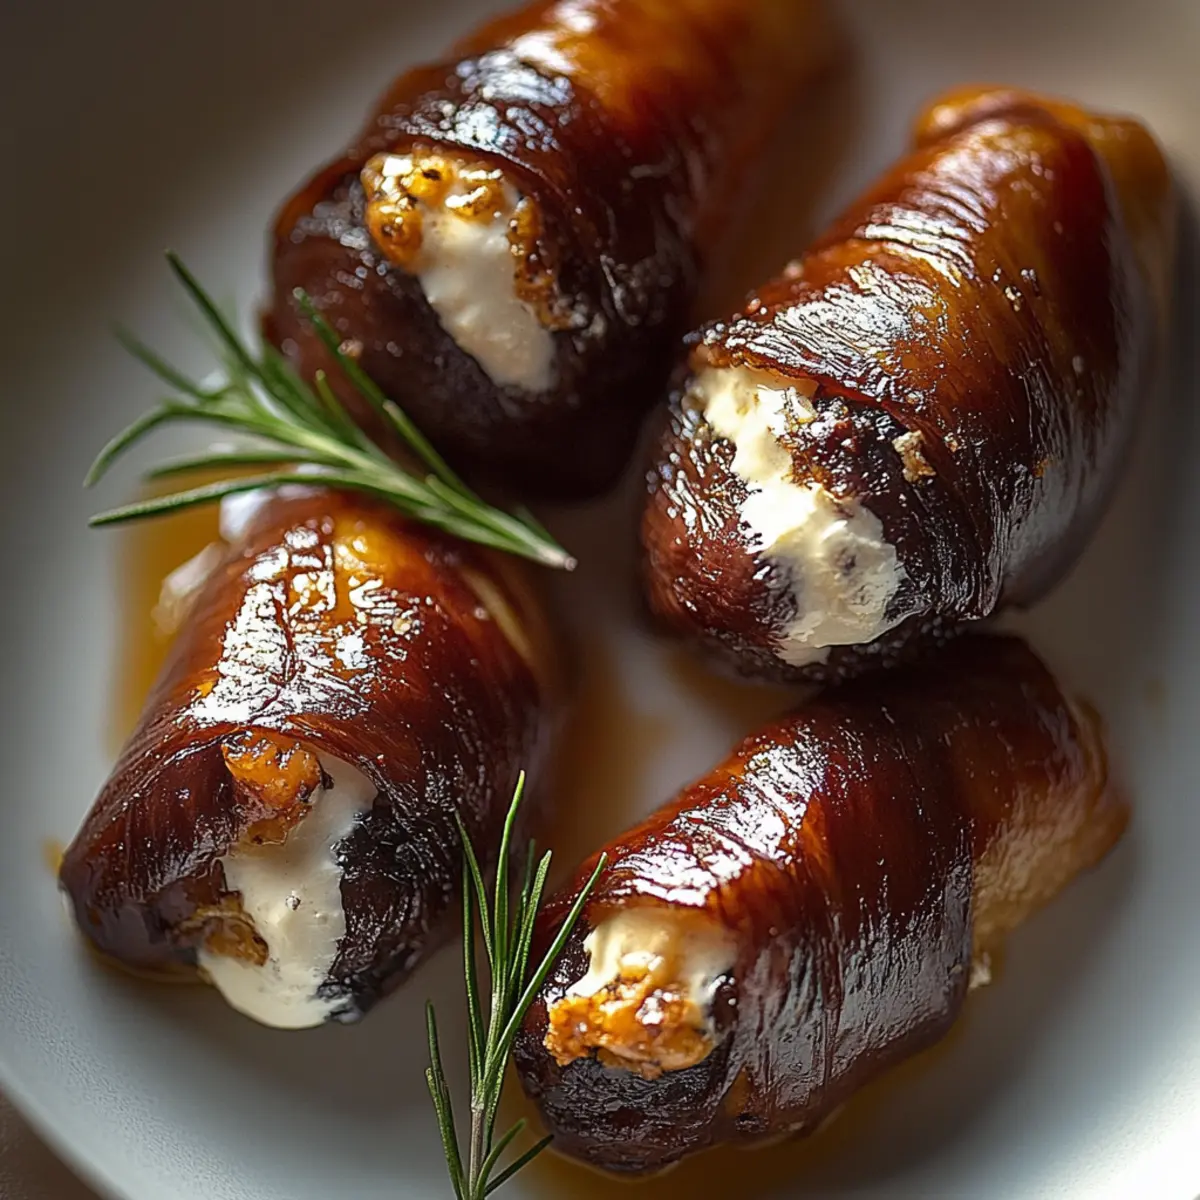
Carefully dip each coconut-coated ball halfway into the melted dark chocolate, allowing any excess chocolate to drip off. This step beautifully enhances their allure while adding a rich chocolatey flavor. Place the dipped balls back on the parchment-lined baking sheet for the chocolate to set.
Step 8: Chill and Set
Finally, refrigerate the chocolate-covered balls for at least 30 minutes. This chilling time allows the flavors to meld and the chocolate to harden, giving your No-Bake Dubai Chocolate Balls a pleasantly firm texture. Once set, they are ready to be enjoyed or served as an elegant treat at gatherings.

No-Bake Dubai Chocolate Balls Variations
Feel free to explore these fun twists that will elevate your No-Bake Dubai Chocolate Balls, making each batch uniquely yours!
-
Nut-Free: Substitute walnuts with sunflower seeds for a crunchy alternative, perfect for those with nut allergies. These little bites will still pack a punch!
-
Sweetness Adjust: Use 2 tablespoons of agave syrup instead of honey or maple syrup to keep it fully vegan while enhancing the flavor with a unique touch.
-
Coconut-Free: Swap shredded coconut with oats for a sturdy base that offers a heartier texture. The oats will give these little treats a wholesome boost!
-
Spiced Up: Add a dash of cinnamon or cayenne pepper to the mixture before rolling for a warm, spicy kick that will surprise your taste buds!
-
Fruit-Infused: Incorporate finely chopped dried fruits, such as apricots or cranberries, for an added layer of flavor and chewiness. It creates a delightful contrast!
-
Protein Boost: Mix in a scoop of your favorite protein powder to increase the nutritional value, making these treats perfect for a post-workout snack or energy boost.
-
Crushed Candy Coating: Roll the already formed balls in crushed nuts, pretzels, or your favorite candy for a fun crunch that adds a playful dimension to the classic recipe.
-
Flavor Variations: Experiment with flavored nut butters, such as cashew or peanut butter. Each option brings a new experience and flavor that keeps things exciting.
Don't hesitate to get creative in the kitchen! If you're looking for more customization ideas, be sure to check out my healthy dessert ideas and discover even more inspiring recipes!
Expert Tips for No-Bake Dubai Chocolate Balls
Blend Well: Ensure the dates are processed into a smooth paste to bind the other ingredients together perfectly, avoiding any chunks that may disrupt the texture.
Customize Nuts: Feel free to swap walnuts with your favorite nuts for a unique flavor profile while keeping the nutrition intact in your No-Bake Dubai Chocolate Balls.
Moist Hands: Moisten your hands slightly when rolling the balls to prevent the mixture from sticking, ensuring a neat and easy rolling process.
Chill Thoroughly: Don’t skip the chilling step! Allowing the chocolate to harden ensures a delightful bite and helps meld the flavors for a richer experience.
Quality Chocolate: Using high-quality dark chocolate for dipping not only enhances the flavor but also adds a luxurious finish to your treats.
What to Serve with No-Bake Dubai Chocolate Balls
Elevate your treat experience by pairing these delightful bites with something extra special.
-
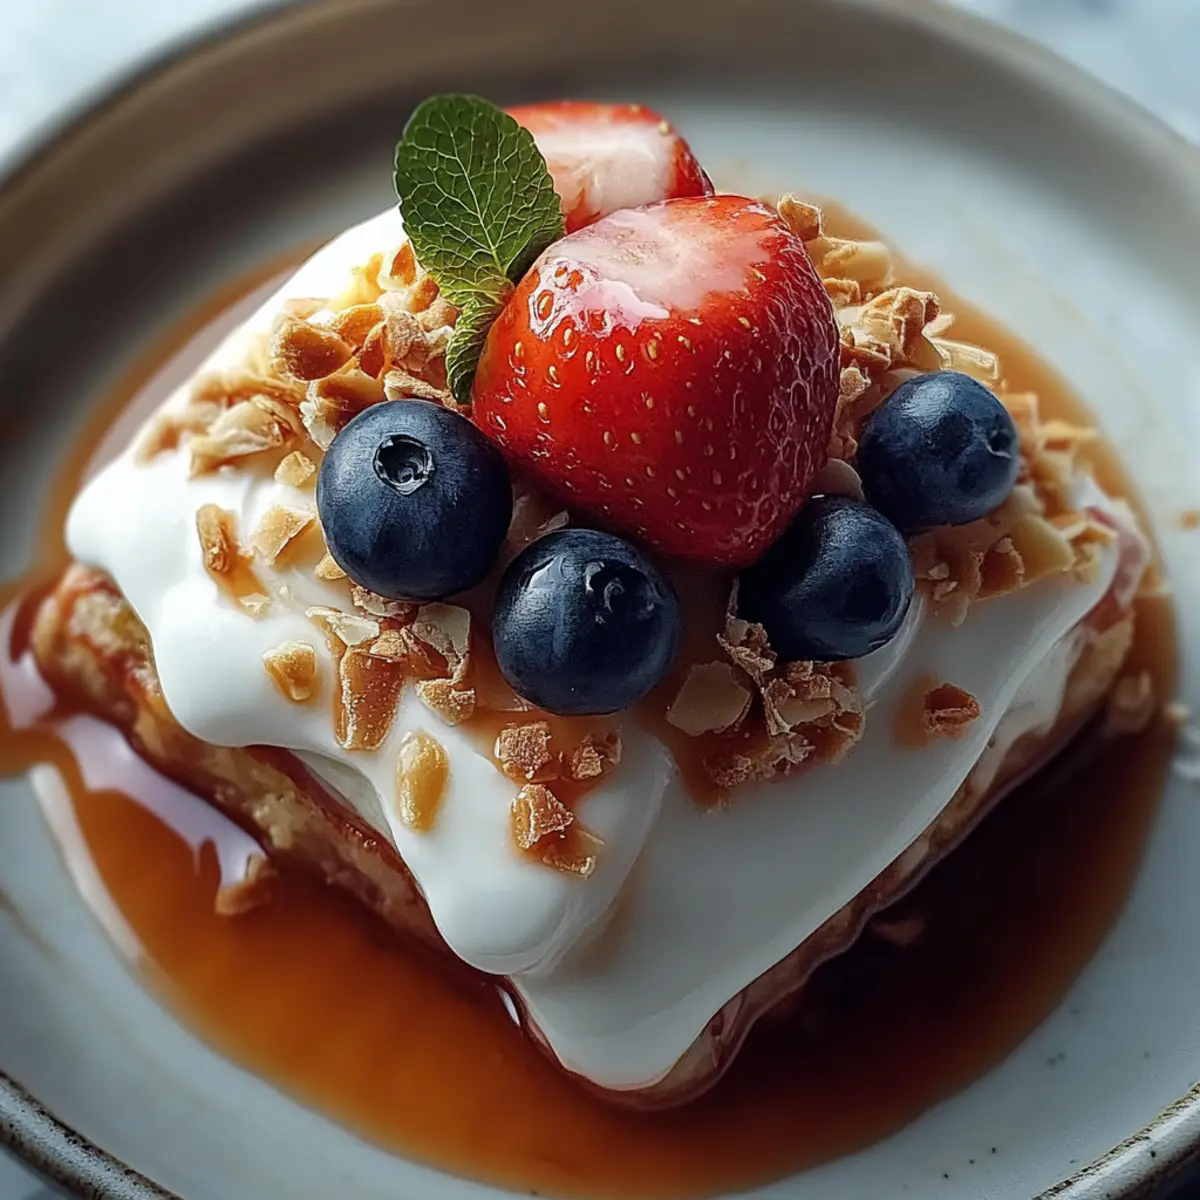
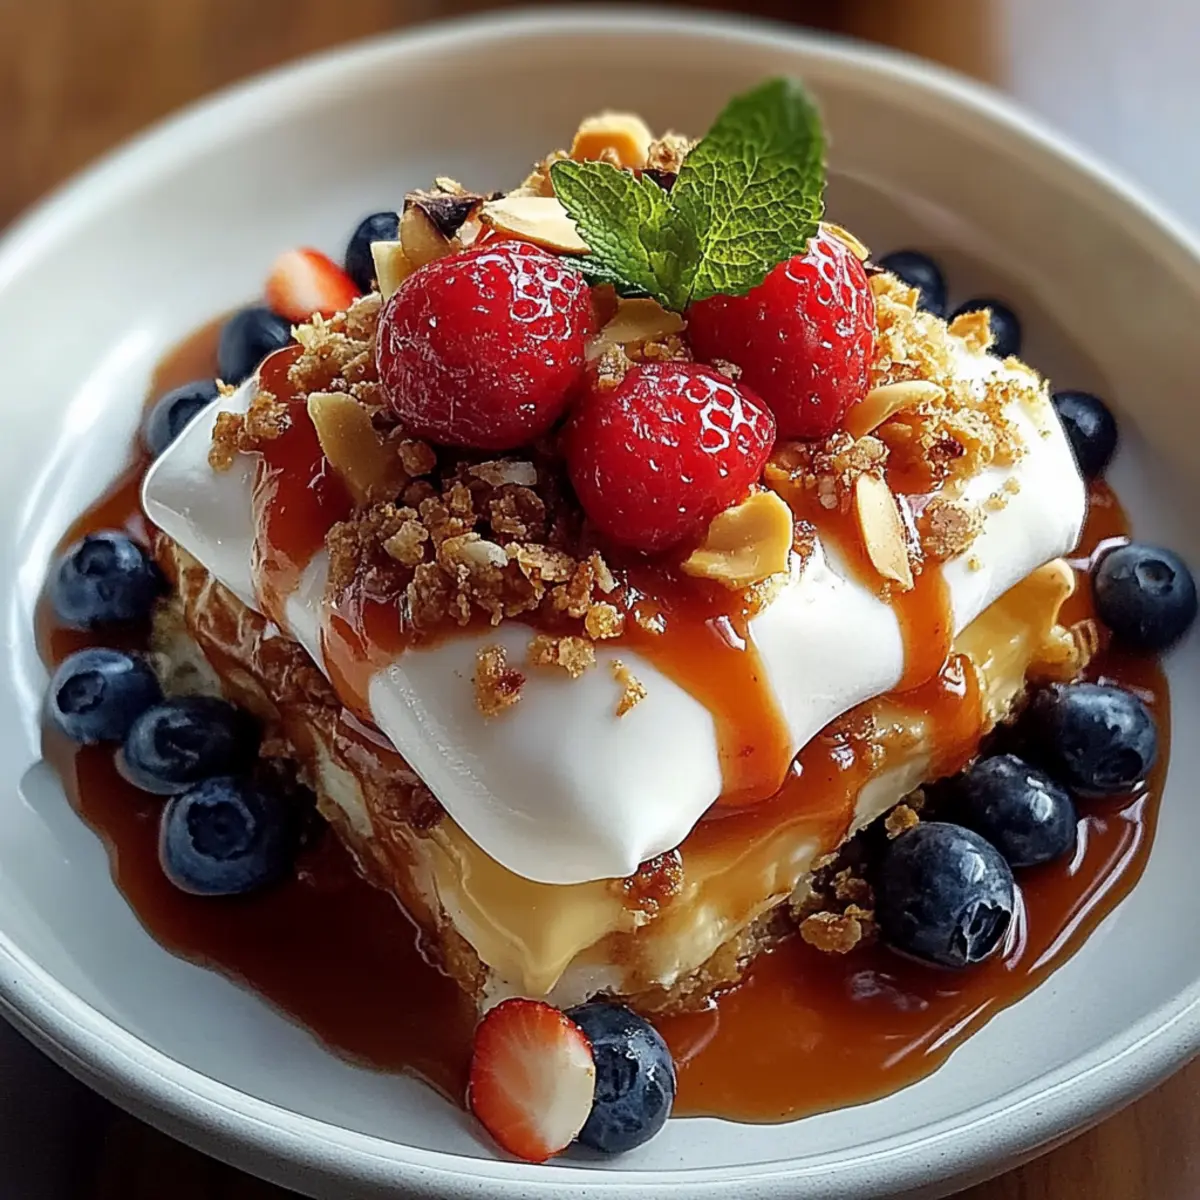
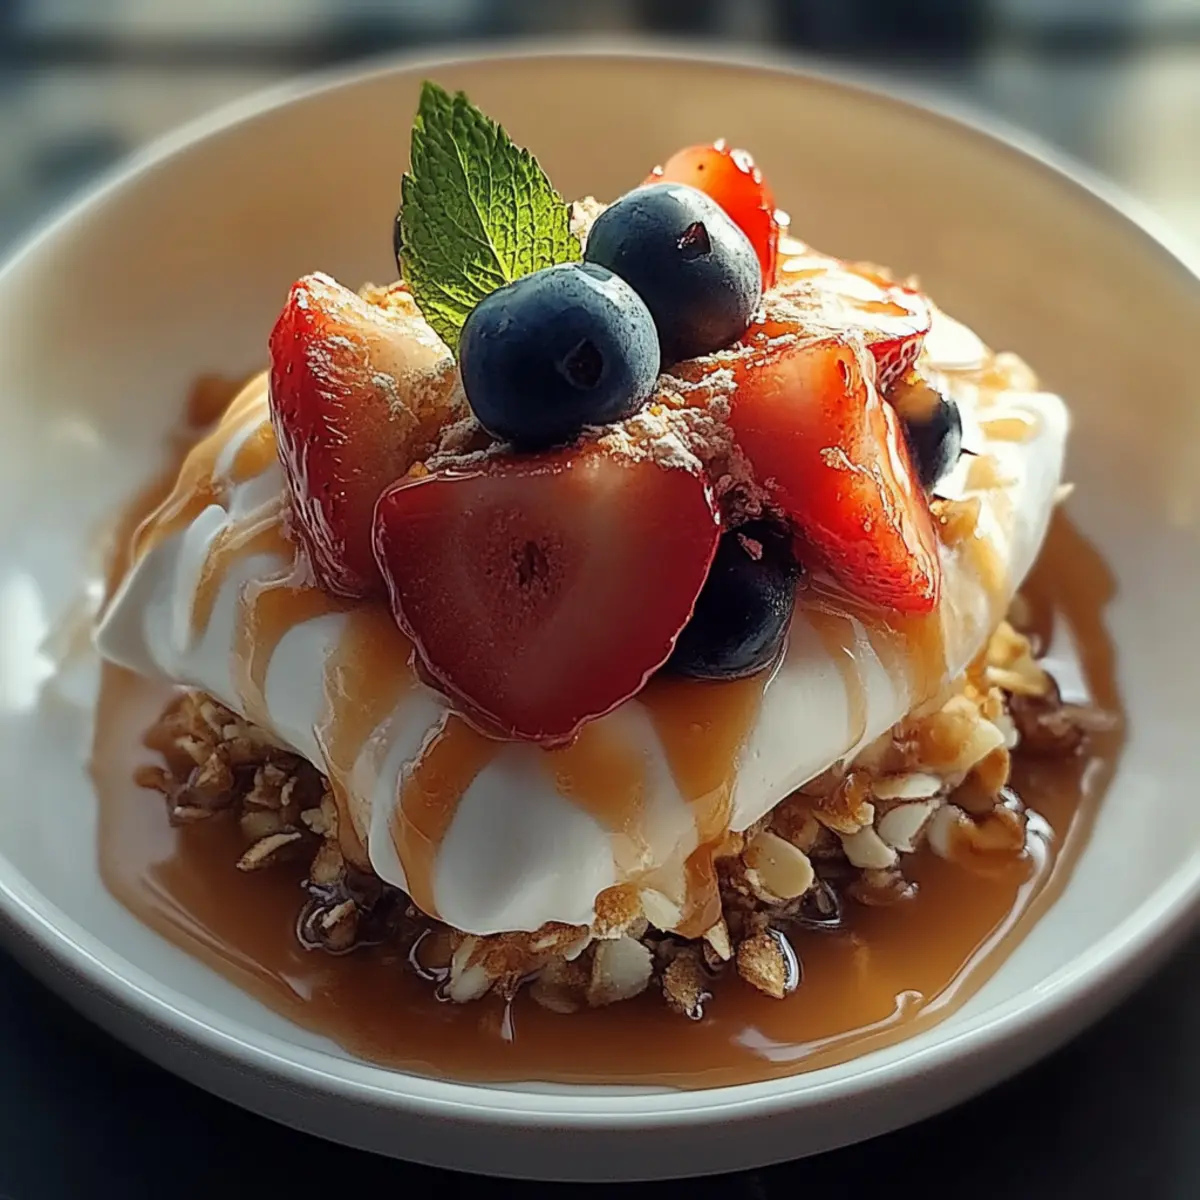
Fresh Berries: Juicy strawberries or raspberries provide a refreshing contrast to the rich chocolate balls, enhancing the overall flavor combination. The pop of acidity complements the sweetness beautifully.
-
Chai Tea: A warm cup of chai offers fragrant spices that harmonize with the cocoa in the chocolate balls. Its rich, spiced goodness adds a cozy vibe to your dessert experience.
-
Greek Yogurt: Creamy Greek yogurt drizzled with honey can balance out the sweet indulgence, delivering a tangy freshness that contrasts nicely with these chocolatey delights. This pairing creates a wholesome snack alternative.
-
Nutty Granola: Serve with a sprinkle of nutty granola for added crunch and texture. The variety of flavors and textures will leave everyone asking for more!
-
Coconut Water: This hydrating tropical drink not only refreshes the palate but also enhances the coconut flavor of your chocolate balls, creating an exotic connection.
-
Mint Tea: The bright and invigorating notes of mint tea perfectly counterbalance the richness of the chocolate. Sipping on this will leave you feeling rejuvenated after indulging!
-
Ice Cream: For a decadent treat, serve alongside a scoop of vanilla or coconut ice cream. The creamy sweetness melts with the chocolate, creating a heavenly bite!
-
Dark Chocolate Espresso: A shot of dark chocolate espresso complements the chocolaty nature of the No-Bake Dubai Chocolate Balls while providing an energizing lift after dessert.
-
Almond Milk Smoothie: Blend almond milk with bananas and a touch of vanilla for a delightful smoothie that echoes the nutty elements in the chocolate balls. This refreshing drink is perfect to cool down your taste buds.
How to Store and Freeze No-Bake Dubai Chocolate Balls
Room Temperature: Store in an airtight container at room temperature for up to 3 days; this way, you can easily grab a delicious treat whenever cravings strike!
Fridge: Keep the No-Bake Dubai Chocolate Balls in the fridge for up to 2 weeks. This ensures they remain fresh while retaining their delightful texture and flavors.
Freezer: For longer storage, freeze the balls in a single layer on a baking sheet, then transfer to a freezer-safe container for up to 3 months. Thaw in the fridge before enjoying!
Reheating: There's no need to reheat these; simply enjoy chilled straight from the fridge or at room temperature for the perfect sweet snack.
Make Ahead Options
These No-Bake Dubai Chocolate Balls are perfect for meal prep, allowing you to whip up a batch that can be enjoyed throughout the week! You can prepare the mixture and form the balls up to 24 hours in advance. Simply roll the balls and refrigerate them on a parchment-lined baking sheet in an airtight container to maintain their freshness. When you're ready to serve, melt the dark chocolate and dip the balls just before serving to keep that delightful coating intact and ensure they remain just as delicious as when freshly made. This simple planning saves time and lets you indulge in these treats any day of the week!
No-Bake Dubai Chocolate Balls Recipe FAQs
What should I look for when choosing dates?
Absolutely! When selecting pitted dates, choose ones that are plump and shiny, without any dark spots all over. They should feel slightly sticky but not overly dry or hard, as fresh dates provide the best sweetness and texture for your No-Bake Dubai Chocolate Balls.
How long can I store No-Bake Dubai Chocolate Balls?
You can store your delicious No-Bake Dubai Chocolate Balls in an airtight container at room temperature for up to 3 days, or in the refrigerator for up to 2 weeks. Keeping them chilled helps preserve their delightful texture and flavors!
Can I freeze No-Bake Dubai Chocolate Balls, and if so, how?
Very! To freeze your No-Bake Dubai Chocolate Balls, place them on a baking sheet in a single layer and freeze until solid. Then transfer the balls to a freezer-safe container or bag, where they can be stored for up to 3 months. Thaw them in the fridge for a few hours before enjoying, and they'll taste just as fresh!
What if my mixture is too dry or too sticky when rolling the balls?
No worries at all! If your mixture feels too dry, try adding a tiny bit of almond butter or a splash of water to bring it together. If it's too sticky, moistening your hands lightly with water can help you roll the balls without the mixture clinging too much.
Are No-Bake Dubai Chocolate Balls suitable for those with nut allergies?
If you're dealing with nut allergies, you can easily make a nut-free version by substituting the almonds and walnuts with seeds like sunflower or pumpkin seeds, keeping the same delightful texture while making it safe for everyone to enjoy!
Can I customize the ingredients to make it my own?
Absolutely! The beauty of these No-Bake Dubai Chocolate Balls lies in their versatility. You can swap out walnuts for your favorite nuts or add extras like dried fruits, chia seeds, or flavor extracts such as peppermint or orange for a unique twist. The more the merrier, right?
Delicious No-Bake Dubai Chocolate Balls for Sweet Cravings
Ingredients
Equipment
Method
- Process the finely chopped pitted dates in a food processor for 1-2 minutes until smooth and sticky.
- Add walnuts, shredded coconut, cocoa powder, vanilla extract, and sea salt. Optionally, add honey or maple syrup. Process for another 1-2 minutes.
- Add almond butter and blend for 30 seconds to 1 minute until well mixed.
- Roll the mixture into 1-inch balls and place on a parchment-lined baking sheet.
- Roll each ball in remaining shredded coconut to coat.
- Melt dark chocolate chips in 30-second intervals until smooth. Dip each ball halfway into the chocolate.
- Place dipped balls on parchment paper to allow chocolate to set.
- Refrigerate for at least 30 minutes to allow chocolate to harden.