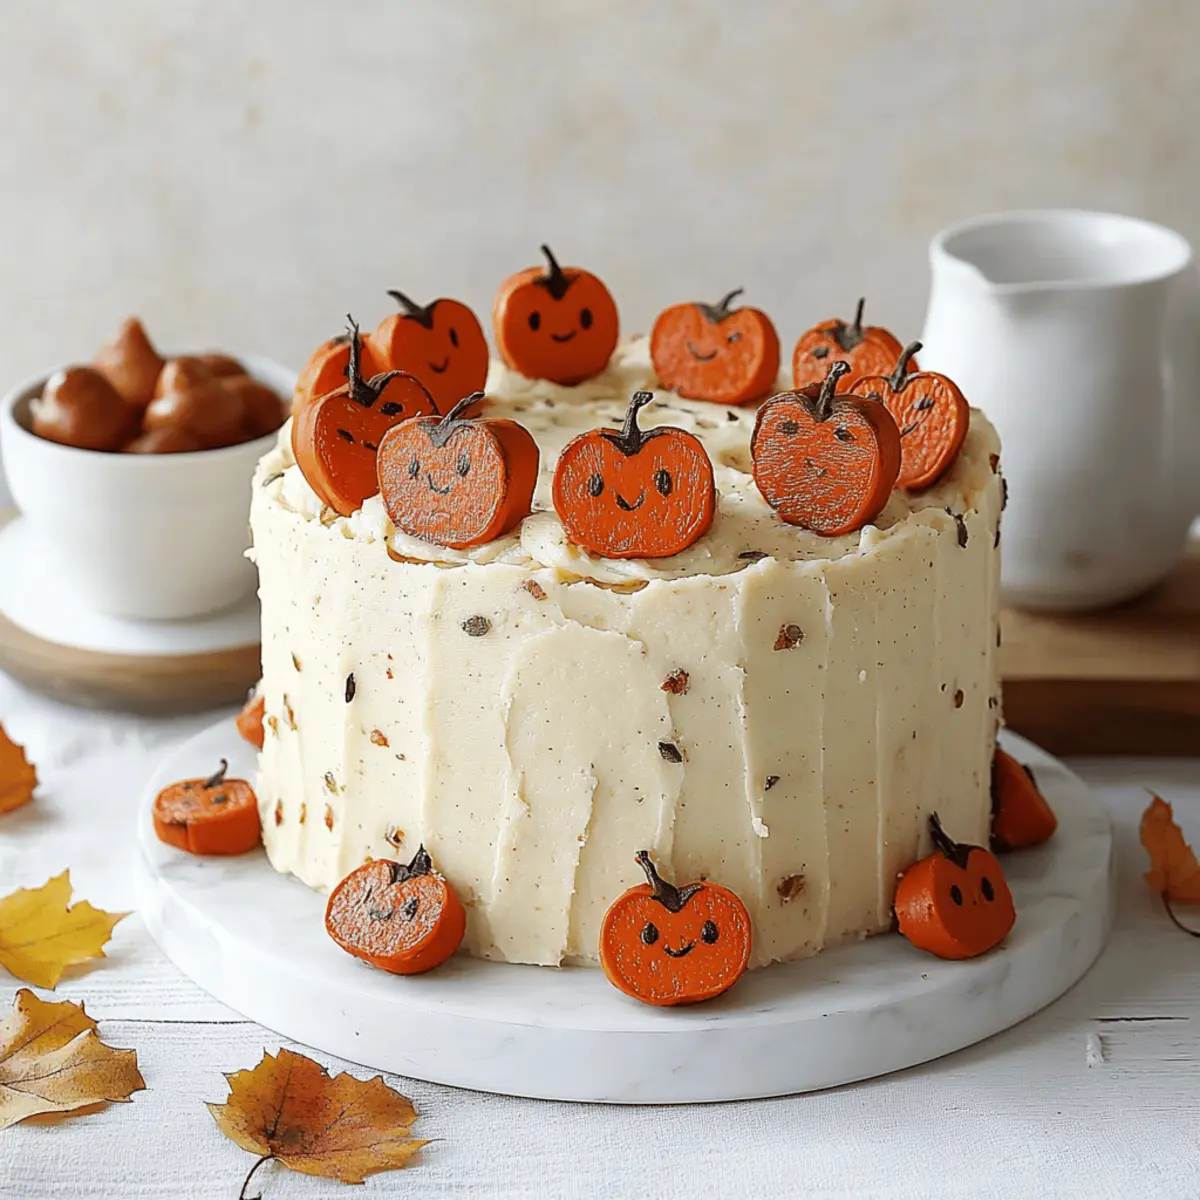
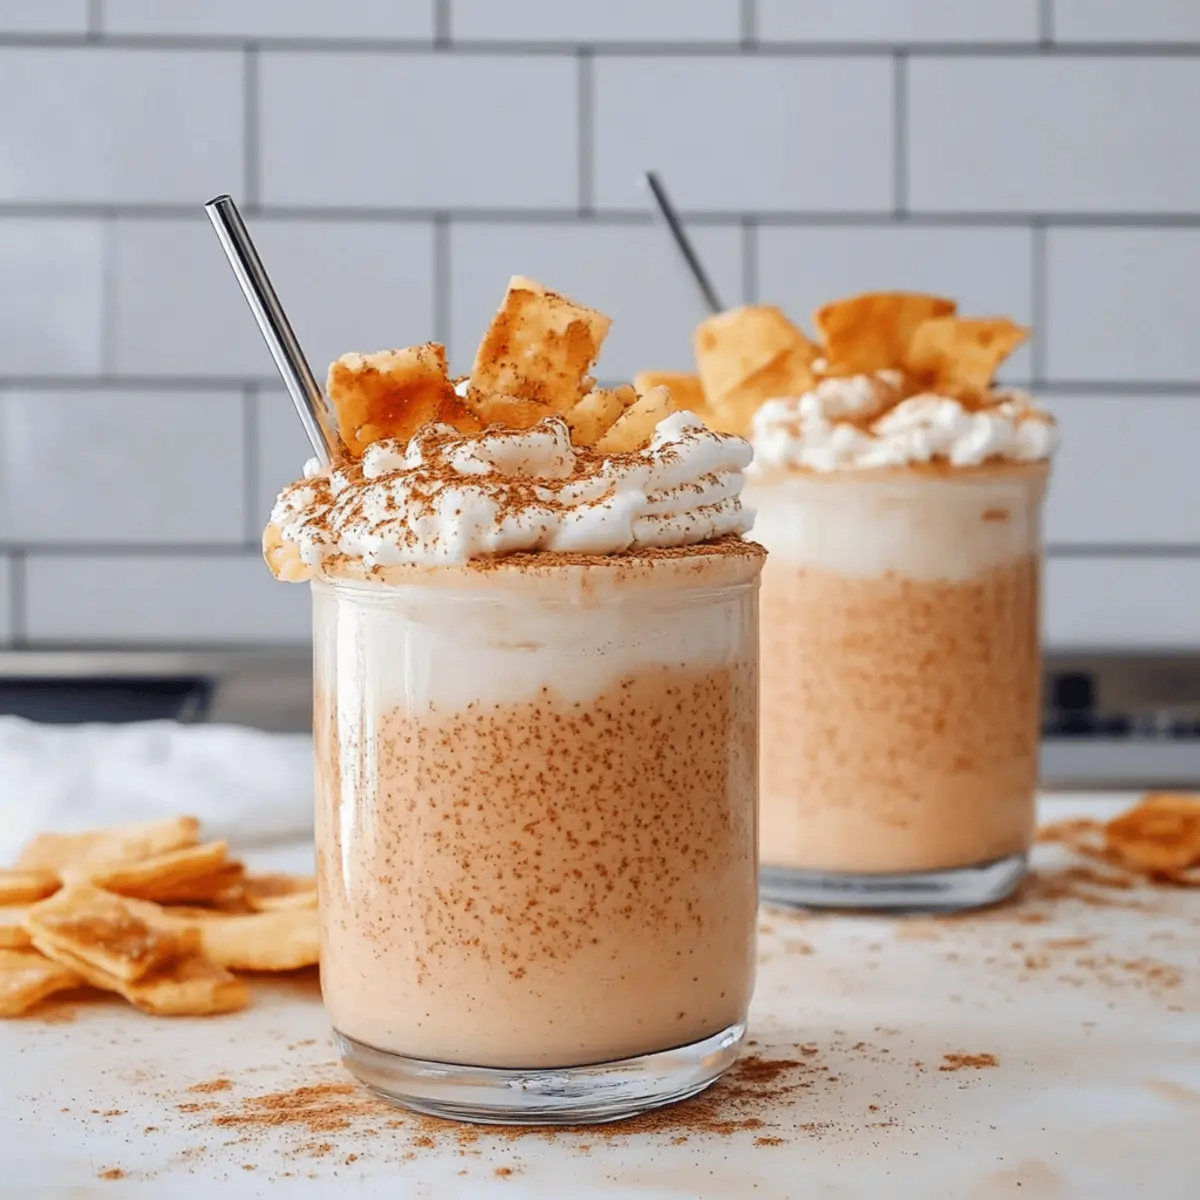
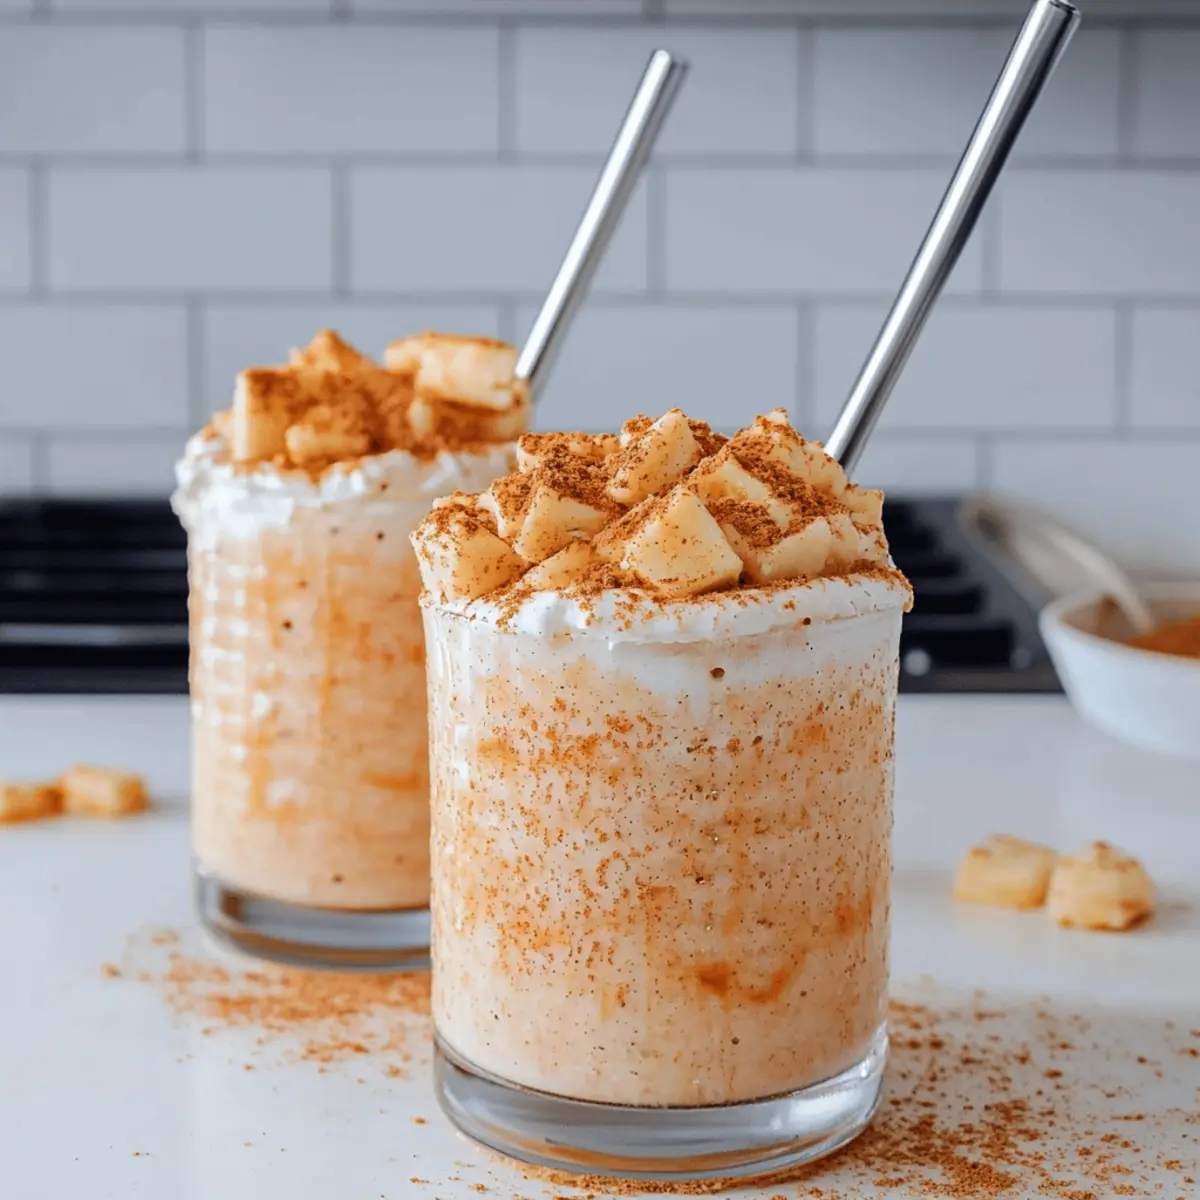
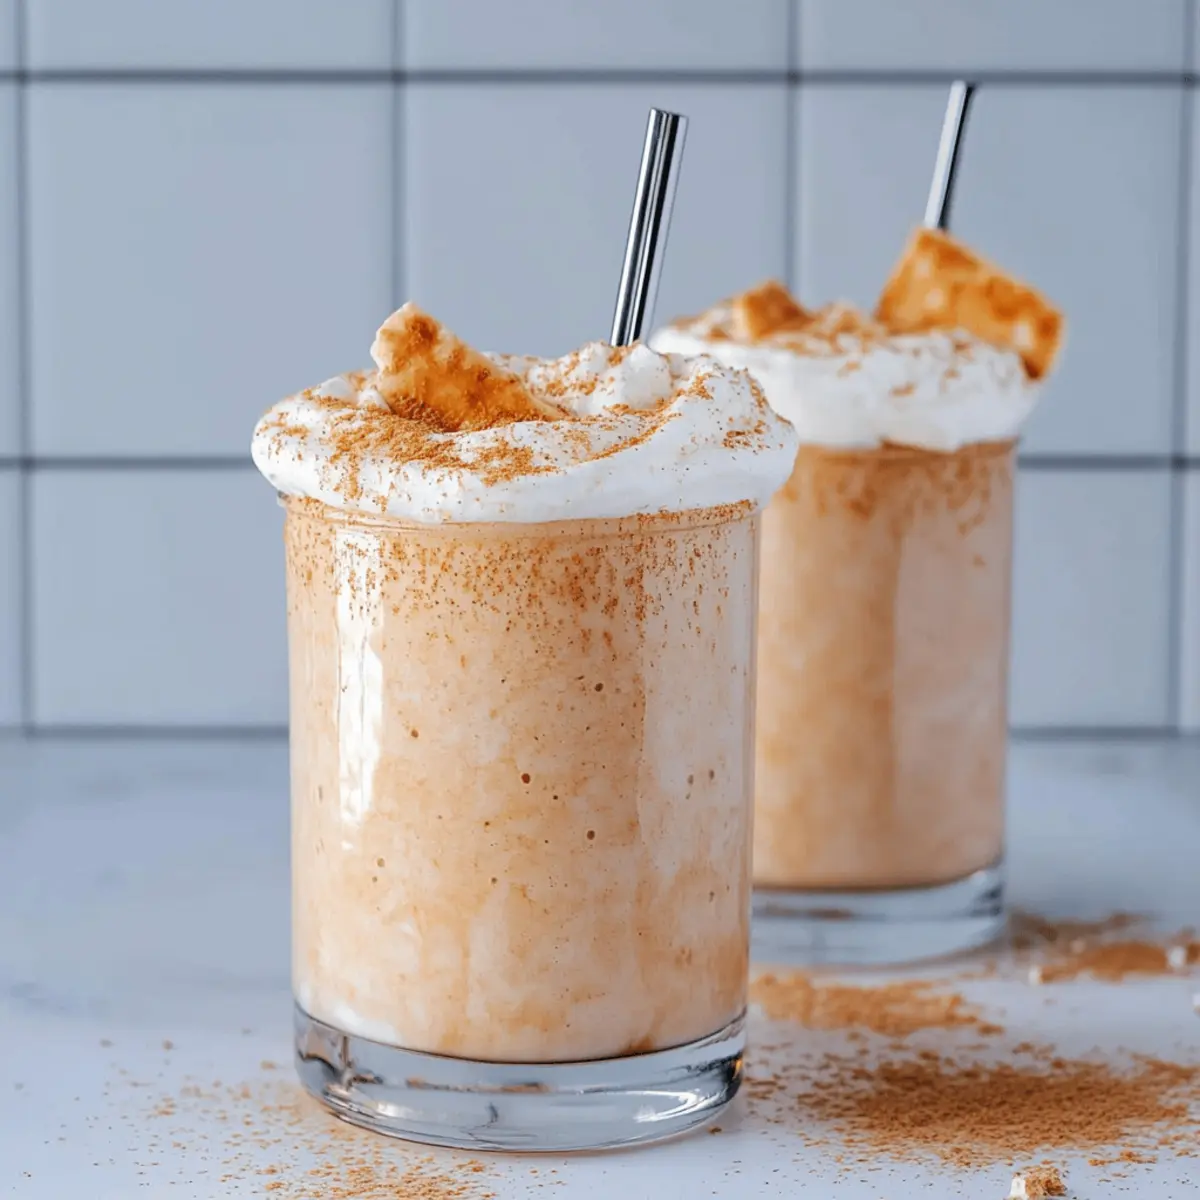
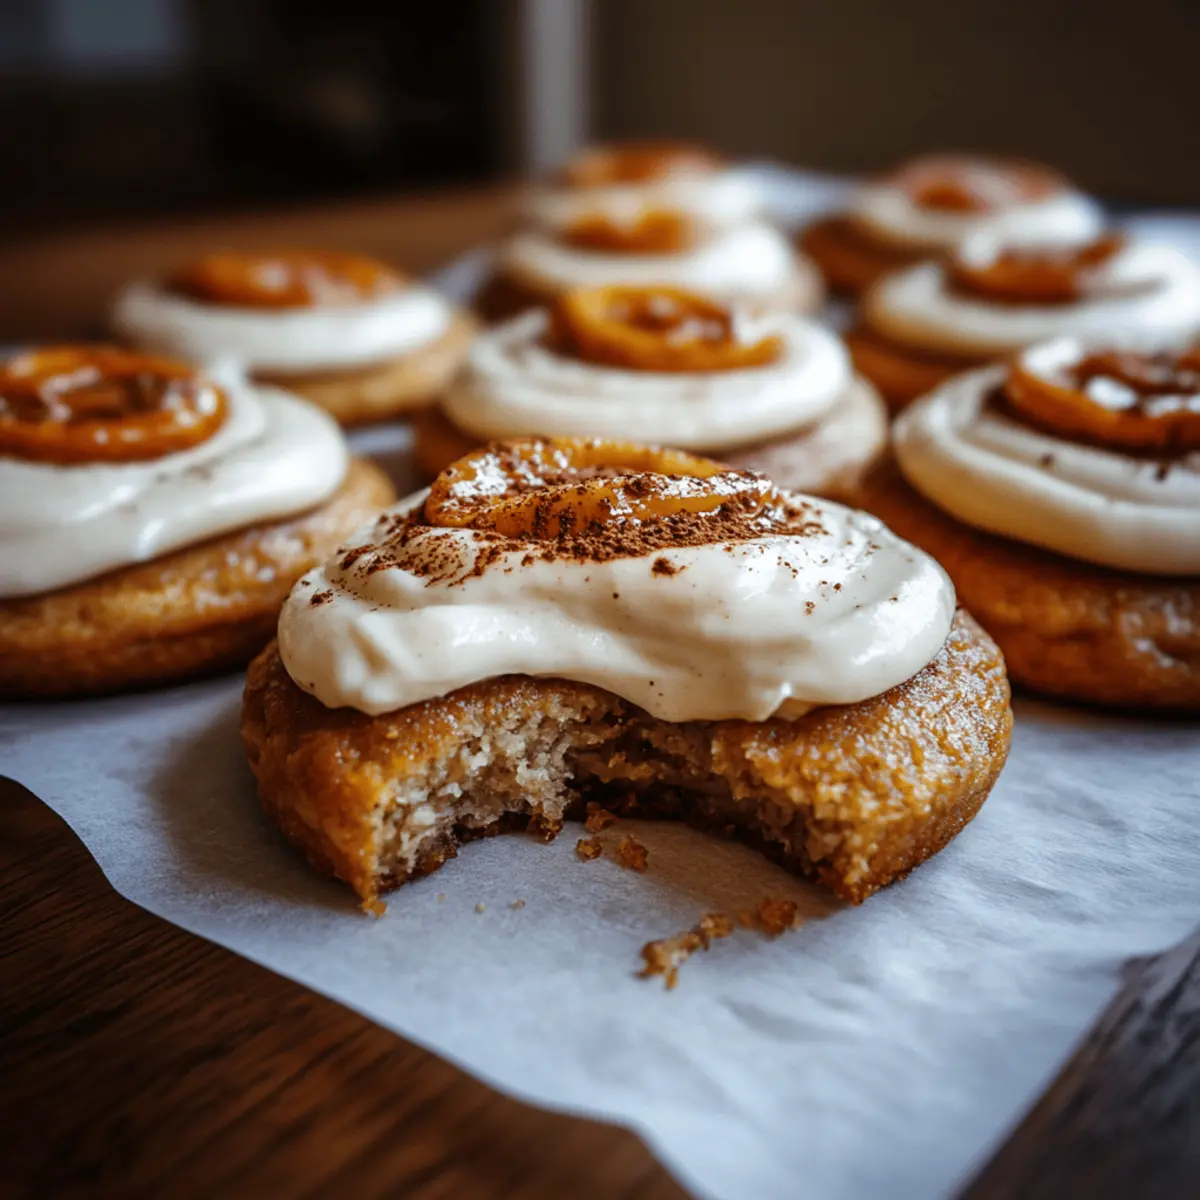
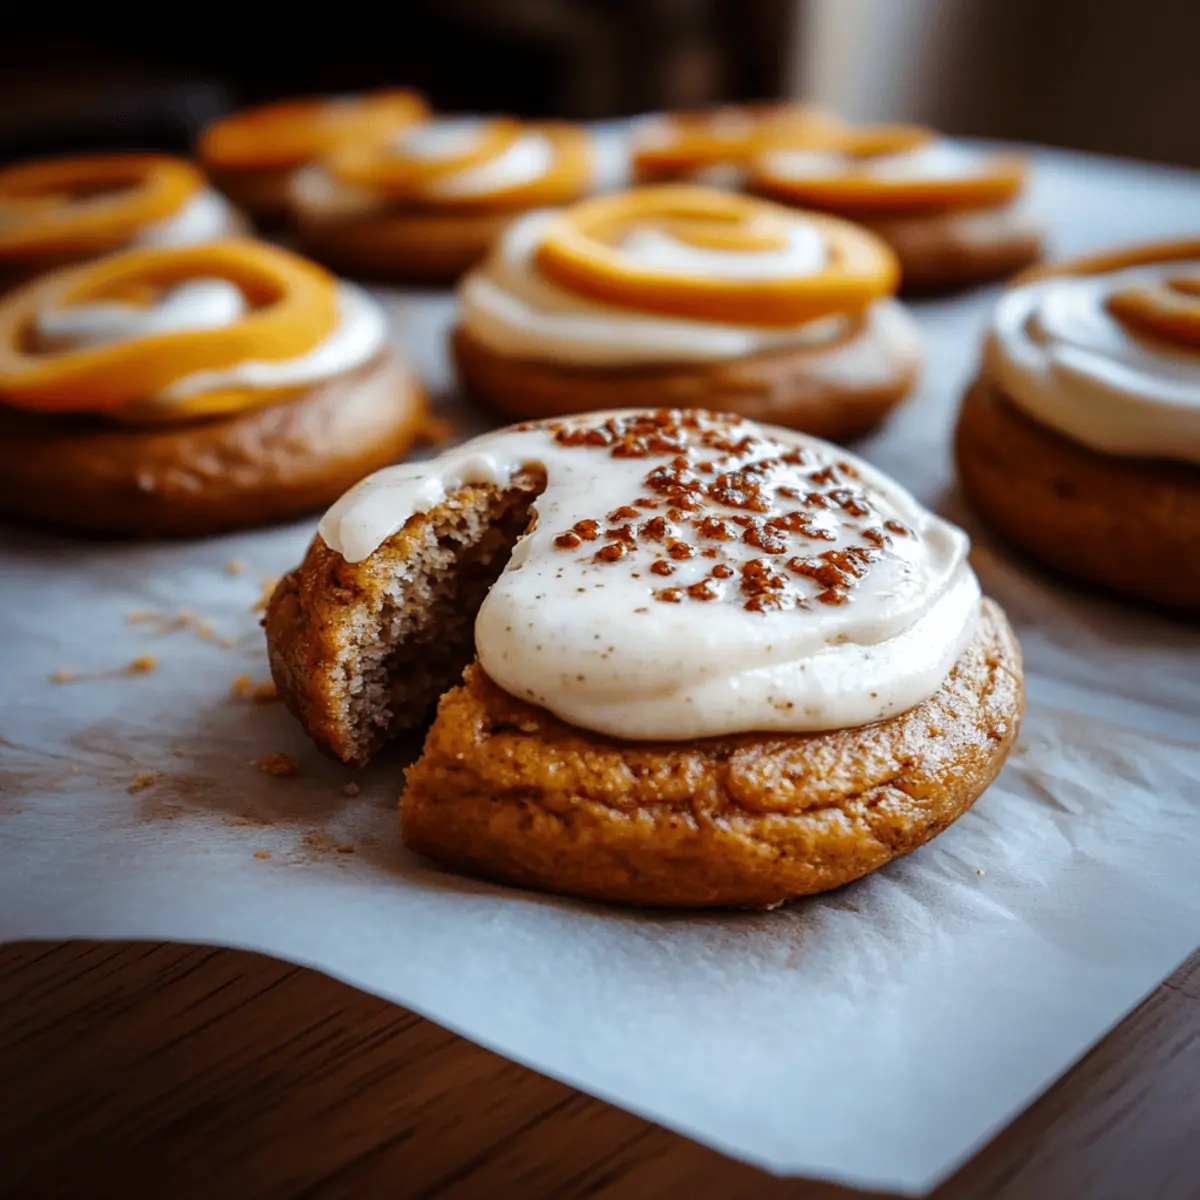
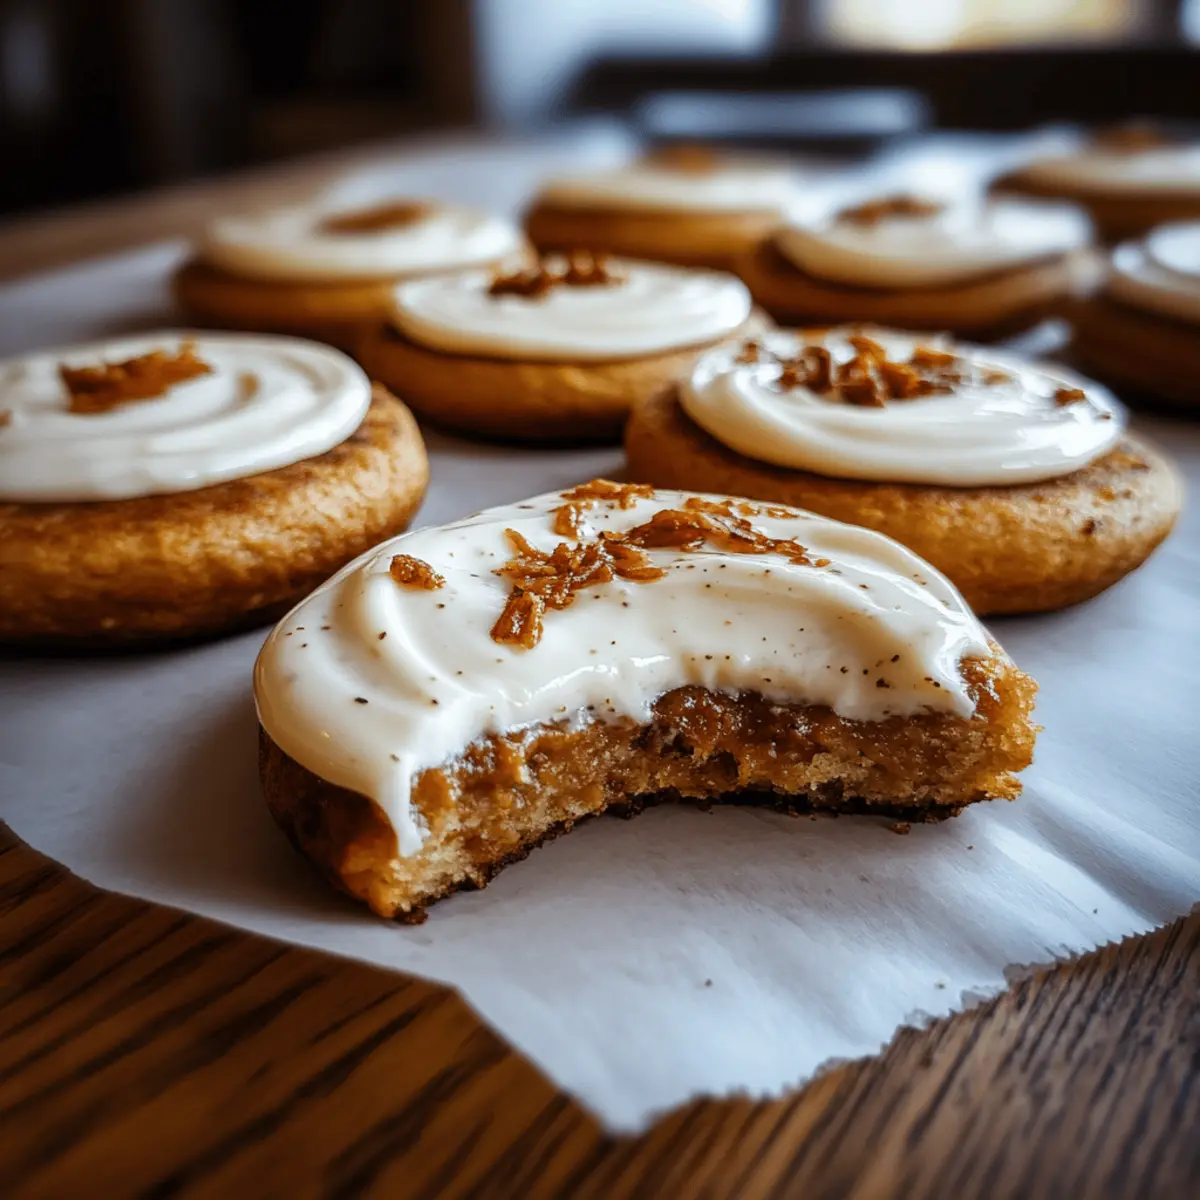
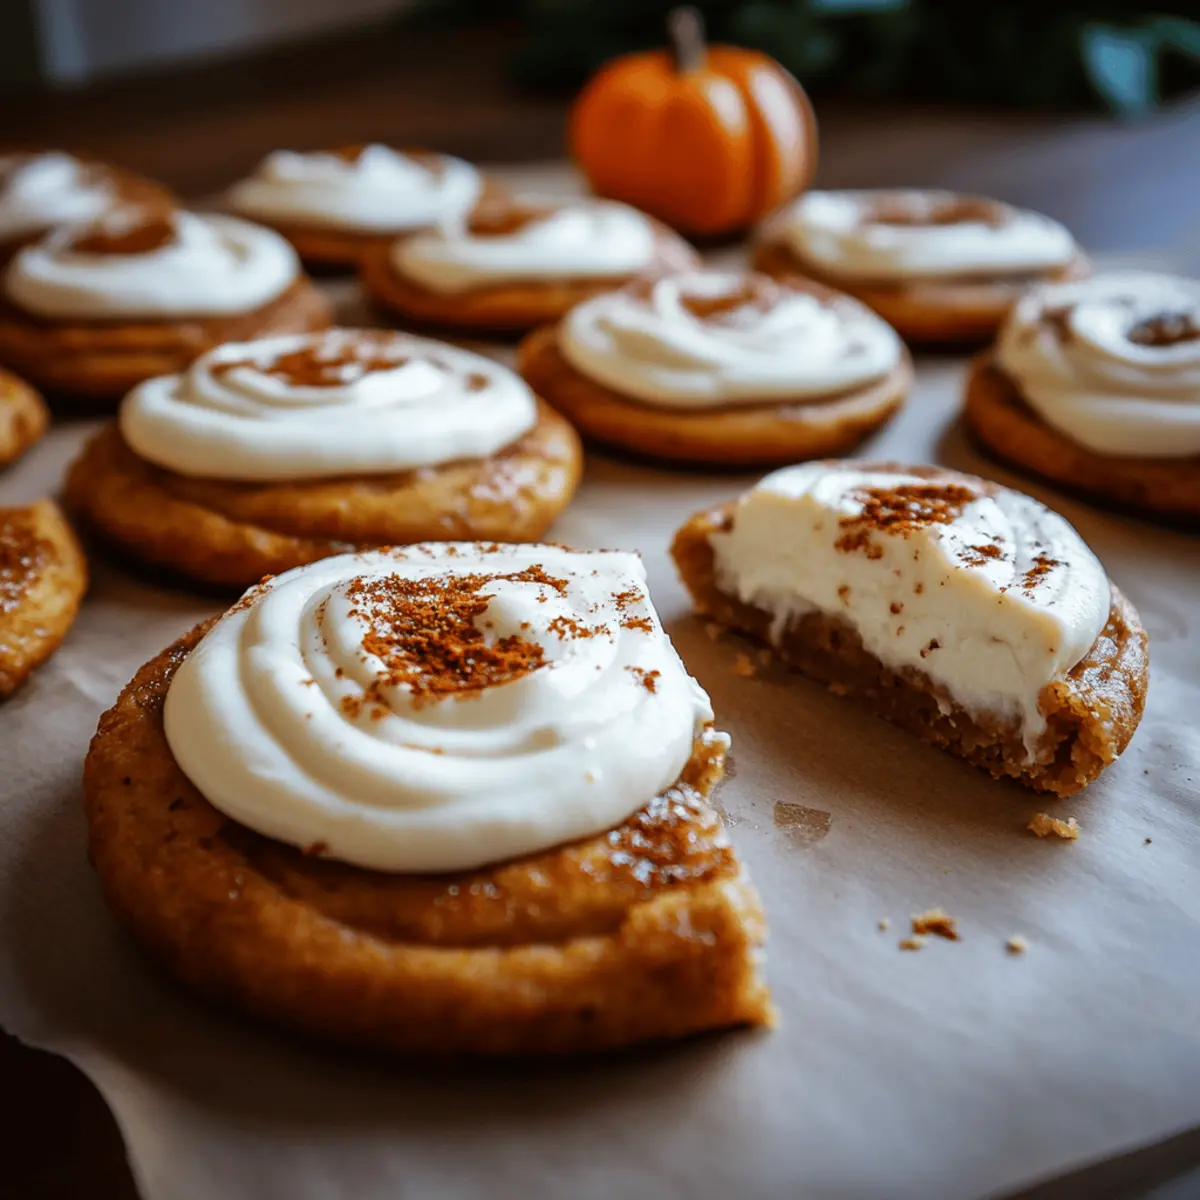
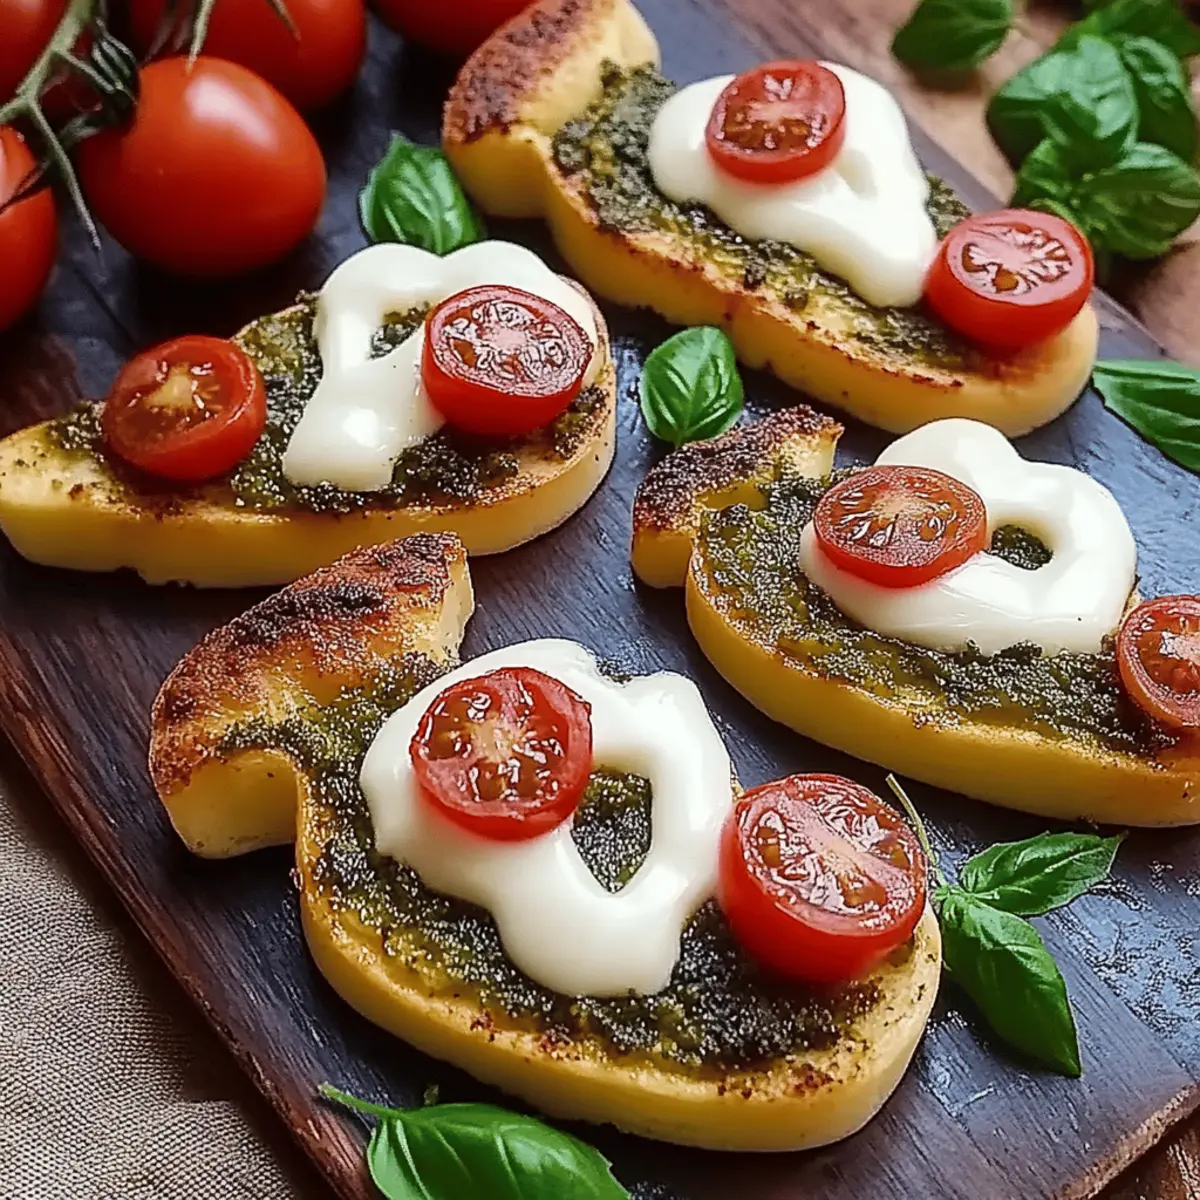
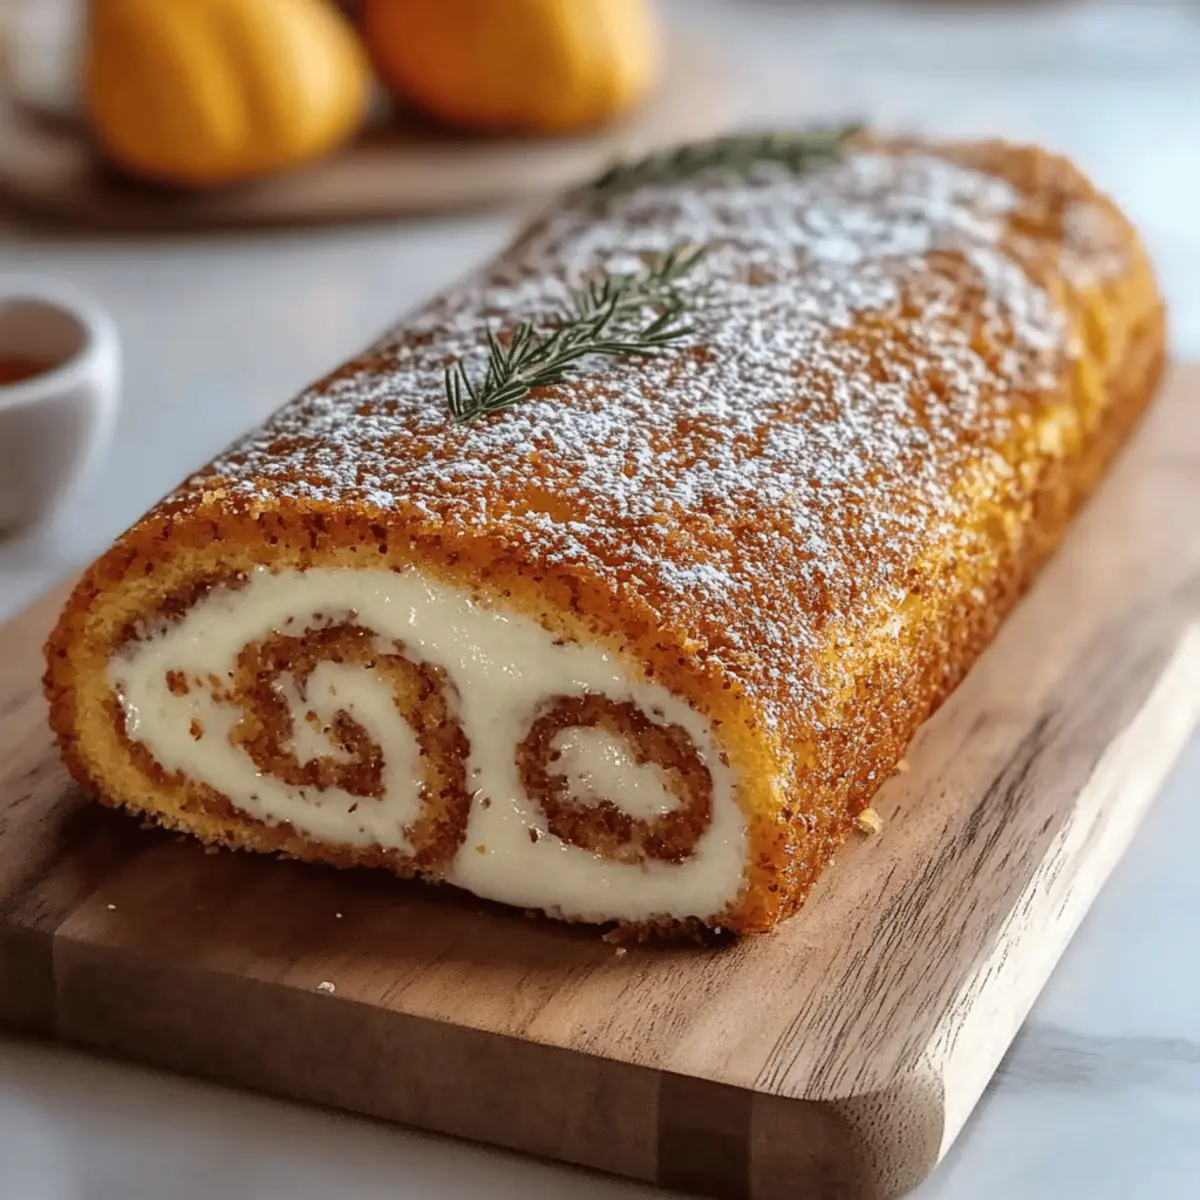
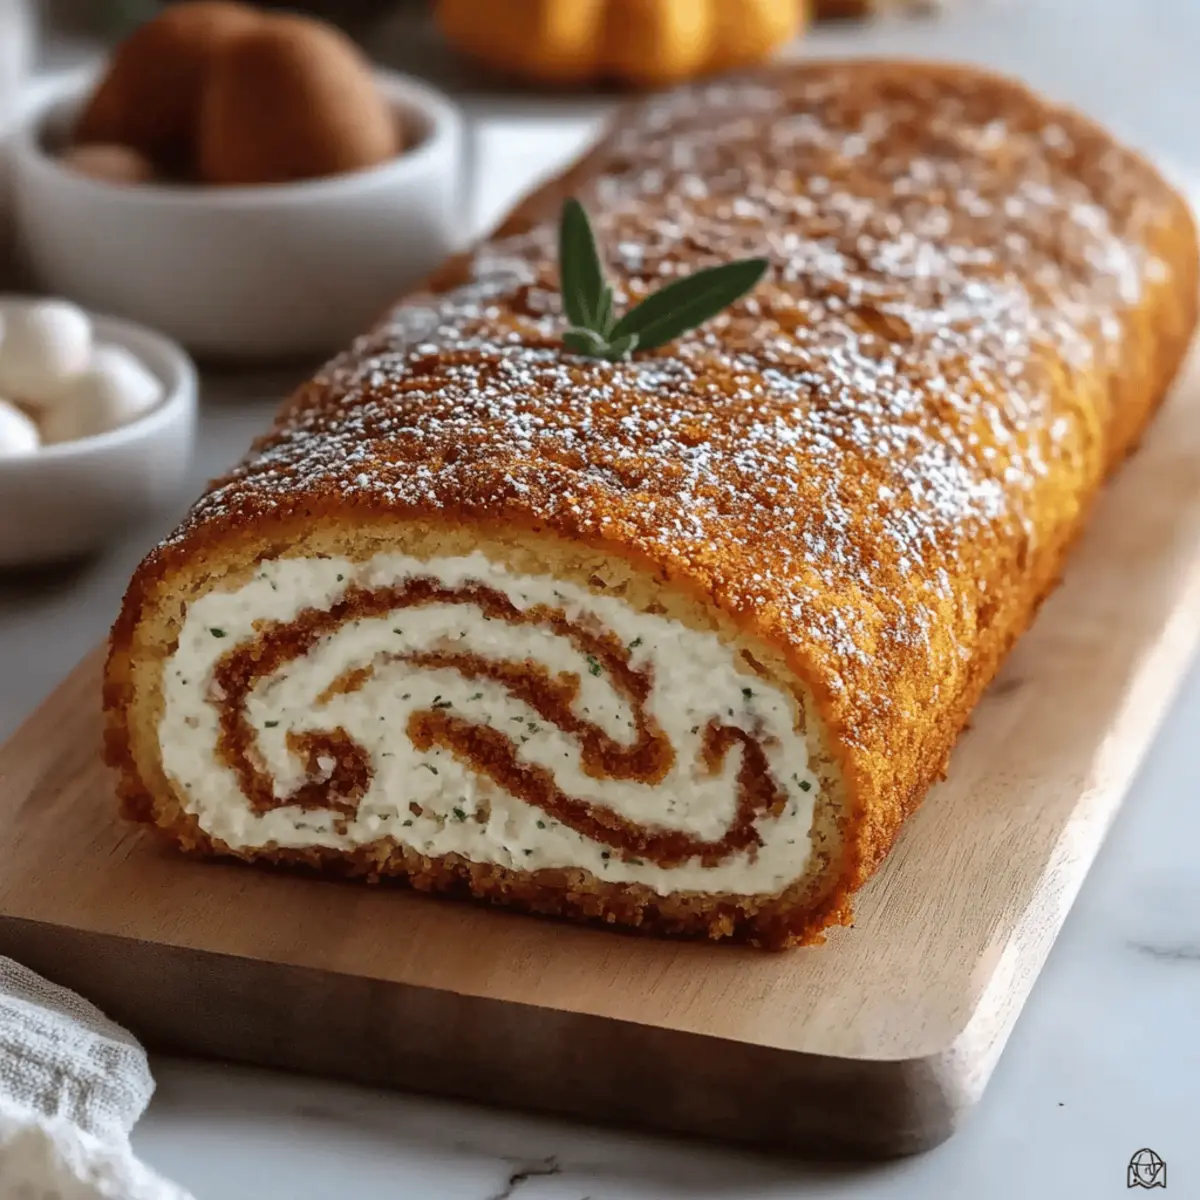
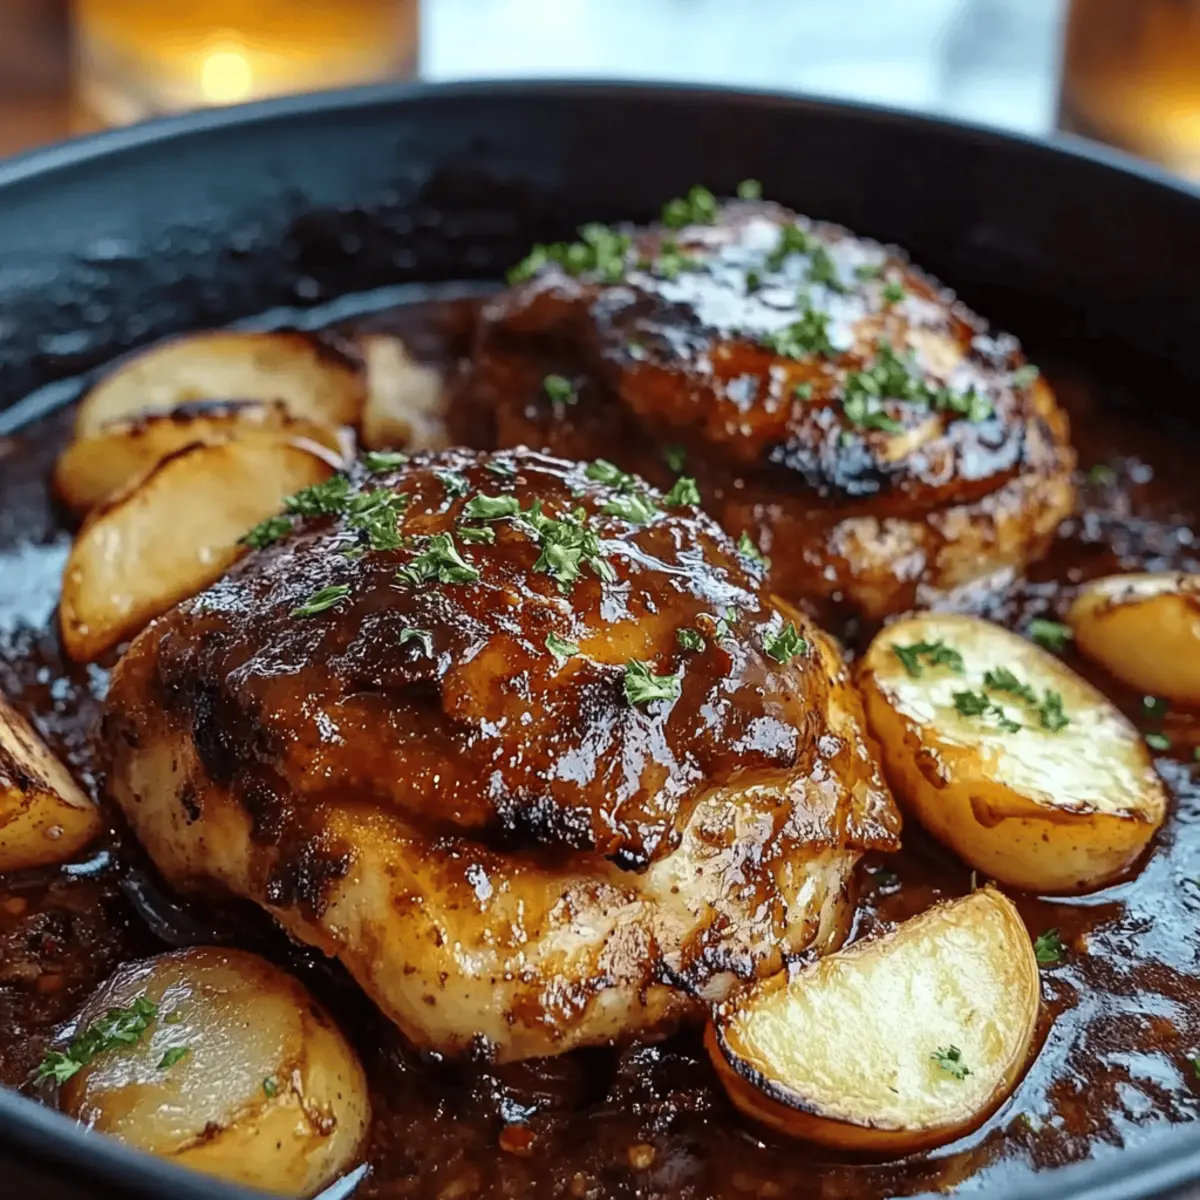
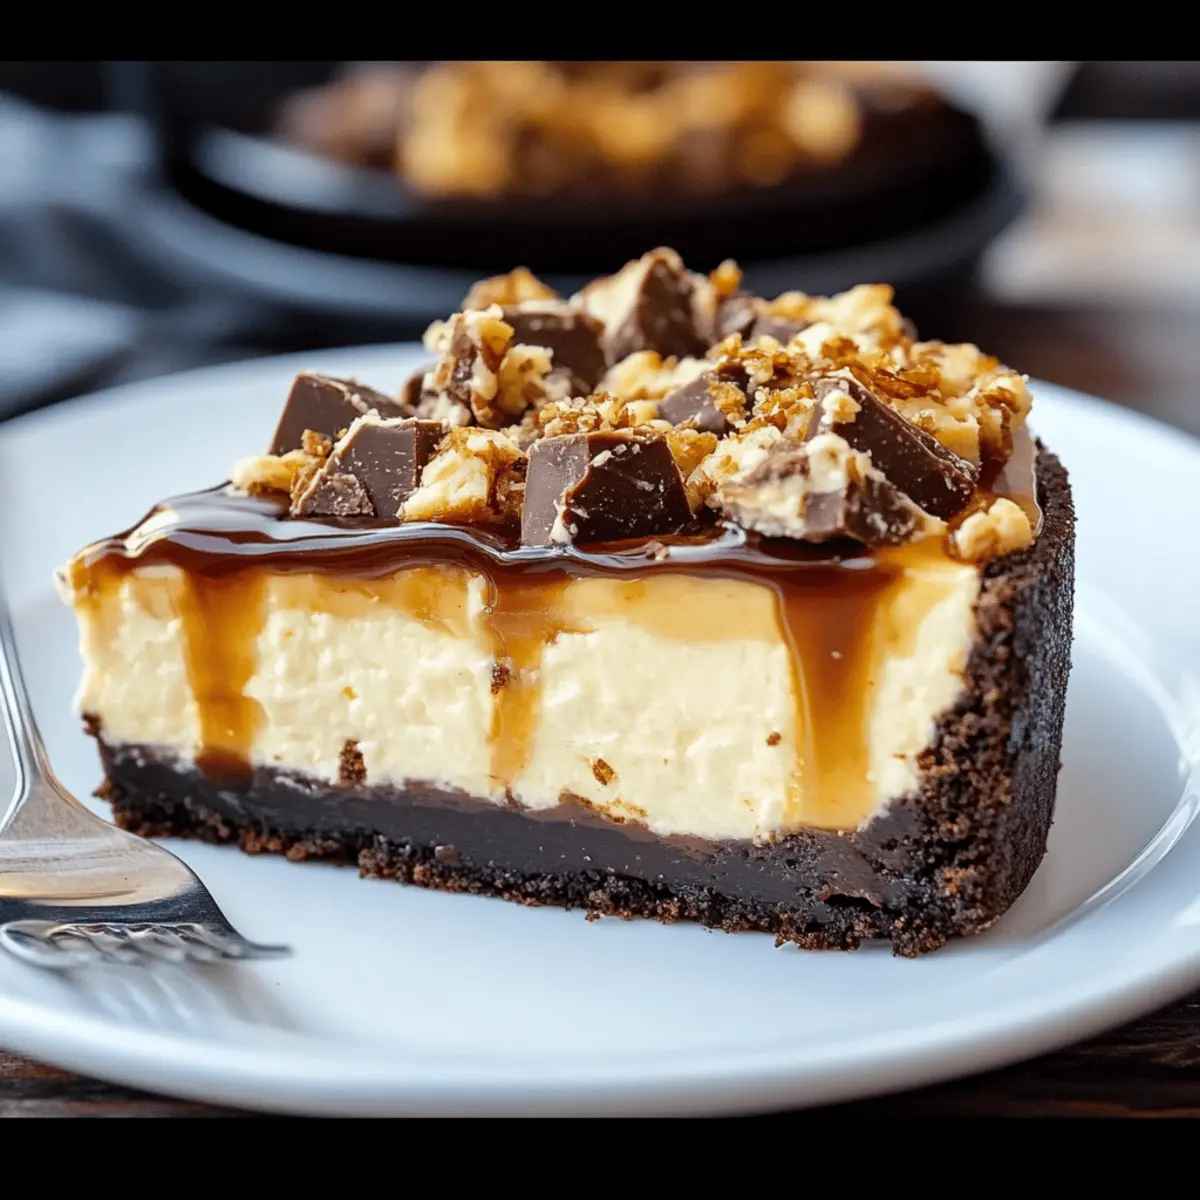
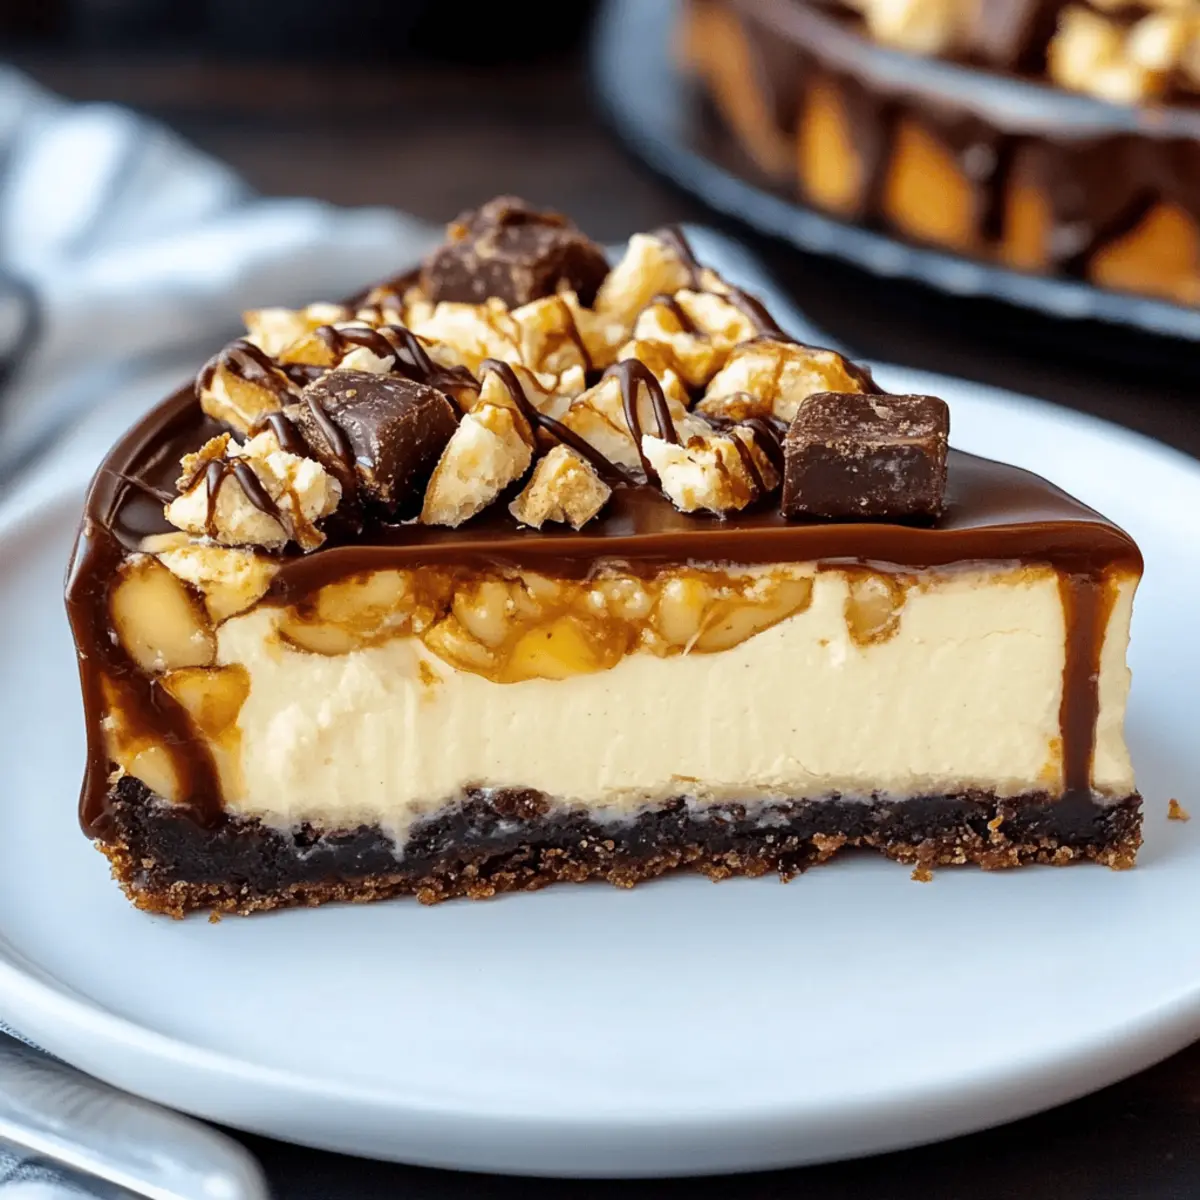
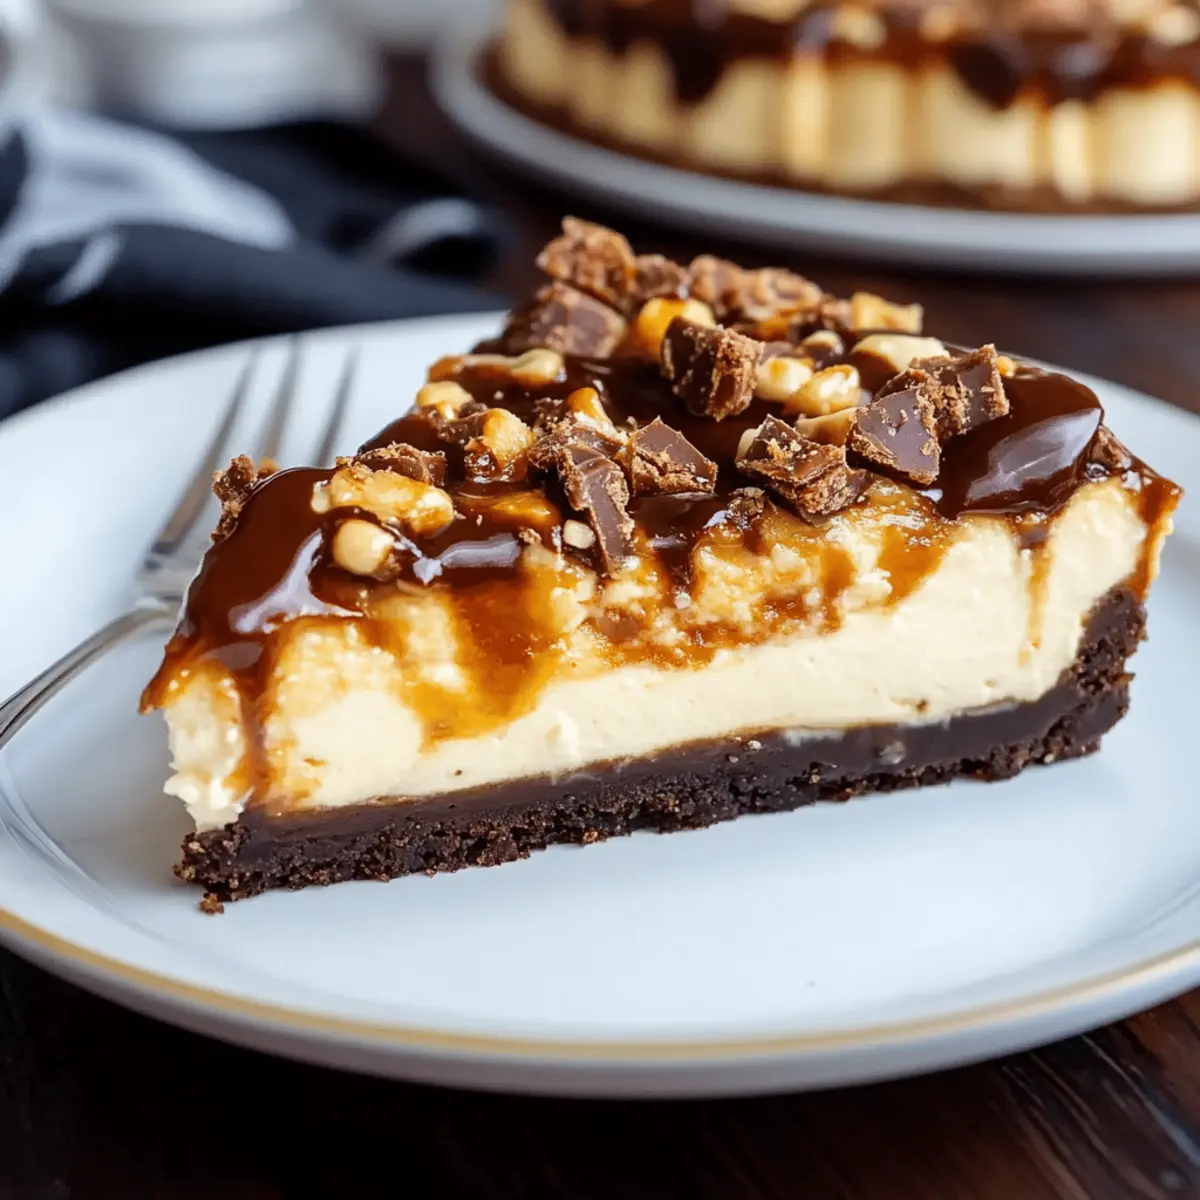
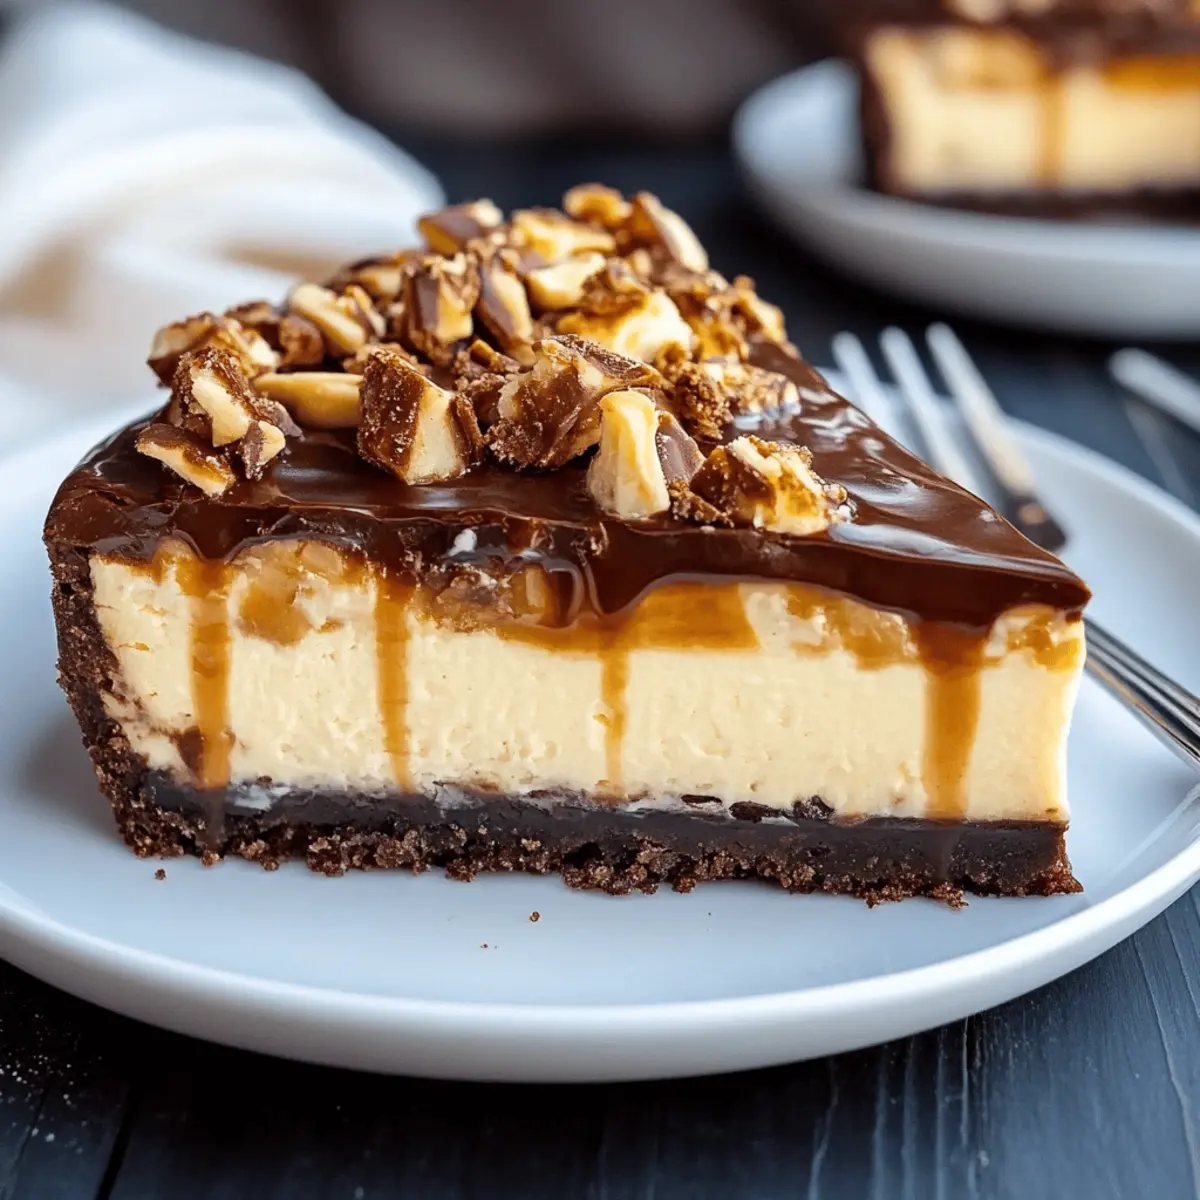
As I stood in my kitchen, the sweet scent of cinnamon and baked apples wafted through the air, instantly transporting me to autumn afternoons spent picking orchard-fresh produce. This irresistible recipe for Crumbl Caramel Apple Cookies captures the essence of that nostalgic moment, blending crunchy Granny Smith apples with creamy caramel in a delightfully chewy cookie. Not only are these treats quick to whip up—ready in just over half an hour—but they also boast a unique twist with a luscious cream cheese frosting that takes them from ordinary to extraordinary. Whether you're looking to impress family at a gathering or simply want a cozy dessert for a quiet evening at home, these cookies deliver both comfort and satisfaction. Ready to explore the deliciousness of fall right from your kitchen? Let’s dive into the recipe!
Why are these cookies fall's best treat?
Irresistible flavor: The delightful mix of fresh Granny Smith apples and caramel brings a taste of autumn right into your kitchen.
Quick and easy: Ready in just over half an hour, you can whip up these delicious cookies even on a busy day.
Unique twist: The luscious cream cheese frosting adds creaminess, elevating the dessert to a whole new level of indulgence.
Perfect for gatherings: Whether hosting friends or enjoying a cozy night in, these cookies are sure to impress. Try pairing them with a warm cup of apple cider for the ultimate experience!
Recipe-perfect: This quick recipe combines wholesome ingredients, making each bite not just delicious but also comforting—a perfect antidote to fast food fatigue.
Crumbl Caramel Apple Cookies Ingredients
• Get ready to bake the magic!
For the Cookie Base
• Unsalted butter – cold helps create a tender texture in the cookies.
• All-purpose flour – provides a sturdy base for your treats.
• White sugar – adds sweetness and helps with browning.
• Dark brown sugar – contributes moisture and a rich flavor.
• Large egg – binds the ingredients for a chewy cookie.
• Concentrated apple juice – enhances the apple flavor without extra moisture.
• Vanilla extract – brings warmth and depth to the cookies.
• Ground cinnamon – gives that cozy fall spice profile.
• Ground ginger – adds a subtle zing and enhances the cookie's warmth.
• Ground nutmeg – provides a lovely earthiness balancing the sweetness.
• Ground allspice – a little goes a long way in elevating flavors.
• Salt – balances sweetness and enhances the overall taste.
• Baking soda – helps with leavening for a soft, chewy cookie.
• Baking powder – ensures the cookies rise well during baking.
• Granny Smith apples – peeled and diced for a refreshing tartness that shines through.
For the Cream Cheese Frosting
• Cream cheese – softened for easy mixing and adds a tangy richness.
• Powdered sugar – sweetens the frosting and creates a smooth texture.
• Caramel sauce – infuses a delightful sweetness and pairs perfectly with apples.
• Vanilla extract (optional) – adds an extra layer of flavor.
For the Topping
• Additional caramel sauce – for drizzling on top, giving it a beautiful finish.
• Streusel – adds a crunchy texture which complements the chewy cookies.
With these Crumbl Caramel Apple Cookies ingredients in hand, you're all set to craft a cozy treat that will warm hearts and homes alike!
Step‑by‑Step Instructions for Crumbl Caramel Apple Cookies
Step 1: Preheat & Prepare
Start by preheating your oven to 350°F (175°C). While the oven warms, line a baking sheet with parchment paper to ensure your cookies bake evenly and won’t stick. This initial preparation sets the stage for delightful baking, promising a warm, cozy aroma that fills your kitchen.
Step 2: Create the Streusel Topping
In a medium skillet over medium heat, melt the cold butter. Stir in the flour, white sugar, ground cinnamon, and salt until small clumps form. Continue cooking and stirring frequently for about 5-7 minutes, until the streusel is golden brown and fragrant. Once ready, transfer the mixture to a plate to cool completely, allowing it to firm up slightly.
Step 3: Cream the Sugars and Butter
In a large mixing bowl, use a mixer on medium speed to cream together the softened butter, white sugar, and dark brown sugar for about 3-4 minutes until light and fluffy. Next, beat in the egg, concentrated apple juice, and vanilla extract, mixing just until combined. This rich mixture forms the base of your Crumbl Caramel Apple Cookies.
Step 4: Combine Dry Ingredients
In a separate bowl, whisk together the flour, ground cinnamon, ground ginger, nutmeg, allspice, salt, baking soda, and baking powder. Mixing these dry ingredients ensures an even distribution of flavors and leavening agents, which is essential for achieving the perfect texture in your cookies.
Step 5: Mix Wet and Dry Ingredients
Gradually add the dry ingredients to the wet mixture, stirring gently just until the flour disappears. Be careful not to overmix, as this can lead to tough cookies. Once combined, fold in the diced Granny Smith apples, allowing their tartness to enhance the overall flavor of your Crumbl Caramel Apple Cookies.
Step 6: Scoop the Cookie Dough
Using a large cookie scoop, portion out 9 equally sized dough balls and place them spaced out on the prepared baking sheet. This spacing is crucial for even baking and allows the cookies to spread perfectly as they cook. The visual cue here will be the lovely mound of dough awaiting the oven’s warmth.
Step 7: Bake the Cookies
Place the baking sheet in your preheated oven and bake the cookies for approximately 12 minutes, or until the edges are lightly golden and set. Keep an eye on them; they should have a soft center and a caramelized look that signals they’re perfectly baked. Once done, allow them to cool completely on the sheet.
Step 8: Prepare the Cream Cheese Frosting
In a medium bowl, beat together the softened cream cheese and remaining butter until smooth. Gradually mix in the powdered sugar and caramel sauce, then add the vanilla extract, whipping until fluffy. This decadent frosting will add a creamy finish to your Crumbl Caramel Apple Cookies that is simply irresistible.
Step 9: Frost the Cookies
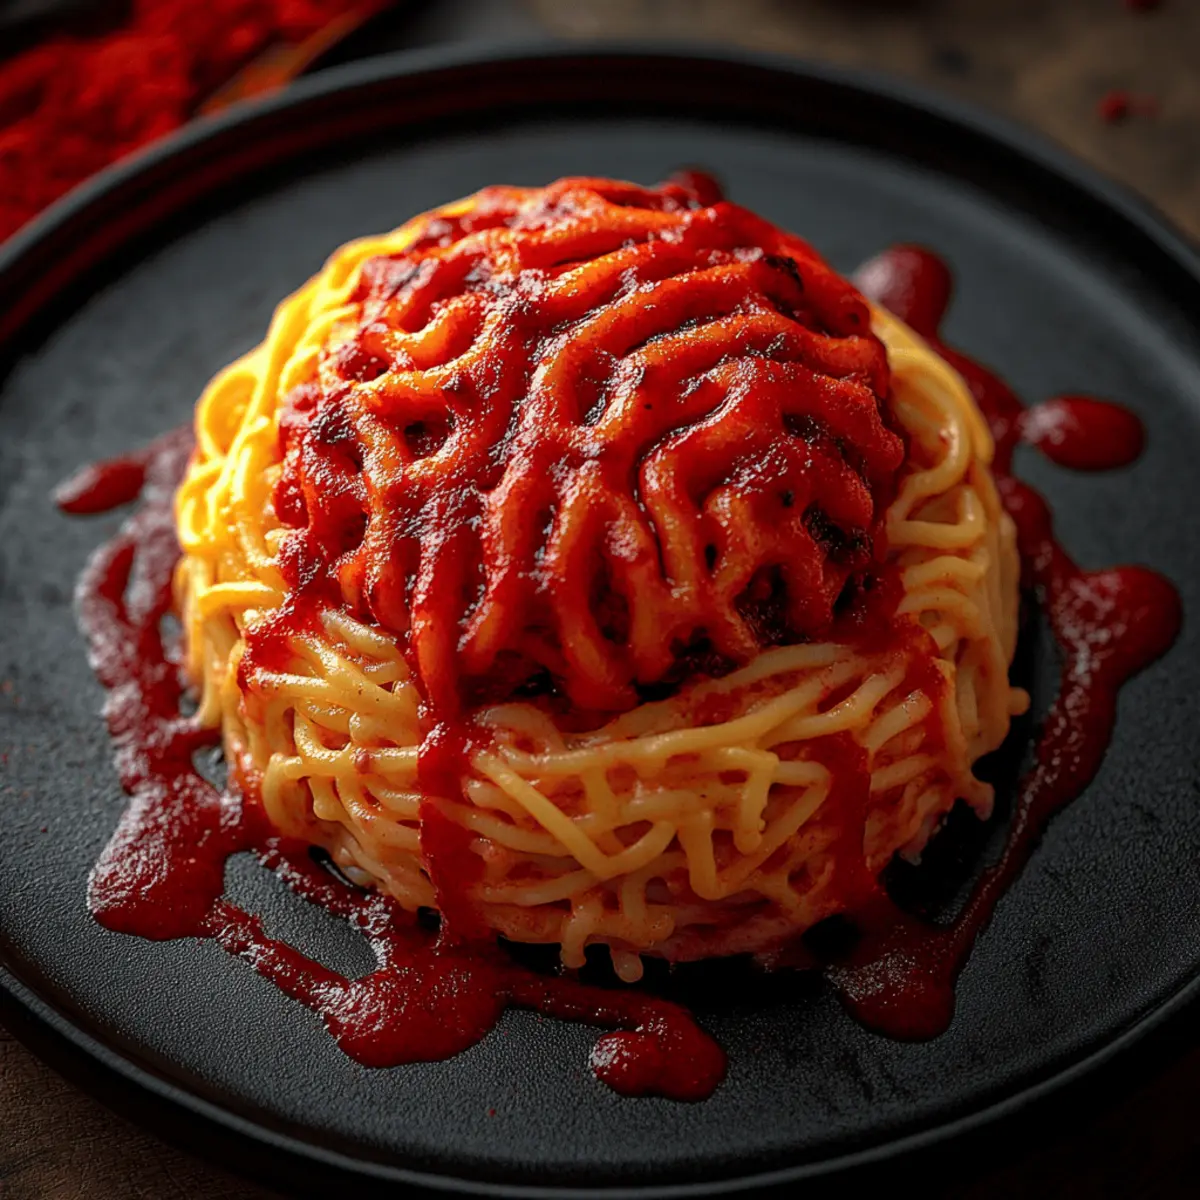
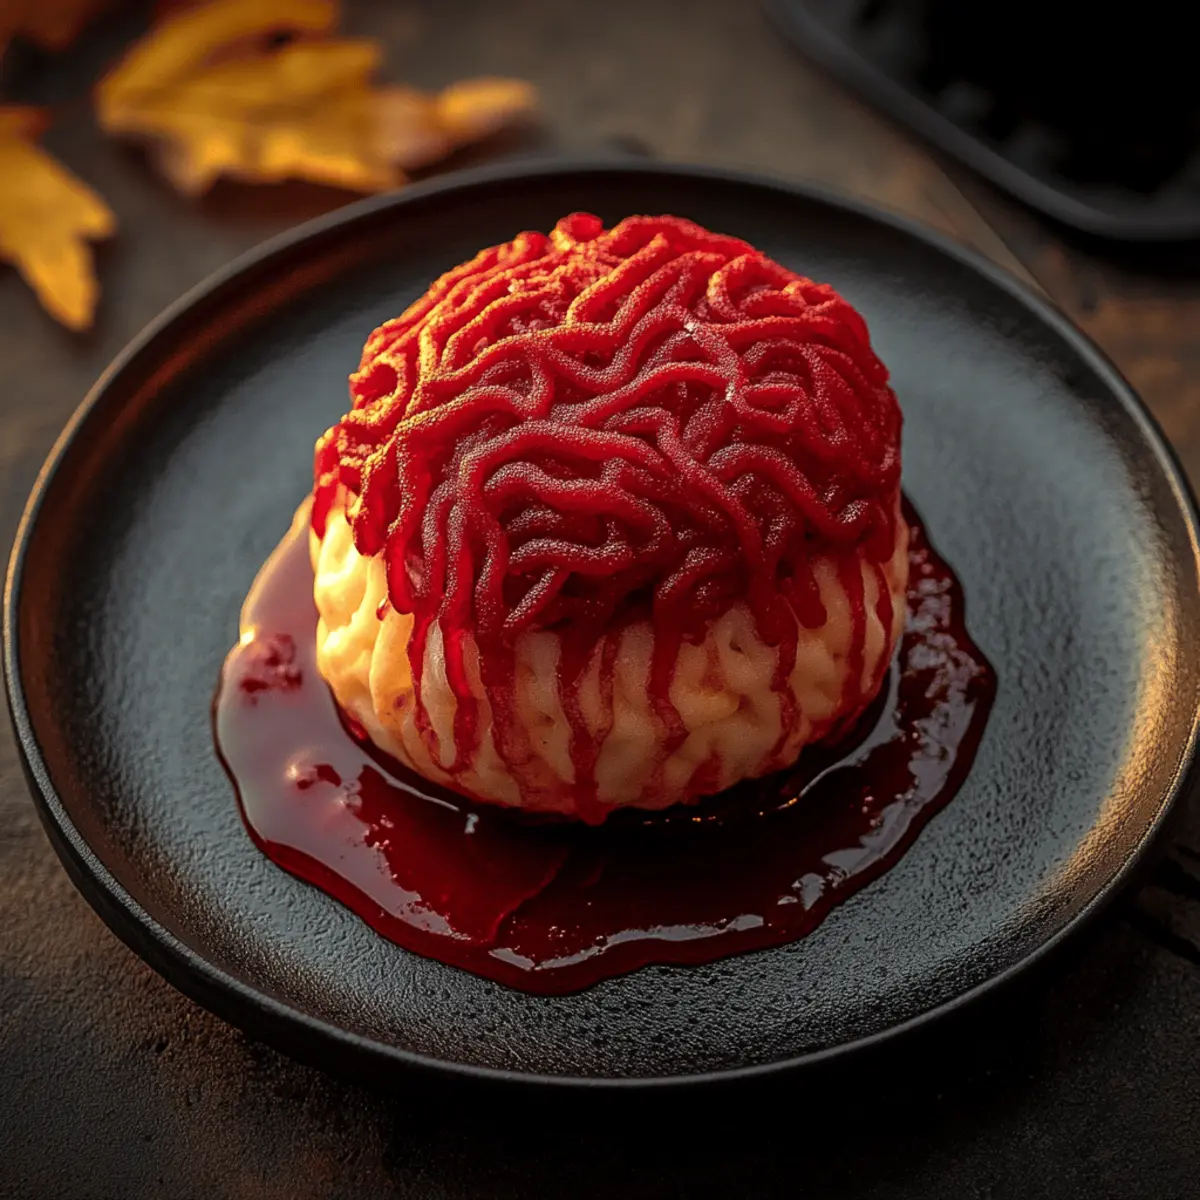
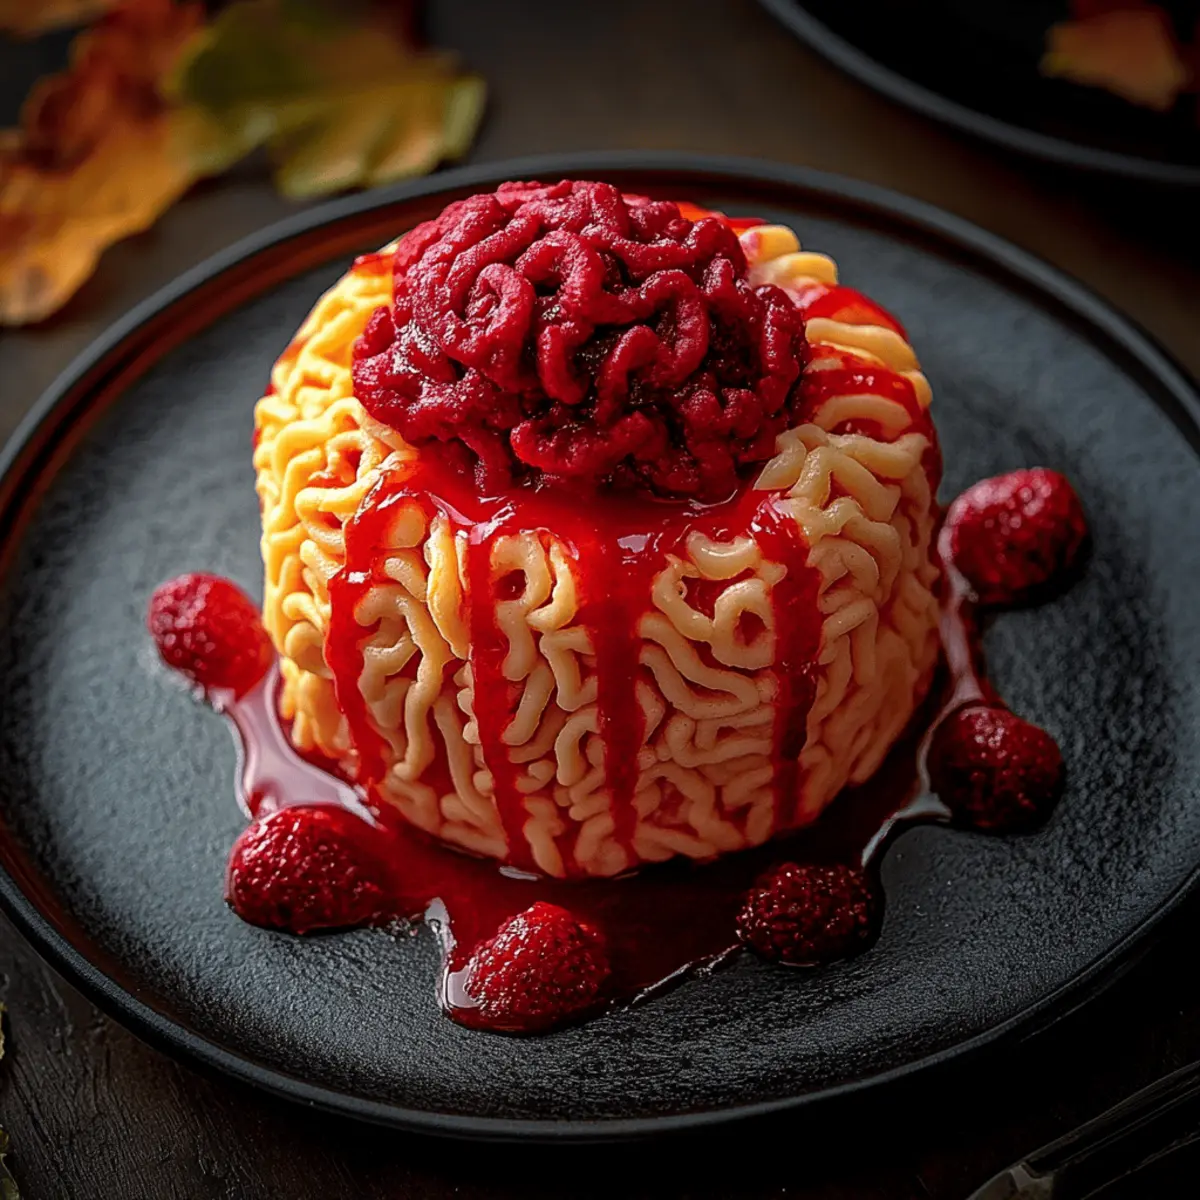
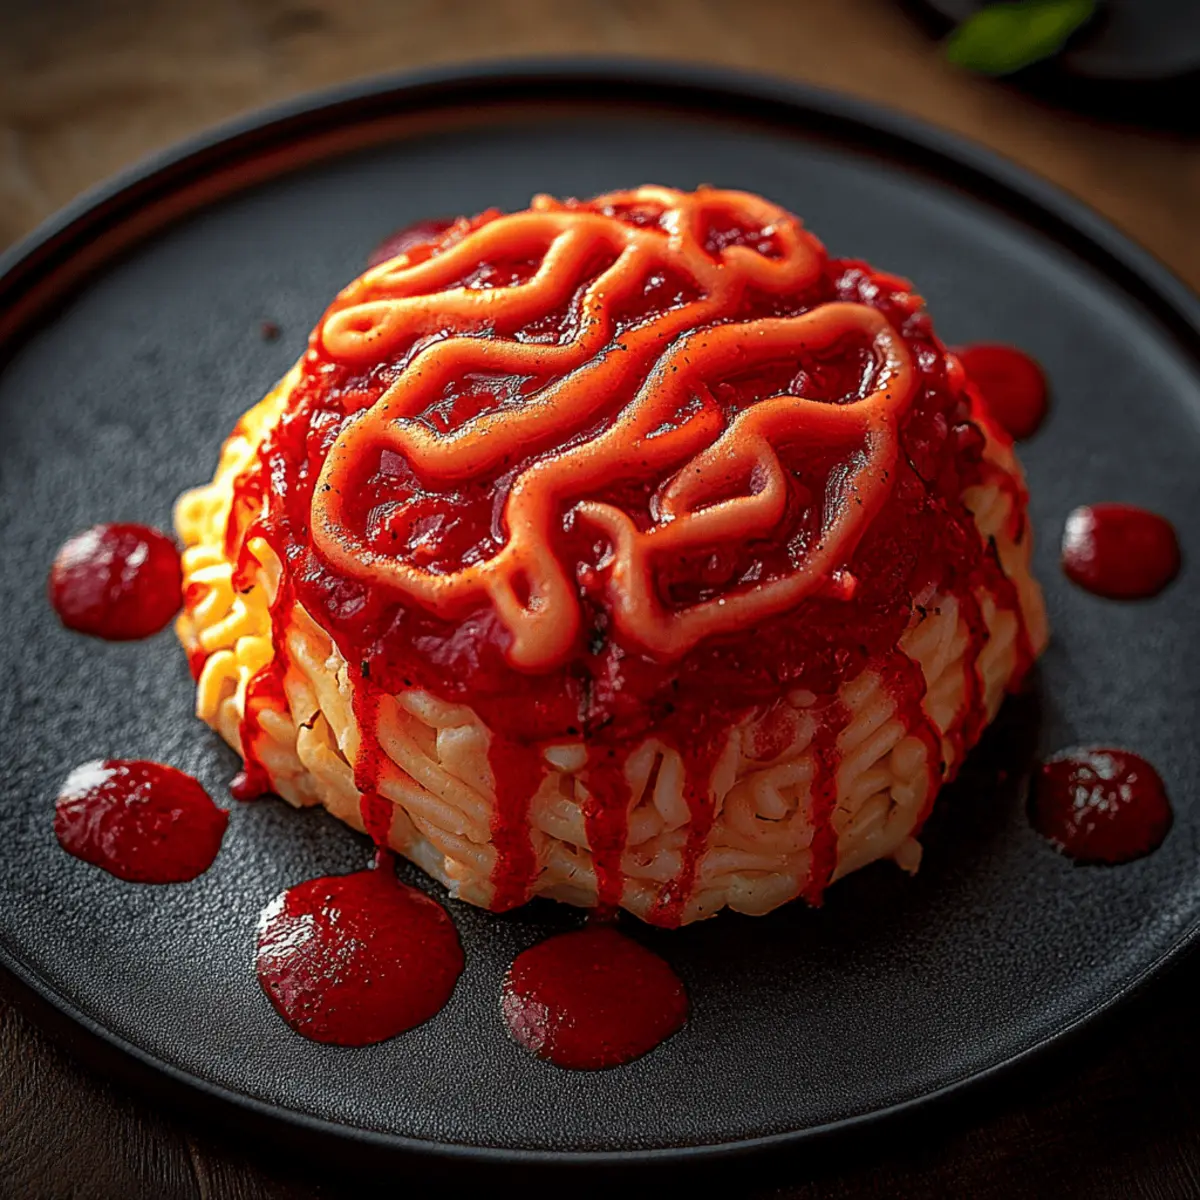
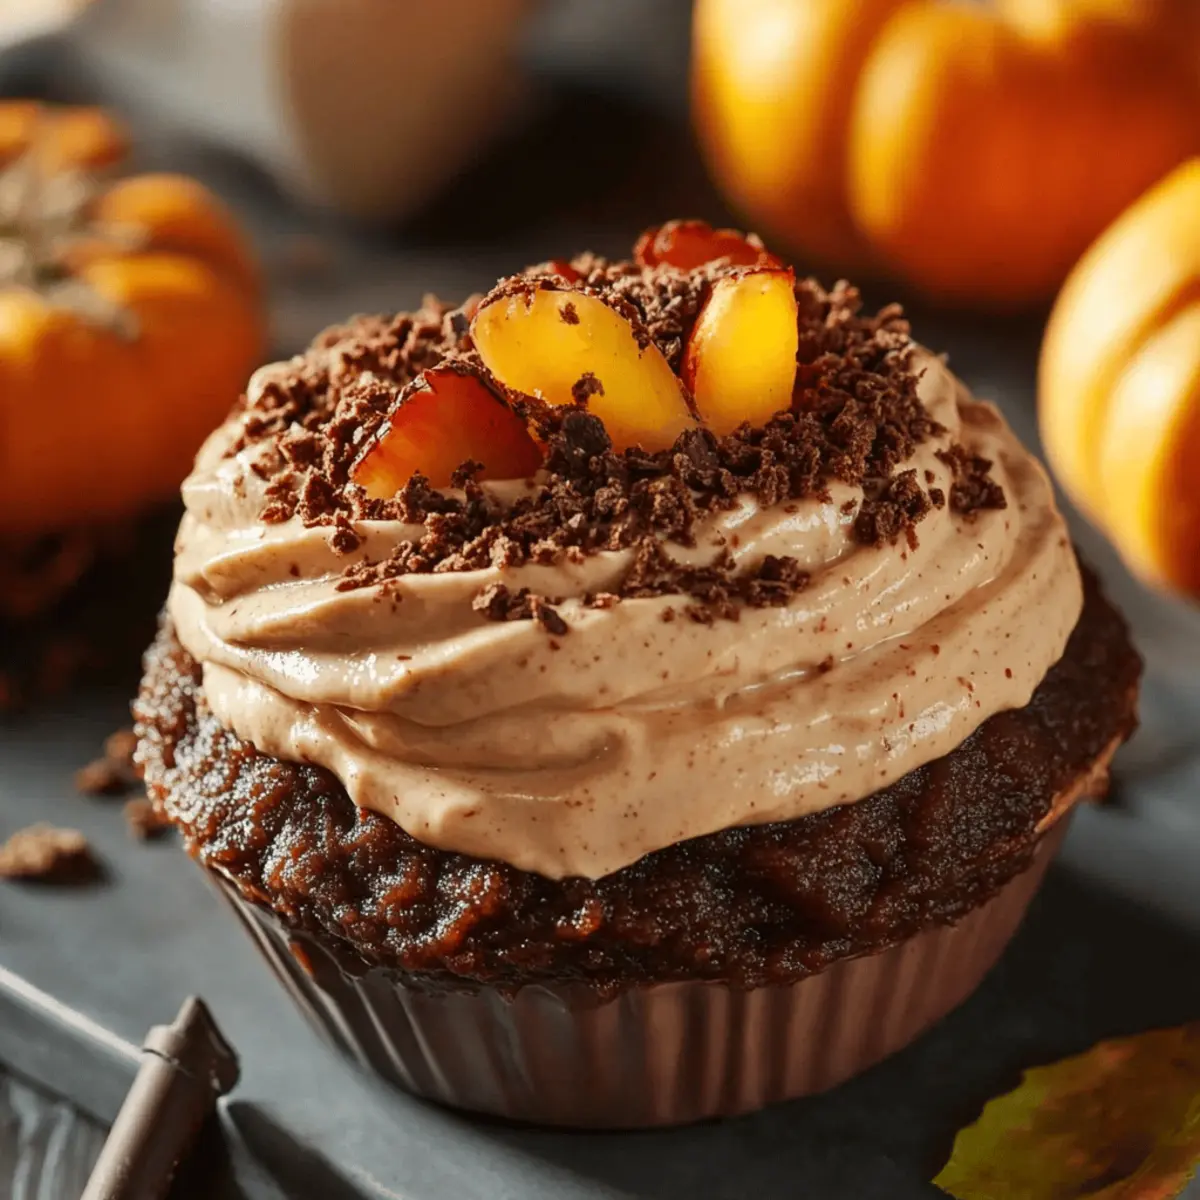
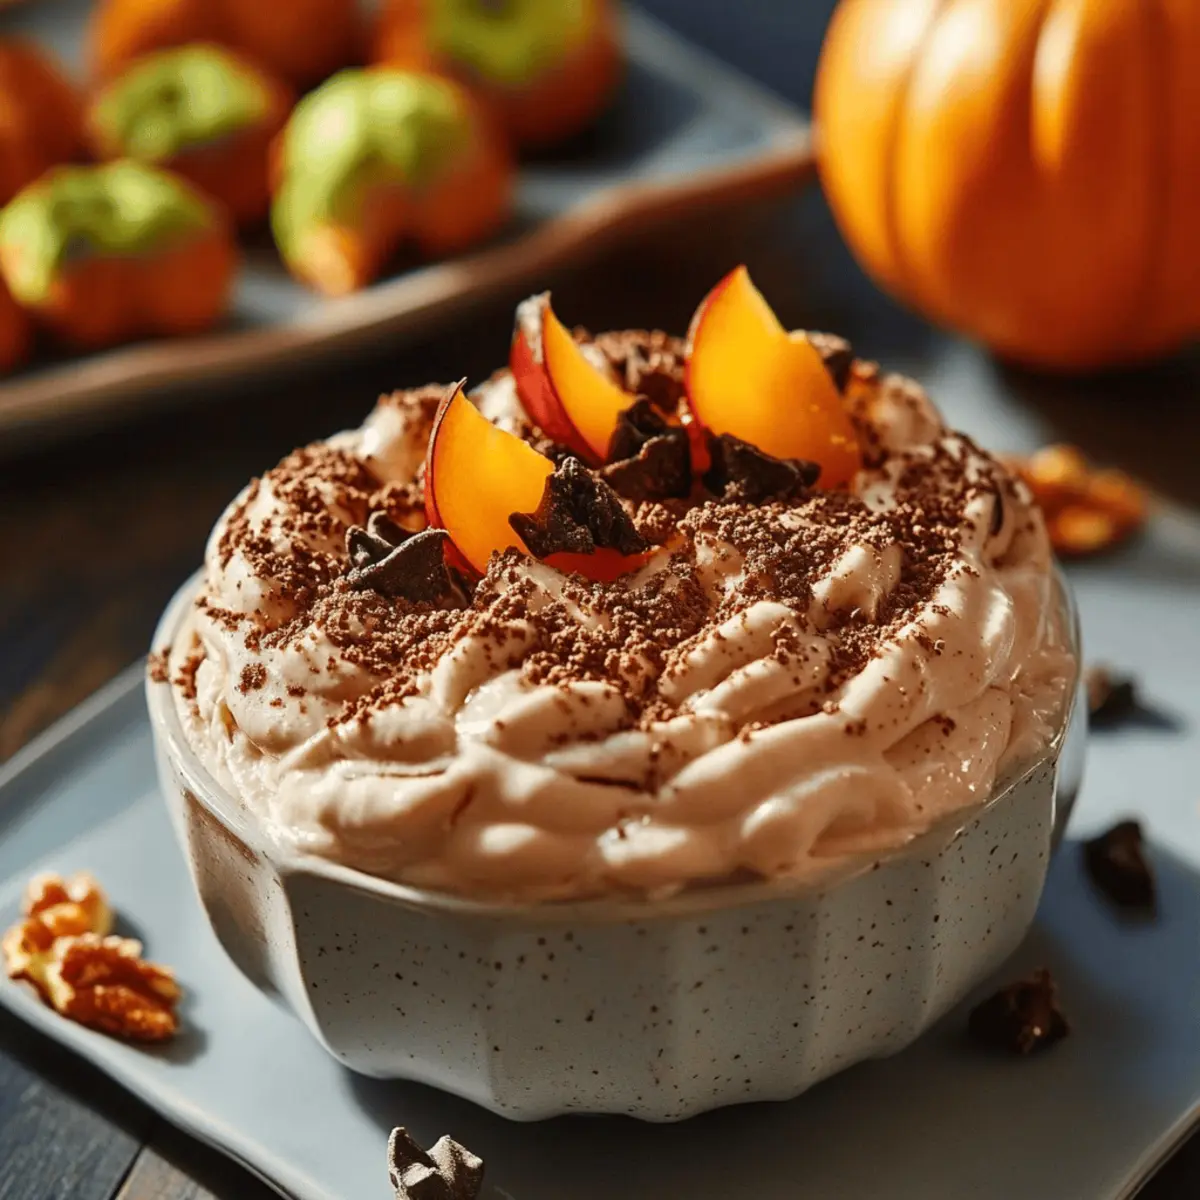
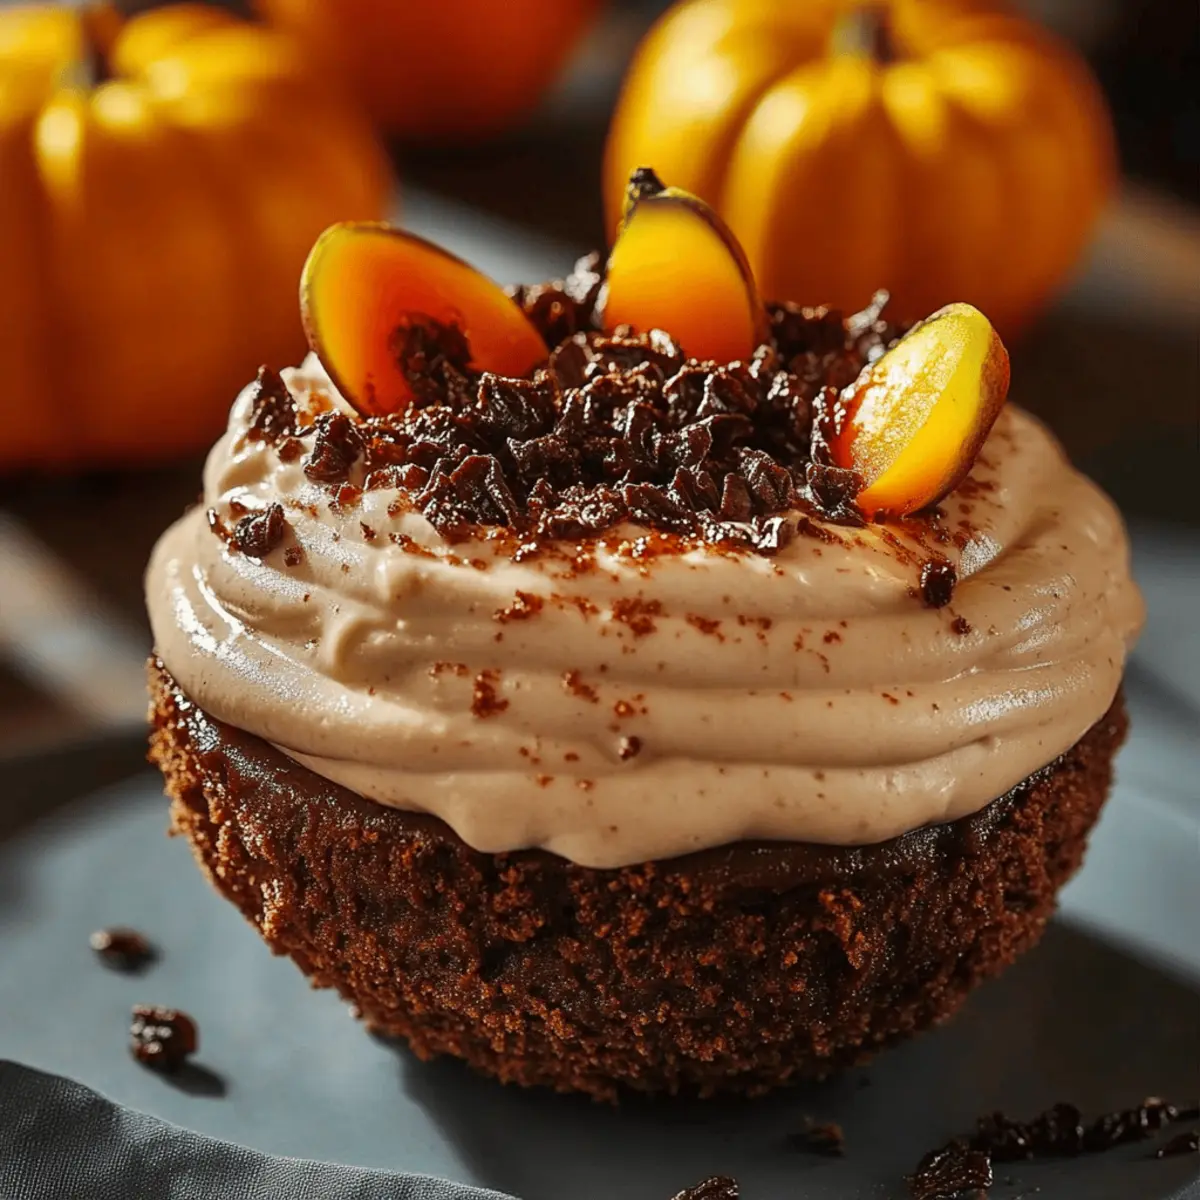
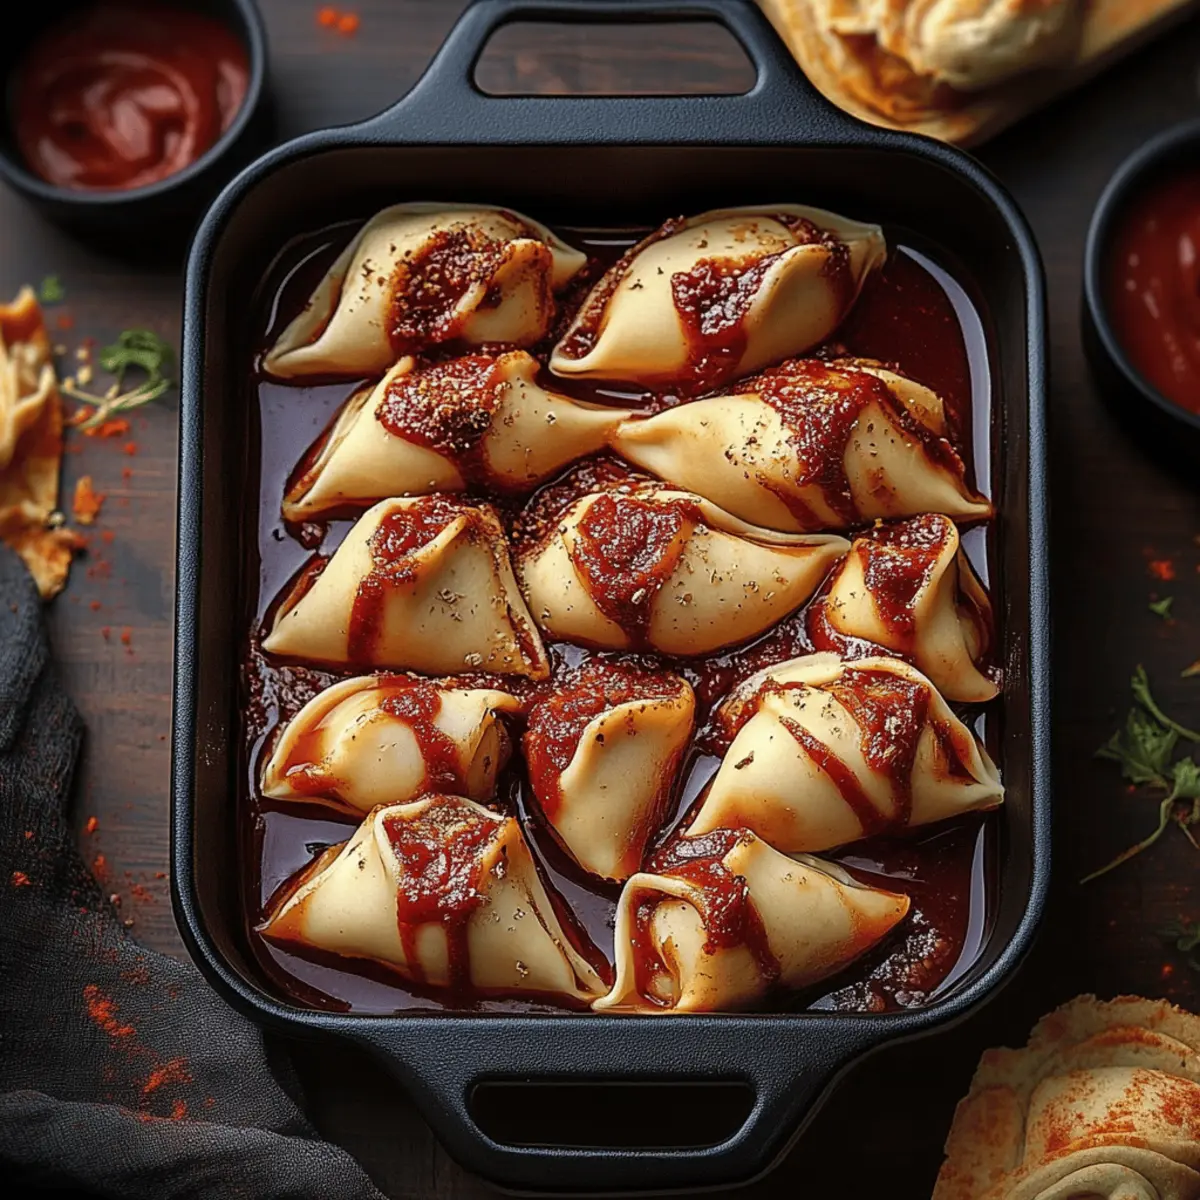
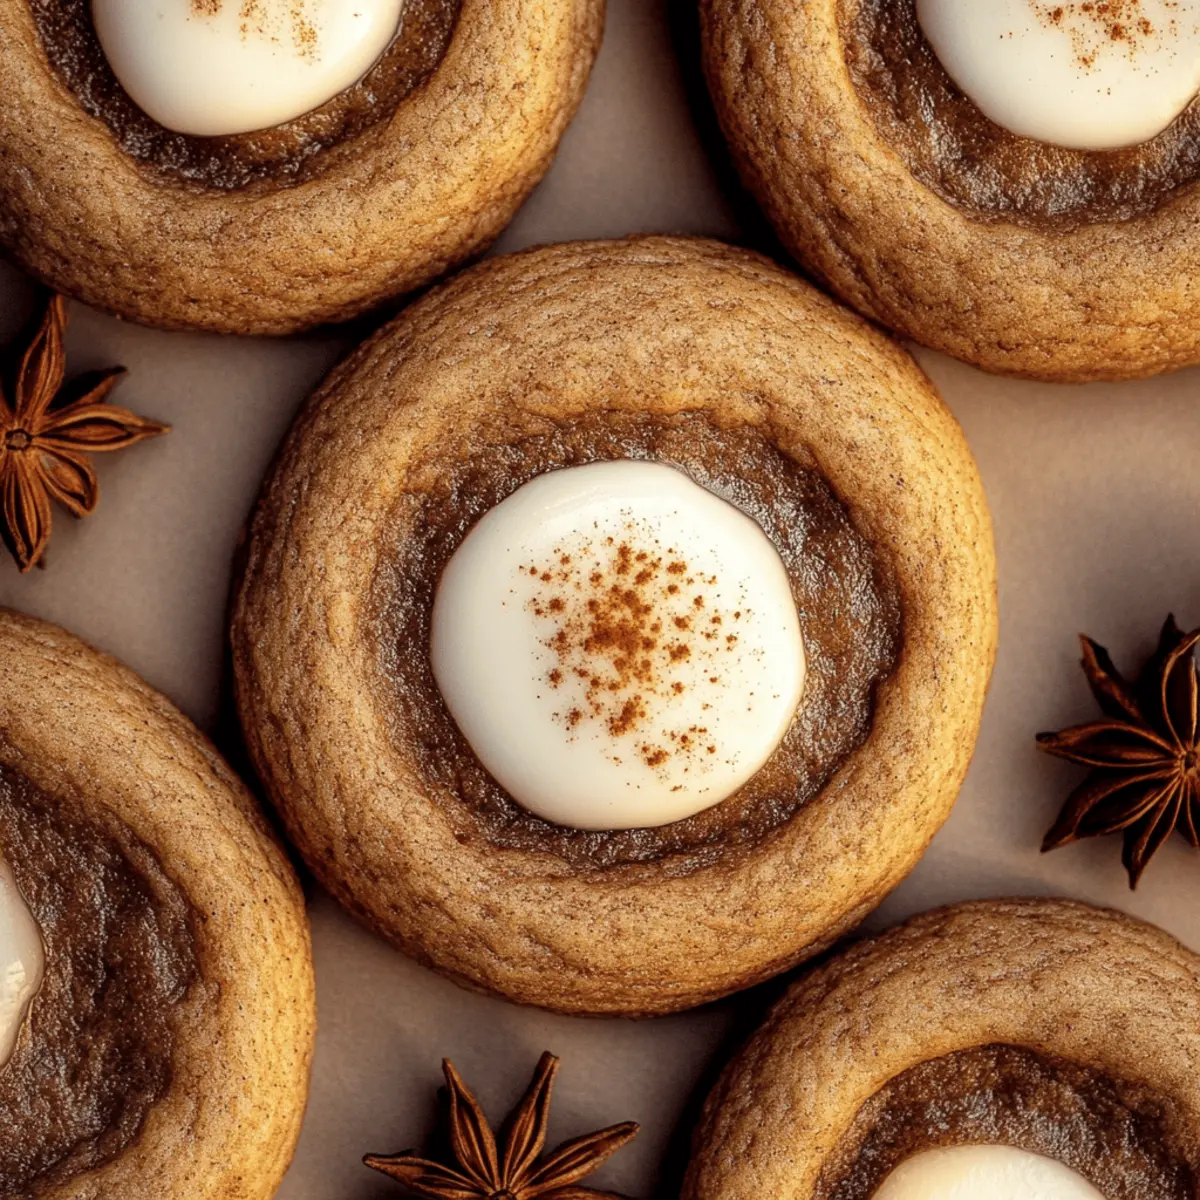
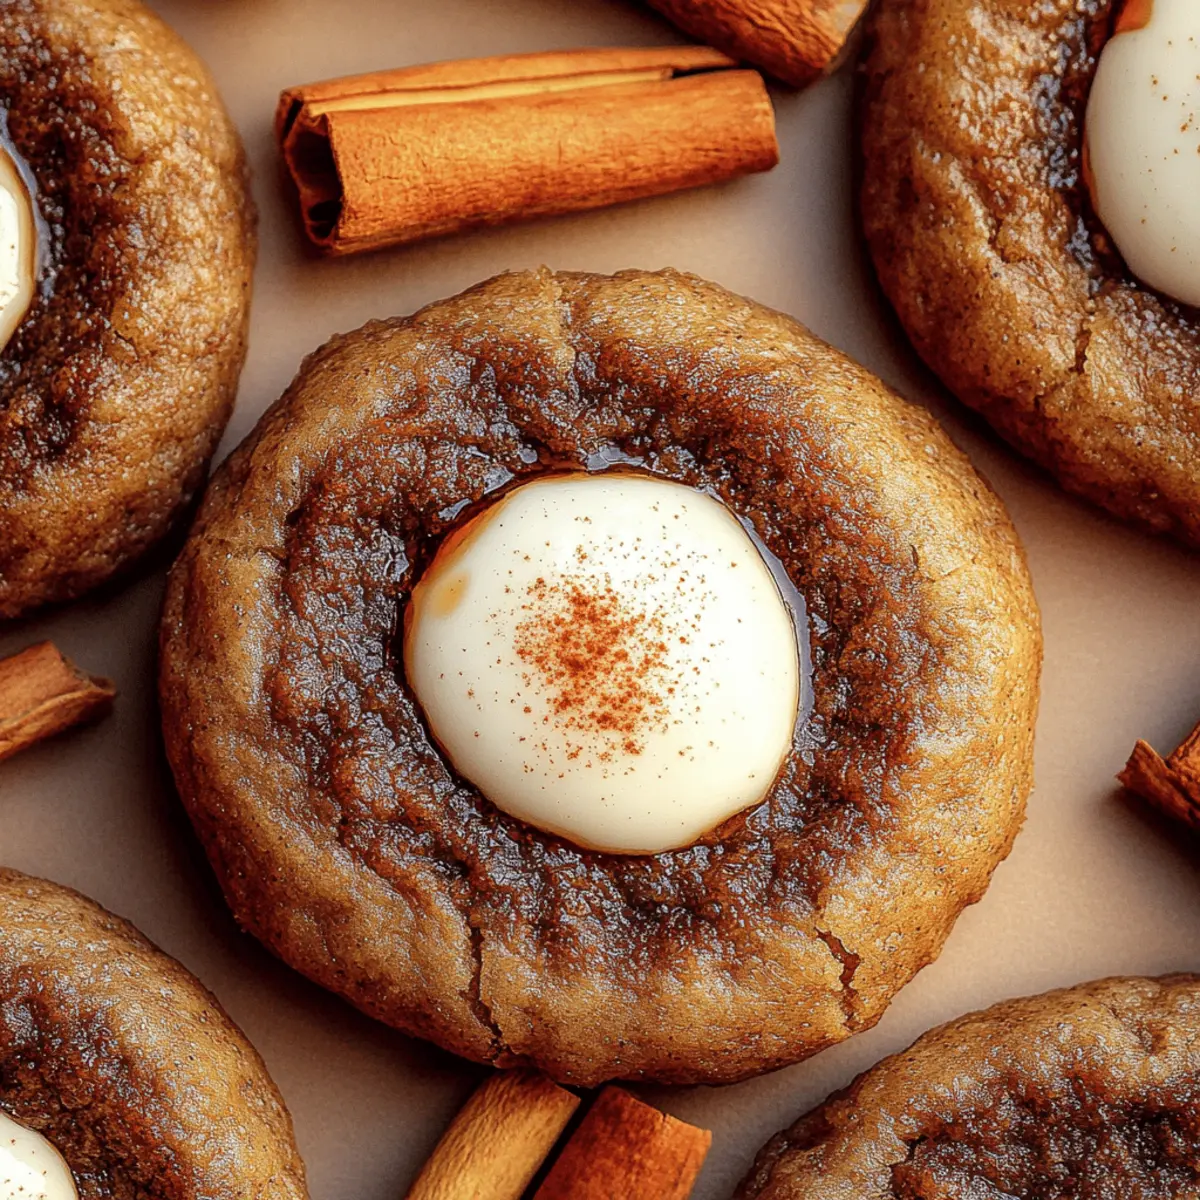
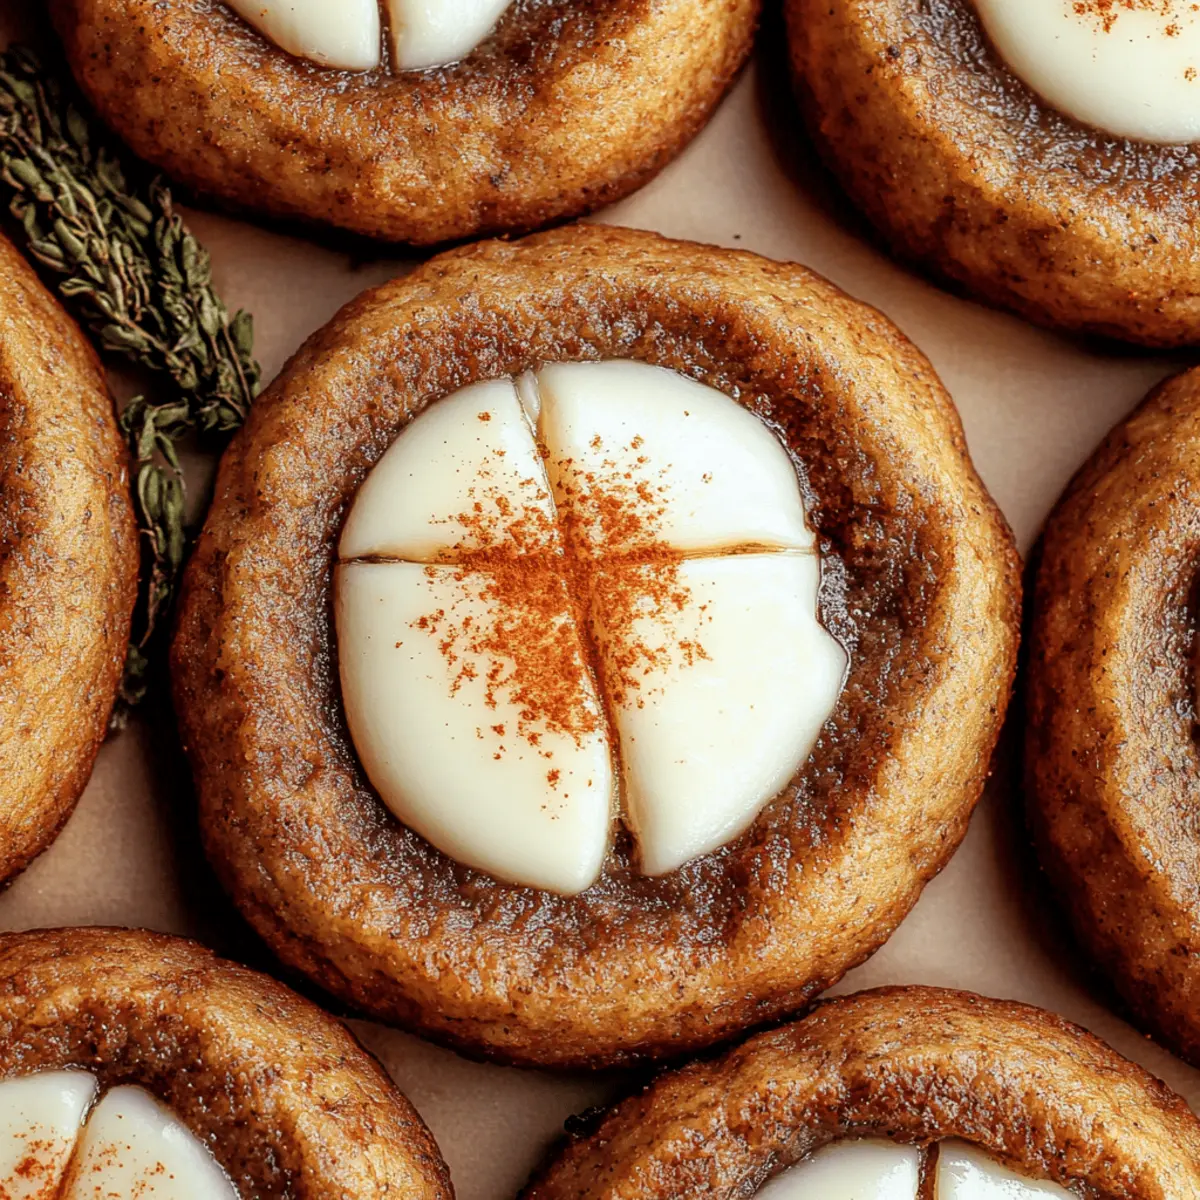
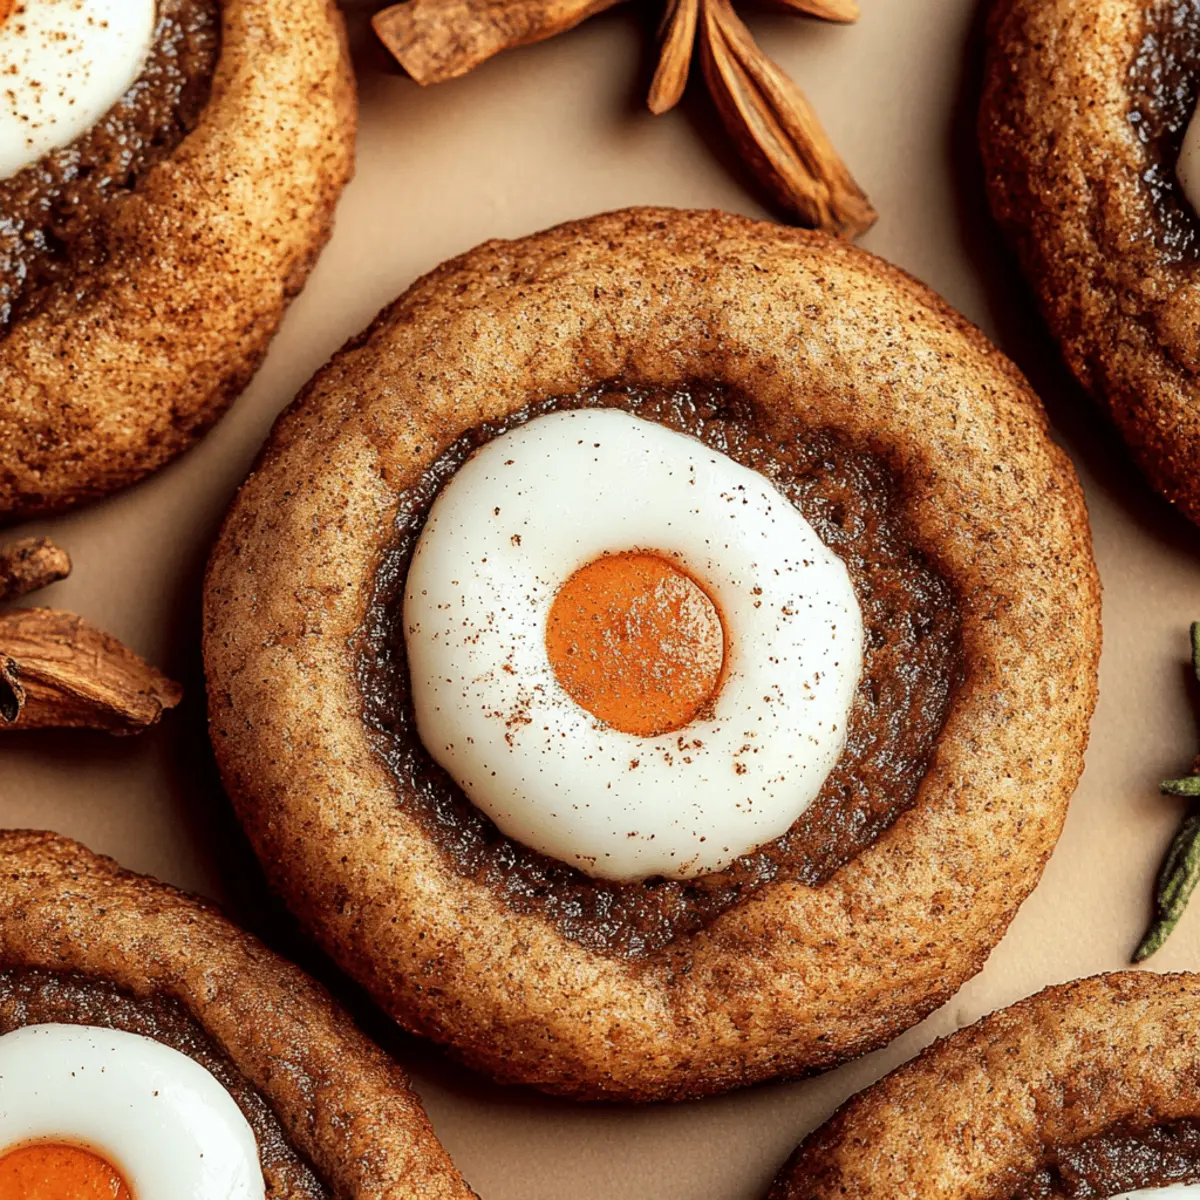
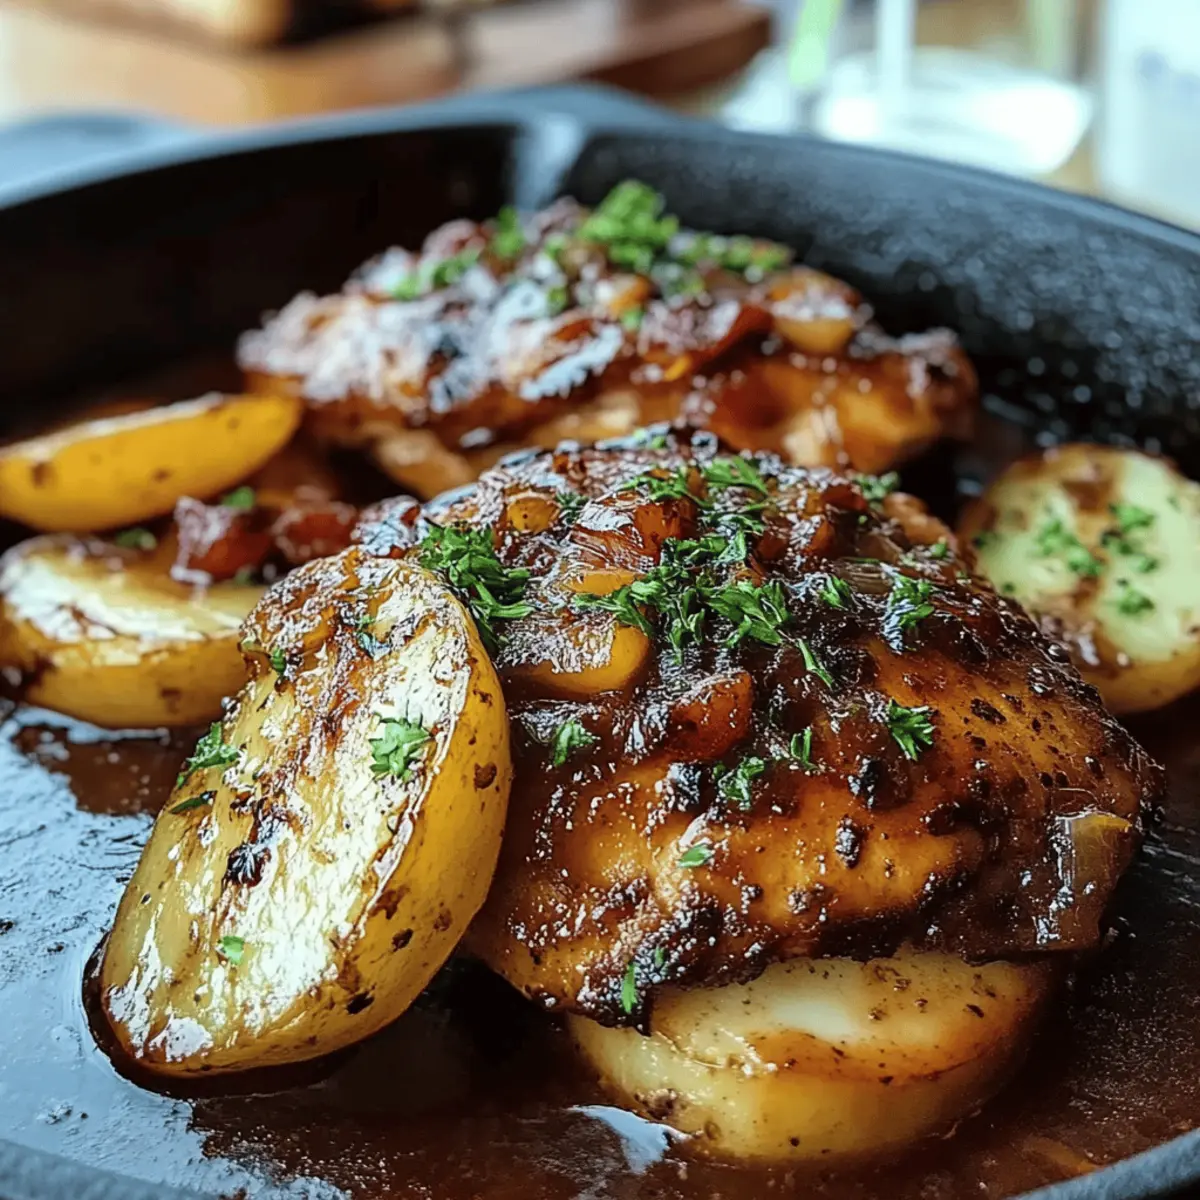
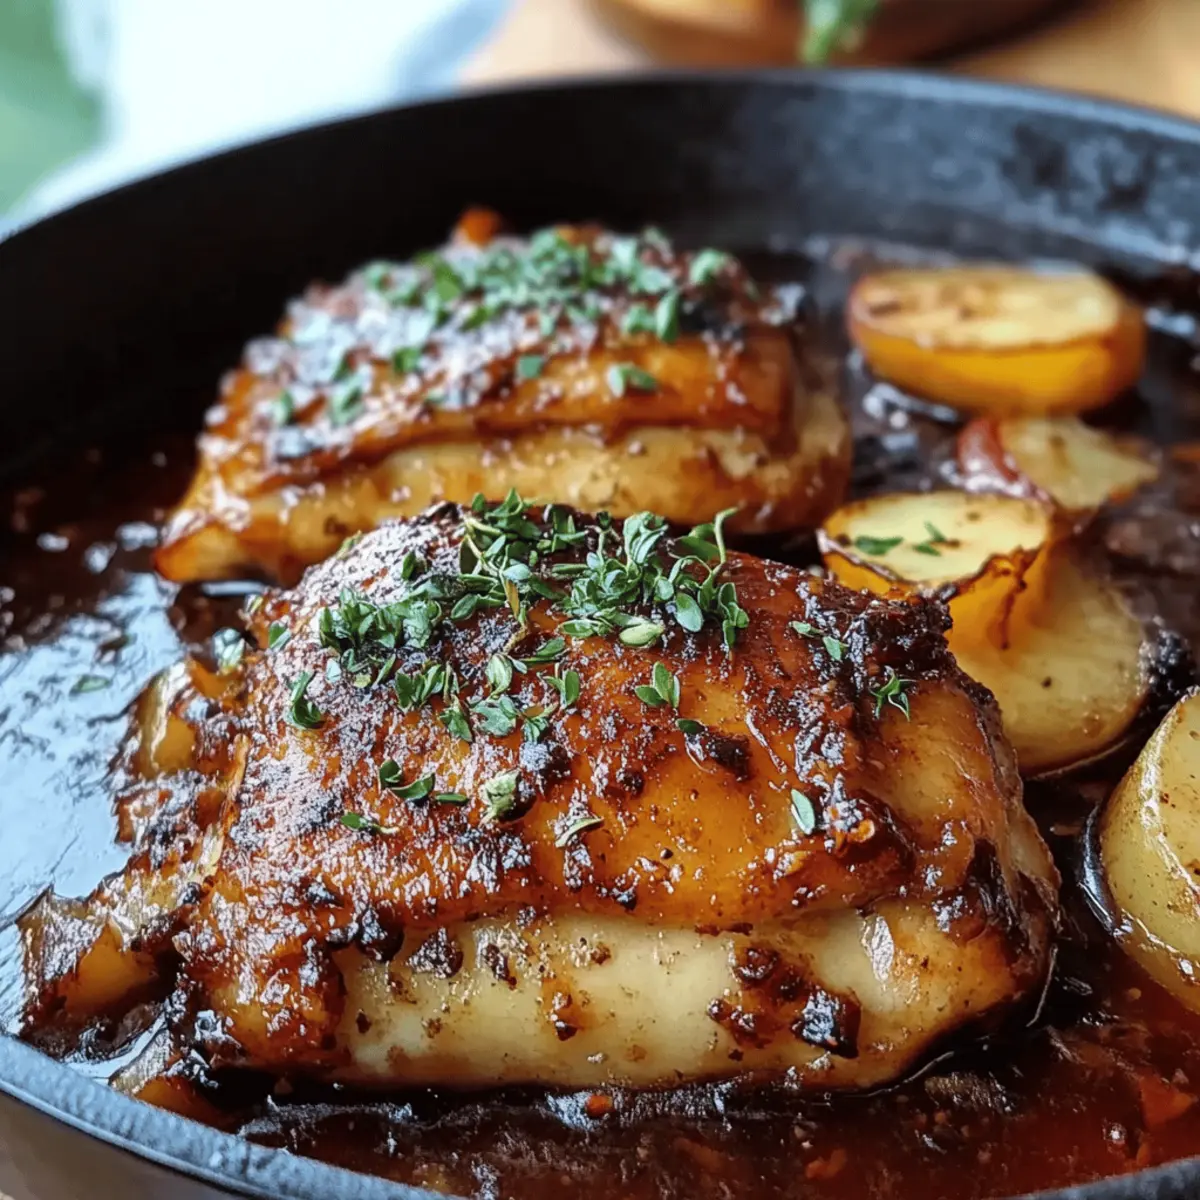
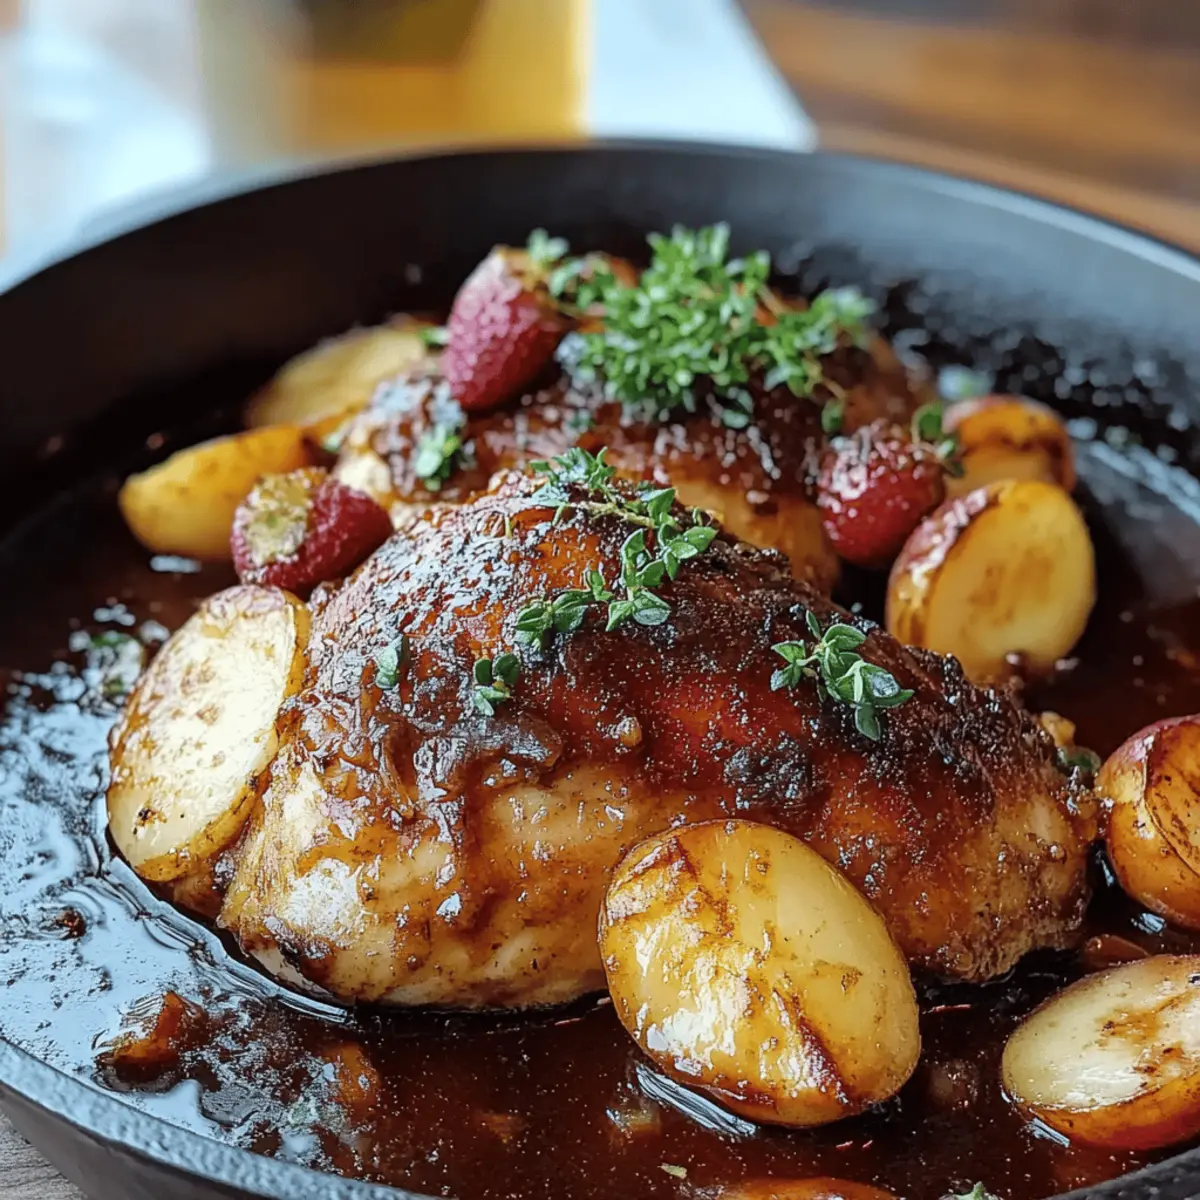
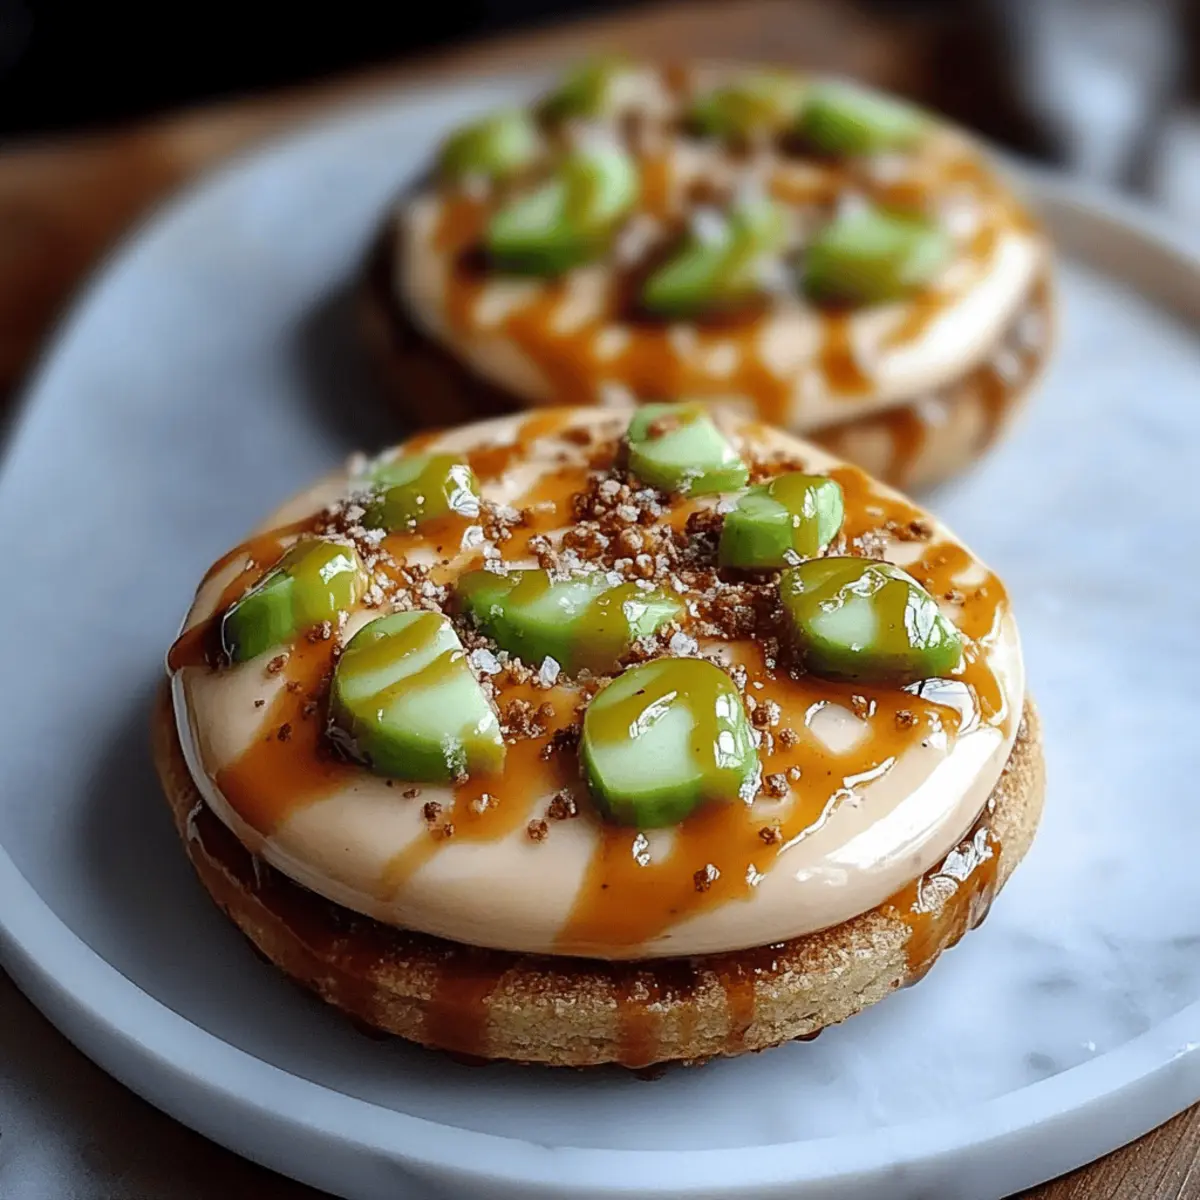
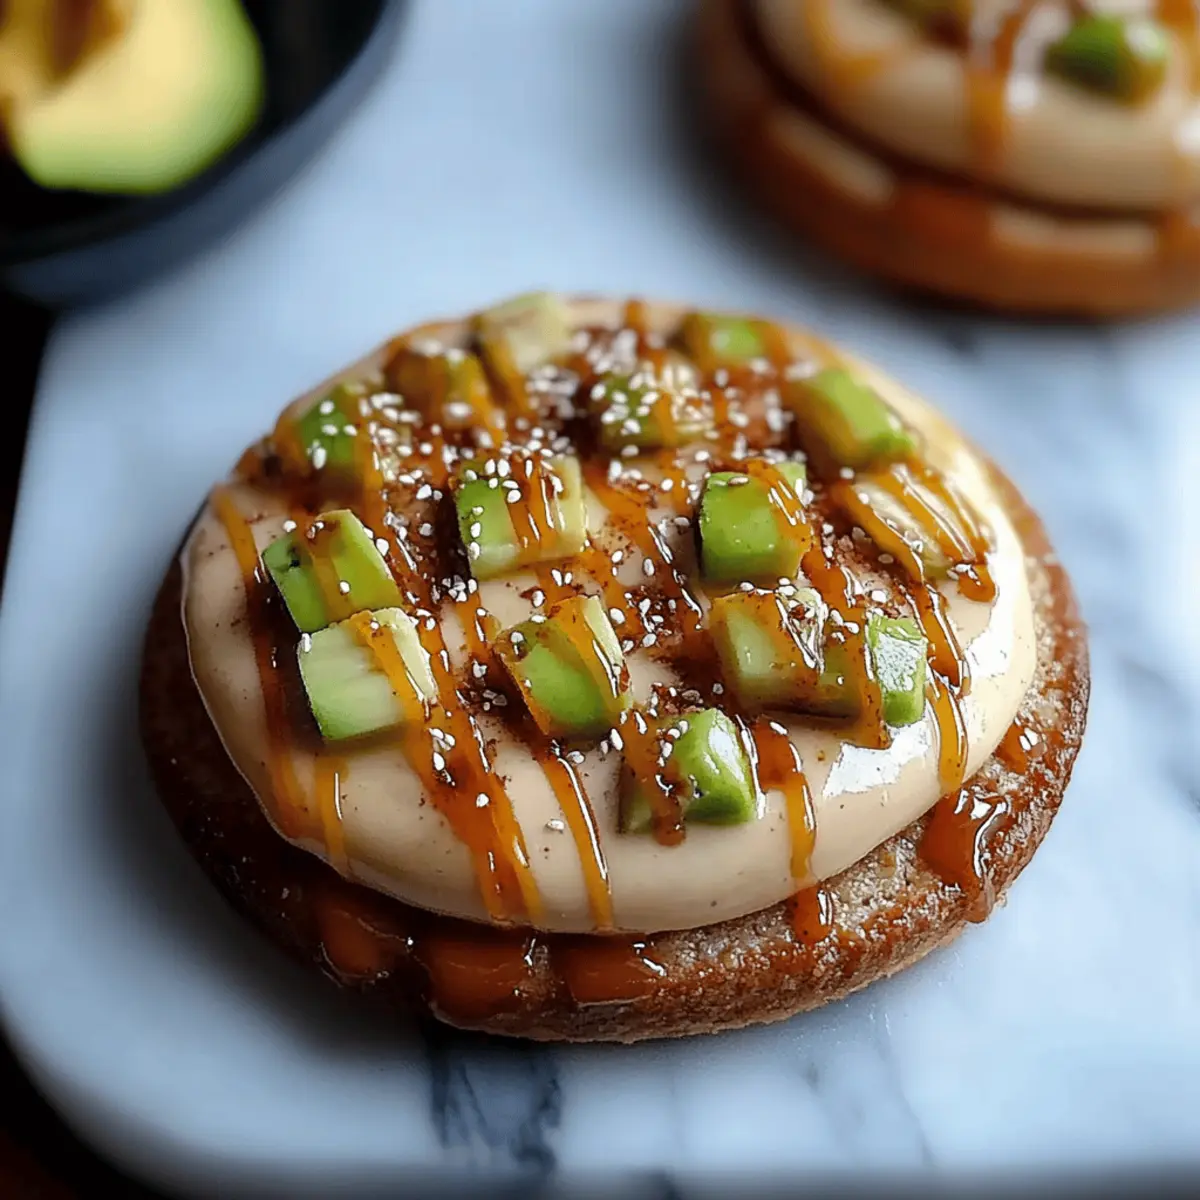
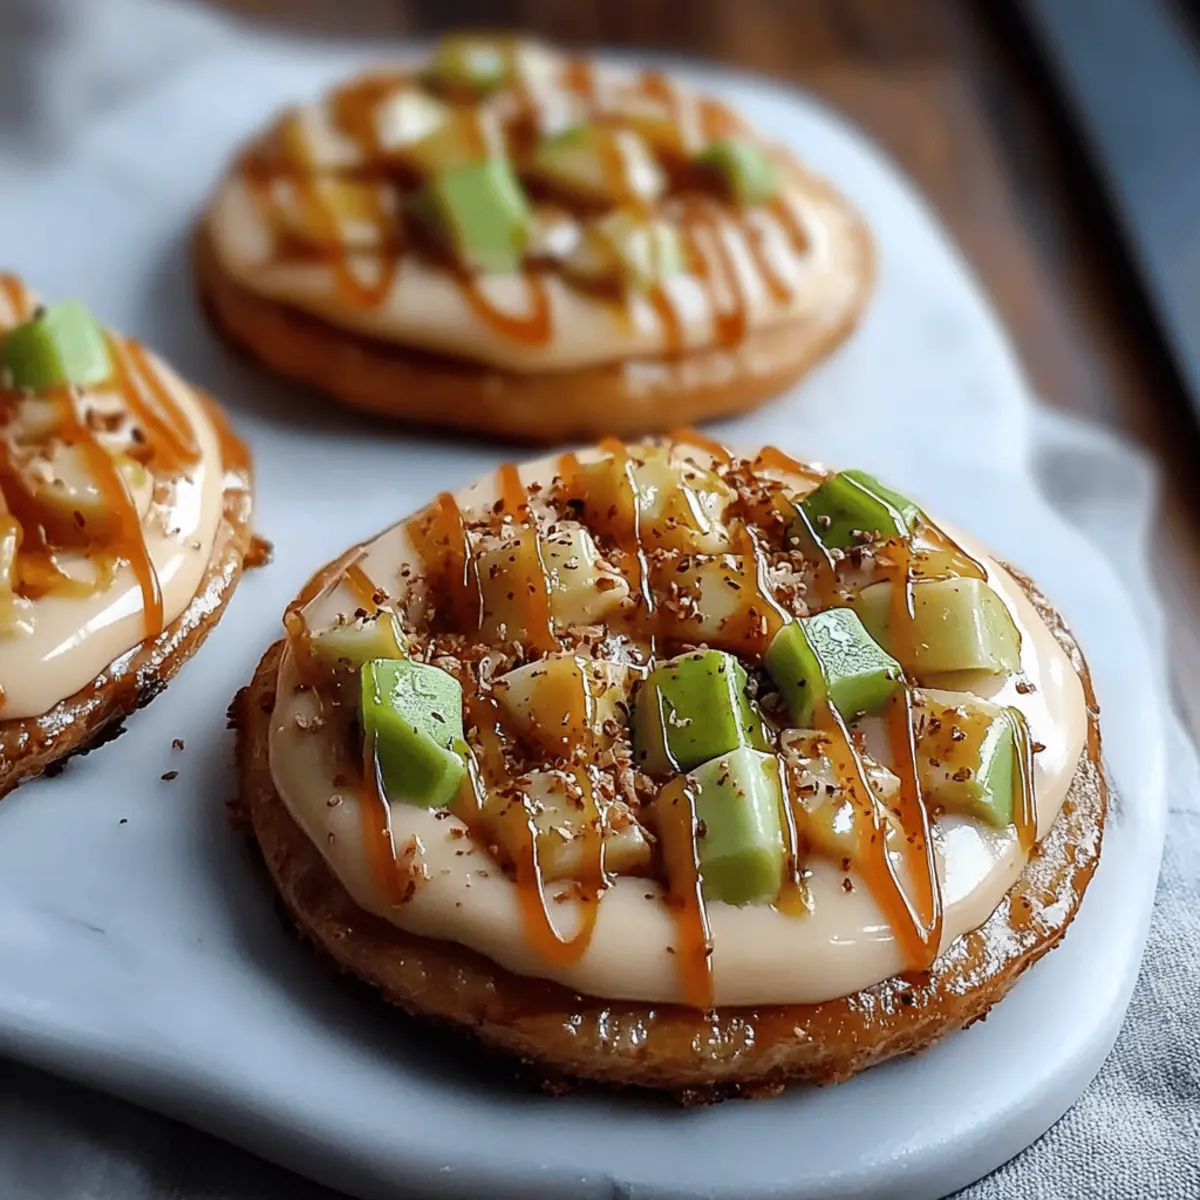
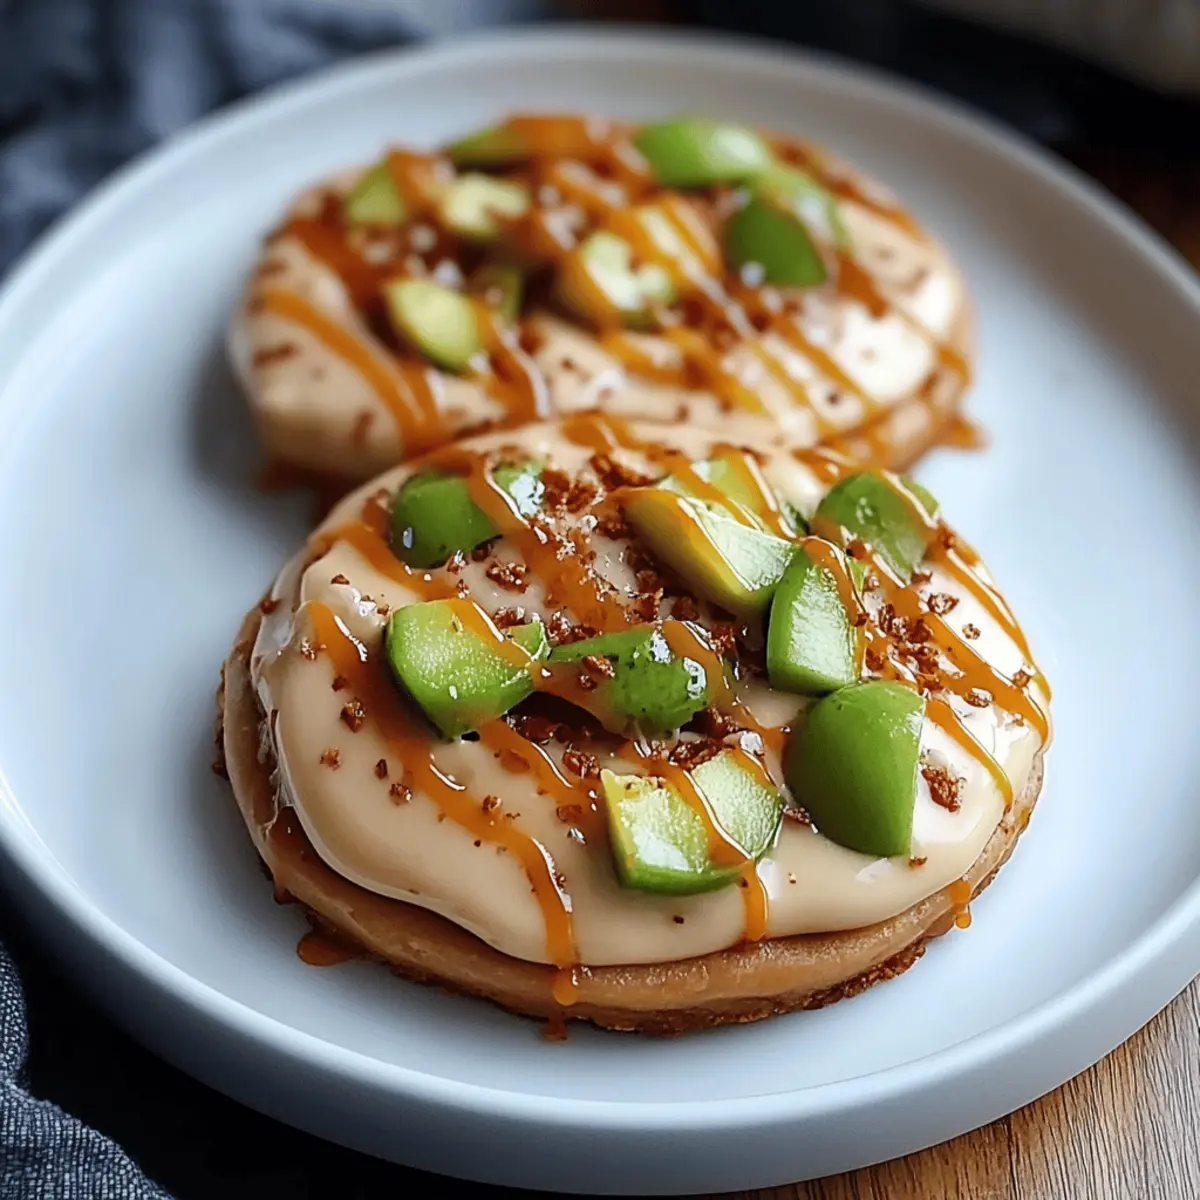
Once the cookies are fully cooled, generously frost each one with the caramel cream cheese frosting. For a delightful touch, top each frosted cookie with cubed pieces of apple, a sprinkle of the cooled streusel, and a drizzle of caramel sauce. This final step not only adds flavor but also an attractive presentation!
Make Ahead Options
These Crumbl Caramel Apple Cookies are perfect for meal prep, bringing joy and deliciousness to your busy weeknights! You can prepare the cookie dough up to 24 hours in advance. Simply mix all the ingredients until combined, scoop the dough onto a baking sheet, then cover it tightly with plastic wrap and refrigerate. For the streusel topping, you can prepare it up to 3 days ahead; just store it in an airtight container in the fridge to maintain its crispiness. When you're ready to bake, pop the dough directly into the oven without thawing, and follow the baking instructions as usual. This ensures your cookies remain just as delightful and fresh, making your baking experience effortless!
What to Serve with Crumbl Caramel Apple Cookies
Indulging in freshly baked cookies is only the beginning—let's elevate your dessert experience with delightful pairings that will warm your heart.
-
Creamy Vanilla Ice Cream: The cool, creamy ice cream complements the warm cookies perfectly, creating a delightful contrast in textures. Take a bite of cookie topped with melting ice cream for pure bliss.
-
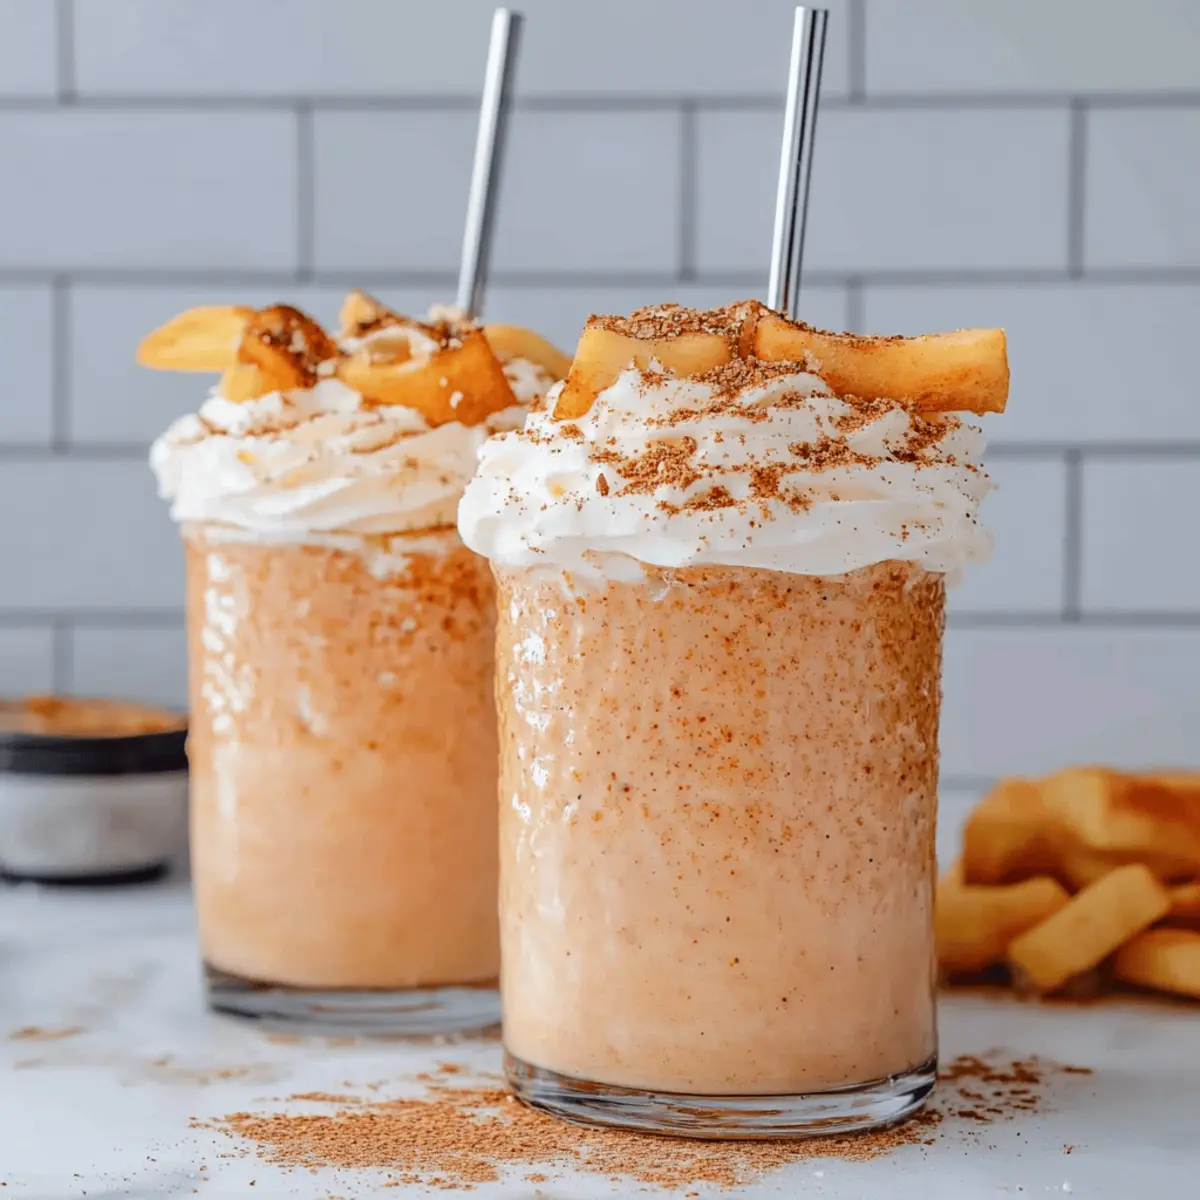
Warm Apple Cider: Nothing says fall like a mug of hot apple cider. Its spiced flavors harmonize beautifully with the cinnamon and apple in your cookies, wrapping you in cozy comfort.
-
Caramel Drizzle: For an extra touch of decadence, drizzle additional caramel sauce over the cookies. It enhances the caramel flavor and adds a shiny finish that’s simply irresistible.
-
Chai Tea: The warm spices in chai tea create a wonderful balance with the cookies. Enjoy the cookies alongside a steaming cup for a heartwarming afternoon treat.
-
Roasted Pumpkin Seeds: For a sweet and savory crunch, serve roasted pumpkin seeds on the side. Their nutty flavor pairs well without overshadowing the lovely sweetness of the cookies.
-
Spiced Whipped Cream: A dollop of lightly spiced whipped cream on top complements the frosting beautifully, offering a fluffy, seasonal addition. It's an elegant touch that makes each bite feel special.
-
Chocolate Milk: For a childhood classic, serve with rich chocolate milk. The sweetness of the chocolate contrasts delightfully with the flavors of apple and caramel.
-
Ginger Snap Cookies: Layer extra flavor with crisp ginger snap cookies. They offer a spicy crunch that pairs wonderfully with the soft, chewy texture of your Crumbl Caramel Apple Cookies.
Dive into these scrumptious pairings, and create a dessert experience to remember!
How to Store and Freeze Crumbl Caramel Apple Cookies
Room Temperature: Keep cookies in an airtight container at room temperature for up to 3 days to maintain their softness and flavor.
Fridge: For extended freshness, store in the fridge for up to a week. Allow cookies to come to room temperature before enjoying for the best texture.
Freezer: Freeze unbaked cookie dough balls in a single layer on a baking sheet, then transfer to a freezer bag for up to 3 months. Bake from frozen, adding a minute or two to the bake time.
Reheating: To reheat cookies, microwave them for about 10-15 seconds for a warm, fresh treat. Enjoy the delightful taste of your Crumbl Caramel Apple Cookies once again!
Expert Tips for Crumbl Caramel Apple Cookies
• Choose the Right Apples: Use Granny Smith apples for their tartness that balances the sweetness perfectly. Avoid overly soft apples to ensure a firm texture.
• Do Not Overmix: When combining wet and dry ingredients, mix just until flour is no longer visible. Overmixing can lead to tough cookies that lose their delightful chew.
• Keep an Eye on Baking Time: Cookies can go from perfectly golden to overbaked quickly. Check them at the 10-minute mark to prevent dryness, allowing for a soft center.
• Cool Completely Before Frosting: Ensure your cookies are fully cool before applying the cream cheese frosting. This prevents melting and ensures a beautiful, thick layer of frosting.
• Streusel Tips: Allow your streusel to cool completely for a crunchy texture. If it gets too soft, re-crumble it before using to restore that delightful crunch in your Crumbl Caramel Apple Cookies.
• Storage Advice: Store leftover cookies in an airtight container in the fridge for up to a week. Consider letting them come to room temperature before serving for optimal texture.
Crumbl Caramel Apple Cookies: Endless Possibilities
Feel free to put your unique spin on these delectable cookies and create delightful variations that suit your taste!
-
Gluten-Free: Substitute all-purpose flour with a gluten-free blend for a delicious, celiac-friendly treat that everyone can enjoy.
Your loved ones won’t even notice the difference—just the scrumptious flavor! -
Sugar-Free: Use a sugar substitute like monk fruit or erythritol in place of white and brown sugar.
The cookies will still be sweet and satisfying while keeping them healthier! -
Vegan: Replace butter with coconut oil, the egg with a flaxseed egg, and use plant-based cream cheese for frosting.
These cookies keep their charm and flavor, ensuring everyone can enjoy them! -
Nutty Crunch: Add ½ cup of chopped walnuts or pecans for an extra layer of crunch and nutty flavor.
This twist adds delightful texture to each bite, making them even more irresistible! -
Spiced Upgrade: Boost the flavor by adding ¼ teaspoon of ground cloves or cardamom for a spiced twist.
These subtle hints of warmth transport you straight to your cozy fall memories. -
Apple Cinnamon Swirls: Incorporate ½ cup of apple pie filling within the dough to heighten the apple experience.
You’ll achieve a lovely, gooey center in each cookie, creating gooey bites bursting with apple goodness! -
Caramel-Swirled Delight: Drizzle caramel sauce throughout the dough before baking for a decadent caramel surprise.
Each bite will offer a melty, sweet surprise that brings a lovely richness to the cookies! -
Level of Heat: Add a pinch of cayenne pepper for a subtle kick that pairs perfectly with the sweetness.
This unexpected heat can create a unique flavor experience that will linger pleasantly on the palate.
Explore these variations and make this recipe your own! Don't forget to enjoy them with a steaming cup of homemade Apple Cider or a slice of Pumpkin Pie for the ultimate autumn experience!
Crumbl Caramel Apple Cookies Recipe FAQs
What type of apples should I use for the best flavor?
Absolutely! For the best results, I recommend using Granny Smith apples. Their tartness provides a delightful balance to the sweetness of the cookie and caramel, creating a harmonious flavor profile. Look for firm apples without dark spots, which indicates freshness.
How should I store leftover cookies?
To keep your Crumbl Caramel Apple Cookies fresh, store them in an airtight container at room temperature for up to 3 days. If you want to extend their life, you can refrigerate them for up to a week; just allow them to come to room temperature before enjoying. This way, you can relive the deliciousness of fall anytime!
Can I freeze the cookie dough?
Yes, you can freeze the cookie dough! Simply scoop cookie dough balls and place them on a baking sheet in a single layer. Once they're frozen, transfer them to an airtight freezer bag. They can be stored this way for up to 3 months. When ready to bake, just pop them in the oven straight from the freezer; add an extra minute or two to the baking time for perfect cookies!
What if my cookie dough turns out too dry?
If your dough feels dry, it might be due to overmeasuring the flour or overmixing. Make sure to spoon flour into the measuring cup lightly without packing it down. If it's too late and your dough is already dry, mix in a tablespoon of melted butter or a splash of apple juice to bring it together.
Are these cookies safe for my pets?
While the ingredients in Crumbl Caramel Apple Cookies are safe for humans, they are not suitable for pets—especially the cream cheese frosting and caramel sauce, which can be too rich for dogs and cats. Always keep homemade treats out of reach from your furry friends to ensure their safety.
How long will the cream cheese frosting last?
The cream cheese frosting can be stored in an airtight container in the refrigerator for up to a week. If you have leftover frosting, you'll want to ensure it's kept chilled. When you're ready to use it, simply let it sit at room temperature for about 15 minutes to soften before applying it on your cookies!
Crumbl Caramel Apple Cookies That Bring Fall Home
Ingredients
Equipment
Method
- Preheat your oven to 350°F (175°C) and line a baking sheet with parchment paper.
- Melt the cold butter in a medium skillet and stir in flour, white sugar, ground cinnamon, and salt until clumps form. Cook for 5-7 minutes until golden brown.
- Cream together the softened butter, white sugar, and dark brown sugar until light and fluffy. Beat in the egg, concentrated apple juice, and vanilla extract.
- Whisk together the dry ingredients: flour, ground cinnamon, ground ginger, nutmeg, allspice, salt, baking soda, and baking powder.
- Gradually add the dry ingredients to the wet mixture and fold in the diced Granny Smith apples.
- Using a cookie scoop, portion out 9 equally sized dough balls on the prepared baking sheet.
- Bake for approximately 12 minutes or until edges are golden. Allow to cool completely.
- Beat together cream cheese and remaining butter until smooth. Gradually mix in powdered sugar and caramel sauce, then whip until fluffy.
- Frost each cooled cookie with cream cheese frosting and top with cubed apple, streusel, and a drizzle of caramel sauce.