There’s something magical about the combination of crispy and creamy that makes every bite an adventure. When I first whipped up these Crispy Mashed Potato Cheese Puffs, I knew I had stumbled upon a delightful twist to traditional comfort food. Not only are they quick to prepare, but these little puffs also pack a glorious cheesy punch that makes them an absolute crowd-pleaser. Whether as a side dish for your favorite meal or a fun appetizer at your next gathering, they’re sure to capture hearts (and stomachs) alike. Curious how something so simple can elevate your weeknight dinners? Let’s dive into the recipe!

Why Are These Cheese Puffs Irresistible?
Crispy Crunch: The golden exterior offers a satisfying crunch that perfectly contrasts the creamy interior.
Cheesy Goodness: Packed with your favorite melting cheese, each bite ensures a glorious explosion of flavor.
Quick Prep: With just 15 minutes of prep time, you can serve up these delightful puffs in no time!
Versatile Treat: Ideal as a snack or as a side to elevate any meal—perfect for parties or family dinners alike!
Kid-Friendly: Even picky eaters can't resist these cheesy bites—making mealtime a breeze!
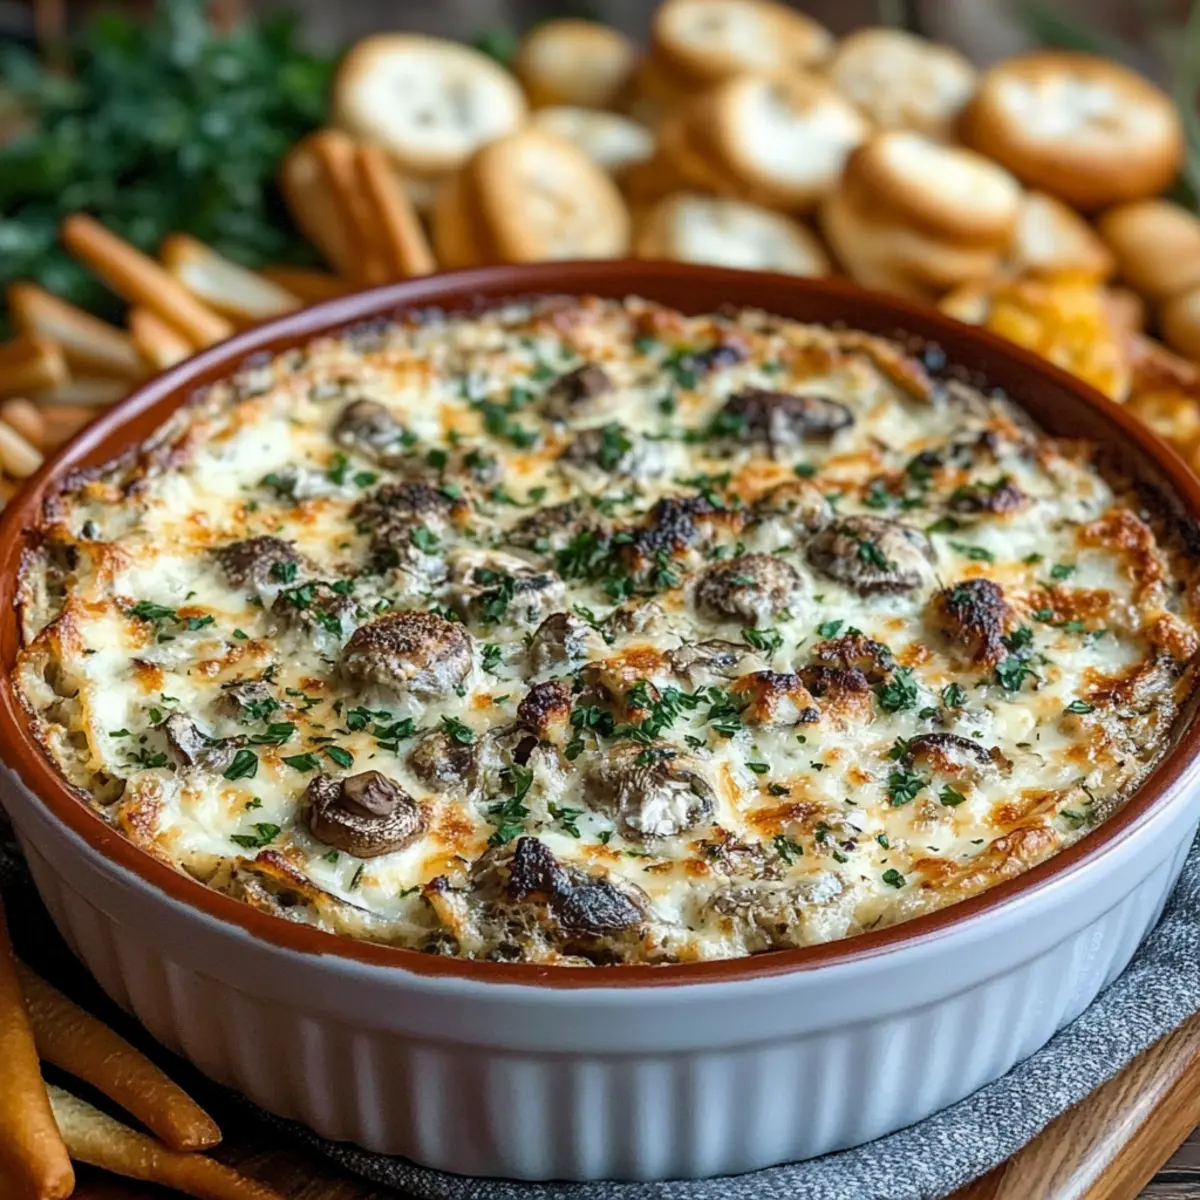
Hearty Filling: With mashed potatoes at the core, you get a comforting yet exciting treat that satiates everyone. Want more crowd-pleasing ideas? Check out our easy appetizer recipes!
Crispy Mashed Potato Cheese Puffs Ingredients
For the Base
- Mashed potatoes – 2 cups ensure you use fluffy, well-seasoned potatoes for the best texture.
- Cheese – 1 cup of cheddar or your favorite melting cheese adds that luscious, gooey center.
- Egg – 1 large egg helps bind the mixture together for easy shaping.
- All-purpose flour – ½ cup provides the structure needed for perfect frying.
For the Coating
- Breadcrumbs – ¼ cup creates that irresistible crunchy exterior that contrasts beautifully with the creamy filling.
- Salt – 1 teaspoon enhances all the flavors, elevating your Crispy Mashed Potato Cheese Puffs.
- Pepper – 1 teaspoon adds a subtle kick for a more vibrant taste.
For Cooking
- Cooking oil – Use enough oil for frying, ensuring your puffs come out crispy and golden.
Step‑by‑Step Instructions for Crispy Mashed Potato Cheese Puffs
Step 1: Prepare the Mixture
In a large mixing bowl, combine 2 cups of fluffy mashed potatoes, 1 cup of your favorite melting cheese, 1 large egg, ½ cup of all-purpose flour, 1 teaspoon of salt, and 1 teaspoon of pepper. Mix thoroughly until all the ingredients are well incorporated and a cohesive dough forms, about 3-5 minutes. You want a smooth and creamy mixture that holds together for shaping.
Step 2: Shape the Puffs
With slightly wet hands, take small portions of the potato mixture and roll them into bite-sized balls or puffs, approximately 1-2 inches in diameter. Place them on a parchment-lined tray or plate as you go. This process should yield about 12-15 puffs, ensuring they are evenly sized for consistent cooking.
Step 3: Heat the Oil
In a deep pan or heavy skillet, pour enough cooking oil to cover the bottom by about 1-2 inches. Heat the oil over medium heat until it reaches 350°F (175°C). To test if the oil is ready, carefully drop in a small piece of the mixture; it should sizzle and rise to the surface. This ensures that your Crispy Mashed Potato Cheese Puffs will come out perfectly golden and crispy.
Step 4: Fry the Puffs
Once the oil is hot, gently place the shaped potato puffs in the oil, being careful not to overcrowd the pan. Fry them in batches for about 3-4 minutes, or until they turn a beautiful golden brown and float to the top. Use a slotted spoon to gently turn them for even cooking, ensuring they crisp beautifully all around.
Step 5: Drain and Serve
Once the puffs are golden and crispy, remove them from the oil using a slotted spoon and transfer them to a paper towel-lined plate to drain excess oil. Allow them to cool slightly, then serve your Crispy Mashed Potato Cheese Puffs warm. These delightful treats are perfect as an appetizer or a side dish that will surely impress your family and friends!

Make Ahead Options
These Crispy Mashed Potato Cheese Puffs are perfect for meal prep enthusiasts looking to save time on busy weeknights! You can prepare the potato mixture up to 24 hours in advance by combining the mashed potatoes, cheese, egg, flour, salt, and pepper, then storing it in an airtight container in the refrigerator. Additionally, you can shape the puffs and place them on a parchment-lined tray, then cover and refrigerate for up to 3 days. To maintain their quality, ensure they are stored in a single layer to prevent sticking. When you're ready to serve, simply heat the oil and fry the puffs directly from the fridge—no need to thaw! You'll enjoy same deliciously golden results with minimal effort.
How to Store and Freeze Crispy Mashed Potato Cheese Puffs
Room Temperature: Allow the puffs to cool completely before storing them in an airtight container at room temperature for up to 2 days.
Fridge: Keep leftovers in the refrigerator in an airtight container for up to 3 days. Reheat in the oven at 350°F (175°C) for about 10 minutes to restore crispiness.
Freezer: Freeze the puffs in a single layer on a baking sheet, then transfer to a freezer-safe bag for up to 2 months. Reheat by baking at 375°F (190°C) straight from the freezer for about 15-20 minutes.
Reheating: For reheating, the oven is best for maintaining crispiness. Avoid microwaving, as it may make the puffs soggy. Enjoy your Crispy Mashed Potato Cheese Puffs!
What to Serve with Crispy Mashed Potato Cheese Puffs
When it comes to complementing these delightful cheese puffs, think of sides that will elevate your meal with warmth and flavor.
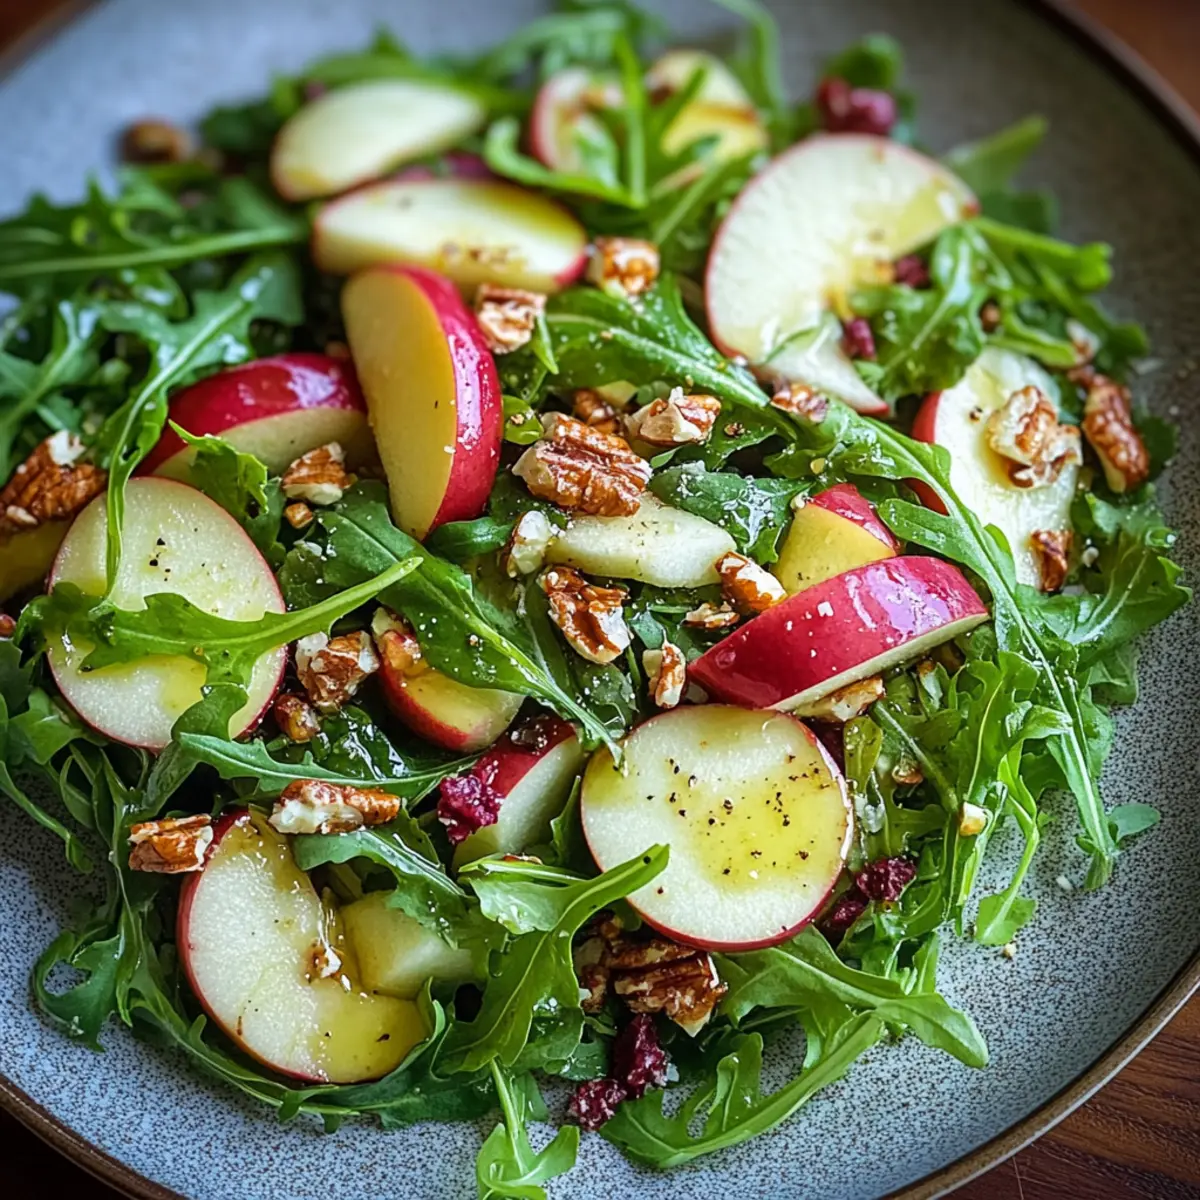
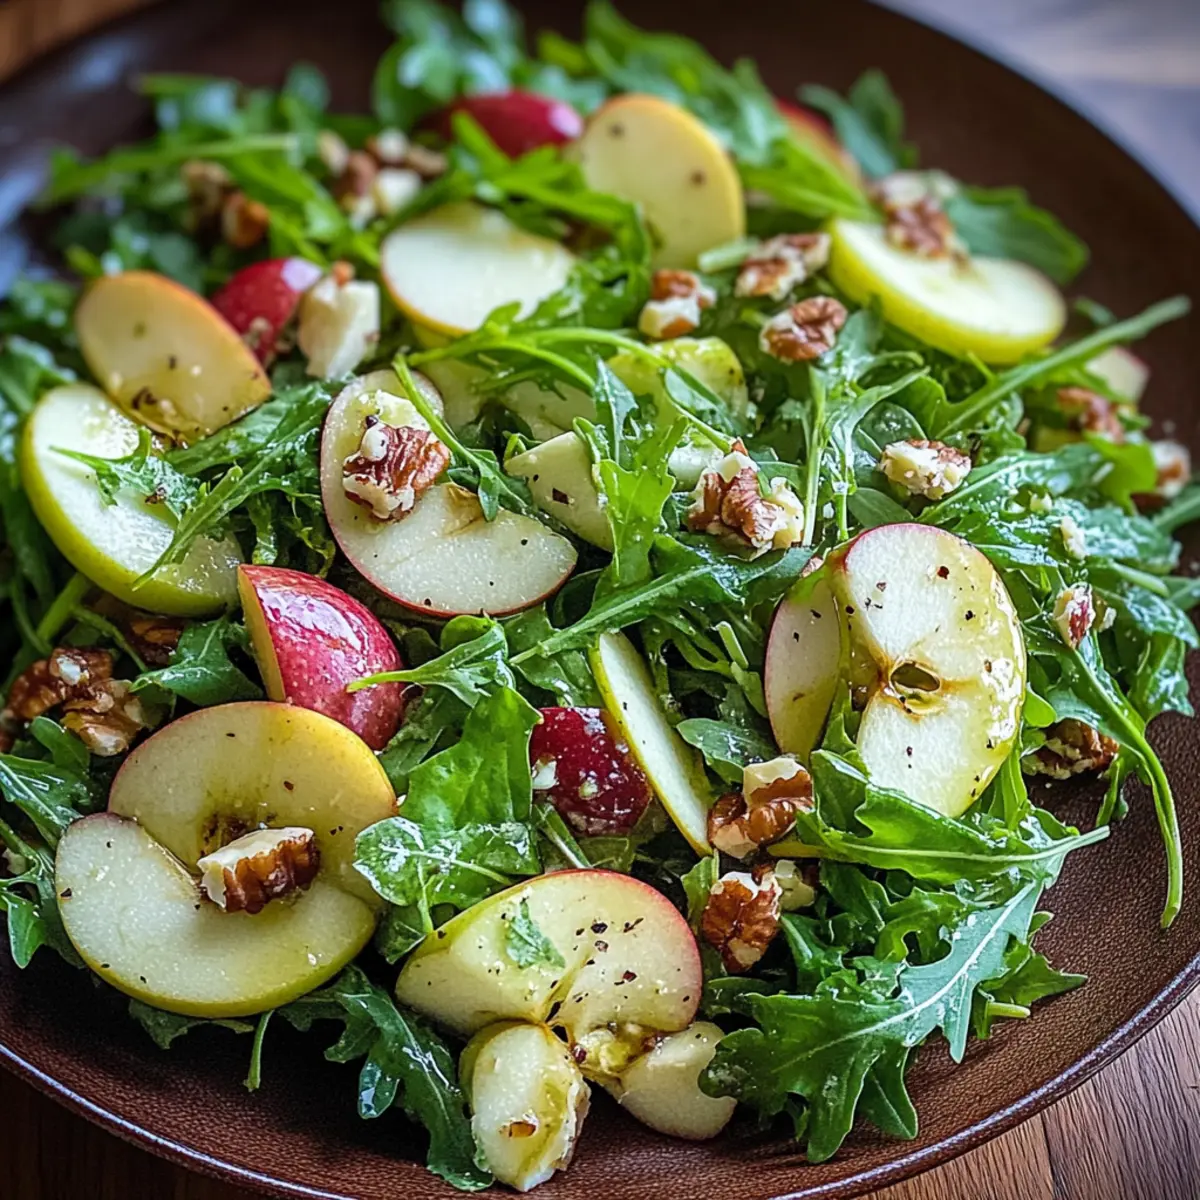
- Fresh Garden Salad: A vibrant mix of greens with a zesty vinaigrette balances the rich flavors of the puffs.
- Creamy Garlic Dip: Pairing with a lush garlic dip amplifies the cheesy goodness, creating a sensational tasting experience.
- Sautéed Green Beans: The crisp tenderness of sautéed green beans adds a fresh contrast to the puffs’ crispy texture.
- Tomato Basil Soup: A warm bowl of this classic soup creates a comforting vibe, perfect for dipping your puffs.
- Mini Meatballs: Hearty meatballs provide a satisfying protein complement, rounding out the meal beautifully.
- Coleslaw: A cool, crunchy coleslaw contrasts with the warm puffs, adding a delightful twist to each bite.
- Sparkling Lemonade: A refreshing drink, the bright citrus notes cleanse the palate and enhance the meal’s enjoyment.
- Chocolate Fondue: For dessert, dip fruits or marshmallows in warm chocolate for a sweet finish after your savory puffs.
These pairings create a symphony of flavors and textures, so gather your loved ones and enjoy a wonderful feast!
Expert Tips for Crispy Mashed Potato Cheese Puffs
- Perfect Mashed Potatoes: Use fluffy, well-seasoned mashed potatoes; avoid watery or heavy versions to ensure a great texture in your puffs.
- Cheese Selection: Choose effective melting cheeses like cheddar or mozzarella. Avoid hard cheeses that may not melt well for optimal gooeyness.
- Don’t Overcrowd: Fry in batches without overcrowding the pan; this enables even cooking and helps maintain that crispy exterior everyone loves.
- Consistent Sizing: Shape puffs uniformly around 1-2 inches; this ensures they cook evenly and come out golden brown at the same time.
- Oil Temperature Check: Use a thermometer to monitor oil temperature at 350°F; too hot will burn them, while too cool can lead to greasy puffs.
- Serving Suggestions: Dip in your favorite sauces like ranch or spicy mayo to elevate your Crispy Mashed Potato Cheese Puffs into a delicious flavor experience!
Crispy Mashed Potato Cheese Puffs Variations
Feel free to let your creativity shine as you customize these delightful puffs to suit your tastes!
- Herb-Infused: Add 1 tablespoon of fresh chopped herbs like chives or parsley for a burst of fresh flavor.
- Spicy Kick: Mix in 1 teaspoon of cayenne pepper or diced jalapeños for a fiery twist that wakes up your palate!
- Bacon Lover's: Incorporate ½ cup of crumbled cooked bacon into the mixture for an irresistibly savory treat. Imagine the aroma blending with the cheesy goodness.
- Gluten-Free: Substitute all-purpose flour with almond flour or a gluten-free flour blend for those with gluten sensitivities. You'll still achieve that wonderful texture!
- Veggie Delight: Fold in ½ cup of finely shredded carrots or spinach for added nutrition and color, making these puffs even more appealing to kids and adults alike.
- Cheese Variety: Experiment with different cheeses like pepper jack or gouda for a unique flavor profile that stirs excitement at your dinner table.
- Sweet Potato Swap: Try using sweet potatoes instead of regular mashed potatoes to create a sweet-savory experience that tantalizes the taste buds.
- Air-Fried: For a healthier twist, air fry the puffs at 375°F (190°C) for about 12-15 minutes or until golden brown. Enjoy a guilt-free, crunchy delight!
For more delectable variations, be sure to explore our collection of easy appetizer recipes or check out our quick side dishes that pair well with any meal!

Crispy Mashed Potato Cheese Puffs Recipe FAQs
How do I choose the best potatoes for this recipe?
Absolutely! For the best results, I recommend using starchy potatoes like Russets or Yukon Golds. They create fluffy, creamy mashed potatoes that are the perfect base for your Crispy Mashed Potato Cheese Puffs. Look for potatoes that are firm, with no dark spots or blemishes.
How should I store leftover Cheese Puffs?
Very good question! Allow the puffs to cool completely first, then store them in an airtight container at room temperature for up to 2 days. If you want them to last longer, refrigerate them in an airtight container for up to 3 days. Just remember to reheat them in the oven at 350°F (175°C) for about 10 minutes to regain that crispy goodness!
Can I freeze my Cheese Puffs?
Absolutely! To freeze, lay the shaped puffs in a single layer on a baking sheet and freeze them until solid, usually about 1-2 hours. Once frozen, transfer them into a freezer-safe bag and store them for up to 2 months. When you’re ready to enjoy, bake them straight from the freezer at 375°F (190°C) for 15-20 minutes until golden brown.
What should I do if my puffs fall apart while frying?
If your puffs are falling apart, it could be due to a few reasons. First, ensure your mashed potatoes are well-seasoned but not too wet—this can make them too soft. Adding a bit more flour or bread crumbs to the mixture can help bind them better. Also, make sure the oil is hot enough; if it’s not, the puffs might absorb too much oil and break apart.
Are these Cheese Puffs suitable for people with allergies?
Great question! The Crispy Mashed Potato Cheese Puffs contain cheese and wheat flour, which can be allergens for some. Consider using gluten-free flour and dairy-free cheese options to accommodate those with gluten sensitivities or lactose intolerance. Just make sure to check labels for any other allergens they might contain!
How long can I keep these puffs in the freezer?
You can keep your Crispy Mashed Potato Cheese Puffs in the freezer for up to 2 months. Just ensure they are well-sealed to prevent freezer burn. When ready to enjoy, bake them without thawing for that ideal crispy texture!

Crispy Mashed Potato Cheese Puffs That Wow Every Bite
Ingredients
Equipment
Method
- In a large mixing bowl, combine mashed potatoes, cheese, egg, flour, salt, and pepper. Mix until a cohesive dough forms, about 3-5 minutes.
- With slightly wet hands, take small portions of the mixture and roll them into bite-sized balls, approximately 1-2 inches in diameter.
- In a deep pan, pour enough cooking oil to cover the bottom by about 1-2 inches. Heat the oil over medium heat until it's 350°F (175°C).
- Once the oil is hot, gently place the potato puffs in the oil. Fry them in batches for about 3-4 minutes until golden brown.
- Remove the puffs using a slotted spoon and transfer them to a paper towel-lined plate to drain. Serve warm.