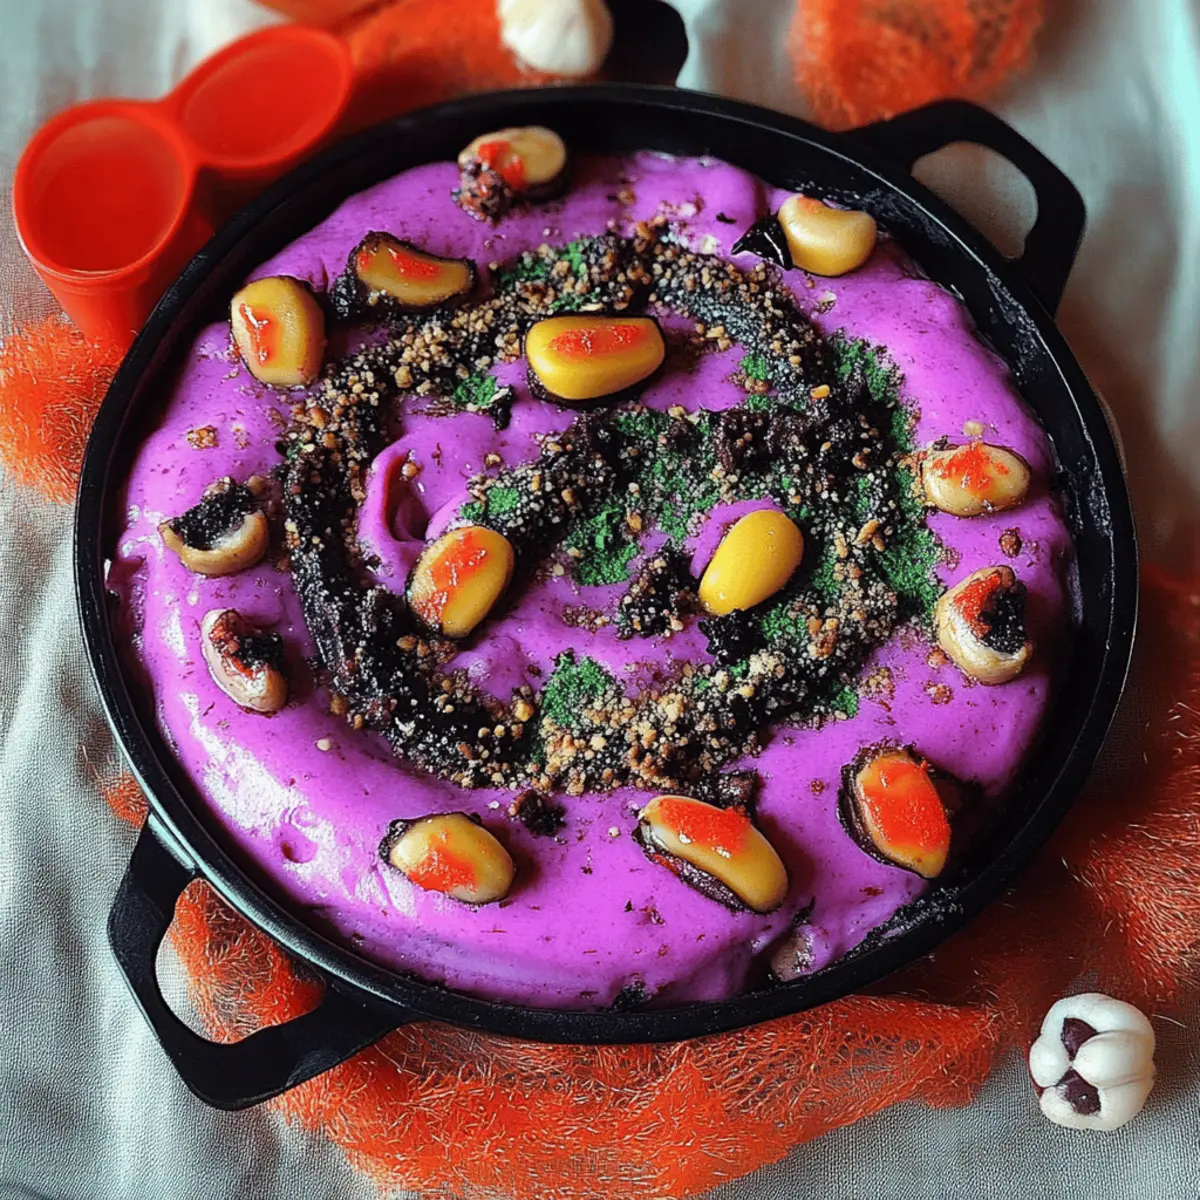
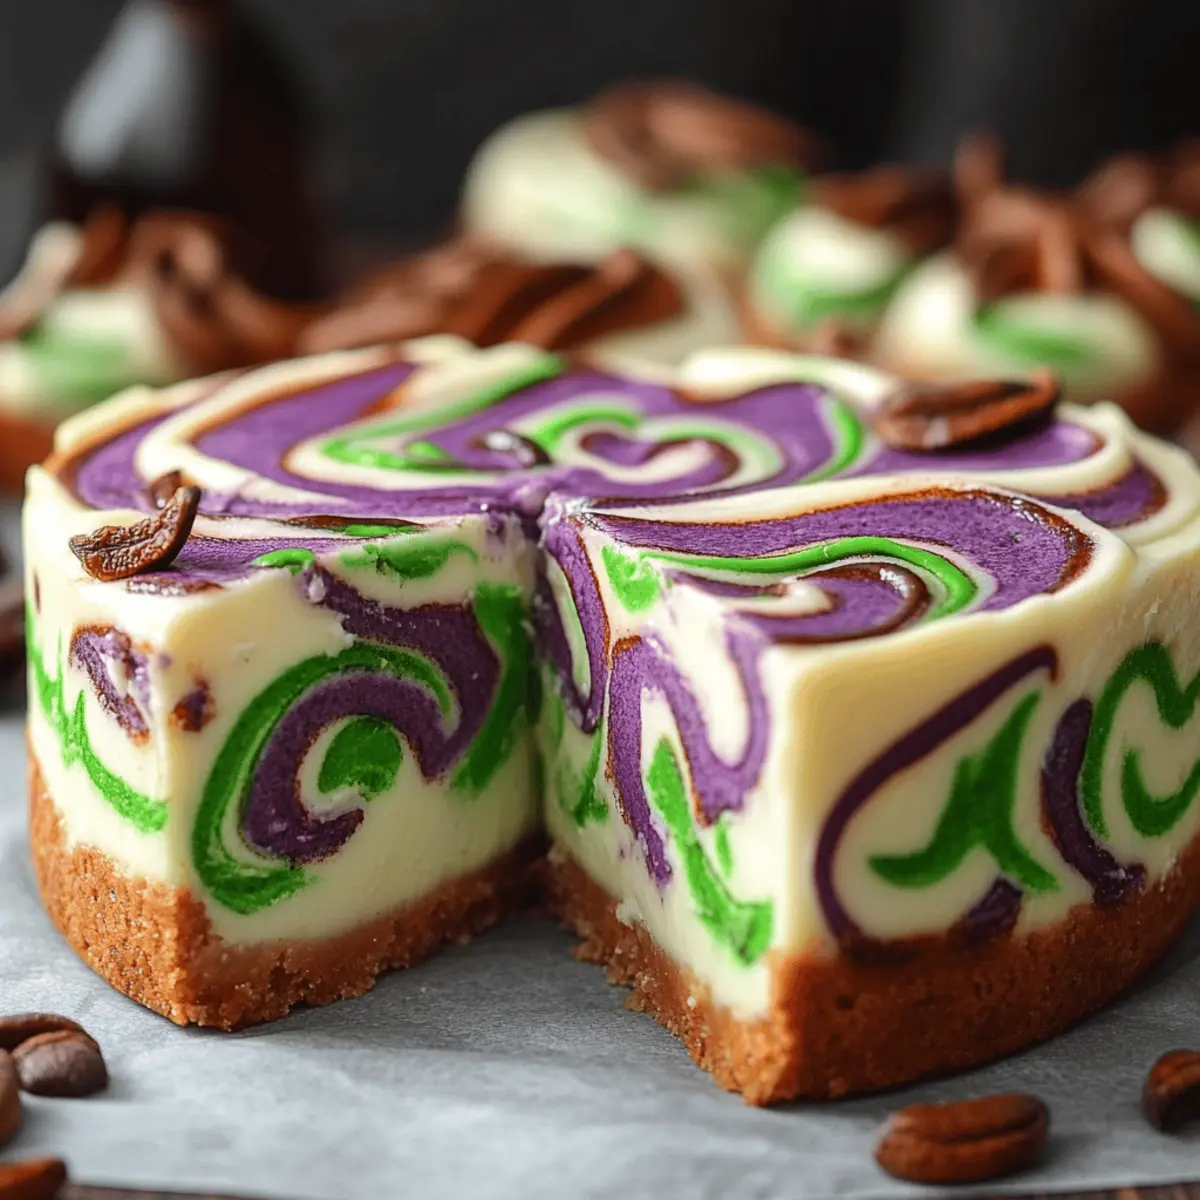
As I rummaged through my pantry, a splash of vibrant colors caught my eye, and an idea sparked: why not blend a little magic into dessert? Enter the Polyjuice Potion Swirl Cheesecake. This enchanting treat not only dazzles with its whimsical colors but also offers the delightful creaminess of a classic cheesecake. With its quick prep time and mesmerizing swirls, it’s perfect for impressing guests or indulging in a cozy evening at home. This recipe transforms the familiar into something extraordinary, inviting everyone to gather around the table. Are you ready to whisk up some magic in your kitchen? Let’s dive into this fantastic creation together!
Why is This Cheesecake a Must-Try?
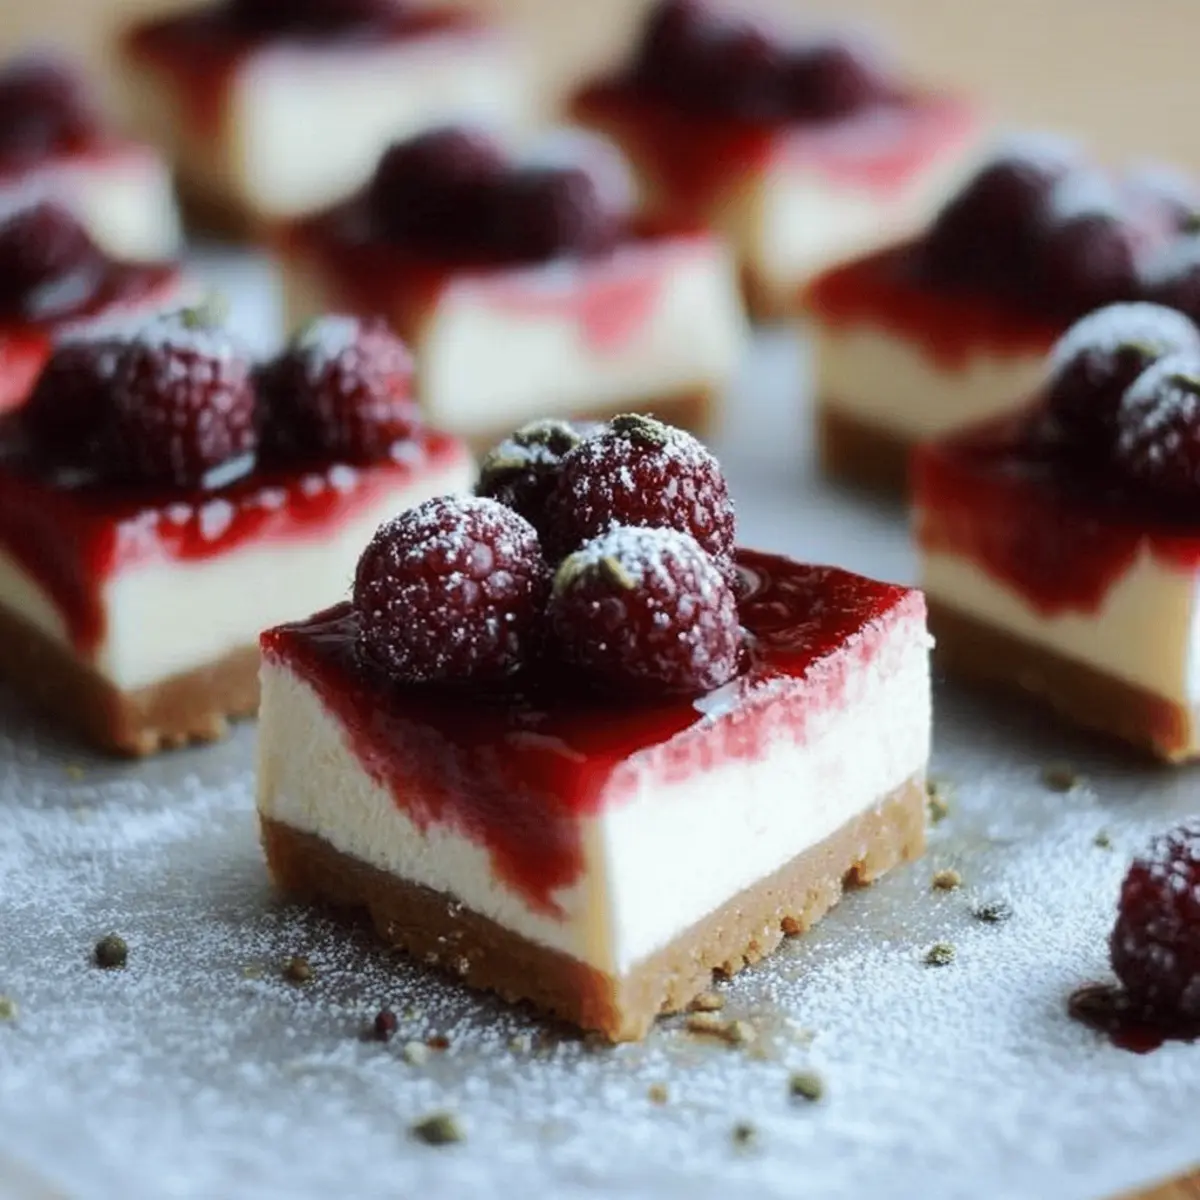
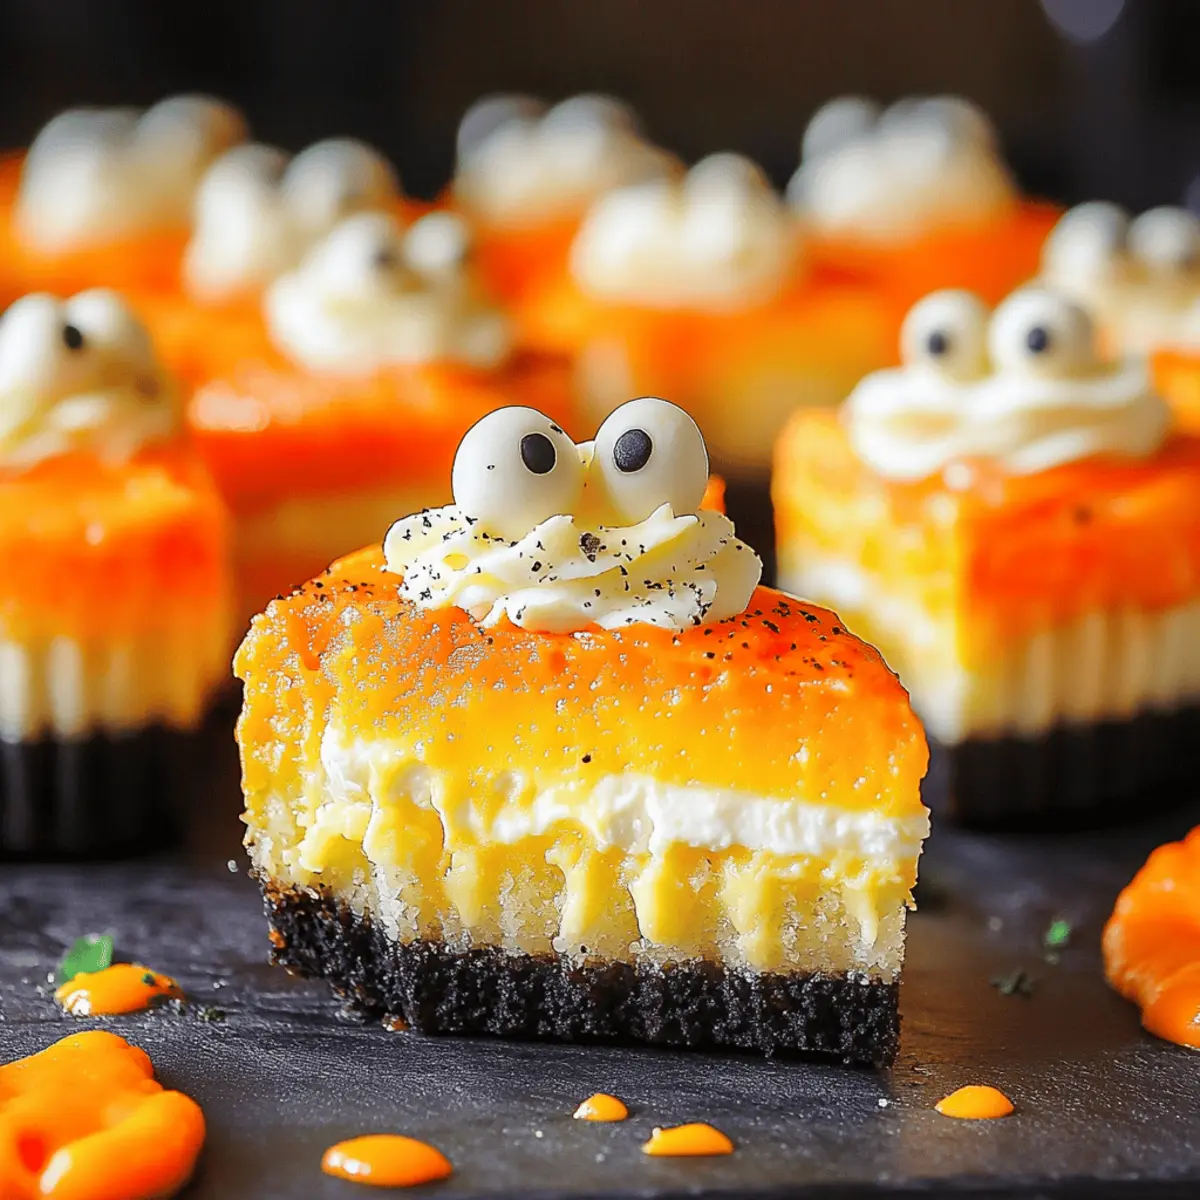
Irresistible appeal: This Polyjuice Potion Swirl Cheesecake is not just a dessert; it’s a showstopper that will leave your guests in awe.
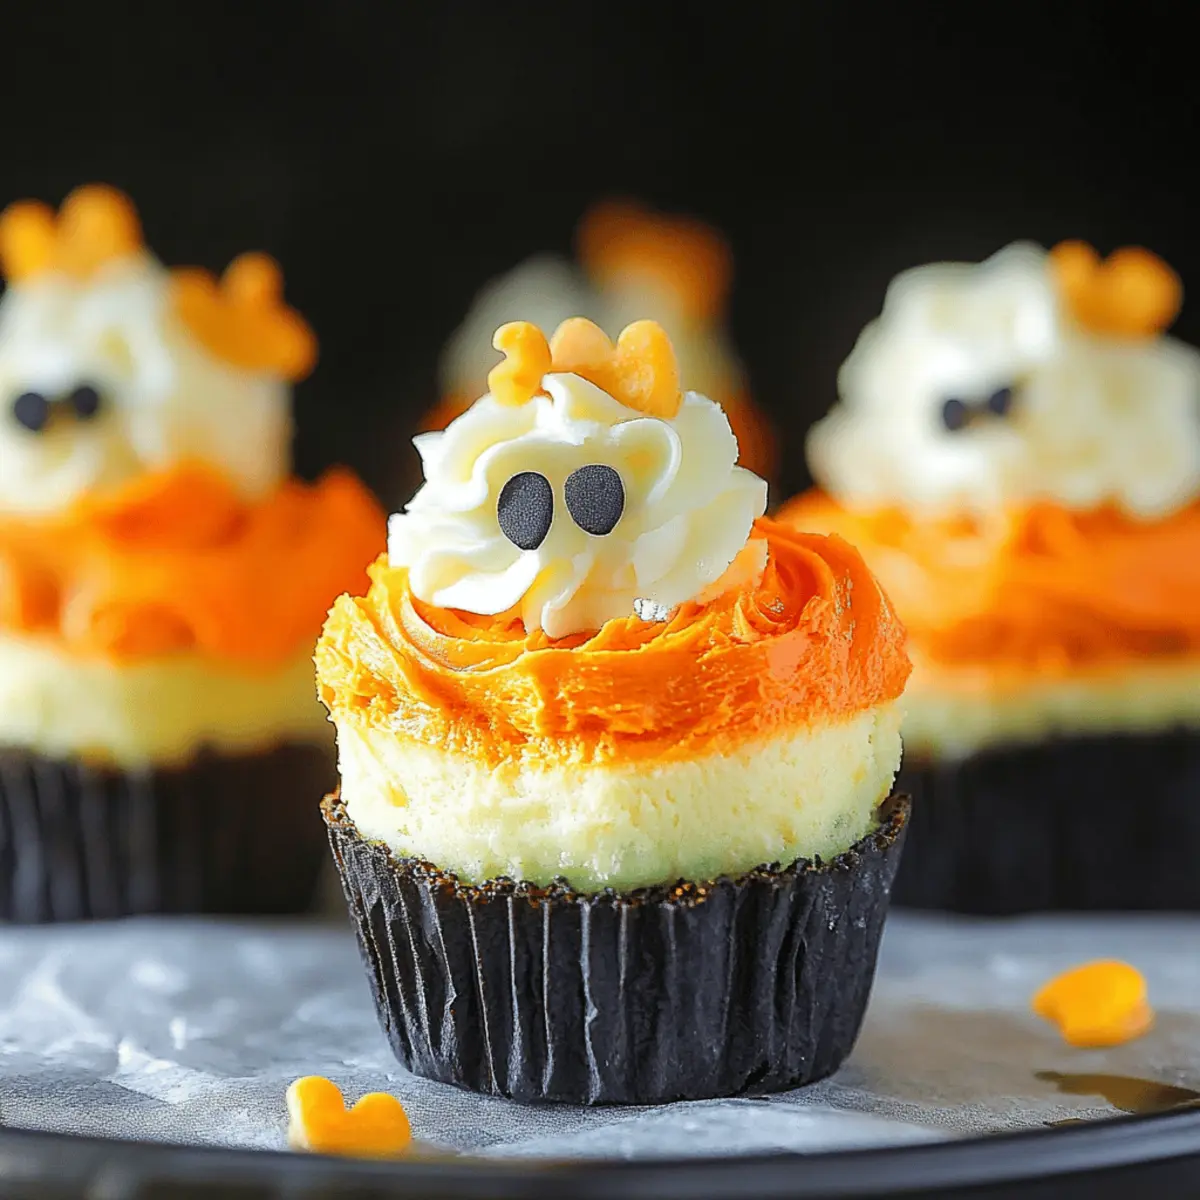
Whimsical inspiration: Drawing from the beloved fantasy world, it’s a fun twist that adds a bit of magic to your gatherings, making it perfect for themed parties or family events.
Easy preparation: With just 20 minutes of prep time, you can create this stunning treat without fuss.
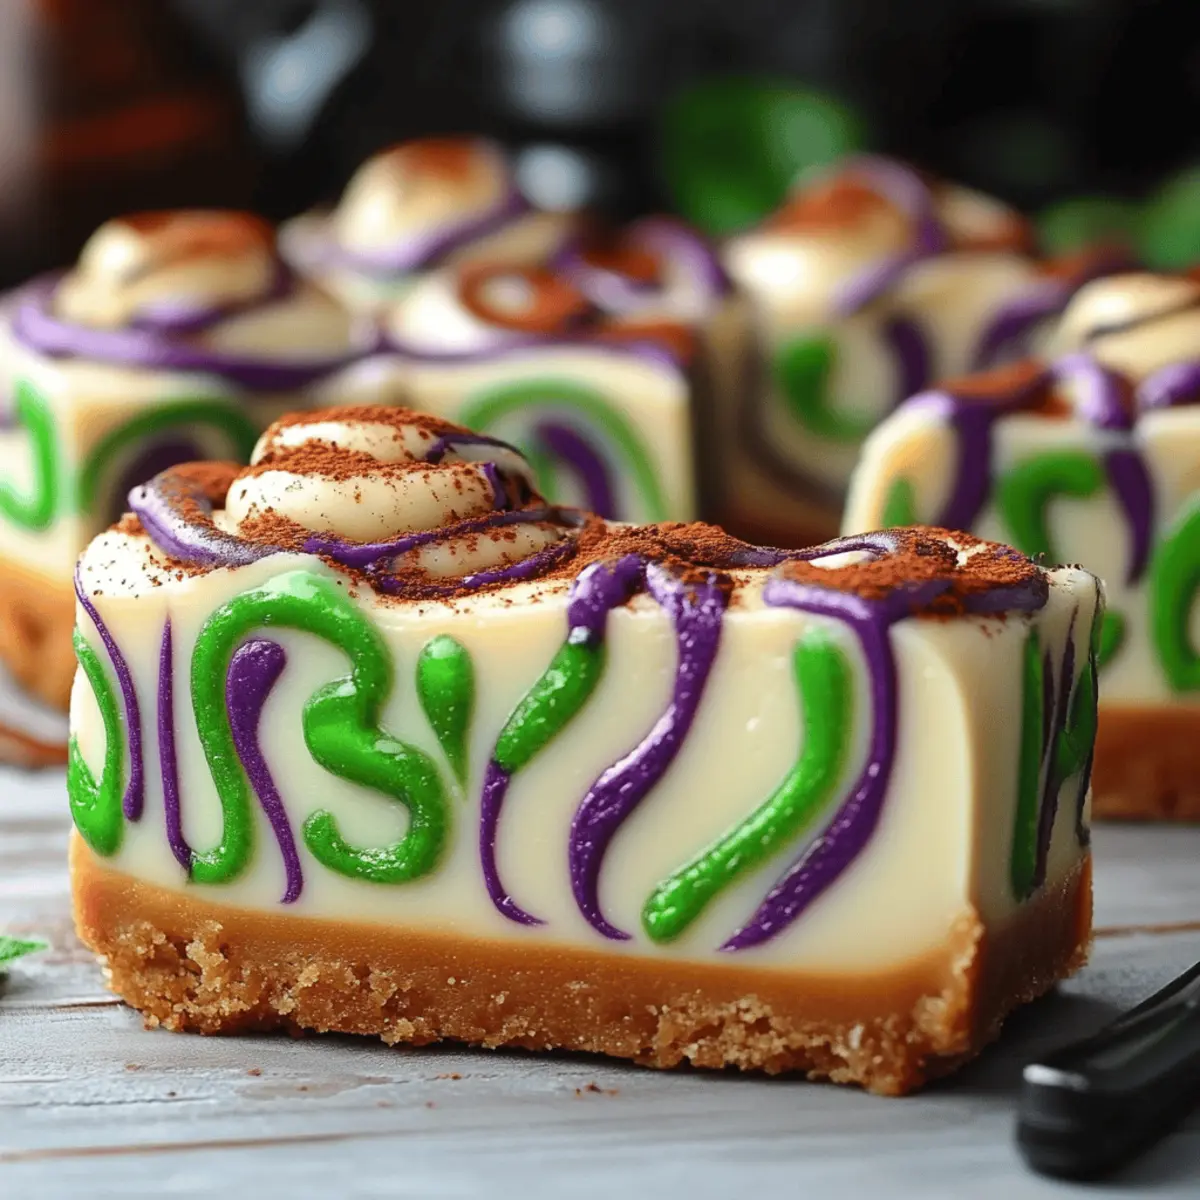
Flavor explosion: The luscious combination of creamy cheesiness with the rich, sweet swirls creates a balance that will have everyone coming back for seconds.
Perfect for everyone: Whether you’re a novice baker or a seasoned chef, this cheesecake caters to all skill levels. Be sure to check out my Rhubarb Cheesecake Fancy for another delightful twist on a classic!
Polyjuice Potion Swirl Cheesecake Ingredients
Get ready to assemble this magical treat!
For the Crust
- Graham cracker crumbs – adds a delightful crunch and a sweet flavor to the cheesecake base.
- Granulated sugar – enhances the sweetness of the crust to balance the tangy filling.
- Unsalted butter (melted) – binds the crust together and adds richness.
For the Cheesecake Filling
- Cream cheese (softened) – the star of any cheesecake, creating that creamy texture we all love.
- Granulated sugar – sweetens the filling for a perfect balance with the tanginess of the cheese.
- Sour cream – contributes to the creaminess and adds a hint of tang.
- Vanilla extract – infuses warmth and depth to the flavor profile.
- Large eggs – provide structure and stability, ensuring your cheesecake holds its shape.
For the Swirls
- Heavy cream – adds a rich, velvety texture for a luxurious swirl.
- Brown sugar – gives a caramel-like sweetness for a delightful contrast.
- Unsalted butter – enhances the creaminess of the swirl mixture.
- Green gel food coloring – for that magical, vibrant green swirl.
- Purple gel food coloring – brings a whimsical pop of color to your cheesecake.
For the Finishing Touches
- Edible glitter or sprinkles (optional) – adds a fun, sparkly element for special occasions.
- Edible silver dust (optional) – elevates the presentation for a truly enchanting dessert.
Now that you have all the ingredients laid out, you're one step closer to creating this delightful Polyjuice Potion Swirl Cheesecake! Happy baking!
Step‑by‑Step Instructions for Polyjuice Potion Swirl Cheesecake
Step 1: Preheat the Oven
Preheat your oven to 325°F (160°C) and prepare your springform pan by lining it with parchment paper or lightly greasing it with butter. This will ensure your Polyjuice Potion Swirl Cheesecake releases easily once baked. As the oven warms up, gather your ingredients for the crust and filling.
Step 2: Make the Crust
In a mixing bowl, combine the graham cracker crumbs, granulated sugar, and melted unsalted butter. Stir until the mixture resembles wet sand. Firmly press this crust mixture into the bottom of the prepared springform pan, ensuring it's evenly distributed. Once done, it's time to bake!
Step 3: Bake the Crust
Place the crust in your preheated oven and bake for 8–10 minutes or until it's slightly golden. This quick bake helps to set the crust and enhances its flavor. Once finished, remove the crust from the oven and let it cool while you whip up the cheesecake filling.
Step 4: Prepare the Cheesecake Filling
In a large mixing bowl, beat the softened cream cheese with granulated sugar using an electric mixer until it's light and creamy. This should take about 2-3 minutes. Then, gradually add in the sour cream and vanilla extract, mixing until everything is well combined and there are no lumps.
Step 5: Incorporate the Eggs
Add the eggs to the cheesecake mixture one at a time, mixing gently after each addition. This step is crucial to avoid overmixing, which can lead to cracks during baking. The filling should be smooth and fluffy, ready for the next step in making your Polyjuice Potion Swirl Cheesecake.
Step 6: Create the Swirl Mixture
In a small saucepan over medium heat, combine the heavy cream, brown sugar, and unsalted butter. Stir continuously until it comes to a boil, then reduce the heat and simmer for 2–3 minutes until it thickens. Don't forget to remove it from heat and stir in the vanilla extract for added flavor.
Step 7: Color the Swirl Mixture
Divide the thickened mixture into two bowls. In one bowl, add green gel food coloring, and in the other, add purple gel food coloring, stirring until both colors are vibrant and well-mixed. These colorful additions will create those enchanting swirls in your cheesecake.
Step 8: Swirl the Colors
Drizzle the green and purple mixtures over the cheesecake batter in random patterns. Using a toothpick or skewer, gently swirl the colors together – but be careful not to overmix! You want to create a beautiful, marbled effect that captures the magical essence of your Polyjuice Potion Swirl Cheesecake.
Step 9: Pour the Batter
Carefully pour the cheesecake batter over the cooled crust, spreading it evenly with a spatula. Tap the pan on the counter a few times to release any air bubbles trapped inside. This step is essential for achieving a smooth and creamy texture after baking.
Step 10: Bake the Cheesecake
Place the cheesecake in the oven and bake for 50–60 minutes. The edges should be set while the center retains a slight jiggle. Once baked, turn off the oven and crack the oven door before leaving it to cool gradually for about an hour; this helps prevent cracks from forming on the surface.
Step 11: Chill the Cheesecake
After the gradual cooling in the oven, transfer the cheesecake to the refrigerator. Chill for at least 4 hours or overnight to allow it to set completely. The longer it chills, the firmer it will be, making for easier slicing when it’s time to serve your Polyjuice Potion Swirl Cheesecake.
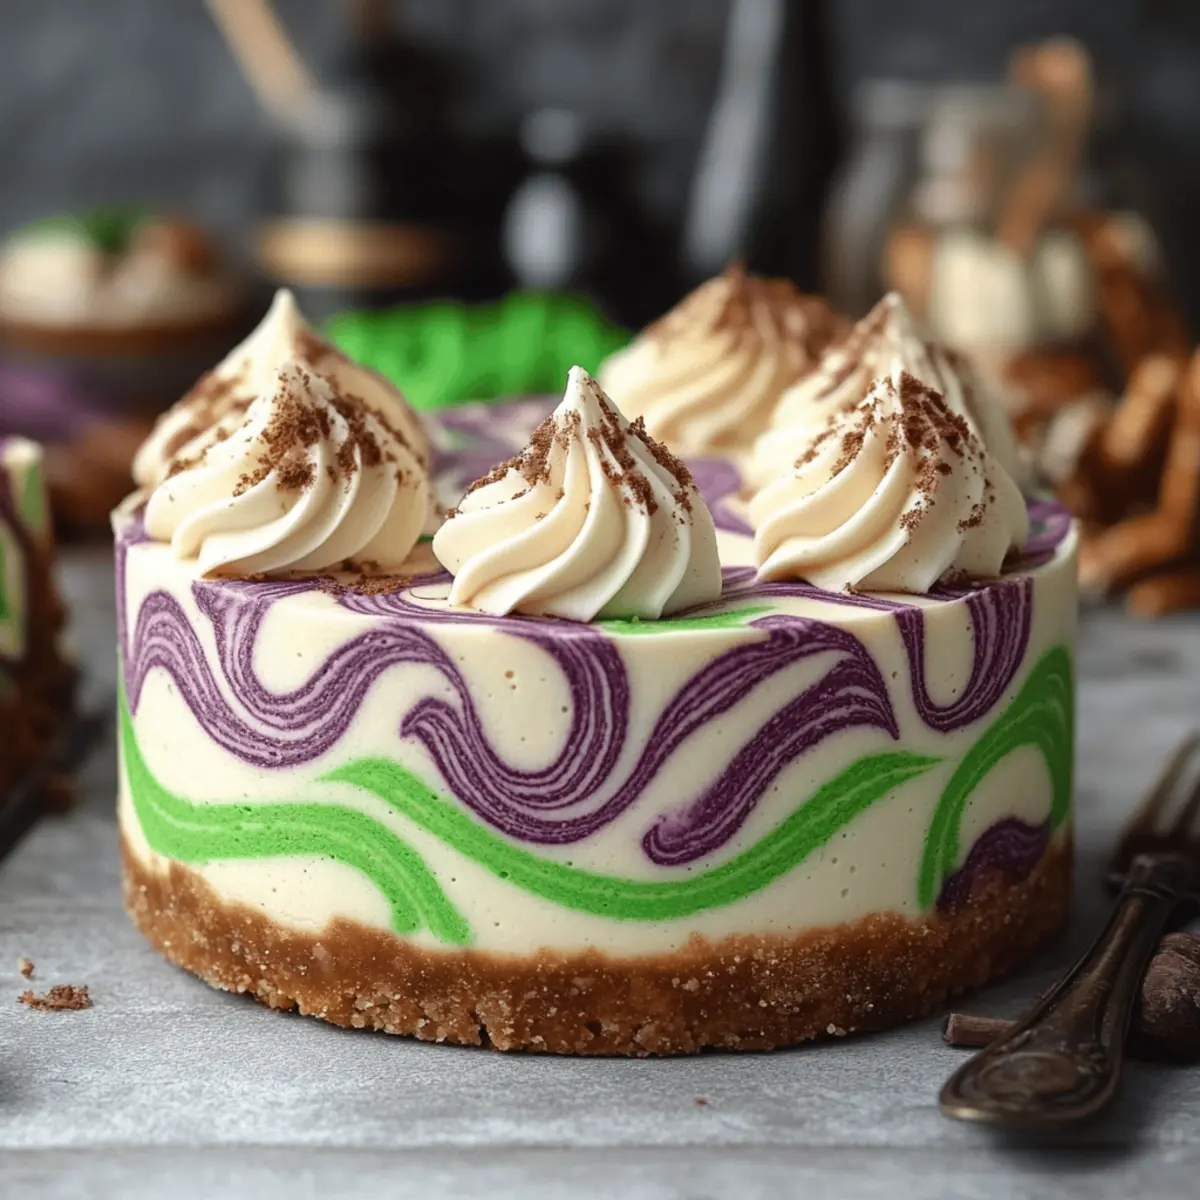
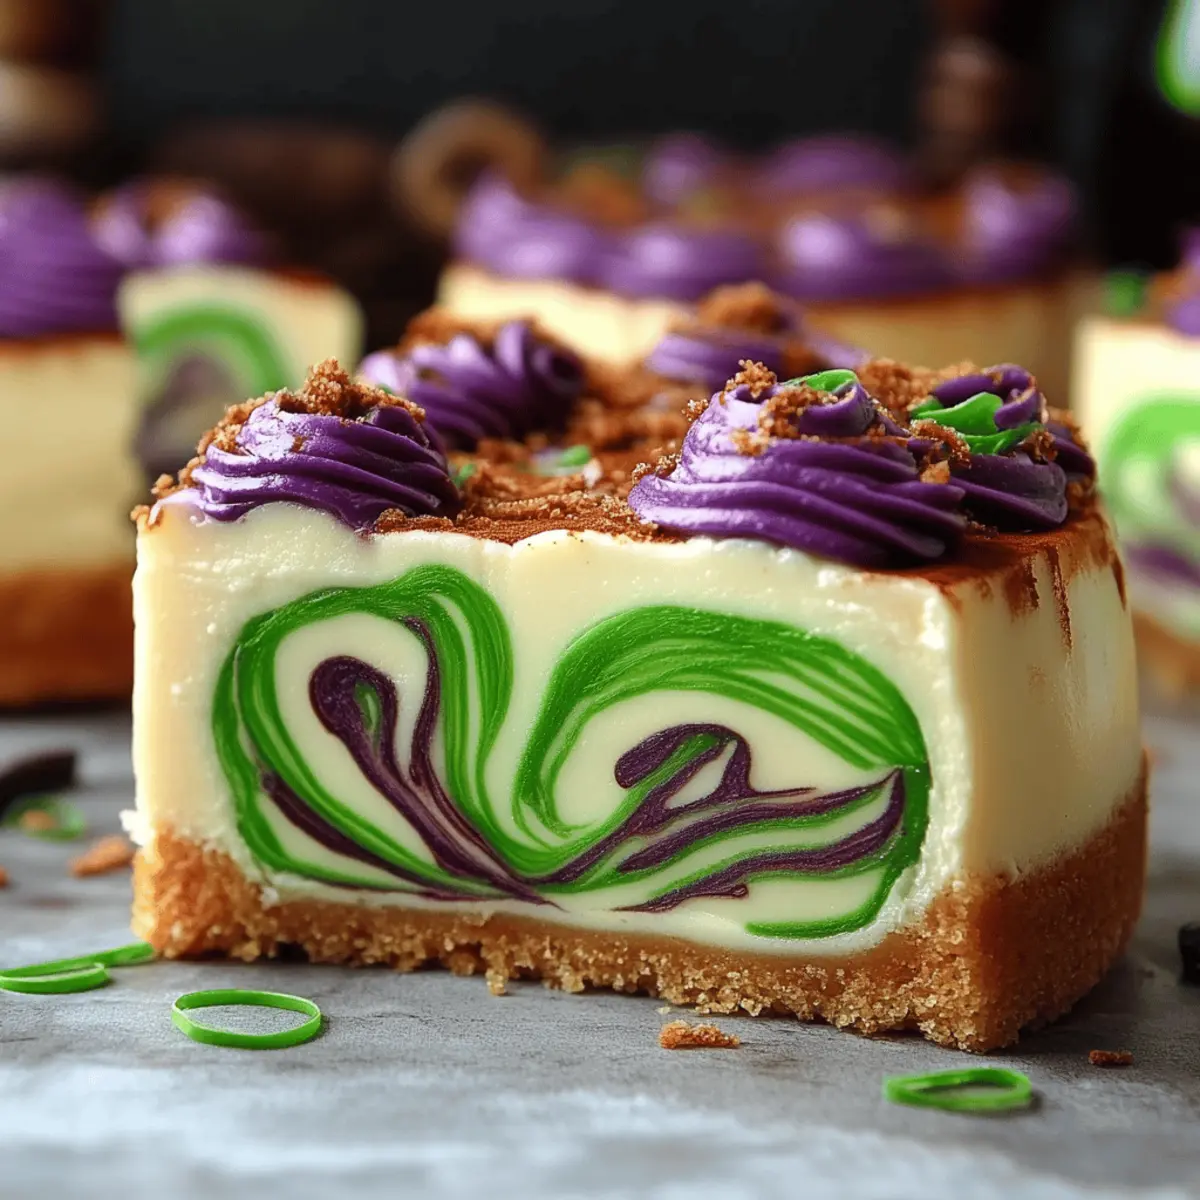
Step 12: Add Finishing Touches
Before serving, drizzle any leftover green and purple mixtures on top of the chilled cheesecake for an extra pop of color. Optional edible glitter or silver dust can be sprinkled on top to elevate its magical appearance. Your guests will be enchanted by both the look and taste!
Step 13: Slice and Serve
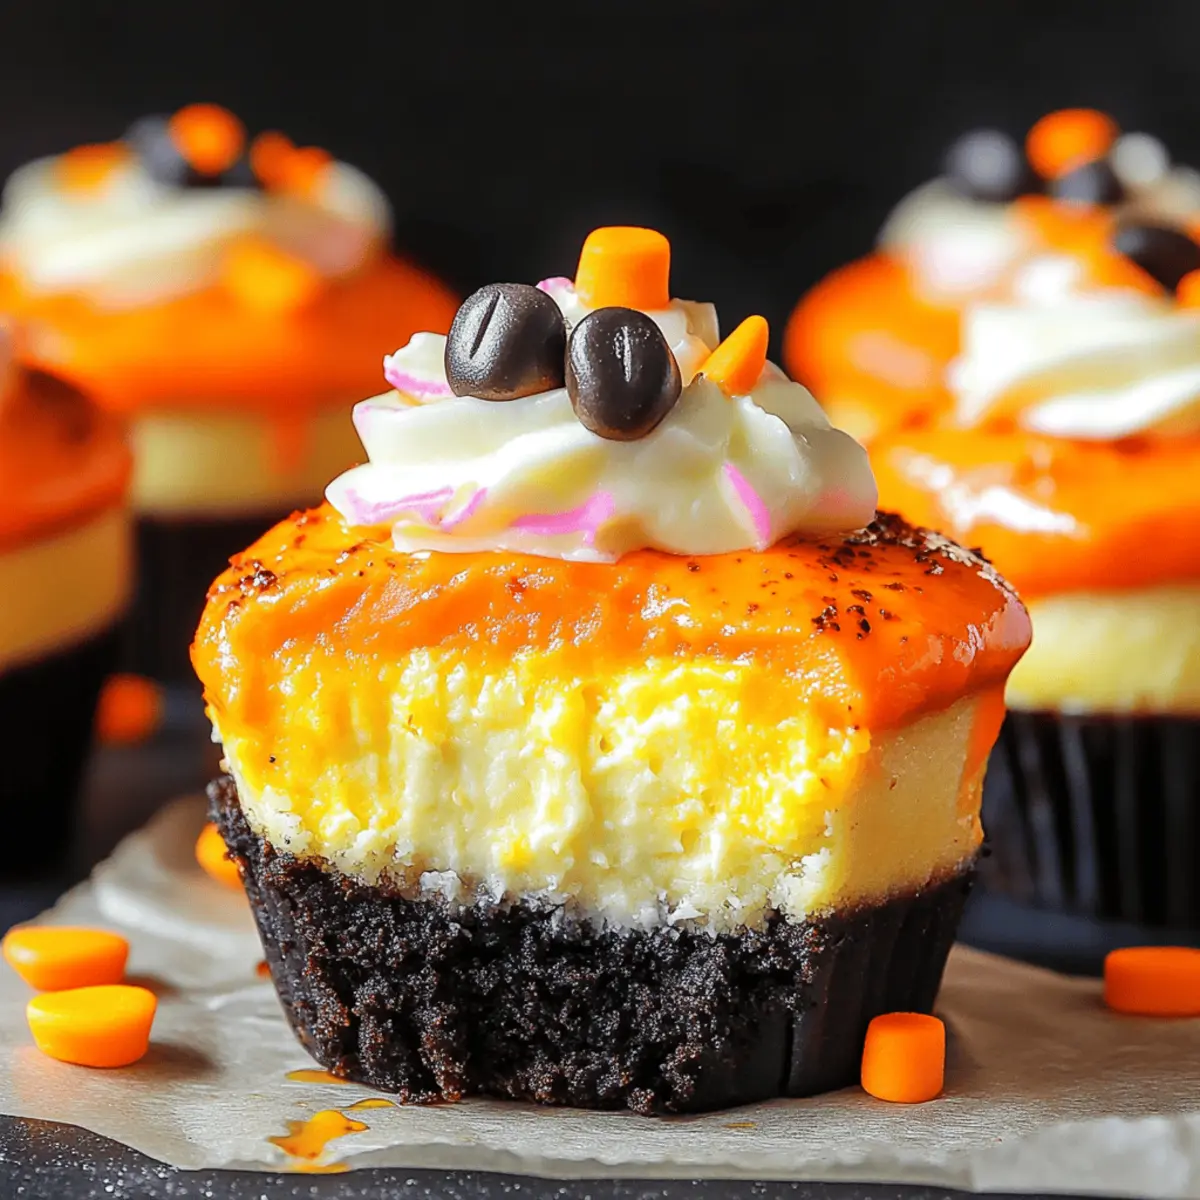
For clean slices of your Polyljuice Potion Swirl Cheesecake, dip a sharp knife in hot water, wipe it dry, and then cut through the cheesecake. This technique ensures that each slice holds its beautiful swirls, making for a stunning presentation at the table!
How to Store and Freeze Polyjuice Potion Swirl Cheesecake
-
Fridge: Store the cheesecake in an airtight container or cover it tightly with plastic wrap for up to 5 days. The flavors will deepen as it sits, making each slice even more delightful.
-
Freezer: To freeze, wrap the cheesecake tightly in plastic wrap, followed by aluminum foil. It can be frozen for up to 3 months. Thaw it overnight in the fridge before serving for optimal texture.
-
Reheating: While cheesecake is typically enjoyed cold, if you'd like to serve it slightly warm, let it sit at room temperature for about 30 minutes before slicing. Enjoy the smooth, creamy goodness of your Polyjuice Potion Swirl Cheesecake!
Polyjuice Potion Swirl Cheesecake Variations
Feel free to get creative with this delightful cheesecake and make it your own!
-
Gluten-Free Crust: Substitute graham cracker crumbs with gluten-free crumbs or crushed almonds for a gluten-free version. The change won't compromise taste!
-
Low-Sugar Sweetening: Use a sugar substitute like stevia or erythritol to cut down on sugar while enjoying full flavor. You won't even miss the sweetness!
-
Fruity Splash: Add a layer of fresh fruit, like berries or sliced bananas, as a base for a fruity twist. It creates a lovely contrast to the creamy cheesecake.
-
Chocolate Lovers: Incorporate chocolate chips into the cheesecake batter for a rich and decadent chocolate version. You'll find that chocolate and cream cheese is a match made in dessert heaven!
-
Nutty Crunch: Fold in your favorite nuts, such as pecans or walnuts, into the filling for added crunch and flavor. The texture and taste will surprise you!
-
Spice it Up: Add a teaspoon of cinnamon or pumpkin spice to the filling for a warm, cozy flavor. It’s like wrapping yourself in a blanket of spices!
-
Vegan Cheesecake: Use soaked cashews blended with coconut cream and maple syrup as a delicious vegan alternative. It’s creamy, dreamy, and guilt-free!
-
Swirls of Different Colors: Play with other gel colors like red or blue for a rainbow effect. Your cheesecake will be not just delicious but a visual feast!
With these variations, you’ll create an enchanting cheesecake that suits every taste and occasion. If you're looking for more creative twists, try making a Carrot Cake Cheesecake or explore the wonders of my Apricot Cheesecake Gluten. Enjoy baking this magic!
Expert Tips for Polyjuice Potion Swirl Cheesecake
-
Room Temperature Ingredients: Make sure your cream cheese and eggs are at room temperature for a smoother filling. Cold ingredients can lead to lumps!
-
Avoid Overmixing: Mix the eggs into the cheesecake batter gently. Overmixing can introduce too much air, causing cracks as it bakes.
-
Chill Gradually: Allow the cheesecake to cool in the oven with the door slightly ajar before refrigerating. This gradual cooling helps prevent unsightly cracks.
-
Swirling Technique: Be careful not to overmix the gel colors into the batter; a gentle swirl will create beautiful marbled effects for your Polyjuice Potion Swirl Cheesecake.
-
Let It Set: For the best texture, let your cheesecake chill for at least 4 hours, but overnight is even better! A well-set cheesecake slices beautifully.
What to Serve with Polyjuice Potion Swirl Cheesecake?
As you prepare to wow your guests with this colorful dessert, consider some delightful pairings to create a well-rounded meal.
- Fresh Berries: Their natural sweetness and tartness brighten the plate and balance the rich cheesecake beautifully.
- Chocolate Ganache: A drizzle of warm chocolate sauce over individual slices adds an indulgent touch that chocolate lovers won't resist.
- Mint Tea: The refreshing flavors of mint tea cleanse the palate after each bite, providing a soothing contrast to the creaminess.
- Whipped Cream: Light and airy, a dollop of freshly whipped cream elevates the cheesecake, creating a dreamy texture combination.
- Fruit Salsa: A mix of vibrant fruits like pineapple, kiwi, and mango adds a fresh, zesty element that complements the cheesecake's richness.
- Spiced Apple Compote: The warmth of spiced apples brings a cozy, comforting flavor profile, making each bite feel like a warm hug.
- Sparkling Water: A splash of sparkling water or lemonade adds fizz and refreshment to keep the meal light and enjoyable.
- Honey-Lavender Ice Cream: Scoop up a bit of this fragrant ice cream alongside your cheesecake for an irresistible floral twist.
- Mini Fruit Tarts: Their balance of pastry and fresh fruit echoes the delightful creaminess of your cheesecake and enhances your dessert spread.
- Coffee: A robust cup of coffee provides a perfect counterpoint to the cheesecake's sweetness, making it ideal for an after-dinner treat.
Make Ahead Options
The Polyjuice Potion Swirl Cheesecake is perfect for busy home cooks looking to save time during the week! You can prepare the crust and filling up to 24 hours in advance. To do this, simply follow steps 1 through 7, then cover the cheesecake batter tightly with plastic wrap and refrigerate it. This keeps the flavors fresh and ensures a creamy texture. When you're ready to bake, just pour the chilled batter over the cooled crust and proceed with baking and chilling as instructed. Remember, letting it chill for at least 4 hours or overnight ensures even better results, making this a truly delightful, hassle-free dessert for any occasion!
Polyjuice Potion Swirl Cheesecake Recipe FAQs
How do I know if my ingredients are ripe or ready for use?
Absolutely! For the best cheesecake, ensure your cream cheese is softened to room temperature before mixing. This avoids lumps and ensures a creamy texture. Eggs should also be at room temperature for smooth incorporation. As for the heavy cream, check for any sour smell or curdling—fresh cream is the key to a luscious swirl!
What is the best way to store leftover cheesecake?
Very good question! Store your Polyjuice Potion Swirl Cheesecake in an airtight container or cover it tightly with plastic wrap. It can last up to 5 days in the fridge. Each slice will become even tastier, with the flavors deepening as it sits!
Can I freeze my cheesecake? If so, how?
Absolutely, freezing is a fantastic option! Wrap your cheesecake tightly in plastic wrap, ensuring no air pockets. Then, cover it with aluminum foil for added protection. It can safely be frozen for up to 3 months. When you’re ready to enjoy it, simply thaw overnight in the fridge for the best texture.
What should I do if my cheesecake cracks while baking?
Oh no, cracks can be disheartening! To avoid this, ensure you mix the eggs softly into the batter without overmixing. Also, use the gradual cooling method by leaving the cheesecake in the oven with the door slightly ajar for about an hour after baking. This helps prevent sudden temperature changes that can cause cracks.
Are there any dietary considerations I should be aware of?
Very much! If you’re serving guests, consider potential allergies. This Polyjuice Potion Swirl Cheesecake is not gluten-free due to the graham cracker crust, but you can easily substitute with gluten-free graham cracker crumbs. Additionally, if anyone is lactose intolerant, I recommend trying a dairy-free cream cheese alternative. Happy baking!
Magical Polyjuice Potion Swirl Cheesecake Recipe Delight
Ingredients
Equipment
Method
- Preheat your oven to 325°F (160°C) and prepare your springform pan by lining it with parchment paper or lightly greasing it with butter.
- In a mixing bowl, combine the graham cracker crumbs, granulated sugar, and melted unsalted butter. Stir until the mixture resembles wet sand. Firmly press this crust mixture into the bottom of the prepared springform pan.
- Place the crust in your preheated oven and bake for 8–10 minutes or until slightly golden. Let it cool while you prepare the filling.
- In a large mixing bowl, beat the softened cream cheese with granulated sugar until light and creamy, about 2-3 minutes.
- Gradually add in the sour cream and vanilla extract, mixing until well combined and smooth.
- Add the eggs one at a time, mixing gently after each addition to avoid overmixing.
- In a small saucepan, combine heavy cream, brown sugar, and unsalted butter. Stir until it comes to a boil, then simmer for 2–3 minutes until it thickens.
- Divide the mixture into two bowls, adding green gel food coloring to one and purple gel food coloring to the other.
- Drizzle the green and purple mixtures over the cheesecake batter in random patterns and swirl gently.
- Carefully pour the cheesecake batter over the cooled crust, spreading it evenly.
- Bake the cheesecake for 50–60 minutes until the edges are set and the center jiggles slightly.
- Turn off the oven and leave the cheesecake inside with the door ajar for about an hour to cool gradually.
- Transfer the cheesecake to the refrigerator and chill for at least 4 hours or overnight.
- Drizzle any leftover swirl mixtures on top of the cheesecake and optionally sprinkle with edible glitter or silver dust before serving.
- To slice, dip a sharp knife in hot water, wipe it dry, and cut through the cheesecake for clean slices.