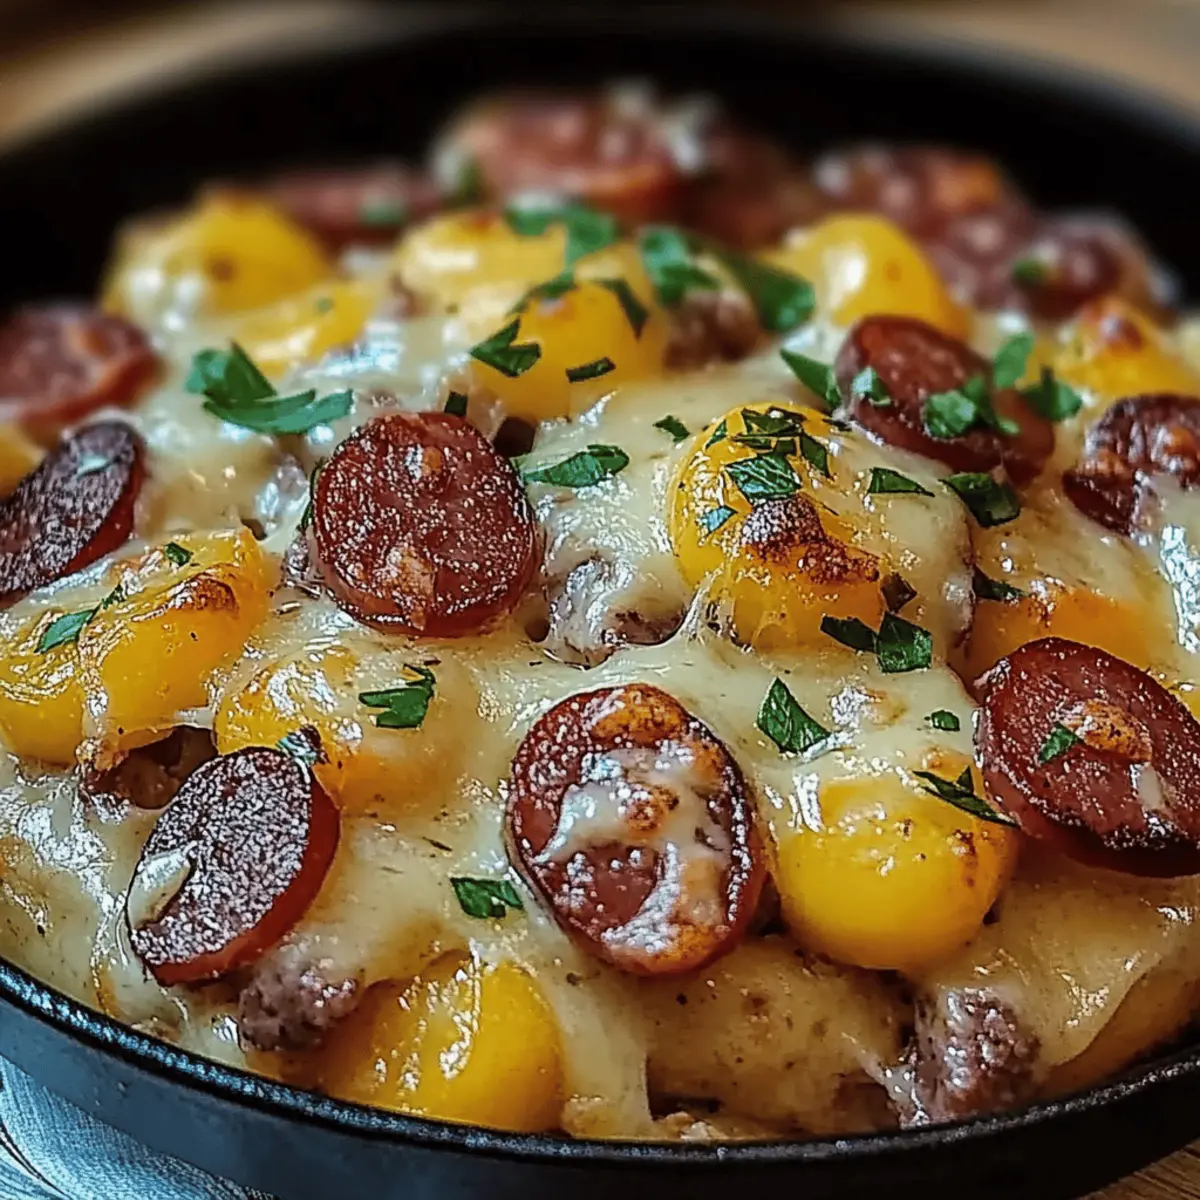
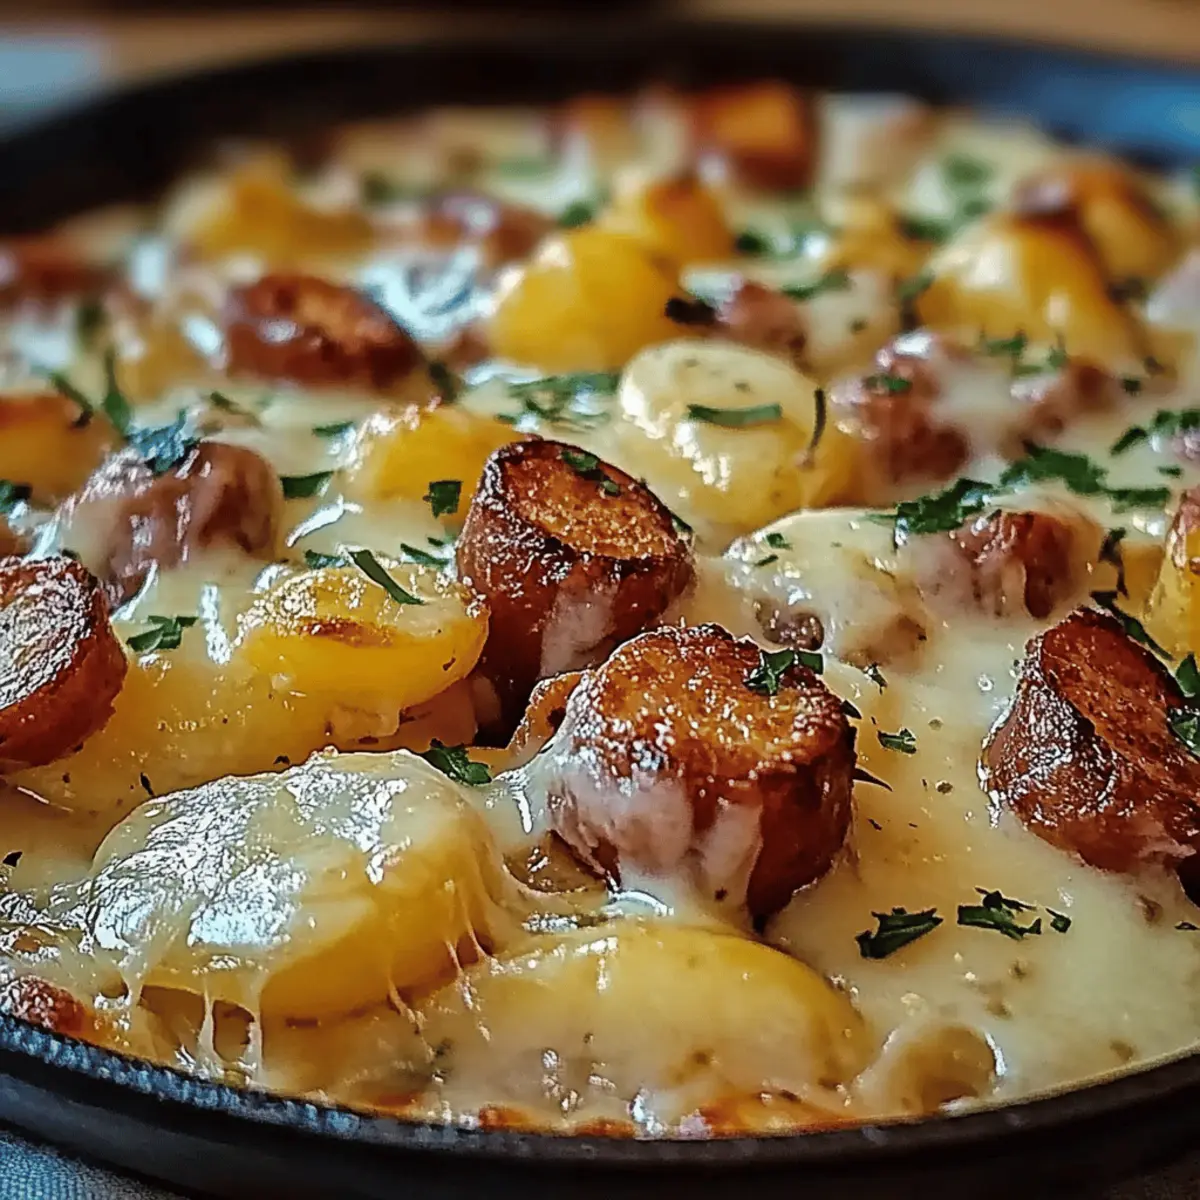
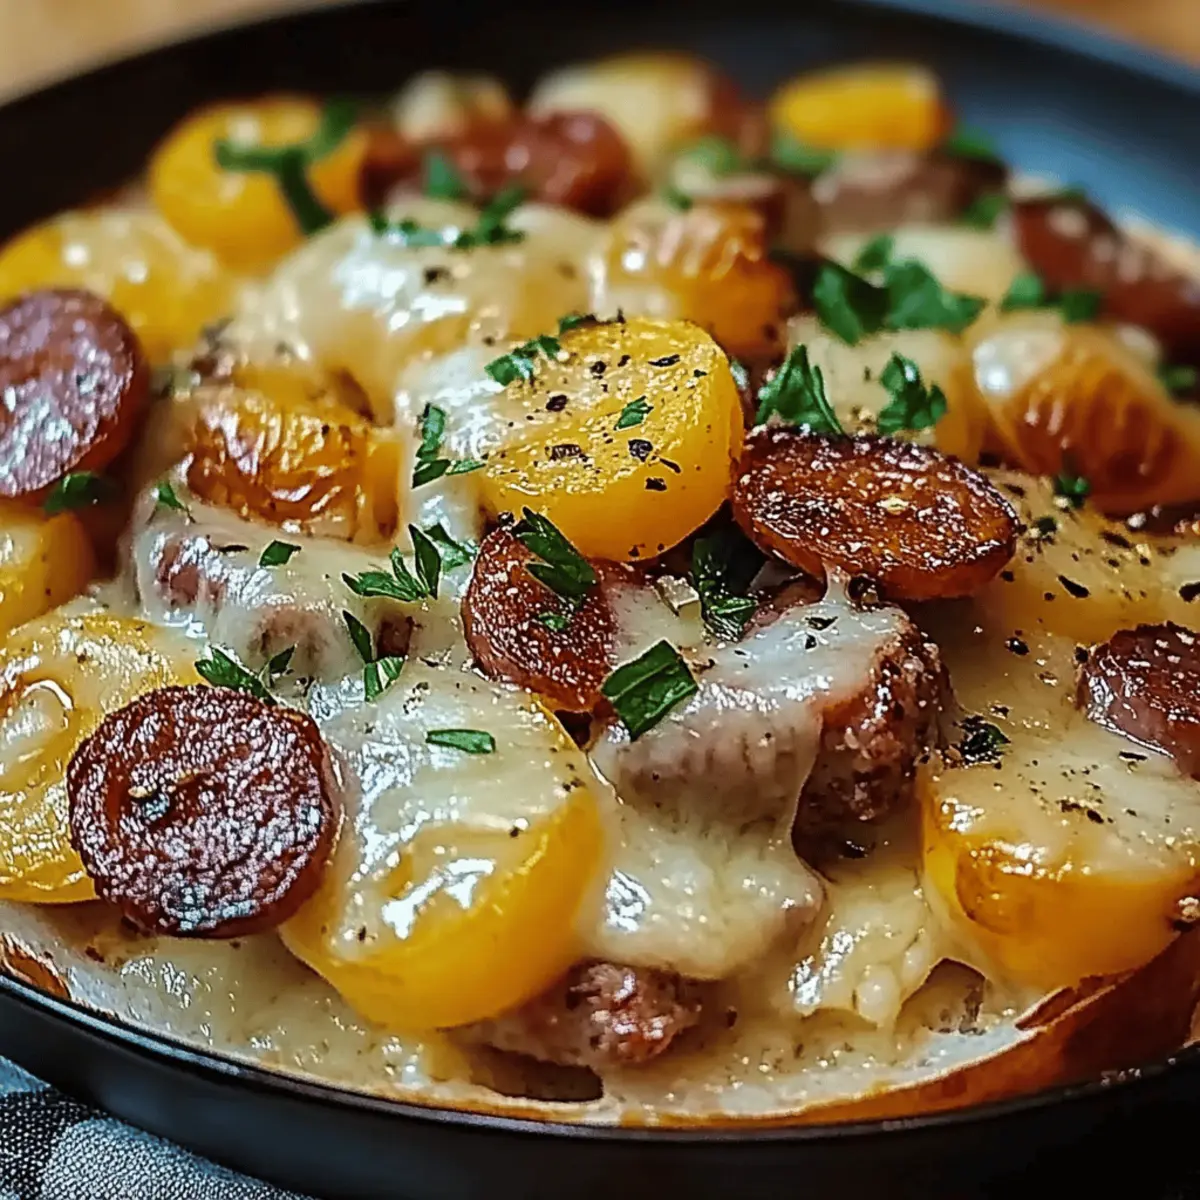
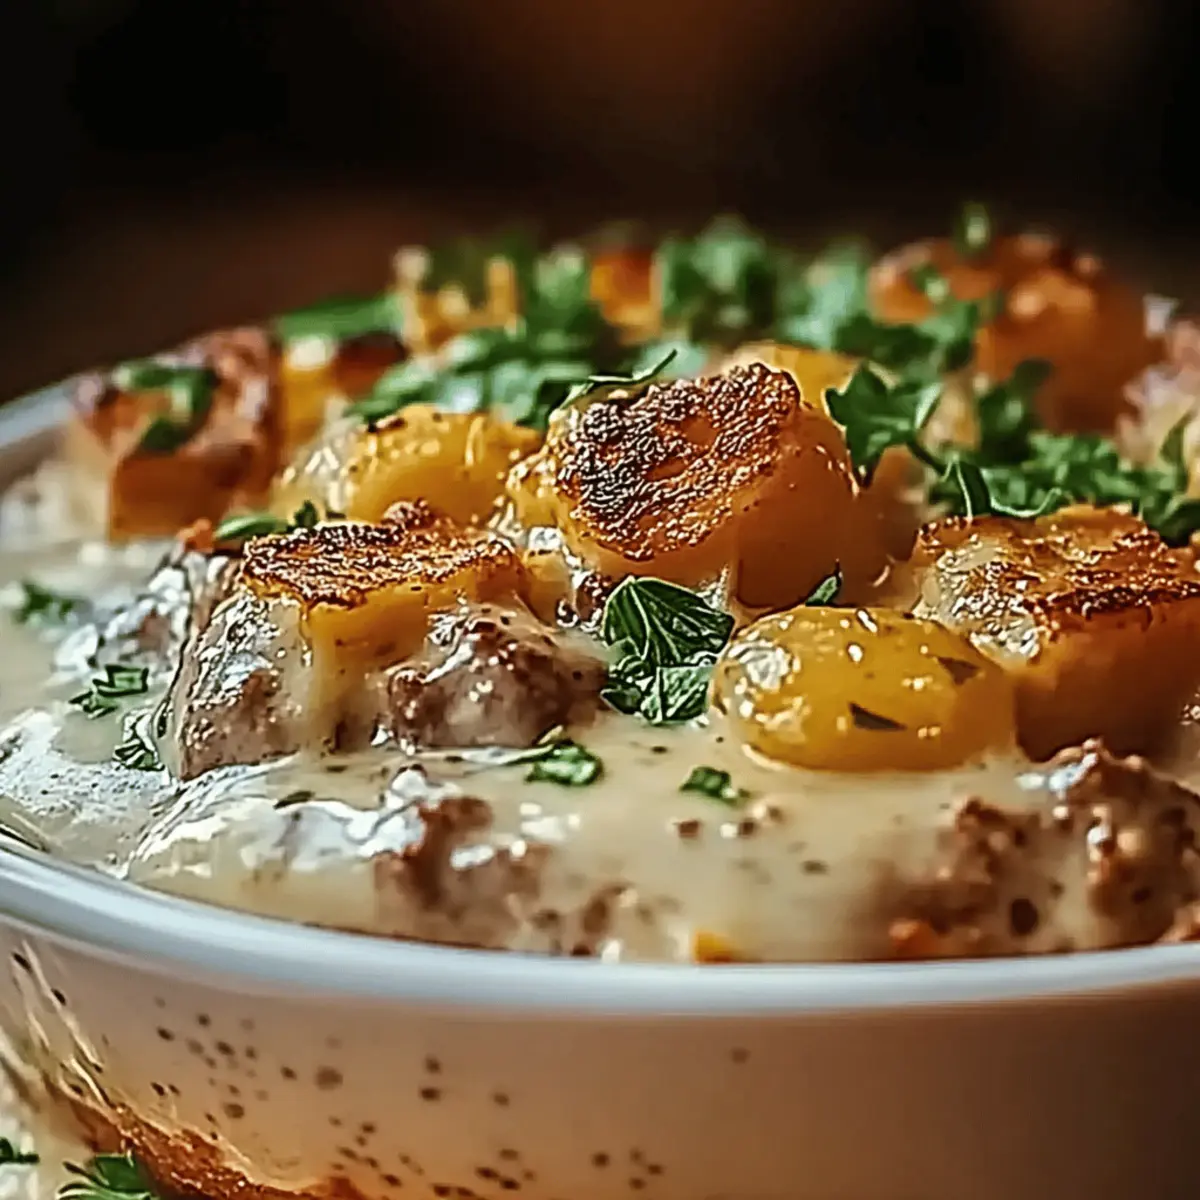
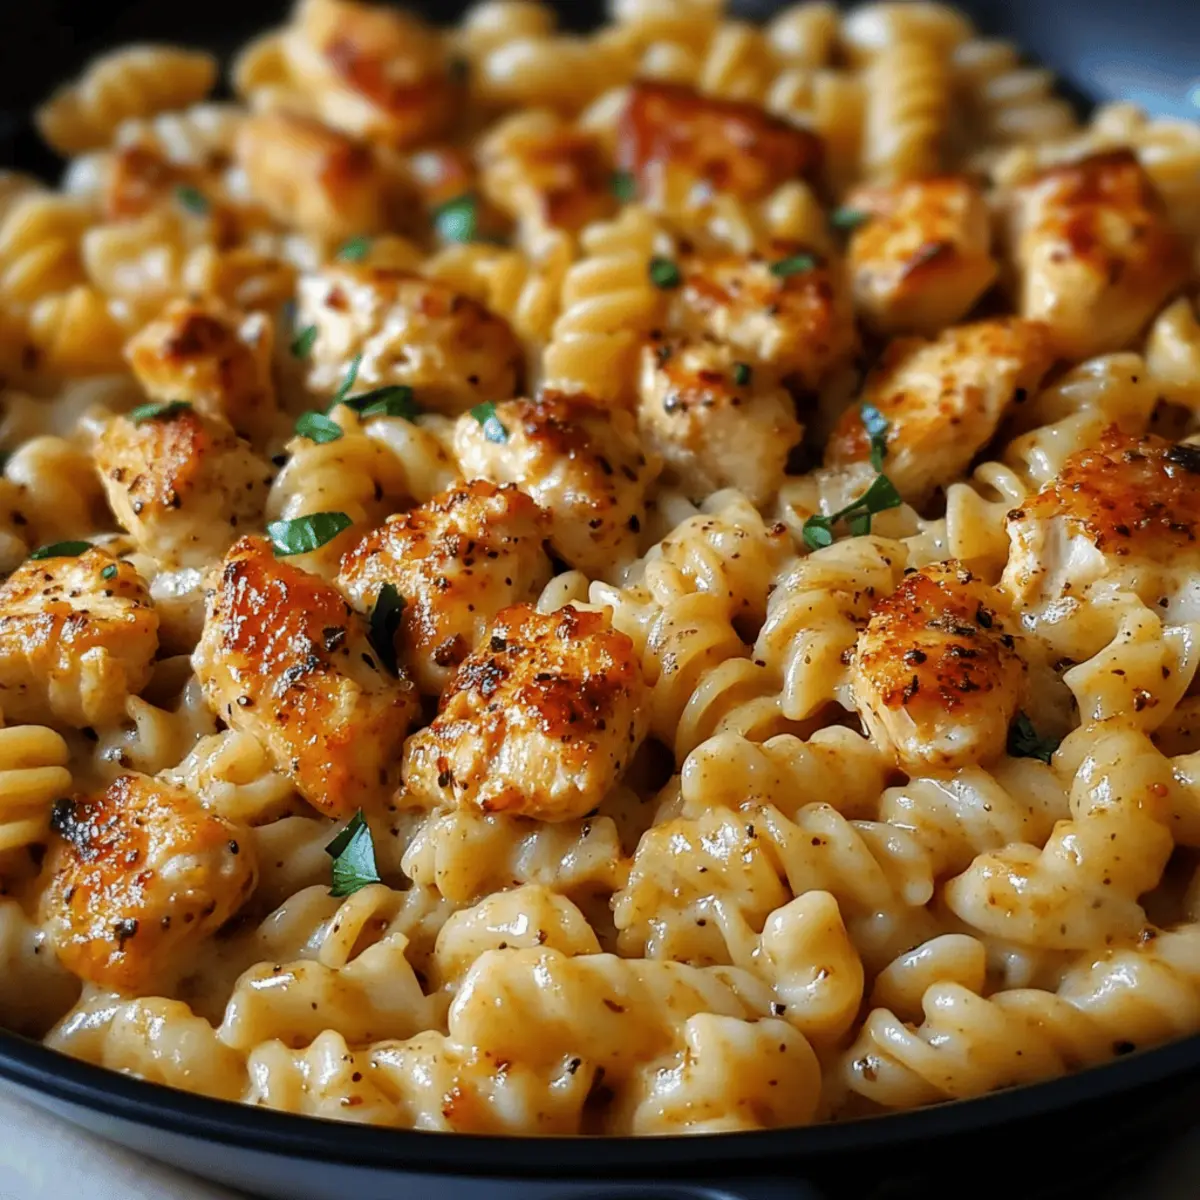
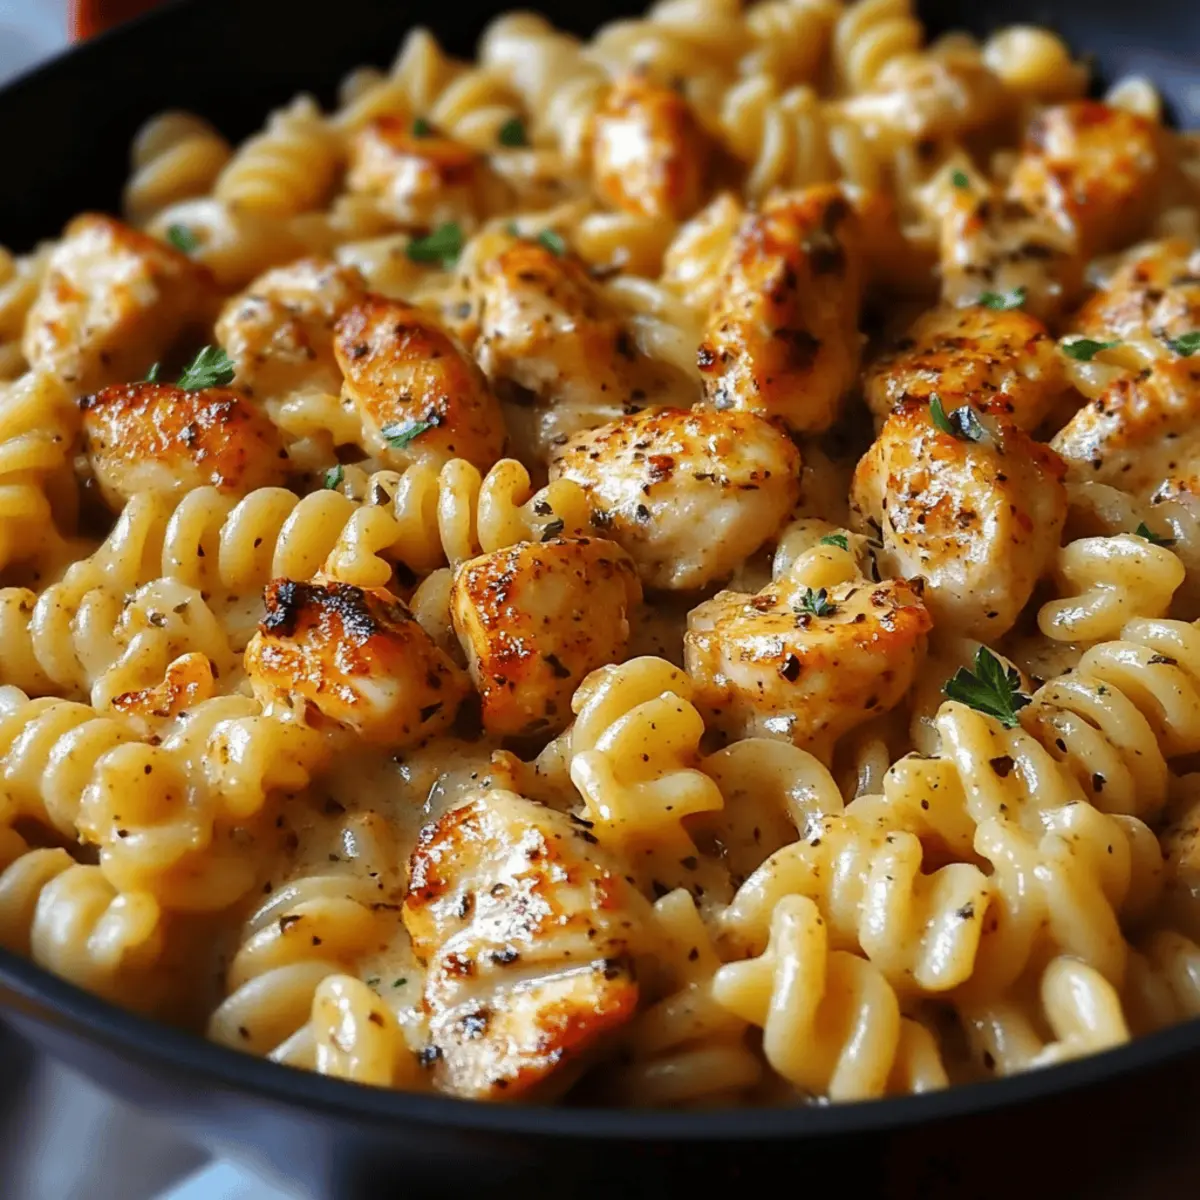
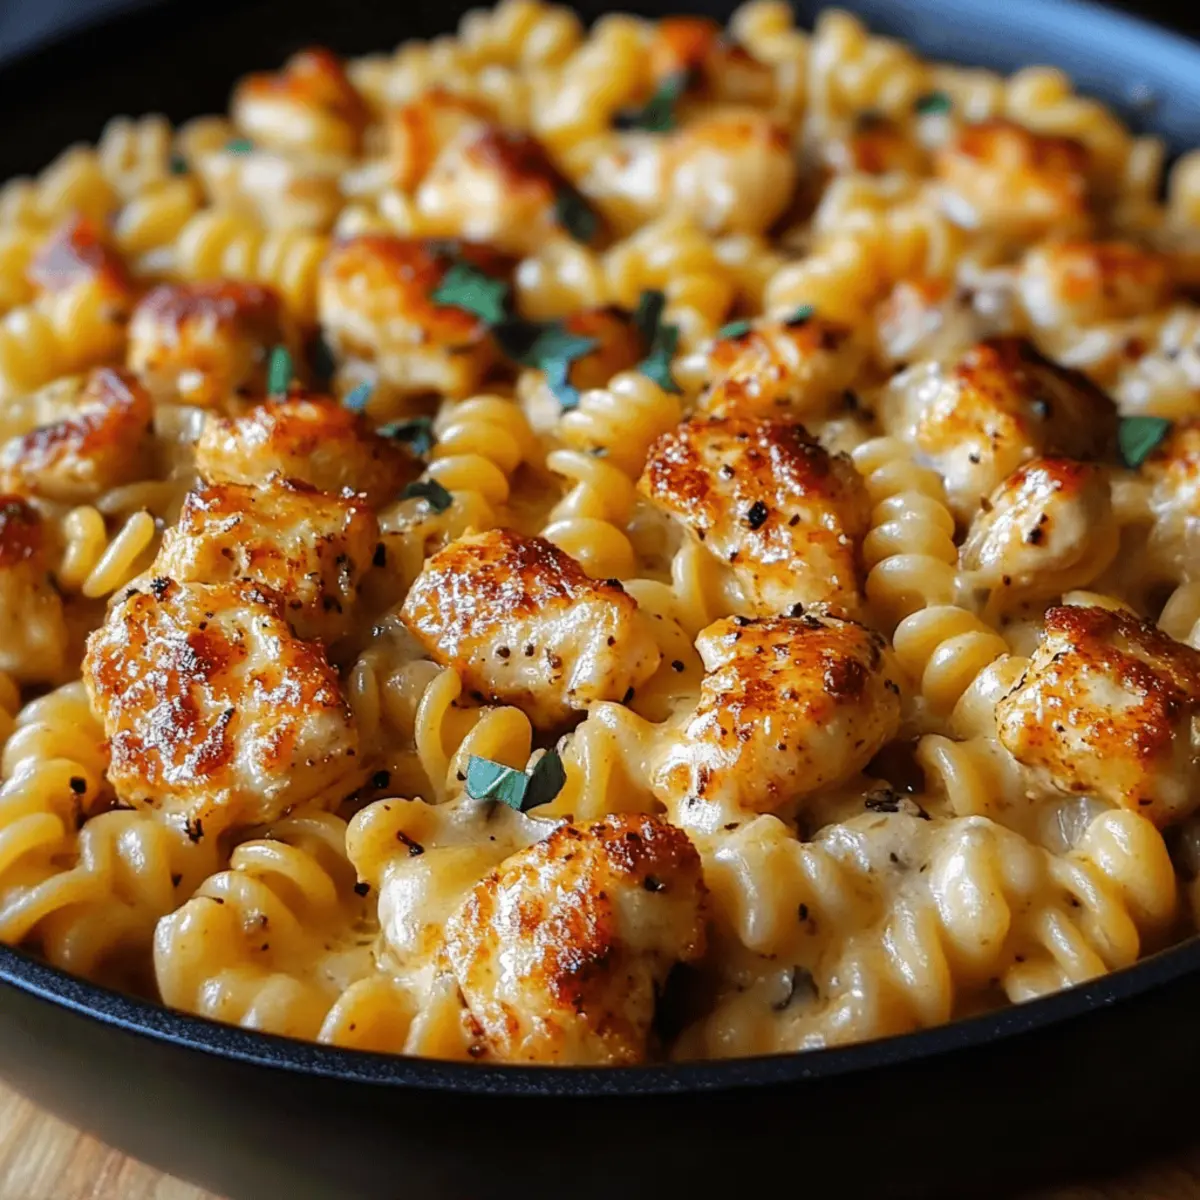
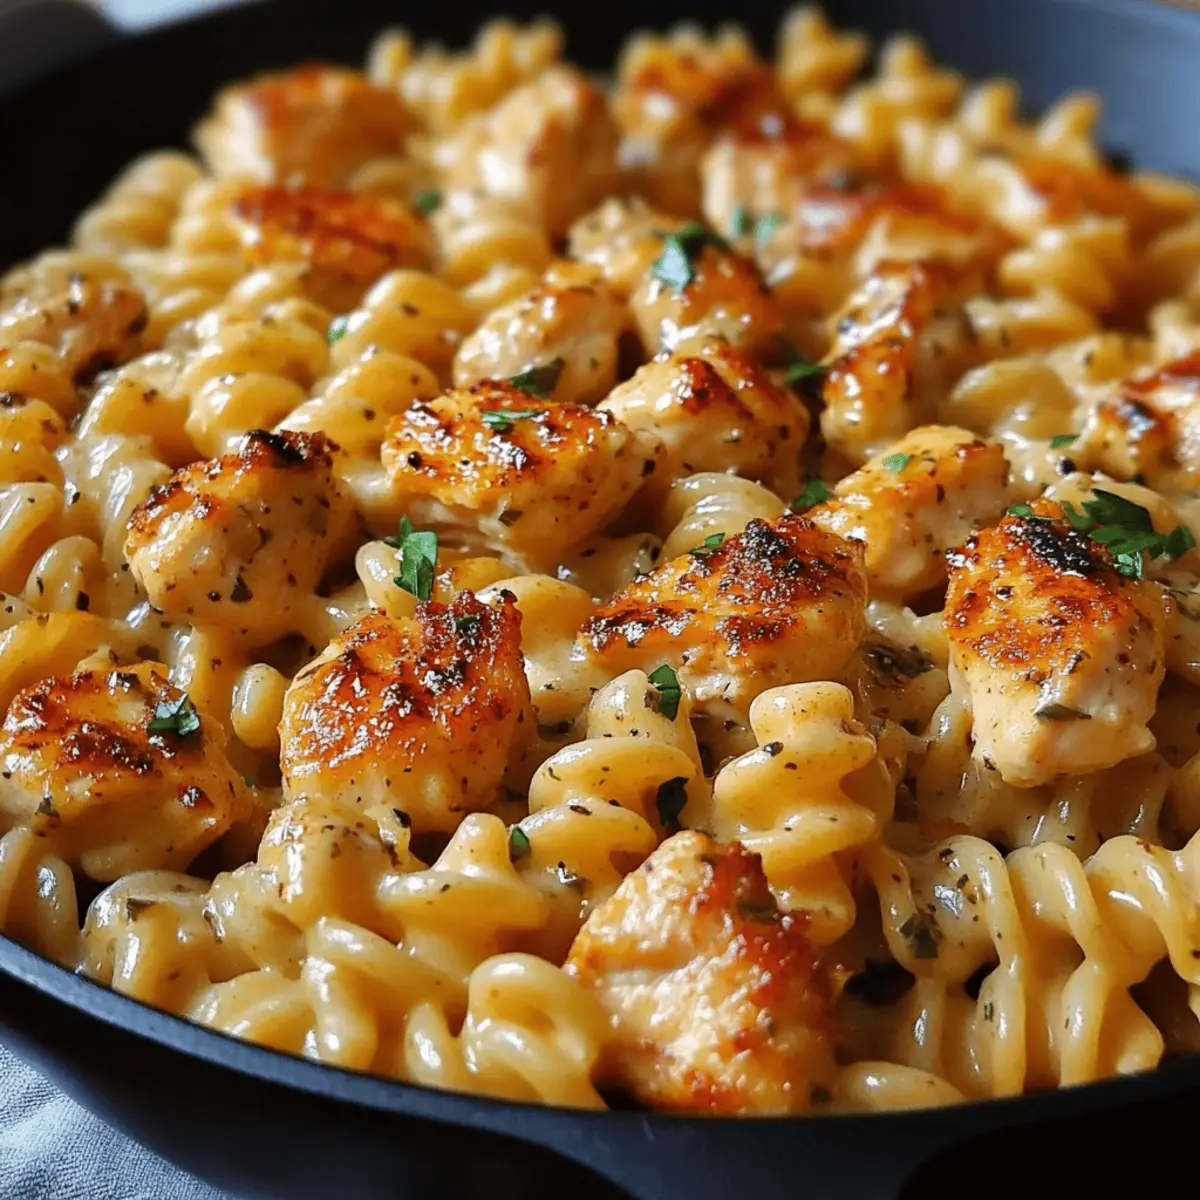
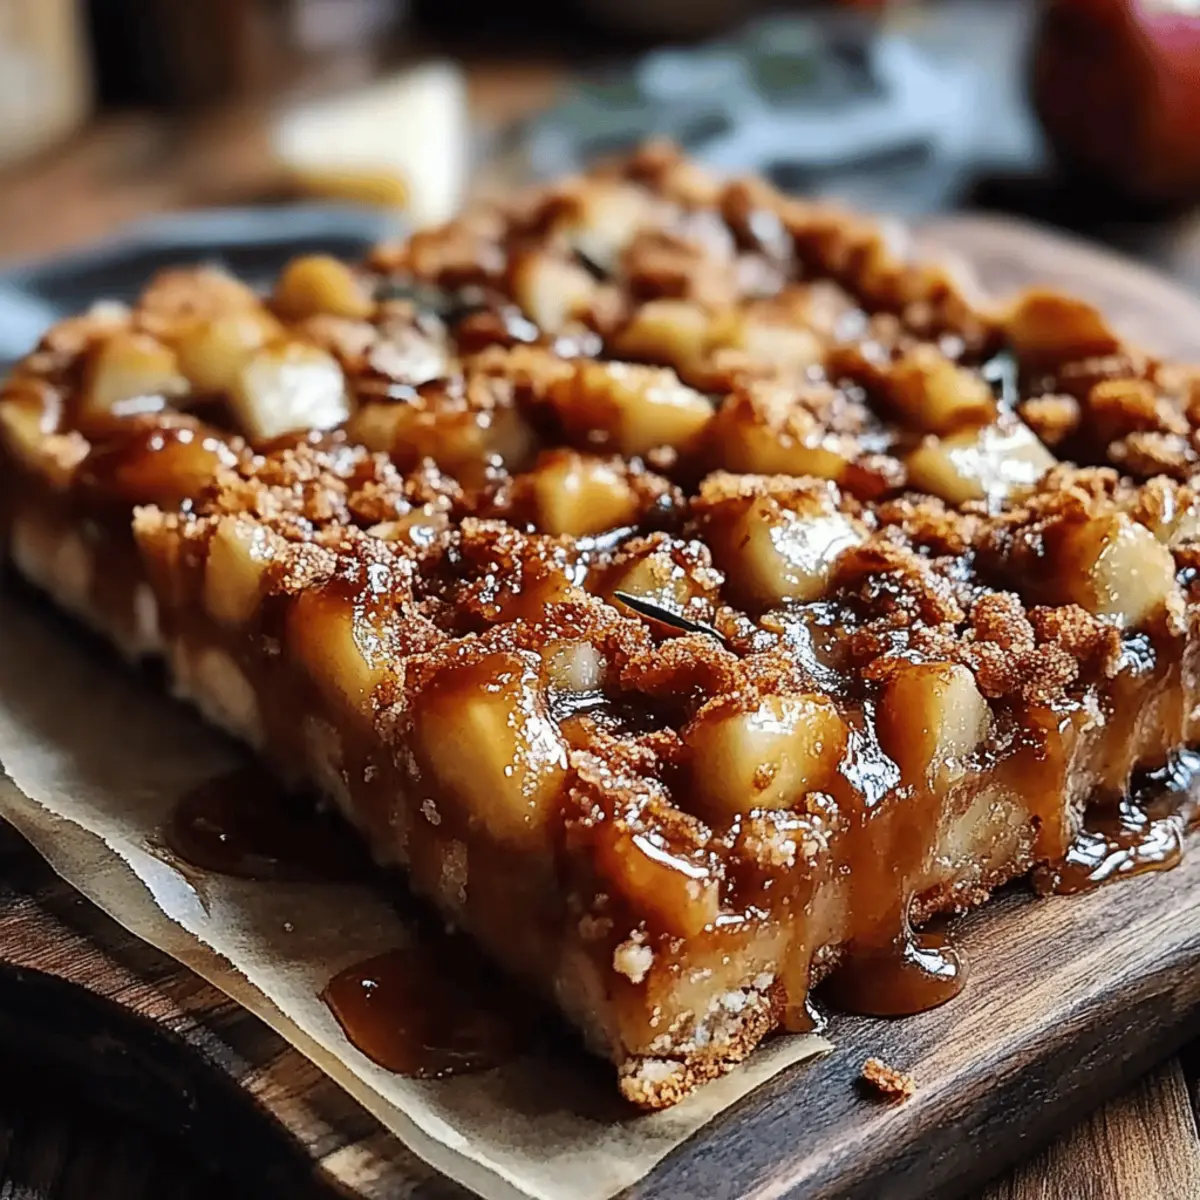
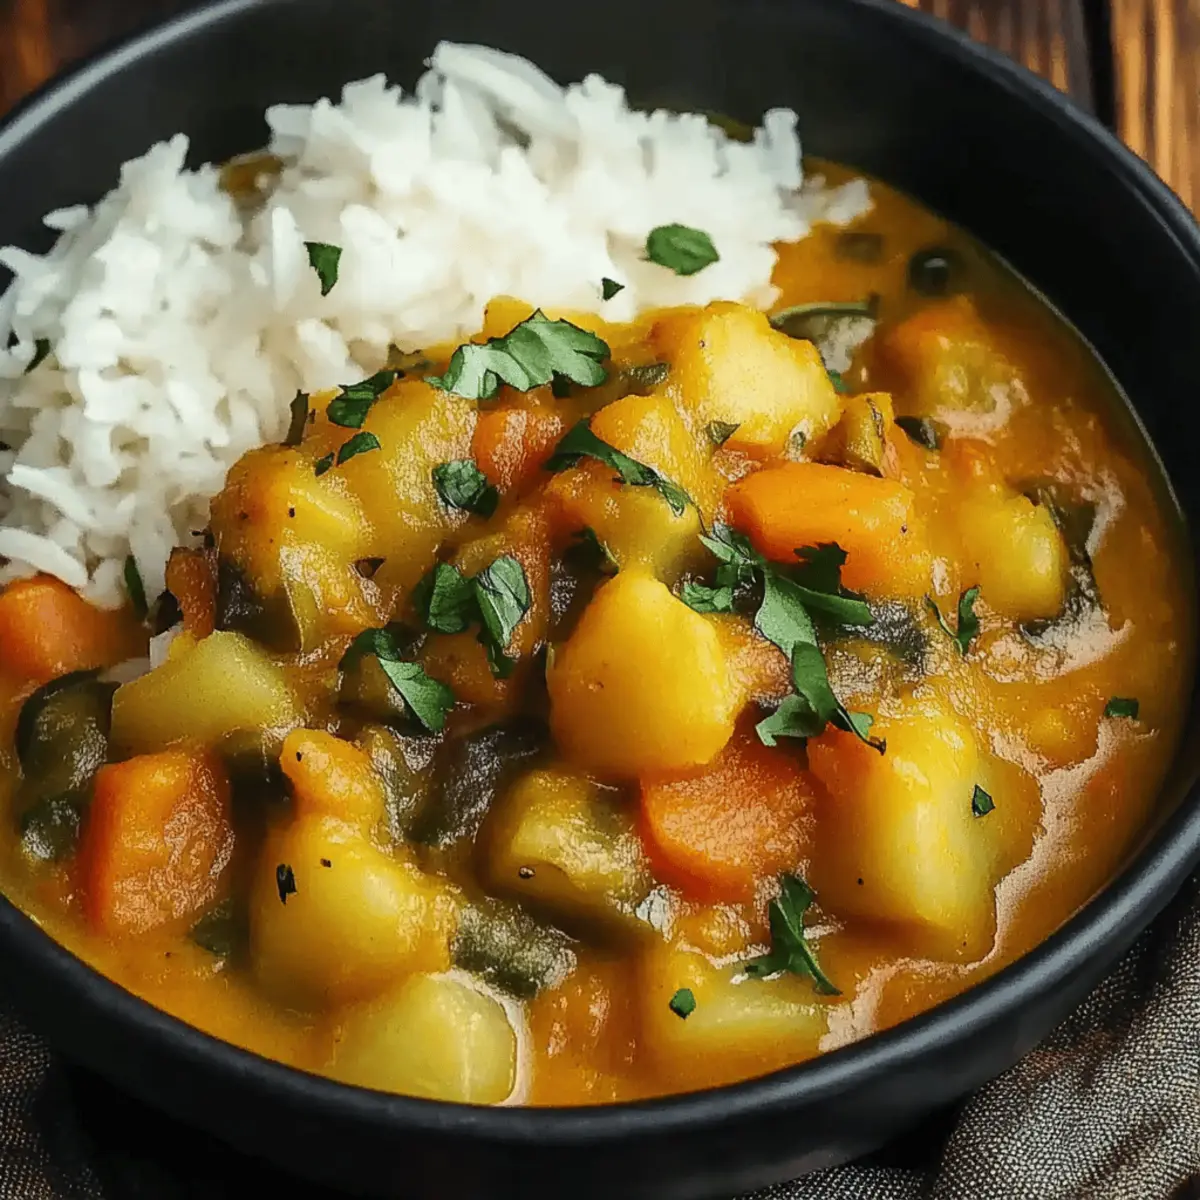
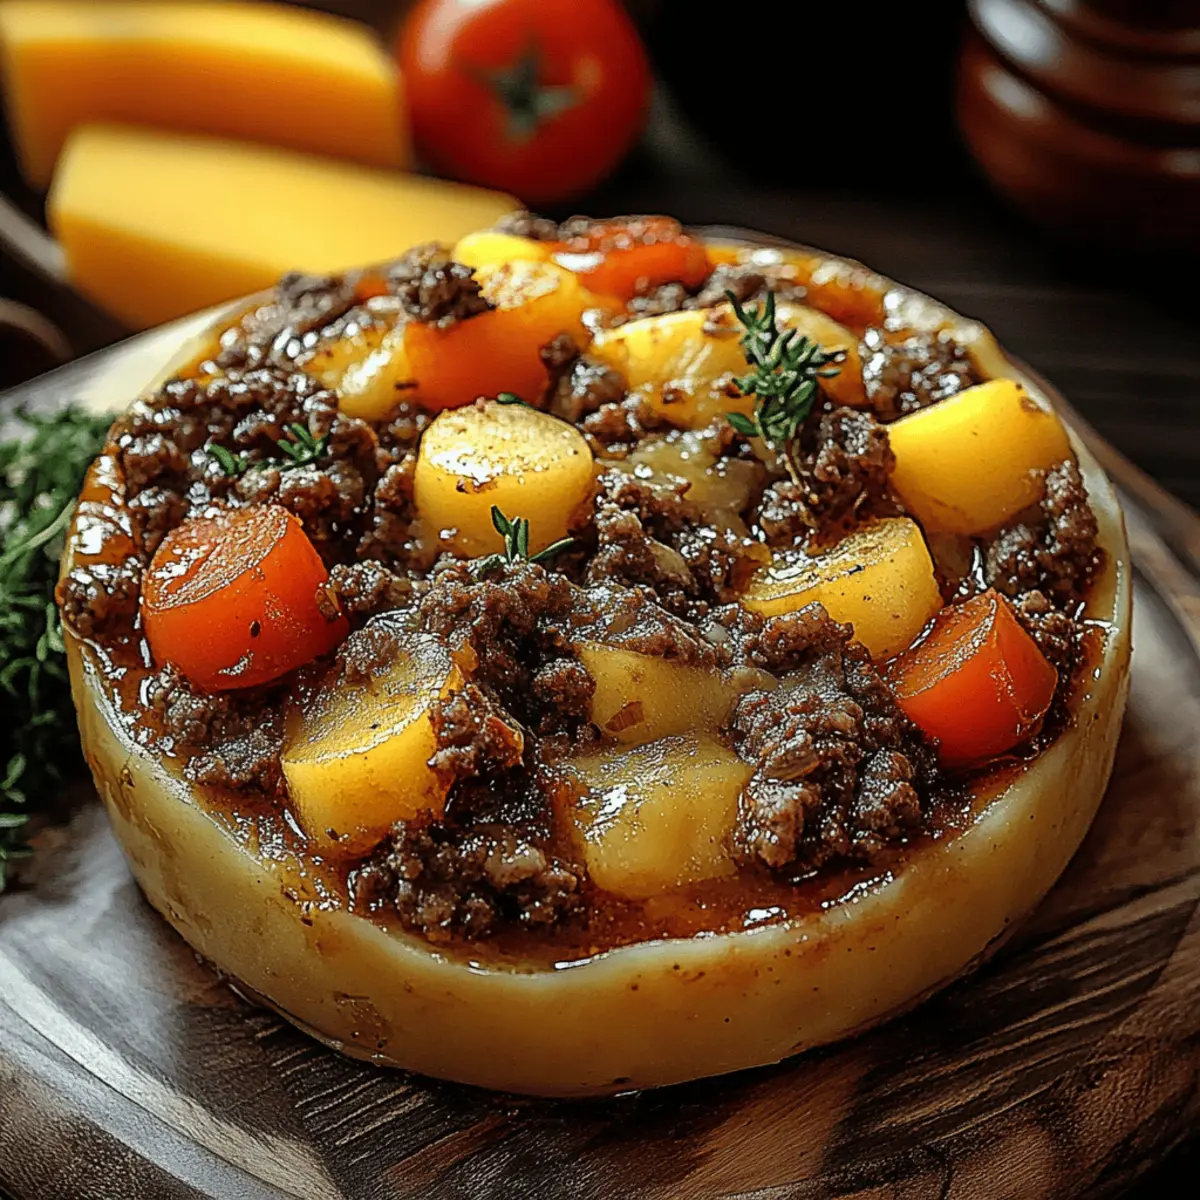
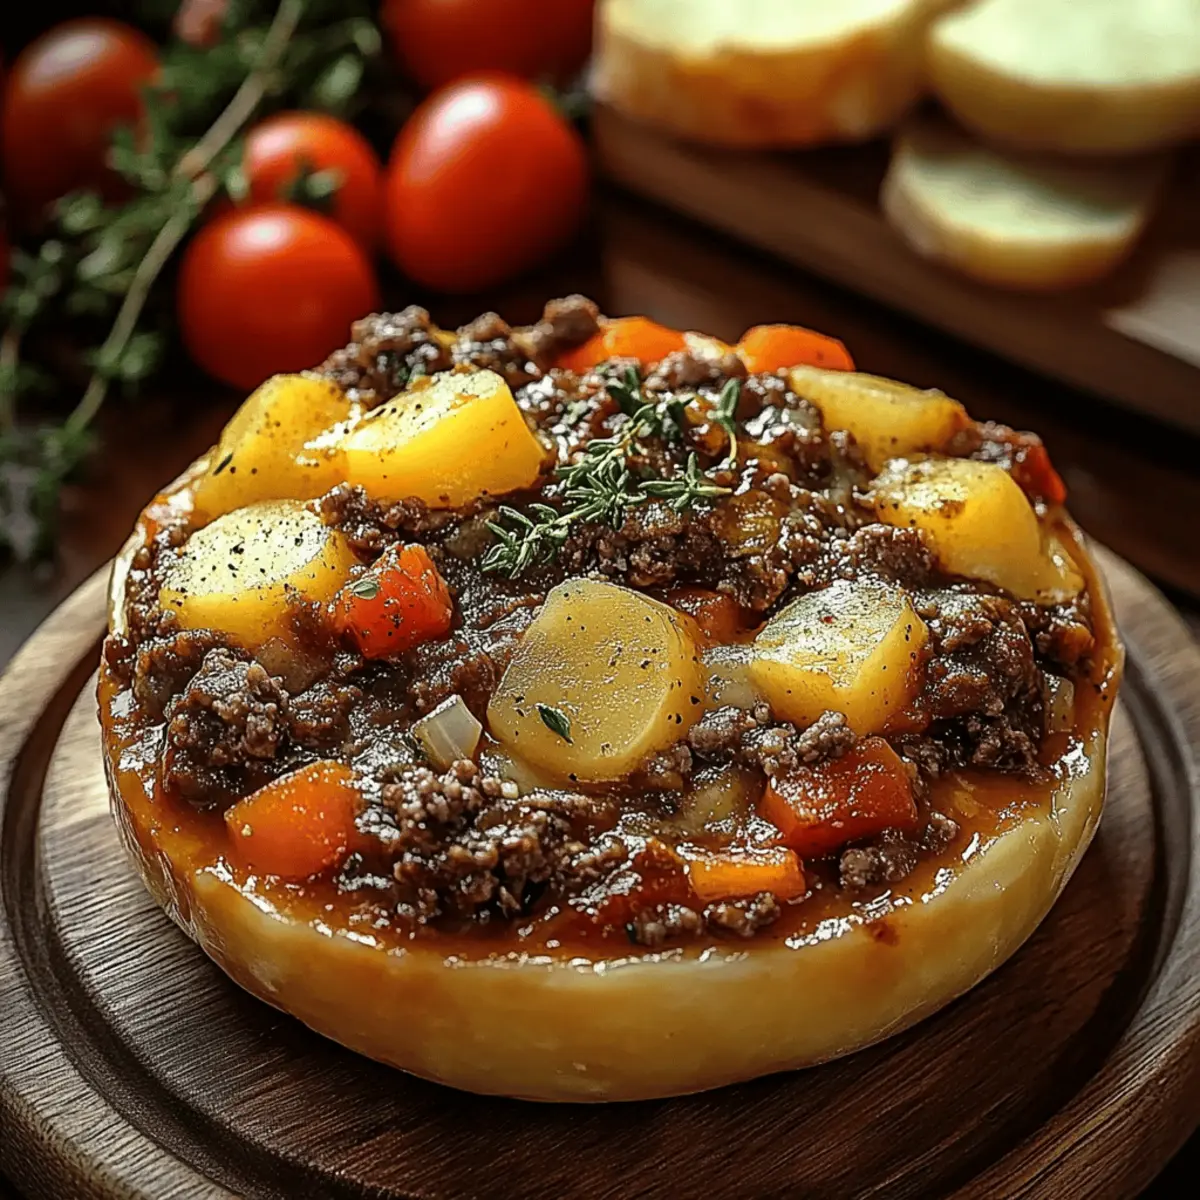
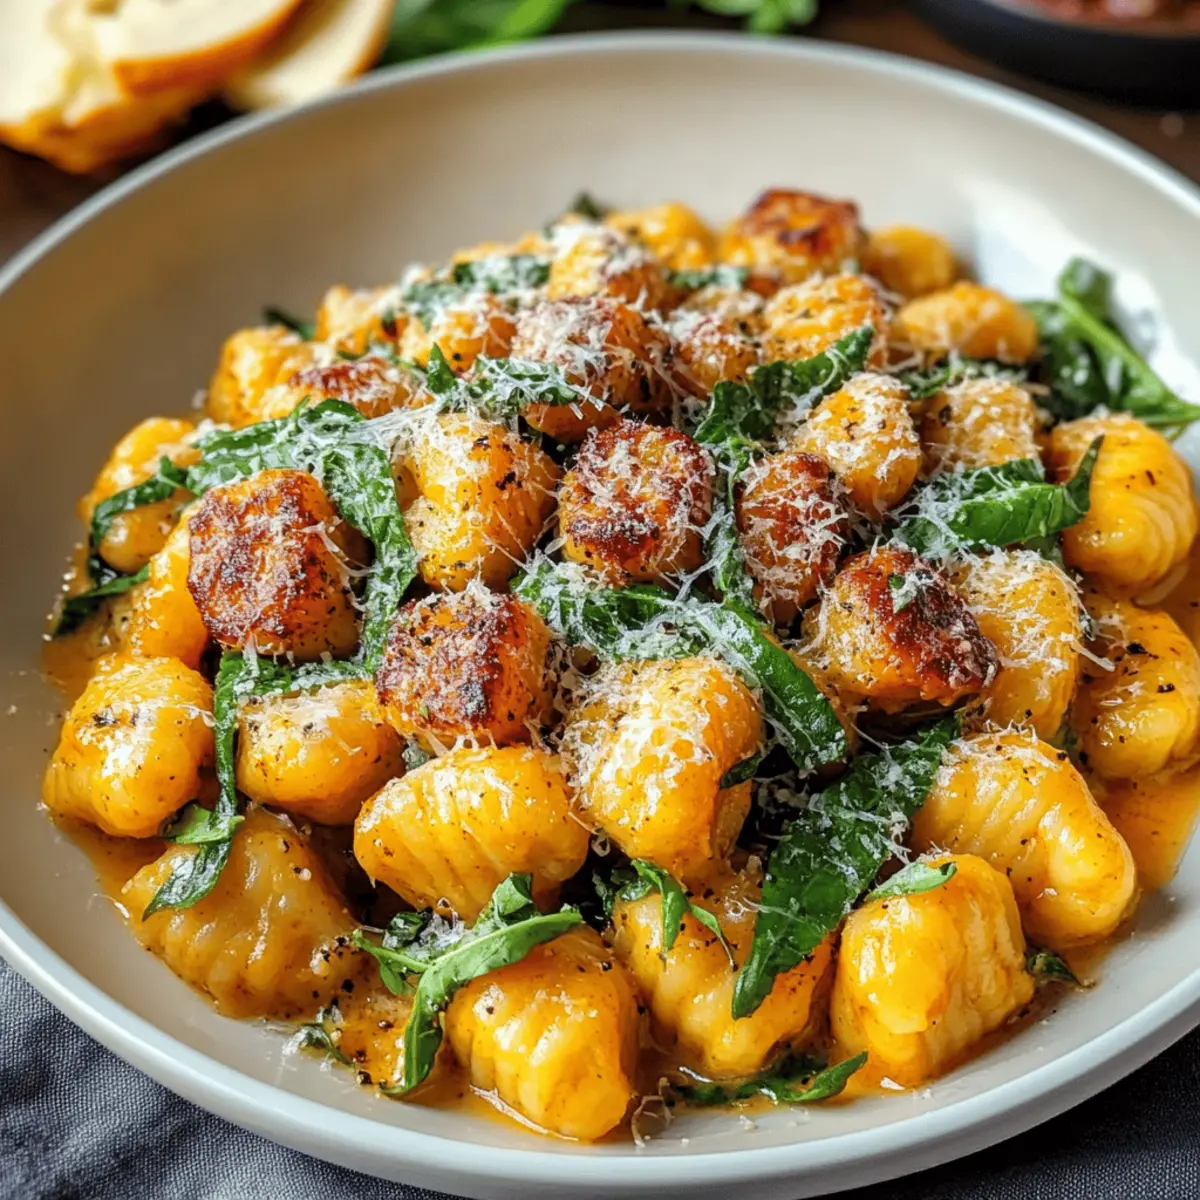
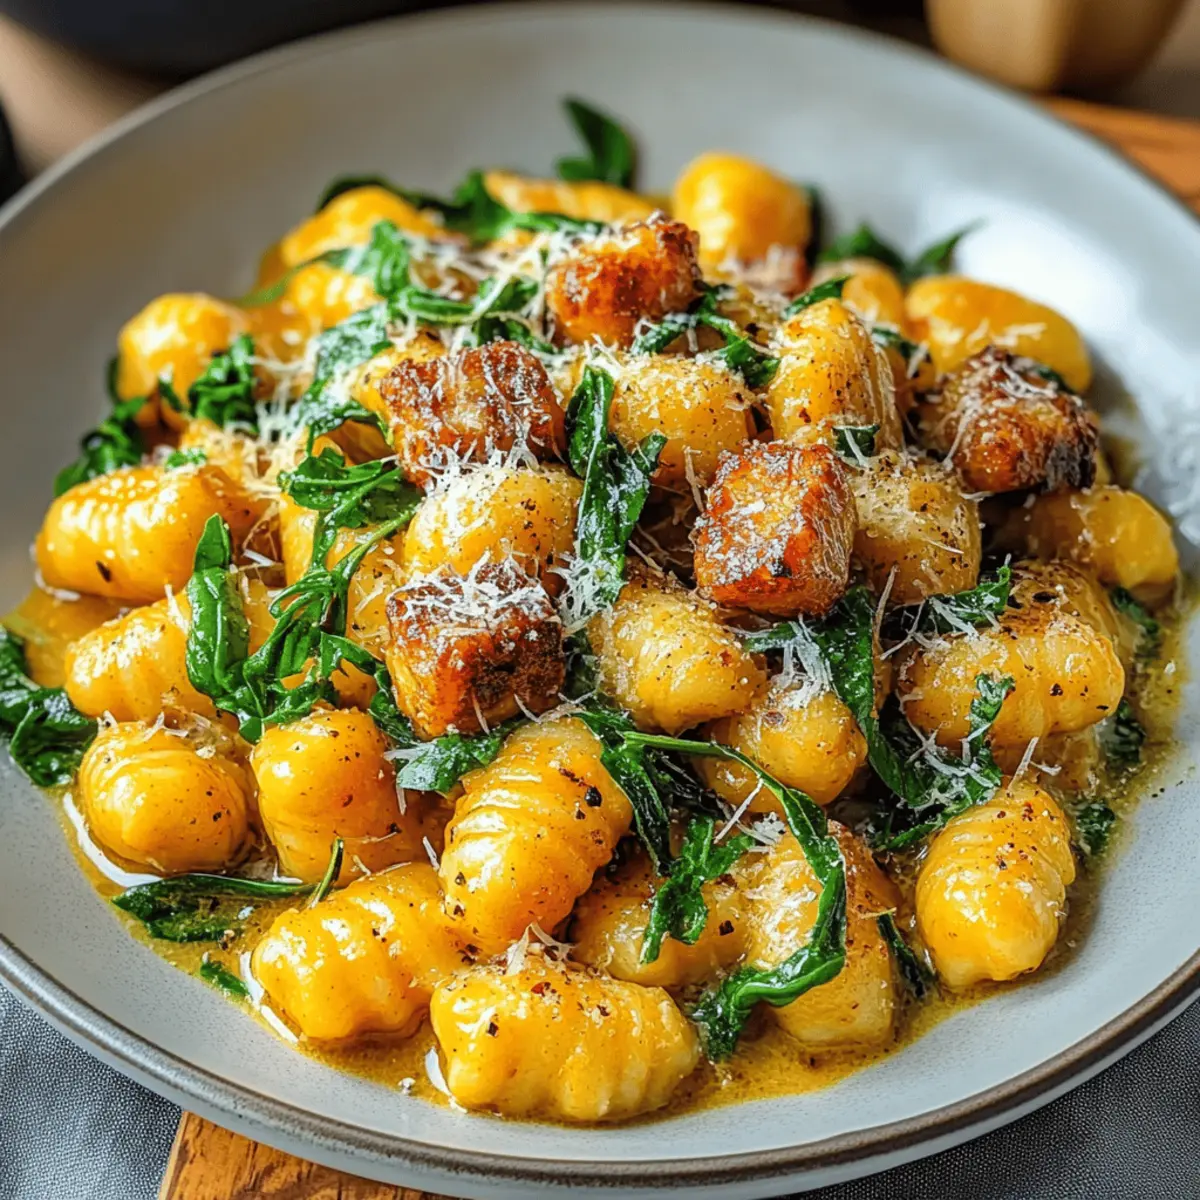
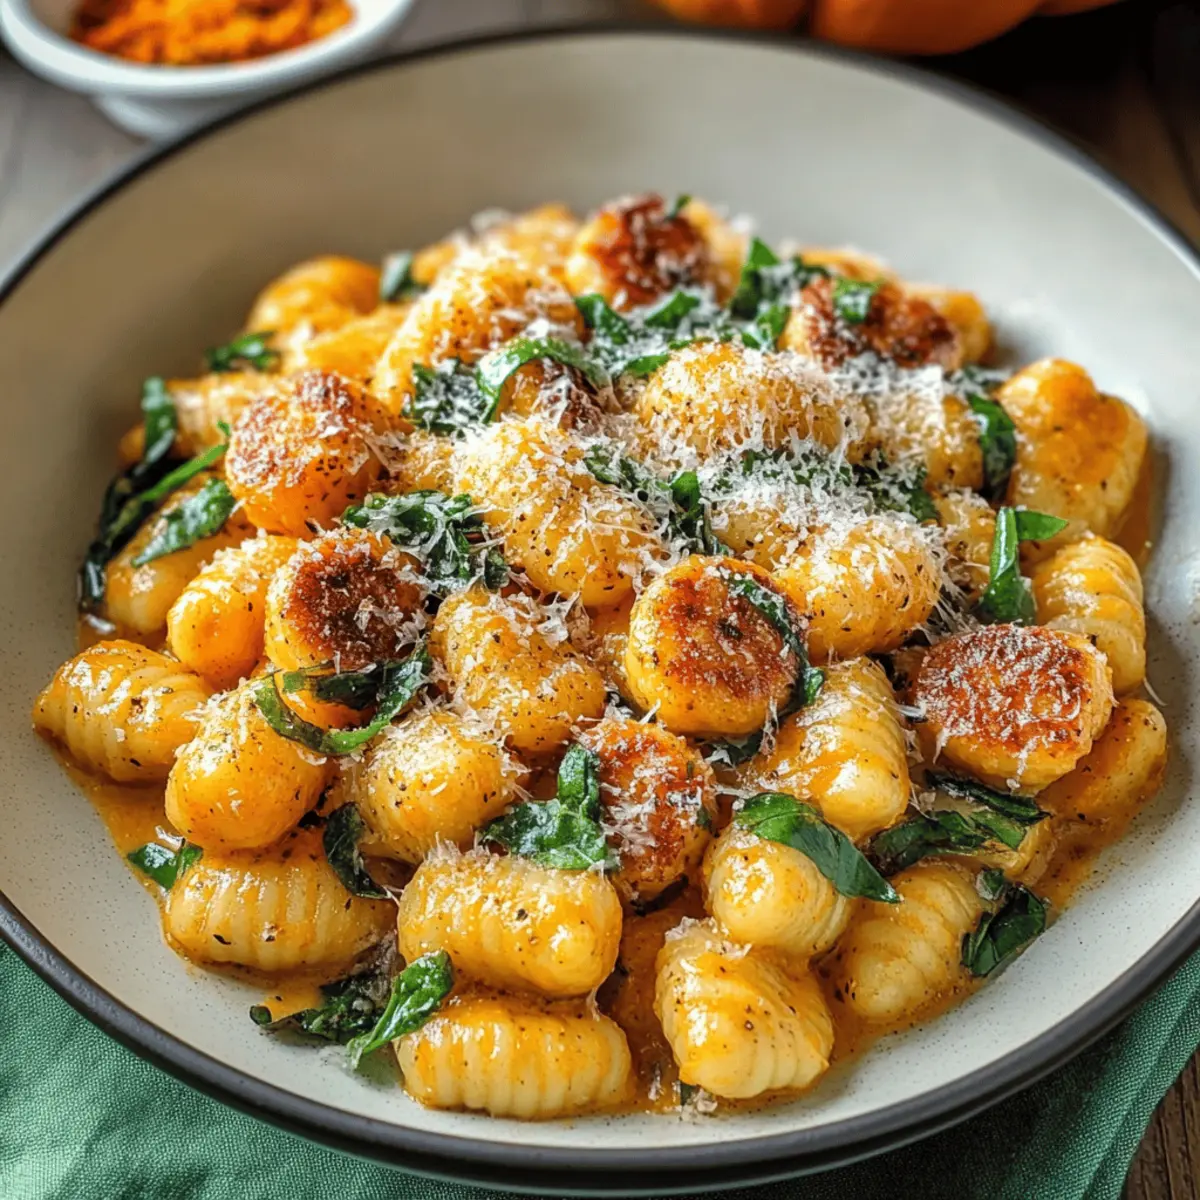
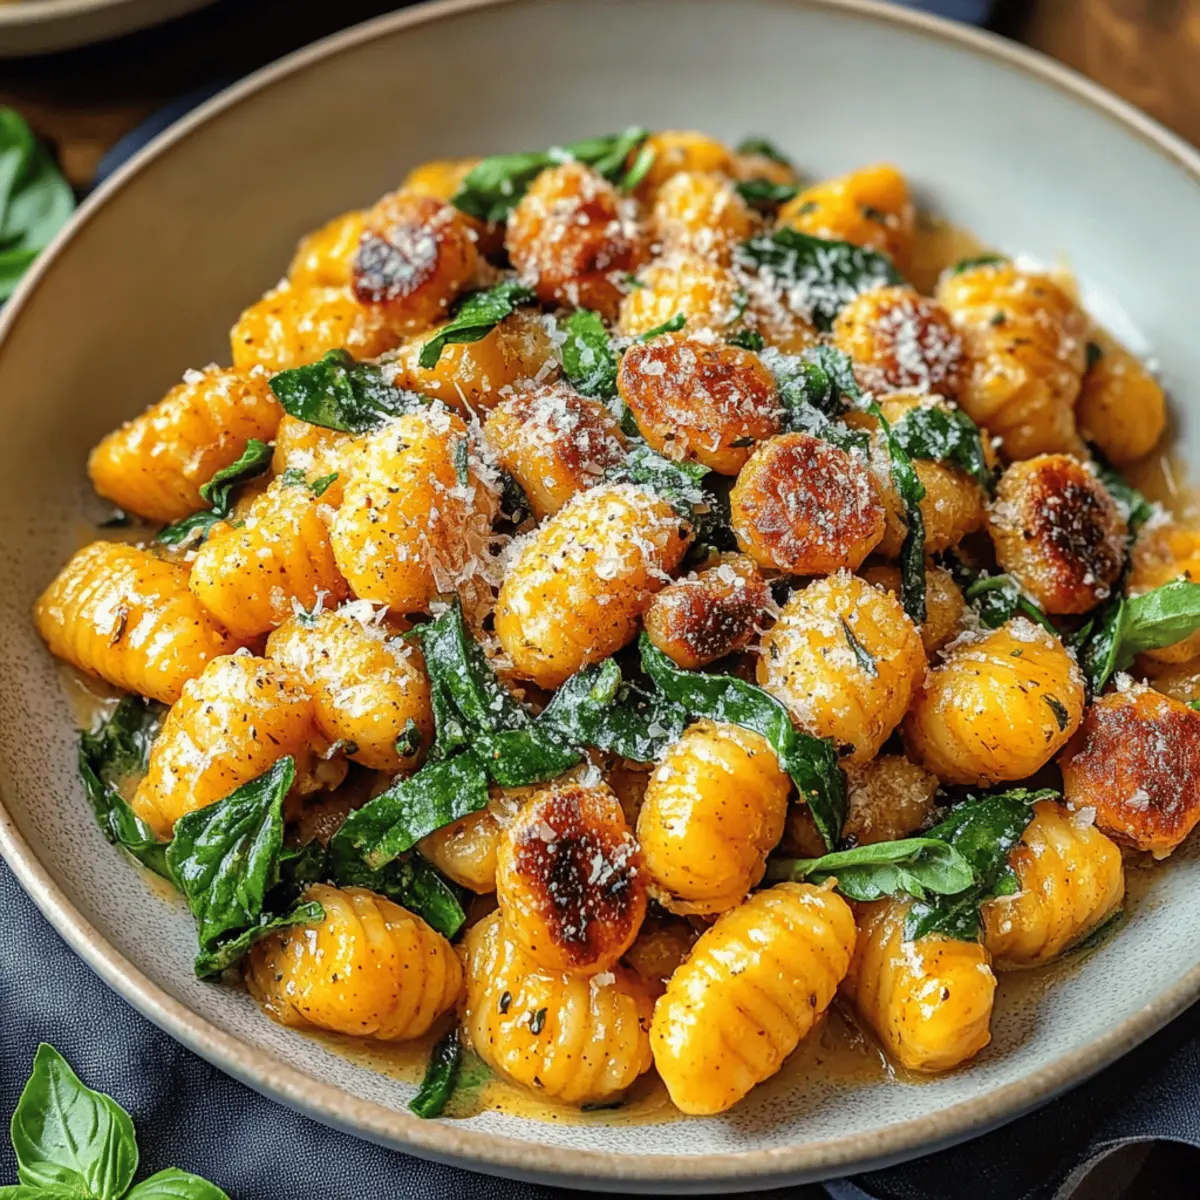
The cozy aroma of fall wafts through the kitchen as I prepare a dish that's as comforting as a warm embrace—Creamy Pumpkin Gnocchi with Spinach and Italian Sausage. This recipe seamlessly blends the earthiness of pumpkin with the savory notes of Italian sausage, creating a heartwarming meal that feels like a hug on a plate. Not only does it come together in just 30 minutes, making it perfect for busy weeknights, but it also strikes the ideal balance between rich and wholesome. The addition of fresh spinach not only elevates the color but adds a burst of nutrients to this creamy dish. Curious about how to bring a little autumn magic to your dinner table? Let's dive into the details!
Why is Creamy Pumpkin Gnocchi a Must-Try?
Cozy Comfort: This dish wraps you in the warm flavors of fall, making it the perfect meal to enjoy on chilly evenings.
Quick to Make: With just 30 minutes from prep to table, it's an ideal choice for busy weeknights without sacrificing flavor.
Creamy Delight: The luscious combination of pumpkin puree and heavy cream results in a velvety sauce that you won't be able to resist.
Savory Satisfaction: Packed with Italian sausage, this recipe brings a mouthwatering savory component that perfectly balances the sweetness of pumpkin.
Nutritious Spinach: Adding fresh spinach not only contributes vibrant color but also boosts the nutritional value, making this dish guilt-free indulgence.
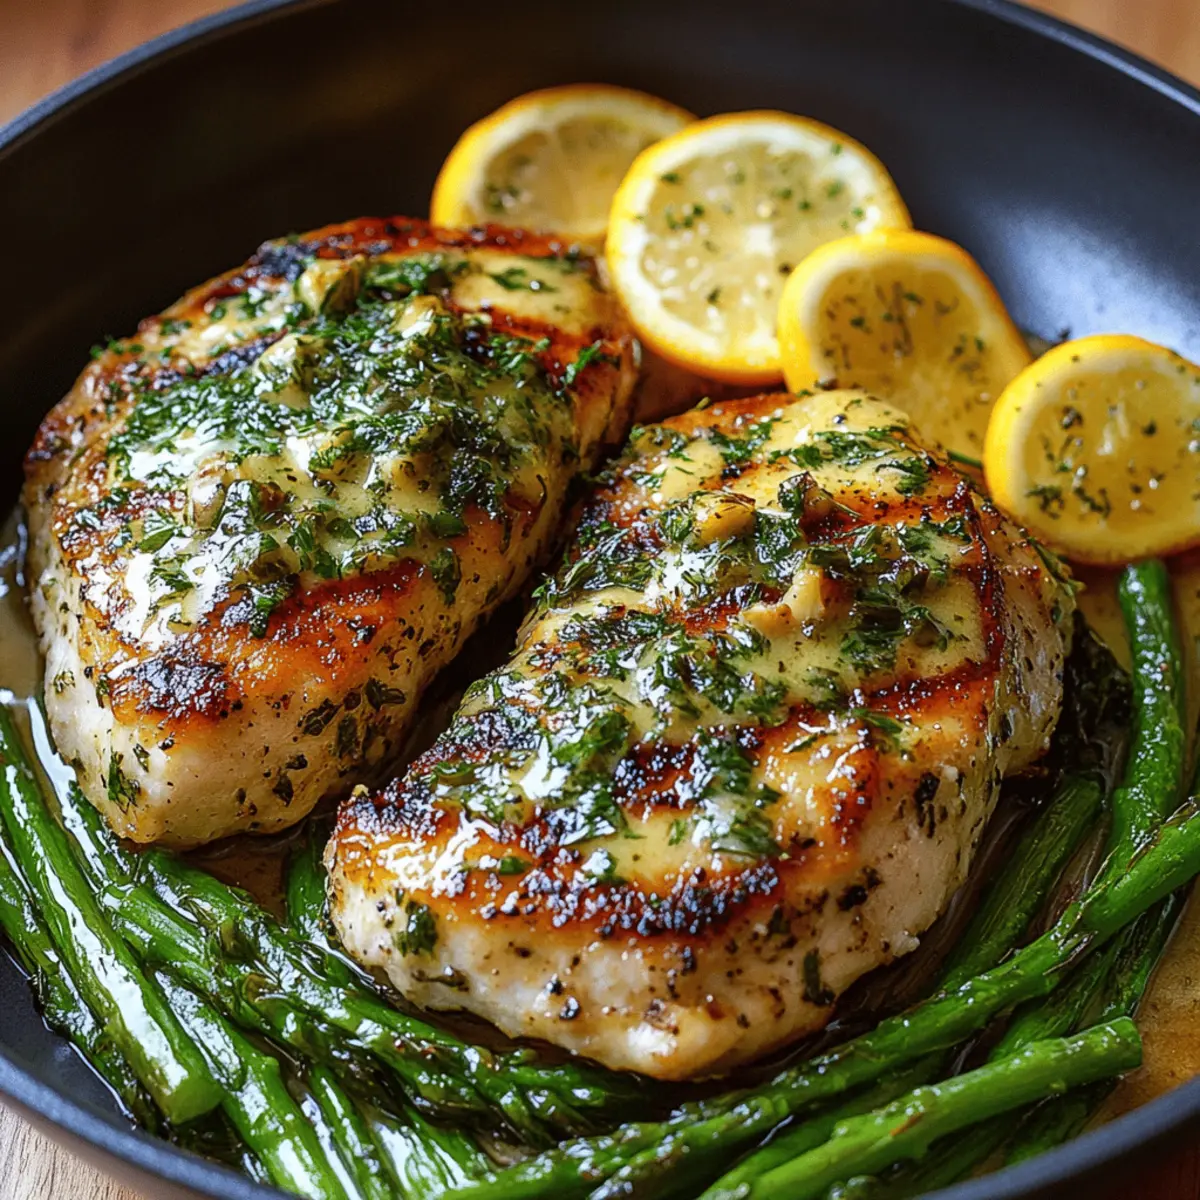
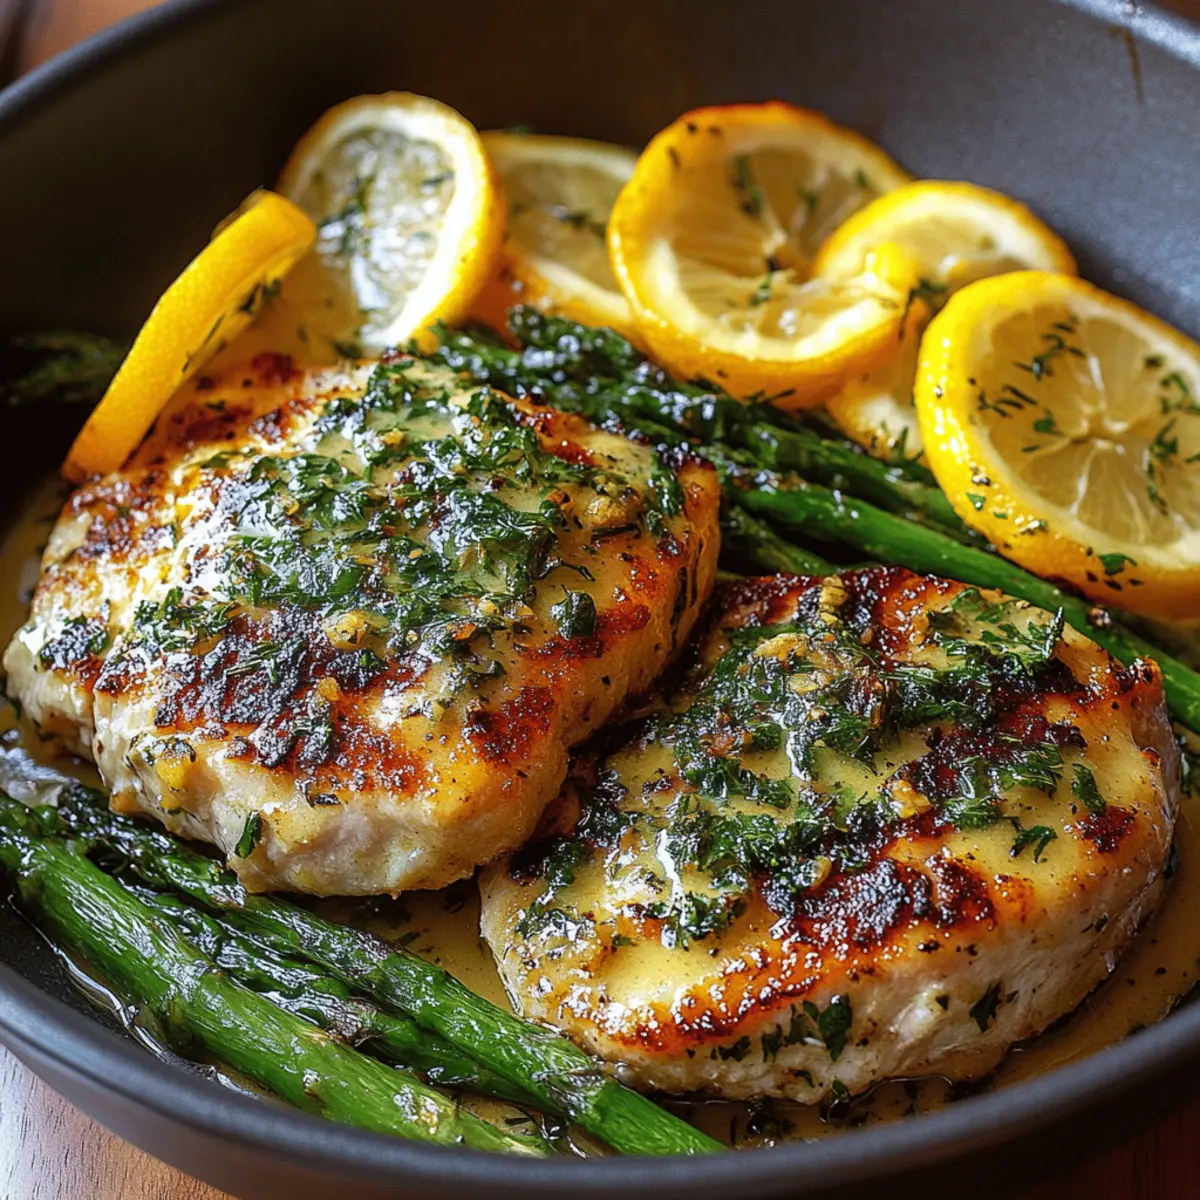
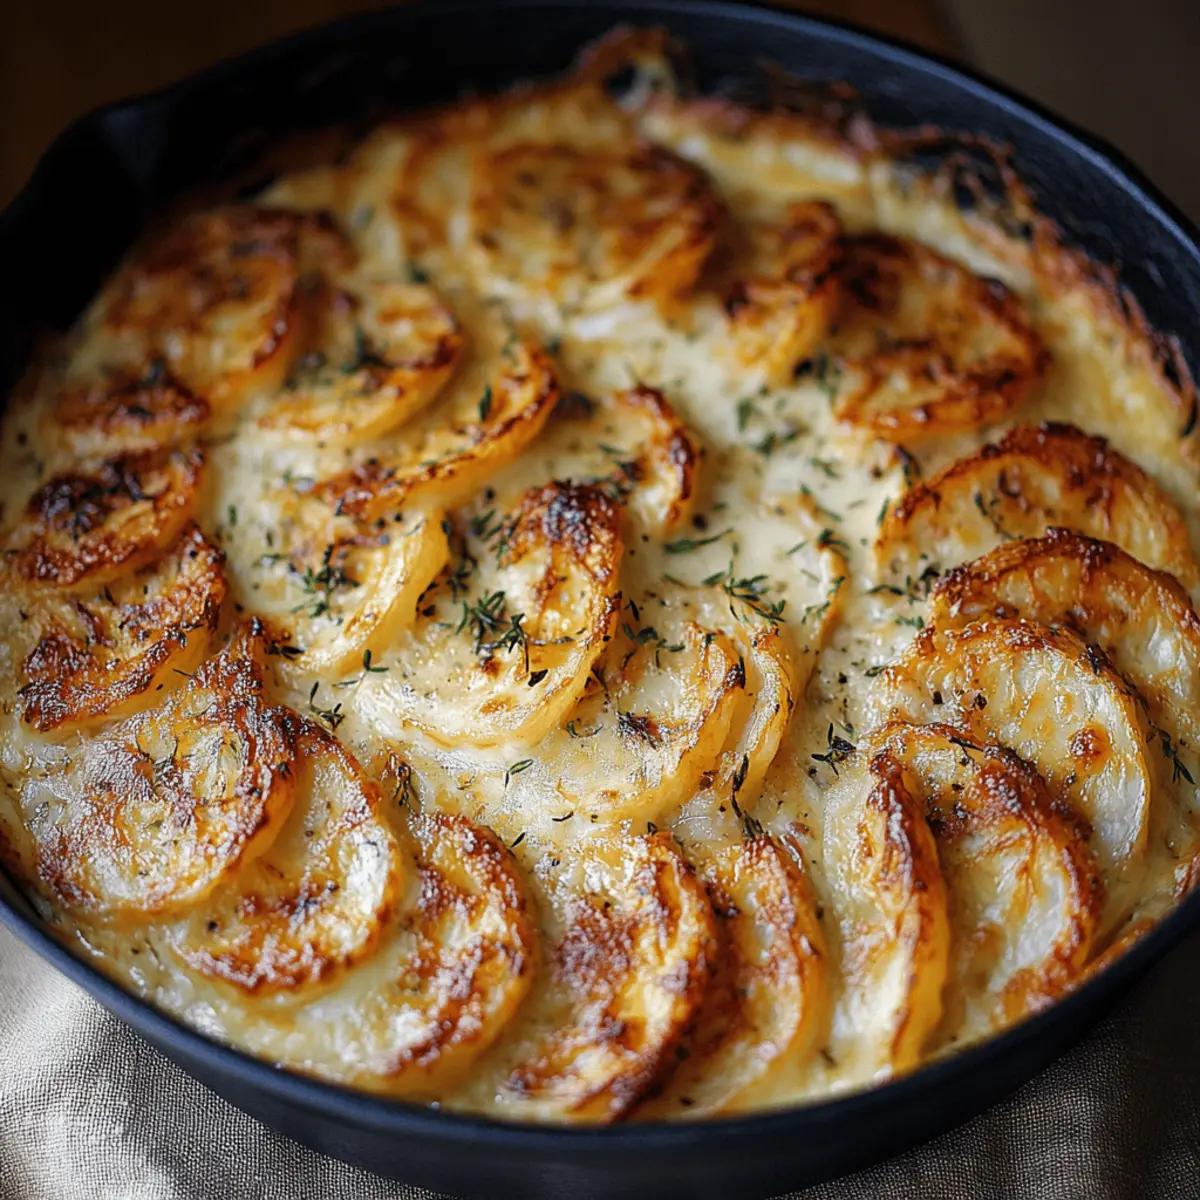
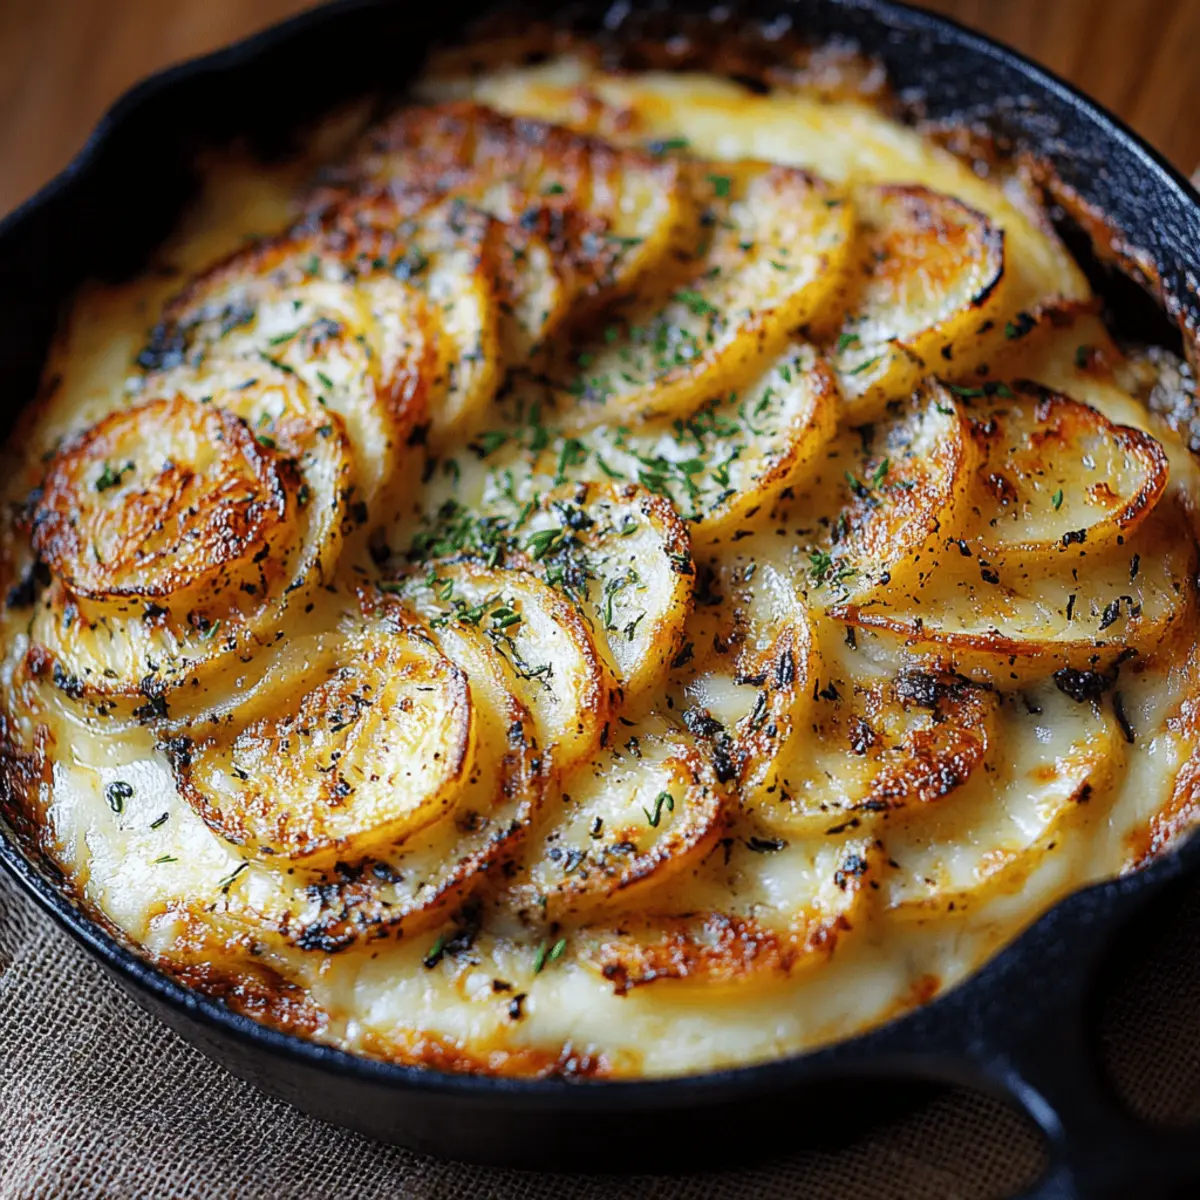
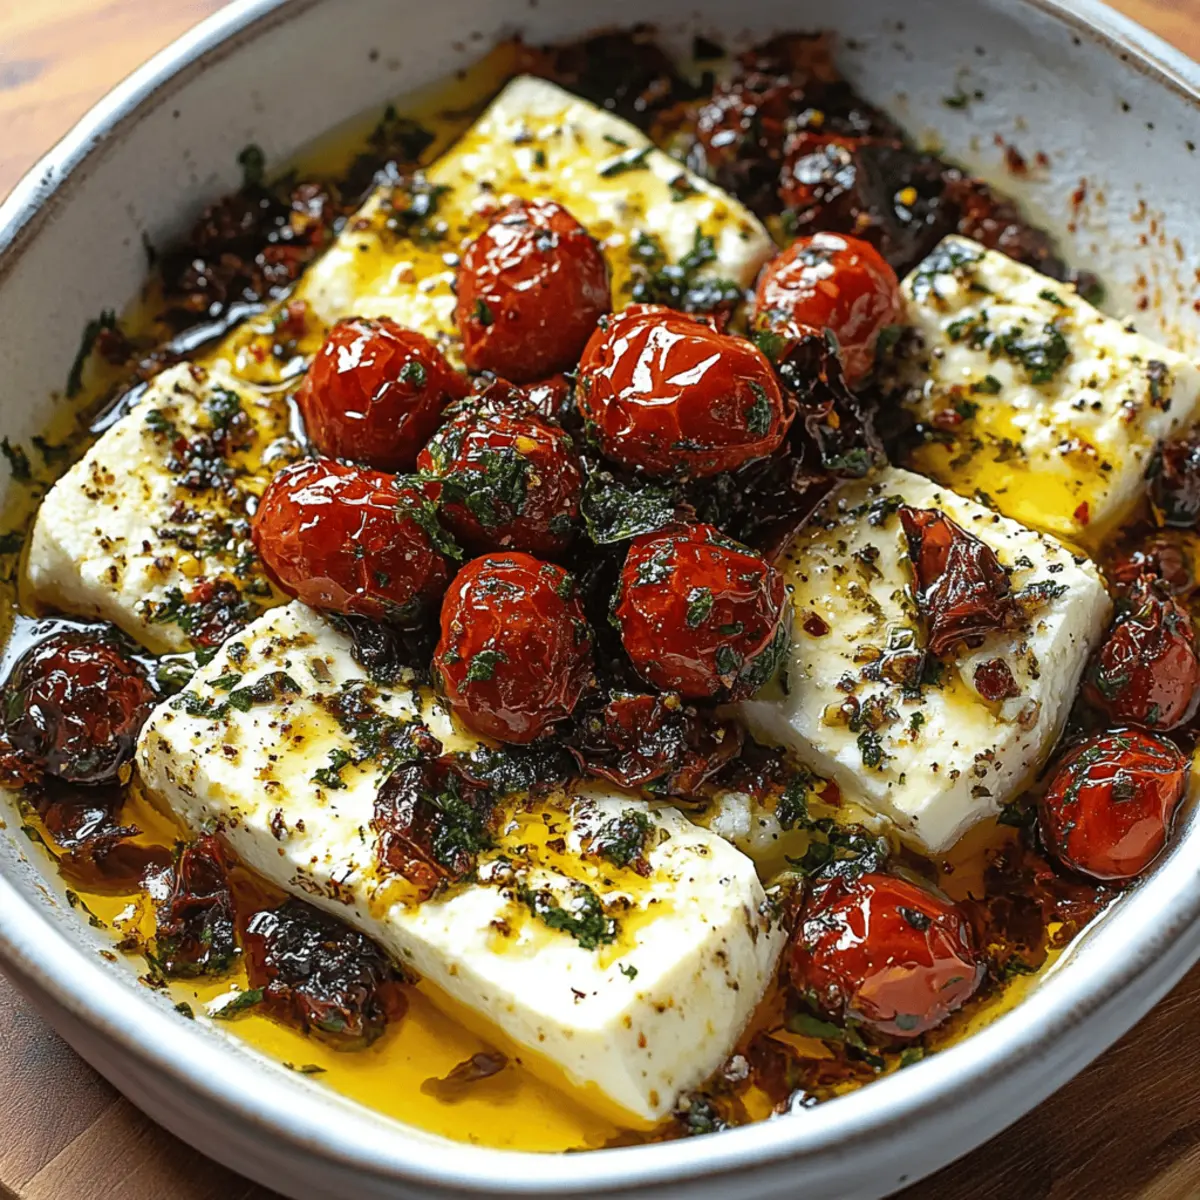
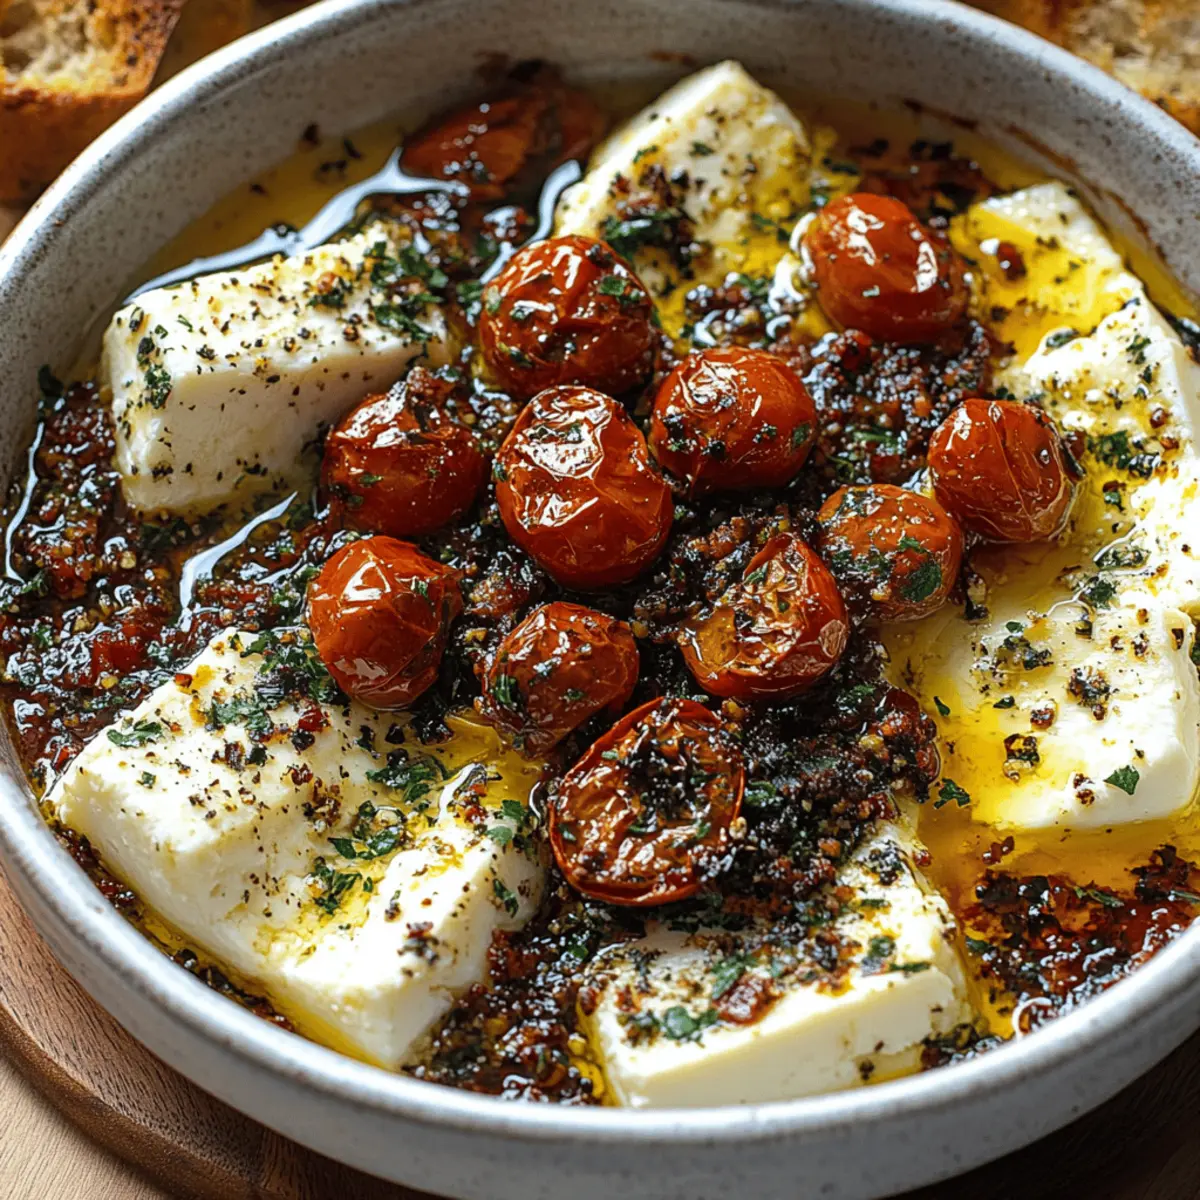
If you're craving more delicious comfort food, check out our Garlic Butter Chicken or our heartwarming Potato Soup Deliciously. Enjoy exploring these flavors!
Creamy Pumpkin Gnocchi Ingredients
For the Gnocchi
• Potato gnocchi – This is the heart of the dish, lending a soft and pillowy texture.
• Olive oil – Used for sautéing, it adds a lovely flavor while keeping everything moist.
For the Sauce
• Italian sausage – The savory goodness in this dish; you can swap for turkey sausage for a lighter option.
• Pumpkin puree – This gives the sauce a rich, creamy base and embodies the essence of autumn.
• Heavy cream – Creates a luscious, velvety sauce that brings the whole dish together.
• Grated Parmesan cheese – Adds a salty, nutty flavor that enhances the creamy texture.
• Garlic – Infuses the dish with aromatic goodness; fresh is best for maximum flavor.
• Nutmeg – Just a pinch elevates the taste with warm, cozy notes complementary to pumpkin.
• Salt and pepper – Essential seasonings to balance and enhance all the flavors.
For the Vegetables
• Fresh spinach leaves – Add at the end to wilt nicely; this contributes both color and nutrients.
• Fresh parsley or basil (optional) – Brilliant garnishes that can brighten up the dish's presentation.
This Creamy Pumpkin Gnocchi is your new go-to comfort food that embraces the warmth of fall flavors while keeping it wholesome and satisfying!
Step‑by‑Step Instructions for Creamy Pumpkin Gnocchi
Step 1: Cook the Gnocchi
Begin by bringing a large pot of salted water to a rolling boil. Carefully add the potato gnocchi and cook according to the package instructions, usually about 2–4 minutes or until they float to the surface. Once cooked, drain the gnocchi in a colander and set aside, allowing any excess water to escape while you prepare the sauce.
Step 2: Sauté the Sausage
In a large skillet, heat 2 tablespoons of olive oil over medium-high heat. Add the Italian sausage, breaking it apart with a wooden spoon. Sauté for about 5-7 minutes, or until it’s browned and cooked through, with a golden color. Once done, remove the sausage from the skillet and set it aside, leaving the flavorful drippings in the pan.
Step 3: Sauté the Garlic
In the same skillet, add the minced garlic and sauté for about 1 minute, or until fragrant and golden, stirring occasionally to prevent burning. This step will infuse the oil with a delightful garlic aroma, enhancing the flavor of your Creamy Pumpkin Gnocchi.
Step 4: Create the Creamy Sauce
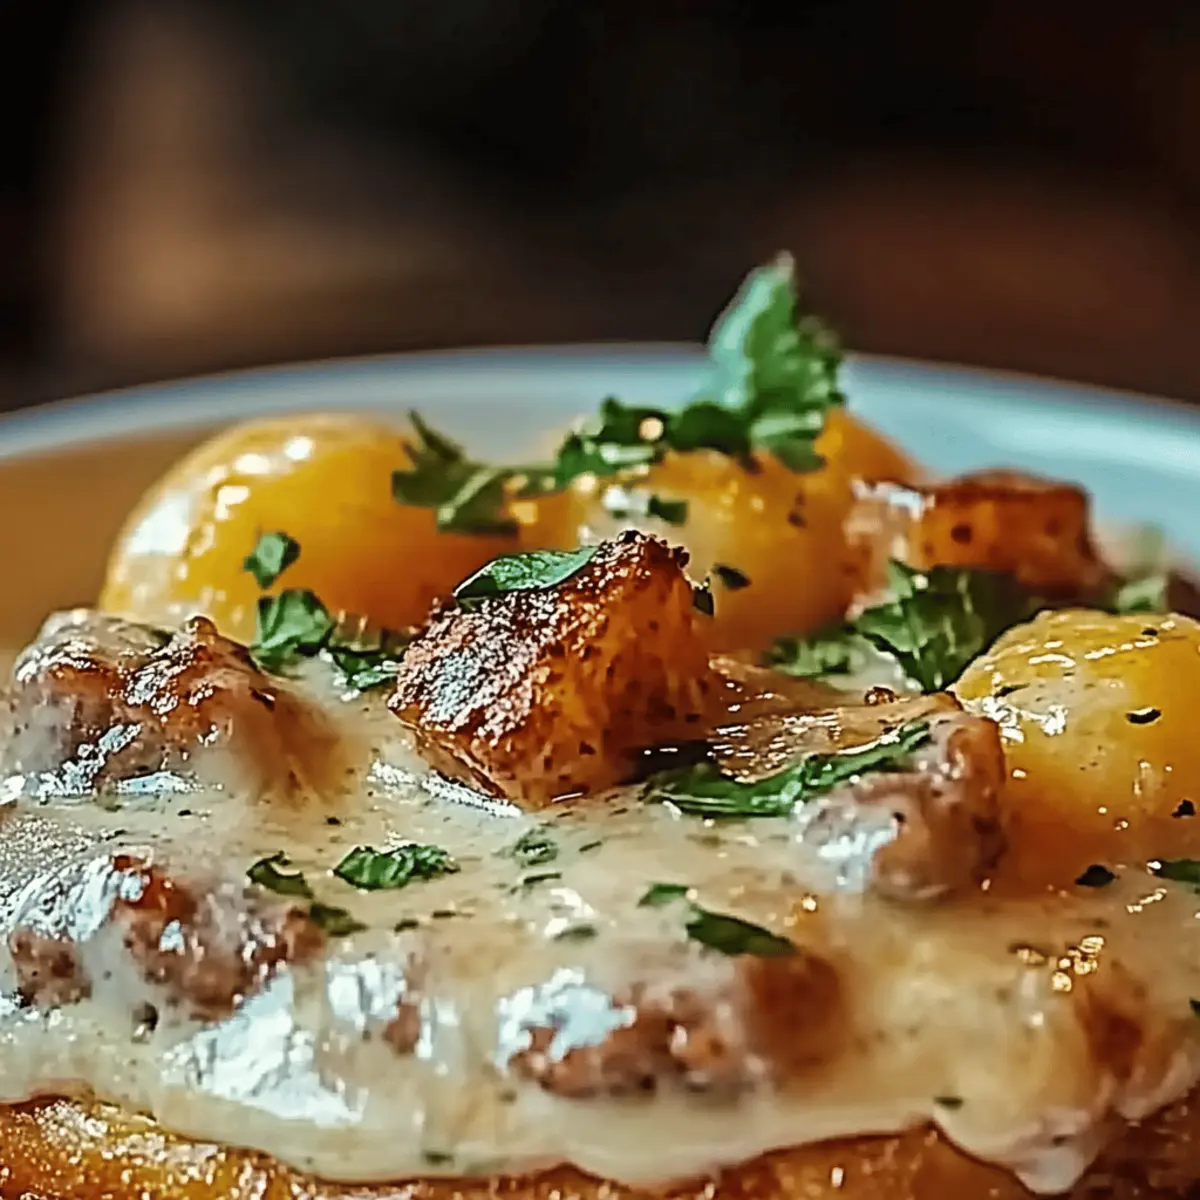
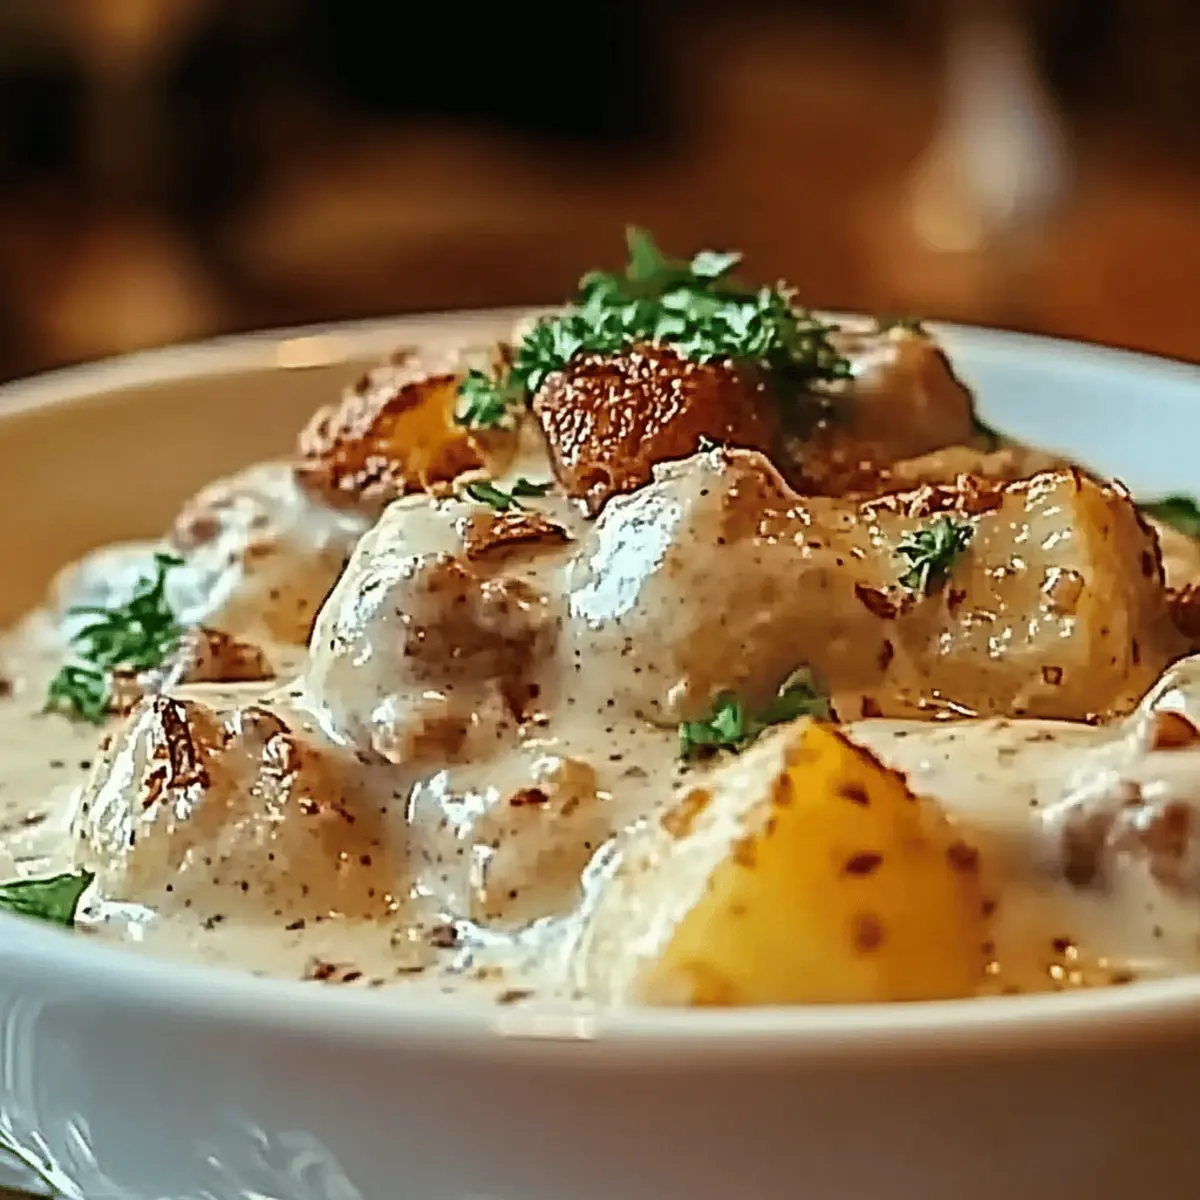
Reduce the skillet heat to medium-low and add the pumpkin puree, heavy cream, grated Parmesan cheese, nutmeg, salt, and pepper into the skillet. Stir continuously for about 3 minutes, until the sauce becomes creamy, well-combined, and slightly thickened. The beautiful orange hue of the pumpkin will shine through, making it irresistible.
Step 5: Combine the Gnocchi and Spinach
Now, gently add the cooked gnocchi and fresh spinach leaves into the skillet. Use a spatula to fold the gnocchi into the sauce for about 2-3 minutes, allowing the spinach to wilt and the gnocchi to be well-coated in that rich creamy sauce. The vibrant colors will brighten your dish!
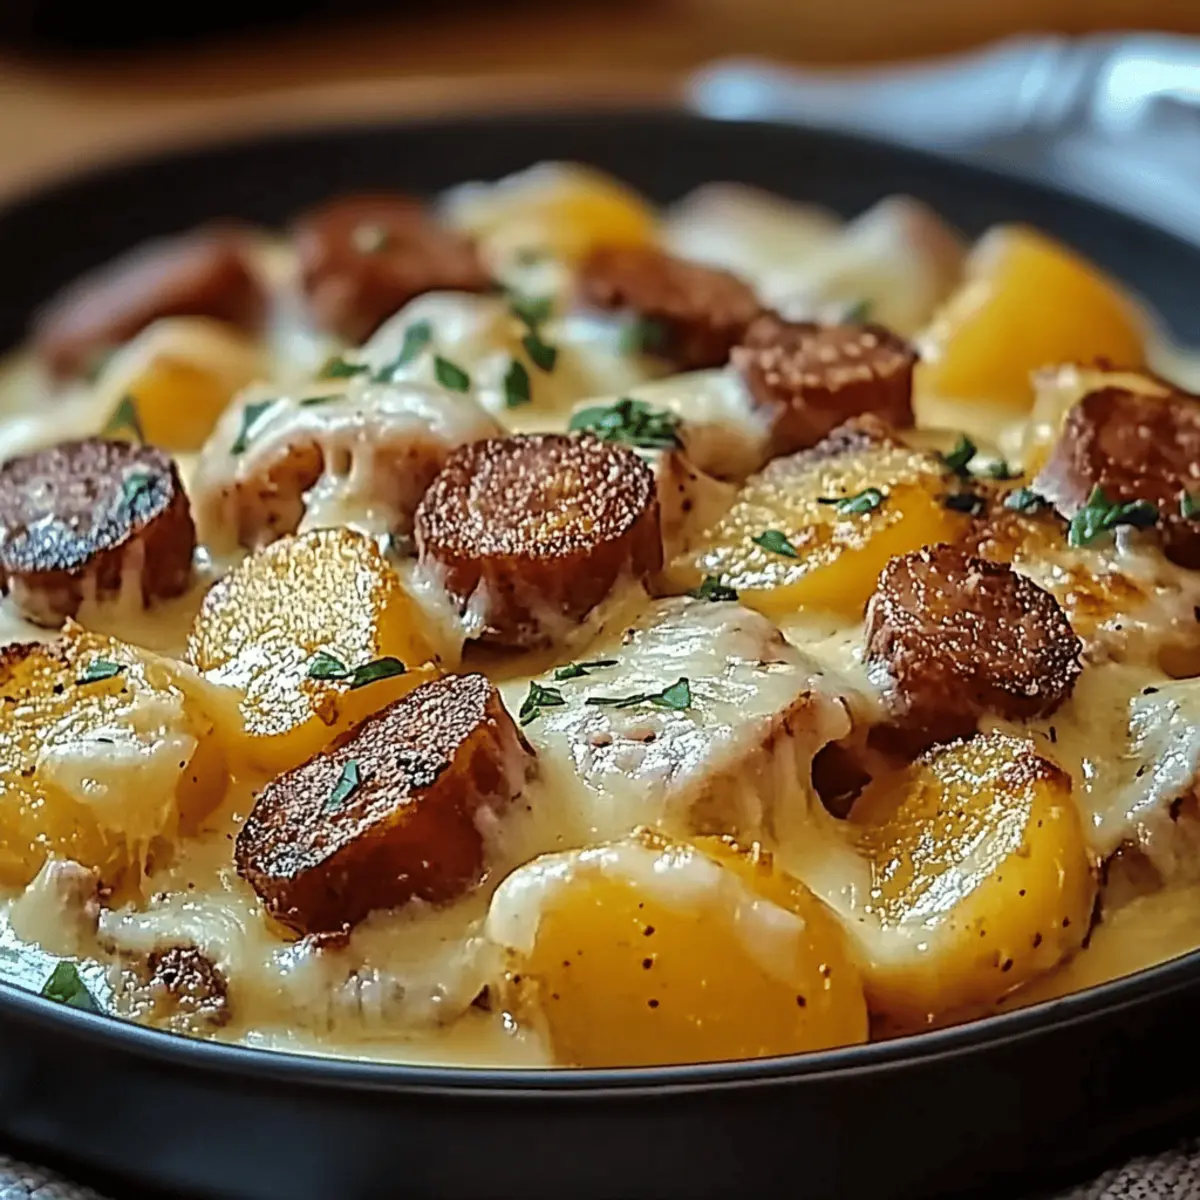
Step 6: Add the Sausage and Serve
Return the cooked sausage to the skillet, tossing everything together until heated through, about 2 minutes. Make sure everything is evenly distributed in the Creamy Pumpkin Gnocchi. Serve immediately while hot, optionally garnished with fresh parsley or basil for that delightful finishing touch!
Tips for the Best Creamy Pumpkin Gnocchi
Perfect Gnocchi Texture: Ensure you don’t overcook the gnocchi; just a few minutes in boiling water is enough to achieve that pillowy softness.
Sausage Options: Feel free to substitute Italian sausage with turkey sausage or even a vegetarian version for a lighter or meat-free option without losing flavor.
Creamy Sauce Secrets: To prevent the sauce from curdling, keep the heat low once you add the heavy cream and blend continuously until preferred consistency is achieved.
Seasoning Balance: Taste and adjust the salt and pepper in your Creamy Pumpkin Gnocchi as you go; the sausage and Parmesan already add saltiness, so be mindful.
Fresh Spinach Addition: Add spinach at the very end; it wilts quickly but retains nutrients and vibrant color, enhancing both taste and presentation.
What to Serve with Creamy Pumpkin Gnocchi
As you savor the comforting flavors of this delightful dish, consider these perfect pairings to create a wholesome meal experience.
-
Garlic Bread: A crunchy, buttery side that perfectly complements the creaminess, making each bite a delightful experience.
-
Roasted Brussels Sprouts: These slightly crispy and caramelized bites add a nutty earthiness, balancing the meal with a robust texture.
-
Caprese Salad: Bright and fresh with ripe tomatoes, creamy mozzarella, and fragrant basil—lightly dressed to contrast the rich gnocchi.
-
Crisp White Wine: A chilled Sauvignon Blanc or Pinot Grigio enhances the meal with its acidity, cleansing the palate between bites.
There's something magical about a warm drink in chilly weather.
-
Pumpkin Spice Latte: Elevate the autumn experience with this cozy beverage that complements the pumpkin flavors beautifully.
-
Chocolate Mousse: For an indulgent dessert, this rich and airy treat offers a delightful sweet finish to your comforting meal.
Creamy Pumpkin Gnocchi Variations
Feel free to customize your Creamy Pumpkin Gnocchi to make it uniquely yours—the possibilities are as delightful as the dish itself!
-
Meat-Free: Substitute Italian sausage with veggie crumbles or mushrooms for a hearty plant-based option. This twist offers a wonderful earthiness that complements the sauce beautifully.
-
Spicy Kick: Add red pepper flakes or diced jalapeños to the sausage for an extra layer of heat. Just a pinch can elevate the entire dish, making it an exciting meal for spice lovers.
-
Nutty Flavor: Swap heavy cream with coconut cream for a luscious, nutty taste. The creaminess will remain intact, providing a slight sweetness that pairs intriguingly with the pumpkin.
-
Cheesy Goodness: Experiment by adding different cheeses like goat cheese or feta for a tangy twist. Their unique flavors will elevate this comforting dish to new heights.
-
Roasted Veggies: Toss in roasted butternut squash or sweet potatoes for added texture and depth. This addition not only enhances flavor but makes the meal even cozier.
-
Herb Infusion: Try mixing in fresh sage or thyme for an aromatic touch. These fragrant herbs will fill your kitchen with an inviting aroma and add freshness to the creaminess.
-
Extra Creamy: If you're craving a richer sauce, consider adding cream cheese for an ultra-luxurious finish. This will create a heavenly, creamy texture that you won't forget!
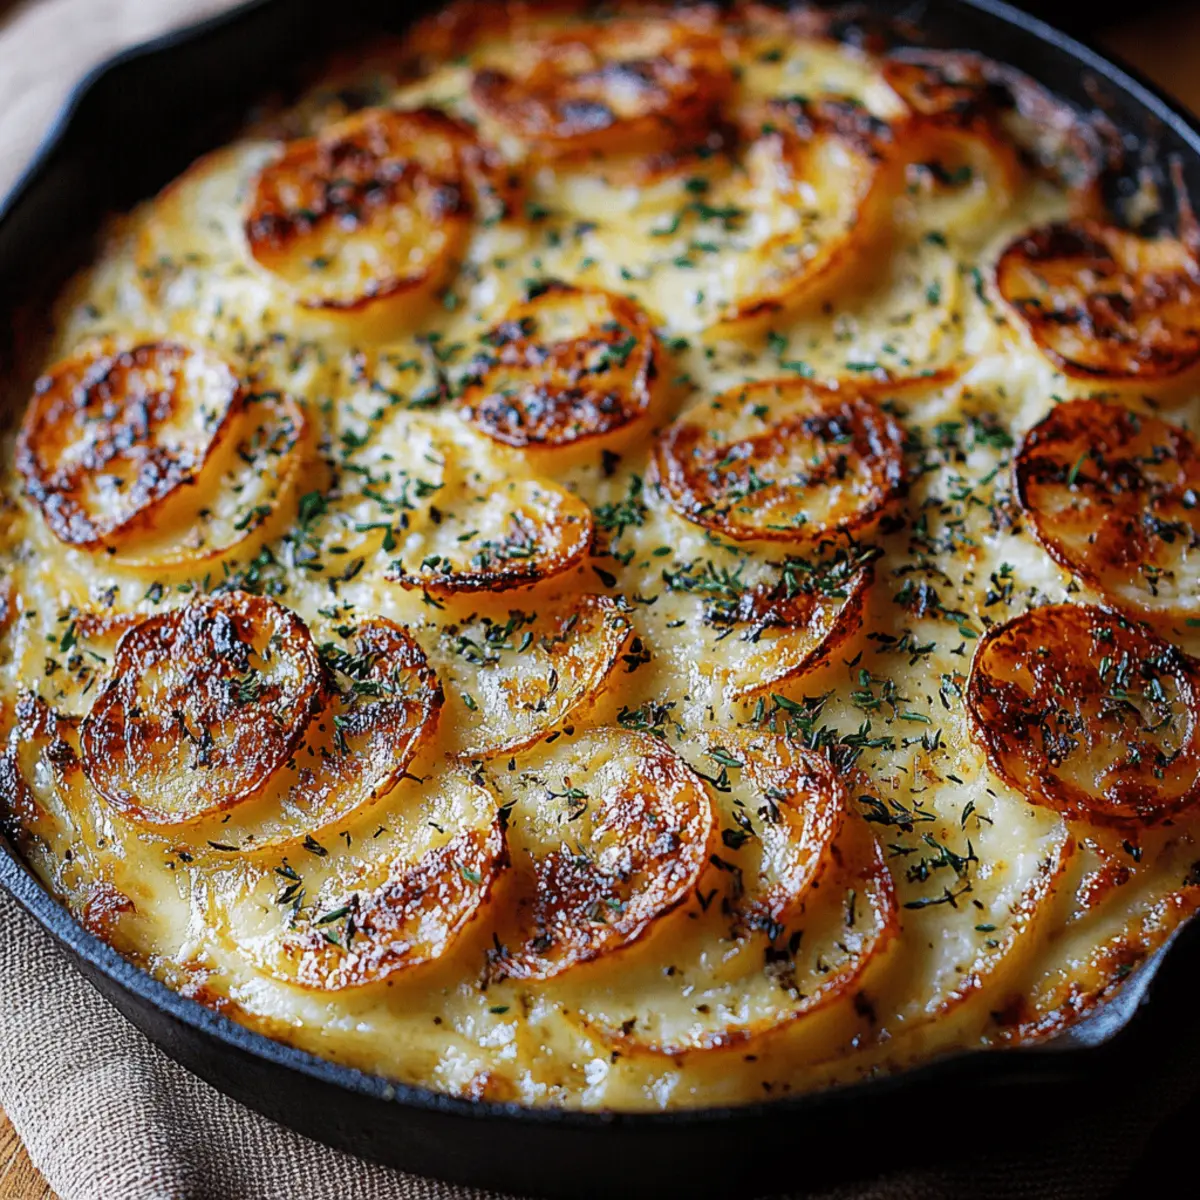
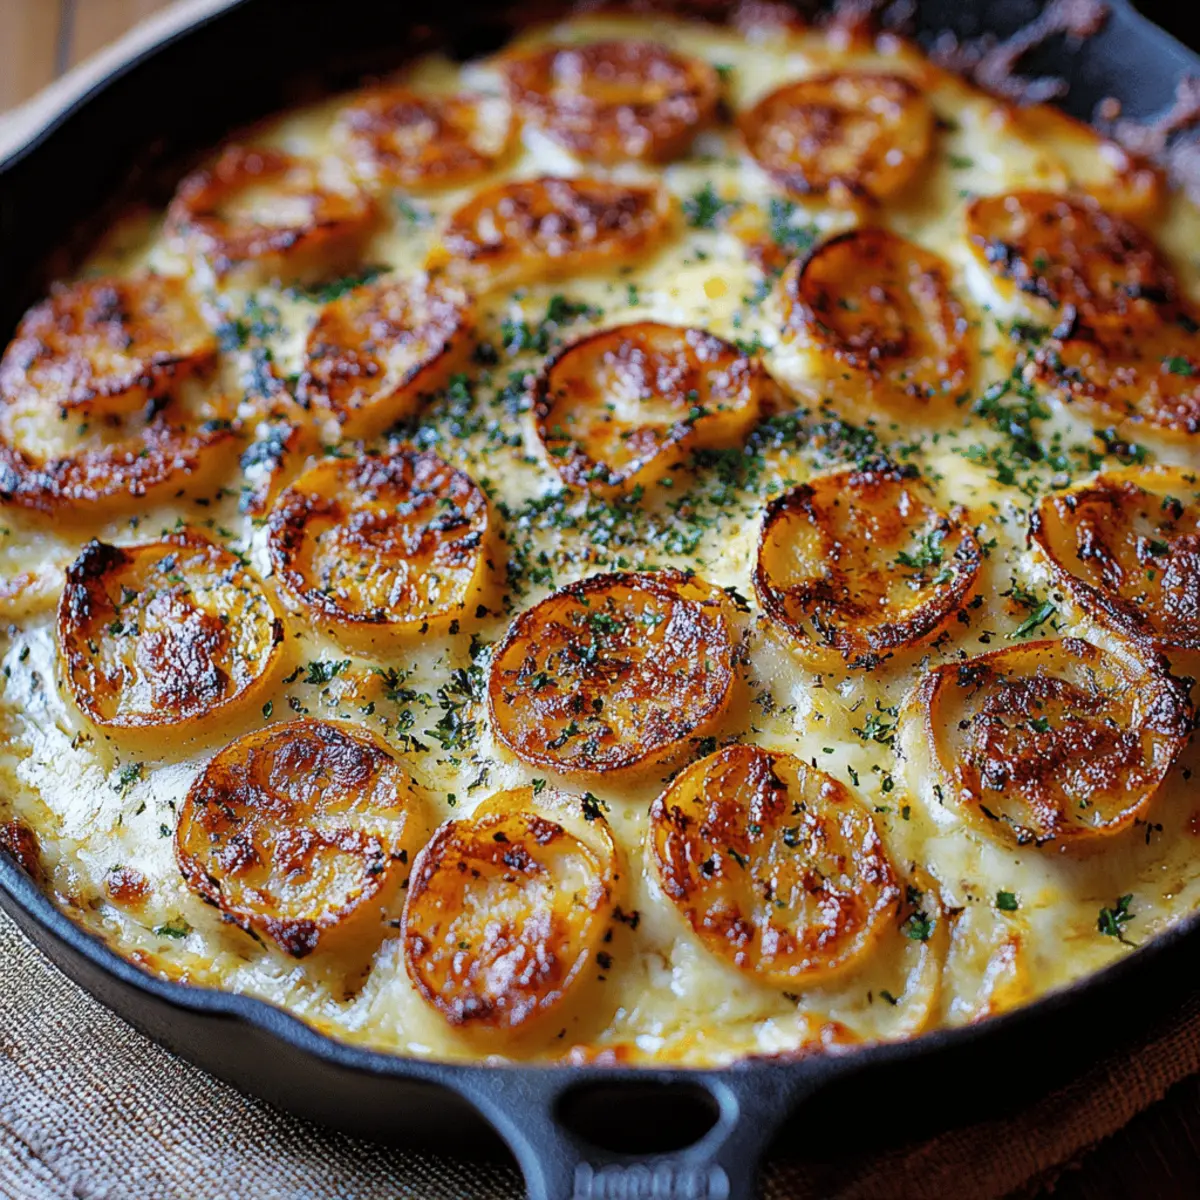
As you make this recipe your own, you might also enjoy exploring other comforting dishes like our heartwarming Potato Soup Deliciously or the delightful Garlic Butter Chicken. Start experimenting with flavors and enjoy the magic of homemade cooking!
How to Store and Freeze Creamy Pumpkin Gnocchi
Fridge: Store any leftovers in an airtight container for up to 3 days. Before enjoying again, gently reheat on the stovetop over low heat, adding a splash of cream if the sauce thickens.
Freezer: This creamy dish can be frozen for up to 2 months. Portion it out in freezer-safe containers, ensuring it’s tightly sealed to prevent freezer burn.
Thawing: For best results, thaw in the refrigerator overnight. Reheat on low heat, adding a bit of water or cream to restore creaminess.
Reheating: Warm gently on the stovetop, stirring occasionally to keep the Creamy Pumpkin Gnocchi from sticking. Enjoy the cozy flavors all over again!
Make Ahead Options
These Creamy Pumpkin Gnocchi are perfect for meal prep, allowing you to savor this delicious dish even on the busiest weeknights! You can cook the gnocchi and prepare the sauce, including the Italian sausage and spinach, up to 24 hours in advance. Simply store the gnocchi and sauce separately in airtight containers in the refrigerator. When you're ready to serve, heat the sauce gently over medium heat, then add the gnocchi and spinach until warmed through. This method ensures your dish maintains its creamy texture and vibrant flavor, making it just as delightful as the day you made it!
Creamy Pumpkin Gnocchi with Spinach and Italian Sausage Recipe FAQs
How do I choose the right pumpkin puree?
Absolutely! When selecting pumpkin puree, look for a rich, vibrant color without any dark spots or separation. Canned puree is convenient and consistent, but if you prefer fresh, choose a sugar pumpkin, roast, and blend it until smooth!
How should I store leftover Creamy Pumpkin Gnocchi?
Store any leftovers in an airtight container for up to 3 days. Before enjoying again, gently reheat on the stovetop over low heat to prevent the sauce from becoming too thick; you can add a splash of cream or water for creaminess.
Can I freeze Creamy Pumpkin Gnocchi?
Definitely! To freeze, portion the dish into freezer-safe containers and seal tightly. It can be frozen for up to 2 months. For best results, thaw in the refrigerator overnight before reheating gently on low heat.
My sauce turned out too thick; how do I fix it?
No worries! Simply add a splash of milk or cream to the sauce while reheating and stir until it reaches your desired consistency. You can also incorporate a bit of pasta cooking water for the same effect.
Are there any dietary considerations for Creamy Pumpkin Gnocchi?
Yes! If you're catering to dietary restrictions, you can swap the Italian sausage for turkey sausage or a plant-based alternative for a lighter or vegetarian option. For allergies, ensure your pumpkin puree and cream are free from additives if necessary!
How do I avoid the gnocchi getting mushy?
To achieve that perfect pillowy texture, be sure not to overcook the gnocchi. They typically take about 2-4 minutes to cook in boiling water, so keep a close eye on them; they're ready when they float to the surface!
Creamy Pumpkin Gnocchi: A Cozy Fall Favorite You'll Love
Ingredients
Equipment
Method
- Begin by bringing a large pot of salted water to a rolling boil. Carefully add the potato gnocchi and cook according to the package instructions, usually about 2–4 minutes or until they float to the surface. Once cooked, drain the gnocchi in a colander and set aside.
- In a large skillet, heat 2 tablespoons of olive oil over medium-high heat. Add the Italian sausage, breaking it apart with a wooden spoon. Sauté for about 5-7 minutes, or until it’s browned and cooked through. Once done, remove the sausage from the skillet and set it aside.
- In the same skillet, add the minced garlic and sauté for about 1 minute, or until fragrant and golden, stirring occasionally to prevent burning.
- Reduce the skillet heat to medium-low and add the pumpkin puree, heavy cream, grated Parmesan cheese, nutmeg, salt, and pepper into the skillet. Stir continuously for about 3 minutes, until the sauce becomes creamy and slightly thickened.
- Gently add the cooked gnocchi and fresh spinach leaves into the skillet. Use a spatula to fold the gnocchi into the sauce for about 2-3 minutes, allowing the spinach to wilt.
- Return the cooked sausage to the skillet, tossing everything together until heated through, about 2 minutes. Serve immediately while hot, optionally garnished with fresh parsley or basil.