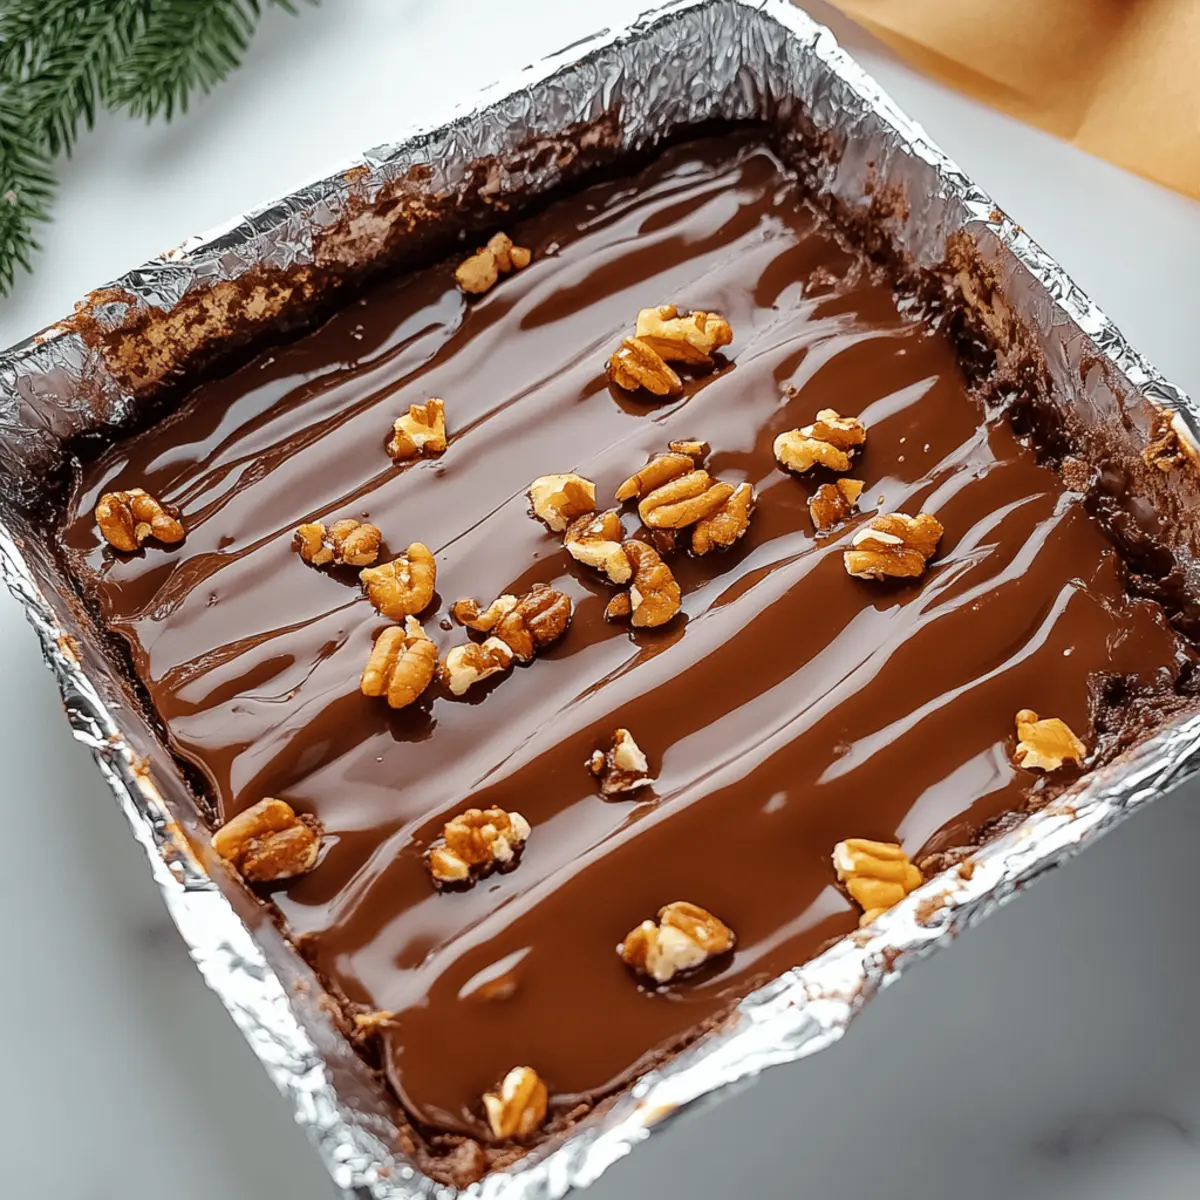
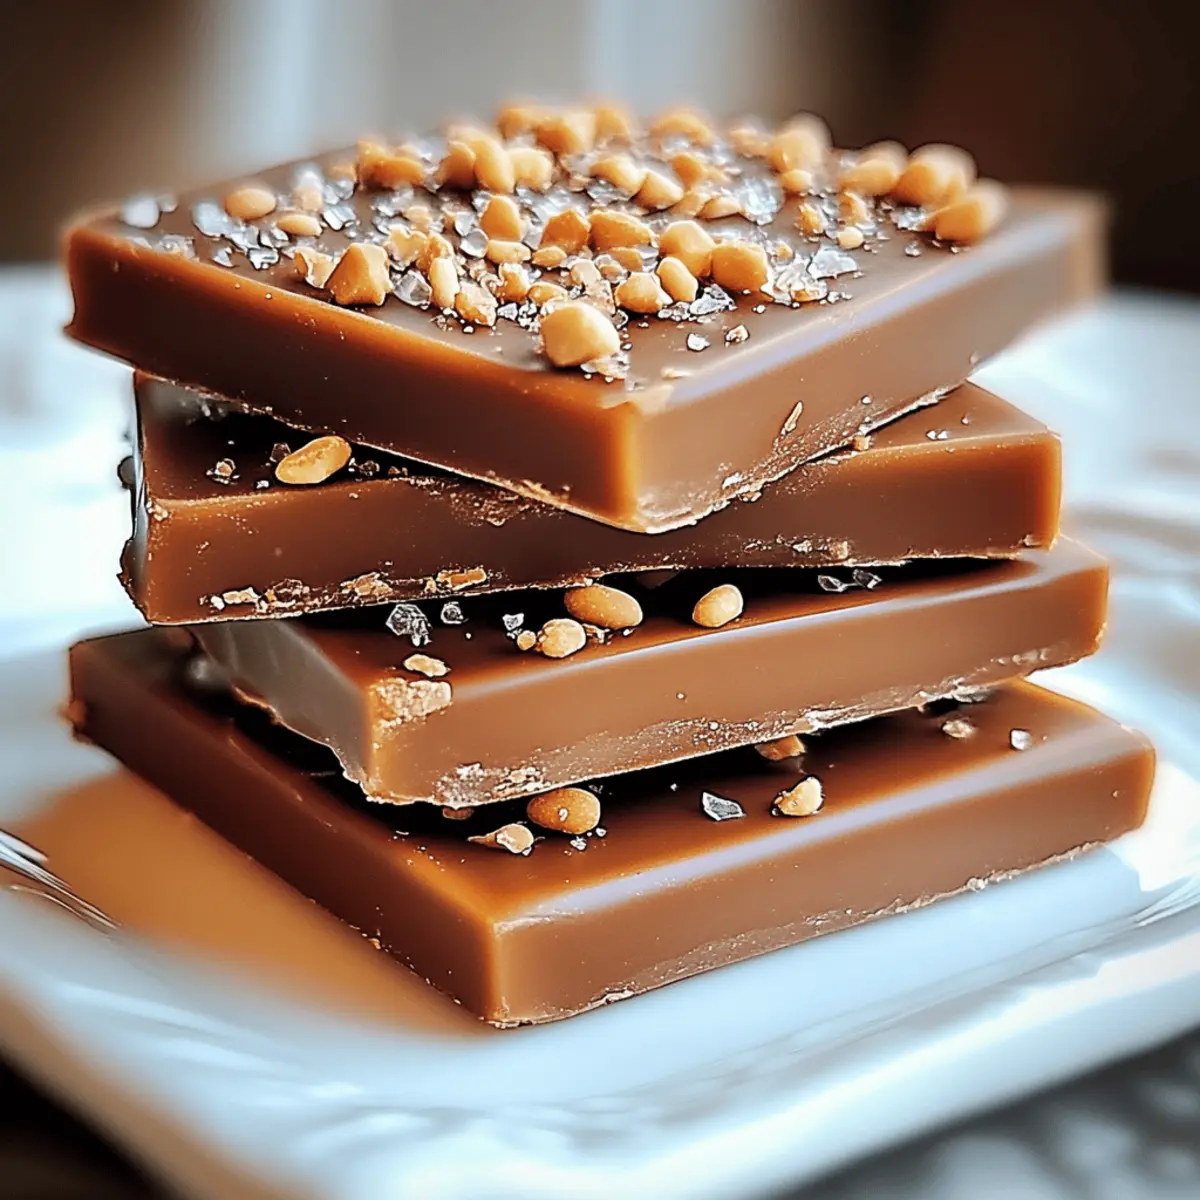
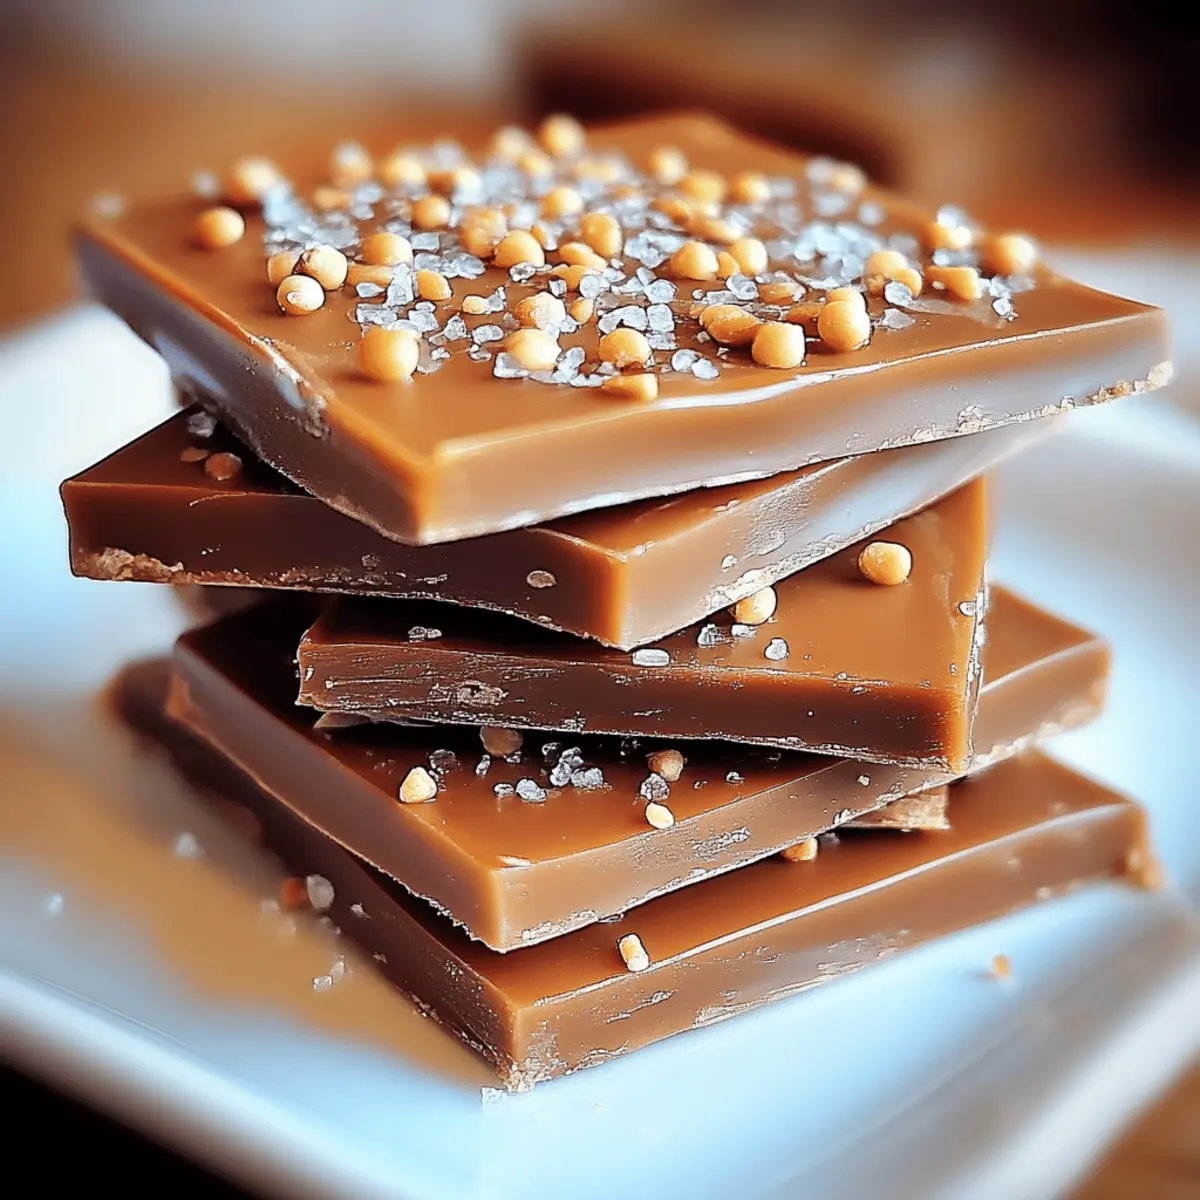
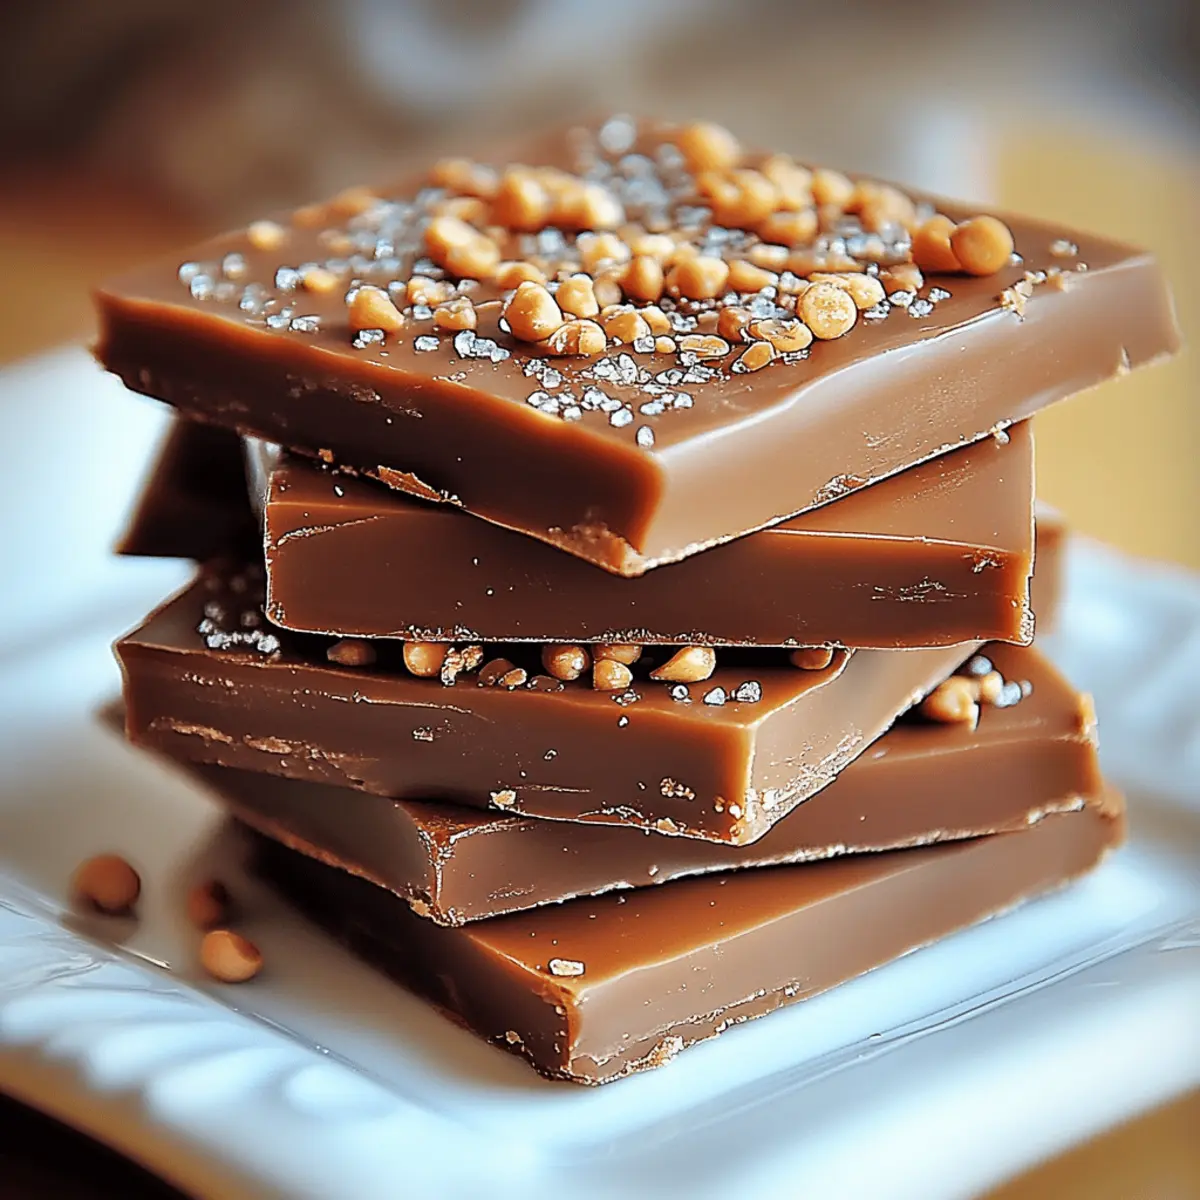
“Who doesn’t love the sound of sweet satisfaction?” When friends and family gather around, there’s nothing like sharing a homemade treat that sparks joy, and this Better Than Anything Toffee is the hidden gem you need in your repertoire! This delightful recipe is not only simple to whip up but also incredibly satisfying, making it a must-try for those busy afternoons when you crave something special. The luscious combination of buttery toffee and melt-in-your-mouth chocolate, enhanced by your choice of crunchy nuts, creates an irresistible dessert that’s sure to leave taste buds dancing. Whether you’re hosting a gathering or just treating yourself, this toffee is perfect for adding that homemade touch we all savor. Curious to learn how to create this heavenly delight? Let’s dive into the steps!
Why Is This Toffee So Irresistible?
Simplicity: This recipe comes together with just a few ingredients, making it accessible for even novice bakers.
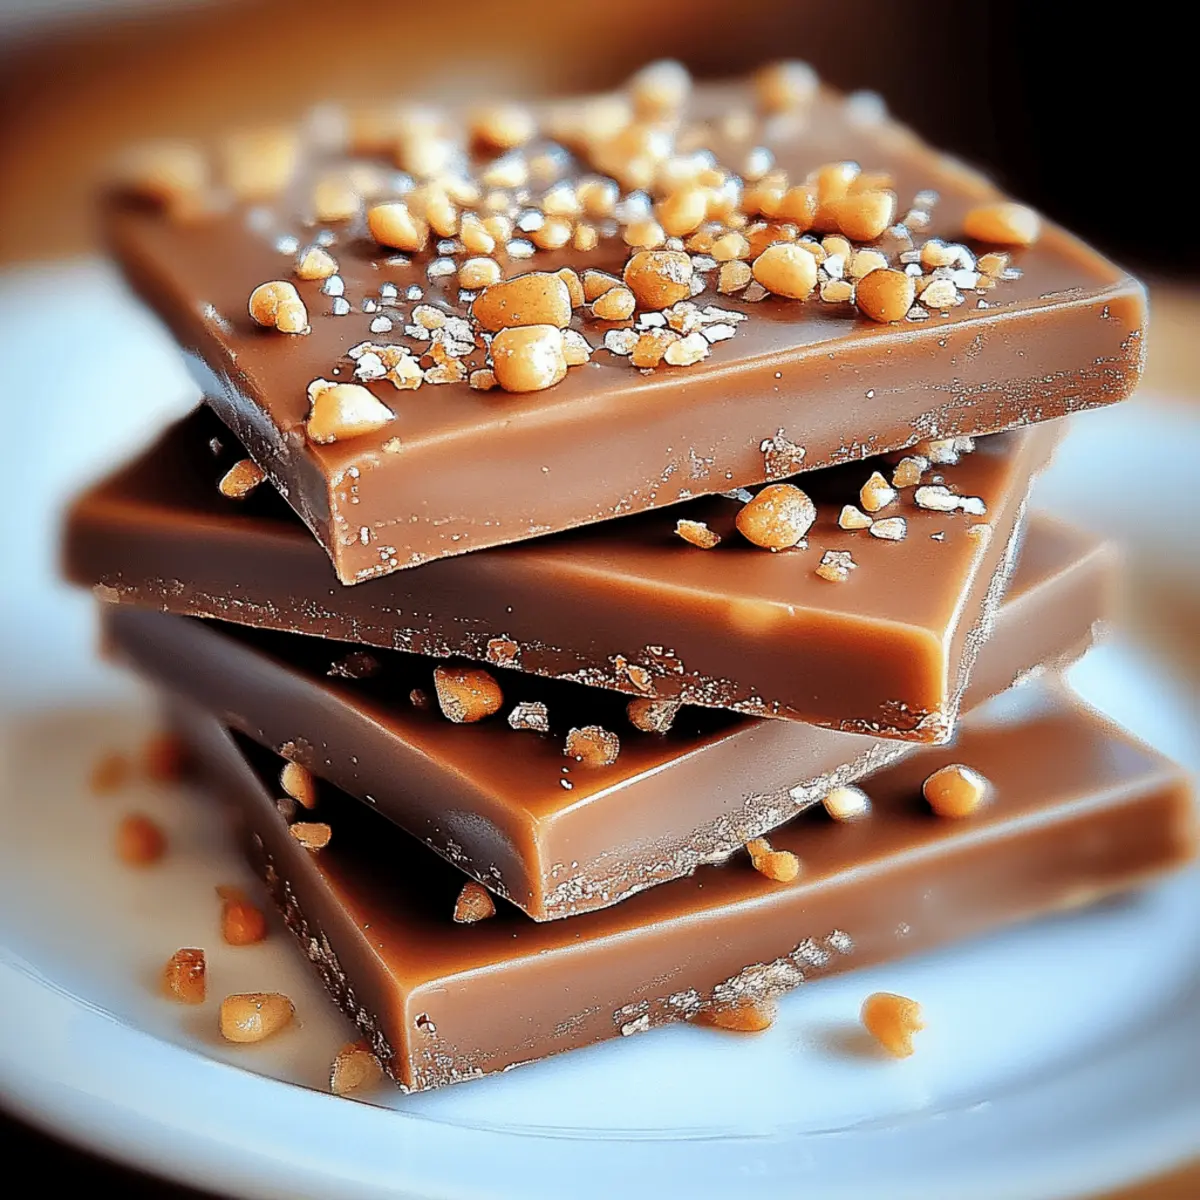
Decadent Flavor: The rich blend of buttery toffee, smooth chocolate, and crunchy nuts creates a taste explosion that will have everyone reaching for seconds.
Versatile Options: Feel free to experiment with your favorite nuts or chocolate types to customize your toffee experience, which ensures you always have something new to wow your guests.
Quick Prep: With a total cook time of just 10-15 minutes, this toffee delivers big flavor without taking up your entire afternoon.
Crowd-Pleasing Delight: Whether served at parties or packed as gifts, it’s sure to be a hit among family and friends! Make sure to check out some delicious variations in our nutty dessert recipes for even more inspiration!
Toffee Ingredients
For the Toffee Base
- Unsalted butter – ensures a rich, creamy texture for the toffee.
- Granulated sugar – provides the sweetness and helps achieve that beautiful golden color.
- Salt – balances the sweetness and enhances the overall flavor profile.
- Vanilla extract – adds a warm, inviting aroma and depth to the toffee.
- Water – helps dissolve the sugar and contributes to the cooking process.
For Topping
- Semi-sweet or milk chocolate chips – perfect for that melt-in-your-mouth sensation; use dark chocolate for a more intense flavor.
- Chopped nuts (pecans, walnuts, or almonds) – give a delightful crunch and nutty flavor; feel free to use your favorite variety to personalize your toffee experience.
Indulging in this toffee is more than just a treat—it's about creating lasting memories with every delightful bite!
Step‑by‑Step Instructions for Toffee
Step 1: Prepare Your Baking Dish
Line a 9×13-inch baking dish or baking sheet with parchment paper or a silicone mat, ensuring it's ready for your toffee. Gather all your ingredients and measure them out, making it easier to work swiftly as you cook. This preparation will save you time and ensure a smooth process.
Step 2: Melt the Ingredients
In a heavy-bottomed saucepan, combine the unsalted butter, granulated sugar, salt, and water over medium heat. Stir constantly to prevent burning, and cook until the mixture transforms into a deep golden brown color, which will take about 10-15 minutes. Keep an eye on the thermometer; you're aiming for 300°F, the hard crack stage, before adding the vanilla extract.
Step 3: Pour Out the Toffee Mixture
Once the toffee has reached the desired color and temperature, carefully pour it onto the prepared baking sheet. Use a spatula to spread the mixture evenly, ensuring every corner is covered. Let the toffee sit for 1-2 minutes until it firms up slightly, maintaining that beautiful sheen you've created.
Step 4: Add the Chocolate Chips
While the toffee is still warm, generously sprinkle the chocolate chips over the top. Allow them to sit for about 2 minutes—this will soften the chips perfectly. After they’ve had time to melt, use a spatula to spread the warm chocolate evenly to cover the toffee layer below.
Step 5: Top with Nuts
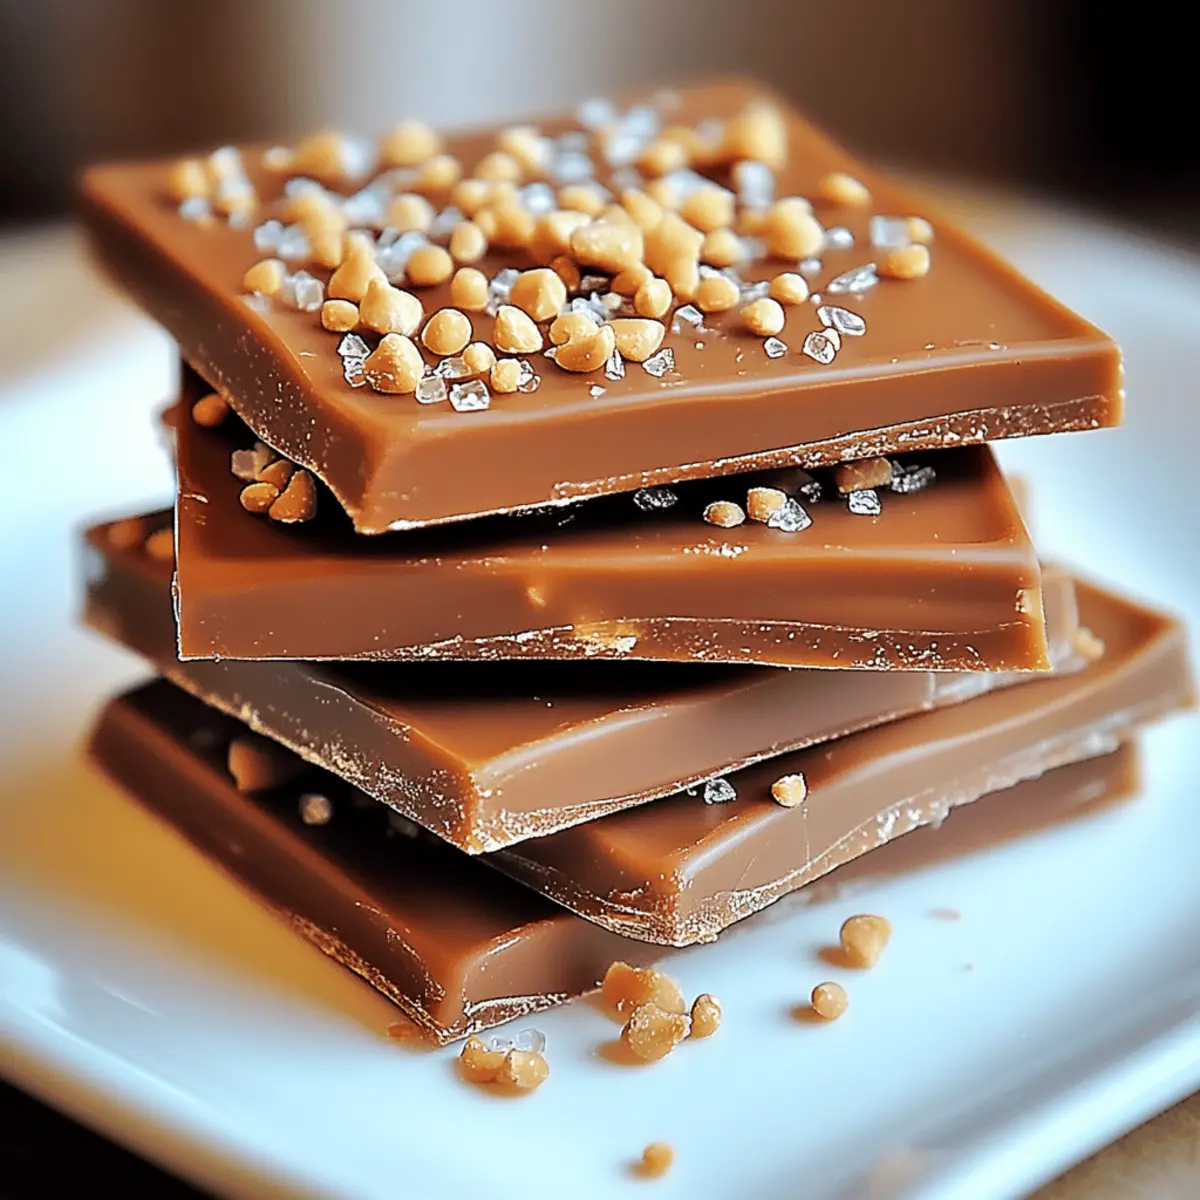
Sprinkle your choice of chopped pecans, walnuts, or almonds over the melted chocolate. Gently press the nuts into the chocolate to ensure they adhere well; this adds a delicious crunch to your irresistible toffee. Take a moment to appreciate the beautiful layering of flavors and textures.
Step 6: Cool and Harden the Toffee
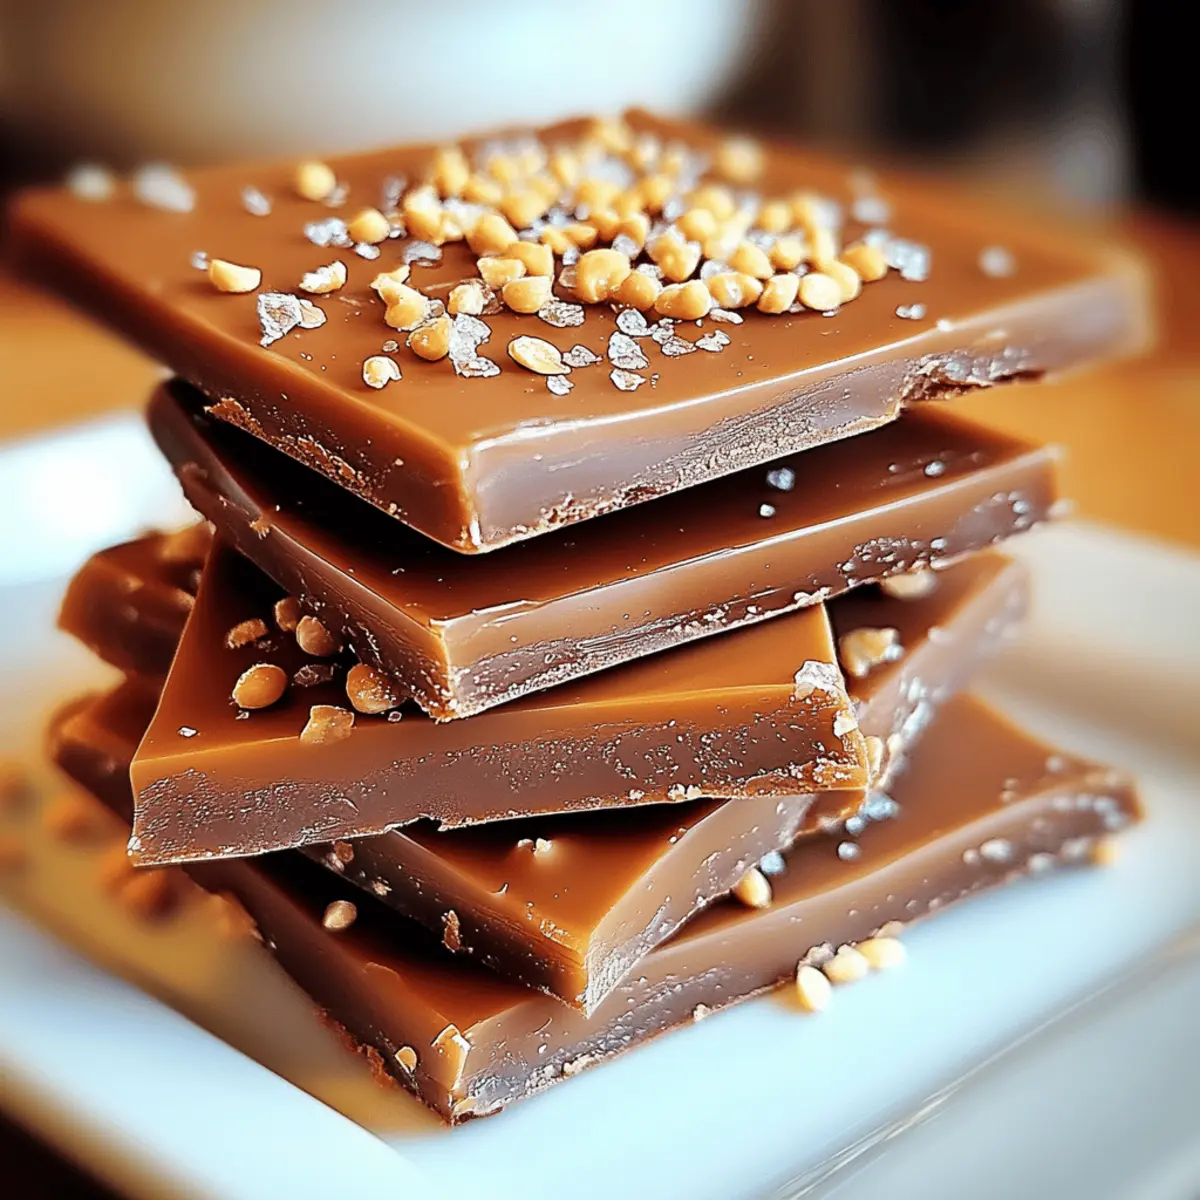
Allow the finished toffee to cool at room temperature for about 2 hours, or if you’re in a hurry, chill it in the fridge for 30 minutes. Once hardened, the toffee will be easy to break into bite-sized pieces, revealing the delicious layers of chocolate and nuts that make this toffee a true delight!
What to Serve with Better Than Anything Toffee
Imagine serving up a stunning sweet treat that pairs perfectly with delightful side dishes and drinks, creating a memorable experience for everyone.
-
Creamy Vanilla Ice Cream: A scoop adds a luscious creaminess that perfectly balances the crunchy and sweet toffee, enhancing your dessert experience.
-
Fresh Berries Medley: The tartness of strawberries, raspberries, and blueberries contrasts beautifully with the rich toffee, bringing a refreshing burst of flavor to every bite.
-
Espresso or Coffee: The robust flavors of freshly brewed espresso or coffee complement the sweet notes of the toffee, making it a perfect ending to any meal shared over good conversation.
-
Chocolate Mousse: Layering chocolate mousse beneath or alongside toffee adds depth and luxurious texture, creating an indulgent dessert that chocolate lovers will adore.
-
Salted Caramel Sauce: Drizzling a rich salted caramel on top of your toffee takes it to another level, enhancing its decadent flavor profile and adding a delightful contrast.
-
Candied Nuts: Serve a small bowl of candied nuts alongside your toffee; their sweet crunch will echo the flavors in your dessert while adding extra crunch.
-
A Glass of Milk: There’s something nostalgic about dipping pieces of toffee into cold milk, making this pairing a comforting way to enjoy your treat.
Elevate your gathering and entice your guests’ taste buds with these delightful accompaniments!
Toffee Variations & Substitutions
Feel free to unleash your creativity with these fun twists on classic toffee!
- Dairy-Free: Use vegan butter and dairy-free chocolate to make it a plant-based delight.
- Nut-Free: Omit the nuts altogether for a smooth finish, or replace them with seeds like sunflower or pumpkin.
- Spicy Kick: Add a pinch of cayenne or chili powder to the sugar mixture for a surprising heat that complements the sweetness.
- Unique Flavors: Swap in flavored extracts such as almond or hazelnut for a fun twist on traditional vanilla essence.
- Texture Boost: Incorporate crushed pretzels or popcorn for a delightful crunch and a savory element in every bite.
- Chocolate Varieties: Experiment with dark, white, or even flavored chocolate chips to create a signature flavor that suits your palate.
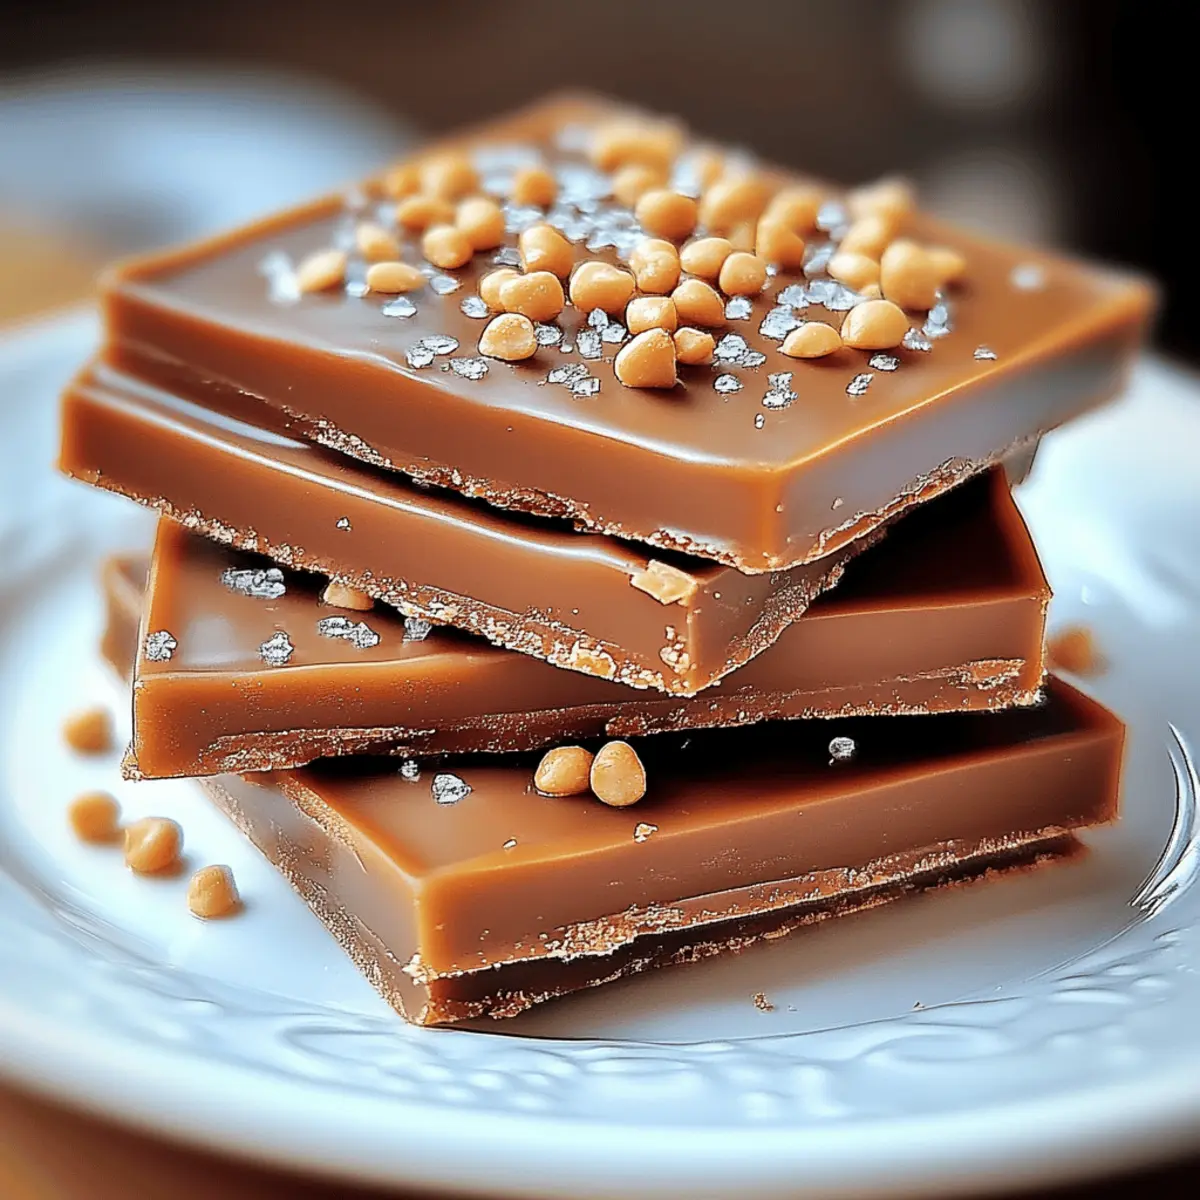
- Layered Treat: For a more complex toffee, try layering with different types of chocolate or adding a sprinkle of sea salt atop the melted layer for a contrasting taste sensation.
- Fruit Infusion: Toss in some dried fruits like cranberries or raisins for a touch of tartness that beautifully balances the sweetness.
These variations elevate your toffee game to new heights, making each batch a unique experience for you and your loved ones!
Tips for the Best Toffee
Temperature Matters: Aim for 300°F: Cooking your toffee mixture to exactly 300°F ensures a perfect hard crack stage, giving you that satisfying crunch.
Stir Constantly: Prevent Burning: Stirring constantly helps prevent the sugar from burning, which can ruin the flavor and texture of your toffee.
Timing is Key: Don’t Rush Cooling: Allow the toffee to cool properly so it sets firmly, making it easier to break into those delightful bite-sized pieces.
Nut Varieties: Get Creative: Feel free to swap in your favorite nuts to personalize your toffee; just make sure to press them in while the chocolate is still warm!
Watch for Overcooking: Avoid Bitter Toffee: If your toffee turns too dark, it can develop a burnt, bitter taste. Aim for that beautiful amber color for the best flavor!
Make sure to keep these tips in mind to create truly irresistible toffee that’ll impress everyone!
How to Store and Freeze Toffee
Room Temperature: Keep your toffee in an airtight container at room temperature for up to 1 week to maintain its delightful texture and flavor.
Fridge: If you desire a firmer toffee, refrigerate it in an airtight container for up to 2 weeks. Just be sure to let it come back to room temperature before serving for the best experience!
Freezer: To preserve freshness for longer, freeze your toffee in a well-sealed container for up to 3 months. Thaw it overnight in the fridge before enjoying.
Reheating: For a warm treat, pop the toffee into the microwave for a few seconds or let it sit at room temperature for a comfortable, melt-in-your-mouth indulgence.
Make Ahead Options
These Better Than Anything Toffee pieces are truly a lifesaver for busy home cooks looking to save time! You can prepare the toffee base up to 3 days in advance—just store it tightly wrapped in an airtight container at room temperature to keep it fresh. If you wish, you can also melt the chocolate and chop the nuts ahead of time; refrigerate them separately for up to 24 hours. When you’re ready to serve, simply reheat the chocolate slightly if needed, spread it over the cooled toffee, add the nuts, and let it set. This way, you’ll enjoy all the deliciousness of homemade toffee with minimal effort!
Better Than Anything Toffee Recipe FAQs
What kind of butter should I use for toffee?
Absolutely! It's best to use unsalted butter for making toffee. This allows you to control the saltiness in your recipe and ensures a rich, creamy texture. I often reach for high-quality butter, as the flavor truly shines in this sweet treat.
How do I store leftover toffee?
To maintain its delightful texture and flavor, store your toffee in an airtight container at room temperature for up to 1 week. If you prefer your toffee to be firmer, refrigerate it in the same container for up to 2 weeks. Just let it sit at room temperature for a bit before enjoying!
Can I freeze my toffee?
Yes, you can! To freeze your toffee, place it in a well-sealed container or wrap it tightly in plastic wrap. It stays fresh for up to 3 months. When you're ready to enjoy, simply thaw it overnight in the fridge to bring it back to its delicious state.
What if my toffee isn't hardening?
If your toffee doesn't seem to harden properly, it may not have reached the hard crack stage (300°F) during cooking. For next time, be sure to use a candy thermometer and keep stirring until you achieve that deep golden color. If it's too soft, you can try re-cooking the mixture gently until it reaches the right temperature again.
Is this toffee safe for pets?
Definitely not! This toffee contains ingredients like sugar and chocolate that can be harmful to pets, especially dogs. Keep this sweet treat out of their reach and opt for pet-friendly snacks instead. Always consult your veterinarian if you're unsure about the safety of any food for your furry friends.
Can I use different nuts for the topping?
Very much! Feel free to get creative with your choice of nuts. You can use pecans, walnuts, or almonds, depending on your taste preference. Just make sure to chop them roughly, and remember to press them into the chocolate while it's still warm for the best adhesion. Enjoy experimenting!
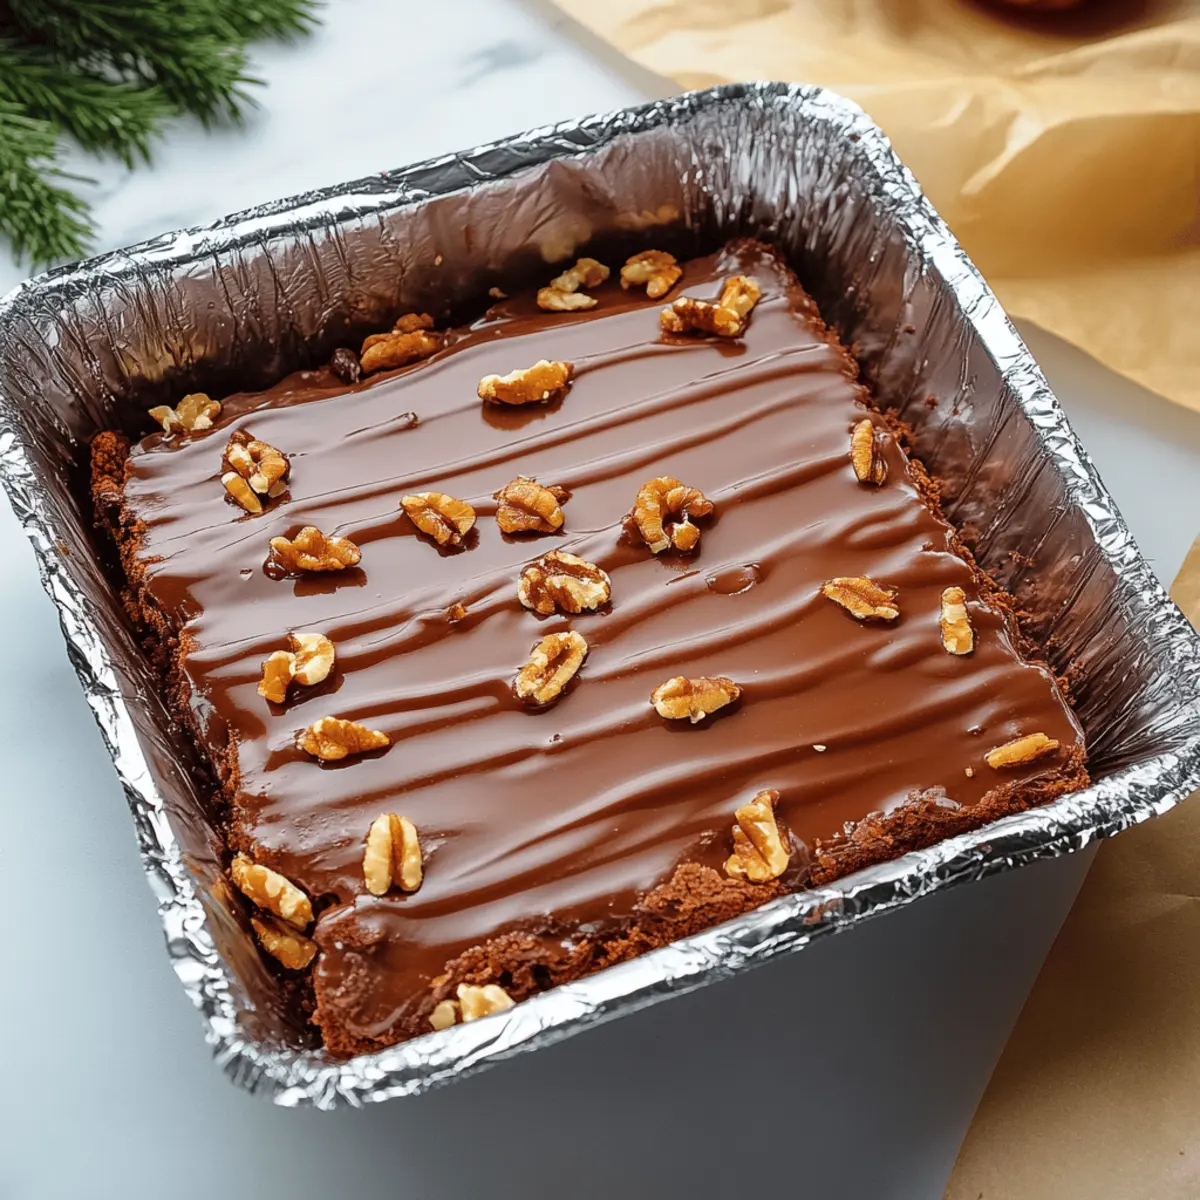
Irresistible Toffee Recipe That Will Wow Your Taste Buds
Ingredients
Equipment
Method
- Line a 9×13-inch baking dish with parchment paper or a silicone mat. Gather and measure your ingredients.
- In a heavy-bottomed saucepan, combine unsalted butter, granulated sugar, salt, and water. Stir constantly over medium heat until it turns deep golden brown (about 10-15 minutes).
- Carefully pour the toffee onto the prepared baking sheet and spread evenly. Let it sit for 1-2 minutes until it firms up slightly.
- Sprinkle chocolate chips over the warm toffee, allow them to melt for about 2 minutes, then spread evenly.
- Sprinkle chopped nuts over the melted chocolate, pressing them in gently to adhere.
- Cool the toffee at room temperature for 2 hours or refrigerate for 30 minutes until hardened.