As I stood in my kitchen contemplating lunch, a craving for something healthy yet satisfying struck me. Enter my Turkey Hummus Roll Ups, the perfect solution for those busy days when you need a quick meal that doesn’t skimp on flavor or nutrition. These delightful rolls are not just easy to whip up, but they also pack a vibrant array of fresh vegetables, making them a feel-good option for anyone weary of fast food. Plus, they’re incredibly versatile—feel free to mix and match your favorite veggies or hummus flavors. With just a handful of ingredients, these wraps come together in no time, offering a fantastic way to fuel your day without the fuss. Ready to step into the world of quick and delicious meals? Let’s get rolling!

Why are Turkey Hummus Roll Ups a Must-Try?
Healthful Choice: These Turkey Hummus Roll Ups are packed with fresh veggies, providing essential nutrients while keeping calories in check.
Quick & Easy: With just 20 minutes of prep, you can whip up a nutritious meal that suits even the busiest schedules.
Bursting with Flavor: The combination of creamy hummus, savory turkey, and crunchy veggies creates a flavor explosion that will satisfy your taste buds.
Customizable Delight: Feel free to swap in your favorite ingredients! Add roasted red pepper hummus or switch up the veggies to keep it interesting.
Perfect for Any Occasion: Whether it's a picnic, lunch box, or party platter, these roll ups are sure to impress both family and friends.
Discover other quick and easy recipes, like Veggie Hummus Wraps or Mediterranean Chicken Roll Ups, to keep your meal ideas fresh and exciting!
Turkey Hummus Roll Ups Ingredients
• Here’s everything you need for a delightful snack!
For the Roll Ups
- Large whole wheat tortillas – 4 tortillas (8–10 inch) provide a sturdy and healthy base for your filling.
- Sliced deli turkey breast – 8 oz (225 g) of low-sodium turkey adds protein and savory flavor.
- Hummus – 1 cup, use classic or opt for roasted red pepper for a flavor twist.
- Baby spinach leaves – 1 cup, loosely packed; a great way to add fresh greens!
- Shredded carrots – 1 cup (or matchstick carrots) brings a sweet crunch to each bite.
- Small cucumber – 1, seeded and cut into matchsticks for a refreshing crunch.
- Small red bell pepper – 1, thinly sliced into strips for a pop of color and sweetness.
Optional Add-ins
- Feta cheese – ½ cup crumbled adds a creamy, tangy element if desired.
- Fresh parsley or cilantro – 2 tbsp, finely chopped; these herbs add a burst of freshness.
- Fresh lemon juice – 1 tablespoon (optional) brightens up the flavors beautifully.
- Salt and black pepper – to taste, for enhancing the dish's flavor profile.
- Olive oil – 1–2 tablespoon (optional) for brushing tortillas, making them pliable and soft.
For Serving
- Toothpicks or skewers – to secure your pinwheel roll ups when serving on a platter.
With these tasty and fresh ingredients, your Turkey Hummus Roll Ups will not only be a hit with your family but also a vibrant and healthy choice for your meal prep. Enjoy the delicious adventure!
Step‑by‑Step Instructions for Turkey Hummus Roll Ups
Step 1: Prepare the Vegetables
Rinse and dry the baby spinach leaves thoroughly, ensuring they’re crisp. If using whole carrots, shred them for a delightful crunch. Slice the cucumber into thin matchsticks, discarding the seedy core to prevent excess moisture. Create thin strips from the red bell pepper. If desired, crumble the feta cheese and finely chop the parsley or cilantro for added freshness.
Step 2: Warm the Tortillas
In a dry skillet over low heat, warm the tortillas for 15–20 seconds on each side until they’re just flexible and slightly toasty. Alternatively, stack them, cover with a damp paper towel, and microwave for 20–30 seconds. If preferred, brush one side of each tortilla lightly with olive oil to enhance pliability and flavor.
Step 3: Season the Hummus
In a small bowl, combine the hummus with fresh lemon juice, if using, along with a pinch of salt and black pepper to taste. Mix thoroughly until the blend is smooth and creamy. Taste and adjust the seasoning as needed to elevate the flavors in your Turkey Hummus Roll Ups.
Step 4: Spread the Hummus
Place one warm tortilla on a clean cutting board, ensuring the oiled side is facing down if you brushed oil on it. Using a spatula, spread approximately ¼ cup of seasoned hummus evenly across the surface of the tortilla, leaving about a ½ inch border clear around the edges for easy rolling.
Step 5: Layer the Turkey
Lay 2–3 slices of deli turkey breast over the hummus in a single, even layer, ensuring to cover most of the hummus. The savory turkey will bring richness to your Turkey Hummus Roll Ups, balancing nicely with the fresh vegetables that will follow.
Step 6: Add the Vegetables and Extras
Starting from the side of the tortilla closest to you, create a vibrant line of baby spinach leaves. Follow with a small handful of shredded carrots, a few cucumber matchsticks, and several strips of red bell pepper. If you’re including feta, sprinkle it on top along with the finely chopped parsley or cilantro for a burst of flavor.
Step 7: Roll the Tortilla Tightly
Begin rolling the tortilla away from you, starting at the edge with the vegetable line. Tuck the filling in snugly as you roll to create a firm wrap. Once fully rolled, place the seam side down on the cutting board to secure it before slicing.
Step 8: Repeat for the Remaining Tortillas
Assemble the additional Turkey Hummus Roll Ups one by one in the same manner, rolling each finished wrap seam side down. This keeps them secure and ready for slicing; each roll is packed with nutritious and exciting flavors.
Step 9: Slice Into Roll Ups or Serve Whole
For pinwheel-style roll ups, use a sharp serrated knife to neatly trim the ends, then slice each roll into 1–1.5 inch pieces. Secure each piece with a toothpick or small skewer if presenting on a platter. If you prefer whole wraps, cut each rolled tortilla in half diagonally or leave them as is.
Step 10: Chill If Desired
For cleaner slices, wrap the whole rolls tightly in plastic wrap and refrigerate for 20–30 minutes before slicing them. This step enhances the flavors and helps the rolls set, making your Turkey Hummus Roll Ups even more delightful.
Step 11: Serve
Arrange your vibrant Turkey Hummus Roll Ups on a plate or platter. For an added touch, garnish with extra chopped herbs, lemon wedges, or a small bowl of additional hummus for dipping. These rolls are perfect for any occasion and are sure to impress family and friends!

Turkey Hummus Roll Ups Variations
Get ready to have fun with your flavors and textures in these delicious Turkey Hummus Roll Ups!
-
Spicy Kick: Add sliced jalapeños for a burst of heat that will awaken your taste buds. Feel free to customize the spiciness to your liking!
-
Creamy Avocado: Swap out the feta for sliced or mashed avocado to create a rich and creamy texture that pairs wonderfully with the other ingredients. You’ll love this smooth twist!
-
Vegan Delight: Use roasted vegetable hummus and replace turkey with marinated grilled tofu for a hearty vegan version that’s just as satisfying, making it perfect for plant-based diets.
-
Herbaceous Burst: Incorporate fresh basil or dill in place of parsley or cilantro for a unique flavor profile that adds an aromatic freshness to every bite. This adds a delightful twist!
-
Crunchy Add-ins: Toss in some roasted chickpeas for an additional crunchy element that brings vibrant flavor and added nutrition to your roll ups. They’re a fun surprise in each bite!
-
Cheese Swap: Replace feta with pepper jack cheese for a melty, spicy alternative that complements the turkey beautifully, adding depth to your roll ups.
-
Mediterranean Flair: Use pita bread instead of tortillas and add olives and artichokes to transform your roll ups into a Mediterranean feast!
-
Zesty Zing: Drizzle some balsamic glaze over the veggies before rolling for a tangy, sweet note that elevates your Turkey Hummus Roll Ups to another level!
With these easy variations, your Turkey Hummus Roll Ups will never feel boring. Want more fresh ideas? Check out these flavorful options: Veggie Hummus Wraps and Mediterranean Chicken Roll Ups. Enjoy your creative cooking!
How to Store and Freeze Turkey Hummus Roll Ups
Fridge: Store leftover Turkey Hummus Roll Ups in an airtight container in the fridge for up to 3 days to maintain freshness and texture.
Freezer: Freeze unassembled roll ups by wrapping them tightly in plastic wrap; consume within 1 month for best quality. Thaw in the fridge before assembling them.
Reheating: If desired, reheat the rolled wraps in the microwave for about 15-20 seconds. Avoid microwave reheating for too long to prevent sogginess.
Prep-to-Serve: These rolls are best enjoyed fresh, but if storing, keep extra hummus on hand for dipping when serving!
What to Serve with Turkey Hummus Roll Ups
Looking to create a vibrant and satisfying meal that perfectly complements these delightful rolls?
-
Crispy Sweet Potato Fries: These baked fries add a sweet, crunchy contrast that enhances the savory flavors of your roll ups.
-
Zesty Greek Salad: A refreshing mix of cucumbers, tomatoes, and feta in olive oil dressing pairs well, adding bright notes and crunch.
-
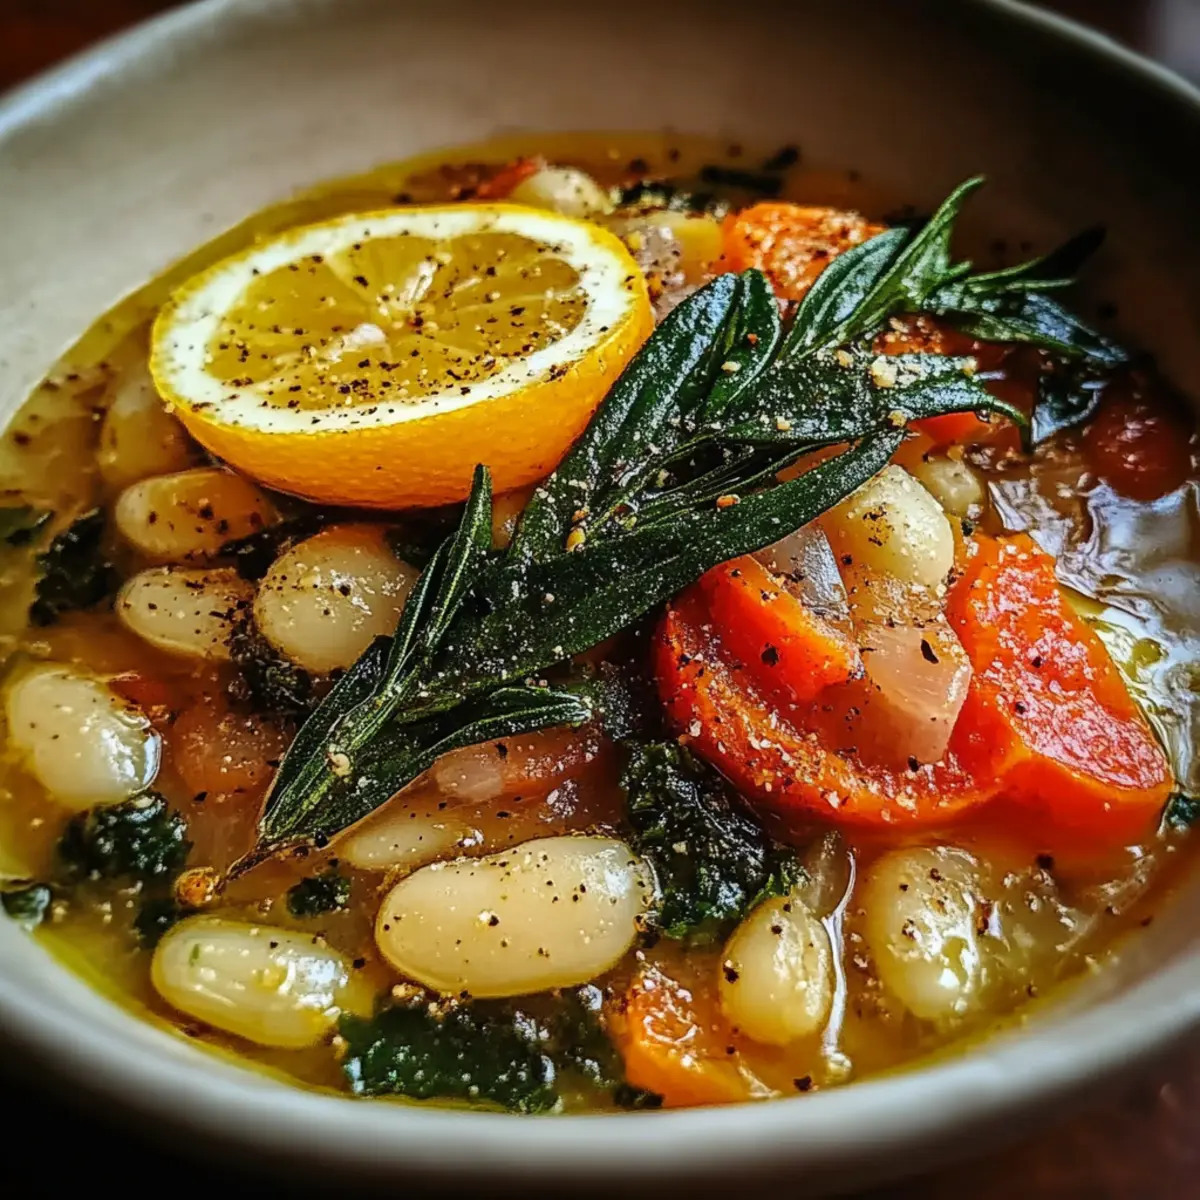
Light Vegetable Soup: A warm, comforting bowl of vegetable soup balances the coolness of the roll ups, making for a cozy meal.
-
Creamy Avocado Dip: Pair with sliced veggies for a rich, buttery dip that complements the freshness of the turkey and hummus.
-
Sparkling Water with Lemon: A refreshing drink that cleanses the palate, making each bite of your Turkey Hummus Roll Ups even more enjoyable.
-
Fruit Skewers: Colorful skewers of strawberries, pineapple, and melon bring a burst of sweetness to your meal, lightening up the overall experience.
-
Chilled White Wine: Opt for a crisp Sauvignon Blanc that enhances the flavors of the turkey and vegetables while offering a touch of elegance.
-
Mini Cheesecake Bites: End on a sweet note! Delicate bites of cheesecake provide a rich, creamy finish to contrast with your healthy roll ups.
Tips for the Best Turkey Hummus Roll Ups
-
Prep All Ingredients First: Have all your vegetables and toppings ready before starting. This ensures an efficient assembly and prevents any last-minute dash for ingredients.
-
Warm Tortillas: Never skip warming the tortillas! It makes them pliable and easy to roll, preventing tearing during assembly of your Turkey Hummus Roll Ups.
-
Spread Evenly: Apply hummus evenly on the tortillas. Leaving that ½ inch border around the edges allows for easier rolling and prevents messiness.
-
Layer Wisely: When layering turkey and vegetables, arrange items in a single line along one edge. This maximizes flavor in each bite and makes rolling tighter.
-
Tight Rolls: Roll the tortilla tightly right from the edge with the veggies. Tucking the filling as you go ensures that your Turkey Hummus Roll Ups hold their shape without falling apart.
-
Chill Before Slicing: If time permits, refrigerate the rolls for 20–30 minutes after assembling. This step helps them firm up, making slicing cleaner and tidier!
Make Ahead Options
These Turkey Hummus Roll Ups are a fantastic time-saver for busy weeknights! You can prepare the fillings—such as the sliced turkey, veggies, and hummus—up to 3 days in advance by storing them separately in airtight containers in the refrigerator. To maintain freshness and prevent the wraps from getting soggy, assemble the roll ups no more than 24 hours ahead of serving. When you're ready to enjoy, simply spread the hummus on the tortilla, layer the turkey and veggies, and roll tightly. After rolling, you can slice them into pinwheels or serve them whole. Trust me, they will be just as delicious as if you'd made them that day!

Turkey Hummus Roll Ups Recipe FAQs
How do I choose ripe vegetables for my Turkey Hummus Roll Ups?
Absolutely! Look for vibrant colors and avoid any vegetables with dark spots or softness, which can indicate overripeness. For cucumbers, pick those with firm skins and a smooth surface. When selecting bell peppers, choose ones with a glossy finish and no blemishes. Fresh baby spinach should be crisp and deep green.
What’s the best way to store leftovers of Turkey Hummus Roll Ups?
Very good question! To keep them fresh, wrap each roll tightly in plastic wrap and store them in an airtight container in the fridge. They’ll stay delicious for up to 3 days. If you notice any wilting in the veggies, that’s a sign they might need to be consumed sooner rather than later!
Can I freeze Turkey Hummus Roll Ups for later?
Definitely! For freezing, it's best to freeze them unassembled. Wrap each tortilla tightly in plastic wrap and then in aluminum foil to minimize freezer burn. You can store them in the freezer for up to 1 month. When you're ready to enjoy, simply thaw them in the fridge overnight before assembling with fresh fillings.
What if my hummus is too thick for spreading?
If your hummus feels too thick, add a splash of water or olive oil. Mix it in to reach your desired consistency; it should be smooth and easily spreadable. If you’re feeling adventurous, try adding a tablespoon of lemon juice or a bit of garlic to brighten the flavor!
Are there any dietary considerations I should keep in mind?
Yes, indeed! If you or your guests have allergies, ensure that the hummus and other ingredients are free from common allergens like nuts, gluten, or dairy (if you skip the feta). These Turkey Hummus Roll Ups can easily be made gluten-free by swapping in gluten-free tortillas. Additionally, always check the deli turkey for sodium content if you're watching your salt intake.
How can I make these wraps more flavorful?
The more the merrier! To enhance the flavors in your Turkey Hummus Roll Ups, consider marinating the turkey slices in olive oil with herbs for added zest, or switch out the feta for goat cheese or even a spicy hummus variation for a kick. Feel free to experiment until you find your personal favorite combination!

Turkey Hummus Roll Ups That Make Snack Time Extraordinary
Ingredients
Equipment
Method
- Rinse and dry the baby spinach leaves thoroughly. Shred whole carrots if using. Slice cucumber and bell pepper into matchsticks.
- Warm tortillas in a dry skillet over low heat or microwave for 20–30 seconds until flexible.
- Combine hummus with lemon juice, salt, and black pepper in a small bowl until smooth and creamy.
- Spread approximately ¼ cup of hummus on one tortilla, leaving a ½ inch border.
- Layer 2–3 slices of turkey over the hummus.
- Add a line of spinach, shredded carrots, cucumber matchsticks, and bell pepper strips. Sprinkle feta and herbs if using.
- Roll the tortilla tightly, tucking the filling in as you go. Place seam side down.
- Repeat the assembly for the remaining tortillas.
- Slice each roll into 1–1.5 inch pieces or serve whole. Secure with toothpicks if sliced.
- For cleaner slices, wrap rolls in plastic wrap and refrigerate for 20–30 minutes before slicing.
- Serve on a plate or platter, garnished with extra herbs or lemon wedges.