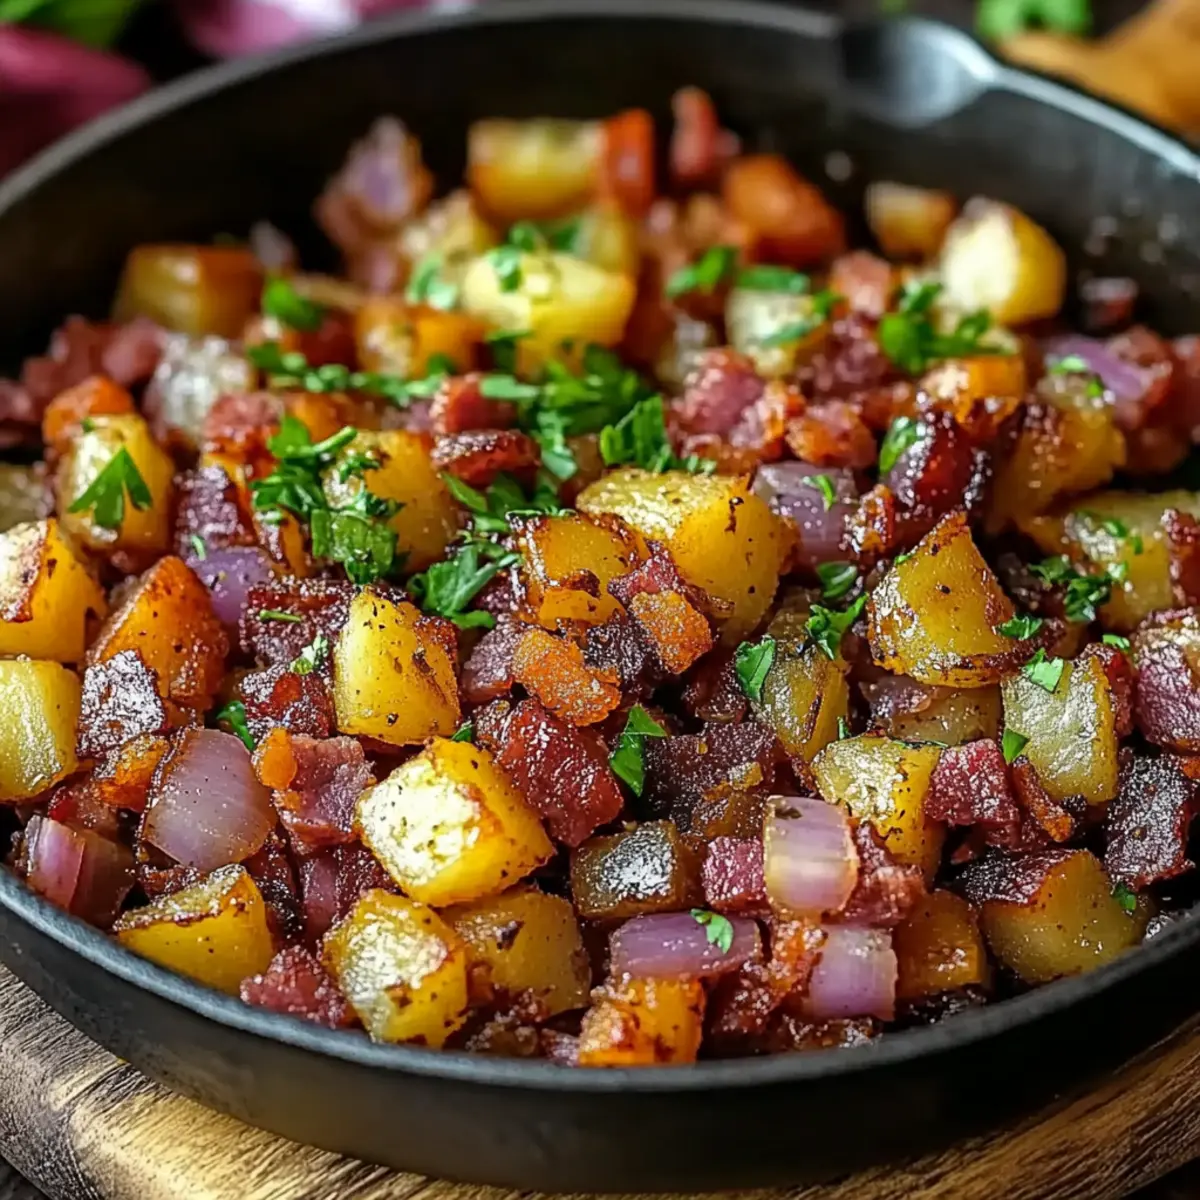
As the morning sun peeks through my kitchen window, the comforting aroma of sizzling potatoes and onions wafts through the air, instantly bringing a sense of warmth. Today, I'm thrilled to share a beloved recipe for Corned Beef Hash that has become a timeless staple in my home. With just a handful of ingredients, this dish offers a perfect quick prep solution for any hectic breakfast or brunch gathering. Plus, it’s a crowd-pleaser that transforms leftover corned beef into something truly special! Whether you savor it on a lazy weekend or whip it up for a busy weekday meal, I promise you’ll find it irresistible. Are you ready to satisfy your taste buds with this delightful twist on a classic favorite?
Why is Corned Beef Hash a Breakfast Hero?
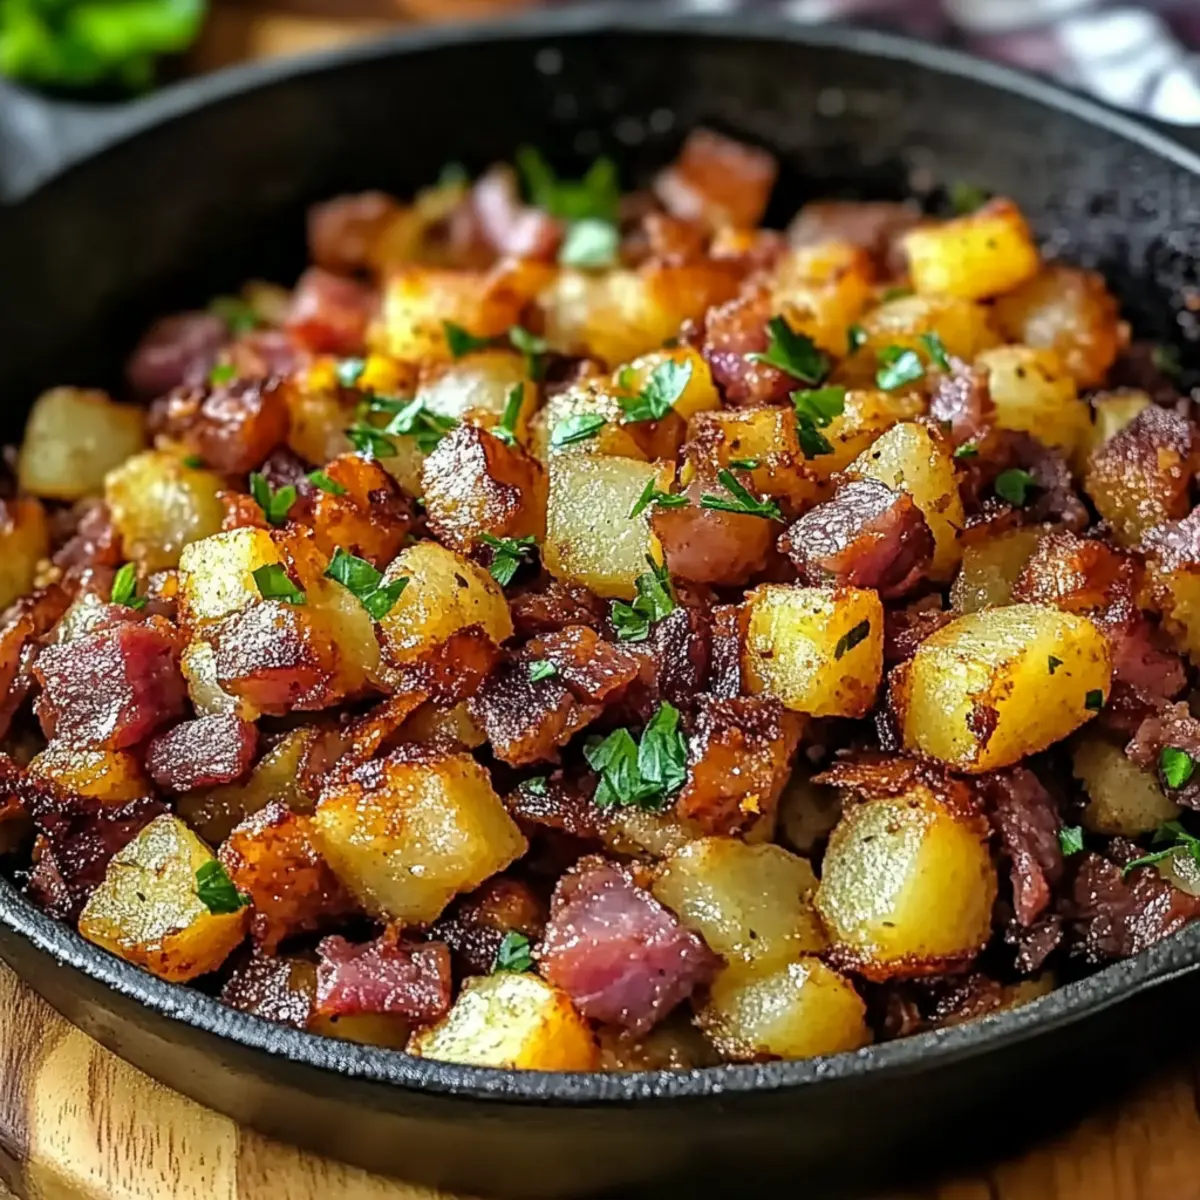
Comforting mornings are elevated with this delicious dish. Versatile enough to customize, you can add your favorite veggies or top it with a fried egg! Quick prep makes it ideal for those busy days when you need a home-cooked meal fast. Whether you're a fan of Beef Stroganoff Pasta or exploring flavors with Cooker Barbequed Beef, this corned beef hash is sure to become a go-to breakfast option that will impress any guest. Enjoy the golden-brown crispy edges and hearty flavors that make this dish irresistible!
Corned Beef Hash Ingredients
Discover the delightful components that make up this classic dish!
For the Hash
• Cooked corned beef – adds a savory depth to your hash and is perfect for using leftovers.
• Potatoes – diced for that crispiness and heartiness; feel free to swap for sweet potatoes for a twist.
• Onion – enhances the flavor profile with its natural sweetness; add more for extra zip!
• Cooking oil – ensures a crispy finish; olive oil or butter also works well.
• Seasoning (your choice) – personalize the flavor; try smoked paprika or garlic powder for an extra kick!
This combination of ingredients will transform your leftovers into a mouthwatering corned beef hash full of flavor!
Step‑by‑Step Instructions for Corned Beef Hash
Step 1: Heat the Skillet
Begin by warming 2 tablespoons of cooking oil in a large skillet over medium heat. You want the oil to shimmer, which takes about 2 minutes. This is your starting point for achieving that delightful crispy texture that makes corned beef hash so special. Ensure your skillet is large enough to hold all your ingredients comfortably.
Step 2: Sauté the Potatoes and Onions
Add 2 cups of diced potatoes and 1 cup of diced onions to the hot skillet. Sauté the mixture for 10–12 minutes, stirring occasionally, until the potatoes are tender and the edges turn golden brown. This step is essential as it builds the flavor foundation for your corned beef hash and gives it those irresistible crispy bits.
Step 3: Incorporate the Corned Beef
Once the potatoes and onions are ready, gently stir in 2 cups of chopped cooked corned beef along with your chosen seasoning, about 1 teaspoon. Mix everything well so the flavors meld together. Allow the hash to cook for another 5 minutes, turning it occasionally, so the corned beef warms through and begins to crisp up.
Step 4: Brown the Hash
Continue cooking the mixture for an additional 5-8 minutes, letting it develop a deeper golden-brown color. This is where the magic happens—watch for those crispy edges to form. The aroma will fill your kitchen, enticing everyone around. Once you’ve reached your desired crispiness, your corned beef hash is ready to serve!

How to Store and Freeze Corned Beef Hash
Fridge: Store leftover corned beef hash in an airtight container for up to 3 days. This helps retain its flavors while keeping it fresh for quick meals.
Freezer: You can freeze corned beef hash for up to 2 months. Allow it to cool, then transfer to freezer-safe containers, ensuring a tight seal to prevent freezer burn.
Reheating: For best results, reheat in a skillet over medium heat until warmed through and crispy, about 8–10 minutes. Alternatively, microwave in short increments, stirring in between to maintain even heating.
Room Temperature: Avoid leaving corned beef hash at room temperature for more than 2 hours to prevent foodborne illness.
What to Serve with Corned Beef Hash
Nothing complements the comforting warmth of this hearty dish like some delightful side options!
-
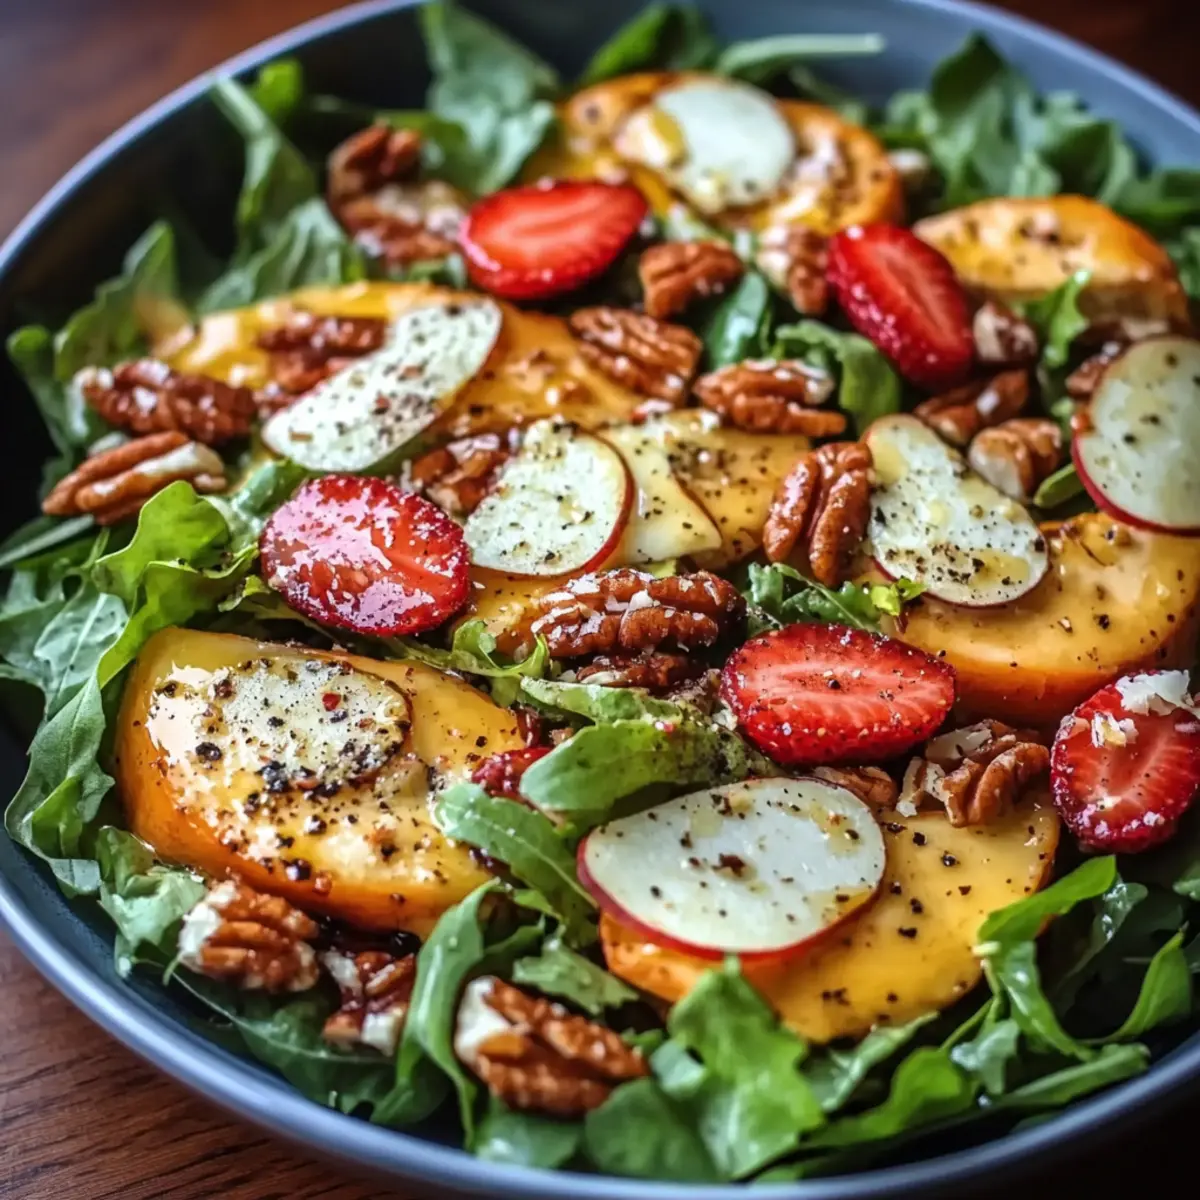
Fresh Garden Salad: A crisp salad with seasonal greens brings a refreshing contrast to the savory flavor of the hash. The crunch and bright colors create a beautiful plate.
-
Poached Eggs: The silky yolk of a perfectly poached egg adds richness and a touch of elegance to your breakfast spread. Drizzling the yolk over your corned beef hash is a real treat!
-
Sautéed Spinach: This lightly sautéed green adds a splash of color and a nutritional boost. Its mild earthiness pairs well, balancing out the hearty beef.
-
Crispy Toast: A slice of toasted sourdough or whole grain gives you a delightful crunch. Perfect for scooping up that delicious hash or an egg on top!
-
Savory Baked Beans: The sweetness of baked beans complements the saltiness of your corned beef hash while adding another layer of depth. It's a comforting and filling addition!
-
Homemade Applesauce: This sweet-tart side dish offers a playful contrast to the savory goodness of the hash. It’s also a nostalgic touch for those who grew up enjoying this flavor pairing!
-
Flavored Coffee: A rich brew with a hint of vanilla or hazelnut lends a fragrant accompaniment to your meal. It's the perfect beverage to elevate the entire breakfast experience!
Whether you’re enjoying a weekend brunch or a busy weekday morning, these sides will surely complete your meal beautifully!
Expert Tips for Corned Beef Hash
• Choose Quality Beef: Use high-quality corned beef for deeper flavors. If possible, avoid pre-packaged varieties that might include fillers.
• Perfect Potatoes: Make sure to dice potatoes evenly for uniform cooking. Undercooked potatoes can ruin the texture of your corned beef hash.
• Watch the Heat: Medium heat is best; too high and you risk burning the hash before the potatoes are tender. Be patient for that perfect brown!
• Customize Seasonings: Don't hesitate to experiment with seasonings. Adding Worcestershire sauce or herbs can elevate your corned beef hash to new heights!
• Leftover Magic: This recipe is perfect for using up leftover corned beef. Prevent food waste and create a delicious meal with what you have on hand!
Make Ahead Options
These Corned Beef Hash preparations are a lifesaver for busy mornings! You can sauté the potatoes and onions up to 24 hours in advance; simply cool them and refrigerate in an airtight container to maintain their texture and prevent browning. When you’re ready to enjoy, just reheat the mixture in your skillet, stir in the chopped corned beef, and seasonings, then cook until everything is hot and crispy, about 10 minutes. You can also prepare the entire hash up to 3 days ahead; just store it covered in the refrigerator. With these make-ahead options, you'll have a delicious meal ready to go with minimal effort, providing real comfort on hectic mornings!
Corned Beef Hash Customizations
Want to add your personal touch to corned beef hash? Let’s explore some delightful variations that will awaken your taste buds!
-
Vegetable Medley: Swap in bell peppers, spinach, or mushrooms to boost nutrition and add color. A touch of freshness makes every bite even more exciting!
-
Spicy Kick: Toss in jalapeños or a sprinkle of red pepper flakes to elevate the heat level. A little spice will awaken the flavors and create a delightful contrast.
-
Herb Infusion: Add fresh herbs like thyme, parsley, or chives for an aromatic touch. They’ll brighten the dish and bring a homey feel that enchants everyone at the table.
-
Cheesy Goodness: Mix in shredded cheese like cheddar or pepper jack during the last few minutes of cooking for a creamy melt. This twist will make your hash extra indulgent and irresistible!
-
Sweet Potato Alternative: Use sweet potatoes instead of regular potatoes to introduce a subtle sweetness. The natural sugars caramelize beautifully for a unique flavor experience.
-
Gluten-Free: Replace regular cooking oil with ghee or olive oil to make the dish gluten-free. Enjoy this hearty meal knowing it fits your dietary needs!
-
Breakfast Bowl: Serve your corned beef hash over a bed of greens or grains like quinoa. This adds a healthy and filling base that enhances your breakfast experience.
-
Brunch-Style: Top with a fried or poached egg and a sprinkle of paprika for a fancy brunch twist. Serve it alongside your favorite brunch item, making every weekend feel special!
Feel free to mix and match these variations, and remember, the best part of cooking is making each dish your own!

Corned Beef Hash Recipe FAQs
How do I select the best corned beef for my hash?
Absolutely! When choosing corned beef, look for cuts that are fresh and well marbled. Avoid pre-packaged varieties with added preservatives or fillers. If you're using leftovers, opt for brisket or round, which have great flavor and tenderness. Feel free to ask butcher for recommendations!
How should I store leftover corned beef hash?
I recommend storing leftover corned beef hash in an airtight container. It will stay fresh in the refrigerator for up to 3 days. Ensure it cools down to room temperature before sealing the container to avoid condensation that can lead to sogginess.
Can I freeze corned beef hash, and how do I do it?
Yes! Freezing corned beef hash is an excellent way to preserve leftovers. Allow the hash to cool completely after cooking. Transfer it to freezer-safe containers, ensuring to remove as much air as possible for up to 2 months. To reheat, thaw overnight in the refrigerator and warm it in a skillet for the best texture.
What should I do if my potatoes are undercooked?
No worries! If you find your potatoes aren't fully cooked while making the hash, simply cover the skillet with a lid and cook for an additional 5-10 minutes. This trapping of steam will finish cooking the potatoes without burning the rest of the dish.
Are there any dietary considerations I should keep in mind?
Very! Corned beef is typically high in sodium, so if you're watching your salt intake, opt for low-sodium corned beef or adjust the seasonings used in the hash accordingly. Additionally, make sure to keep an eye out for any allergies related to gluten if your seasoning contains it.
Can I use different vegetables in my corned beef hash?
Of course! Feel free to customize your corned beef hash by adding in different vegetables like bell peppers, carrots, or even leafy greens like spinach. Just cook them down with the potatoes and onions to keep the texture consistent and flavors balanced. Tailoring the recipe to your preferences makes it even more fun!
Savory Corned Beef Hash to Brighten Your Breakfast Routine
Ingredients
Equipment
Method
- Heat 2 tablespoons of cooking oil in a large skillet over medium heat for about 2 minutes until shimmering.
- Add 2 cups of diced potatoes and 1 cup of diced onions to the skillet. Sauté for 10–12 minutes until tender and golden brown.
- Gently stir in 2 cups of chopped cooked corned beef and 1 teaspoon of your chosen seasoning. Cook for another 5 minutes, turning occasionally.
- Continue cooking for an additional 5-8 minutes until the hash develops a deeper golden-brown color.