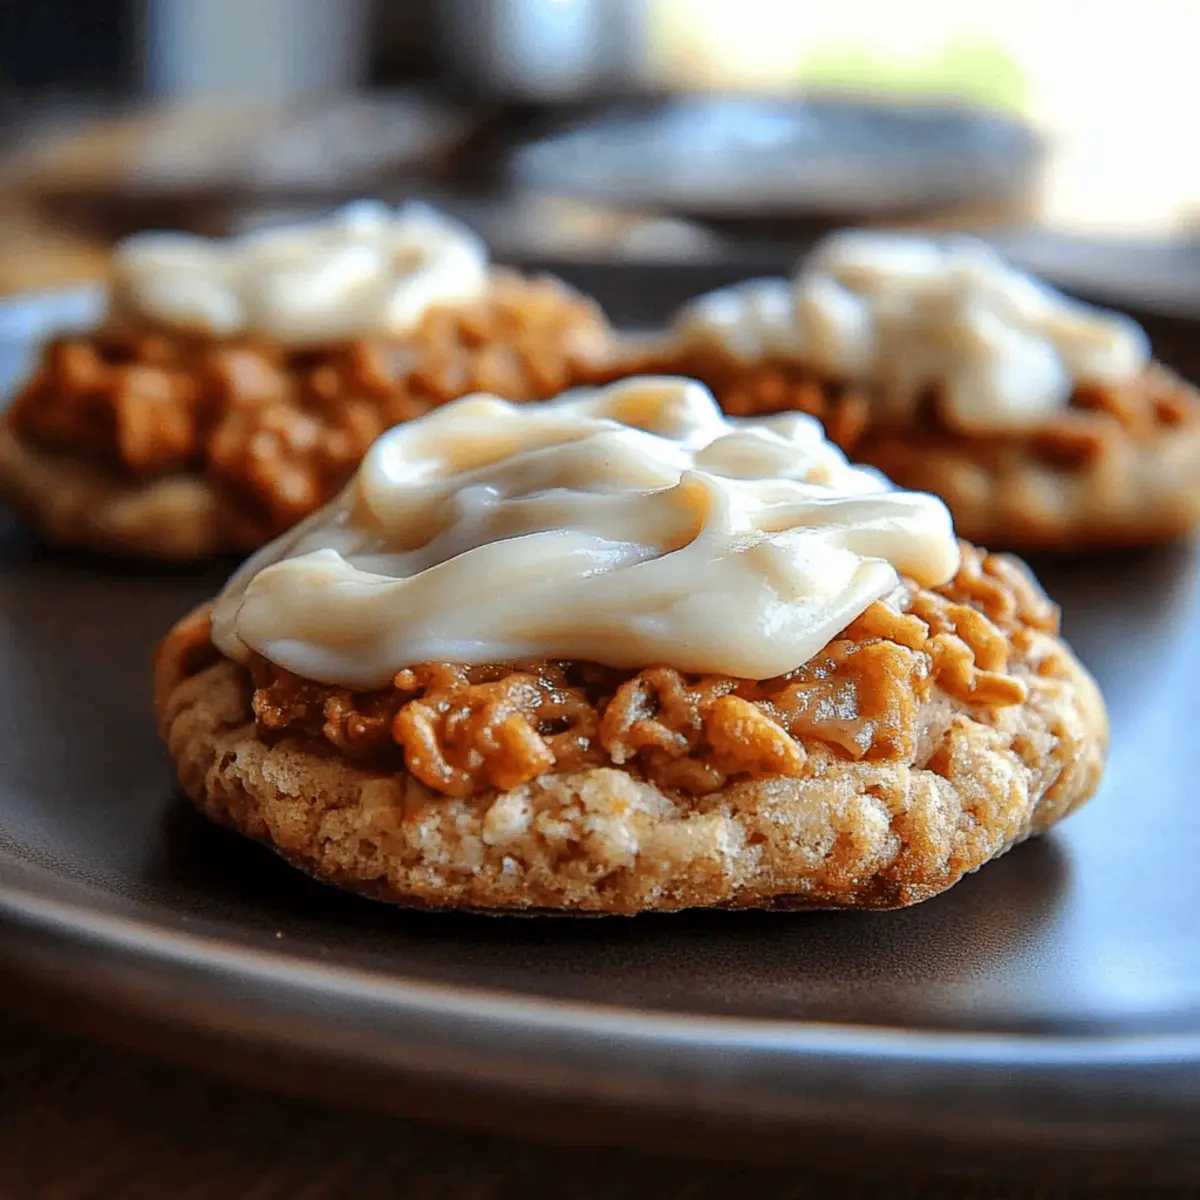
As I sifted through my pantry the other day, a burst of inspiration struck—what if I could blend the creamy goodness of cheesecake with the fun of freshly baked cookies? That’s exactly how my Strawberry Cheesecake Cookies were born! These delightful treats not only capture the essence of a classic dessert but also come together in just under thirty minutes, making them perfect for a quick baking escape. With their fluffy texture and pockets of fresh strawberries paired with the luscious creaminess of cream cheese, these cookies are bound to impress at your next gathering or simply satisfy your sweet tooth anytime. Ready to conjure up this sweet magic in your kitchen? Let’s dive into the recipe!
Why are Strawberry Cheesecake Cookies irresistible?
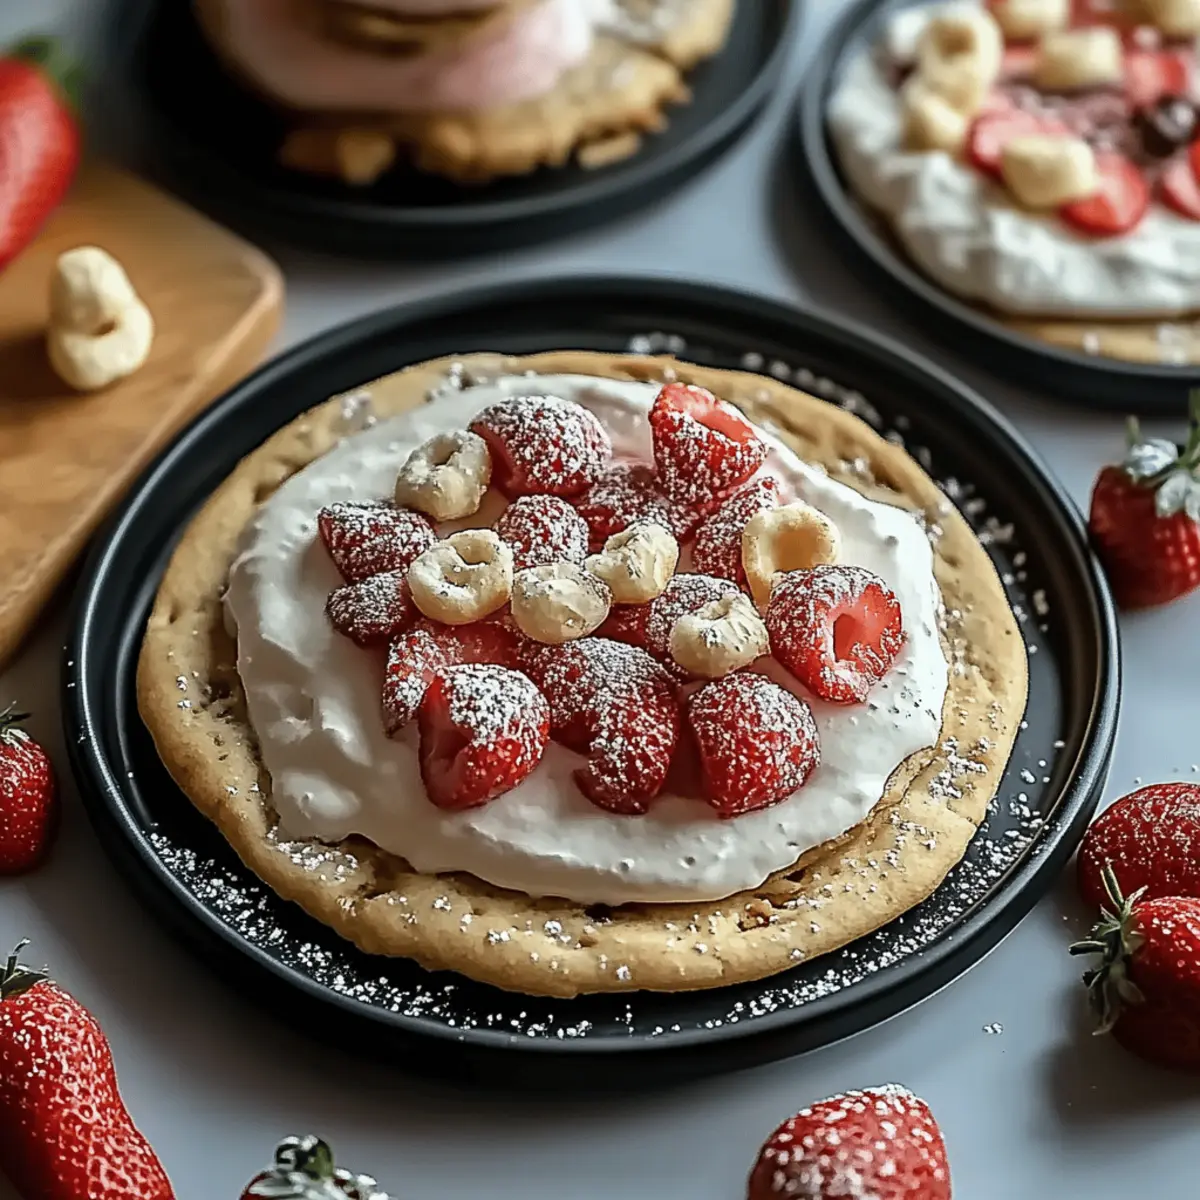
Decadent Flavor: Imagine biting into a cookie bursting with fresh strawberries and swirls of rich cream cheese—each bite feels like dessert and treat rolled into one.
Quick and Easy: With just 27 minutes from start to finish, even beginner bakers can whip these up effortlessly. Your kitchen will soon fill with delightful aromas!
Crowd-Pleasing: Perfect for gatherings, these cookies are a guaranteed hit that will leave everyone asking for the recipe. They combine two loved desserts into one!
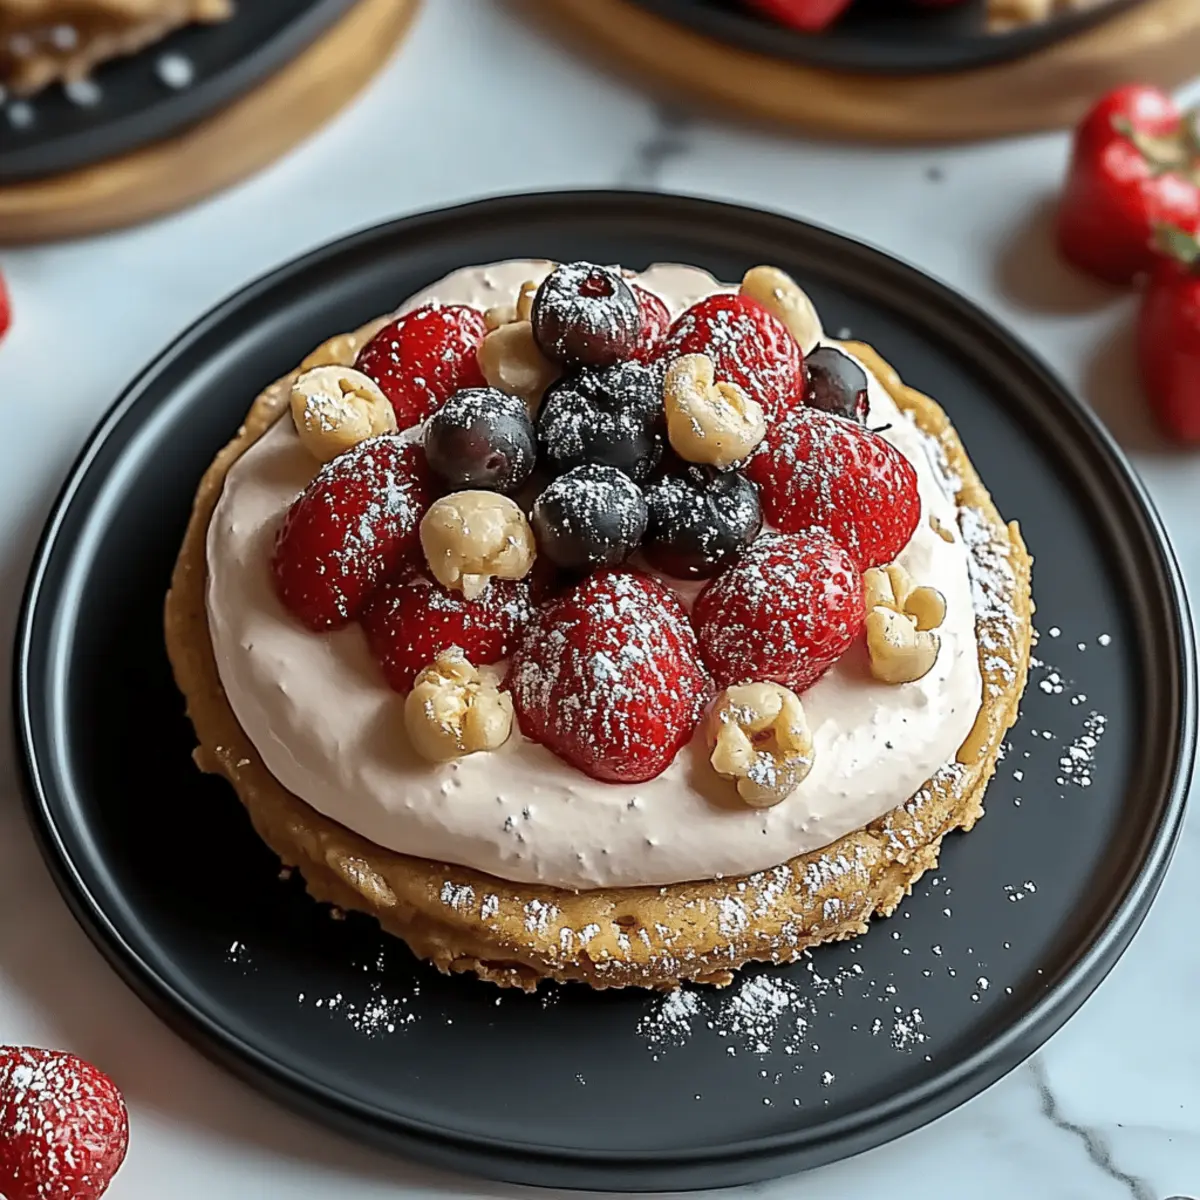
Versatile Joy: Customize these cookies by adding white chocolate chips or even mixing in your favorite berries. Each variation can bring a new twist to this classic cookie.
Perfect Texture: These cookies are soft with chewy edges and creamy centers, creating a perfectly balanced bite every time. They're a great alternative to store-bought snacks!
Strawberry Cheesecake Cookies Ingredients
For the Cookie Dough
• Softened Butter – 1 cup to give the cookies their rich, creamy texture.
• Granulated Sugar – ¾ cup sweetens the dough for a delightful flavor.
• Brown Sugar – ¼ cup adds a hint of caramel-like depth.
• Large Egg – 1 helps bind the ingredients for a perfect cookie structure.
• Vanilla Extract – ½ teaspoon enhances the overall sweetness and flavor.
For the Dry Ingredients
• All-Purpose Flour – 2 cups provides stability and structure to your cookies.
• Baking Soda – ½ teaspoon helps the cookies rise beautifully.
• Salt – ½ teaspoon balances the sweetness and enhances flavor.
For the Creamy Filling
• Softened Cream Cheese – ½ cup brings that classic cheesecake flavor within each cookie.
For the Mix-Ins
• Chopped Fresh Strawberries – 1 cup infuses the dough with fresh juicy bites and a bright burst of flavor.
• White Chocolate Chips – ½ cup for a sweet, creamy contrast that elevates the cookie experience.
Dive into these Strawberry Cheesecake Cookies and prepare for a culinary adventure that'll sweeten your day!
Step‑by‑Step Instructions for Strawberry Cheesecake Cookies
Step 1: Preheat and Prepare
Begin by preheating your oven to 350°F (175°C). While the oven warms up, line a baking sheet with parchment paper or a silicone mat to prevent your delicious Strawberry Cheesecake Cookies from sticking. This simple prep ensures an easy cleanup and beautifully baked cookies.
Step 2: Cream the Butters and Sugars
In a large mixing bowl, combine 1 cup of softened butter, ¾ cup of granulated sugar, and ¼ cup of brown sugar. Using an electric mixer on medium speed, cream the mixture until it becomes light and fluffy, which should take about 3 minutes. This crucial step helps create the rich base for your cookies.
Step 3: Incorporate the Egg and Vanilla
Next, add in 1 large egg and ½ teaspoon of vanilla extract to your butter and sugar mixture. Continue to beat it on medium speed until everything is fully combined, which will give your Strawberry Cheesecake Cookies a delightful flavor and a smooth texture. Take a moment to pause and appreciate the aroma!
Step 4: Mix the Dry Ingredients
In a separate bowl, whisk together 2 cups of all-purpose flour, ½ teaspoon of baking soda, and ½ teaspoon of salt until thoroughly combined. This step is important for evenly distributing the baking soda and salt, ensuring your dough rises perfectly. Set this bowl aside as you prepare to combine the ingredients.
Step 5: Combine Wet and Dry Mixtures
Gradually add the dry ingredients to the wet mixture, mixing slowly to prevent flour from spilling out. Use a spatula or wooden spoon to gently fold until just combined. You want to avoid overmixing here, allowing the texture of the cookies to remain soft and tender—perfect for your Strawberry Cheesecake Cookies.
Step 6: Add the Cream Cheese
Now it's time to introduce the star of the show! Add ½ cup of softened cream cheese to the cookie dough, beating until smooth. This ingredient brings that luscious cheesecake flavor that is so heavenly. Make sure it’s fully integrated for that creamy goodness in each cookie!
Step 7: Fold in the Strawberries
Gently fold in 1 cup of chopped fresh strawberries using a spatula. Be careful to distribute the strawberries evenly without squishing them too much. Their fresh, juicy bites will add a delightful burst of flavor, making these Strawberry Cheesecake Cookies so irresistible!
Step 8: Add the White Chocolate Chips
Next, stir in ½ cup of white chocolate chips until they are well mixed through the dough. This sweet addition complements the tartness of the strawberries and the richness of the cream cheese, creating a delectable contrast that enhances your cookies' delightful flavor!
Step 9: Scoop the Dough
Scoop rounded tablespoons of dough onto the prepared baking sheet, making sure to space them about 2 inches apart. This spacing allows the cookies to spread without merging into each other while baking. The anticipation of those Strawberry Cheesecake Cookies coming to life makes the process even more exciting!
Step 10: Bake All Together
Place the baking sheet in your preheated oven and bake for about 10 to 12 minutes. Keep an eye on them; you want the edges to turn golden brown while keeping the centers soft. When you see this visual cue, your cookies are nearly ready to be enjoyed!
Step 11: Cool the Cookies
Once baked, carefully remove the cookies from the oven and let them cool on the baking sheet for about 5 minutes. This slight cooling period helps them set properly before transferring to a wire rack, where the cookies will cool completely and develop their delightful texture.
Strawberry Cheesecake Cookies Variations
Feel free to personalize these delightful Strawberry Cheesecake Cookies to suit your taste buds and dietary needs!
-
Gluten-Free: Substitute all-purpose flour with a 1:1 gluten-free baking blend for a delicious cookie everyone can enjoy. Make sure to check the texture as gluten-free flours can vary.
-
Dairy-Free: Replace cream cheese with a dairy-free alternative, like cashew cream, and use dairy-free butter. This swap still gives a creamy, luscious flavor!
-
Low Sugar: Use a sugar substitute like erythritol or stevia to reduce sugar without sacrificing sweetness. They can help keep these cookies guilt-free!
-
Nutty Crunch: Add ½ cup of chopped nuts, like pecans or walnuts, for a delightful crunch. The nuttiness pairs beautifully with the strawberries and creaminess.
-
Chocolate Lover's Twist: Mix in ½ cup of dark or semi-sweet chocolate chips alongside the white chocolate for a rich, fudgy surprise. The chocolate complements the fruity notes exceptionally well.
-
Spice It Up: Add a teaspoon of cinnamon or a pinch of nutmeg for a warm, inviting flavor profile that enhances the sweetness of the strawberries nicely.
-
Heat It Up: Incorporating a dash of cayenne pepper or chili powder can give a surprising kick. Spicy and sweet make a delightful combination!
-
Seasonal Fruits: Swap out strawberries for seasonal fruits like blueberries, raspberries, or peaches. Each fruit twist creates a new delightful flavor experience, keeping things exciting!
Take these variations as an opportunity to create your perfect version of Strawberry Cheesecake Cookies and share your success stories with family and friends. Cooking should be fun and personal, after all!
Expert Tips for Strawberry Cheesecake Cookies
- Use Room Temperature Ingredients: Make sure your butter and cream cheese are softened to room temperature for a smoother batter and even mixing.
- Don’t Overmix: When combining the dry and wet ingredients, mix until just combined. Overmixing can lead to tough cookies instead of soft Strawberry Cheesecake Cookies.
- Quality Strawberries: Use fresh, ripe strawberries for the best flavor. If they’re too mushy, they won’t hold their shape in the cookies.
- Watch Your Bake Time: Keep an eye on your cookies as they bake. They should be golden around the edges but still soft in the center for that perfect chewy texture.
- Cool Properly: Allow the cookies to sit on the baking sheet for a few minutes before transferring them to a wire rack. This helps them set and reduces the risk of breaking.
Make Ahead Options
These Strawberry Cheesecake Cookies are a fantastic choice for busy home cooks looking to save time! You can prepare the cookie dough up to 24 hours in advance. Just mix all the ingredients, including the strawberries and white chocolate chips, then wrap the dough tightly in plastic wrap and refrigerate it. To prevent browning and maintain freshness, soak the strawberries in a bit of lemon juice before adding them to your dough. When you're ready to bake, simply scoop the dough onto a prepared baking sheet and pop them in the oven as directed. With this make-ahead option, you’ll have warm, delicious cookies ready for any occasion with minimal effort!
How to Store and Freeze Strawberry Cheesecake Cookies
-
Room Temperature: Store cooled cookies in an airtight container at room temperature for up to 3 days. This keeps them soft and fresh for when your sweet tooth cravings hit!
-
Fridge: If you want to extend their life a tad longer, place the cookies in the fridge, where they will stay good for about a week. Just remember to let them come to room temperature before enjoying!
-
Freezer: For longer storage, freeze your unbaked dough in a sealed freezer bag for up to 3 months. You can bake them straight from frozen—just add a couple extra minutes to the baking time!
-
Reheating: To enjoy leftover Strawberry Cheesecake Cookies warm, pop them in the microwave for about 10–15 seconds. It’ll give you that fresh-baked experience all over again!
What to Serve with Strawberry Cheesecake Cookies?
Building a delightful meal around your sweet Strawberry Cheesecake Cookies can elevate any occasion, turning an ordinary day into a moment to cherish.
-
Creamy Vanilla Ice Cream: A scoop of vanilla ice cream adds a creamy contrast to the warm cookies, creating a blissful combination that feels indulgent. The coolness of the ice cream complements the soft, fruity cookies beautifully.
-
Fresh Fruit Salad: A vibrant mix of berries and melons refreshes the palate and balances the sweetness of the cookies. The natural juices from the fruit enhance the strawberry flavor, making each cookie irresistible.
-
Chocolate-Covered Strawberries: This elegant treat not only looks gorgeous on the plate but combines the same strawberry-rich flavor that pairs perfectly with the cookies. Their richness adds a sophisticated twist to your dessert spread.
-
Mini Cheesecake Bites: Offering bites of cheesecake alongside your cookies can create a delightful theme, combining two desserts into one experience. They echo the cheesecake essence, making each bite a rich delight.
-
Sparkling Lemonade: A refreshing, bubbly drink that cuts through the sweetness of the cookies. The citrus notes complement the strawberry flavor, leaving you with a refreshing aftertaste that invites another cookie!
-
Coffee or Espresso: The warmth of coffee or espresso provides a wonderful balance to the sweetness of the cookies. Each sip accentuates the flavors of strawberries and cream cheese, enhancing the whole experience.
-
Milk or Almond Milk: A classic pairing, milk adds a nurturing touch to your cookies. Dipping the cookies in milk brings out the creamy notes, making experiencing every bite feel like a comforting hug.
Each pairing brings a unique touch to the table, ensuring your Strawberry Cheesecake Cookies shine while harmonizing with flavors and textures that everyone will love!
Strawberry Cheesecake Cookies Recipe FAQs
What kind of strawberries should I use for these cookies?
Absolutely! For the best flavor, I recommend using fresh, ripe strawberries. Look for strawberries that are vibrant red without dark spots or excessive mushiness, as they'll hold their shape better during baking. If your strawberries are overly ripe or bruised, they may not give you that delightful burst of flavor in each cookie!
How should I store my Strawberry Cheesecake Cookies?
You can store your cooled cookies in an airtight container at room temperature for up to 3 days. If you want them to last longer, place them in the fridge for about a week. Just remember to let them come to room temperature before enjoying for the best taste and texture!
Can I freeze the cookie dough for later use?
Very! Freezing your unbaked dough is a fantastic option. Just scoop the dough into rounded tablespoons and place them on a baking sheet to freeze individually for about an hour. Once frozen, transfer the dough balls to a sealed freezer bag and store them for up to 3 months. When you're ready to bake, just pop them straight into the oven—add a couple of extra minutes to the baking time, and you'll have fresh cookies in no time!
What should I do if my cookies turn out too dry?
If your Strawberry Cheesecake Cookies bake a bit dry, there are a few potential culprits. Make sure you're using the correct measuring technique—spoon and level your flour to avoid packing it down. Also, check your oven temperature with a thermometer, as inaccurate heat can lead to dryness. Lastly, be sure to watch the baking time closely; pulling them out when the edges are golden but the centers are still soft is key!
Can I make these cookies gluten-free?
Absolutely! To make gluten-free Strawberry Cheesecake Cookies, you can substitute the all-purpose flour with a gluten-free flour blend that measures cup for cup. Just be sure to check that all other ingredients, like the baking soda and white chocolate chips, are gluten-free as well. Your delightful cookies will still turn out deliciously!
Are these cookies suitable for pets or people with allergies?
Great question! Since these Strawberry Cheesecake Cookies contain common allergens such as butter, cream cheese, and wheat, it's important to keep them away from pets and those with dairy or gluten allergies. For those with lactose issues, you could use lactose-free cream cheese and a gluten-free flour as substitutions. Always check with guests before serving, just to keep everyone safe and happy!
Delicious Strawberry Cheesecake Cookies to Sweeten Your Day
Ingredients
Equipment
Method
- Preheat your oven to 350°F (175°C) and line a baking sheet.
- In a mixing bowl, cream together softened butter, granulated sugar, and brown sugar.
- Add the egg and vanilla extract to the mixture and combine well.
- In a separate bowl, whisk together flour, baking soda, and salt.
- Gradually add the dry ingredients to the wet mixture, mixing until just combined.
- Add softened cream cheese and beat until smooth.
- Gently fold in chopped strawberries.
- Stir in white chocolate chips until well mixed.
- Scoop rounded tablespoons of dough onto the prepared baking sheet, spacing them apart.
- Bake for about 10 to 12 minutes until golden around the edges.
- Let the cookies cool on the baking sheet for about 5 minutes before transferring to a wire rack.