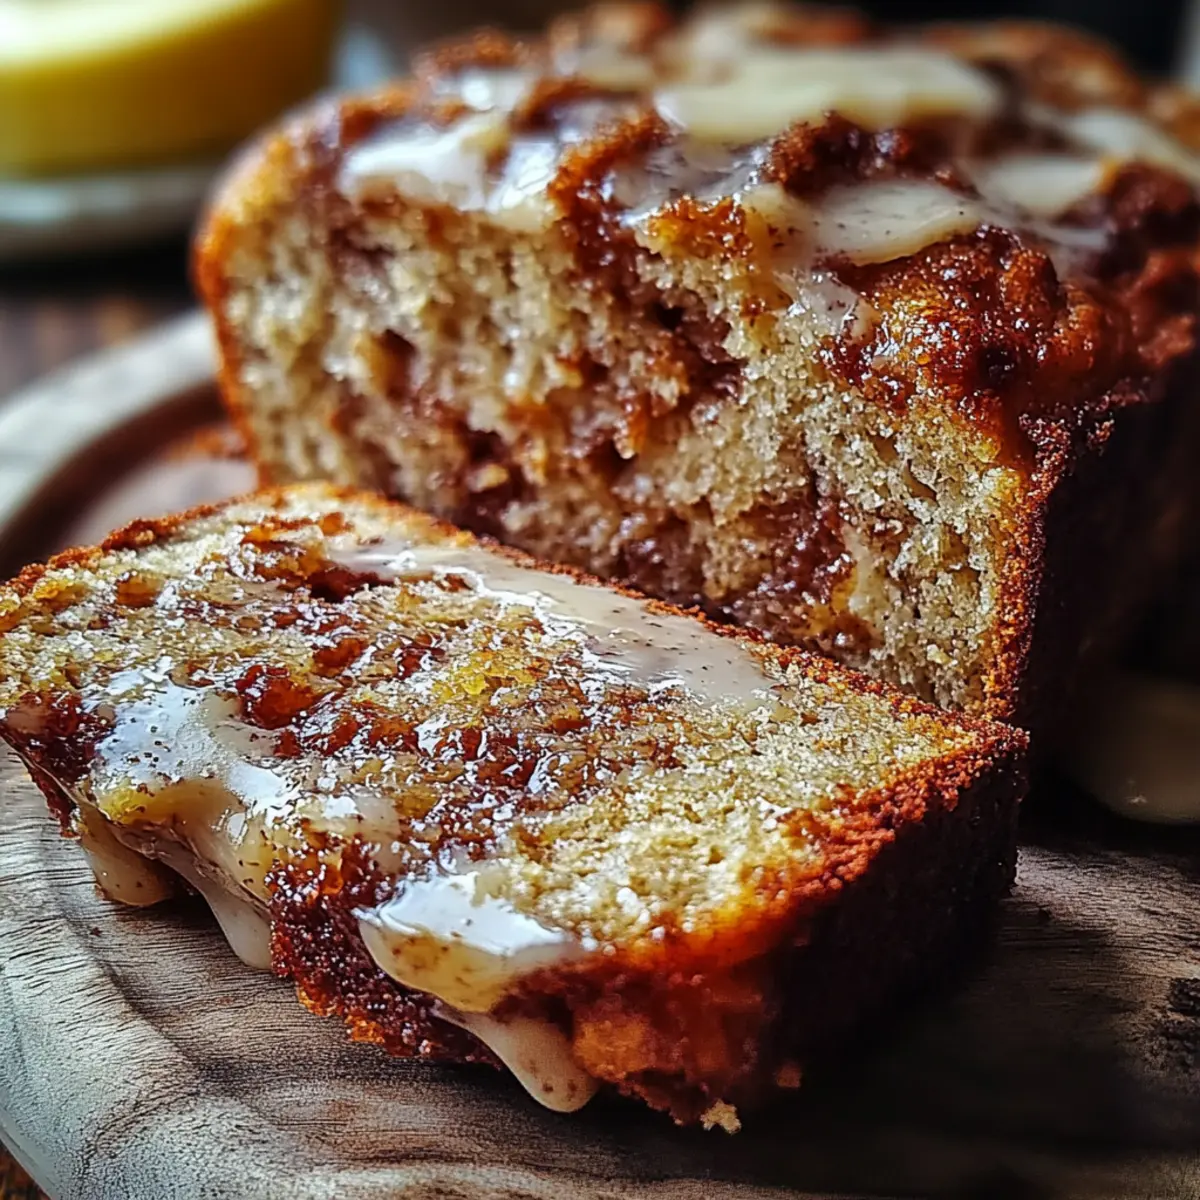
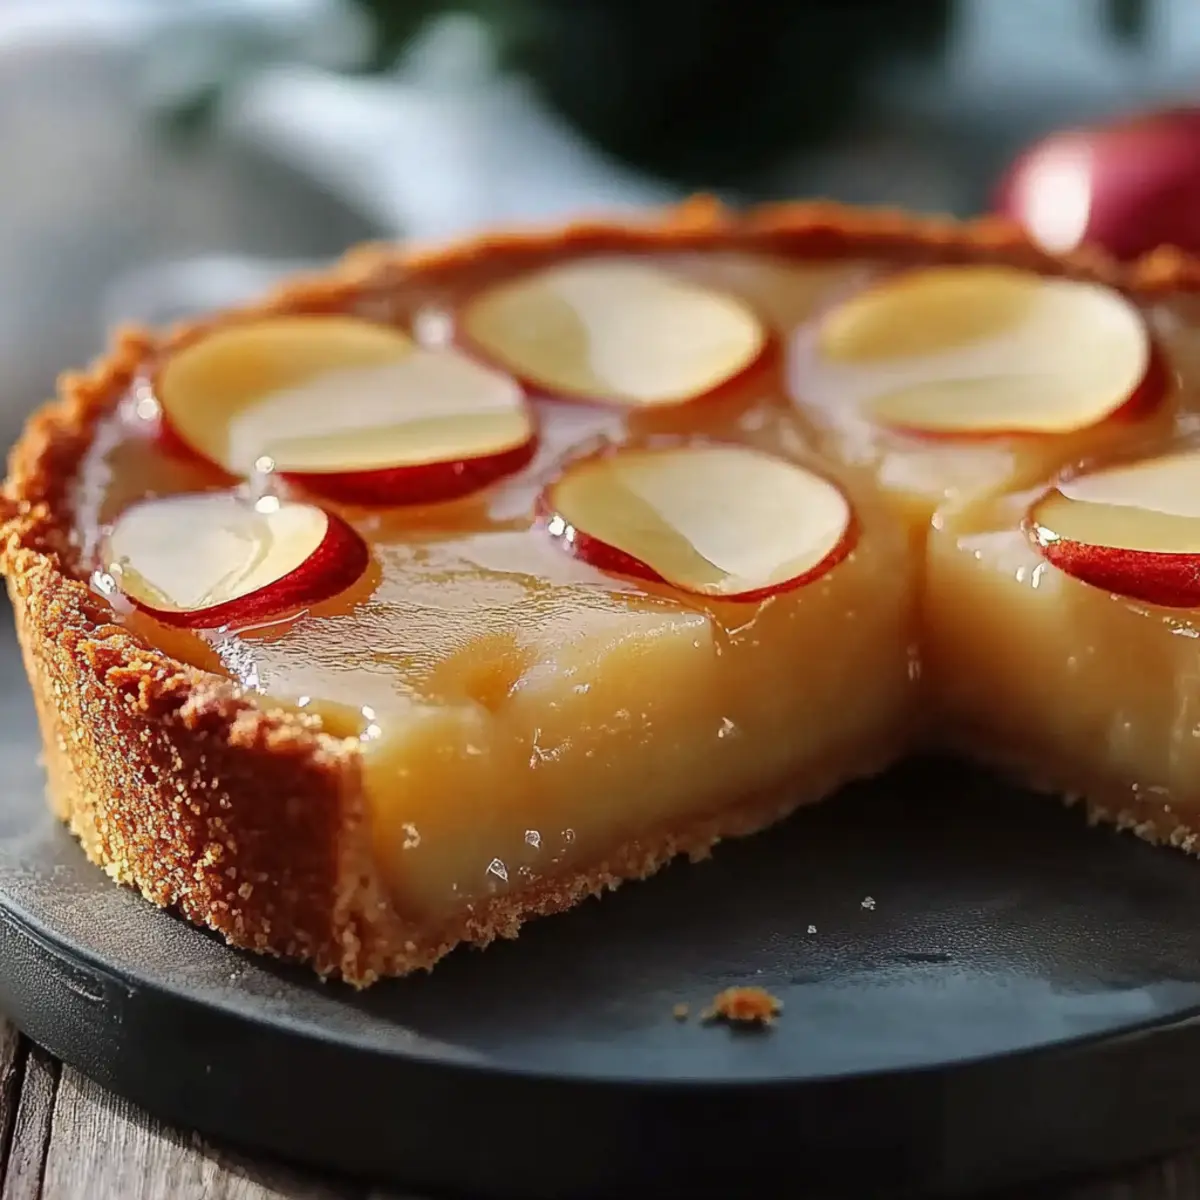
In the heart of fall, when apples are at their sweetest, I stumbled upon a delightfully simple way to celebrate the season: a 3 Ingredient Apple Cake. This recipe not only calls for just three pantry staples but also promises to fill your kitchen with an enchanting aroma that'll have your loved ones flocking to the table. The best part? It’s quick to whip up—perfect for those busy evenings when you crave something homemade without the fuss. Plus, it brings a delightful twist to traditional desserts, making it a crowd-pleaser at any gathering. Curious about how this cake can transform your dessert game? Let’s dive into the warm, comforting world of apple cake!
Why is this Apple Cake so special?
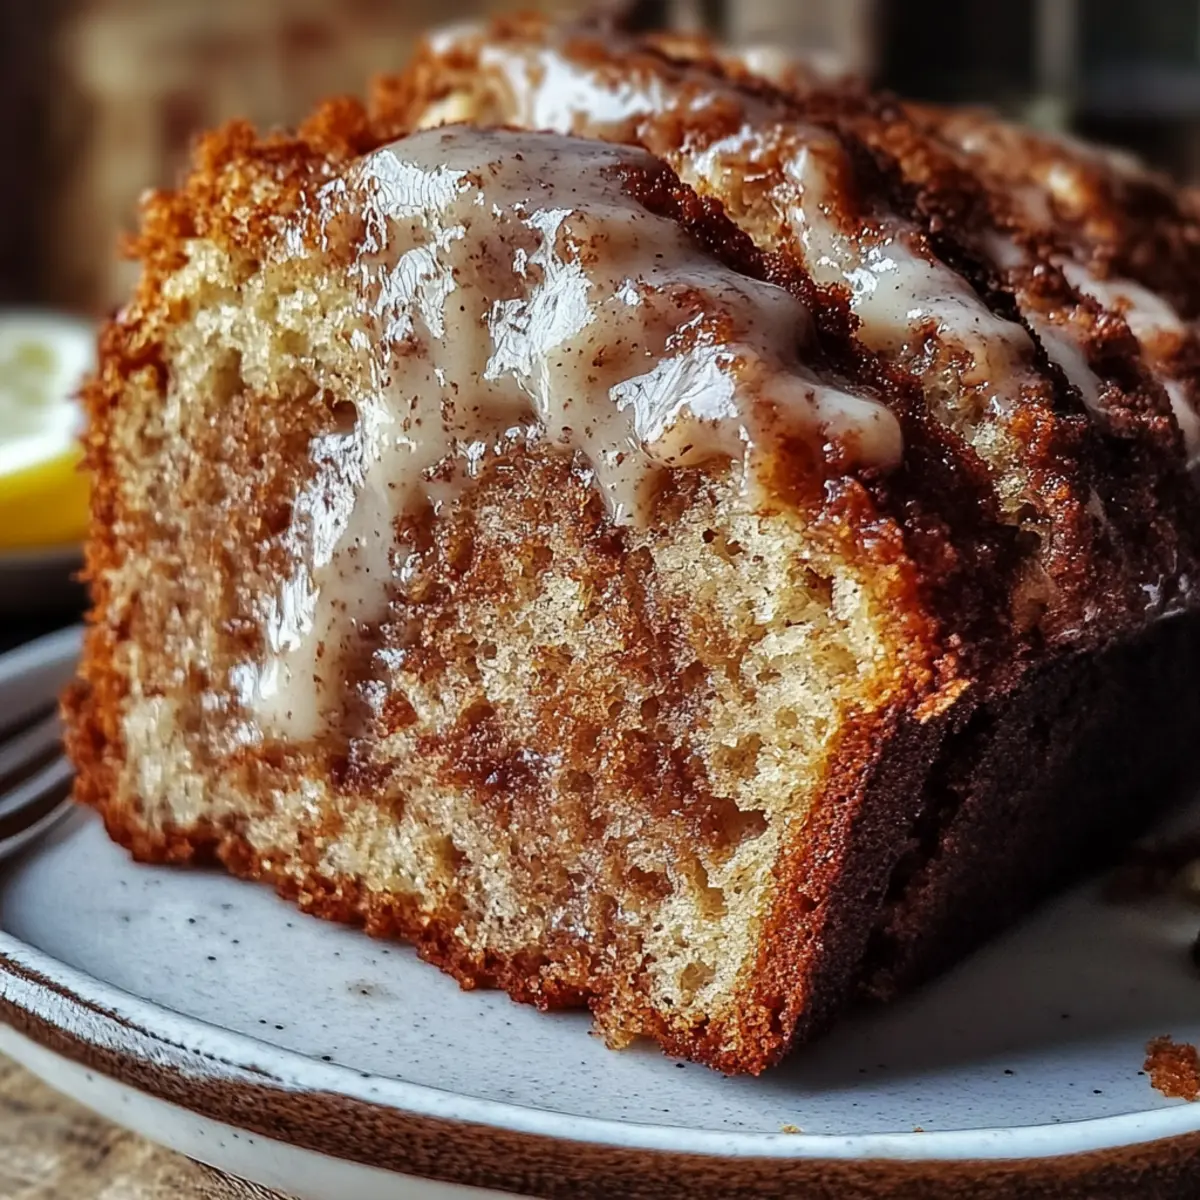
Simplicity makes this recipe a go-to for busy evenings. With just three ingredients, you won't need a long shopping list or complicated steps. Delightful aroma wafts through your kitchen, turning meal prep into a cozy event. Perfectly moist texture ensures every bite is a gift of apple goodness, especially when served warm. Versatile enough to pair with vanilla ice cream or a drizzle of caramel, this cake takes comfort food to the next level. Whether it's a family dinner or a casual gathering, this treat is sure to please everyone, making it an instant favorite!
Apple Cake Ingredients
For the Cake
- 2 cups apple slices – use fresh, juicy apples for the best flavor in your apple cake.
- 1 cup granulated sugar – adjust the amount according to the sweetness of your apples for a personalized touch.
- 1 cup all-purpose flour – this provides the structure for your cake, making it perfectly moist and hearty.
Optional Enhancements
- Vanilla ice cream – a creamy accompaniment that complements the warm apple cake beautifully.
- Caramel sauce – drizzle this for an indulgent touch that enhances the sweetness of the apple cake.
- Whipped cream – light and fluffy, it adds an elegant layer of texture and flavor to your dessert.
Step‑by‑Step Instructions for Apple Cake
Step 1: Preheat the Oven and Prepare the Baking Dish
Begin by preheating your oven to 350°F (175°C). While it heats, grease an 8x8 inch baking dish with butter or non-stick spray to ensure easy removal of your finished apple cake. This step is crucial as it helps the cake to rise beautifully without sticking, promising a lovely golden finish.
Step 2: Combine Ingredients in a Mixing Bowl
In a large mixing bowl, add 2 cups of fresh apple slices, 1 cup of granulated sugar, and 1 cup of all-purpose flour. Stir these ingredients together until well combined, ensuring that the apple slices are evenly coated with the sugar and flour mixture. This creates a delightful base full of flavor for your apple cake.
Step 3: Pour the Mixture into the Baking Dish
Carefully pour the apple mixture into the prepared baking dish, spreading it out evenly with a spatula. This allows the batter to settle and ensures even baking. As you do this, you’ll notice the beautiful layers of apples emerging, setting the stage for a moist apple cake packed with delightful textures.
Step 4: Bake Until Golden and Set
Place the baking dish in the preheated oven and bake for 30-40 minutes. Keep an eye on your cake; it’s done when the edges are golden and a toothpick inserted in the center comes out clean. The aroma will fill your kitchen, hinting at the delicious apple cake that's on the way!
Step 5: Cool and Serve
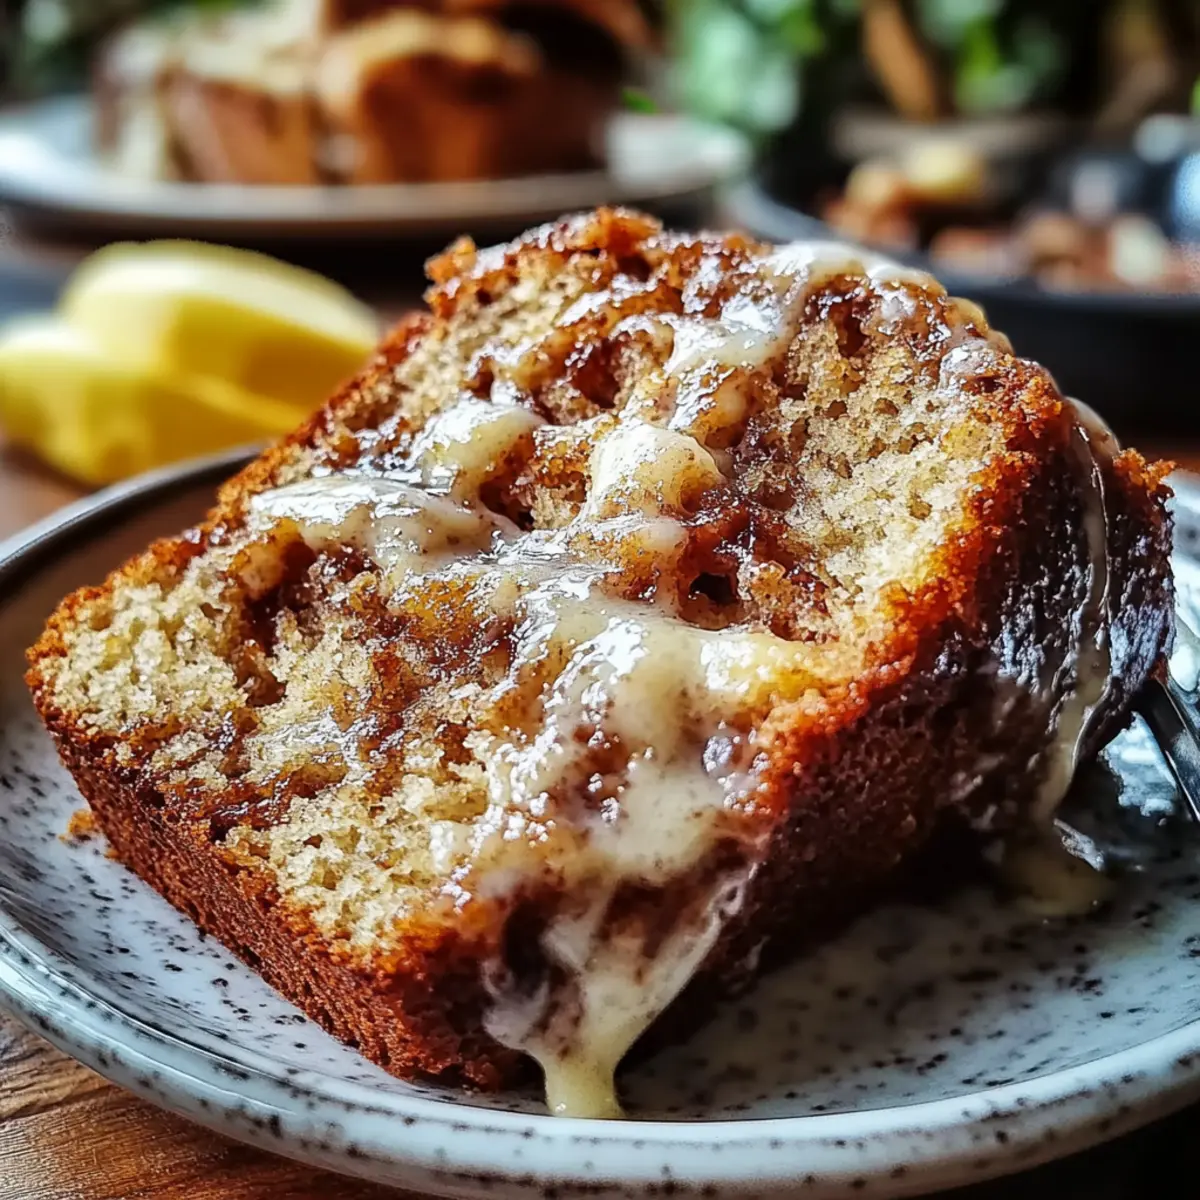
Once baked, remove the dish from the oven and let the apple cake cool for about 10 minutes. This brief cooling period makes it easier to cut into squares while preserving its moist texture. Serve warm, perhaps with a scoop of vanilla ice cream or a drizzle of caramel for an extra touch of delight.
Make Ahead Options
These delightful 3 Ingredient Apple Cakes are ideal for meal prep, saving you valuable time during busy weeknights! You can slice the apples and mix them with sugar and flour up to 24 hours in advance. Just store the mixture in an airtight container in the refrigerator to keep the apples fresh and prevent browning. When it's time to bake, simply pour the mixture into the prepared baking dish and follow the baking instructions. This way, you’ll enjoy a homemade apple cake that’s just as scrumptious, with minimal effort required when it counts. Embrace the convenience of prepping ahead and savor every bite!
What to Serve with 3 Ingredient Apple Cake
Indulge in the sweet simplicity of this apple cake while exploring delightful accompaniments that elevate your dessert experience.
-
Vanilla Ice Cream: Creamy and rich, this classic pairing melts beautifully over warm apple cake, adding a luscious contrast to each bite.
-
Drizzled Caramel Sauce: A sweet, sticky addition that enhances the apple flavor, caramel transforms your cake into a decadent treat that’s hard to resist.
-
Whipped Cream: Light and airy, a dollop of whipped cream brings an elegant touch, perfectly balancing the warm, moist cake.
-
Chopped Nuts: Toasted walnuts or pecans contribute a satisfying crunch and nutty flavor, beautifully complementing the soft texture of the apple cake.
-
Fresh Berries: Juicy strawberries or raspberries add a refreshing tartness, brightening up the rich flavors of the apple cake.
-
Coffee: A warm cup of coffee pairs perfectly, enhancing the comforting essence of the cake with rich, robust notes.
-
Spiced Tea: Enjoy a steaming cup of chai or herbal tea for a cozy pairing that aligns beautifully with the autumn flavors of apple cake.
-
Pumpkin Spice Muffins: For a full fall-themed feast, serve these alongside; their warm spices perfectly match the flavors of your apple cake, creating a wonderful medley of tastes.
How to Store and Freeze Apple Cake
Room Temperature: Allow apple cake to cool completely, then cover it with plastic wrap or store in an airtight container for up to 2 days.
Fridge: If you’d like to keep the cake fresh for longer, refrigerate it in an airtight container for up to a week. Be sure to let it come to room temperature before serving for the best taste.
Freezer: To freeze apple cake, wrap it well in plastic wrap and then aluminum foil to prevent freezer burn. It can be stored in the freezer for up to 3 months. Thaw overnight in the fridge before enjoying.
Reheating: For a cozy touch, reheat slices in the microwave for about 15-20 seconds or warm in the oven at 350°F (175°C) for 10-15 minutes. Enjoy the deliciousness of your apple cake!
Expert Tips for Irresistible Apple Cake
-
Apple Selection: Choose firm, sweet apples like Honeycrisp or Fuji. Their natural sweetness enhances the flavor of the apple cake, ensuring a delicious outcome.
-
Mixing Technique: Gently fold the ingredients. Over-mixing can lead to a dense cake, while a light hand ensures a perfectly moist apple cake.
-
Baking Time: Start checking your cake at 30 minutes. Ovens can vary, and you want to avoid overbaking for a dry result. A toothpick should come out clean from the center when it’s ready.
-
Cooling the Cake: Allow the cake to cool for at least 10 minutes before cutting. This helps it set, making it easier to serve while keeping it wonderfully moist.
-
Serving Suggestions: Elevate your apple cake by serving it warm with a scoop of vanilla ice cream or a drizzle of caramel. This not only enhances flavor but adds a delightful contrast in temperature and texture.
Apple Cake Variations & Substitutions
Explore delightful twists on this apple cake that will elevate your baking experience and surprise your taste buds!
-
Gluten-Free: Substitute all-purpose flour with gluten-free flour blend for a cake that everyone can enjoy.
-
Sugar-Free: Use a natural sweetener like stevia or erythritol to create a healthier, sugar-free version of this beloved dessert.
-
Spiced Up: Add 1 teaspoon of cinnamon or nutmeg for an extra burst of warmth and flavor that perfectly complements the apples.
-
Nutty Addition: Fold in ½ cup of chopped walnuts or pecans to introduce a delightful crunch and a protein boost, adding texture and complexity.
-
Fruity Twist: Replace apple slices with pear or peach slices for a fruity twist that brings a different sweetness and flavor profile to your cake.
-
Vegan Version: Swap the granulated sugar for coconut sugar and make sure your apple slices are fresh to give a vegan spin without sacrificing flavor.
-
Syrup Drizzle: Enhance sweetness with a drizzle of maple syrup on top right before serving, introducing a rich and lovely note that pairs perfectly with the apples.
-
Chocolaty Delight: Stir in some mini chocolate chips for a decadent variation that will give your apple cake a sweet, gooey surprise with every bite.
With these variations, your apple cake will always have something new and exciting to offer! If you need ideas for what to serve alongside this treat, consider a scoop of ice cream or a drizzle of caramel to create a truly indulgent experience.
3 Ingredient Apple Cake Recipe FAQs
How do I choose the best apples for this apple cake?
Absolutely! For the best flavor, opt for firm, sweet apple varieties such as Honeycrisp, Fuji, or Granny Smith. These apples not only add natural sweetness to the cake but also retain their structure for a delightful texture. Look for ones that are free of blemishes and have a vibrant color. If your apple has dark spots all over, it's best to choose another!
What is the best way to store leftover apple cake?
For room temperature storage, allow your apple cake to cool completely, then cover it with plastic wrap or place it in an airtight container for up to 2 days. If you prefer to keep it fresh longer, refrigerate the cake in an airtight container for up to a week. Remember, letting it come to room temperature before serving enhances the flavor!
Can I freeze the apple cake, and if so, how?
Absolutely! To freeze your apple cake, first, allow it to cool entirely. Then, wrap it tightly in plastic wrap and follow with aluminum foil to prevent freezer burn. It can be stored in the freezer for up to 3 months. When you're ready to enjoy it, simply thaw overnight in the fridge before serving for the best taste and texture.
What should I do if my apple cake is too dense?
Very good question! If your apple cake ends up dense, it might be due to overmixing the ingredients. Here’s a tip: When combining the ingredients, use a gentle folding motion instead of vigorous stirring. This helps maintain a light texture. Additionally, check your baking time; if it's underbaked, the cake can become heavy. A toothpick should come out clean from the center when it’s done!
Can I make this recipe gluten-free?
Of course! If you want to make a gluten-free apple cake, swap out the all-purpose flour for a 1:1 gluten-free flour blend. Many brands are available that mimic the properties of regular flour quite well. Just keep an eye on the mixing technique to ensure it remains light and fluffy!
Is this apple cake safe for pets?
Very important consideration! While the ingredients in this apple cake (apples, sugar, and flour) are generally safe for dogs, it’s best to avoid giving them cake made for human consumption, especially if it contains sugar, which isn’t ideal for pets. Always consult with your vet before sharing any homemade treats with your furry friends!
Irresistibly Moist Apple Cake with Just 3 Ingredients
Ingredients
Equipment
Method
- Preheat your oven to 350°F (175°C) and grease an 8x8 inch baking dish.
- In a large mixing bowl, combine 2 cups of fresh apple slices, 1 cup of granulated sugar, and 1 cup of all-purpose flour until well mixed.
- Pour the mixture into the prepared baking dish, spreading it evenly.
- Bake for 30-40 minutes until the edges are golden and a toothpick inserted comes out clean.
- Let the cake cool for about 10 minutes before serving warm.