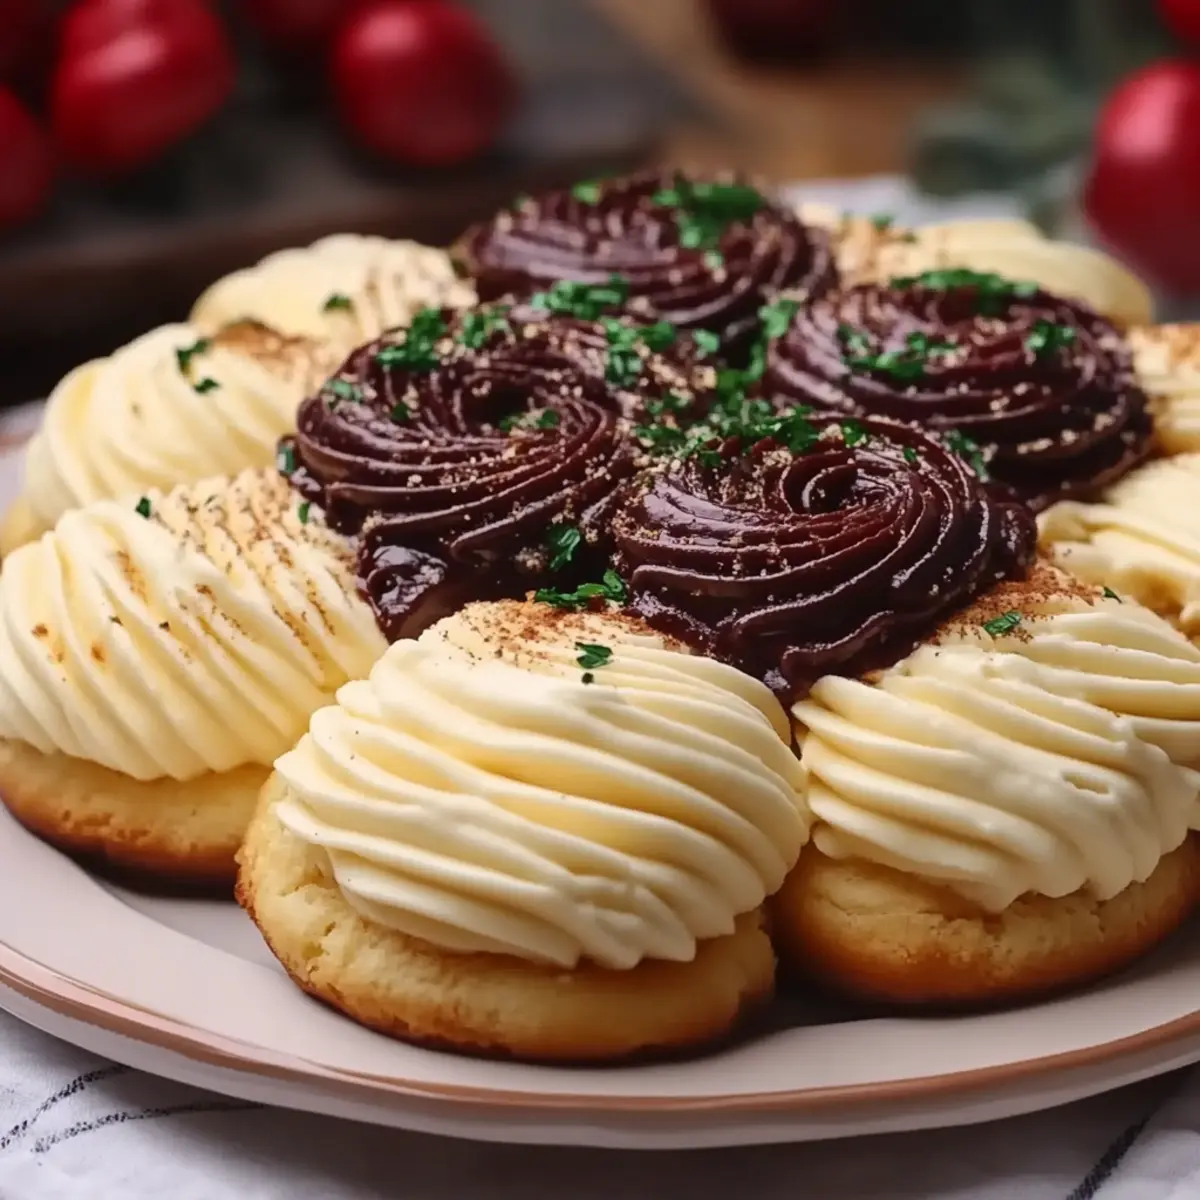
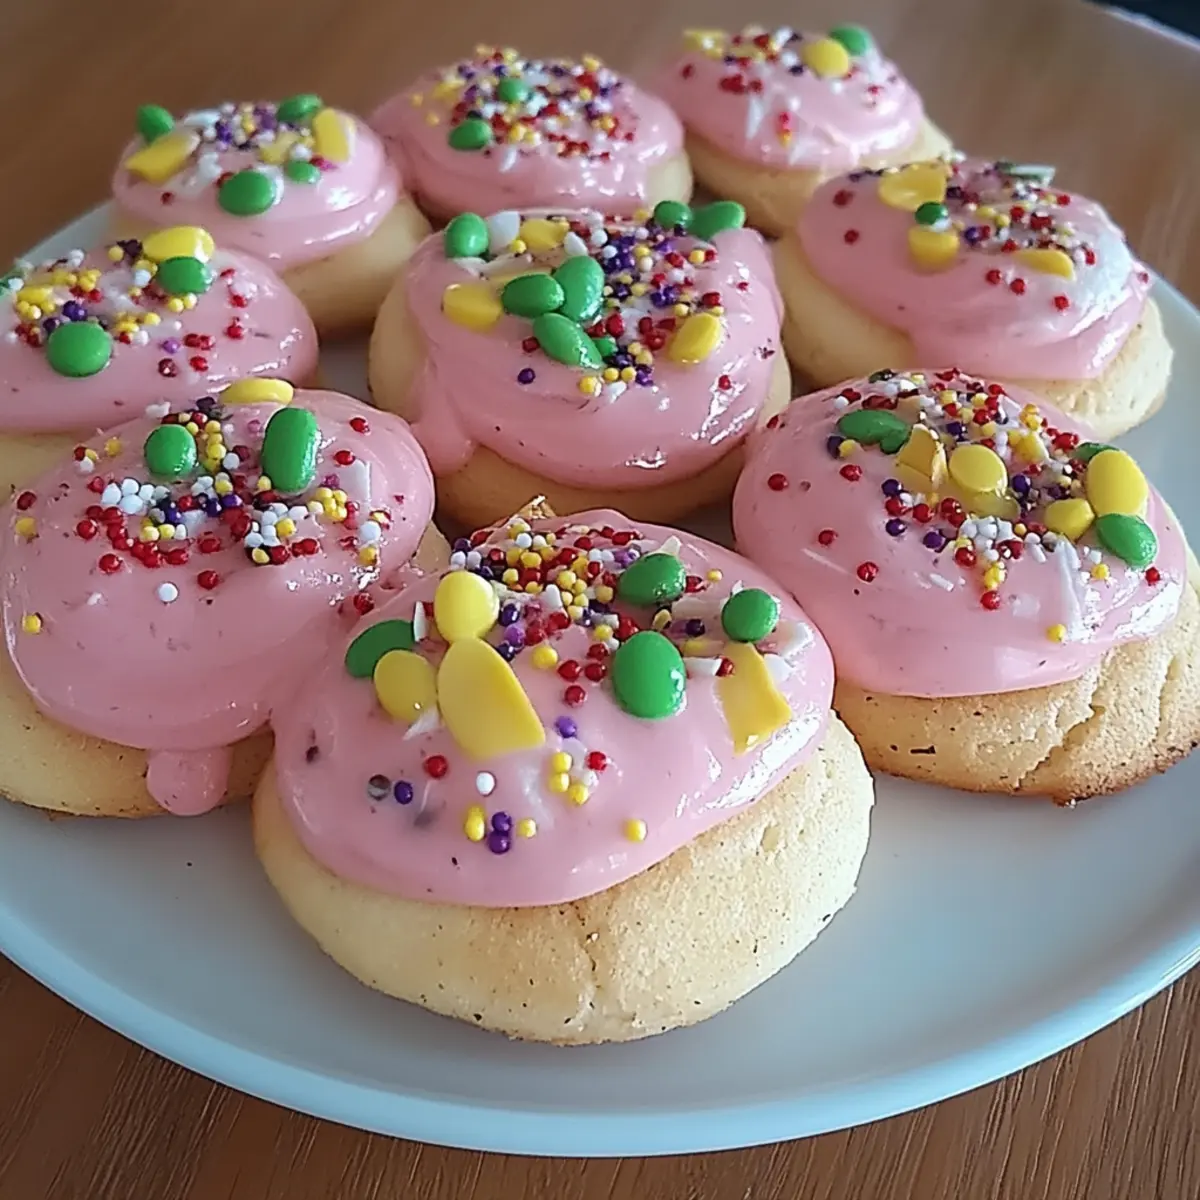
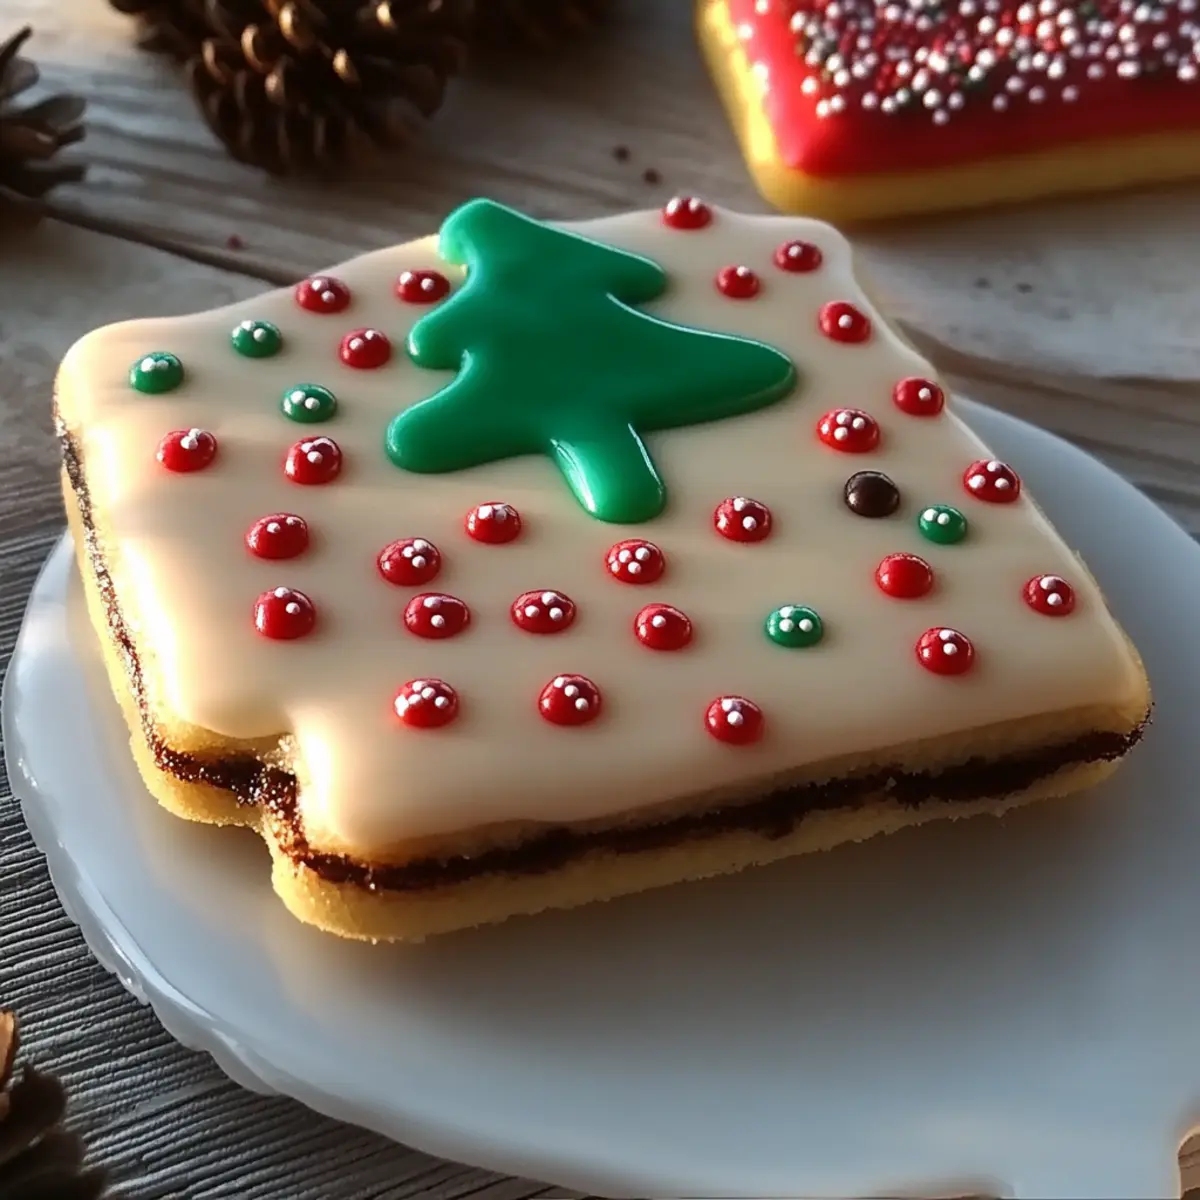
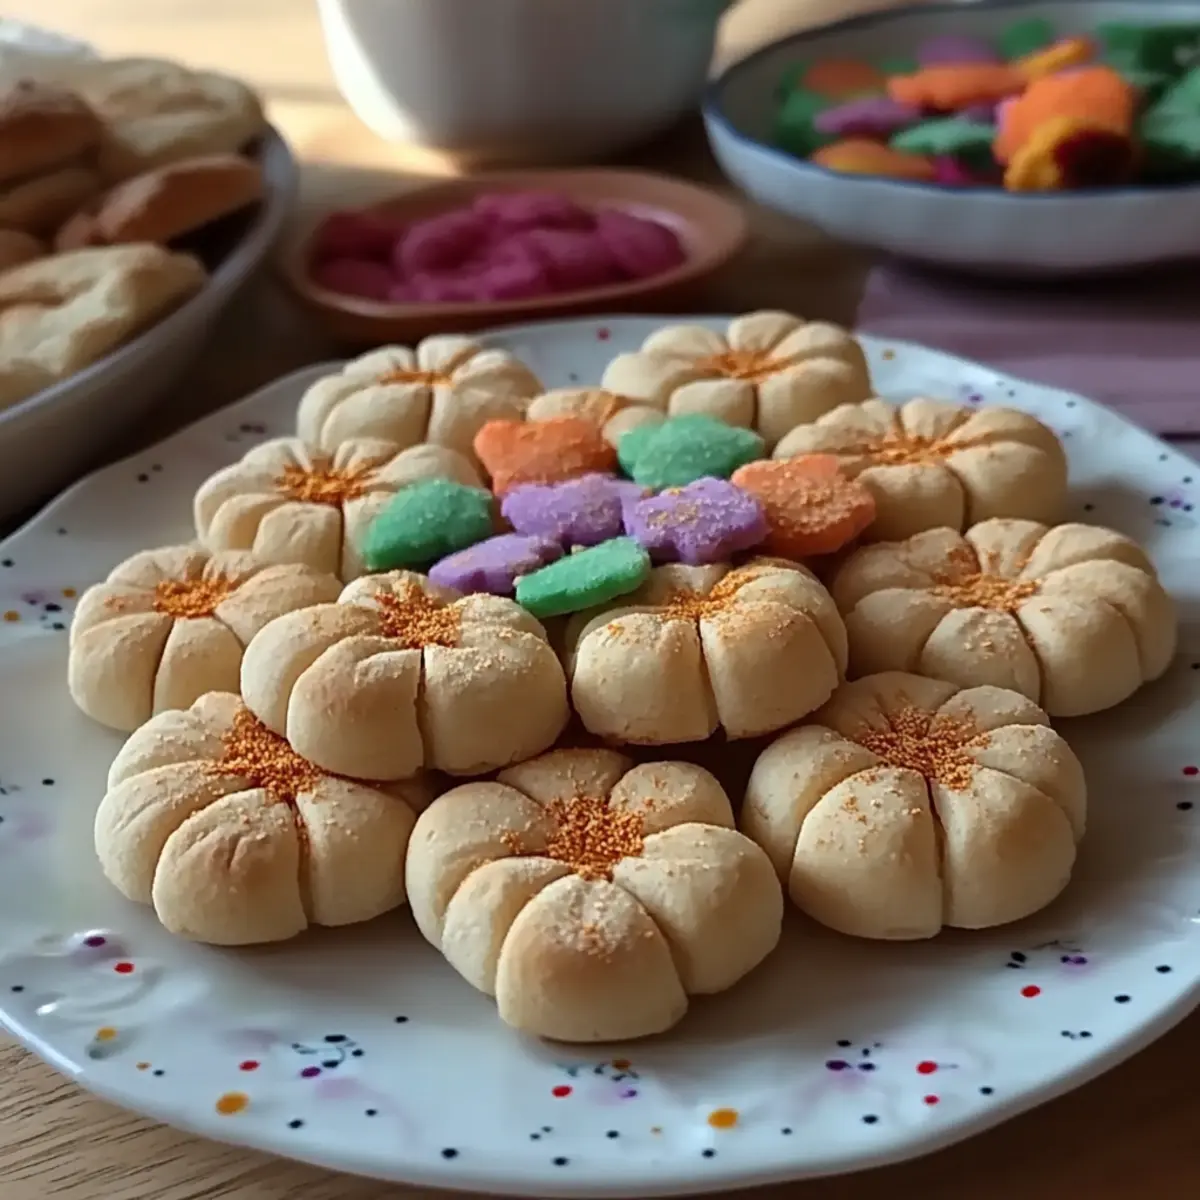
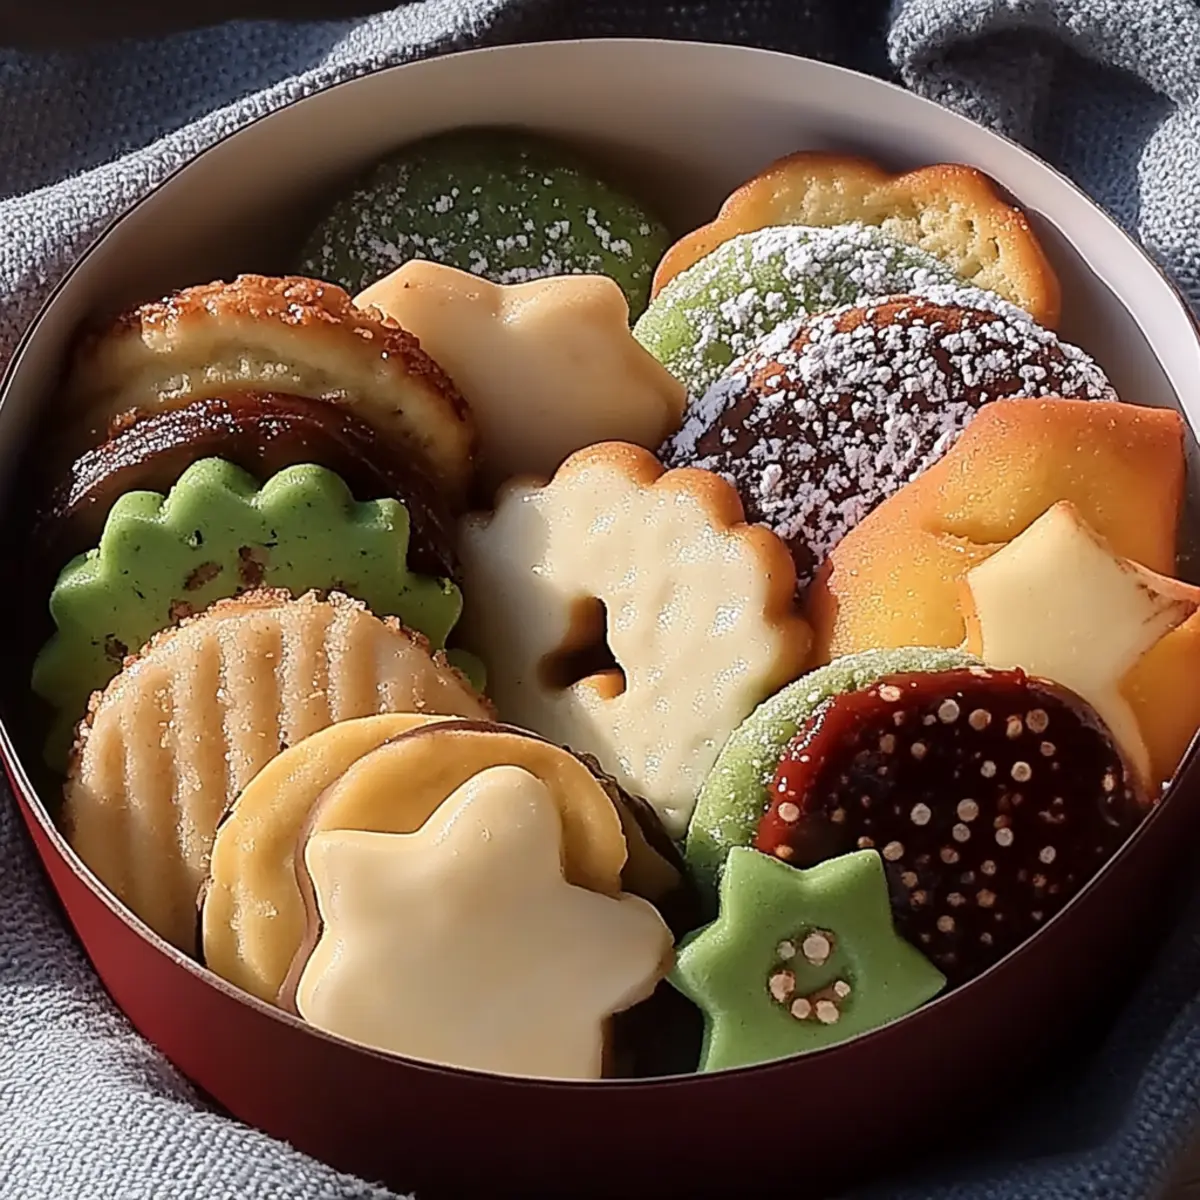
There’s something magical about a box of butter cookies that instantly evokes memories of holiday gatherings and cozy afternoons spent baking with loved ones. The Holiday Butter Cookie Box is not only a delightful treat but also a perfect way to share the warmth of homemade goodness with friends and family. This recipe is incredibly simple, making it a go-to for both seasoned bakers and novice cooks alike. With just a handful of ingredients and quick prep time, you'll have beautiful cookies ready to share in no time. Plus, you can easily customize these cookies by adding chocolate chips or colorful sprinkles, making them even more special! Are you ready to dive into a baking adventure that will fill your home with sweet aromas?
Why Make a Butter Cookie Box?
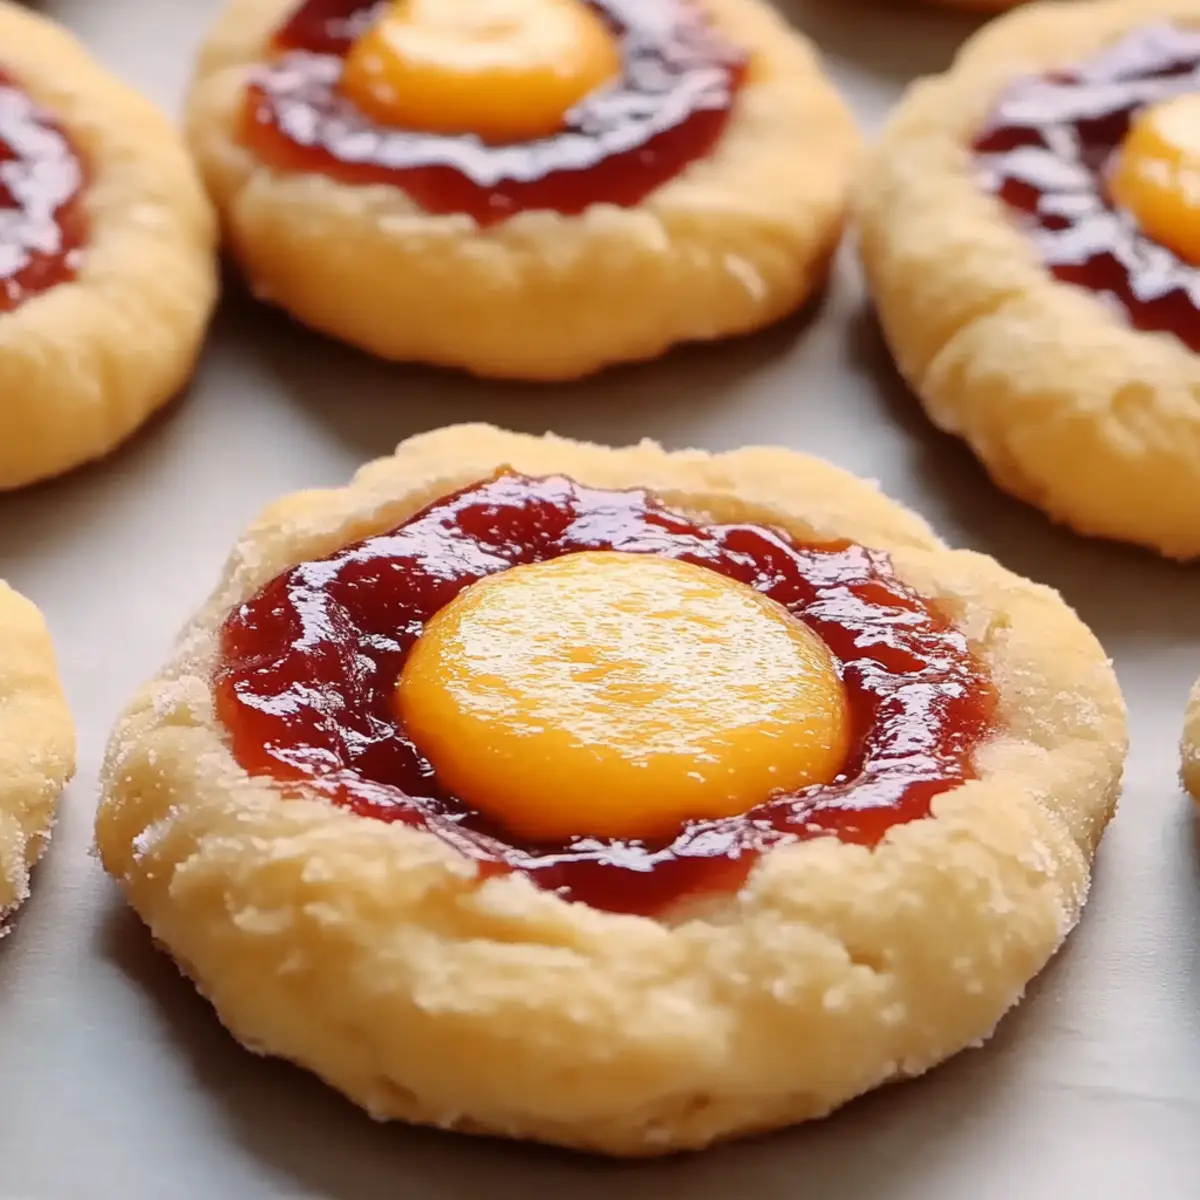
Irresistible Butteriness: The rich butter flavor is what makes these cookies melt-in-your-mouth delicious.
Quick Preparation: In just 15 minutes of prep, you’ll have the dough ready to go!
Customizable Delight: Add your favorite mix-ins like chocolate chips or festive sprinkles to personalize each batch.
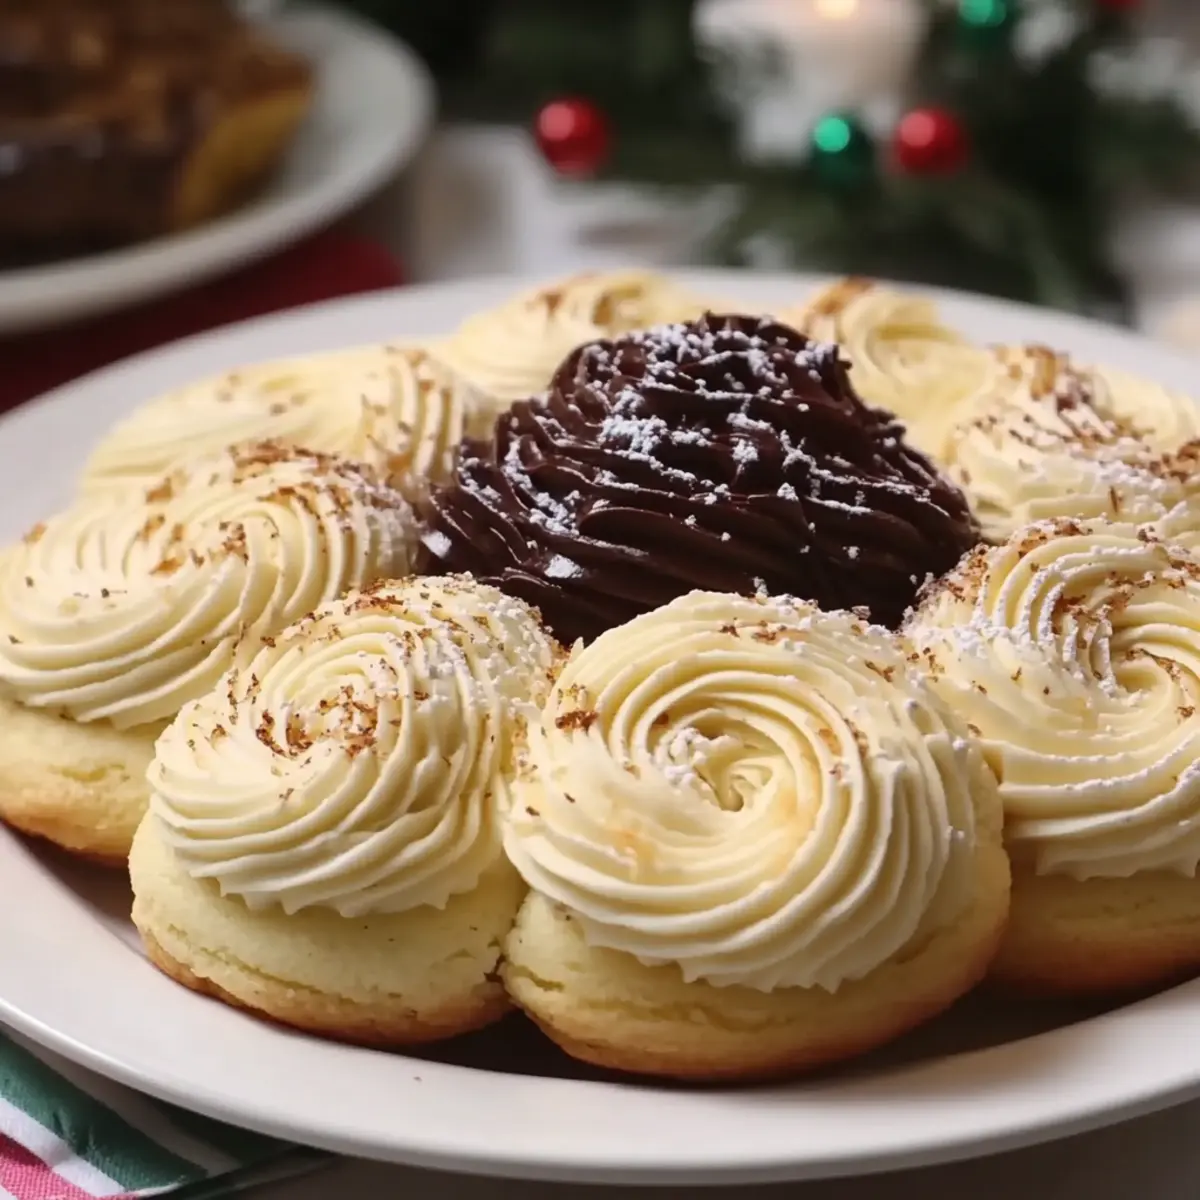
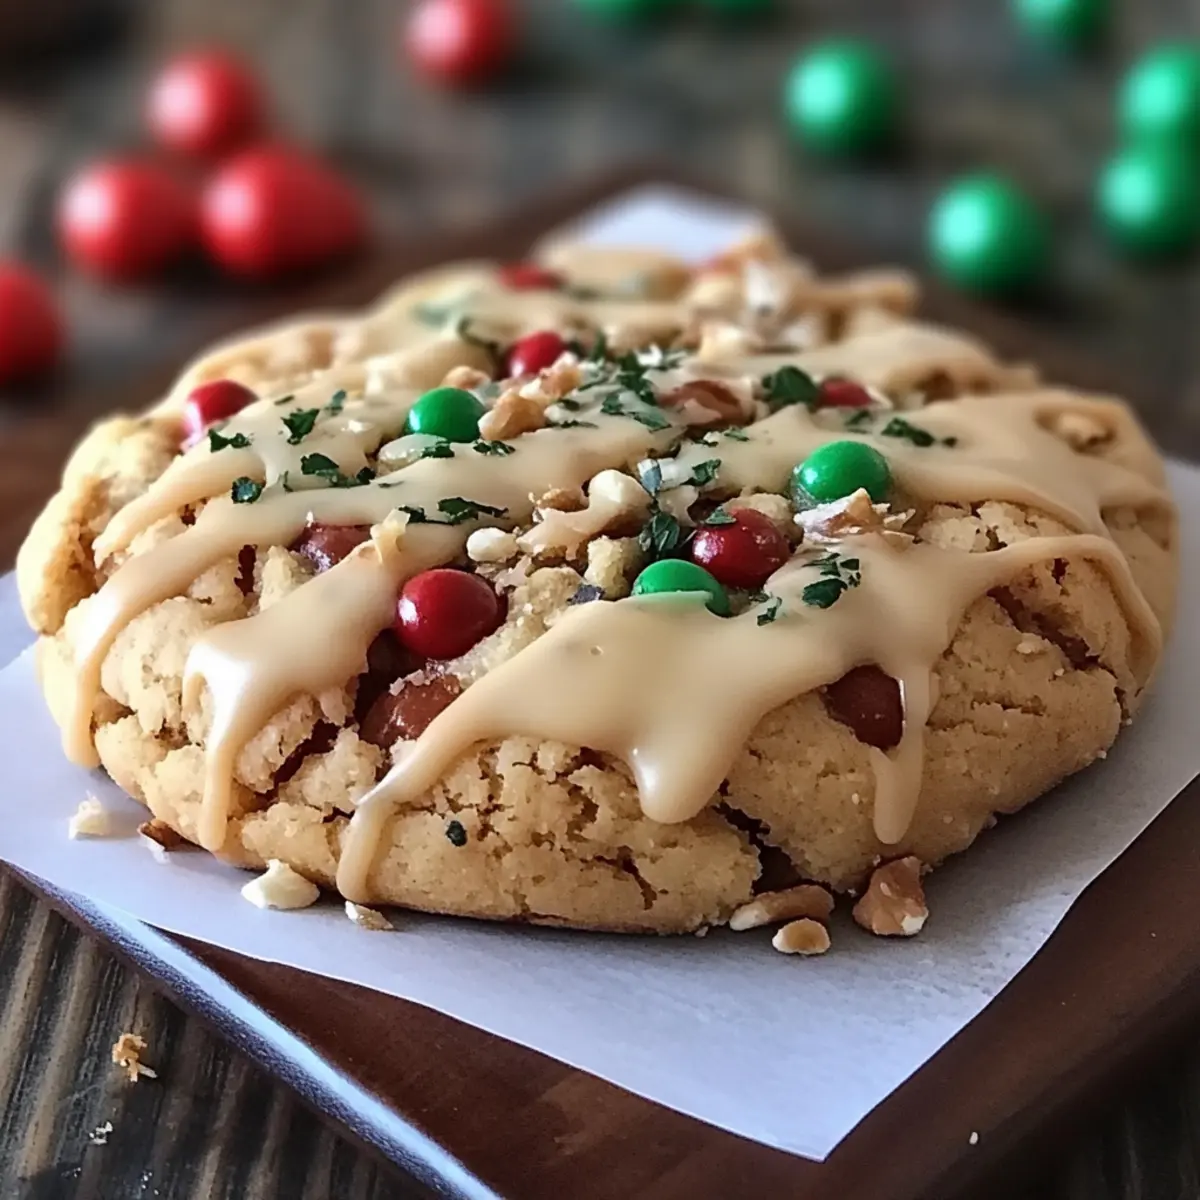
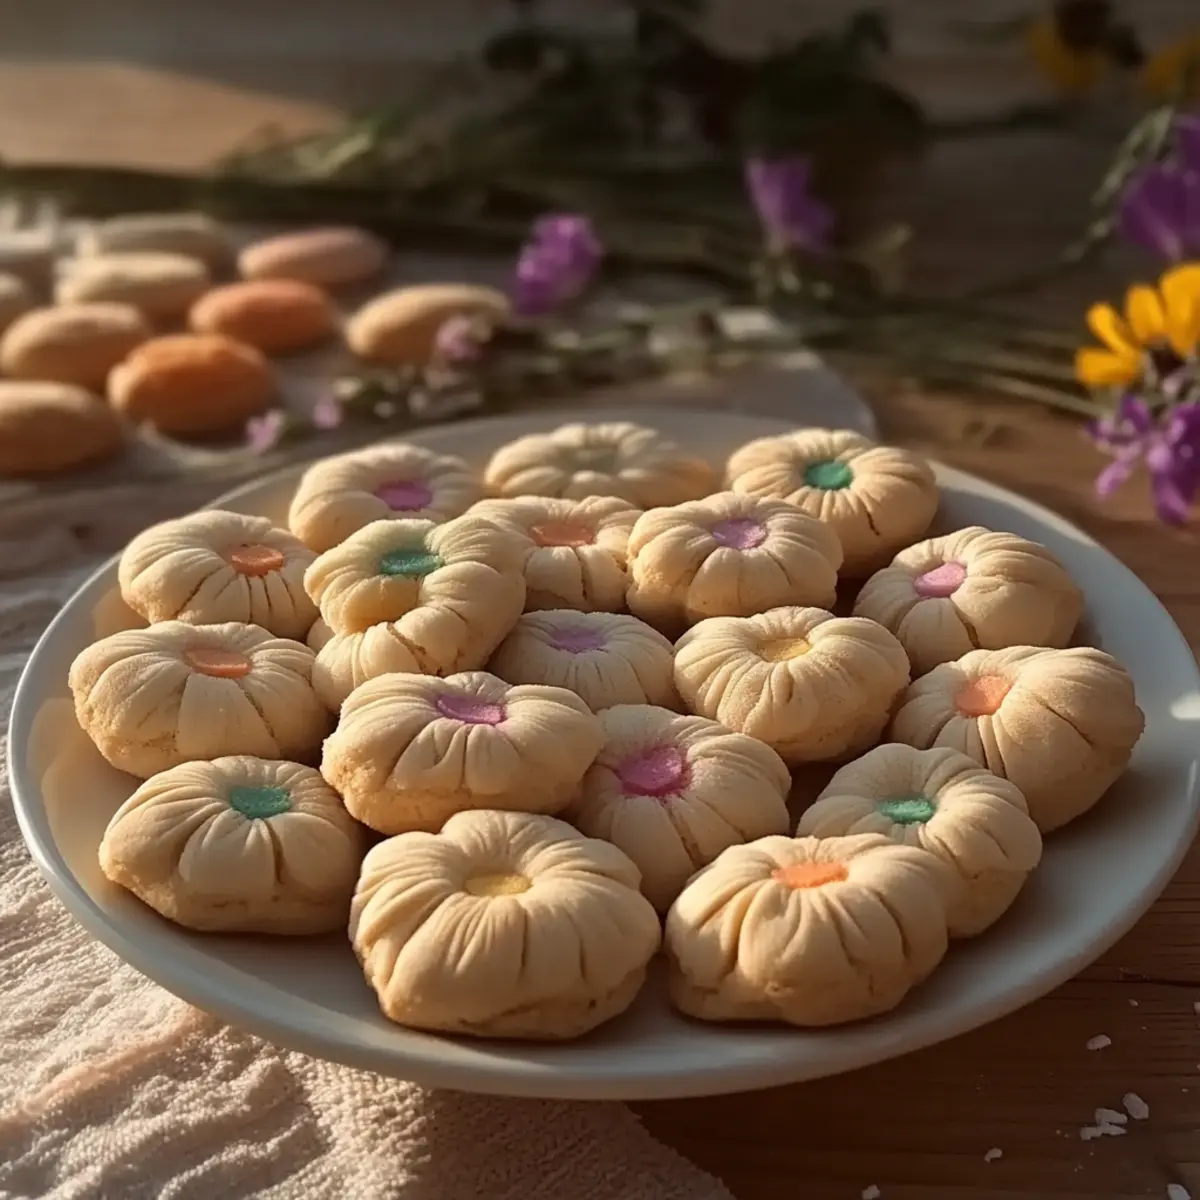
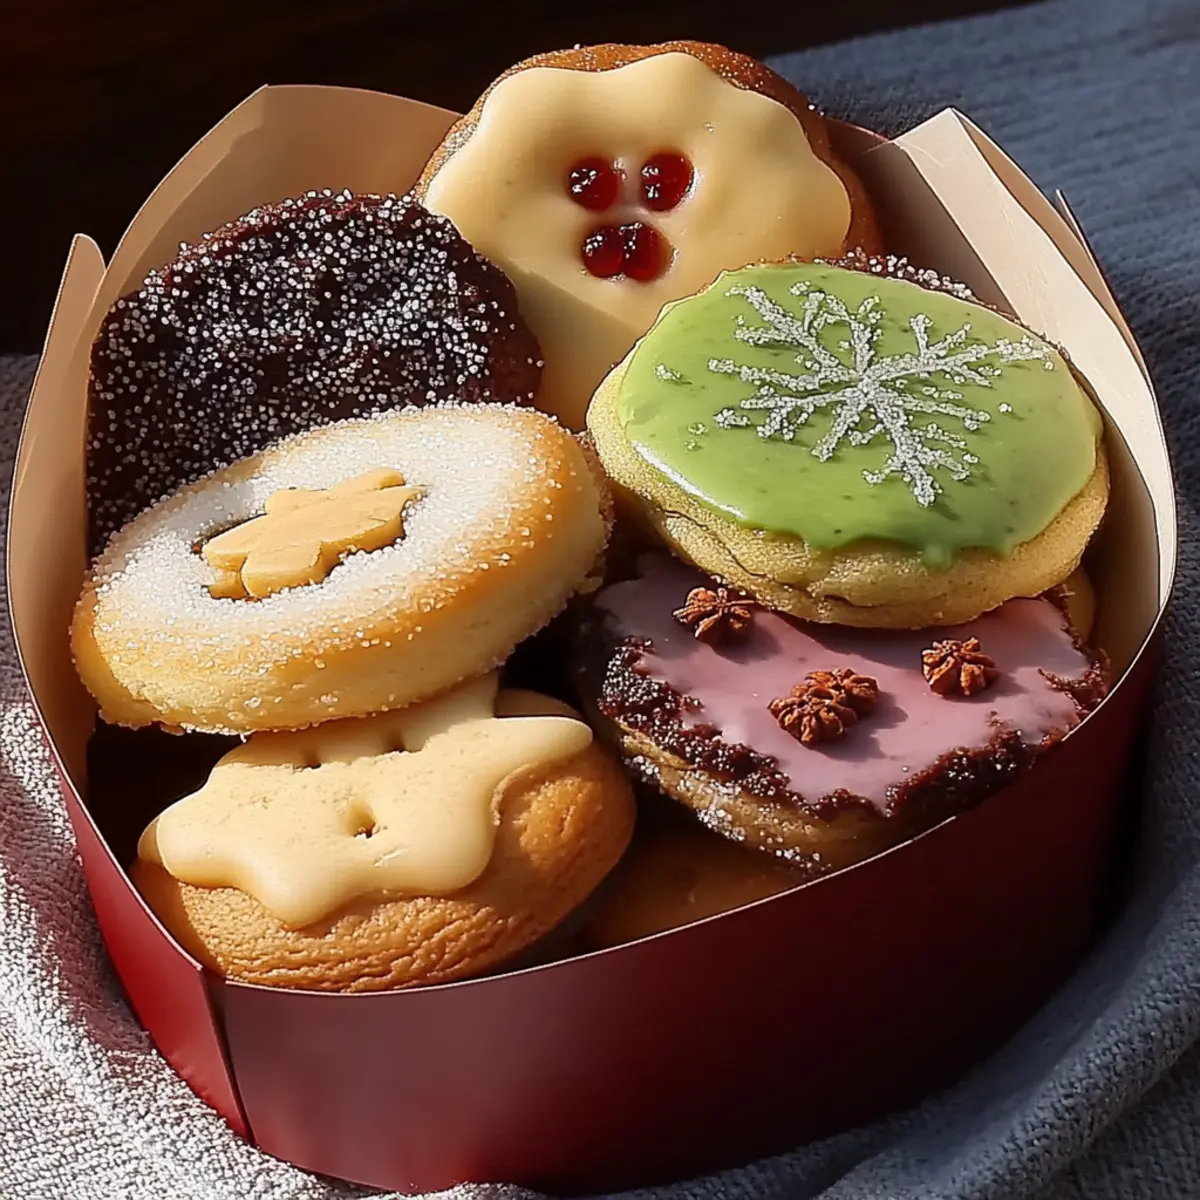
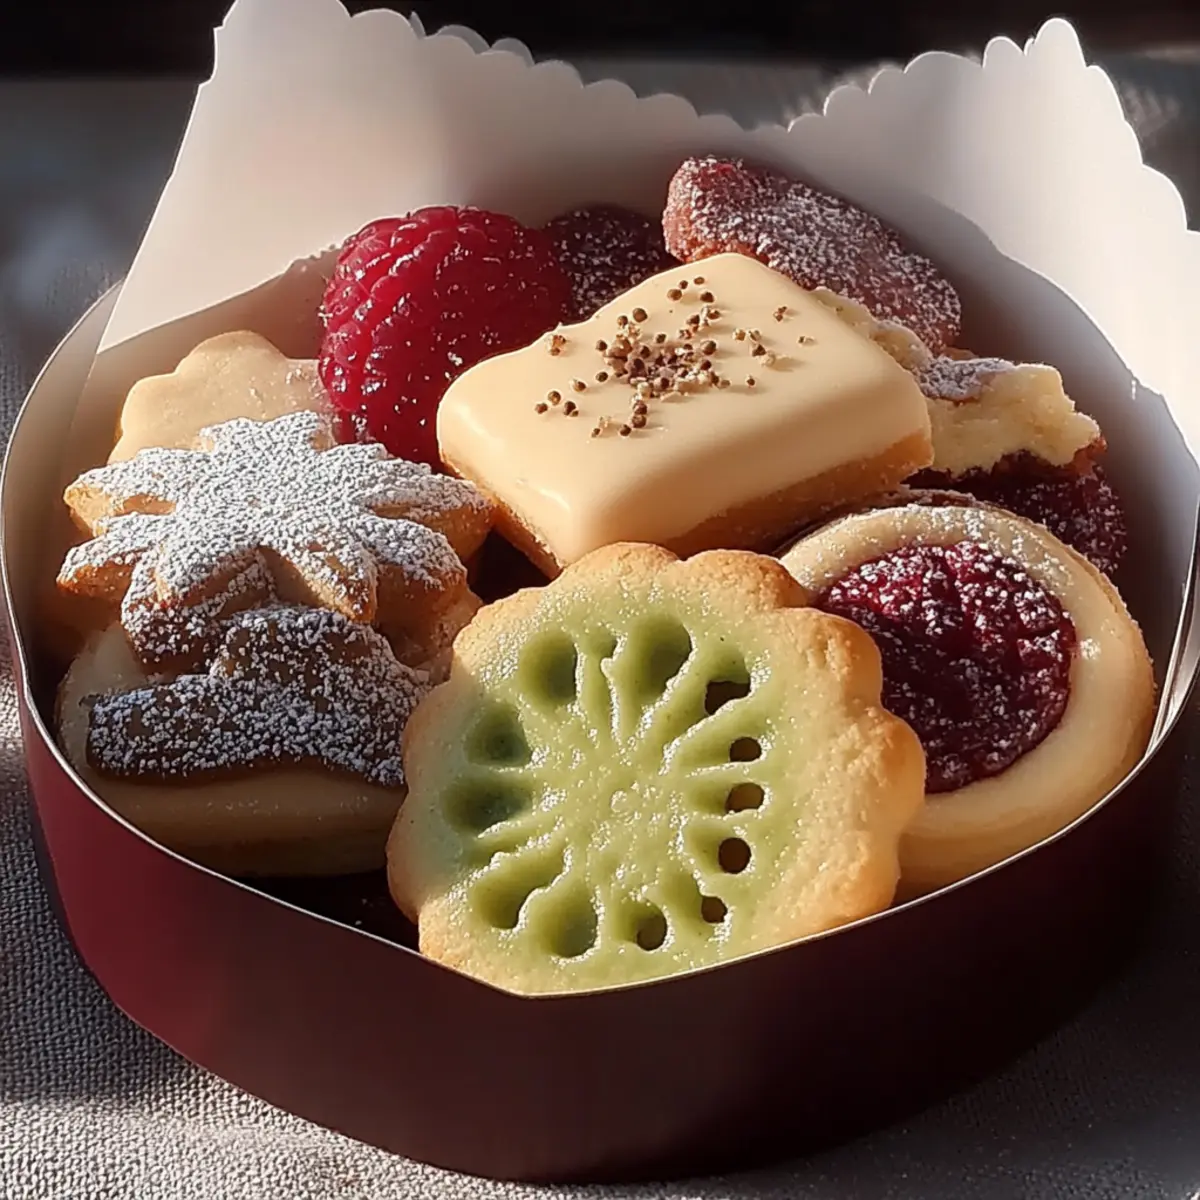
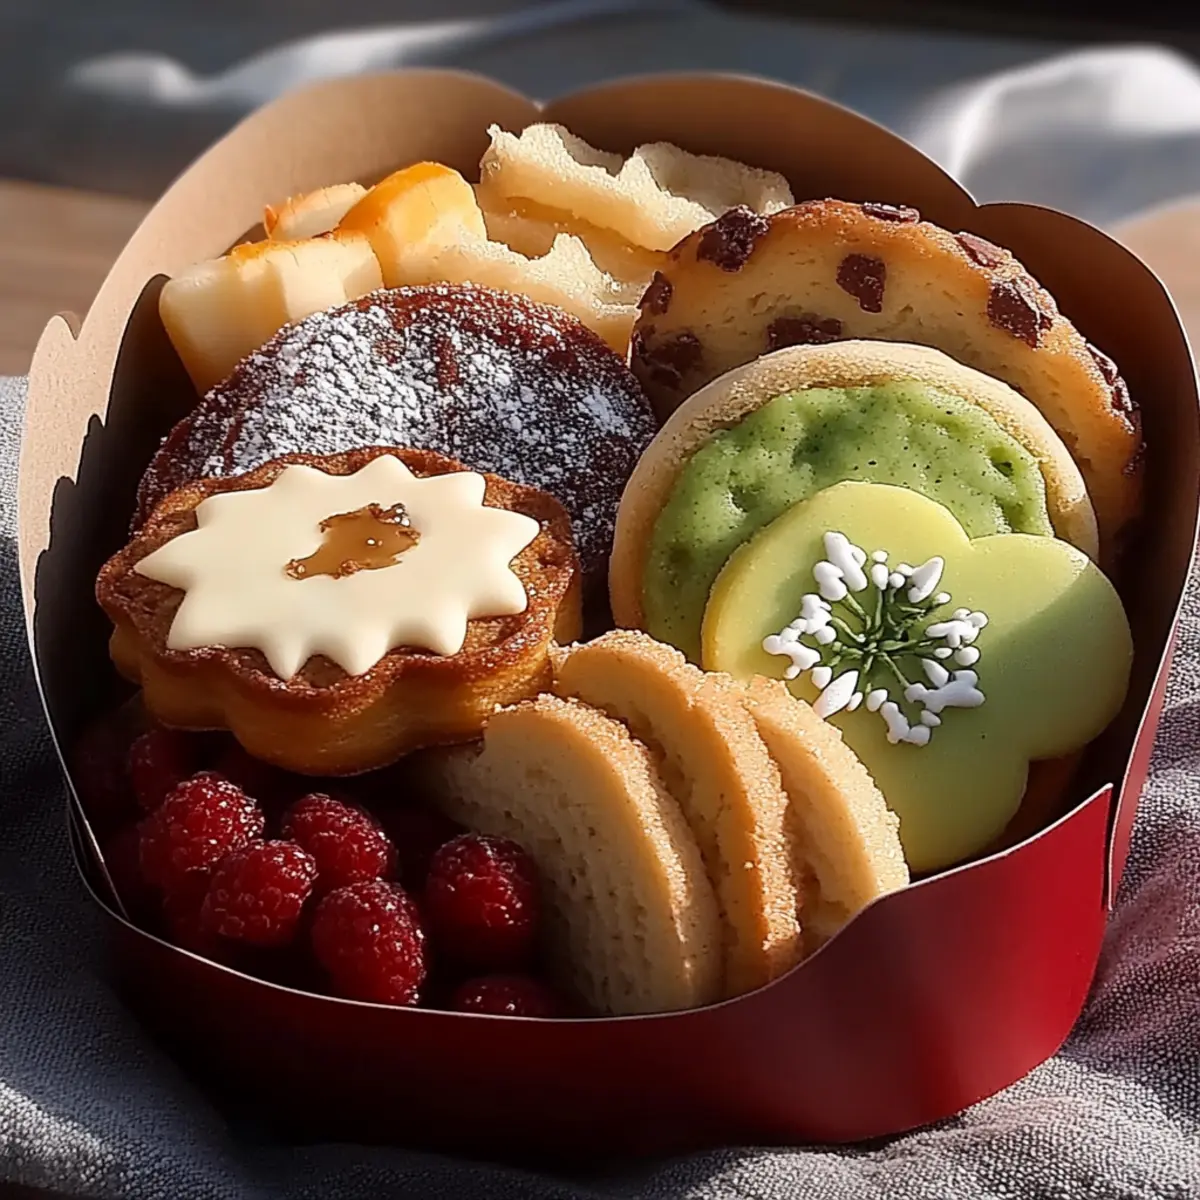
Perfect for Gifting: Whether you’re packing these into a decorative box or sharing them at a holiday party, they make for an impressive and heartfelt gift.
Crowd-Pleasing Treat: With about 24 cookies per batch, there’s plenty to share or savor on your own—you might want to keep a few extra for yourself!
So grab your mixing bowl and let’s create a delightful Butter Cookie Box that will leave everyone asking for seconds!
Butter Cookie Box Ingredients
For the Dough
• 2 cups unsalted butter, softened – The base for that rich, melt-in-your-mouth texture.
• 1 cup granulated sugar – Adds sweetness and helps create a light, fluffy dough.
• ¾ cup powdered sugar – Introduces a delicate sweetness and enhances the cookie’s tenderness.
• 1 large egg yolk – Provides moisture and richness for the cookie's flavor and texture.
• 1 teaspoon vanilla extract – Infuses a warm and inviting flavor into the dough.
• ½ teaspoon almond extract – Adds a delightful nutty aroma that compliments the butter.
• ½ teaspoon salt – Balances the sweetness and enhances all the flavors in the cookies.
• 3 cups all-purpose flour – The foundation for the dough that provides structure.
Optional Mix-ins
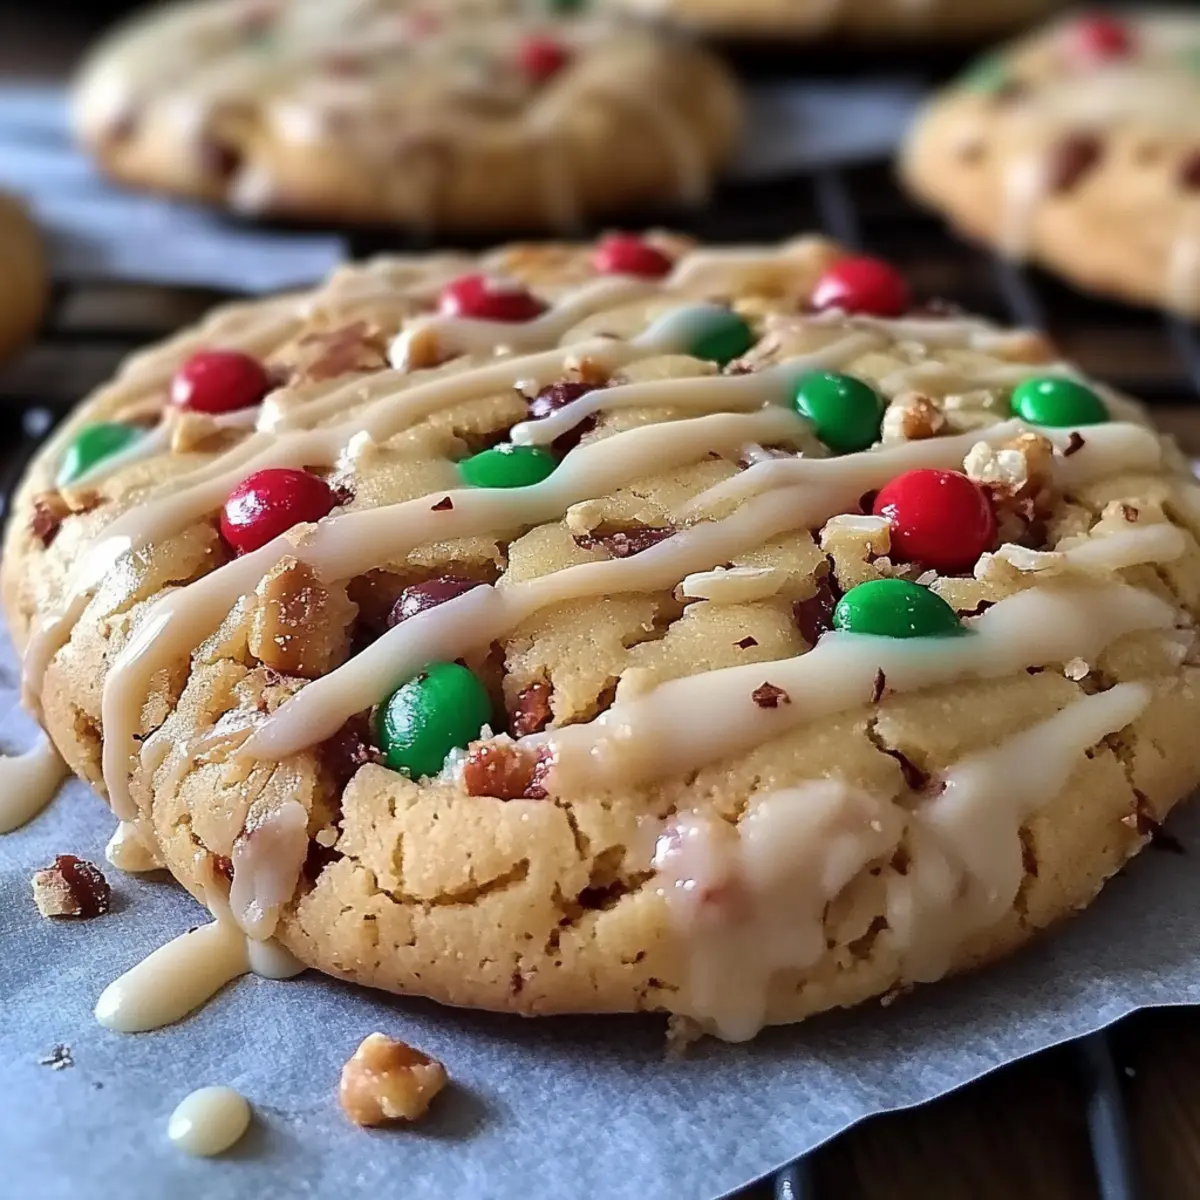
• 1 cup chocolate chips – For a delicious, sweet surprise in each bite! Feel free to use milk, dark, or white chocolate.
These simple and delightful ingredients come together to create a beautiful Butter Cookie Box, perfect for sharing during the holidays!
Step‑by‑Step Instructions for Butter Cookie Box
Step 1: Cream the Butters and Sugars
Begin by gathering a large mixing bowl and an electric mixer. Cream together 2 cups of softened unsalted butter, 1 cup of granulated sugar, and ¾ cup of powdered sugar until the mixture is light and fluffy, about 3-5 minutes. Watch as it transitions from a yellow butter blend to a pale, airy texture—this will ensure your cookies have that melt-in-your-mouth quality.
Step 2: Incorporate Egg Yolk and Extracts
Add 1 large egg yolk, 1 teaspoon of vanilla extract, ½ teaspoon of almond extract, and ½ teaspoon of salt to the creamy mixture. Mix on medium speed until everything is well combined, approximately 2 minutes. The dough should have a rich aroma, signaling that the flavors are melding perfectly, setting the foundation for your delightful Butter Cookie Box.
Step 3: Add the Flour
Gradually sift in 3 cups of all-purpose flour into the mixture, mixing on low speed to prevent any flour explosion. Stir until a soft dough forms—this process should take about 2-3 minutes. If you’re using optional chocolate chips, fold them in gently at this stage. The dough should be somewhat sticky but manageable, ready for some chilling time.
Step 4: Chill the Dough
Wrap the dough in plastic wrap tightly, ensuring no air can escape, and refrigerate it for at least 1 hour. This chilling process allows the flavors to develop and the butter to firm up, making your dough easier to handle. You’ll know it’s ready when the dough feels firm to the touch, preparing it for rolling into beautiful cookie shapes.
Step 5: Preheat the Oven
While your dough chills, preheat your oven to 350°F (175°C) and line baking sheets with parchment paper. This step is crucial to ensure an even baking temperature and easy removal of your delightful cookies later. The aroma of a warm oven is perfect for the upcoming baking adventure with your Butter Cookie Box.
Step 6: Shape the Cookies
Remove the chilled dough from the refrigerator and roll it into small balls, about 1 inch in diameter. Place them on the lined baking sheets, spacing them about 2 inches apart to allow for spreading. As you place them, admire the beautiful, smooth dough ready to bake into golden perfection—this is where your Butter Cookie Box starts to take shape!
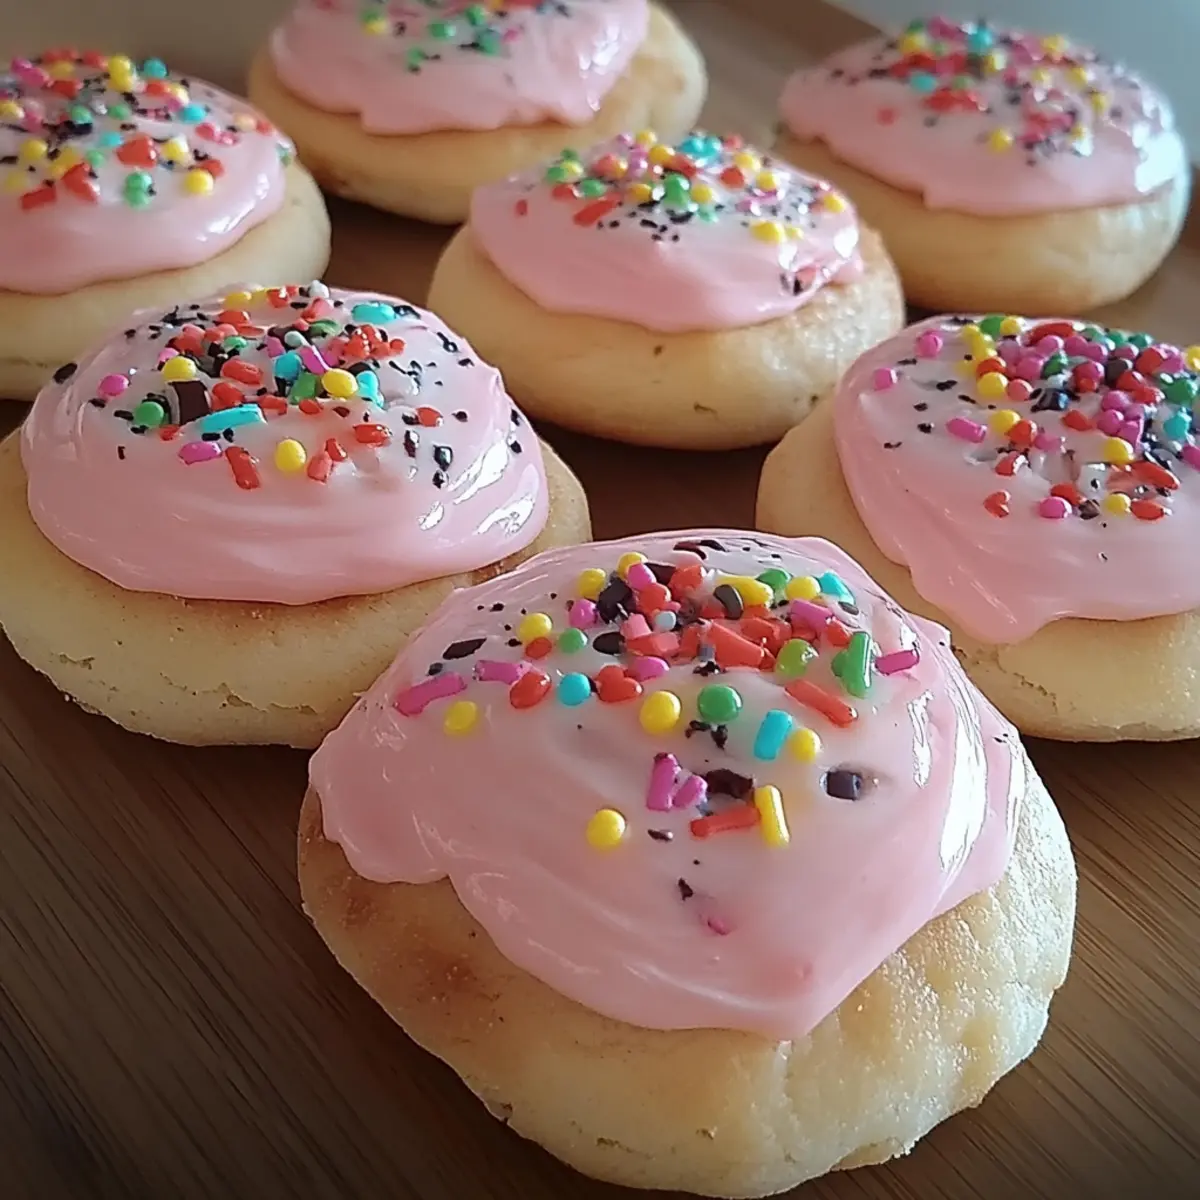
Step 7: Add Decorative Touches
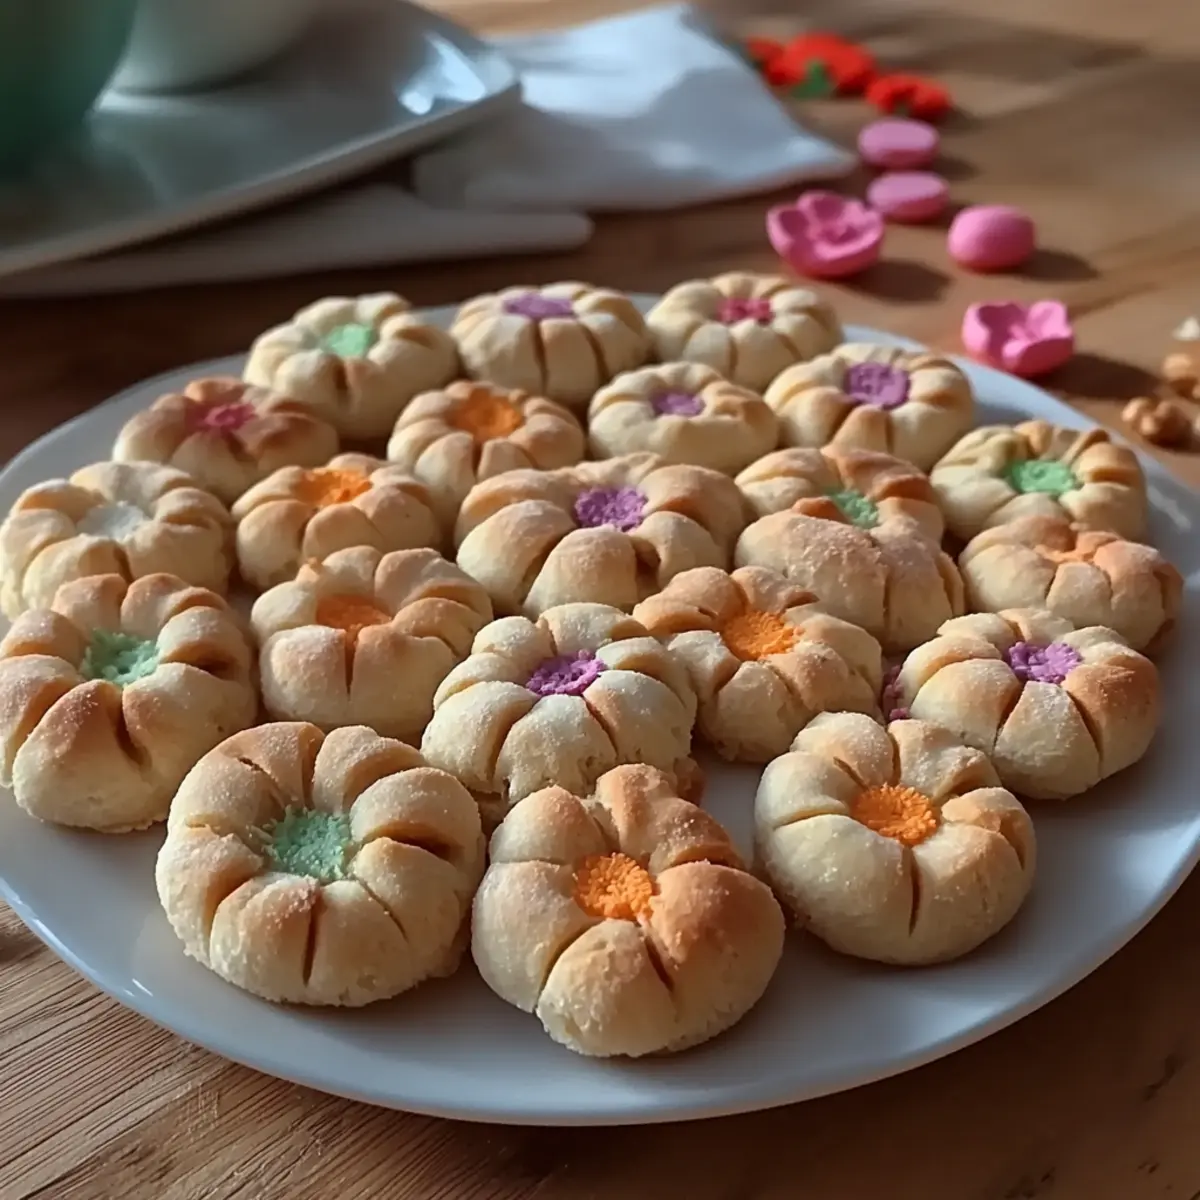
Gently press down on each ball with your fingers to flatten slightly. If desired, sprinkle colorful sugar or festive sprinkles on top to add a personal touch. This small step transforms each cookie into a charming treat, making your Butter Cookie Box not only delicious but visually appealing as well.
Step 8: Bake the Cookies
Bake in the preheated oven for 10-12 minutes, or until the edges are lightly golden. Keep an eye on them as they bake—the cookies will puff slightly, then settle down, signaling they are done. The delightful aroma will fill your kitchen, filling you with excitement for your freshly baked Butter Cookie Box!
Step 9: Cool and Package
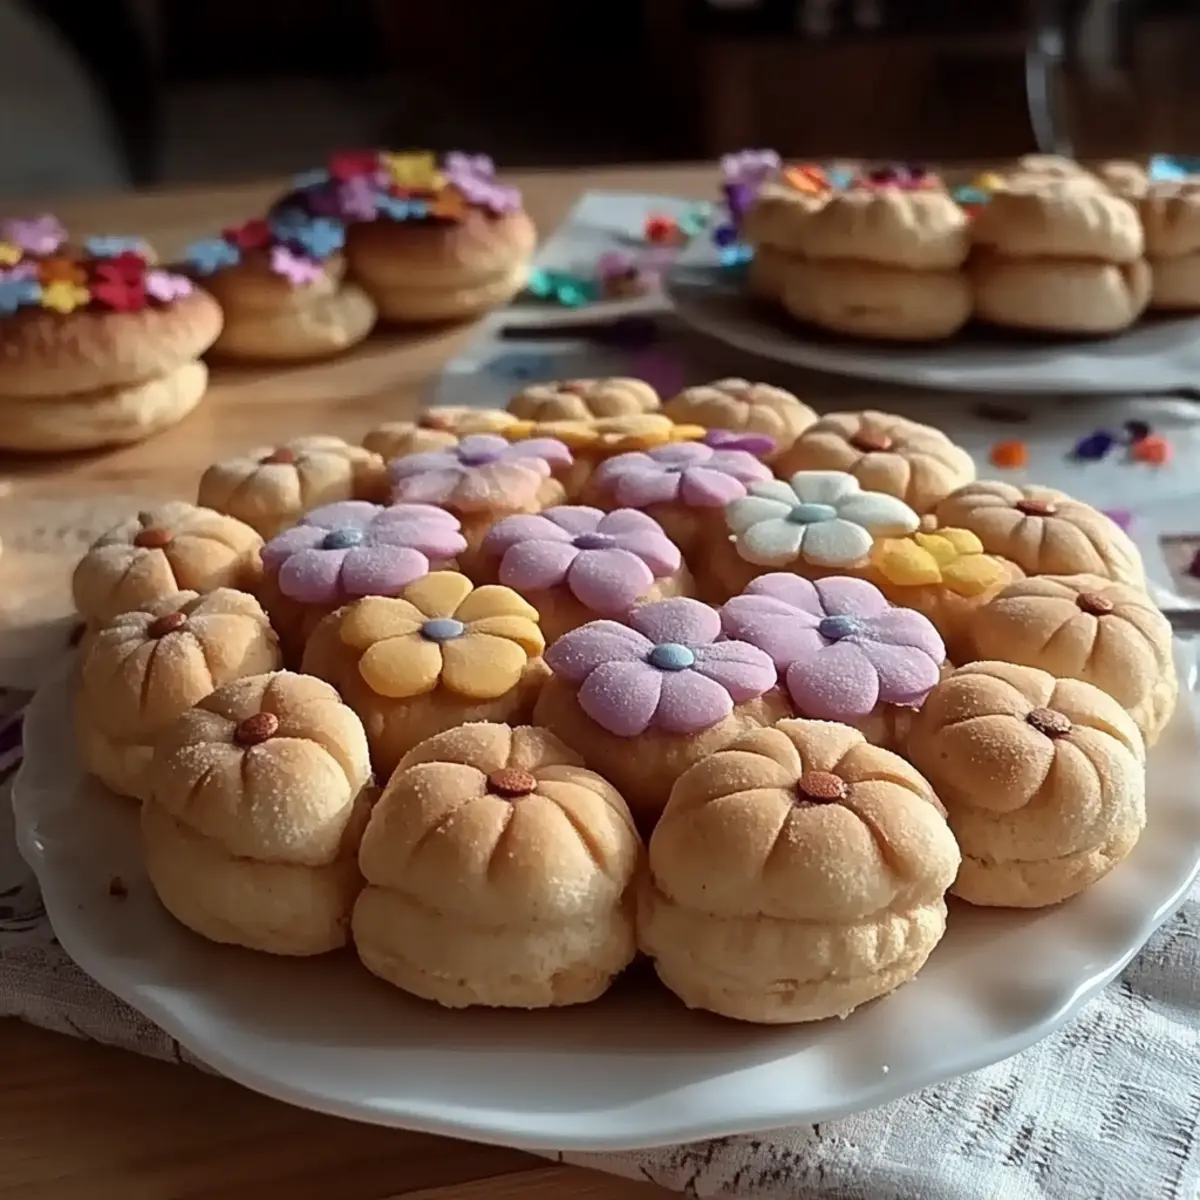
Once baked, let the cookies cool on the baking sheets for a few minutes before transferring them to wire racks. Allow them to cool completely. Once cooled, arrange your delicious Butter Cookie Box in a decorative box or gift tin, layering them with parchment paper for an elegant presentation that’s sure to impress anyone lucky enough to receive a taste!
Butter Cookie Box Variations
Feel free to get creative and give this delightful recipe your own special twist!
-
Gluten-Free: Substitute all-purpose flour with a gluten-free blend like almond or oat flour for a delicious gluten-free version.
-
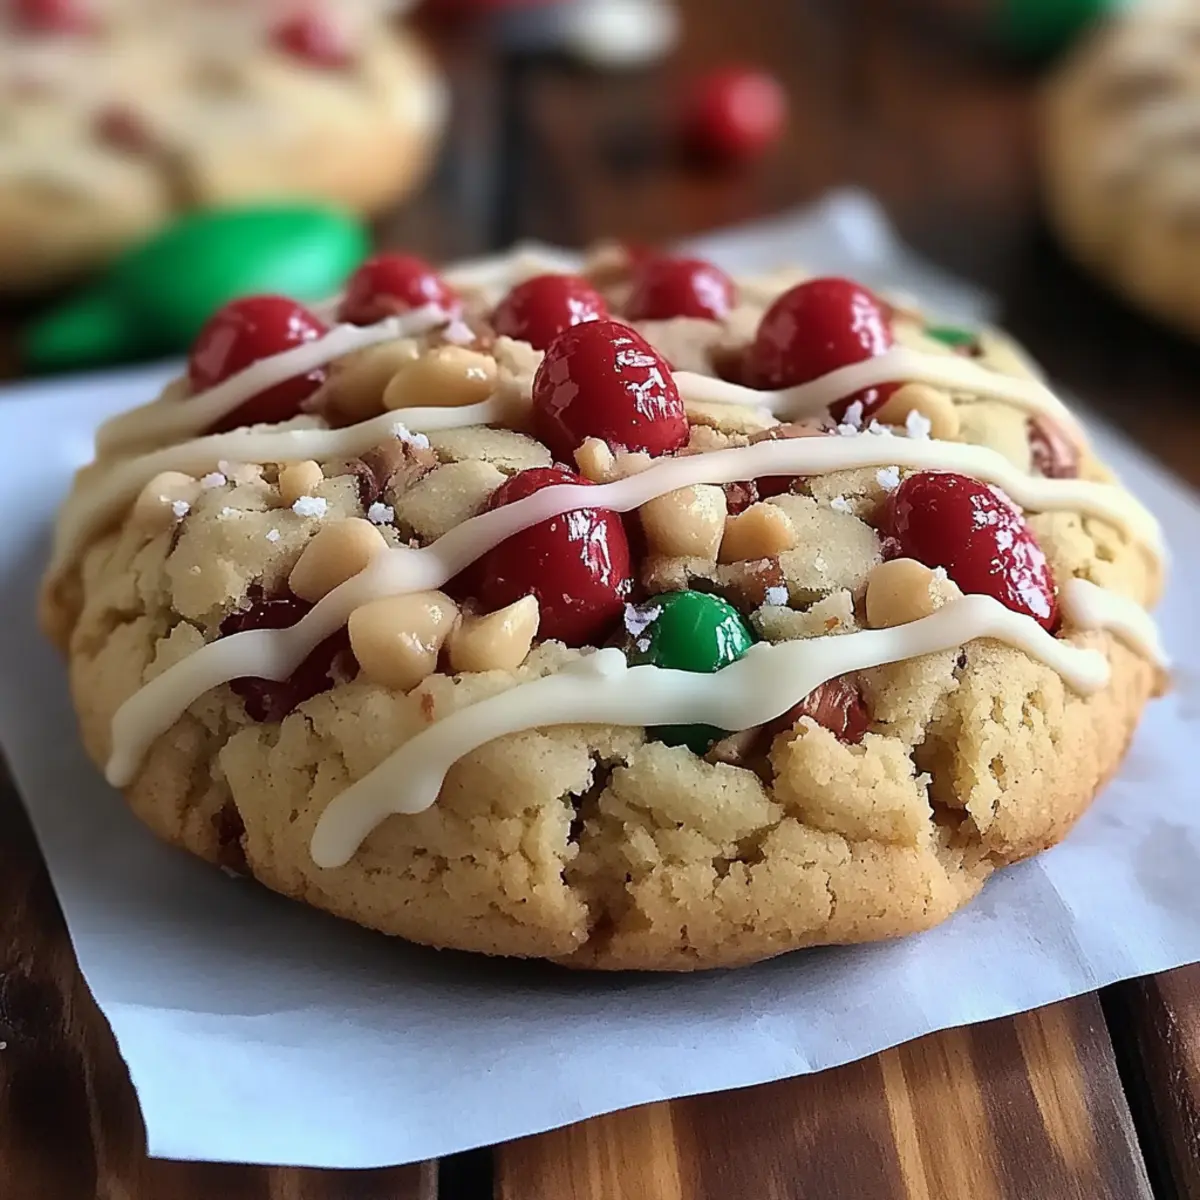
Nutty Flavor: Add 1 cup of chopped nuts such as walnuts or pecans to the dough for delightful crunch and flavor.
-
Chocolate Lovers: Mix in 1 cup of cocoa powder to the dough to create a rich chocolate version of your Butter Cookie Box.
-
Holiday Spices: Spice things up with 1 teaspoon of cinnamon or nutmeg for a cozy, warm flavor that’s perfect for the holidays.
-
Zesty Lemon: Brighten your cookies with a teaspoon of lemon zest. This will add a refreshing burst of citrus that complements the sweetness beautifully.
Add these simple yet impactful variations, and you’ll have a Butter Cookie Box that keeps everyone guessing about your secret ingredient! For more ideas on how to customize cookies, check out Customizable Delight. And if you're looking for lovely presentation inspiration, explore tips on how to create a beautiful setup with your Perfect for Gifting cookies!
What to Serve with Holiday Butter Cookie Box
Indulging in a box of buttery delights invites cozy moments shared with loved ones, creating perfect pairings that enhance the experience.
- Warm Peppermint Cocoa: A rich and soothing drink that balances the sweetness of the cookies while adding a festive touch.
- Vanilla Ice Cream: Creamy vanilla ice cream offers a delightful contrast to the buttery texture, creating a perfect cookie a la mode experience.
Pairing your buttery cookies with a scoop of ice cream is a match made in dessert heaven. The cold creaminess melts into the warm cookie, creating a delightful fusion of flavors.
- Sugary Fruit Compote: Fresh, vibrant compotes provide a fruity balance, brightening each bite with a splash of tangy sweetness.
- Spiced Chai Tea: Aromatic and comforting, spiced chai complements the richness of the cookies, turning your tea time into a warm affair.
- Chewy Caramel Brownies: For the chocolate lovers, chewy brownies add a fudgy contrast that is sure to please any crowd.
Enhancing your butter cookie experience with these treats will elevate your gatherings. Whether enjoyed with a comforting drink or paired with something sweet, these additions promise to create lasting memories.
How to Store and Freeze Butter Cookie Box
Room Temperature: Store baked cookies in an airtight container at room temperature for up to 1 week to keep them fresh and delicious.
Fridge: If you’d like to extend freshness, keep cookies in the fridge for up to 2 weeks. Just ensure they’re well-wrapped to prevent drying out.
Freezer: For longer storage, freeze the cookies in a single layer on a baking sheet before transferring them to a freezer-safe bag. They can be stored for up to 3 months.
Reheating: To enjoy soft cookies, reheat in the oven at 300°F (150°C) for 5-10 minutes. This will bring back their delightful texture for your next indulgence!
Expert Tips for Butter Cookie Box
Chill the Dough: Always refrigerate the dough for at least 1 hour; this helps the cookies maintain their shape and enhances flavor.
Don’t Overmix: When adding flour, mix just until the dough comes together. Overmixing can lead to tough cookies instead of tender ones.
Watch the Baking Time: Keep an eye on the cookies as they bake. Remove them from the oven as soon as the edges turn lightly golden to avoid overbaking.
Customize the Toppings: Feel free to get creative with toppings! Use colorful sprinkles, nuts, or even a light dusting of powdered sugar for variety in your Butter Cookie Box.
Storage Matters: Store baked cookies in an airtight container at room temperature for up to a week to keep them fresh and delicious.
Make Ahead Options
The Holiday Butter Cookie Box is perfect for busy home cooks who want to save time without compromising flavor! You can prepare the cookie dough up to 24 hours in advance; simply wrap it tightly in plastic wrap and refrigerate it to keep it fresh. For even greater convenience, you can also roll the dough into balls and place them on a parchment-lined baking sheet, then cover and refrigerate for up to 3 days. When you're ready to bake, just preheat your oven and pop them in straight from the fridge—no need to thaw! This way, you’ll have warm, delightful cookies ready to share with minimal effort and just as delicious as ever!
Holiday Butter Cookie Box Recipe FAQs
What kind of butter should I use for the Butter Cookie Box?
Absolutely, always opt for unsalted butter as it allows you to control the salt content in your cookies. Make sure the butter is softened to room temperature for best mixing results. Stick with a brand you enjoy, and avoid margarine as it can lead to a different texture and flavor!
How do I store the Butter Cookie Box?
You can keep your baked cookies in an airtight container at room temperature for up to 1 week—perfect for retaining freshness. If you want to prolong their life, store them in the fridge for up to 2 weeks, making sure they’re wrapped well to avoid drying out.
Can I freeze the Butter Cookie Box cookies?
Yes, you can! After baking, let the cookies cool completely. Place them in a single layer on a baking sheet to freeze for about an hour, then transfer them to a freezer-safe bag, where they can last up to 3 months. Anytime you crave a fresh cookie, just reheat them in the oven at 300°F (150°C) for 5-10 minutes!
What should I do if my dough is too sticky?
If your dough is too sticky to roll, it might be due to too much butter or not enough flour. Try chilling the dough a little longer, as this will firm it up. Also, ensure you measure your ingredients accurately. If you find the dough still won't work, you can gradually add a bit more flour, just be careful not to overmix it!
Can I use alternatives for the egg yolk in the Butter Cookie Box?
Certainly! If you need a substitute for the egg yolk, you can use 2 tablespoons of unsweetened applesauce or 1 tablespoon of flaxseed meal mixed with 3 tablespoons of water as a replacement. Both will help bind the ingredients without compromising the cookie's delightful texture.
Are these cookies allergy-friendly?
While the original recipe contains common allergens like butter and gluten, feel free to customize it to meet your needs! You can use dairy-free butter alternatives and gluten-free flour blends if you're accommodating allergies. Make sure to check all ingredient labels to ensure safety for those who will enjoy your Butter Cookie Box!
Delightful Butter Cookie Box Perfect for Gifting or Sharing
Ingredients
Equipment
Method
- Cream together the softened unsalted butter, granulated sugar, and powdered sugar until light and fluffy, about 3-5 minutes.
- Add the egg yolk, vanilla extract, almond extract, and salt to the mixture. Mix until well combined, about 2 minutes.
- Gradually sift in the all-purpose flour and mix on low speed until a soft dough forms, about 2-3 minutes. If using chocolate chips, fold them in gently.
- Wrap the dough in plastic wrap and refrigerate for at least 1 hour.
- Preheat your oven to 350°F (175°C) and line baking sheets with parchment paper.
- Roll the chilled dough into balls, about 1 inch in diameter, and place them on the baking sheets spaced 2 inches apart.
- Press down each ball slightly and sprinkle with colorful sugar or sprinkles if desired.
- Bake in the preheated oven for 10-12 minutes, or until the edges are lightly golden.
- Let the cookies cool on the baking sheets for a few minutes before transferring them to wire racks.