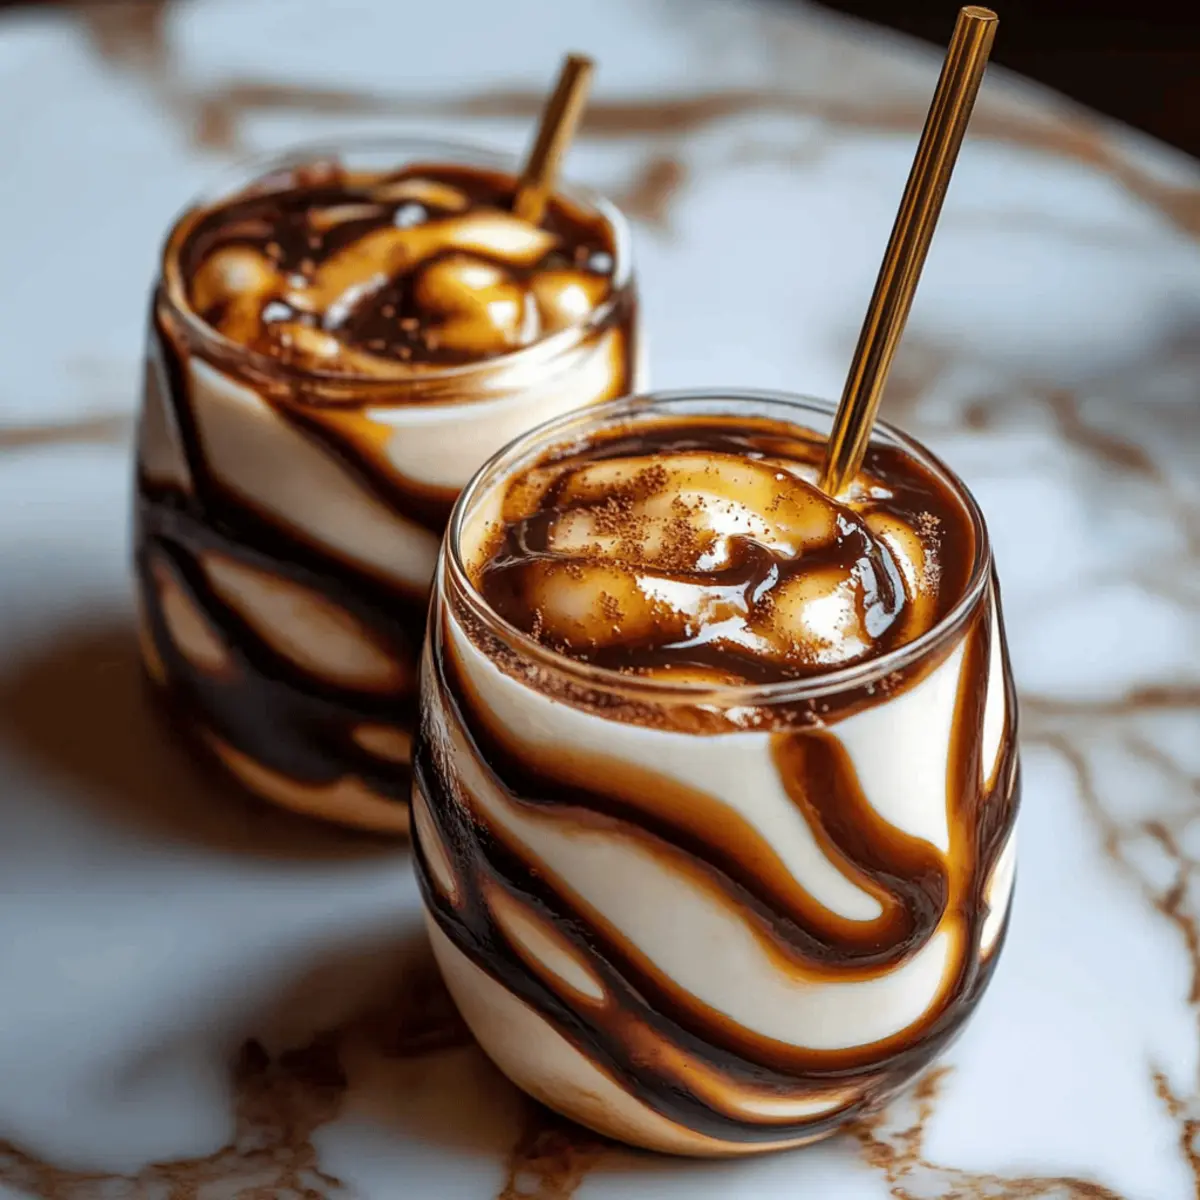
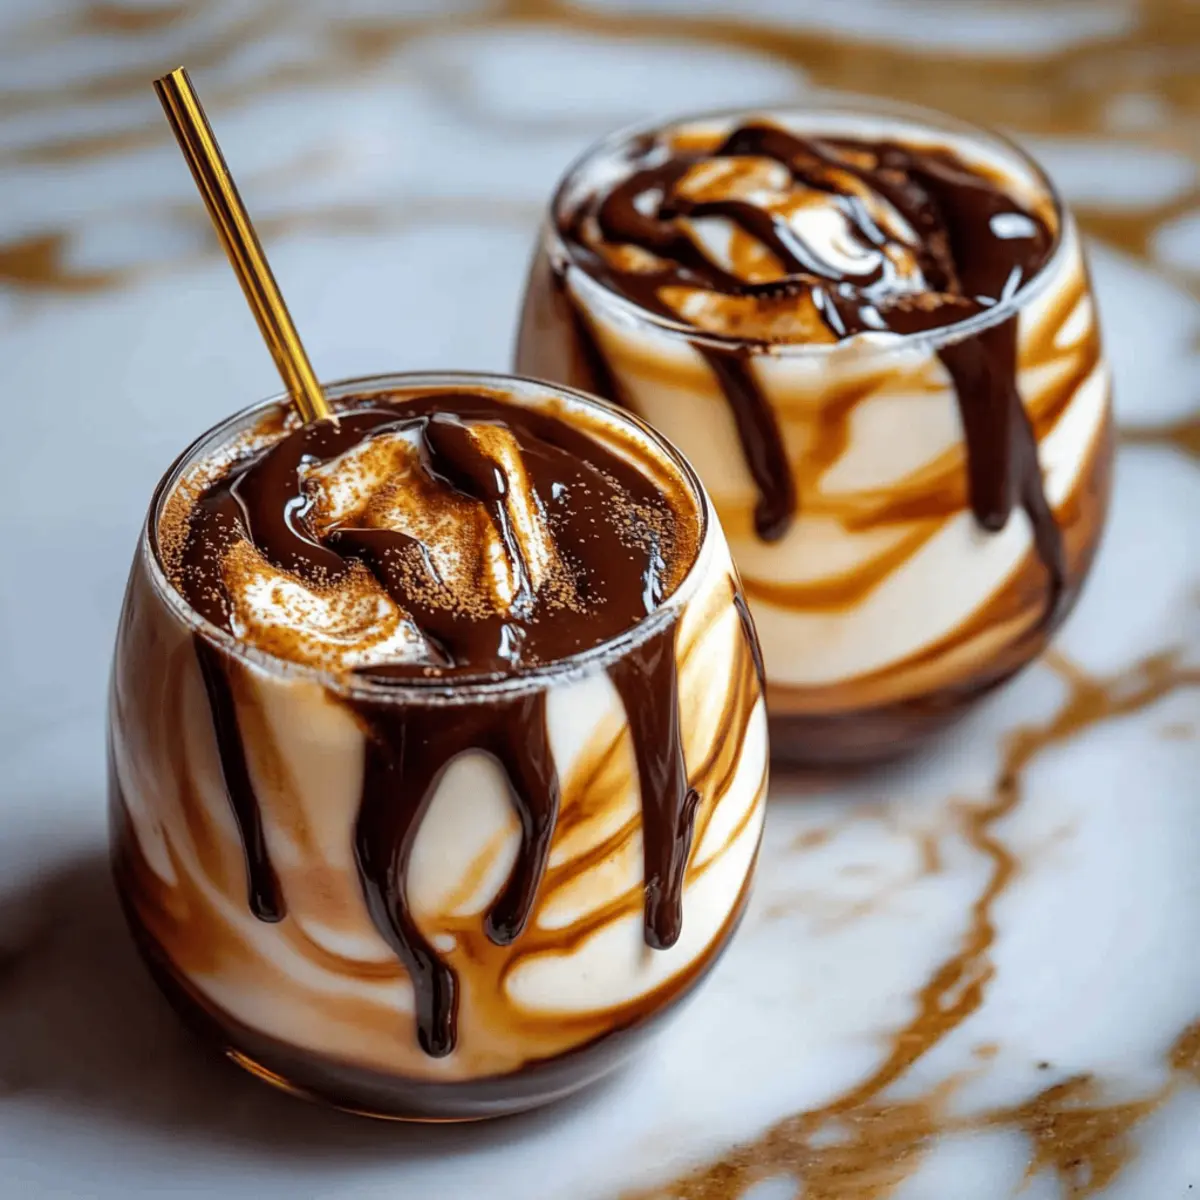
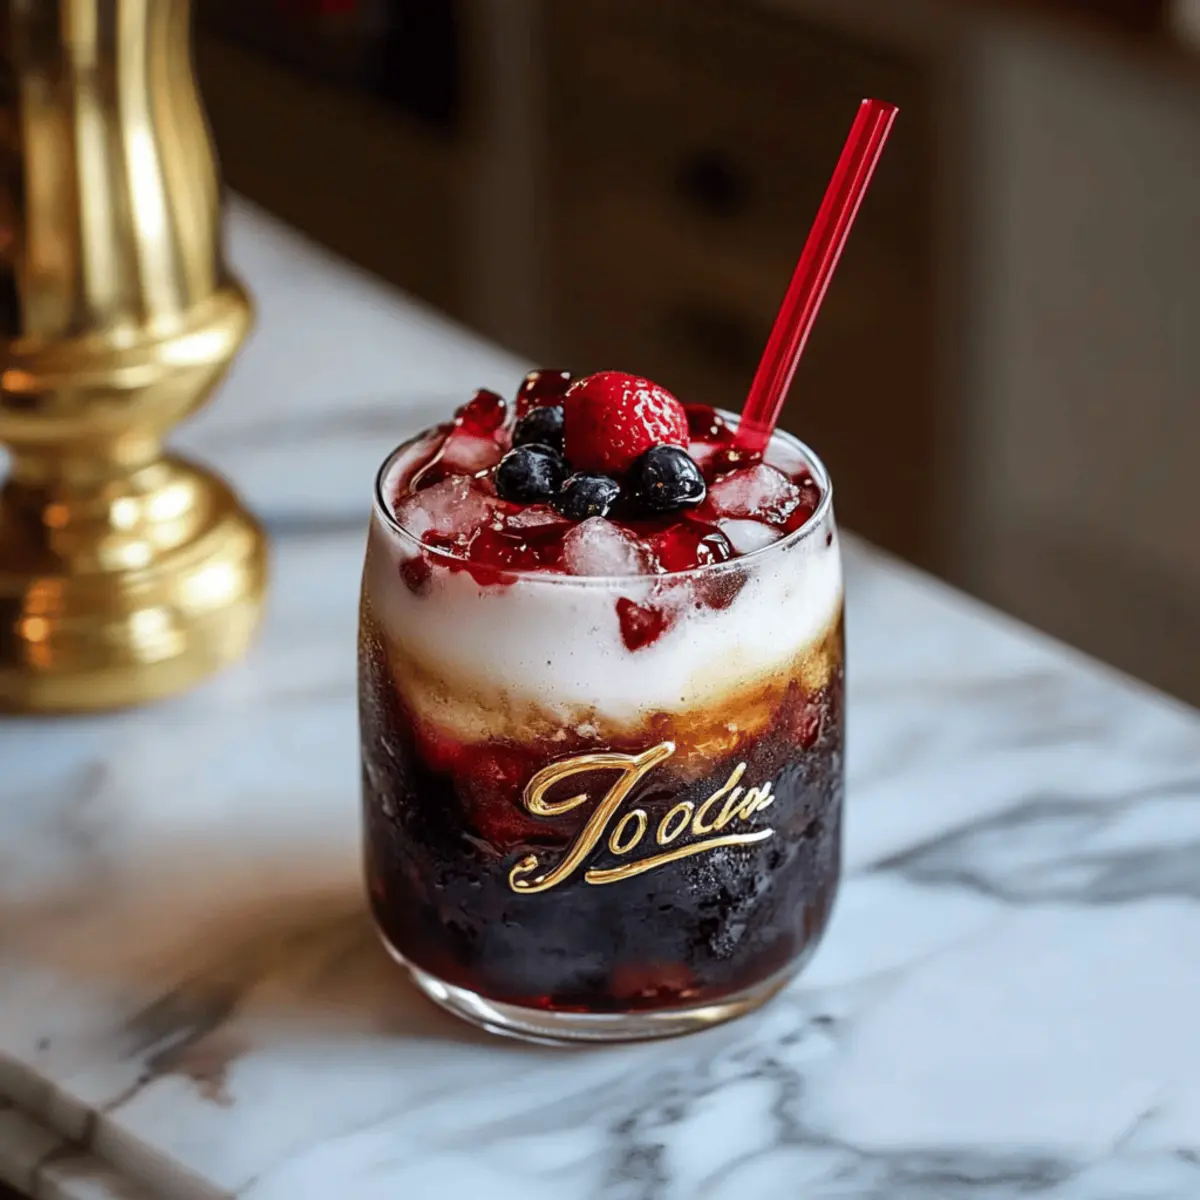
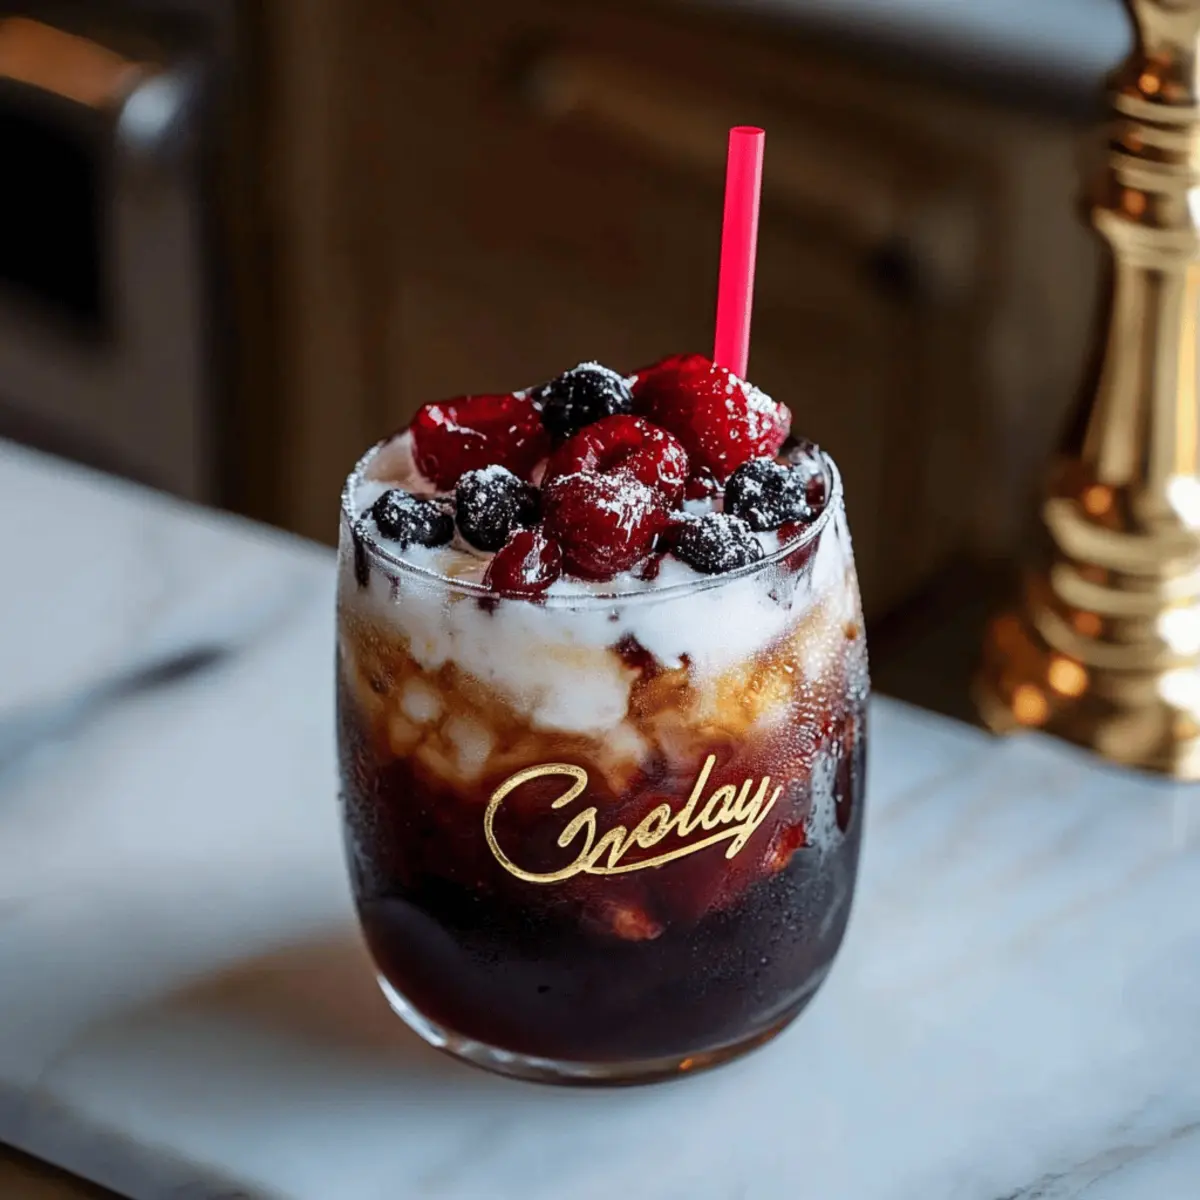
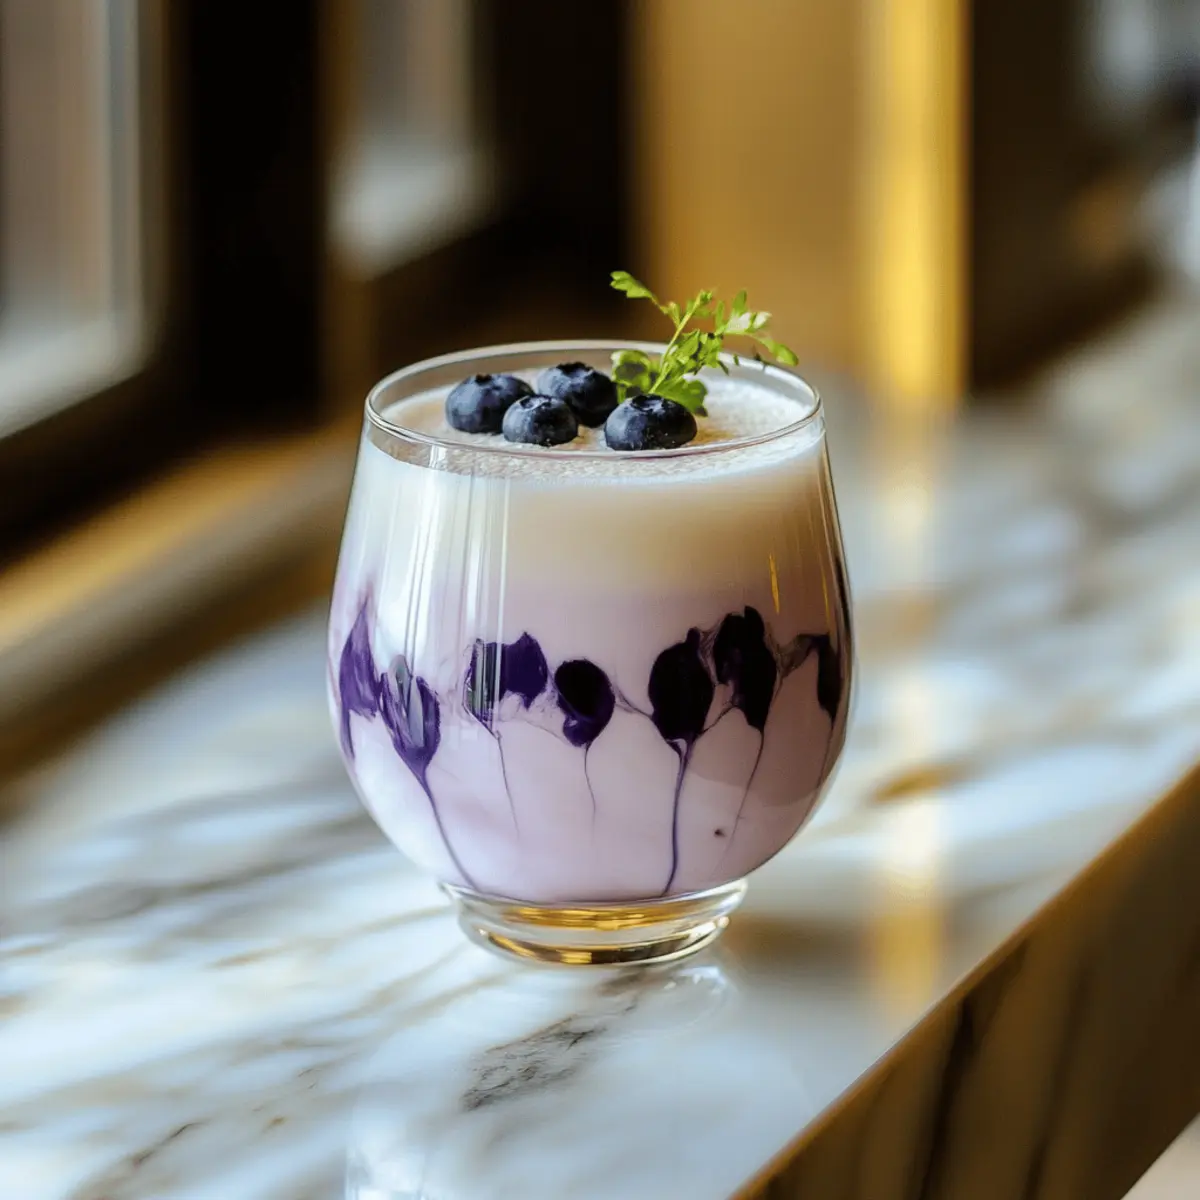
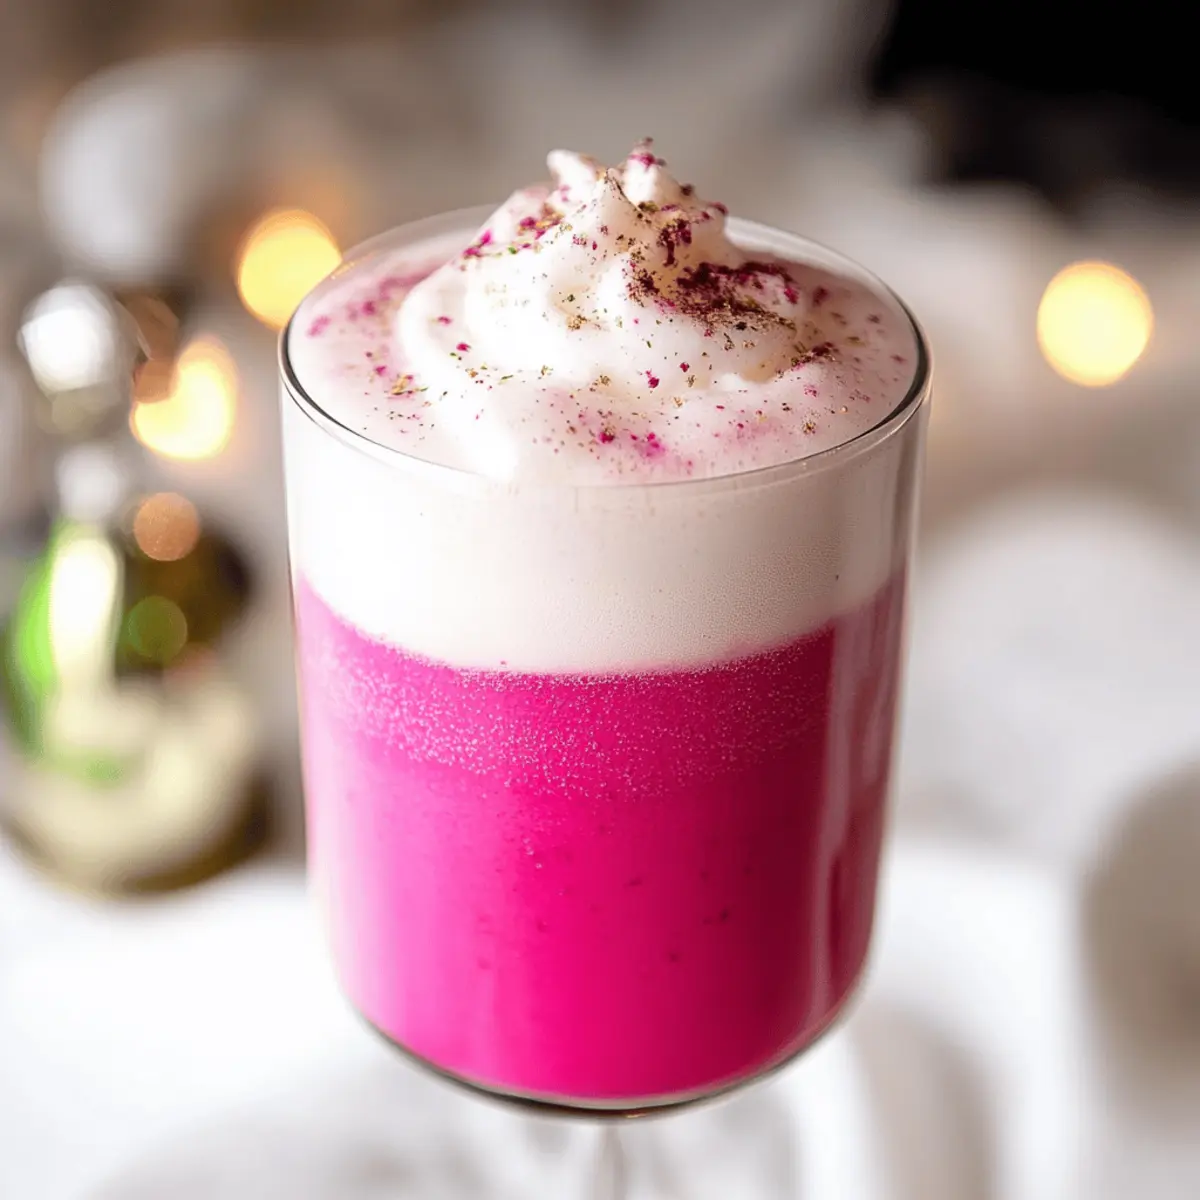
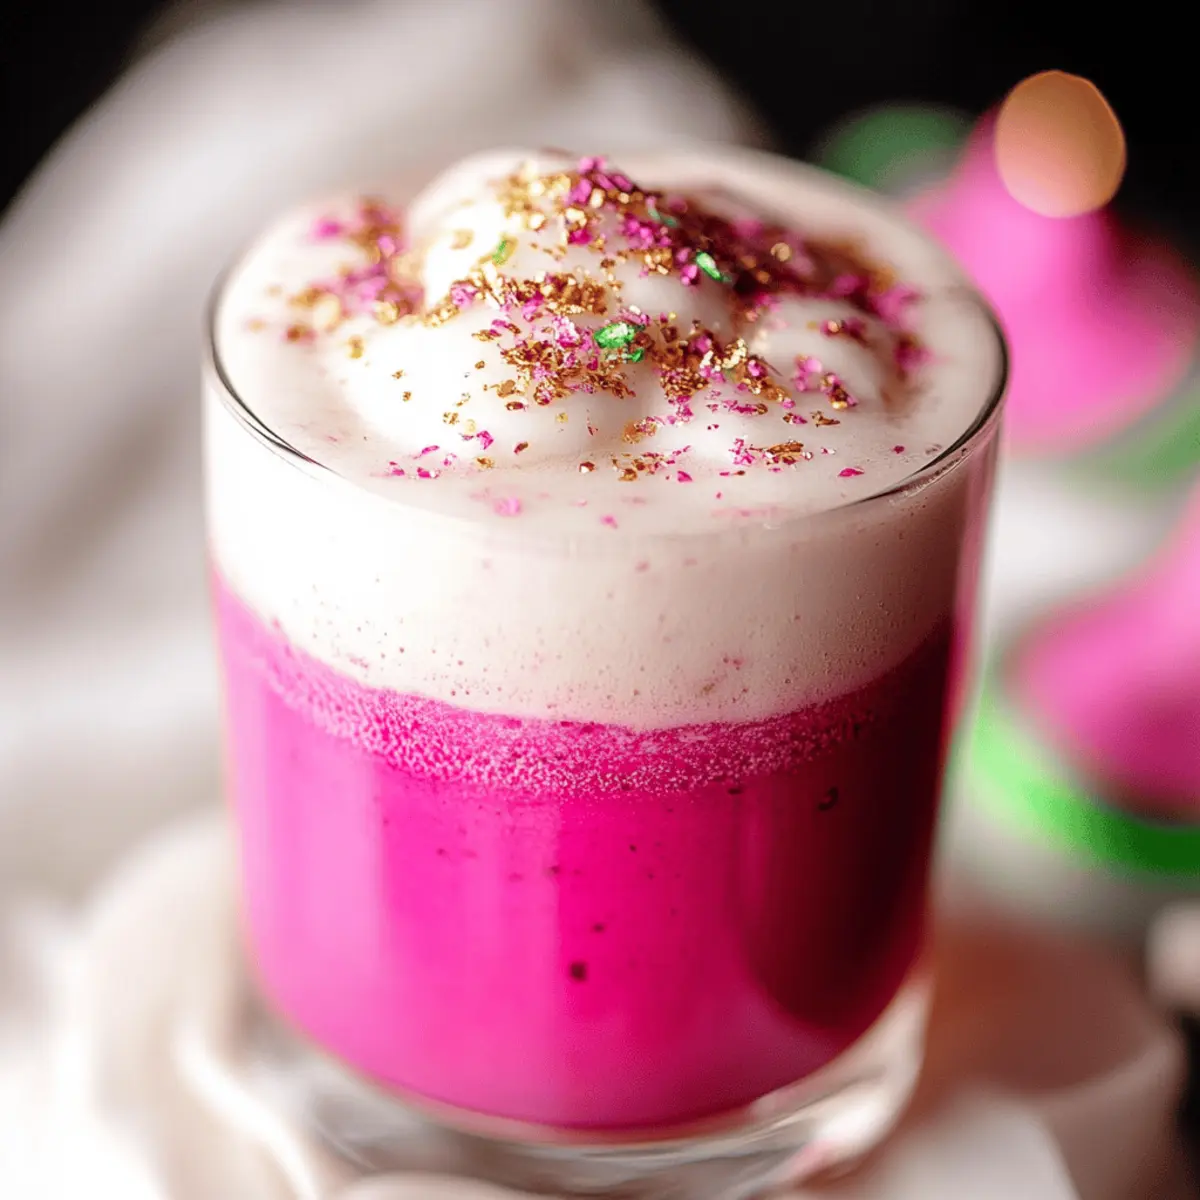
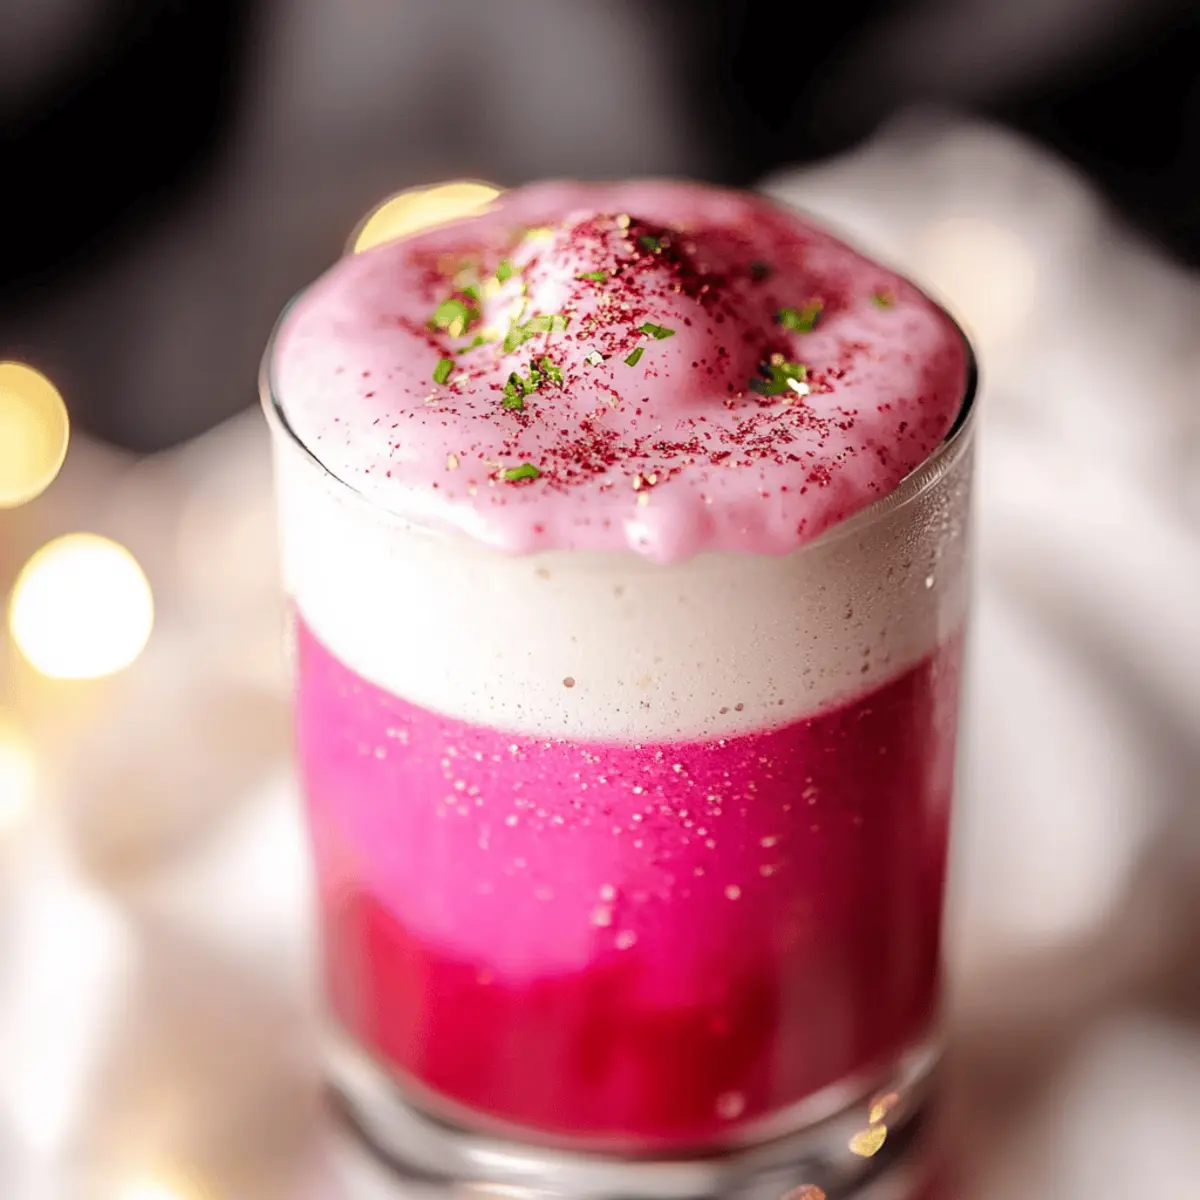
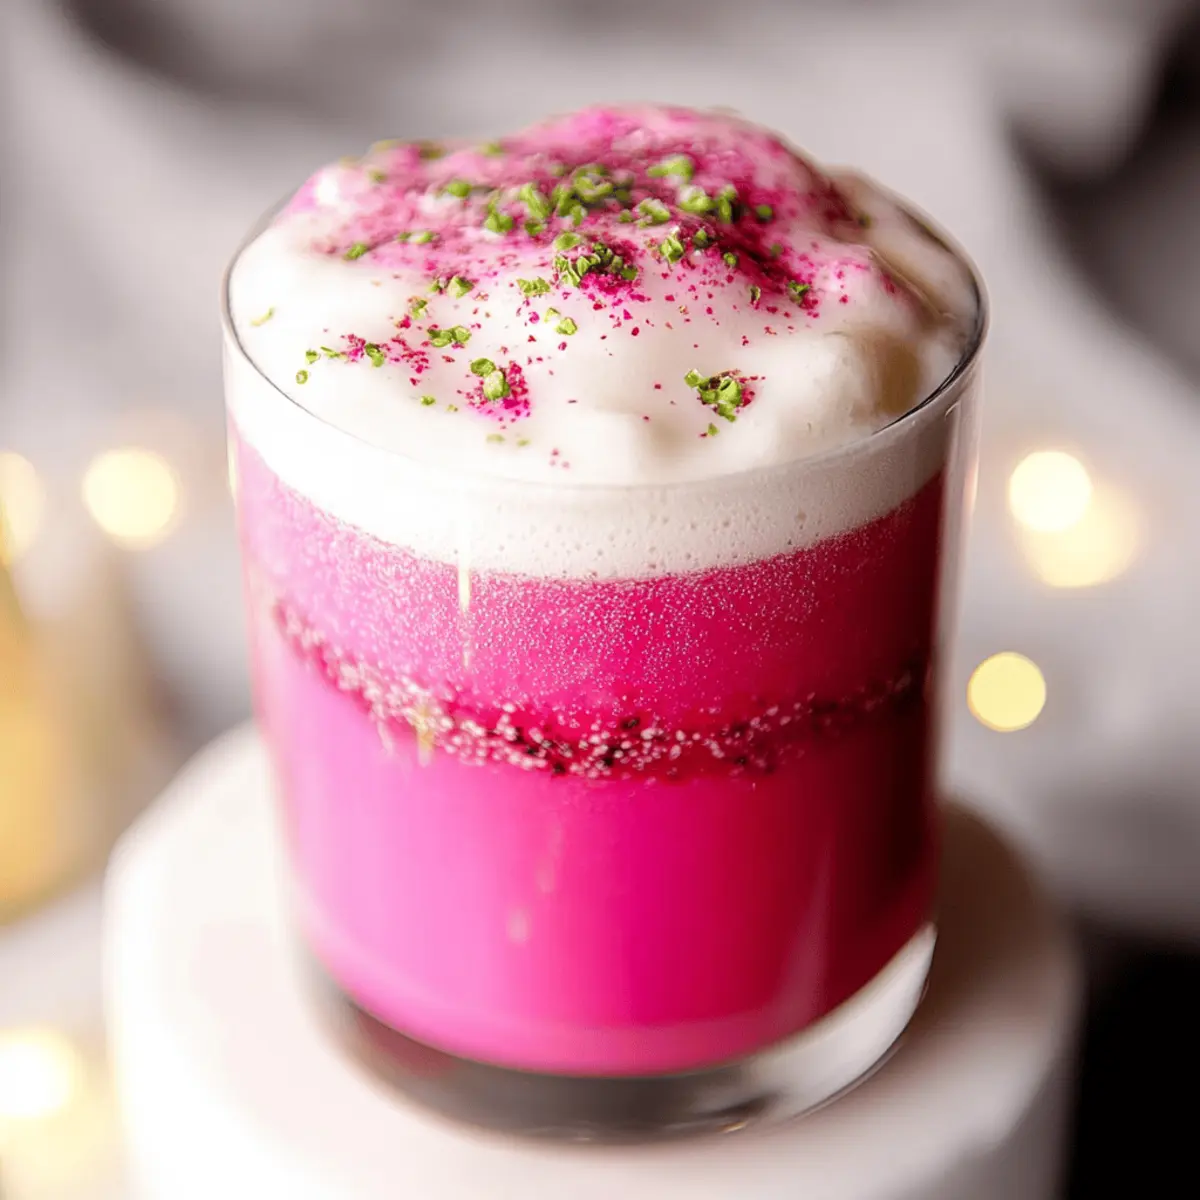
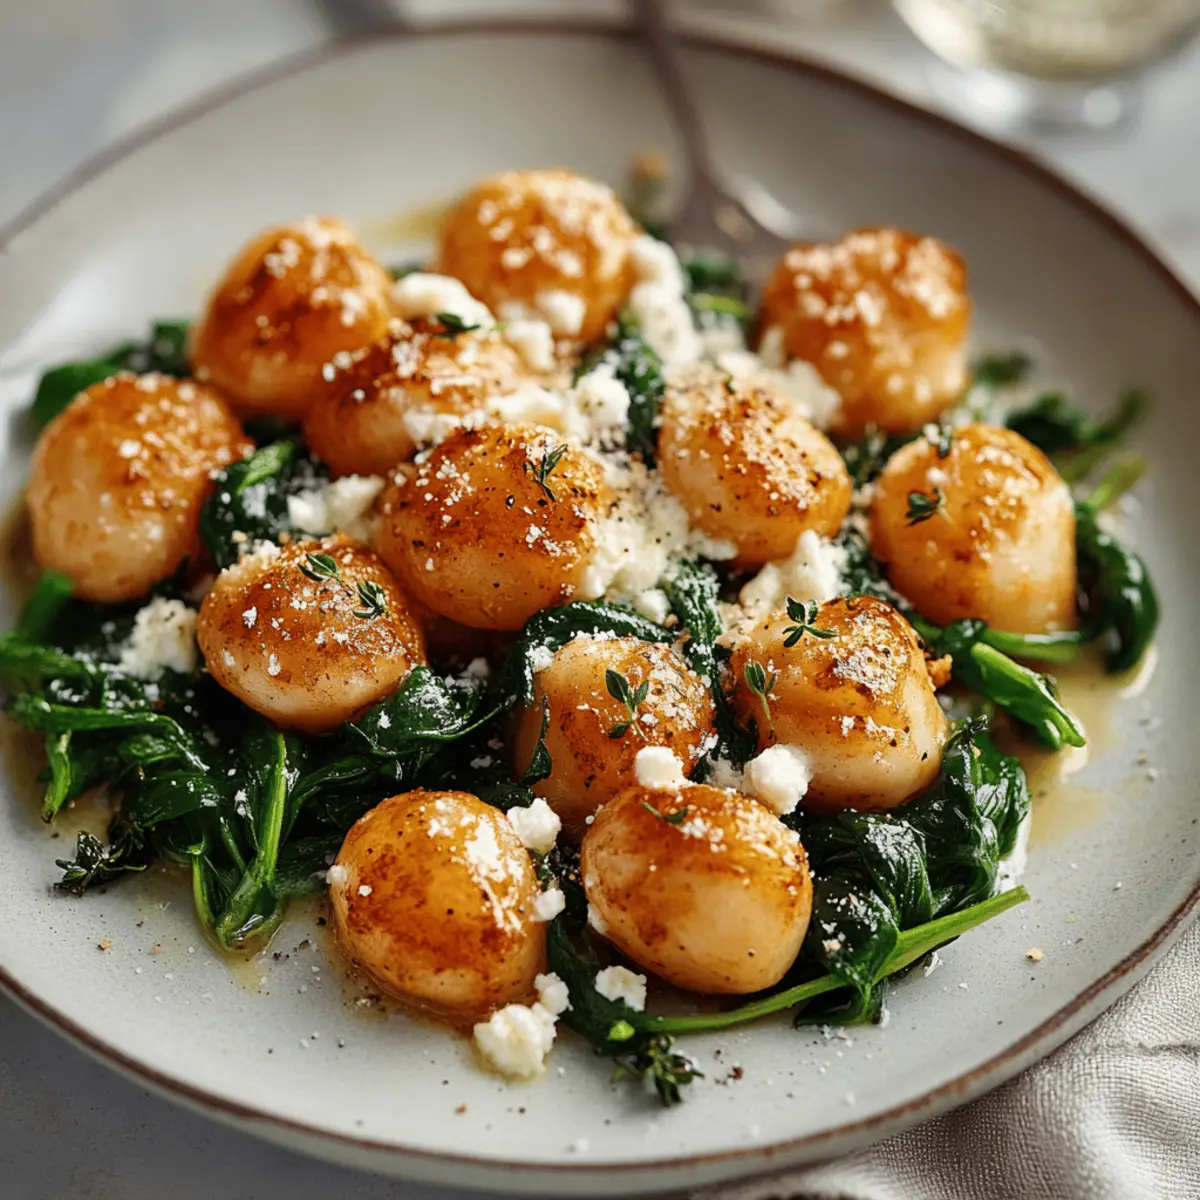
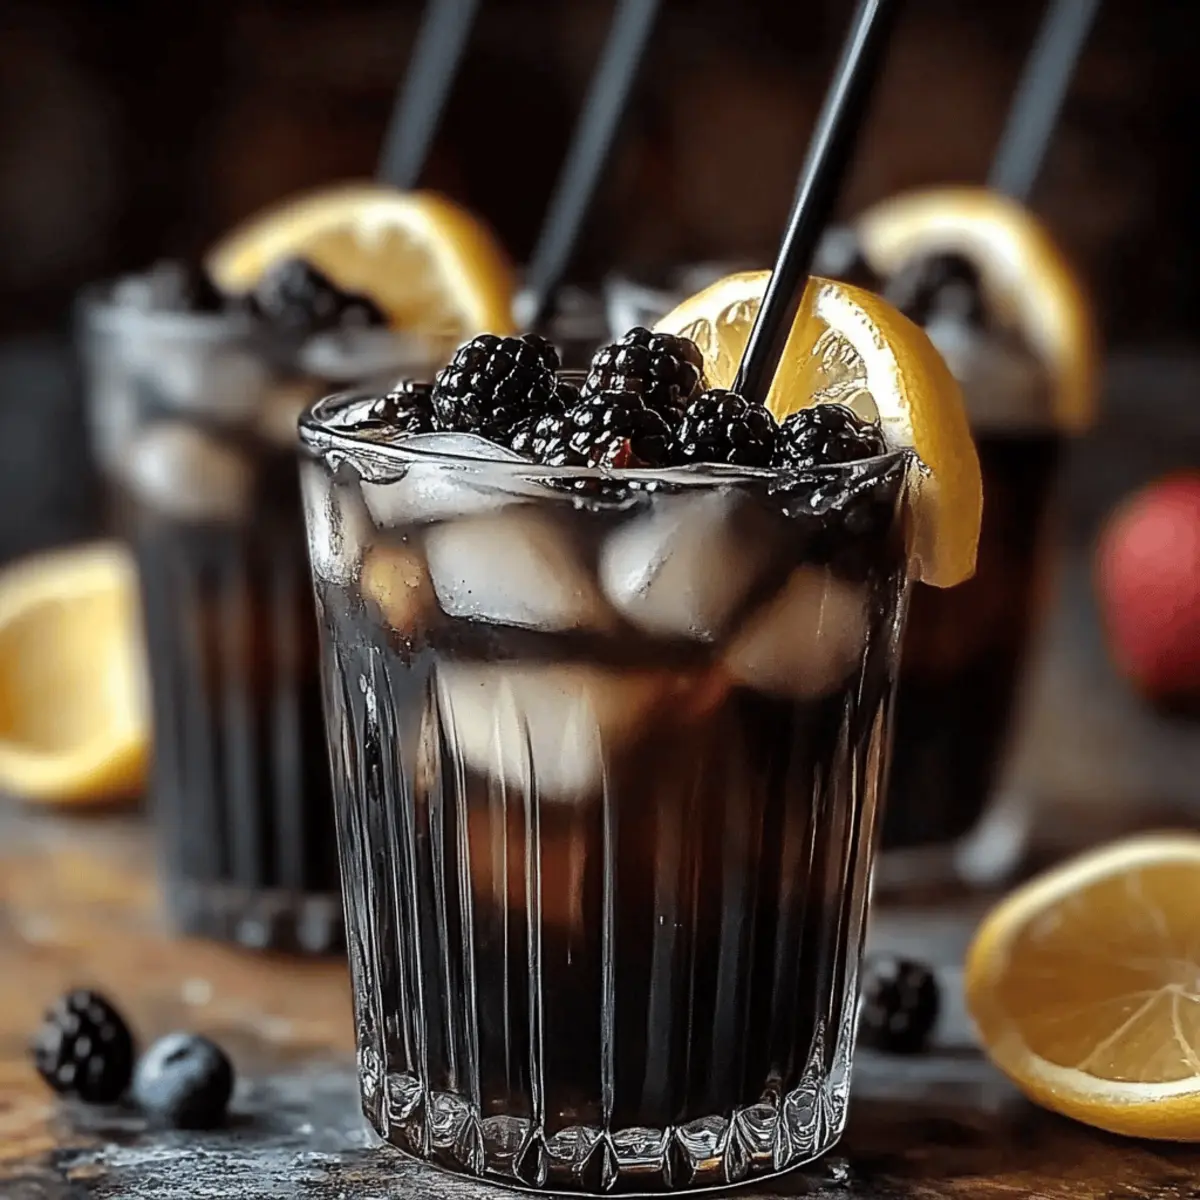
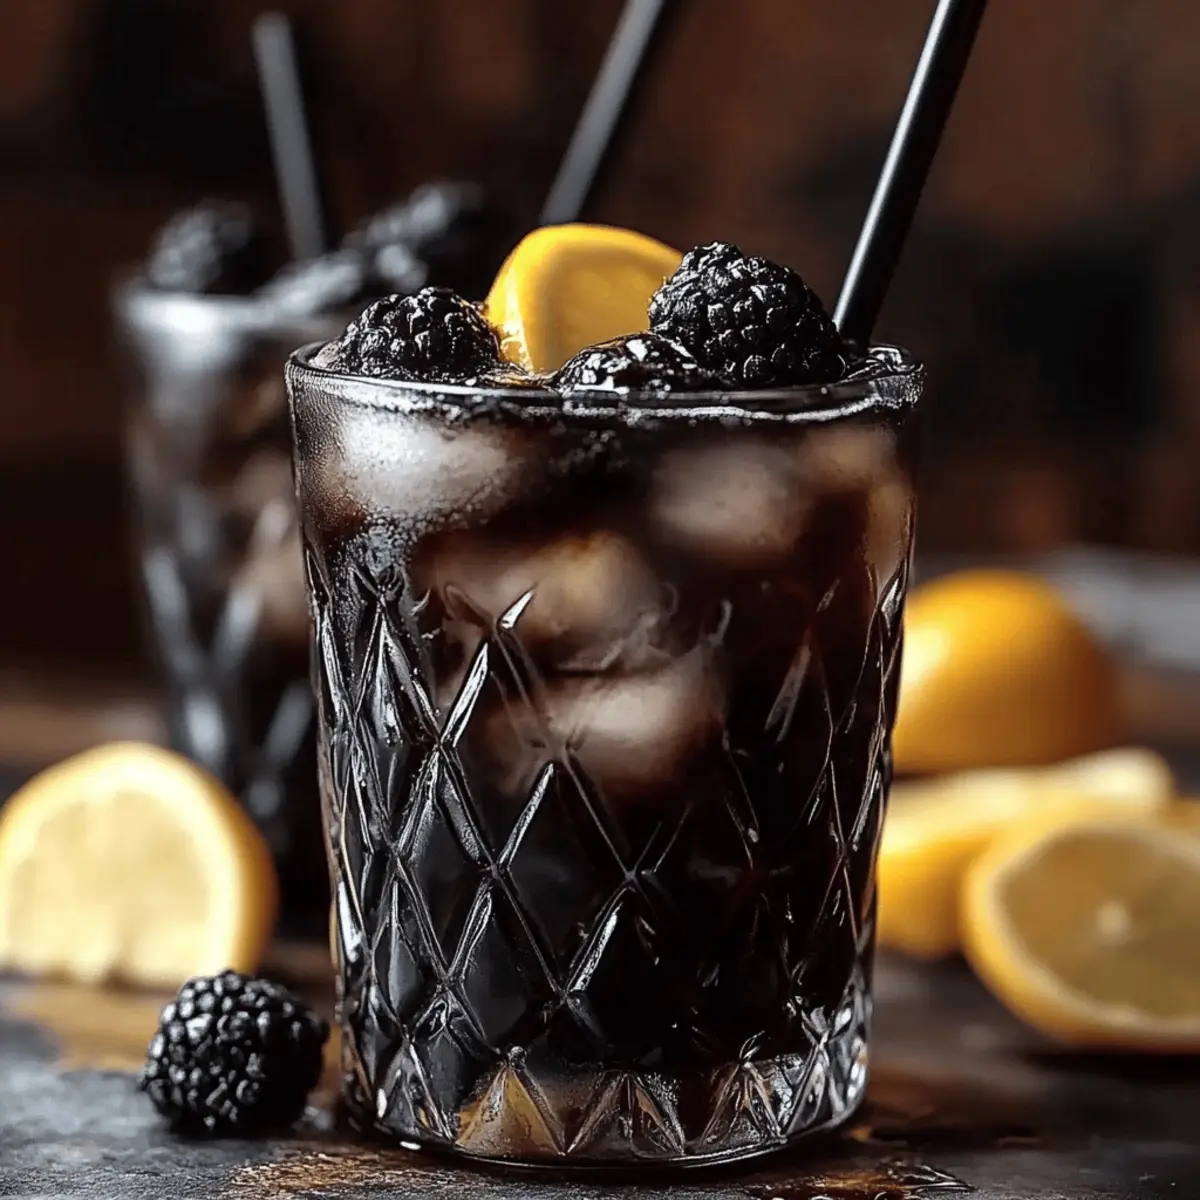
As the sun sets and shadows stretch across the kitchen, I find myself reaching for an unexpected hero—fig jam. This seemingly humble ingredient transforms an ordinary evening into something extraordinary with the delightful Vampire’s Fig & Thyme Punch. This recipe not only brightens up your gathering with its vibrant flavors, but it also comes together in just 15 minutes—perfect for those last-minute get-togethers. With a refreshing blend of gin, lemon, and a hint of thyme, this punch effortlessly elevates your drink game and becomes a crowd-pleaser in no time. Plus, the aromatic thyme syrup makes a fantastic addition to many other cocktails! Isn’t it time to impress your friends with something unique? Let’s dive into the magic of this punch together!

Why is this punch a must-try?
Unique flavors: The combination of fig jam and thyme syrup creates a stunning flavor profile that is both refreshing and unexpected in a beverage.
Quick and easy: With just 15 minutes of prep, this recipe is ideal for spontaneous hangouts or surprise guests—no complicated steps needed!
Versatile base: You can easily experiment by substituting other flavors—try adding thyme syrup to different cocktails or mocktails for a twist!
Impressive presentation: Garnished with sprigs of thyme and possibly a slice of fig, each glass looks gorgeous, making you the star at any gathering.
Crowd-pleaser: Whether you’re hosting a spooky Halloween party or a casual summer get-together, this punch is sure to impress!
Vampire’s Fig & Thyme Punch Ingredients
• Prepare to create a unique beverage that will enchant your guests!
For the Thyme Syrup
- Fresh thyme – 4 sprigs for a fragrant herbal note that perfectly complements the fig.
- Sugar – ½ cup; sweeten your syrup to balance the tartness of the lemon juice.
- Water – ½ cup; this is essential for dissolving the sugar and extracting thyme flavor.
For the Punch
- Fig jam – 2 tbsp; adds a luscious sweetness and depth to the Vampire’s Fig & Thyme Punch.
- Gin – 2 oz; use your favorite brand for a smooth base that amplifies the flavors.
- Lemon juice – 1 oz; freshly squeezed helps to brighten and cut through the sweetness.
- Sparkling water – 3 oz; this fizzy touch lightens up the punch and adds liveliness.
- Ice – A handful to chill your drink; use clear ice for a beautiful appearance.
With these ingredients on hand, you'll be well on your way to crafting a delightful punch that’s not only refreshing but also wonderfully unique!
Step‑by‑Step Instructions for Vampire’s Fig & Thyme Punch
Step 1: Make the Thyme Syrup
In a small saucepan, combine ½ cup sugar, ½ cup water, and 4 sprigs of fresh thyme. Stir gently and bring the mixture to a simmer over medium heat. Let it simmer for about 5 minutes, until the sugar is fully dissolved and you can smell the thyme aroma wafting through your kitchen. Once done, remove from heat and set aside to cool before straining.
Step 2: Juice the Lemon
While the thyme syrup cools, prepare 1 oz of fresh lemon juice. Cut a lemon in half and use a juicer or simply your hands to extract juice. Strain the juice through a fine mesh sieve to remove any seeds, ensuring a smooth addition to your Vampire’s Fig & Thyme Punch. Keep the freshly squeezed juice on hand for the next step.
Step 3: Combine the Ingredients
In a cocktail shaker or a medium jar, combine 2 tablespoon of fig jam, 2 oz of gin, 1 oz of lemon juice, and 1 oz of the thyme syrup you just made. Use a spoon or muddler to stir vigorously until the fig jam is well blended and the mixture is smooth. This will create a delightful base for your punch, with the fig and herbal notes mixing beautifully.
Step 4: Prepare the Glasses
Take two glasses and fill them with clear ice cubes—this will keep your Vampire’s Fig & Thyme Punch chilled without diluting it too quickly. Make sure the ice is visible through the glass for an appealing presentation. Once your glasses are prepared, it’s time to pour in the delicious punch mixture.
Step 5: Strain into Glasses
Using a fine mesh strainer, pour the fig and gin mixture over the prepared ice in each glass. The strainer will catch any bits of fig jam or thyme, leaving you with a perfectly clear and vibrant punch. Watch the colorful liquid flow around the ice, creating a visual treat for everyone.
Step 6: Add Sparkling Water
Top each glass with 3 oz of sparkling water, pouring slowly to maintain the fizz and prevent overflow. Use a spoon to stir gently, combining the flavors without losing the effervescence. The bubbly touch from the sparkling water will awaken the delightful flavors of your Vampire’s Fig & Thyme Punch.
Step 7: Garnish and Serve
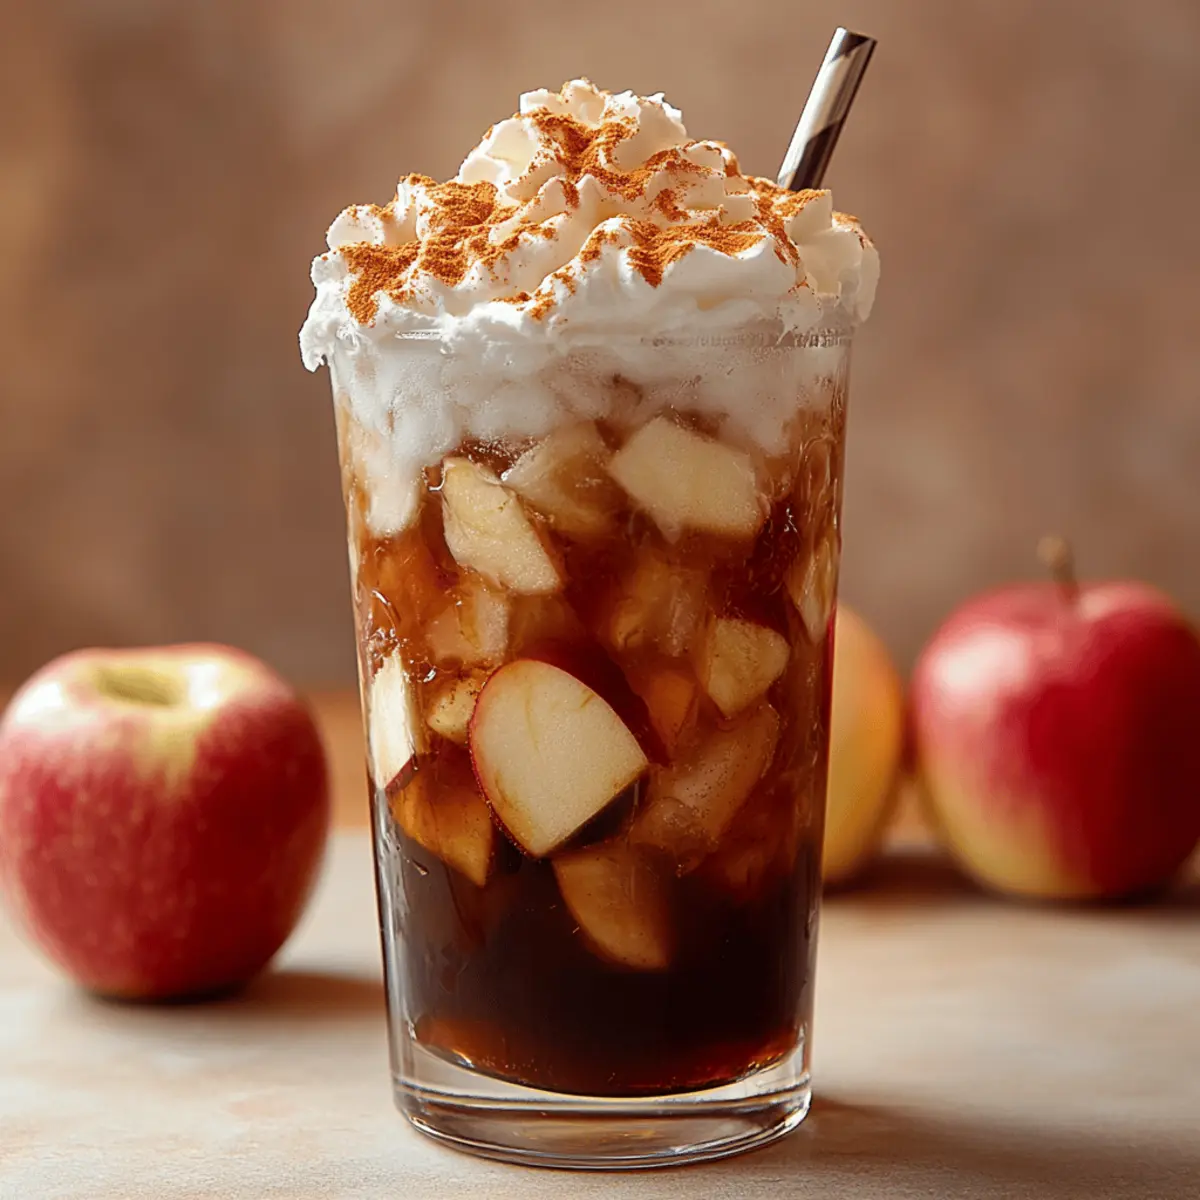
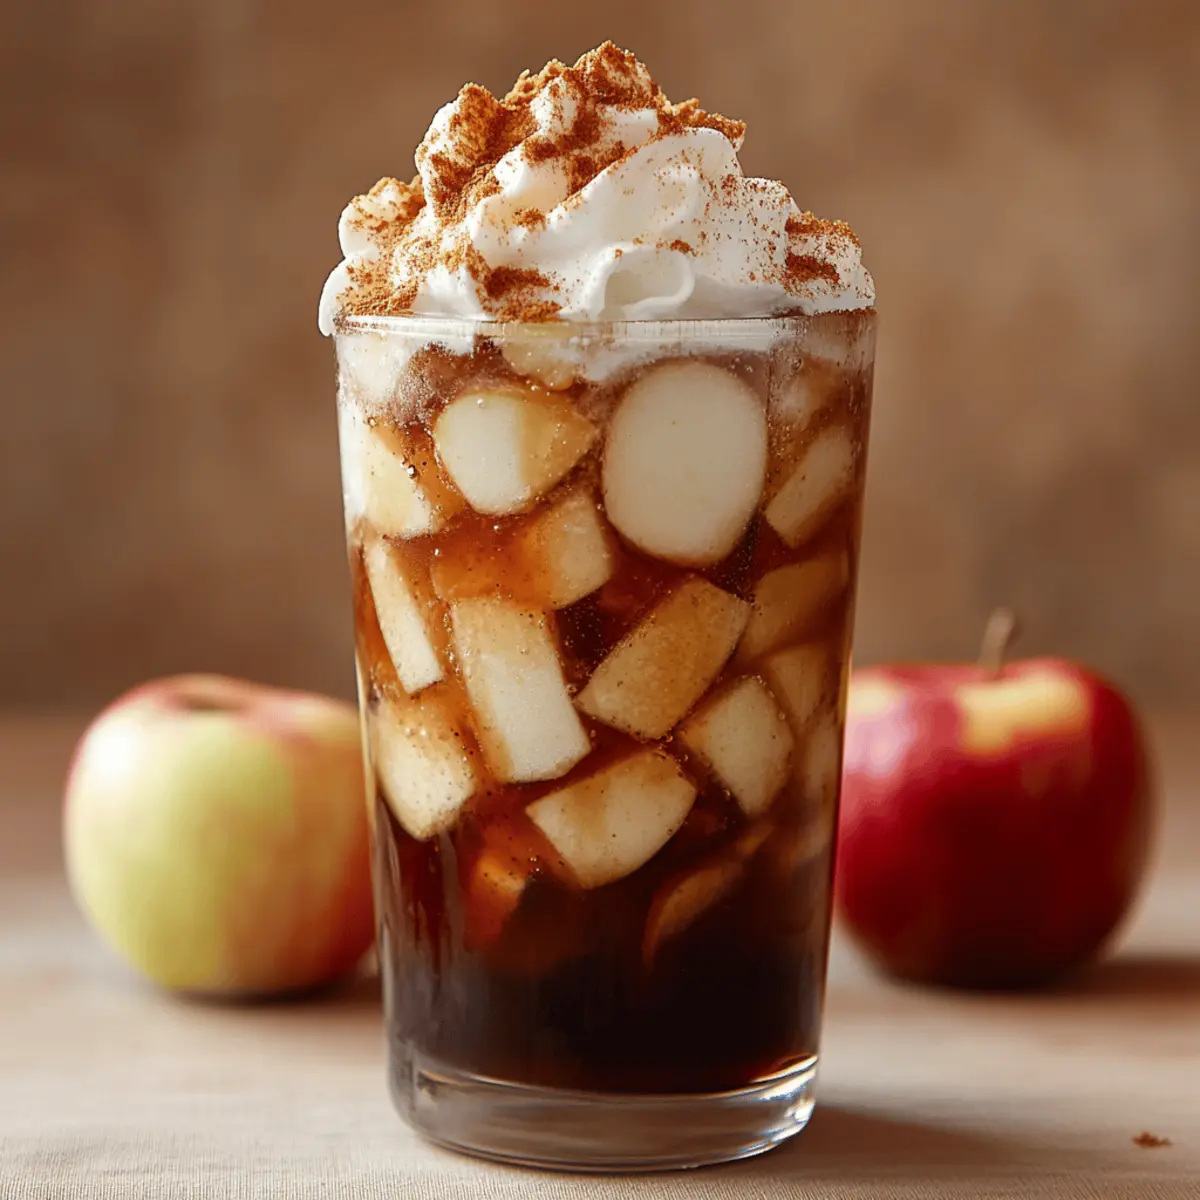
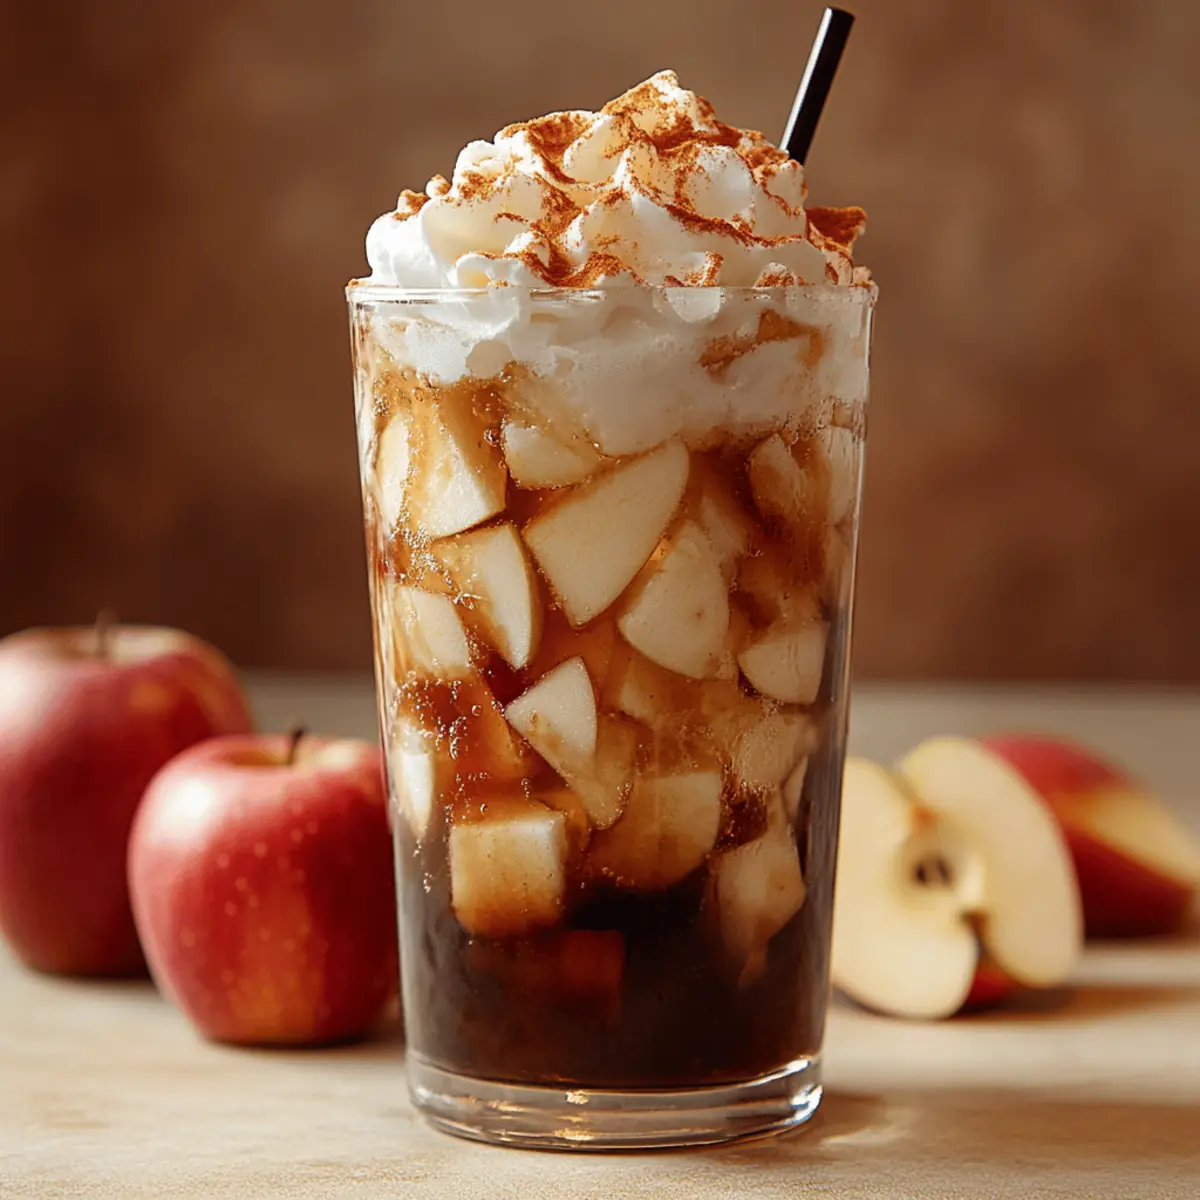
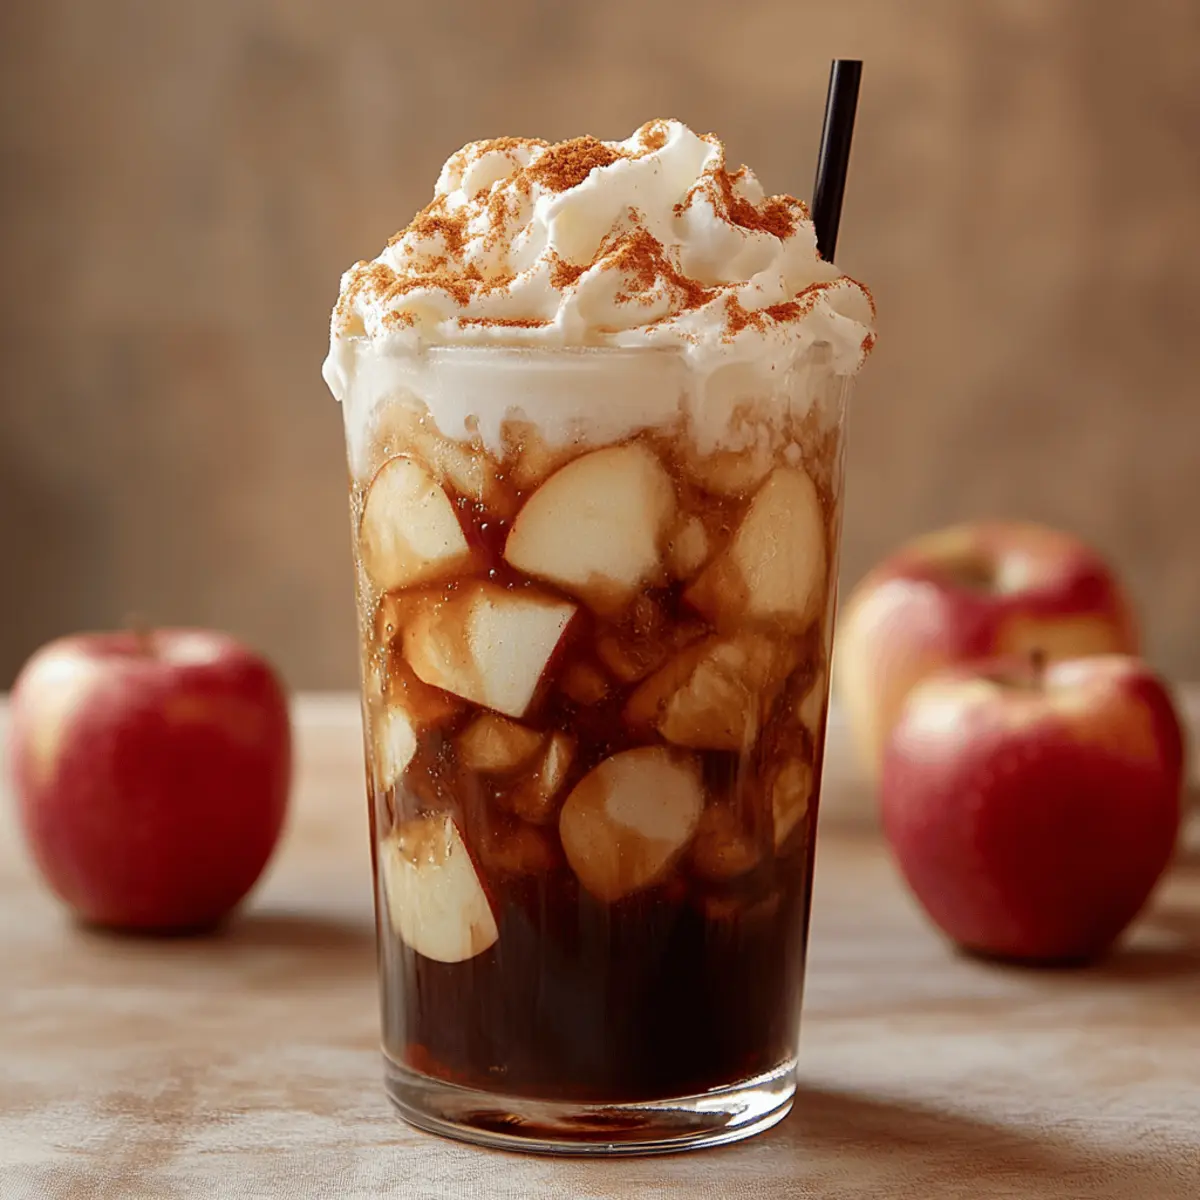
Finally, add a sprig of fresh thyme to each glass for an aromatic garnish. If you have figs on hand, a thin slice can beautifully enhance the presentation. Serve your Vampire’s Fig & Thyme Punch immediately, while it’s still bubbly and chilled. Cheers to a deliciously unique drink!

What to Serve with Vampire’s Fig & Thyme Punch
Get ready to create a well-rounded meal that beautifully complements the unique flavors of this refreshing punch!
-
Savory Charcuterie Board: A delightful mix of cured meats, cheeses, and fresh fruit pairs wonderfully, providing a balance of flavors and textures that enhance the sipping experience.
-
Herbed Flatbread: Crispy and fragrant flatbread topped with olive oil and fresh herbs will draw out the herbal notes of the thyme, making each bite and sip a delightful union.
-
Spiced Nuts: Roasted nuts tossed in warm spices add a crunchy textural contrast and richness to the punch, making them the perfect snack to linger over while enjoying your drink.
-
Mediterranean Quinoa Salad: This light salad, brimming with cherry tomatoes, cucumbers, and a tangy dressing, provides freshness that enhances the sweet and herbal notes of the punch.
-
Creamy Goat Cheese Dip: A luscious dip served with fresh veggie sticks brings a creamy element that balances the drink's brightness, creating a satisfying party spread.
-
Lemon Sorbet: Offering a refreshing, icy treat after sipping the punch lightens the palette and prepares you for an indulgent dessert experience.
-
Sparkling Water: Served alongside your punch, this enhances the experience of carbonation and refreshment, ensuring hydration while you enjoy your vibrant sips.
-
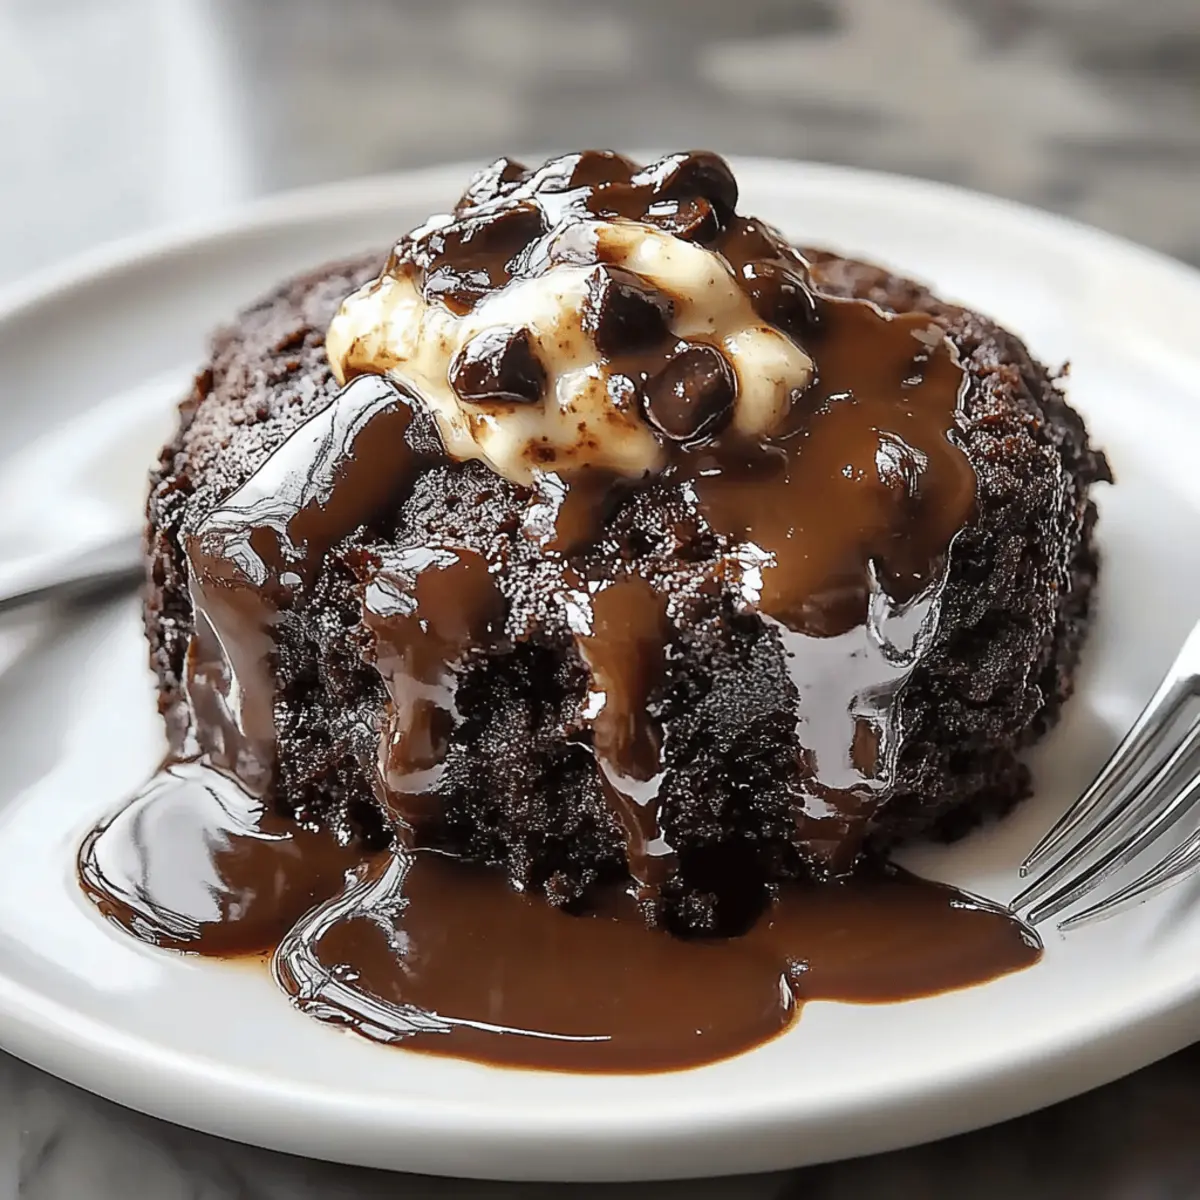
Dark Chocolate Truffles: The richness of truffles offers a lovely contrast to the punch, creating a luxurious end to your gathering.
Mix and match these pairings to create a memorable occasion that friends and family will rave about long after the last sip!
Tips for the Best Vampire’s Fig & Thyme Punch
Start with Fresh Herbs: Using fresh thyme instead of dried enhances the flavor significantly; dried herbs can often be too strong or bitter.
Thyme Syrup Cooling: Allow your thyme syrup to cool completely before using it; warm syrup can alter the texture of your punch.
Stir, Don’t Shake: When mixing the fig jam and gin, stir gently to avoid breaking up the jam too much, which can make your Vampire’s Fig & Thyme Punch grainy.
Choose Quality Gin: A good-quality gin can elevate the overall taste of the punch; opt for brands that you enjoy sipping on their own.
Serve Immediately: For the best experience, serve the punch right after preparing it; the sparkling water's fizz is key to its refreshing nature.
Vampire’s Fig & Thyme Punch Variations
Feel free to let your creativity flow and customize this punch to suit your palate!
-
Herb-Infused: Swap thyme for basil for a refreshing twist that lends a whole new aromatic profile.
-
Fruity Burst: Add fresh berries like raspberries or blackberries for a pop of flavor and vibrant color. They will enhance the sweetness and tartness beautifully!
-
Ginger Zest: Incorporate a dash of ginger beer instead of sparkling water for a spicy kick that complements the punch wonderfully.
-
Non-Alcoholic: Leave out the gin and replace it with a splash of apple cider for a delightful mocktail enjoyed by everyone, including kids!
-
Citrus Medley: Mix in orange juice along with the lemon for a delightful citric explosion that brightens the drink even more.
-
Chilly Chill: Freeze some of the thyme syrup into ice cubes and add them to the punch, offering both cooling and additional flavor as they melt.
-
Sweetener Switch: Try using honey or agave syrup in place of sugar for a natural sweetness that pairs well with the fig flavor.
-
Spicy Touch: For a little heat, muddle in a few slices of jalapeño. It’s an adventurous option that will surprise and delight!
With these variations, your Vampire’s Fig & Thyme Punch can be tailored for any occasion, making it a versatile addition to your recipe collection!
How to Store and Freeze Vampire’s Fig & Thyme Punch
Fridge: Store the punch base (without sparkling water or ice) in an airtight container in the fridge for up to 2 days. This keeps the flavors vibrant for later enjoyment.
Freezer: For longer storage, you can freeze the thyme syrup in ice cube trays. Once frozen, transfer the cubes to a freezer bag and use within 3 months for the freshest flavor.
Reheating: While Vampire’s Fig & Thyme Punch is best served cold, if you prepped a warm version, gently reheat it on the stove over low heat until just warmed, then serve immediately for a cozy treat.
Serving: Always add sparkling water and ice just before serving to maintain the fizzy, refreshing taste that makes this punch special!
Make Ahead Options
These Vampire’s Fig & Thyme Punch components are perfect for busy home cooks looking to save time! You can prepare the thyme syrup and store it in the refrigerator for up to 3 days, making it easy to whip up this refreshing drink on short notice. Additionally, you can mix the fig jam, gin, lemon juice, and syrup together and refrigerate this base up to 24 hours in advance. Just be sure to give it a good stir before serving to ensure the flavors meld beautifully. When you're ready to enjoy, simply pour over ice, add sparkling water, and garnish with thyme. Your guests will be wowed with minimal effort!

Vampire’s Fig & Thyme Punch Recipe FAQs
How do I select the best figs for this punch?
Absolutely! When choosing figs, look for ones that are plump, firm, and free from any dark spots or blemishes. The skin should be smooth and slightly soft to the touch, indicating ripeness. If you can find fresh figs, they will add a wonderful sweetness to your punch. Dried figs can be used in a pinch but may not provide the same depth of flavor.
What’s the best way to store leftover Vampire’s Fig & Thyme Punch?
Very important! If you have any leftover punch base, store it in an airtight container in the fridge without the sparkling water or ice. This will keep the flavors vibrant for up to 2 days. When you're ready to serve it again, simply add fresh sparkling water and ice to maintain that refreshing fizz.
Can I freeze the thyme syrup?
Absolutely! To freeze the thyme syrup, pour the cooled syrup into ice cube trays and freeze until solid. Once frozen, transfer the cubes to a freezer bag. They can be stored in the freezer for up to 3 months. The syrup cubes are perfect for quickly sweetening cocktails or other beverages later on.
What if my punch doesn’t taste right?
If your Vampire's Fig & Thyme Punch tastes off, you may need to adjust the balance of flavors. If it’s overly sweet, squeeze a bit more lemon juice to brighten it up. If it’s too tart, add more fig jam or syrup to sweeten it slightly. Remember to taste as you go, and don't hesitate to adjust until you find that perfect combination that sings!
Are there any dietary considerations I should know about?
Definitely! The punch contains gin, which may not be suitable for everyone, especially those avoiding alcohol. You can easily make a delicious non-alcoholic version by replacing the gin with a splash of additional thyme syrup and using non-alcoholic sparkling water. Also, check for any allergies associated with figs and thyme—these ingredients are generally safe for most individuals but it's always best to be cautious!
How long does it take to make this punch?
You’re in for a treat! The total time to prepare the Vampire’s Fig & Thyme Punch is just 15 minutes, with about 10 minutes for prep and 5 minutes for cooking the thyme syrup. It’s a quick and delightful recipe, perfect for those unexpected guests or spontaneous gatherings!

Refresh with Vampire’s Fig & Thyme Punch for a Spooky Sip!
Ingredients
Equipment
Method
- In a small saucepan, combine ½ cup sugar, ½ cup water, and 4 sprigs of fresh thyme. Stir gently and bring to a simmer over medium heat. Simmer for about 5 minutes, until the sugar is dissolved. Remove from heat and let cool before straining.
- Juice a lemon to yield 1 oz of fresh lemon juice. Strain it through a fine mesh sieve to remove seeds.
- In a cocktail shaker, mix 2 tablespoon of fig jam, 2 oz of gin, 1 oz of lemon juice, and 1 oz of thyme syrup. Stir vigorously until smooth.
- Fill two glasses with clear ice. Pour the mixture over the ice using a fine mesh strainer.
- Top each glass with 3 oz of sparkling water, stirring gently to combine, and garnish with a sprig of thyme.