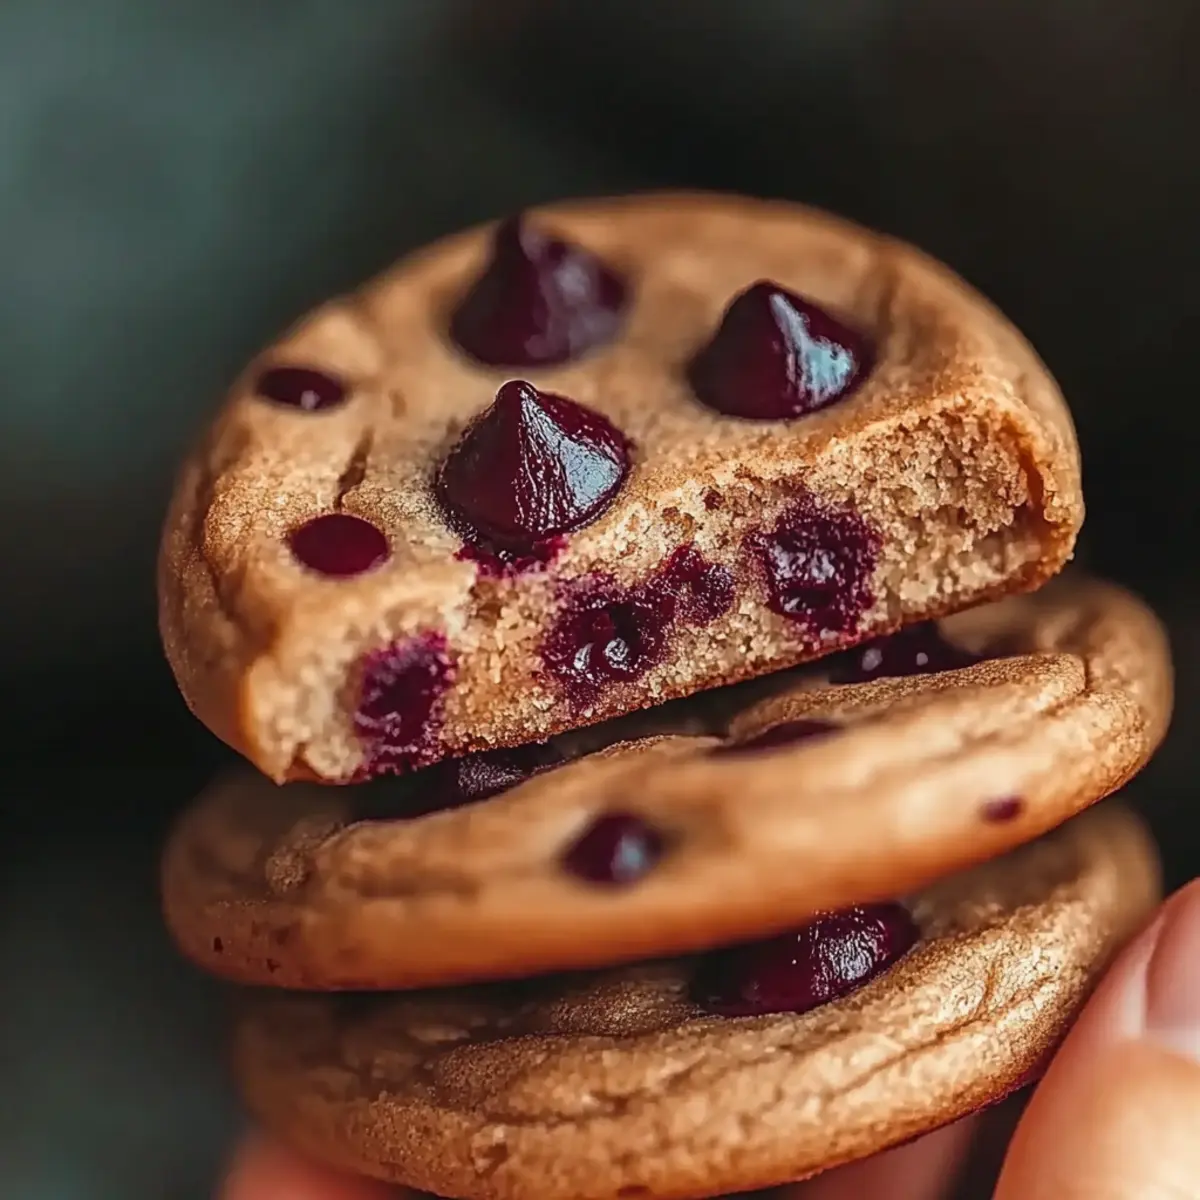
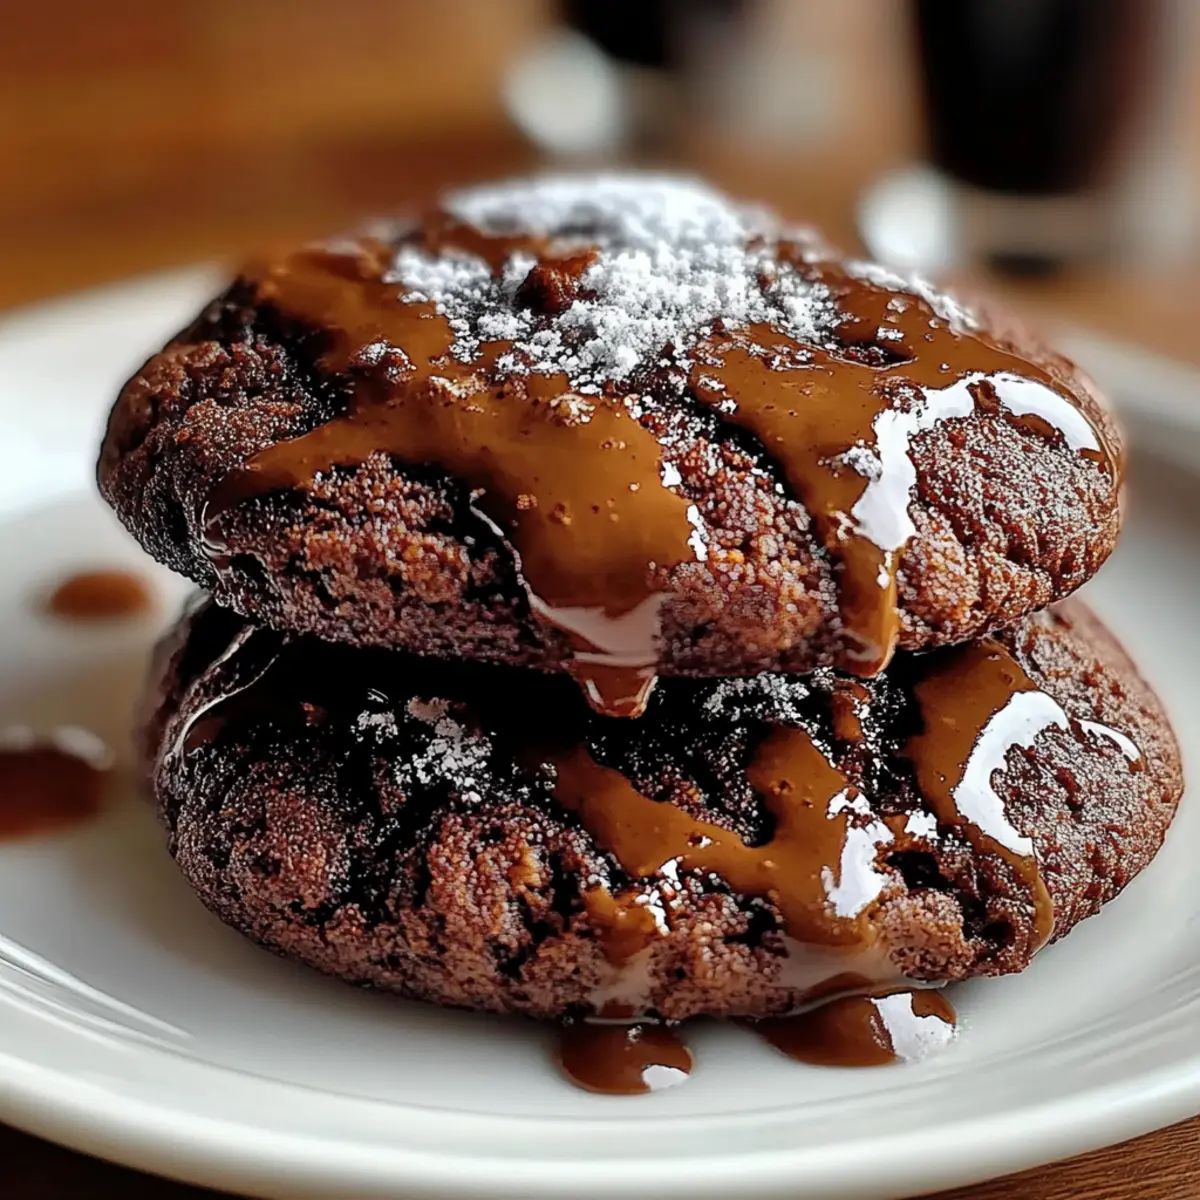
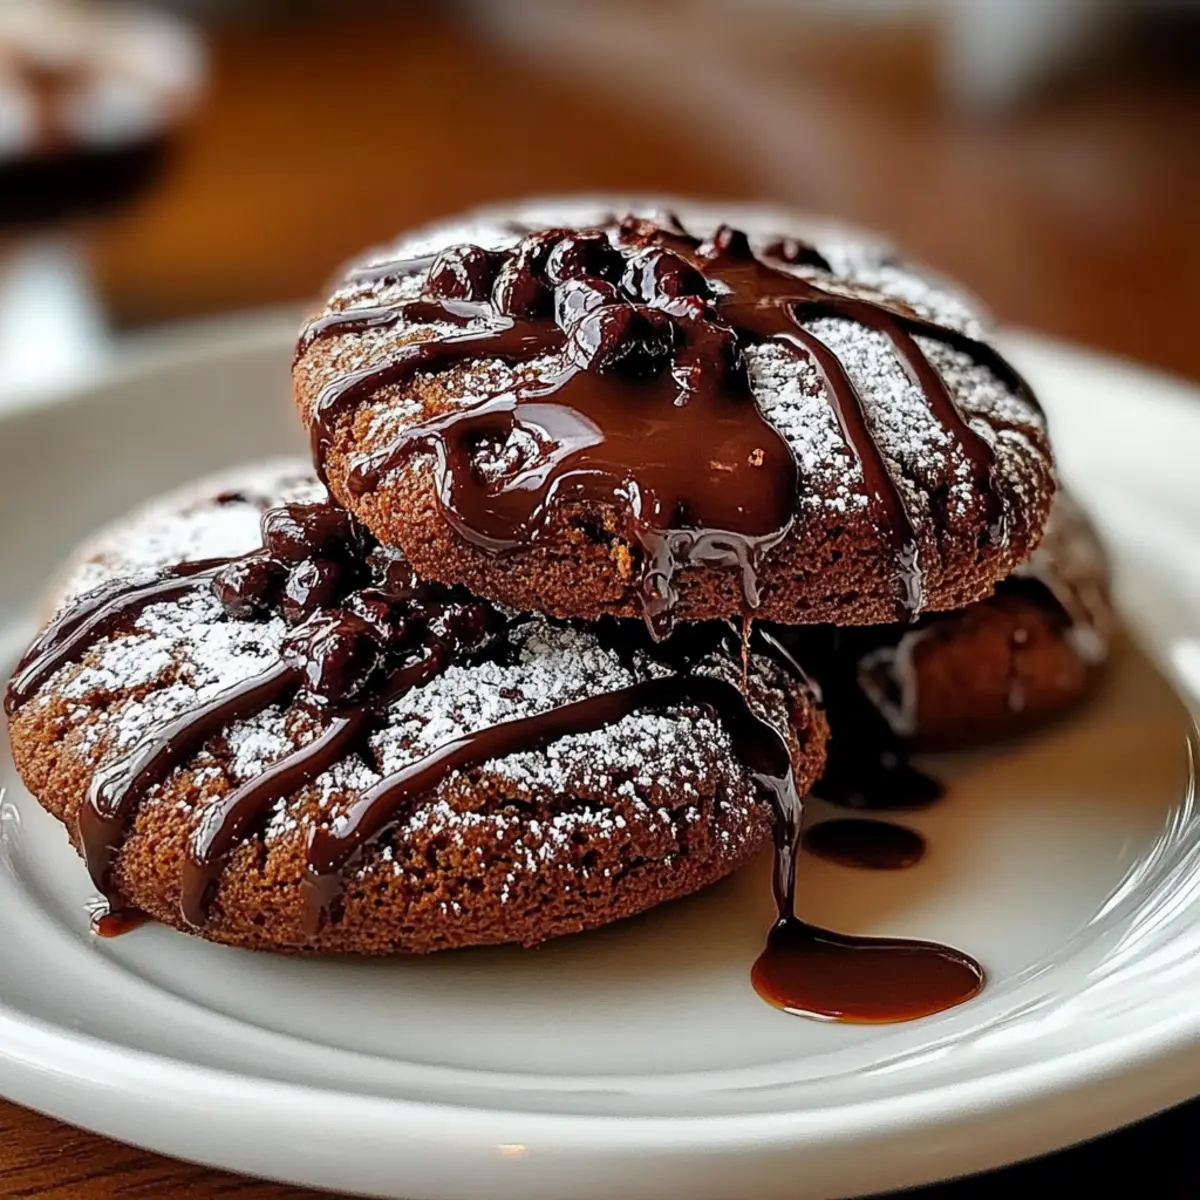
As I stood in my kitchen, the aroma of melting chocolate wafted through the air, instantly evoking memories of cozy evenings filled with laughter and sweet treats. There’s nothing quite like creating a batch of Gooey Chocolate Ganache Cookies that not only satisfy a chocolate craving but also add a sprinkle of joy to your day. What I love most about this recipe is its ease of preparation—perfect for a quick treat when friends drop by—and the warm, molten chocolate center that makes each bite an indulgent delight. Whether you’re treating yourself after a long day or impressing guests at a gathering, these cookies are sure to be the star of the show. Are you ready to dive into the decadence of chocolate goodness? Let’s go!
Why Are These Cookies So Irresistible?
Decadent chocolate flavor: Each cookie is filled with a rich ganache center that satisfies any chocolate lover's craving.
Simplicity at its best: With straightforward steps and easy-to-find ingredients, you'll be whipping these up in no time!
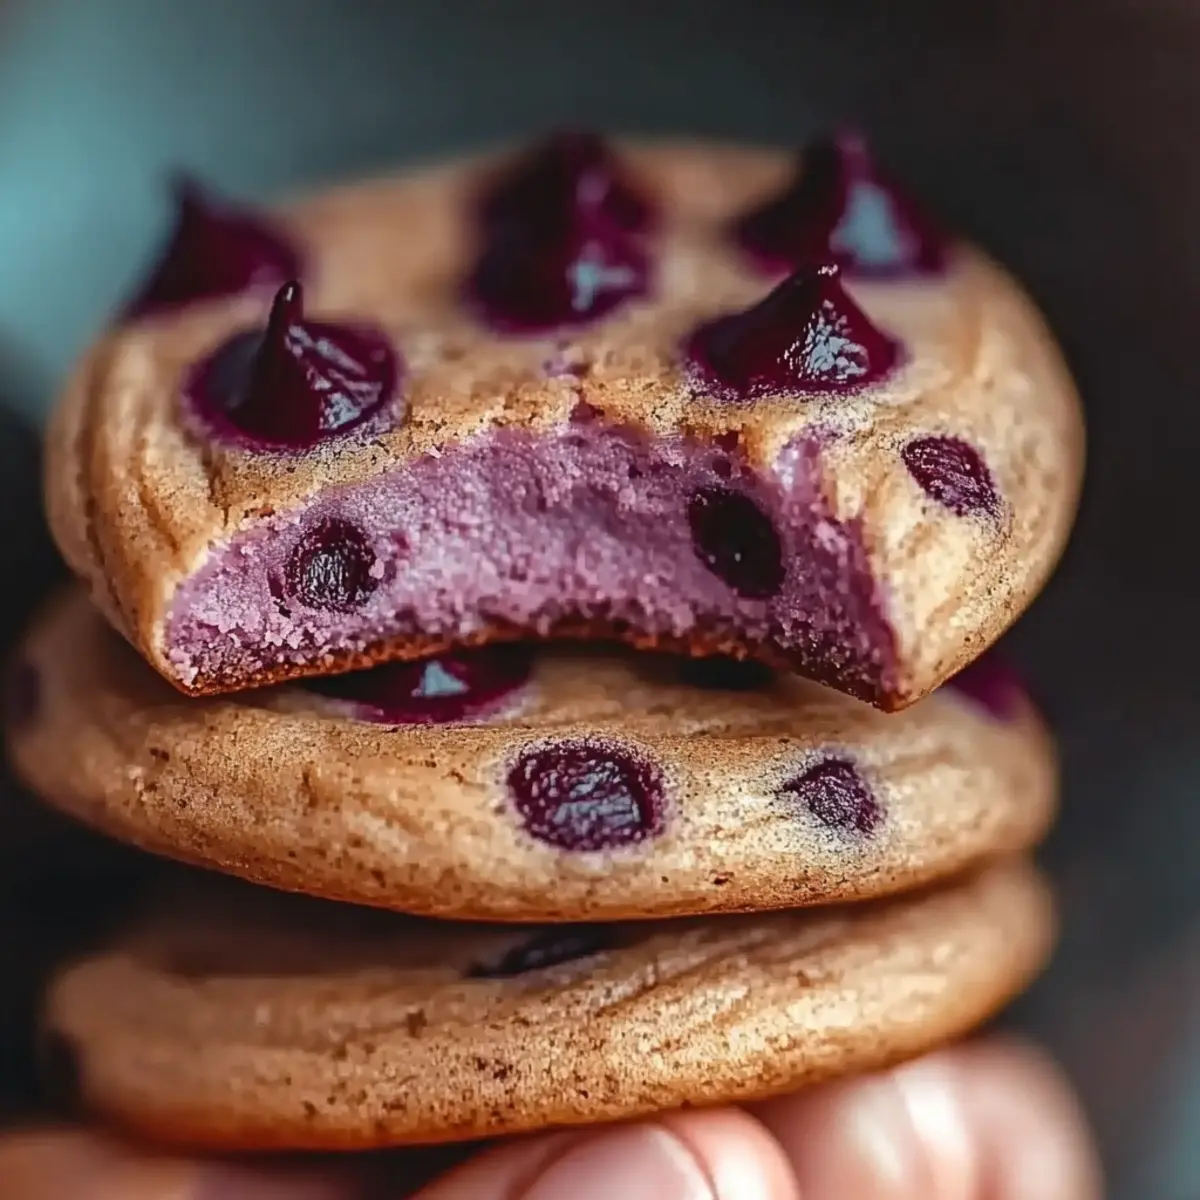
Perfectly chewy texture: The combination of gooey chocolate and soft dough creates a texture that will have everyone coming back for seconds.
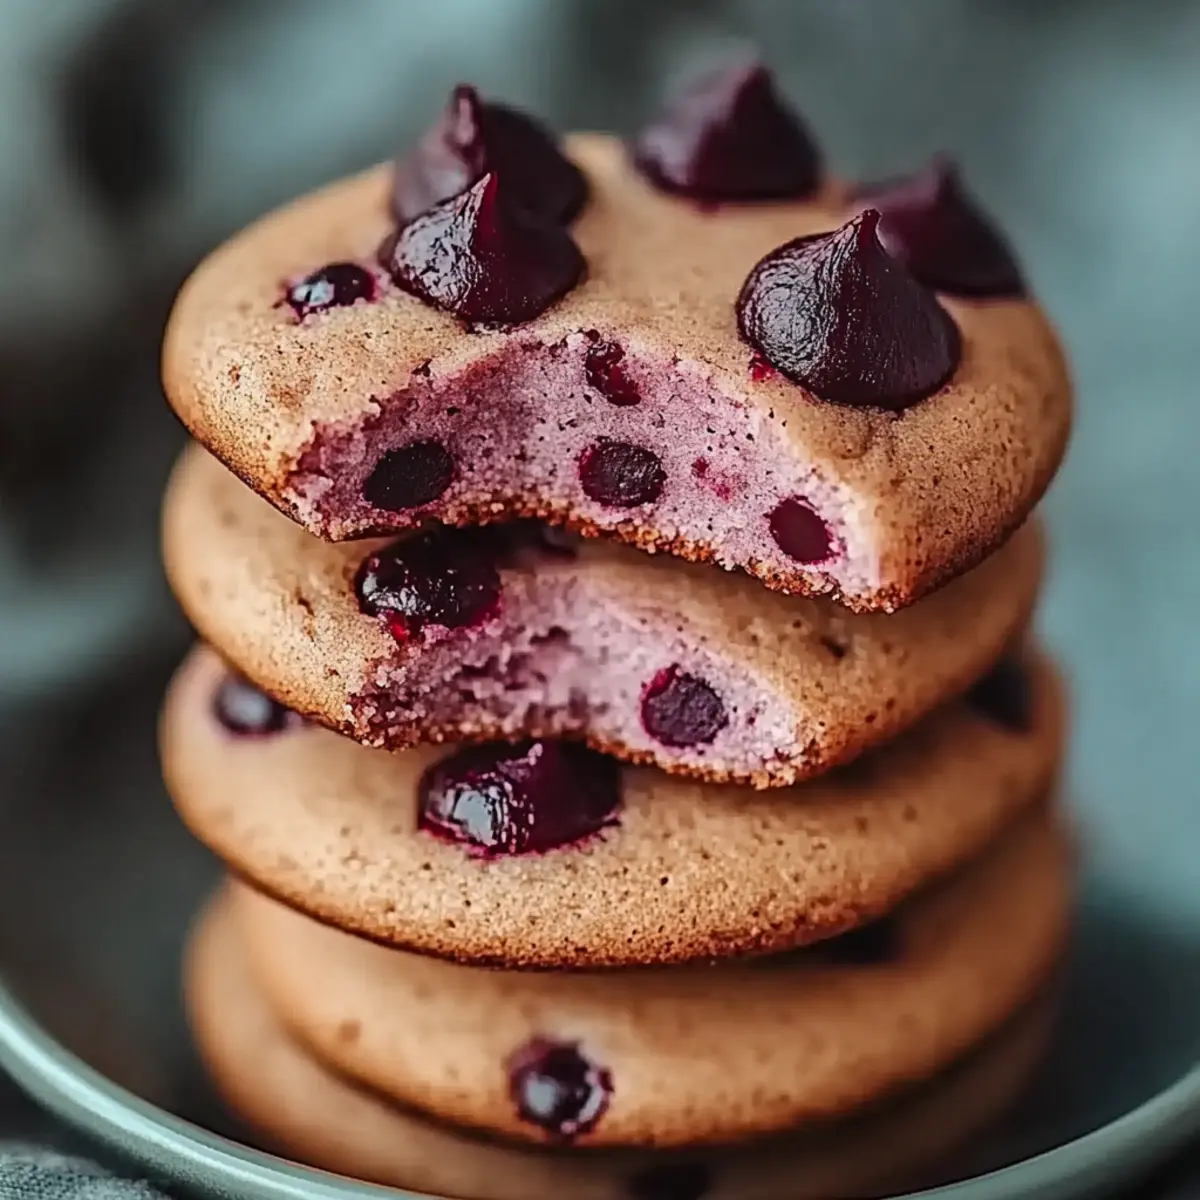
Versatile treat: These cookies are ideal for any occasion, from casual family gatherings to elegant dinner parties—just serve them warm for a dreamy experience!
Quick prep: In just over 50 minutes, you can have a batch of these delicious cookies ready to impress; perfect for a last-minute dessert fix!
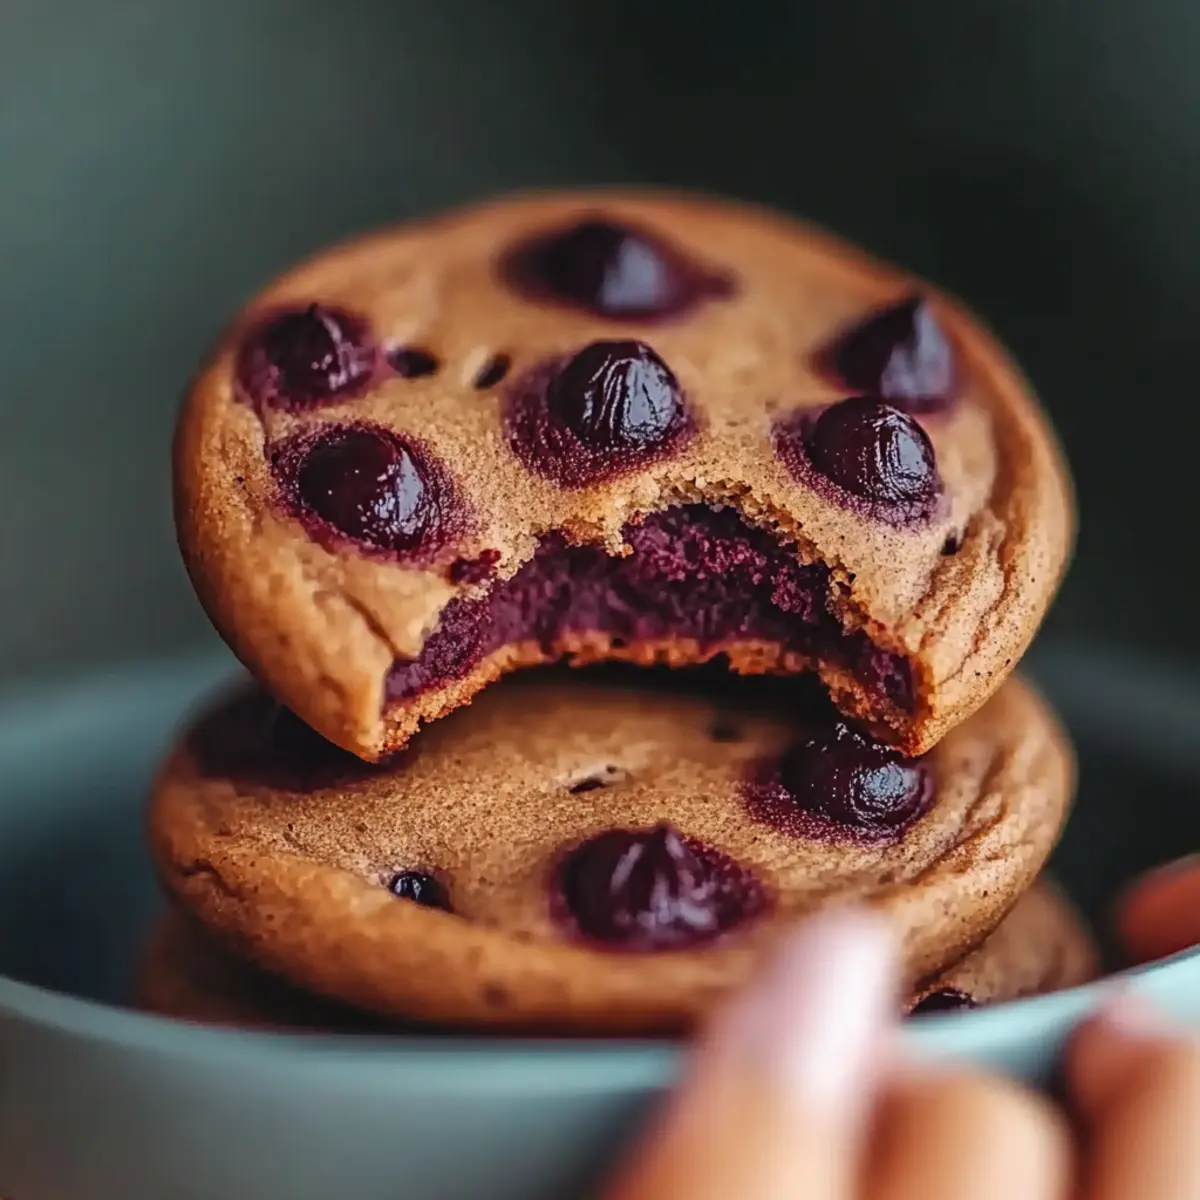
Crowd pleaser: Whether it's a get-together or a cozy night in, expect compliments with every bite of these indulgent Gooey Chocolate Ganache Cookies.
Gooey Chocolate Ganache Cookies Ingredients
For the Dough
- All-purpose flour – A staple that gives structure to your cookies.
- Baking soda – Helps the cookies rise and become soft; don’t skip it!
- Salt – Balances out the sweetness for a more flavorful cookie.
- Unsalted butter – Softened for easy mixing, providing richness and moisture.
- Granulated sugar – Sweetens the cookies and helps achieve a lovely texture.
- Brown sugar – Adds depth and a hint of caramel flavor; light or dark both work!
- Large eggs – Bind the ingredients together and contribute to the cookie's chewiness.
- Vanilla extract – Enhances the overall flavor with a comforting aroma.
For the Ganache
- Semisweet chocolate – The star of the show, delivering that luscious gooey center in every bite.
- Heavy cream – Creates a silky ganache; make sure to heat it gently for the best results!
Step‑by‑Step Instructions for Gooey Chocolate Ganache Cookies
Step 1: Preheat the Oven
Begin your adventure by preheating your oven to 350°F (175°C). While your oven warms up, line a baking sheet with parchment paper to prevent the cookies from sticking and ensure even baking. This step sets the stage for your mouthwatering Gooey Chocolate Ganache Cookies.
Step 2: Combine Dry Ingredients
In a medium-sized bowl, whisk together 2 cups of all-purpose flour, 1 teaspoon of baking soda, and ½ teaspoon of salt until well combined. The mixture should look uniform, indicating that the leavening agent and salt are evenly distributed. This blend creates the perfect base for your cookie dough.
Step 3: Cream the Butter and Sugars
In a large mixing bowl, beat together 1 cup of softened unsalted butter, 1 cup of granulated sugar, and ½ cup of packed brown sugar using a hand mixer or stand mixer. Mix on medium speed until the mixture is light and fluffy, about 2-3 minutes. You'll notice a creamy texture forming, which is essential for your delicious cookies.
Step 4: Add Eggs and Vanilla
Add in 2 large eggs, one at a time, mixing well after each addition to ensure they are fully incorporated. Then, stir in 2 teaspoons of vanilla extract. The mixture should become smooth and aromatic, bringing the sweet essence of vanilla into your cookie dough.
Step 5: Incorporate Dry Ingredients
Gradually add the flour mixture to the wet mixture, mixing on low speed until just combined. Be careful not to over-mix; a few specks of flour are perfectly fine. This gentle blending ensures your Gooey Chocolate Ganache Cookies will be soft and chewy once baked.
Step 6: Prepare the Chocolate Ganache
In a small saucepan over medium heat, warm 4 ounces of heavy cream until it begins to simmer—just about 2-3 minutes. Pour the hot cream over 8 ounces of chopped semisweet chocolate in a bowl. Allow it to sit for 2 minutes, then stir until smooth and shiny, creating your heavenly ganache.
Step 7: Chill the Ganache
Transfer the chocolate ganache to the refrigerator and let it chill for about 20 minutes, or until it thickens but is still pliable. This step is crucial, as the ganache needs to be just right for filling your cookies without melting away.
Step 8: Assemble the Cookies
Scoop tablespoon-sized portions of the cookie dough and flatten each portion into a disk on your lined baking sheet. Place a small dollop of cooled ganache in the center of each disk, then carefully wrap the dough around the ganache, creating a sealed ball. This ensures that each bite will have that delightful, gooey center.
Step 9: Bake the Cookies
Arrange the cookie balls on the prepared baking sheet, leaving about 2 inches between them. Bake in the preheated oven for 10 to 12 minutes, or until the edges are set but the centers still look soft and slightly underbaked. The aroma of chocolate will fill your kitchen!
Step 10: Cool and Transfer
Once baked, remove the cookies from the oven and let them cool on the baking sheet for 5 minutes. After they’ve set slightly, transfer them to a wire rack to cool completely. This allows the cookies to finish firming up and makes them easier to handle.
Expert Tips for Gooey Chocolate Ganache Cookies
Chill the Ganache: Letting the ganache cool properly is crucial. If it’s too warm, it will ooze out during baking, leaving you without that luscious center.
Don’t Overmix: When incorporating dry ingredients into the wet mixture, stop mixing as soon as you see no flour. Overmixing can lead to tough cookies instead of tender, gooey goodness.
Watch the Baking Time: For a perfect gooey center, keep an eye on your cookies while baking. They should be set around the edges but still soft in the middle—aim for that perfect balance!
Use Quality Chocolate: The flavor of your semisweet chocolate greatly impacts your cookies. Choose a high-quality brand for the best gooey experience in every bite.
Space Them Out: Make sure to leave enough space between the cookies on the baking sheet. This allows them to spread and develop that delightfully soft texture.
How to Store and Freeze Gooey Chocolate Ganache Cookies
Room Temperature: Store your cookies in an airtight container at room temperature for up to 3 days. This keeps them soft and fresh, ready for whenever you need a sweet bite.
Fridge: If you want to extend their shelf life, you can refrigerate the cookies for up to a week. Just ensure they are in a sealed container to prevent them from drying out.
Freezer: For longer storage, freeze the unbaked cookie dough balls with ganache inside. Place them on a baking sheet to freeze for 1-2 hours, then transfer to a freezer-safe bag for up to 3 months.
Reheating: To enjoy the cookies warm, pop them in a preheated oven at 350°F for about 5 minutes. This will help soften the ganache, making them just as delightful as the first time you made those Gooey Chocolate Ganache Cookies!
What to Serve with Gooey Chocolate Ganache Cookies
Indulge in an exquisite dessert experience by pairing these cookies with delightful accompaniments that elevate their chocolate goodness.
-
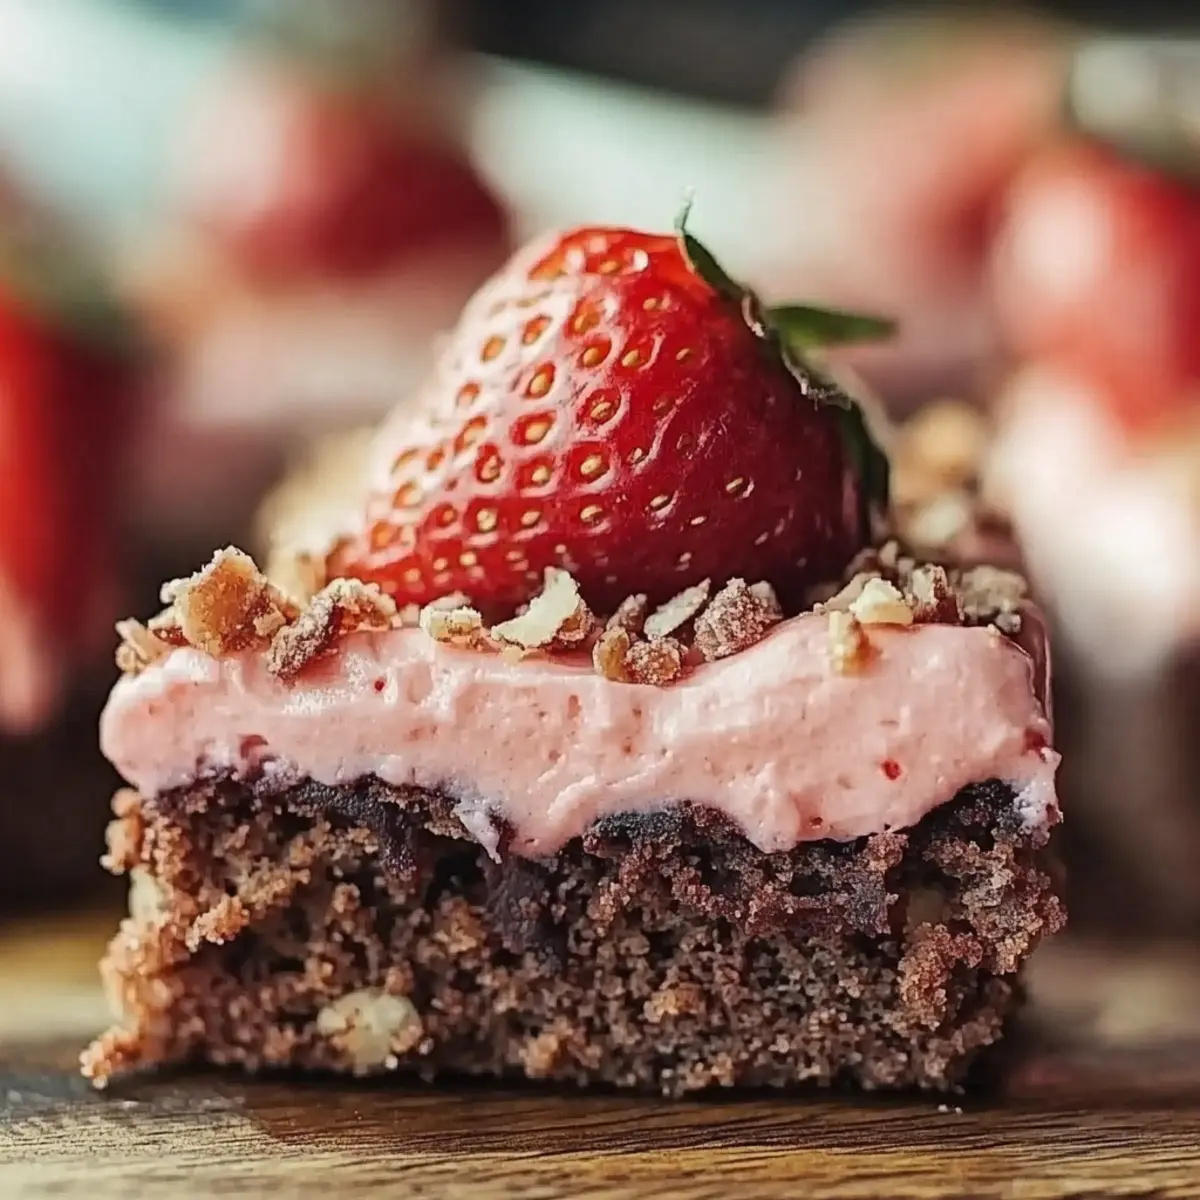
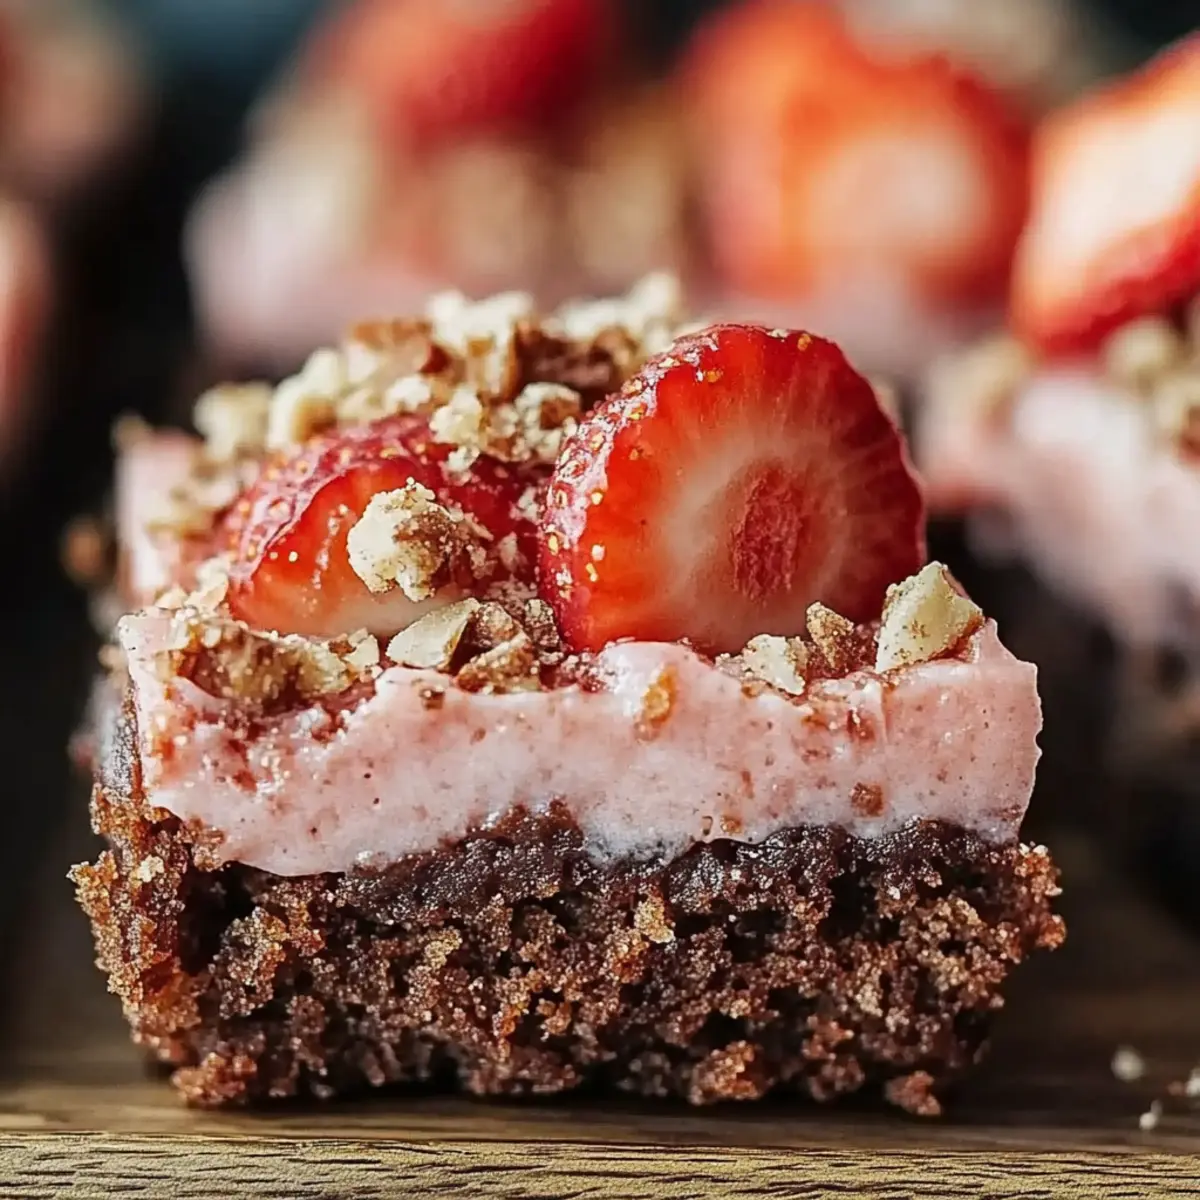
Fresh Berries: Juicy strawberries or raspberries offer a tart contrast to the rich chocolate, enhancing the overall flavor profile. These fruits add a refreshing note that balances the sweetness beautifully.
-
Vanilla Ice Cream: A scoop of creamy vanilla ice cream melts alongside these warm cookies, creating a decadent experience that tickles your taste buds with creamy sweetness and gooey chocolate delights.
-
Chocolate Sauce: Drizzling warm chocolate sauce over the cookies intensifies their indulgent flavor, making them an irresistible treat for chocolate enthusiasts craving an extra layer of decadence.
-
Espresso or Coffee: A robust cup of brewed coffee or espresso cuts through the sweetness of the cookies, making it an ideal companion for those who delight in a perfect flavor pairing as they savor each chocolatey bite.
-
Whipped Cream: Light and airy whipped cream on the side serves as a fluffy contrast to the gooey centers, elevating each dip and enhancing the indulgent experience with luscious creaminess.
-
Nutty Biscotti: Crunchy biscotti provide a delightful texture contrast while their subtle flavors complement the richness of the cookies, making each munch a delightful surprise.
-
Mint Tea: Refreshingly calming, mint tea can cleanse your palate between bites, enhancing the overall experience of enjoyment through each layer of flavor.
-
Sparkling Water with Lime: Bubbles and a splash of lime bring a refreshing zing that helps cleanse the palate and prepares you for another flavorful cookie.
-
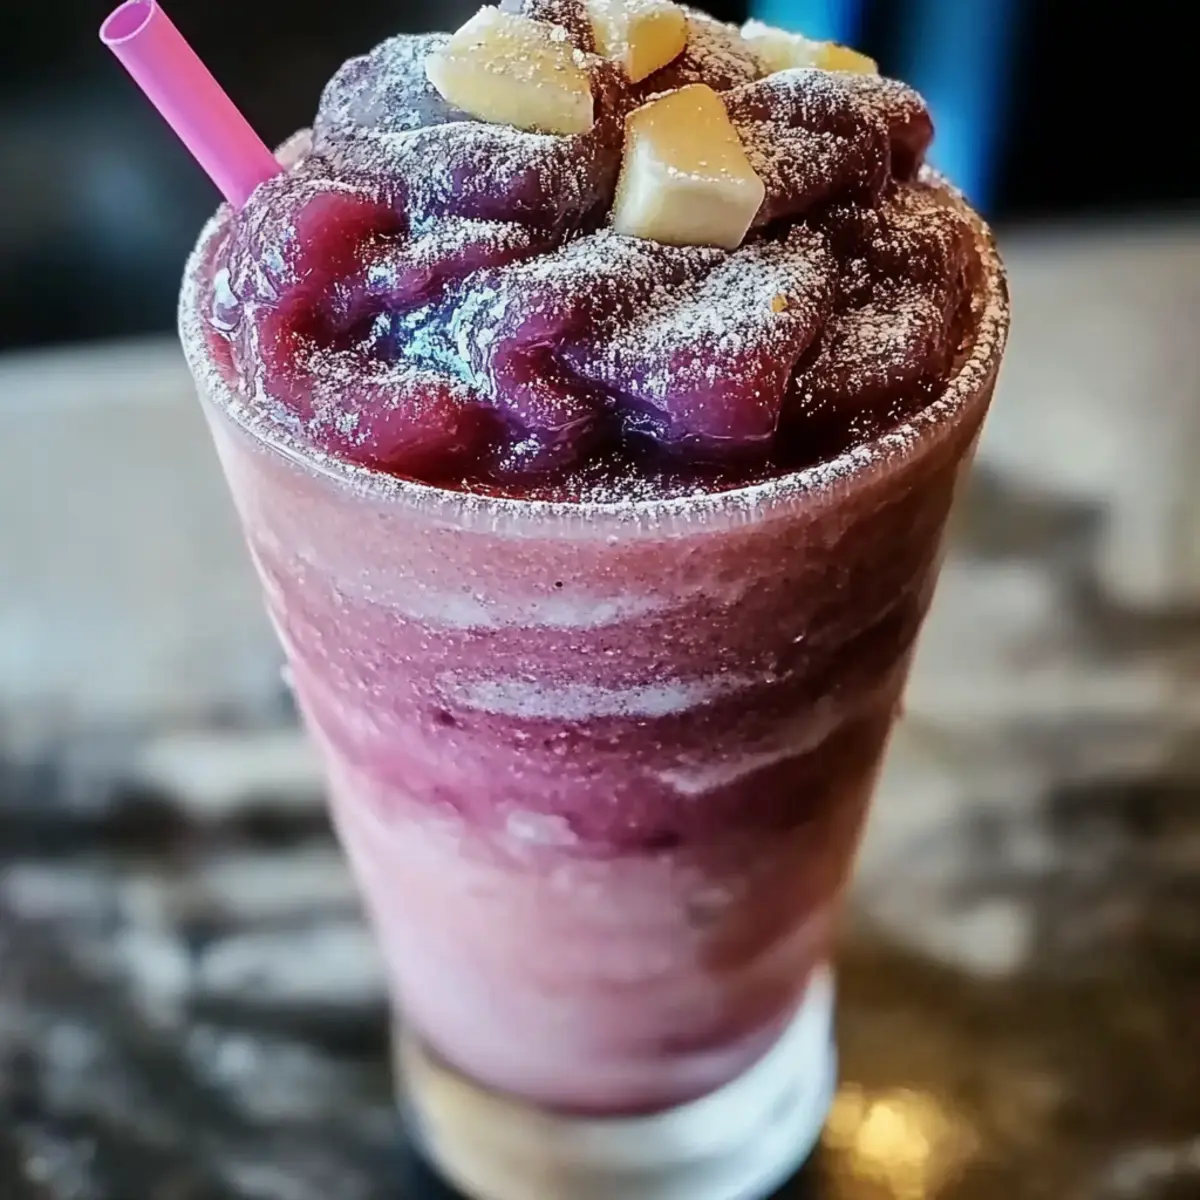
Coffee Milkshake: A rich coffee milkshake can transform dessert into an unforgettable experience, where each sip combines chocolate and coffee—an enticing combo that keeps you coming back for more!
Make Ahead Options
These Gooey Chocolate Ganache Cookies are perfect for busy home cooks looking to save time during the week! You can prepare the cookie dough and refrigerate it for up to 3 days; just make sure to wrap it tightly in plastic wrap to keep it fresh and prevent drying. The ganache can also be made in advance and stored in the fridge for up to 1 week—just give it a quick stir to regain its smooth consistency before using. When you're ready to bake, simply scoop the chilled dough, add the ganache, and bake as directed for delicious, homemade cookies that taste just as indulgent as if made fresh that day. This prep-ahead strategy will ensure you always have a delightful treat on hand without the last-minute rush!
Gooey Chocolate Ganache Cookies Variations
Feel free to get creative with these cookies and put your unique spin on the classic recipe!
- Gluten-Free: Use a gluten-free flour blend to make these cookies suitable for gluten-sensitive diets while maintaining their delicious texture.
- Nutty Delight: Add 1 cup of chopped walnuts or pecans to the dough for a crunchy twist that complements the gooey chocolate inside.
- Dairy-Free: Substitute the butter with a dairy-free spread and use coconut cream instead of heavy cream for the ganache, keeping all the indulgence without the dairy.
- Flavor Boost: Mix in ½ teaspoon of espresso powder or instant coffee granules for an added depth of flavor that enhances the chocolate richness.
- Minty Freshness: Replace the vanilla extract with peppermint extract to create a refreshing mint chocolate experience—perfect for holiday gatherings!
- Hot & Spicy: Spice things up by adding a pinch of cayenne pepper or chili powder to the dough; this unexpected heat makes for a thrilling chocolate surprise.
- Zesty Twist: Incorporate the zest of one orange or lemon into the dough to infuse a bright, citrusy note that balances the rich chocolate flavor.
- Stuffed Surprise: Instead of a dollop of ganache, place a piece of your favorite chocolate bar (like caramel or hazelnut) in the center for a fun explosion of flavors in each bite.
With these variations, you can transform your Gooey Chocolate Ganache Cookies into something truly special! Don't forget to check out our guide on expert storage techniques to keep them fresh, or learn about the perfect side dishes to enjoy with these cookies in our section on what to serve with this recipe. Enjoy the baking adventure!
Gooey Chocolate Ganache Cookies Recipe FAQs
How do I choose the right chocolate for the ganache?
Absolutely! For the best flavor, choose high-quality semisweet chocolate, preferably from brands known for their rich cocoa content. Look for chocolate with at least 60% cocoa for a deep flavor that will enhance the ganache's gooeyness. Avoid chocolate chips as they often have stabilizers that prevent proper melting.
What are the best storage methods for these cookies?
You can store your Gooey Chocolate Ganache Cookies in an airtight container at room temperature for up to 3 days, keeping them soft and fresh. If you'd like to extend their shelf life, refrigerate them in a sealed container for up to a week. This will help maintain their deliciousness while preventing them from drying out.
Can I freeze these cookies or cookie dough?
Yes! To freeze the unbaked cookie dough balls filled with ganache, place them on a baking sheet and freeze for about 1-2 hours until firm. After that, transfer the balls to a freezer-safe bag or container for up to 3 months. When you're ready to bake, you can pop them straight into the oven without thawing—just add a couple of extra minutes to the baking time!
What if my ganache is too thin or too thick?
Very good question! If your ganache turns out too thin, it may not hold its shape. To fix this, simply chill it in the refrigerator for a bit longer until it reaches a thicker consistency that’s still pliable. If it’s too thick, gently reheat it over low heat while stirring until it softens to a pourable texture. Always let it cool slightly before filling the cookies!
Can I make these cookies gluten-free?
Absolutely! You can make gluten-free Gooey Chocolate Ganache Cookies by substituting the all-purpose flour with a good-quality gluten-free flour blend. Just ensure that your baking soda and other ingredients are gluten-free as well. This way, everyone can enjoy these delightful treats without worry!
Gooey Chocolate Ganache Cookies That Melt in Your Mouth
Ingredients
Equipment
Method
- Preheat your oven to 350°F (175°C) and line a baking sheet with parchment paper.
- In a medium bowl, whisk together the flour, baking soda, and salt until well combined.
- In a large bowl, beat together softened butter, granulated sugar, and brown sugar until creamy.
- Add eggs one at a time, mixing well after each addition, then stir in the vanilla.
- Gradually mix the dry ingredients into the wet mixture until just combined.
- In a saucepan, warm heavy cream until it simmers, then pour over chopped chocolate and stir until smooth.
- Chill the ganache for about 20 minutes until thickened but still pliable.
- Scoop dough, flatten, place ganache in the center, and wrap the dough around it to form balls.
- Bake for 10-12 minutes until the edges are set but centers are soft.
- Cool on the baking sheet for 5 minutes, then transfer to a wire rack to cool completely.