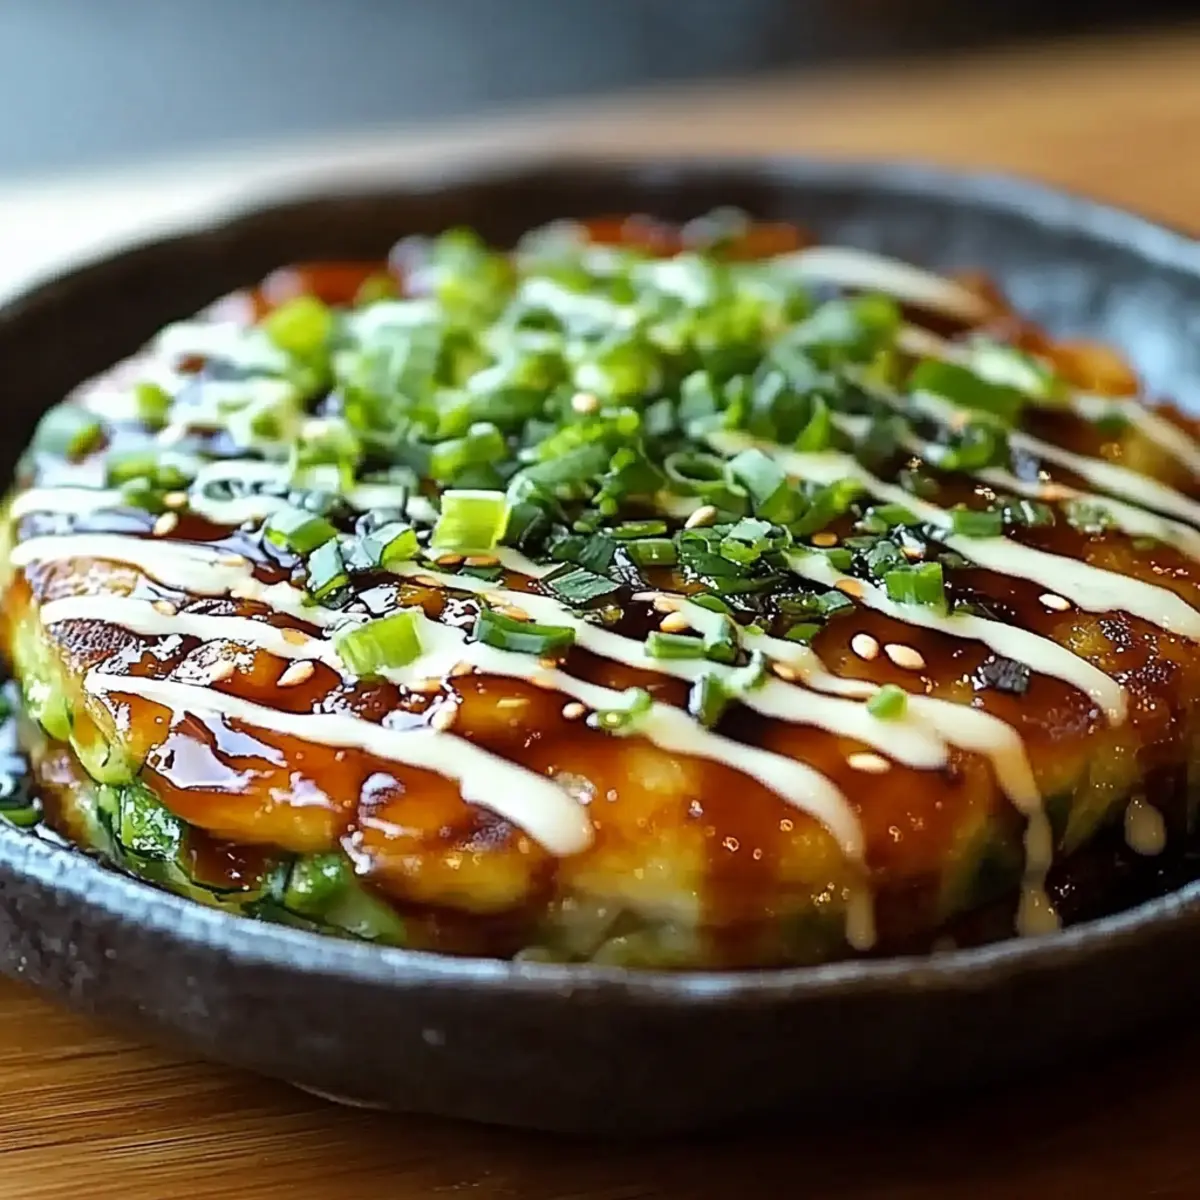
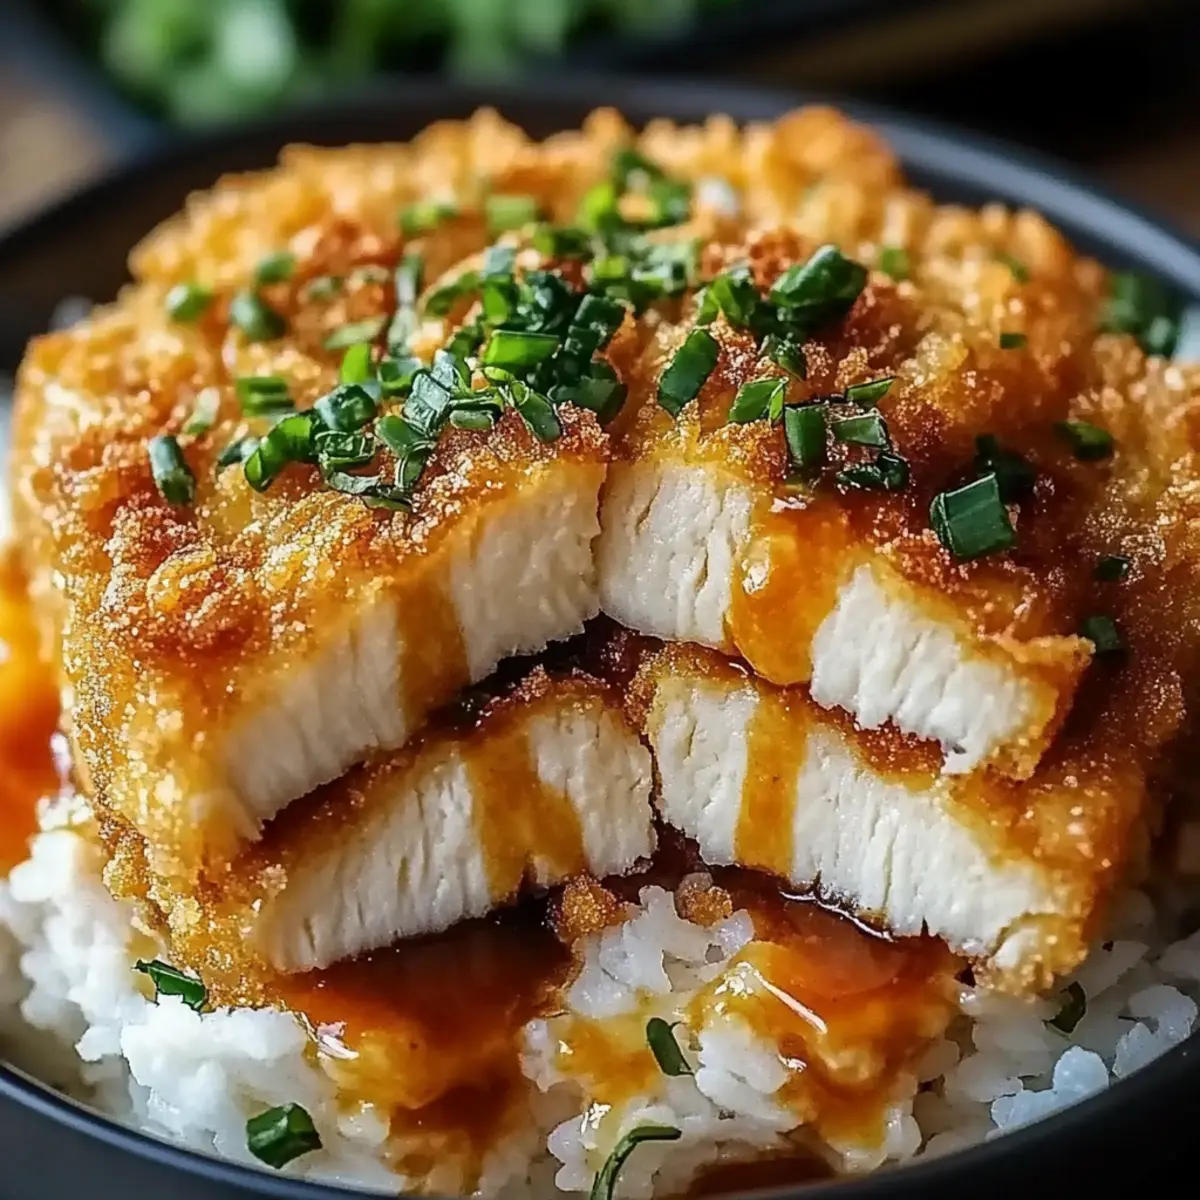
As I stood in my kitchen, the tantalizing sizzle of frying tofu soon filled the air, transforming a simple weeknight into a moment of culinary magic. Today, I want to share my love for Tofu Katsu, a dish that not only captures the comforting crunch of traditional katsu but also offers a delightful twist for those seeking a healthier lifestyle. This recipe is perfect for anyone looking to impress family and friends with a homemade meal that’s quick to whip up—just 35 minutes from prep to plate! Plus, Tofu Katsu makes for a fantastic leftover treat; it can be easily stored and brought back to life in the oven. Are you ready to embark on a tasty adventure that will leave your taste buds singing?
Why is Tofu Katsu a Game Changer?
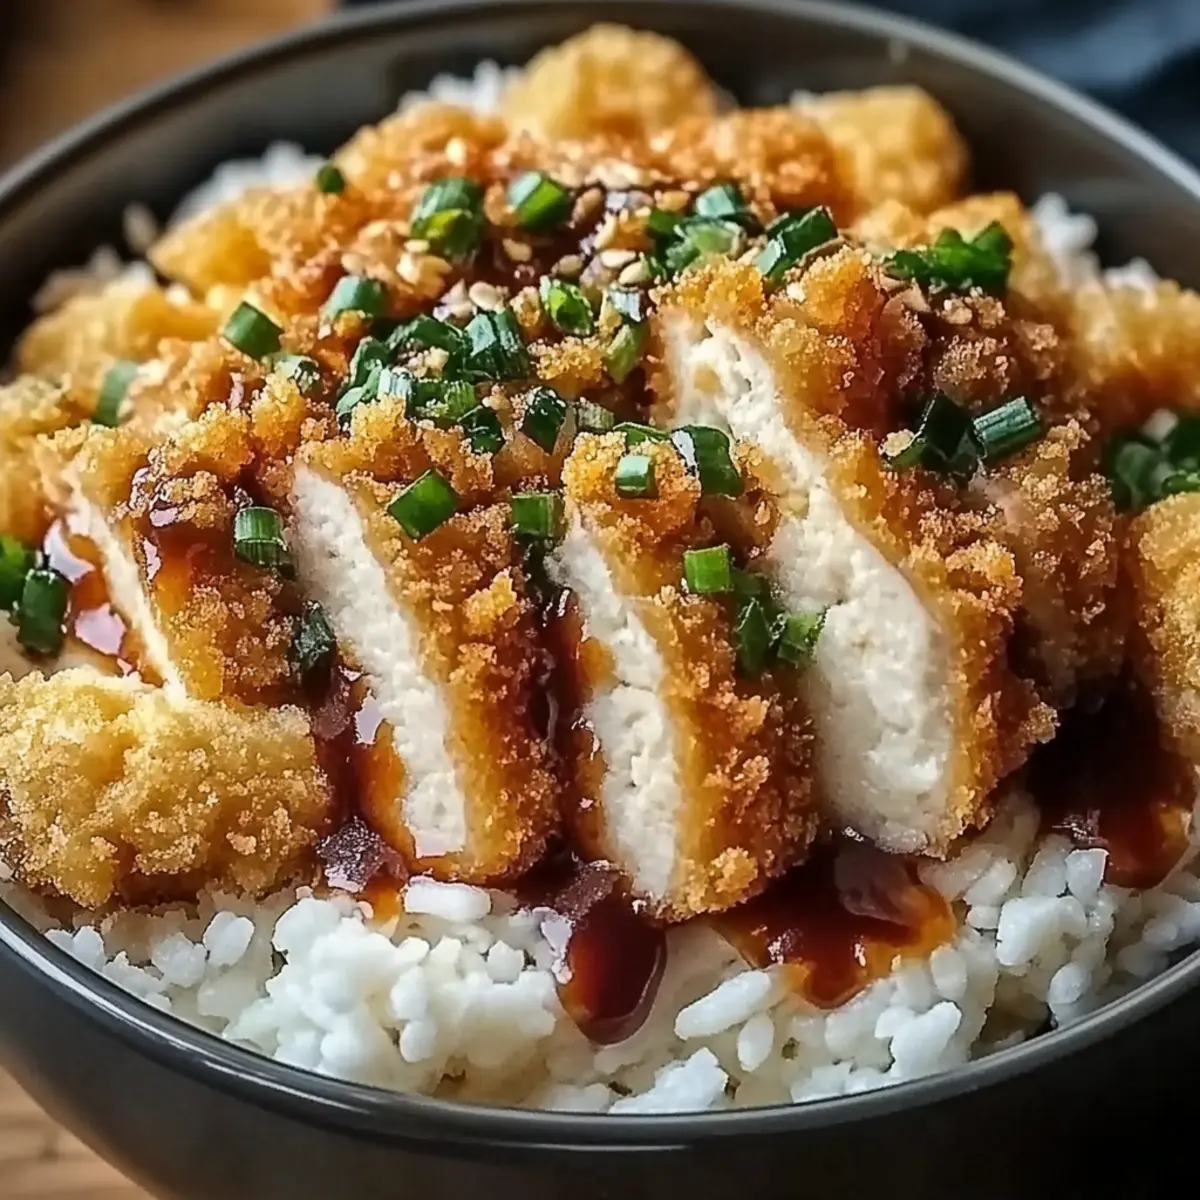
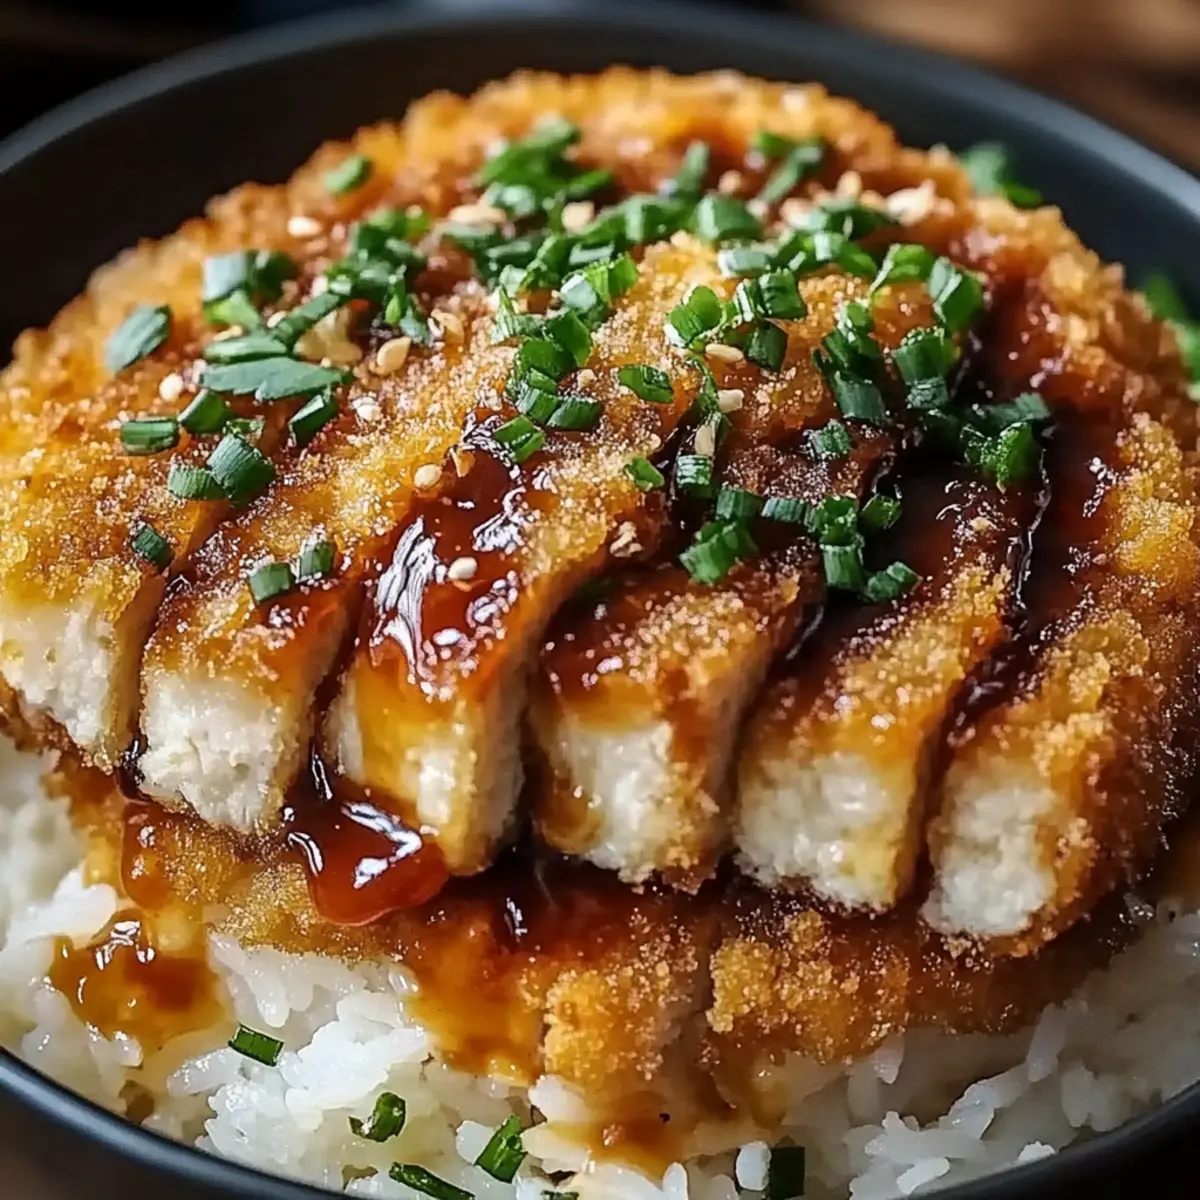
Deliciously Crispy: The panko breadcrumbs create a crunchy exterior that pairs perfectly with the soft, flavorful tofu inside.
Healthier Alternative: This recipe provides a delightful twist on fried favorites without sacrificing taste, making it a guilt-free indulgence!
Quick and Easy: In just 35 minutes, you’ll be serving up a restaurant-quality dish that’s ready to impress.
Versatile Pairing: Enjoy it with a variety of dipping sauces like tonkatsu or sweet chili, allowing you to customize each bite.
Family Friendly: Even the pickiest eaters will love this tasty dish, making it a fantastic addition to family dinner nights.
Perfect for meal prep, this Tofu Katsu can easily be stored and reheated, allowing for effortless meals all week long.
Tofu Katsu Ingredients
For the Tofu
• Firm Tofu – A must-have for that delightful texture that holds up when fried.
For the Coating
• All-Purpose Flour – Acts as the base layer to help the breadcrumbs stick to the tofu.
• Panko Breadcrumbs – Provides the ultimate crunch for your Tofu Katsu, elevating it to new heights.
For Seasoning
• Salt – Enhances the overall flavor of the dish beautifully.
• Black Pepper – Adds a subtle kick that complements the mild tofu.
• Garlic Powder – Imparts an aromatic depth without overpowering the other flavors.
• Cayenne Pepper – A hint of spice that gives your Tofu Katsu a zesty twist!
For Frying
• Vegetable Oil – Ensures that your tofu becomes perfectly crispy while frying.
Embrace the joy of creating Tofu Katsu that will leave everyone reaching for seconds!
Step‑by‑Step Instructions for Tofu Katsu
Step 1: Prepare the Tofu
Begin by draining the firm tofu and pressing it to remove excess water. Wrap the tofu in a clean kitchen towel and place a weight on top, allowing it to sit for about 15 minutes. This process ensures a firmer texture which is essential for achieving that delightful crunch in your Tofu Katsu.
Step 2: Slice the Tofu
Once the tofu has been pressed, carefully cut it into even slices, about half an inch thick. Make sure the pieces are uniform to ensure even cooking. Lay the slices flat on a plate or cutting board while you prepare the coating; this helps in the dredging process that follows.
Step 3: Mix the Coating
In a medium bowl, combine the all-purpose flour, salt, black pepper, garlic powder, and cayenne pepper. Stir the mixture until uniform in color and consistency. This seasoned flour blend plays a key role in enhancing the flavor of your Tofu Katsu, so be sure to mix thoroughly.
Step 4: Dredge the Tofu
Take each tofu slice and dredge it in the flour mixture, making sure it’s evenly coated on all sides. Tap off any excess flour before moving to the next step. This creates a great base for the breadcrumbs to stick, ensuring a wonderfully crunchy surface on your Tofu Katsu.
Step 5: Coat with Panko
Next, dip each floured tofu slice into the panko breadcrumbs, pressing gently to ensure they adhere well. The panko is crucial for creating that deliciously crispy texture that makes Tofu Katsu so irresistible. Set the coated slices aside on a plate, ready for frying.
Step 6: Heat the Oil
In a frying pan, heat 2 tablespoons of vegetable oil over medium heat. Allow the oil to heat for about 2-3 minutes until it’s hot enough that a drop of water sizzles upon contact. This temperature is ideal for frying the Tofu Katsu to a golden perfection.
Step 7: Fry the Tofu
Carefully place the breaded tofu slices in the hot oil, making sure not to overcrowd the pan. Fry each side for about 4-5 minutes or until they turn golden brown and crispy. Keep an eye on the cooking process, flipping the slices gently for even browning, which will make your Tofu Katsu shine.
Step 8: Drain the Excess Oil
Once crispy and golden, remove the tofu from the pan and place it on a plate lined with paper towels. This helps absorb any excess oil, keeping your Tofu Katsu light and crispy. Allow it to drain for a minute or two before serving.
Step 9: Serve and Enjoy
Your delightful Tofu Katsu is now ready to be plated! Serve it hot, complemented with tonkatsu sauce or your choice of dipping sauce. This delicious twist on comfort food is perfect for impressing family and friends while offering a healthy alternative they’ll adore.
Tofu Katsu Variations & Substitutions
Feel free to get creative and personalize your Tofu Katsu with these delicious variations!
-
Gluten-Free: Substitute all-purpose flour and panko breadcrumbs with gluten-free options for a friendly twist.
-
Crunchy Topping: Add sesame seeds to the panko for an extra layer of crunch and nutty flavor that pops with each bite.
-
Spicy Kick: Mix sriracha into the egg wash (or use a vegan alternative) for a delightful heat that elevates the dish.
-
Herbed Tofu: Before coating, marinate the tofu slices in a mix of soy sauce and your favorite herbs for a flavor boost. Try basil or cilantro for a fresh, summery vibe.
-
Cheesy Delight: Sprinkle in some nutritional yeast into the flour mixture for that cheesy umami taste without the dairy.
-
Crispy Coconut: Substitute half the panko breadcrumbs with shredded coconut for a tropical twist that pairs beautifully with sweet chili sauce.
-
Vegetable Additions: Toss some finely chopped spinach or carrots into the flour mixture for added color and nutrients, making your katsu even more appealing.
-
Baked Option: For a healthier alternative, bake your breaded tofu in the oven at 400°F (200°C) for about 20 minutes, flipping halfway, until golden brown.
With these options, you can customize your Tofu Katsu to suit your taste perfectly. Pair it with a delicious dipping sauce like sweet chili sauce or soy sauce for a complete culinary experience! Enjoy experimenting in the kitchen!
Make Ahead Options
Tofu Katsu is an excellent choice for meal prep, allowing busy cooks to save time without sacrificing flavor! You can prep the tofu slices up to 24 hours in advance by coating them in the seasoned flour and panko breadcrumbs, then storing them covered in the refrigerator to keep them fresh. When you're ready to enjoy your Tofu Katsu, simply heat vegetable oil in a frying pan and fry the breaded tofu slices for about 4-5 minutes on each side until golden and crispy. Reheating leftovers in the oven at 350°F (175°C) for 10-15 minutes can restore that delightful crunch, ensuring your Tofu Katsu is just as delicious as when it was first made.
Expert Tips for Tofu Katsu
Press Tofu Properly: Ensuring you remove excess water by pressing the tofu is crucial; it helps achieve a firmer texture, making your Tofu Katsu crunchier.
Even Slices: Cutting the tofu into uniform slices ensures even cooking and crispiness. Aim for half-inch thick pieces for best results.
Do Not Overcrowd: When frying, avoid overcrowding the pan. Fry in batches to maintain the oil temperature, which helps achieve a perfectly golden and crispy finish.
Double-Dip Technique: For extra crunch, consider double-dipping your tofu slices. After initial coating with flour and panko, dip again in flour, back to the panko, then fry.
Cool on Paper Towels: Allow your cooked Tofu Katsu to drain on paper towels. This step removes excess oil and keeps your katsu crisp for longer!
How to Store and Freeze Tofu Katsu
Fridge: Store leftover Tofu Katsu in an airtight container for up to 3 days. Keep it covered to maintain its texture and flavor.
Freezer: To freeze, wrap individual pieces of Tofu Katsu tightly in plastic wrap, then place them in a freezer-safe bag. They can be kept for up to 2 months.
Reheating: Reheat in the oven at 350°F (175°C) for 10-15 minutes to restore crispiness. Avoid microwaving, as it can make the coating soggy.
Thawing: If frozen, thaw the Tofu Katsu in the fridge overnight before reheating for best results. Enjoy these delicious leftovers!
What to Serve with Tofu Katsu
Elevate your homemade meal experience with delightful sides and pairings that complement the crispiness of Tofu Katsu.
-
Creamy Mashed Potatoes: The rich, buttery flavor of mashed potatoes creates a satisfying contrast to the crispy katsu, balancing textures beautifully.
-
Fresh Cucumber Salad: A light cucumber salad tossed in a zesty vinaigrette adds a refreshing crunch that brightens each bite. It's the perfect palate cleanser!
-
Steamed Broccoli: Vibrantly green and tender, steamed broccoli brings a nutritious element that pairs harmoniously with the rich flavors of the katsu.
-
Rice with Sesame Seeds: Fluffy white or brown rice topped with toasted sesame seeds provides a nutty flavor that complements the tofu while soaking up any sauce.
-
Tonkatsu Sauce: Enhance the dish with a drizzle of tonkatsu sauce; its sweet-tangy flavor pairs perfectly with the savory crunch of the katsu.
-
Miso Soup: A warm bowl of miso soup serves as a comforting starter that adds depth to the meal, enriching your dining experience.
-
Ginger Lime Sparkler: A refreshing drink with ginger and lime enliven your taste buds and harmonize beautifully with the savory elements of the main dish.
-
Fried Rice: For a heartier option, fried rice packed with vegetables delivers a delightful umami flavor that complements the Tofu Katsu perfectly.
Serving Tofu Katsu with these scrumptious sides will surely impress family and friends, transforming your meal into a delightful culinary adventure!

Tofu Katsu Recipe FAQs
How do I choose the right tofu for this recipe?
Absolutely! For Tofu Katsu, you'll want to select firm tofu as it holds its shape best during frying. Look for tofu that is resilient and has a clean appearance without dark spots or excessive moisture. It's important to buy fresh tofu to ensure the best flavor and texture.
How should I store leftover Tofu Katsu?
Very simple! Place your leftover Tofu Katsu in an airtight container and store it in the refrigerator for up to 3 days. Keeping it covered is essential to maintain its flavor and prevent it from drying out. You can reheat it when you're ready to enjoy it again!
Can I freeze Tofu Katsu? If so, how?
Of course! Freezing Tofu Katsu is a great option. Wrap each piece tightly in plastic wrap to protect it from freezer burn, then place the wrapped pieces in a freezer-safe bag. This way, they can be stored for up to 2 months. When you're ready to eat, thaw them in the refrigerator overnight before reheating.
How can I reheat Tofu Katsu without losing its crispiness?
To bring back that delightful crunch, I recommend reheating your Tofu Katsu in the oven. Preheat it to 350°F (175°C) and bake for about 10-15 minutes. This method helps restore the crispiness without making it soggy, unlike using a microwave.
Are there any dietary considerations for Tofu Katsu?
Definitely! If you're catering to specific dietary needs, you can easily make this recipe gluten-free by substituting the all-purpose flour and panko breadcrumbs with gluten-free alternatives. Always check labels to ensure the products you choose meet your dietary requirements.
What should I do if my Tofu Katsu isn’t crispy?
If you find that your Tofu Katsu isn’t turning out as crispy as you’d like, it could be a few things. First, ensure you properly pressed the tofu to remove excess moisture before coating. Also, avoid overcrowding the pan when frying; this helps maintain the oil temperature for even cooking. Lastly, consider a double-dip in the flour and panko for an extra crunchy coating. These steps can greatly improve the texture of your dish!
Tofu Katsu Recipe FAQs
Crispy Tofu Katsu: A Delicious Twist on Comfort Food
Ingredients
Equipment
Method
- Begin by draining the firm tofu and pressing it to remove excess water. Wrap the tofu in a clean kitchen towel and place a weight on top, allowing it to sit for about 15 minutes.
- Once the tofu has been pressed, carefully cut it into even slices, about half an inch thick. Lay the slices flat while you prepare the coating.
- In a medium bowl, combine the all-purpose flour, salt, black pepper, garlic powder, and cayenne pepper. Stir until uniform.
- Dredge each tofu slice in the flour mixture, ensuring it’s evenly coated, and tap off excess flour.
- Dip each floured slice into the panko breadcrumbs, pressing gently to ensure they adhere well.
- Heat 2 tablespoons of vegetable oil in a frying pan over medium heat for 2-3 minutes until hot.
- Fry each side of the breaded tofu slices for about 4-5 minutes until golden brown and crispy.
- Remove the tofu from the pan and place on paper towels to drain excess oil.
- Serve your Tofu Katsu hot with tonkatsu sauce or your choice of dipping sauce.