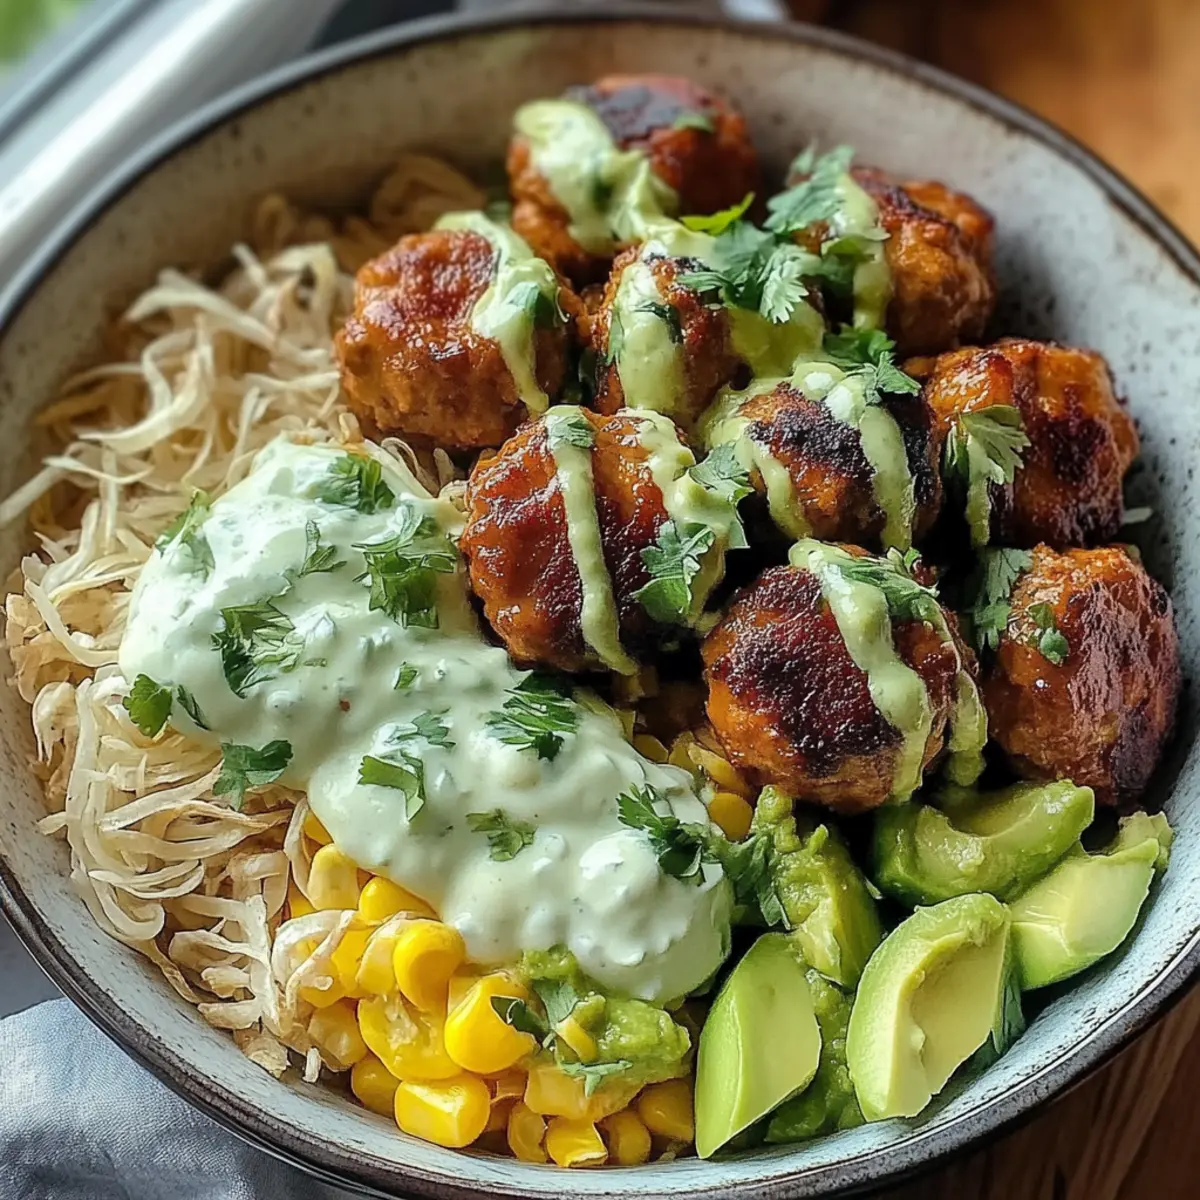
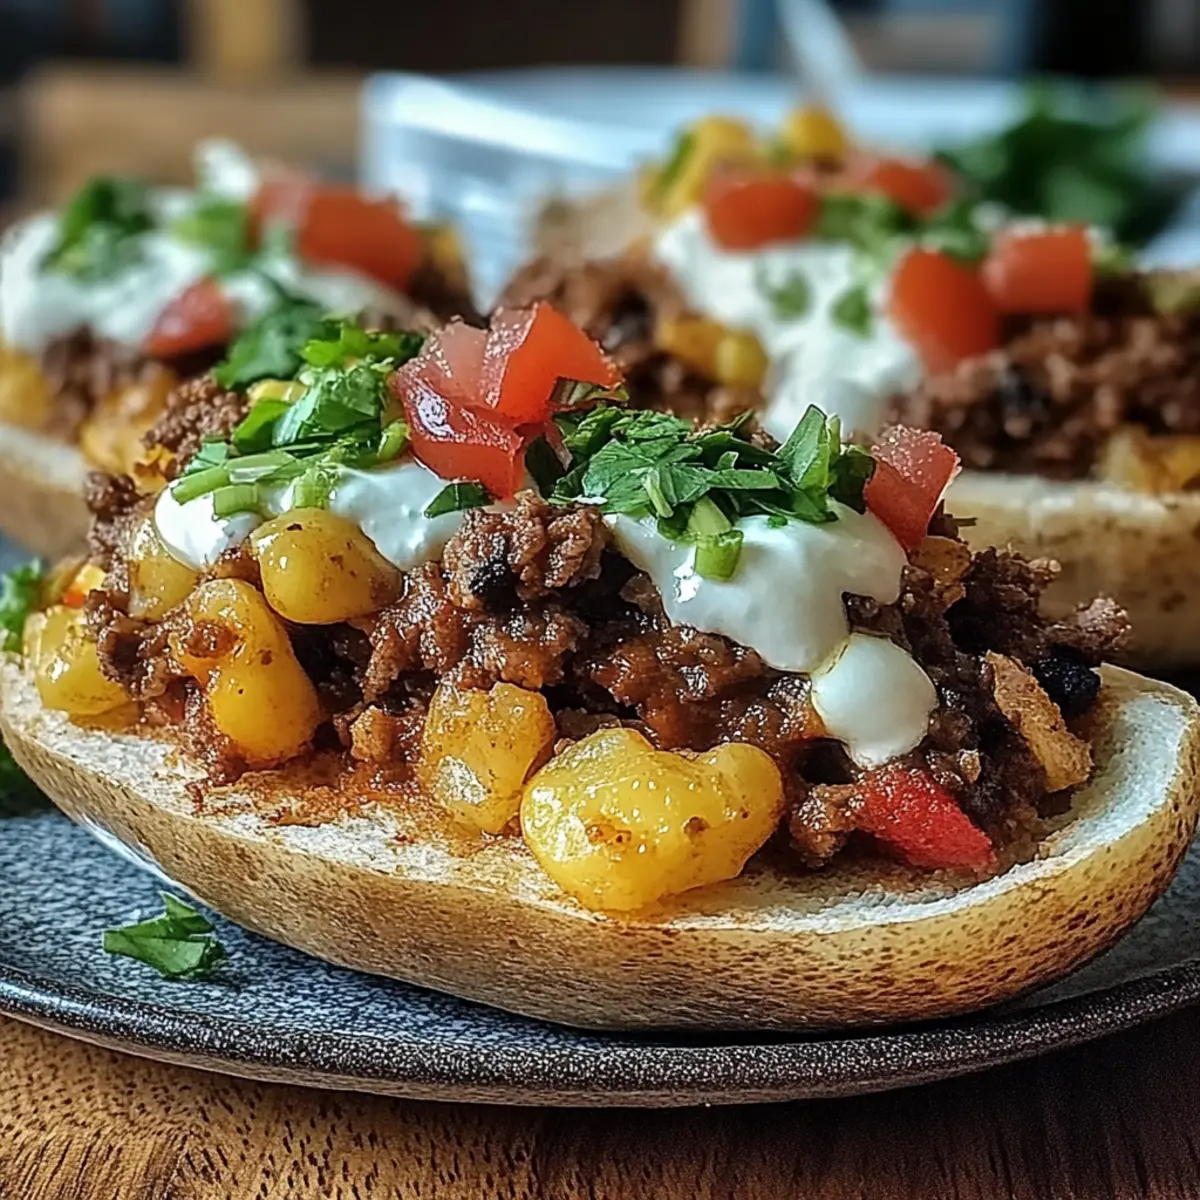
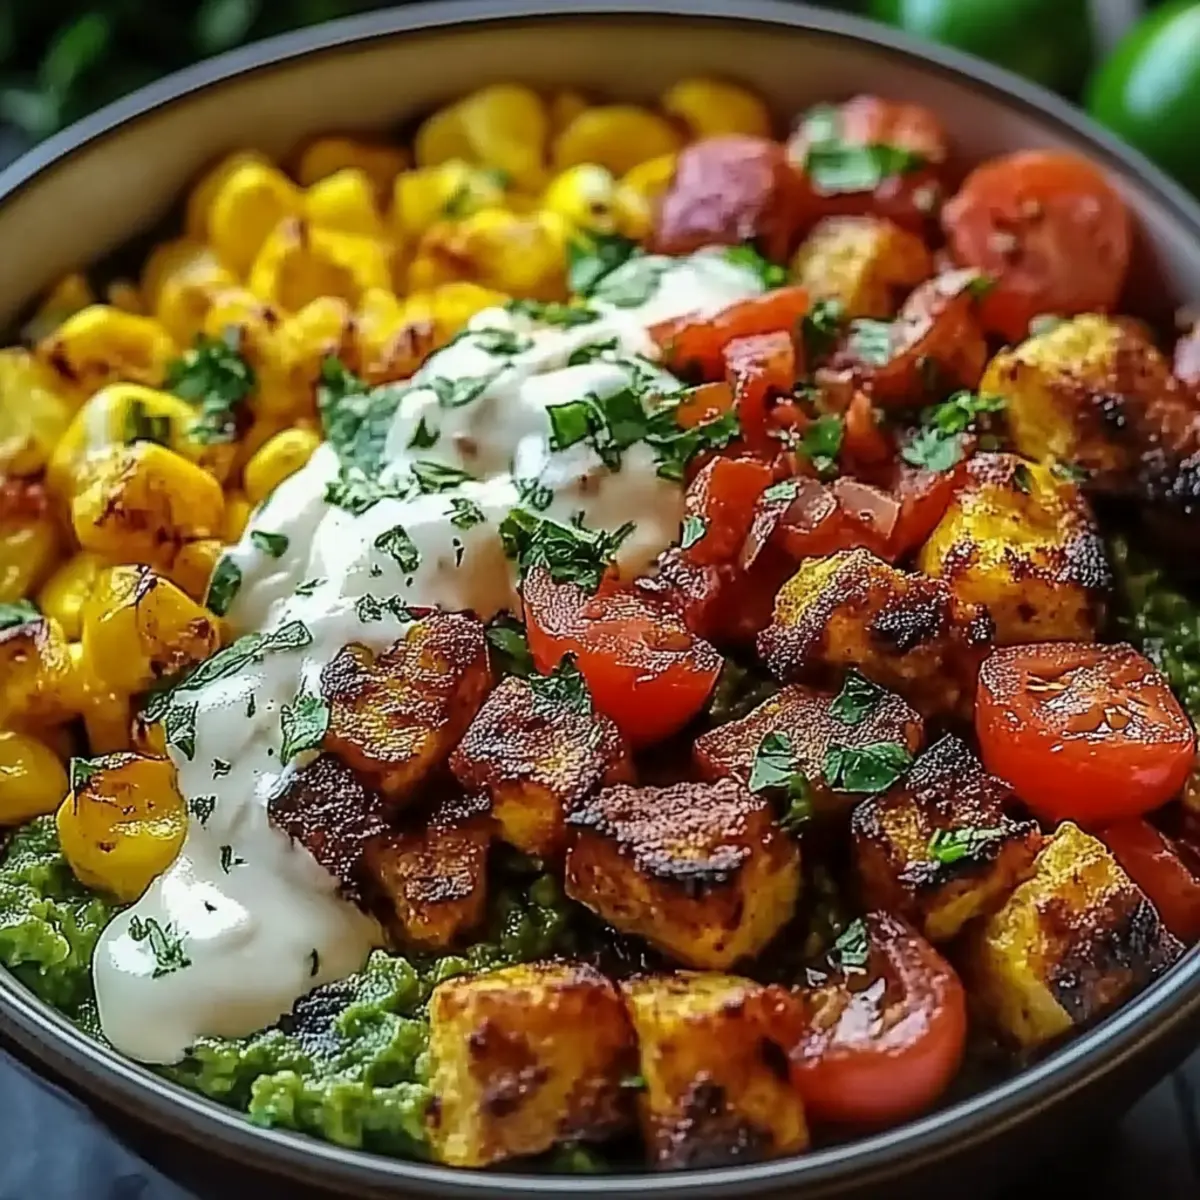
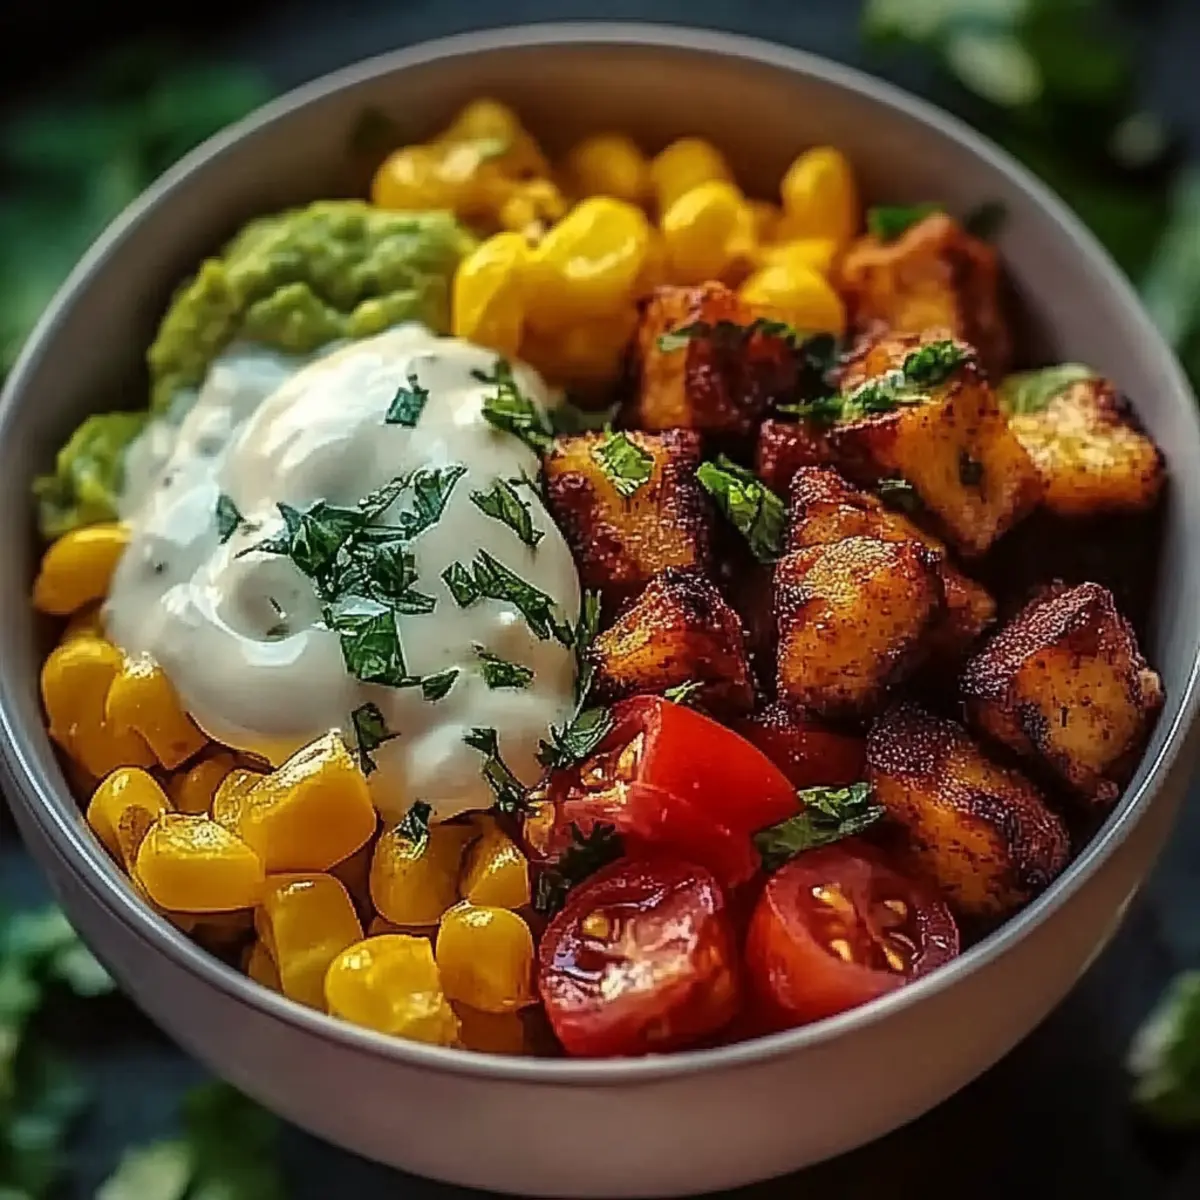
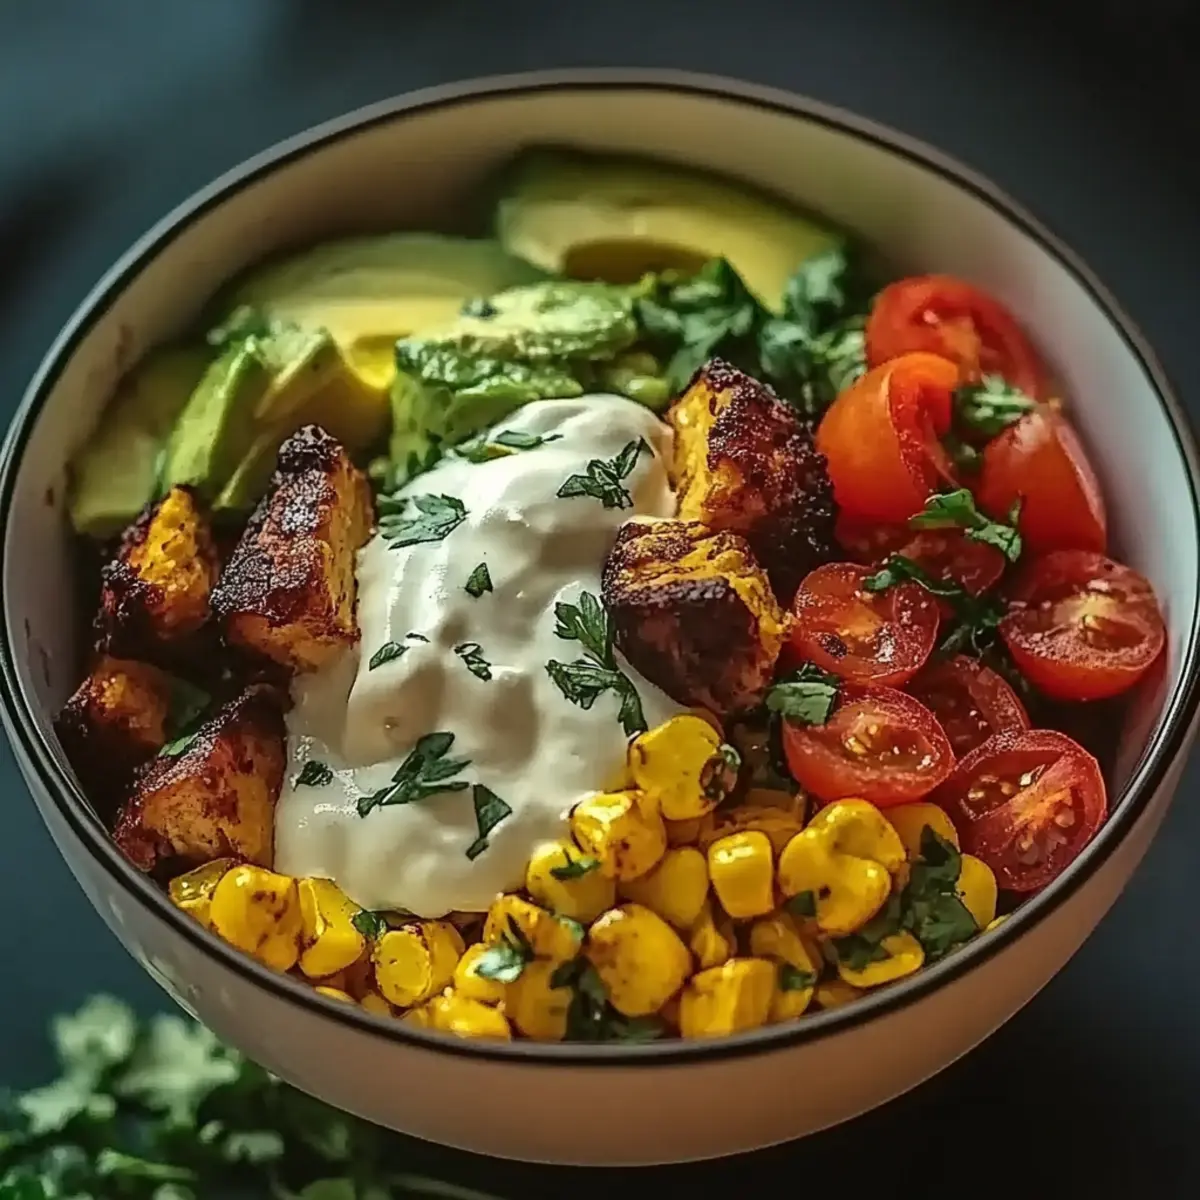
As I stood in my kitchen, the tantalizing aroma of cumin wafted through the air, instantly transporting me to a lively southwest diner. This Southwest Breakfast Burrito Bowl is my go-to solution for those busy mornings when I crave comfort without the hassle. Packed with scrambled eggs, hearty black beans, and a fresh salsa kick, it’s not just a bowl of goodness; it’s a vibrant way to start your day. The beauty of this recipe lies not only in its vibrant flavors but also in how quick it is to prepare—ready in just 15 minutes! Plus, it’s perfect for meal prep, allowing me to savor a homemade breakfast all week long. Have you ever found yourself wondering how to elevate your morning routine?
Why Try This Breakfast Burrito Bowl?
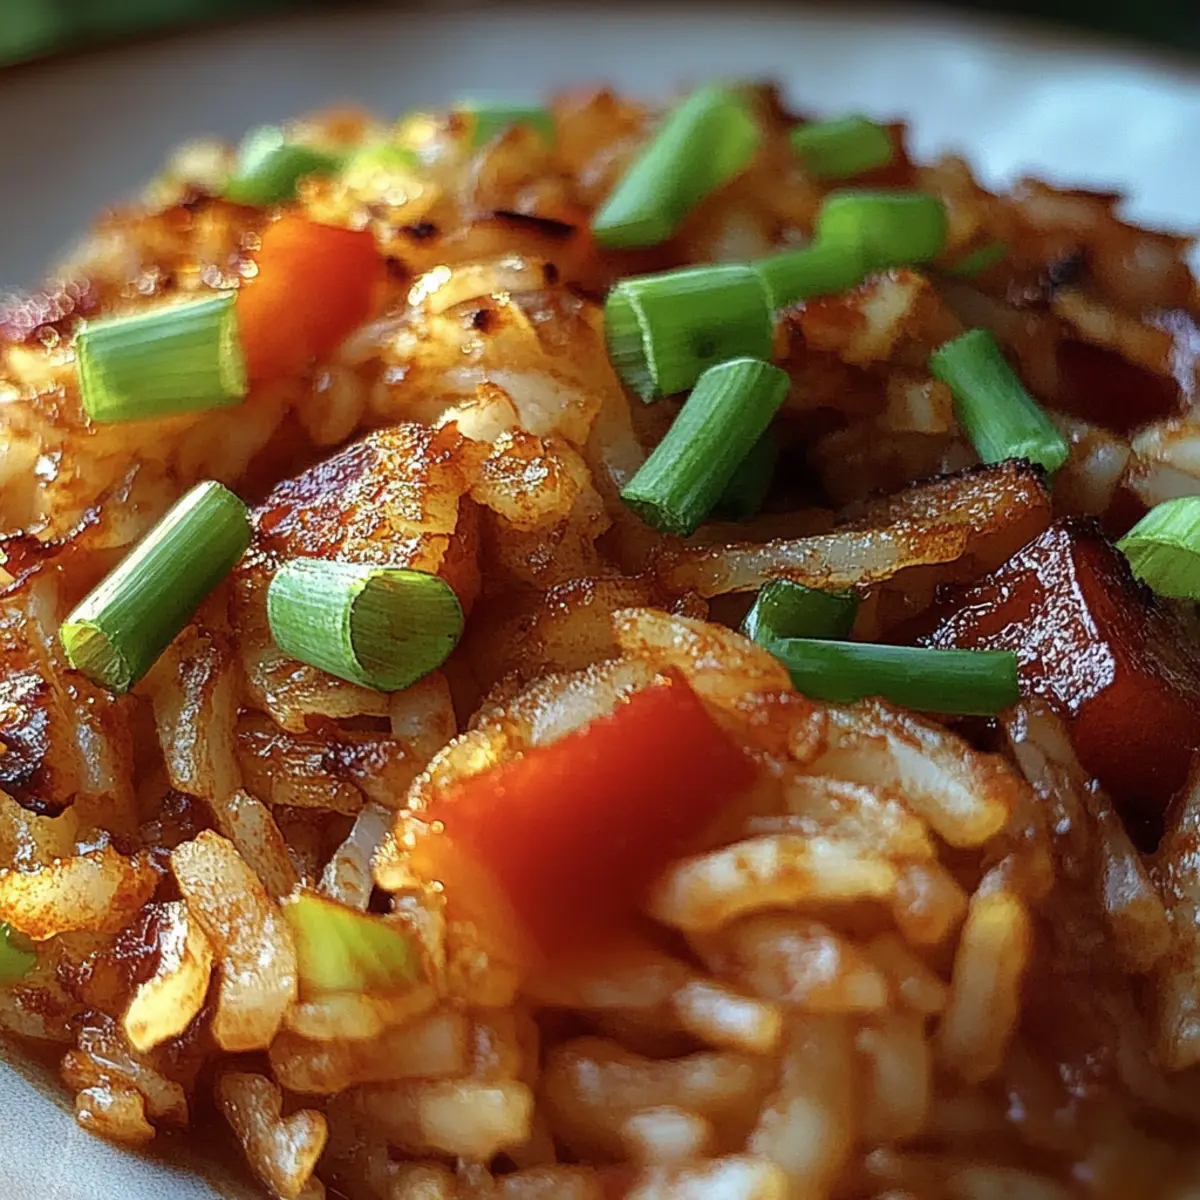
Flavor-Packed: Each bite bursts with the rich, savory elements of cumin, salsa, and fresh cilantro.
Quick Prep: In just 15 minutes, you can whip up a breakfast that rivals any diner’s fare.
Versatile Ingredients: Customize it with your choice of cheese, or serve it over flavorful rice for extra heartiness.
Meal Prep Friendly: Perfect for busy mornings, prepare components ahead of time for a convenient grab-and-go option.
Crowd-Pleasing: Ideal for family breakfasts or brunch with friends, this dish will have everyone asking for seconds!
Whether you're looking for a lazy weekend treat or a quick weekday meal, this Breakfast Burrito Bowl fits the bill. Enjoy the best of both worlds with minimal effort and maximum flavor!
Breakfast Burrito Bowl Ingredients
For the Base
• Scrambled eggs – a great source of protein to kickstart your day.
• Black beans – packed with fiber and a perfect way to add texture.
• Salsa – use your favorite brand for a personal flavor touch.
• Cilantro – adds a fresh burst of flavor that brightens the bowl.
• Lime juice – a zesty touch that enhances all the other ingredients.
• Cumin – infuses a warm, earthy tone that’s essential for this breakfast burrito bowl.
• Salt – a pinch to enhance all the flavors.
• Pepper – adds just the right amount of zing.
Optional Ingredients
• Cooked rice – great for those who want a heartier meal.
• Cheese – a melty addition that makes everything even more delicious!
Step‑by‑Step Instructions for Breakfast Burrito Bowl
Step 1: Prepare the Ingredients
Begin by gathering all your ingredients for the Breakfast Burrito Bowl. In a large bowl, crack and scramble 1 cup of eggs until fluffy. Meanwhile, rinse 1 cup of black beans under cold water and drain well. This simple prep ensures that all elements are ready to combine for a vibrant breakfast.
Step 2: Mix the Base Ingredients
In the large bowl with the scrambled eggs, add the black beans, ½ cup of salsa, ¼ cup of chopped cilantro, 1 tablespoon of lime juice, 1 teaspoon of cumin, 1 teaspoon of salt, and 1 teaspoon of pepper. Gently mix these ingredients together until everything is well incorporated, showcasing the rich colors and textures of your Breakfast Burrito Bowl.
Step 3: Incorporate Optional Ingredients
If desired, stir in 2 cups of cooked rice and ½ cup of cheese for added heartiness and creaminess. Use a spatula to combine thoroughly until the rice is evenly mixed and the cheese begins to melt slightly, creating a delightful creamy consistency. This extra step takes your bowl to new levels of deliciousness!
Step 4: Serve or Store
Once combined, serve your Breakfast Burrito Bowl immediately for a warm, satisfying meal. If you’re prepping for the week, consider storing the components separately in airtight containers in the fridge. This way, you can enjoy a freshly made bowl any day, making mealtime both easy and enjoyable!
Breakfast Burrito Bowl Variations
Feel free to let your creativity shine with these delightful twists on your Breakfast Burrito Bowl!
- Vegetarian: Swap black beans for sautéed mushrooms or roasted veggies for a deliciously hearty option. The earthy flavors add a new depth while keeping it vibrant!
- Spicy Kick: Add diced jalapeños or a sprinkle of cayenne pepper to elevate the heat level, bringing a fiery touch to this satisfying breakfast. Your taste buds will dance with joy!
- Dairy-Free: Use dairy-free cheese or omit cheese altogether to cater to dietary preferences without compromising flavor. It’s still creamy and delicious without the guilt!
- Quinoa Base: Replace rice with cooked quinoa for a protein boost and a nutty flavor. This twist makes your bowl even heartier and gives it that extra nutritious flair.
- Southwestern Salad: Serve the ingredients over a bed of mixed greens instead of rice for a refreshing and crunchy take. Perfect for a lighter option while still packing in the goodness!
- Breakfast Burrito Wrap: Wrap the mixture in a warm tortilla instead of serving it in a bowl for a portable breakfast option. It’s an exciting new way to enjoy your favorite flavors on the go!
- Texture Boost: Top your bowl with crushed tortilla chips for a satisfying crunch that contrasts beautifully with the soft ingredients. They add that delightful texture that makes each bite interesting!
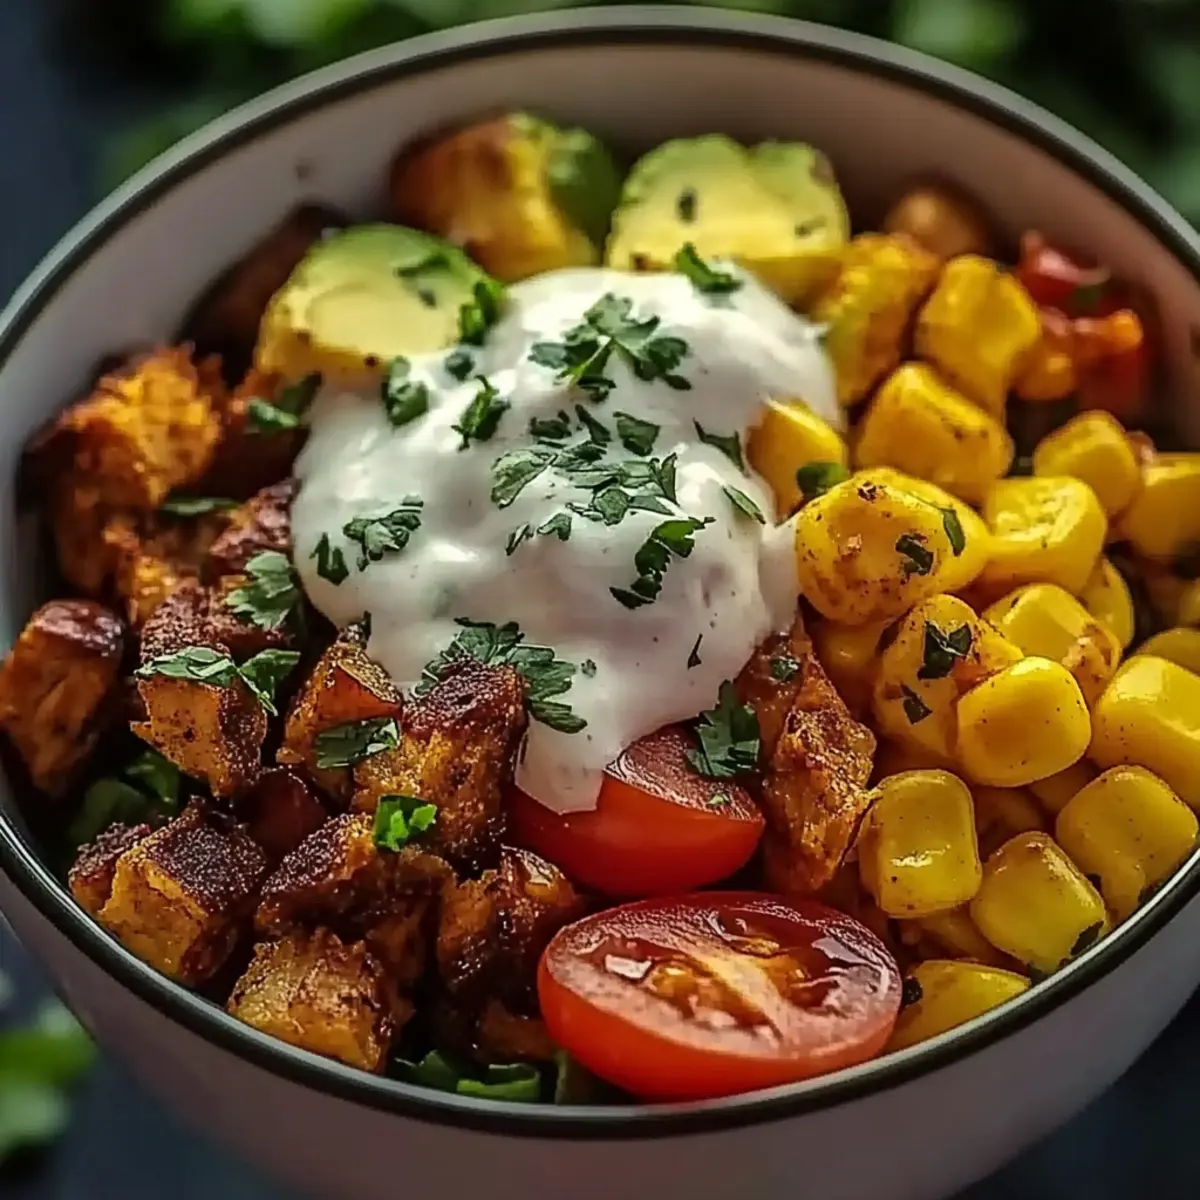
- Mexican Flair: Incorporate corn or diced avocado for a sweet and creamy addition that brightens the flavors of your Breakfast Burrito Bowl wonderfully. It'll feel like a fiesta in every bite!
Remember, the possibilities are endless. Don't hesitate to experiment with flavors or combinations that suit your palate! For more inspiration, you might enjoy adding some fresh vegetables from a classic scrambled egg wrap or a homemade salsa to make it even more vibrant.
Make Ahead Options
These Breakfast Burrito Bowls are perfect for meal prep enthusiasts looking to save time during the busy week! You can prepare the scrambled eggs, black beans, and mix in the salsa, cilantro, lime juice, cumin, salt, and pepper up to 3 days in advance. Simply store each component in airtight containers in the refrigerator to maintain freshness. When you're ready to serve, just reheat the mixture on the stovetop until warmed through, then mix in the cooked rice and cheese if using, allowing the cheese to melt for extra creaminess. Enjoy the convenience of having a delicious, homemade Breakfast Burrito Bowl ready in no time!
How to Store and Freeze Breakfast Burrito Bowl
Fridge: Store the assembled Breakfast Burrito Bowl in an airtight container for up to 3 days. This keeps the flavors fresh while maintaining texture.
Separate Components: For optimal freshness, keep scrambled eggs, beans, salsa, and any optional ingredients like rice or cheese in separate containers. This way, everything stays delicious!
Freezer: If you want to prepare in advance, individual components can be frozen for up to 2 months. Just make sure they’re tightly wrapped or sealed in freezer-safe bags.
Reheating: Thaw overnight in the fridge, then reheat the eggs and beans in the microwave or on the stovetop. Enjoy a quick, homemade breakfast with your stored Burrito Bowl!
What to Serve with Southwest Breakfast Burrito Bowl
Elevate your homemade breakfast experience with delightful sides and drinks that perfectly complement this vibrant bowl of goodness.
-
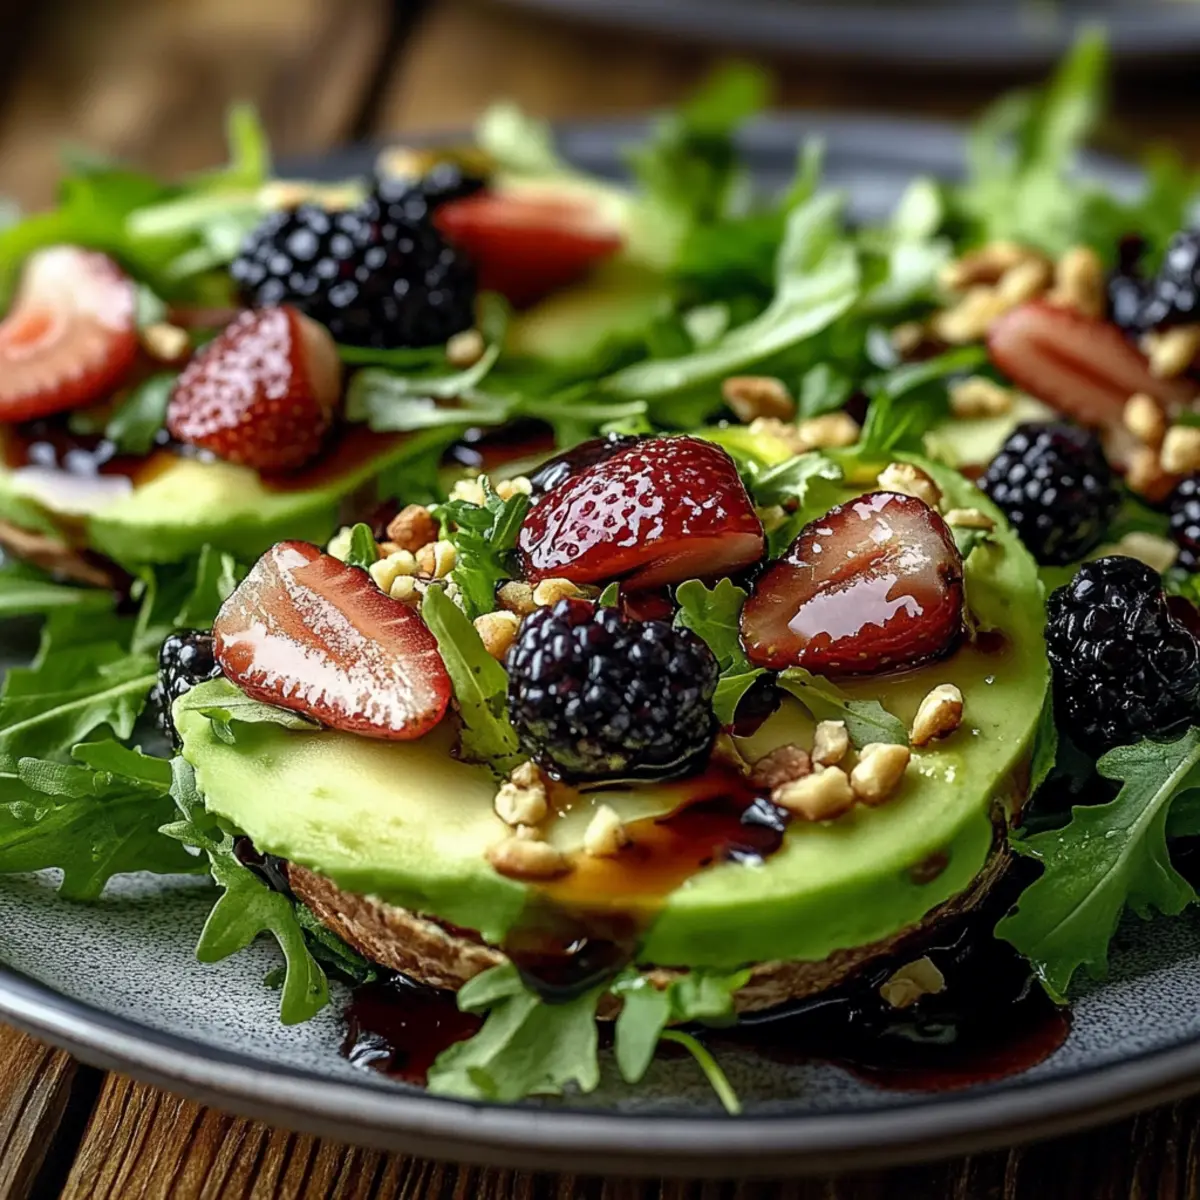
Crispy Avocado Toast: The creamy texture of ripe avocado on warm, toasted bread balances the hearty flavors of the burrito bowl beautifully.
-
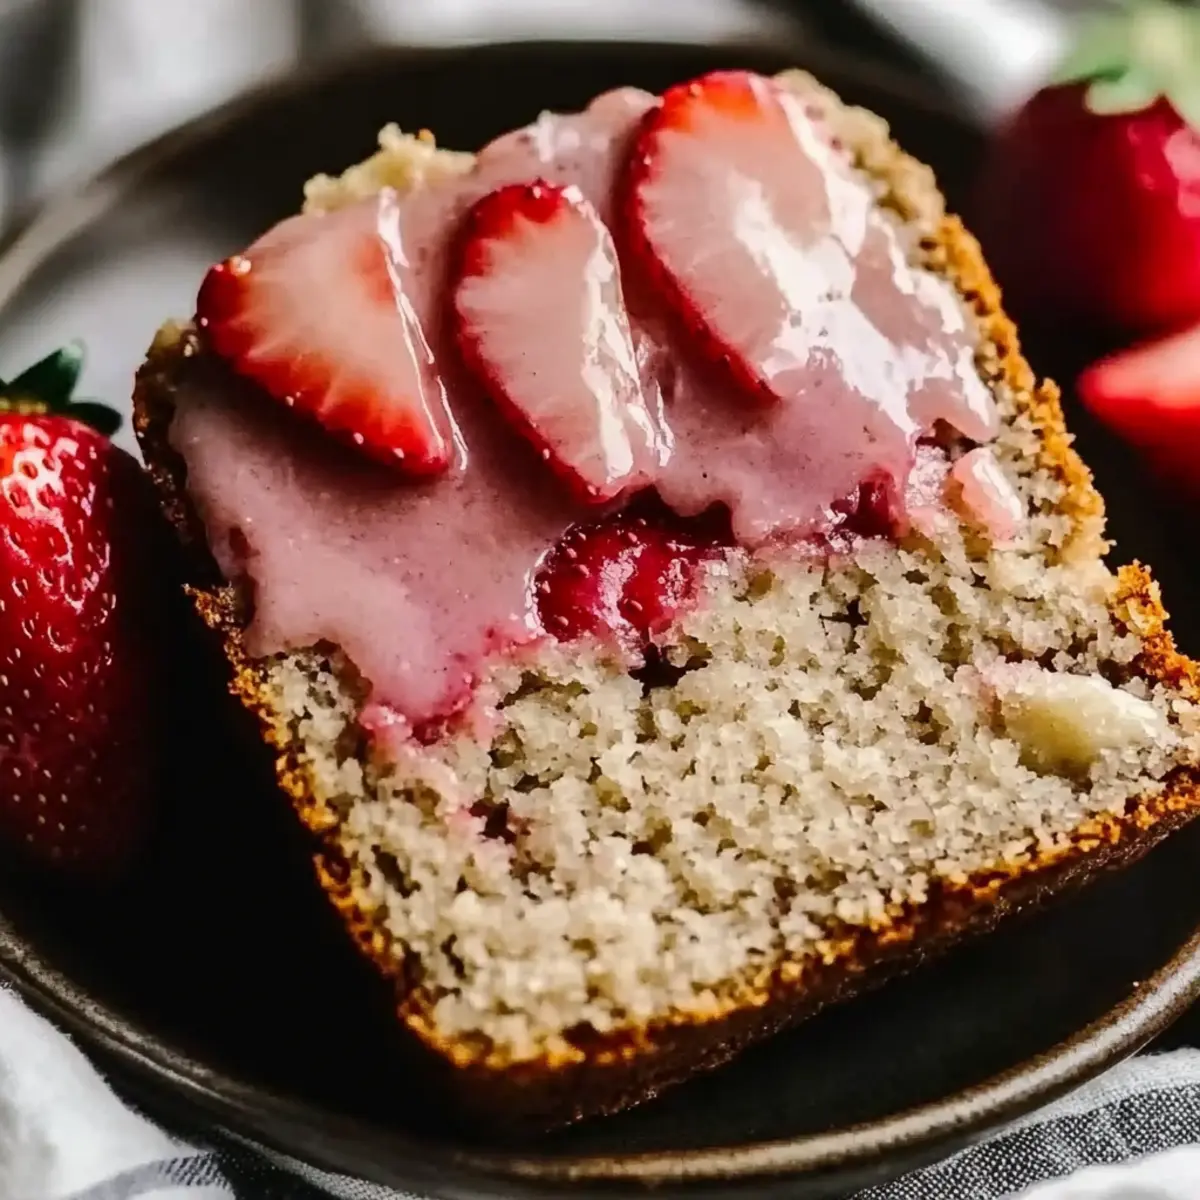
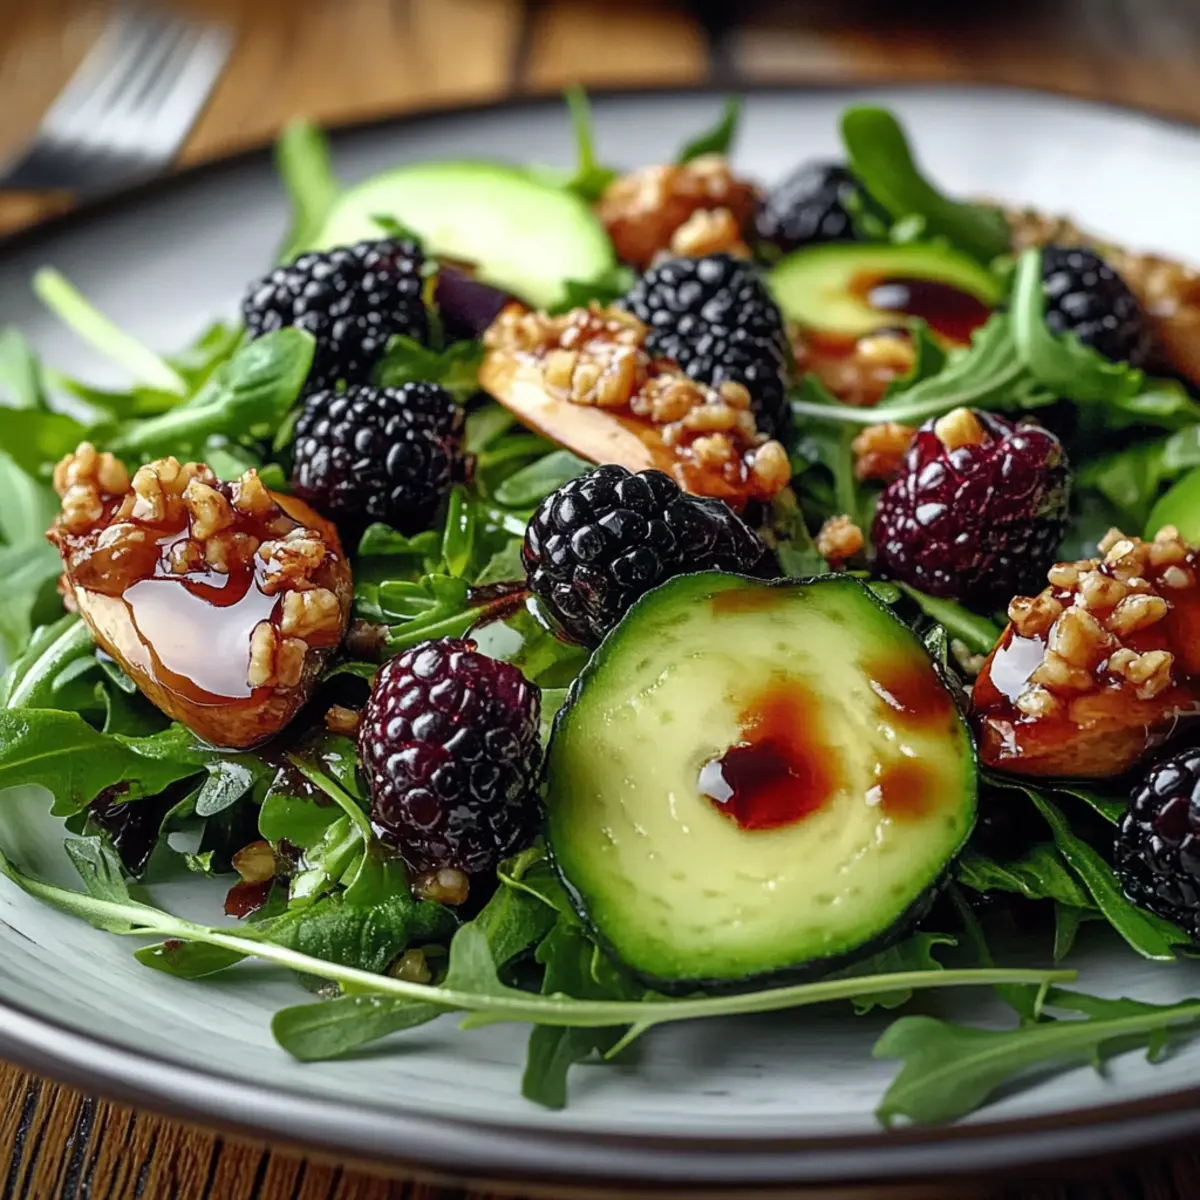
Fresh Fruit Salad: A refreshing medley of seasonal fruits adds a light and sweet contrast, enhancing the vibrant colors and flavors of your breakfast.
-
Zesty Corn Salsa: This zingy side brings a delightful crunch and a pop of flavor, perfectly mingling with the spices of the burrito bowl.
-
Spicy Sausage Links: For meat lovers, adding savory sausage links introduces a satisfying protein-packed element that ramps up the breakfast experience.
-
Refreshing Iced Tea: A cold, brewed tea quenches your thirst and complements the rich flavors of the burrito bowl without overshadowing it.
-
Sweet Cinnamon Rolls: For a touch of indulgence, warm cinnamon rolls provide a sweet, decadent finish to your lively morning spread, balancing out the savory elements.
Serve these delicious pairings alongside your Southwest Breakfast Burrito Bowl for a complete, satisfying morning meal!
Expert Tips for the Best Breakfast Burrito Bowl
Ingredient Freshness: Use fresh cilantro and quality salsa for the most vibrant flavors in your Breakfast Burrito Bowl.
Eggs Perfection: Avoid overcooking the scrambled eggs; they should be light and fluffy, enhancing the overall texture.
Customize Wisely: Feel free to mix in veggies like bell peppers or avocado. Just remember not to overload the bowl, which can make it soggy.
Meal Prep Storage: Keep each component in separate containers for optimal freshness, and assemble just before serving to enjoy the best flavors.
Serving Suggestions: Add a dollop of sour cream or avocado on top for extra creaminess; it elevates the dish beautifully!
Southwest Breakfast Burrito Bowl Recipe FAQs
How do I select ripe ingredients?
Absolutely! When choosing your ingredients, go for vibrant, fresh ones. Look for eggs that are clean and not cracked, and black beans that are firm, not mushy. For the salsa, pick one packed with fresh veggies without too much sugar added—check the label if you're unsure!
How should I store leftovers?
Very simply! Store your assembled Breakfast Burrito Bowl in an airtight container in the fridge for up to 3 days. However, for ideal freshness, I recommend keeping the components like scrambled eggs, black beans, and any optional ingredients like rice or cheese in separate containers. This will preserve each ingredient's texture and flavor!
Can I freeze components of the Breakfast Burrito Bowl?
Absolutely! You can freeze individual components of your Breakfast Burrito Bowl for up to 2 months. Just make sure to tightly wrap or place them in freezer-safe bags to prevent freezer burn. For the best results, the night before you want to enjoy them, move the eggs and beans from the freezer to the fridge to thaw slowly.
What if I overcooked the scrambled eggs?
If you've accidentally overcooked the scrambled eggs, don't worry! Simply add a splash of milk or a dollop of sour cream to the eggs while gently reheating them. This will introduce some moisture back into the eggs, helping to revive their fluffiness and enhance the overall experience of your Breakfast Burrito Bowl.
Can my dog eat leftovers from the Breakfast Burrito Bowl?
While it’s generally safe for dogs to have small amounts of plain scrambled eggs and black beans, avoid giving them any salsa due to onions and spices that can upset their stomachs. Always double-check that there are no additional ingredients that could be harmful to your furry friend before sharing your delicious leftovers!
How can I make the Breakfast Burrito Bowl healthier?
Very easily! You can make this dish healthier by using egg whites instead of whole eggs, reducing the cheese, or adding more fresh veggies like bell peppers or spinach. If you’re looking to lower the carb content, consider omitting the rice entirely or using a cauliflower rice substitute instead!
Delicious Breakfast Burrito Bowl for a Flavorful Start
Ingredients
Equipment
Method
- Gather all ingredients for the Breakfast Burrito Bowl. In a large bowl, crack and scramble 1 cup of eggs until fluffy. Rinse 1 cup of black beans under cold water and drain well.
- In the bowl with scrambled eggs, add the black beans, ½ cup of salsa, ¼ cup of chopped cilantro, 1 tablespoon of lime juice, 1 teaspoon of cumin, 1 teaspoon of salt, and 1 teaspoon of pepper. Mix until well incorporated.
- Stir in 2 cups of cooked rice and ½ cup of cheese if desired. Combine thoroughly until the cheese begins to melt slightly.
- Serve your Breakfast Burrito Bowl immediately or store components separately in airtight containers in the fridge.