As I pulled open my fridge, the familiar sight of a beautiful pork tenderloin made my heart skip a beat. It wasn’t just any dinner on the horizon—it was time for my Tender & Flavorful Asian Pork Tenderloin, a dish that effortlessly transforms a weeknight into a special occasion. With simple ingredients like soy sauce, honey, and fresh ginger, this recipe brings a vibrant twist to the dinner table, ensuring you can say goodbye to bland meals. Not only is it a healthy upgrade, but it also allows for a quick, impressive dinner in less than two hours! The fragrant marinade seeps into each tender slice, creating a memorable dish that invites seconds. Ready to dive into the experience of bold flavors and delightful aromas? Let’s get cooking!
Why is this Asian Pork Tenderloin unforgettable?
Simplicity: A straightforward recipe, combining pantry staples for an enriching flavor in no time.
Marinade Magic: The vibrant blend of soy sauce, honey, and ginger wraps the pork in unbeatable taste.
Crowd-Pleasing Appeal: Perfect for family dinners or impressing guests at your next gathering—you’ll be the culinary star!
Versatile Serving: Enjoy it with rice, noodles, or veggies for a complete meal that suits any palate.
Healthy and Delicious: At only 320 calories per serving, indulge guilt-free while bringing a homemade touch to your table.
Elevate your weeknight dinners with this Tender & Flavorful Asian Pork Tenderloin and enjoy the ultimate comfort food experience.
Tender & Flavorful Asian Pork Tenderloin Ingredients
Unlock the secrets behind this mouthwatering dish with these key ingredients!
For the Pork
- Pork tenderloin – 1.5 to 2 pounds; this cut ensures the dish remains succulent and tender.
For the Marinade
- Soy sauce – ¼ cup; this brings a savory depth that enhances every bite.
- Hoisin sauce – 2 tablespoons; adds a sweet and spicy kick that balances the flavors.
- Honey – 2 tablespoons; its natural sweetness caramelizes beautifully during cooking.
- Rice vinegar – 2 tablespoons; provides a mild tang that brightens the overall taste.
- Sesame oil – 2 tablespoons; introduces a warm, nutty flavor that complements the dish perfectly.
- Garlic – 4 cloves, minced; infuses the marinade with aromatic goodness.
- Fresh ginger – 1 inch, grated; gives a zesty punch and layers of flavor.
- Sriracha – 1 tablespoon; adjust to taste for desired heat intensity.
For Garnish
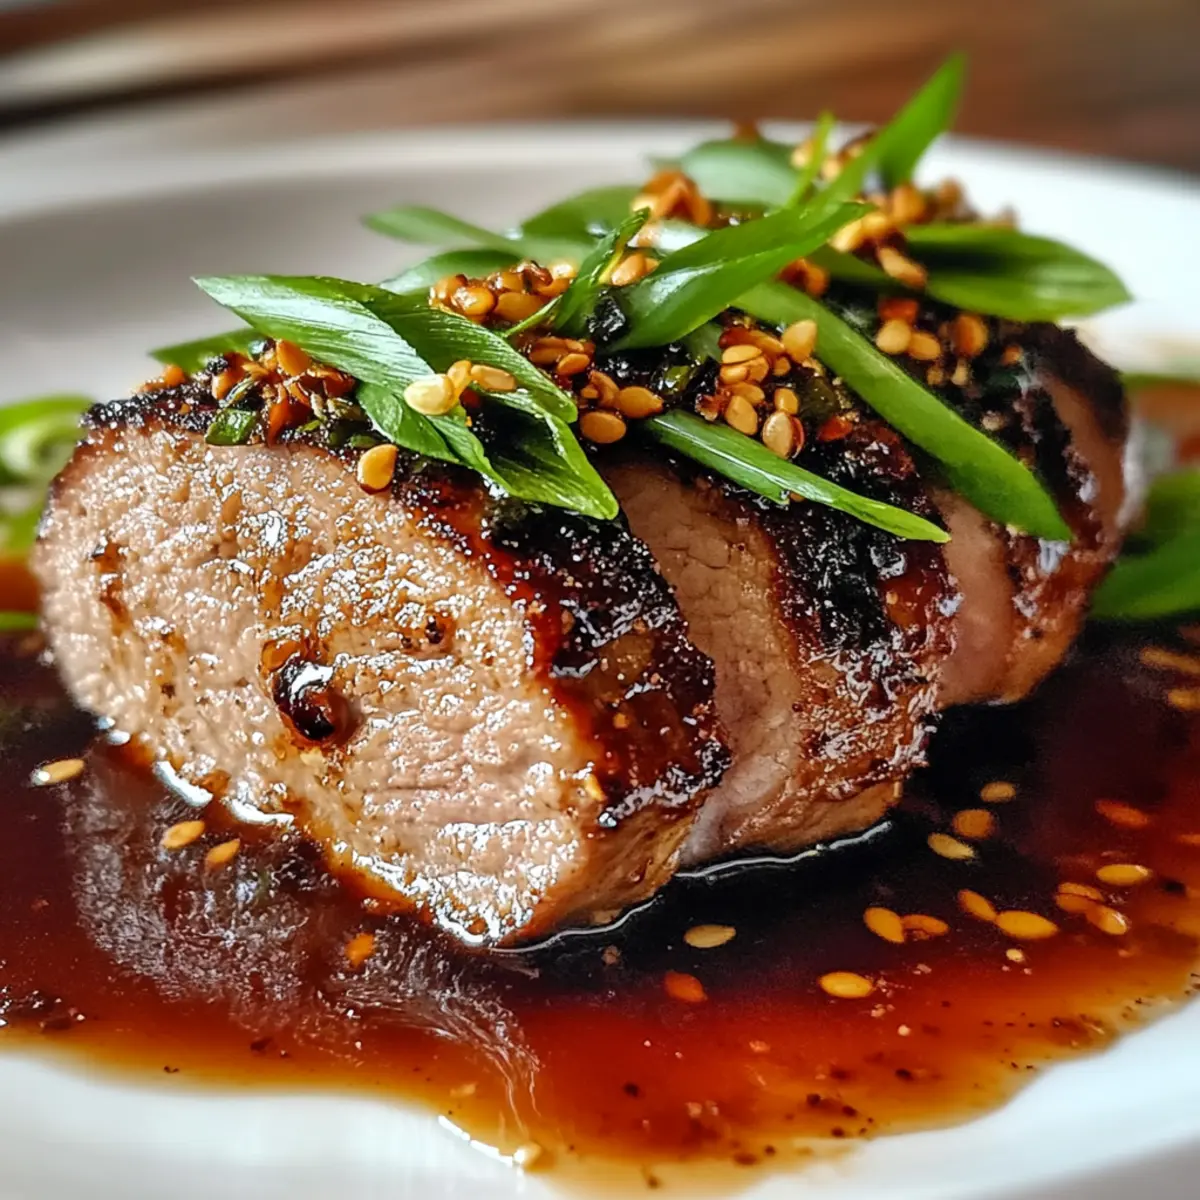
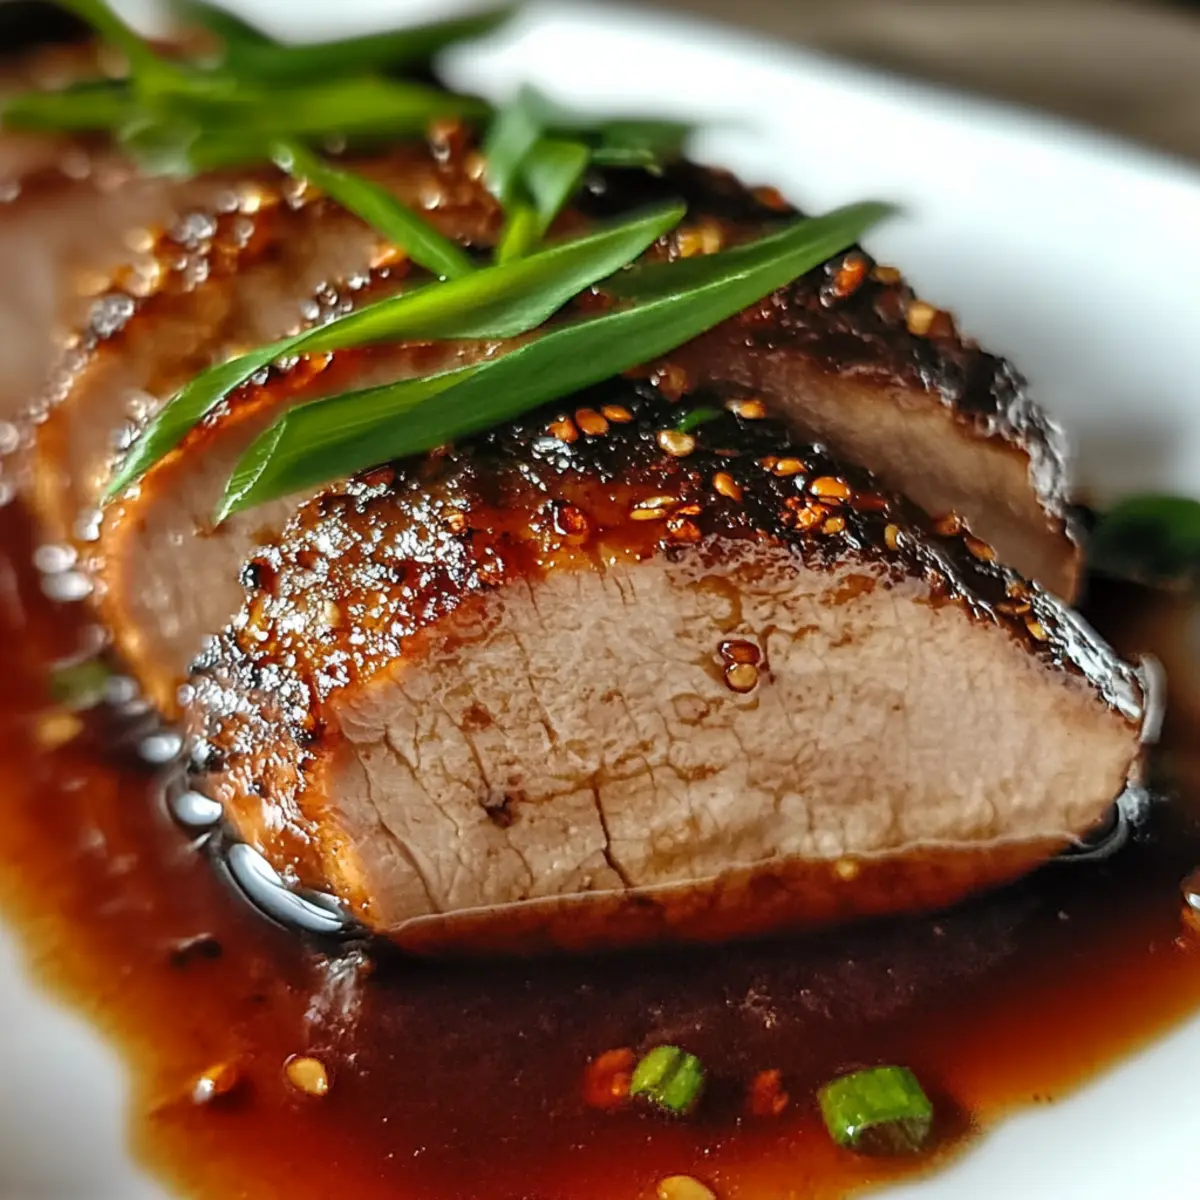
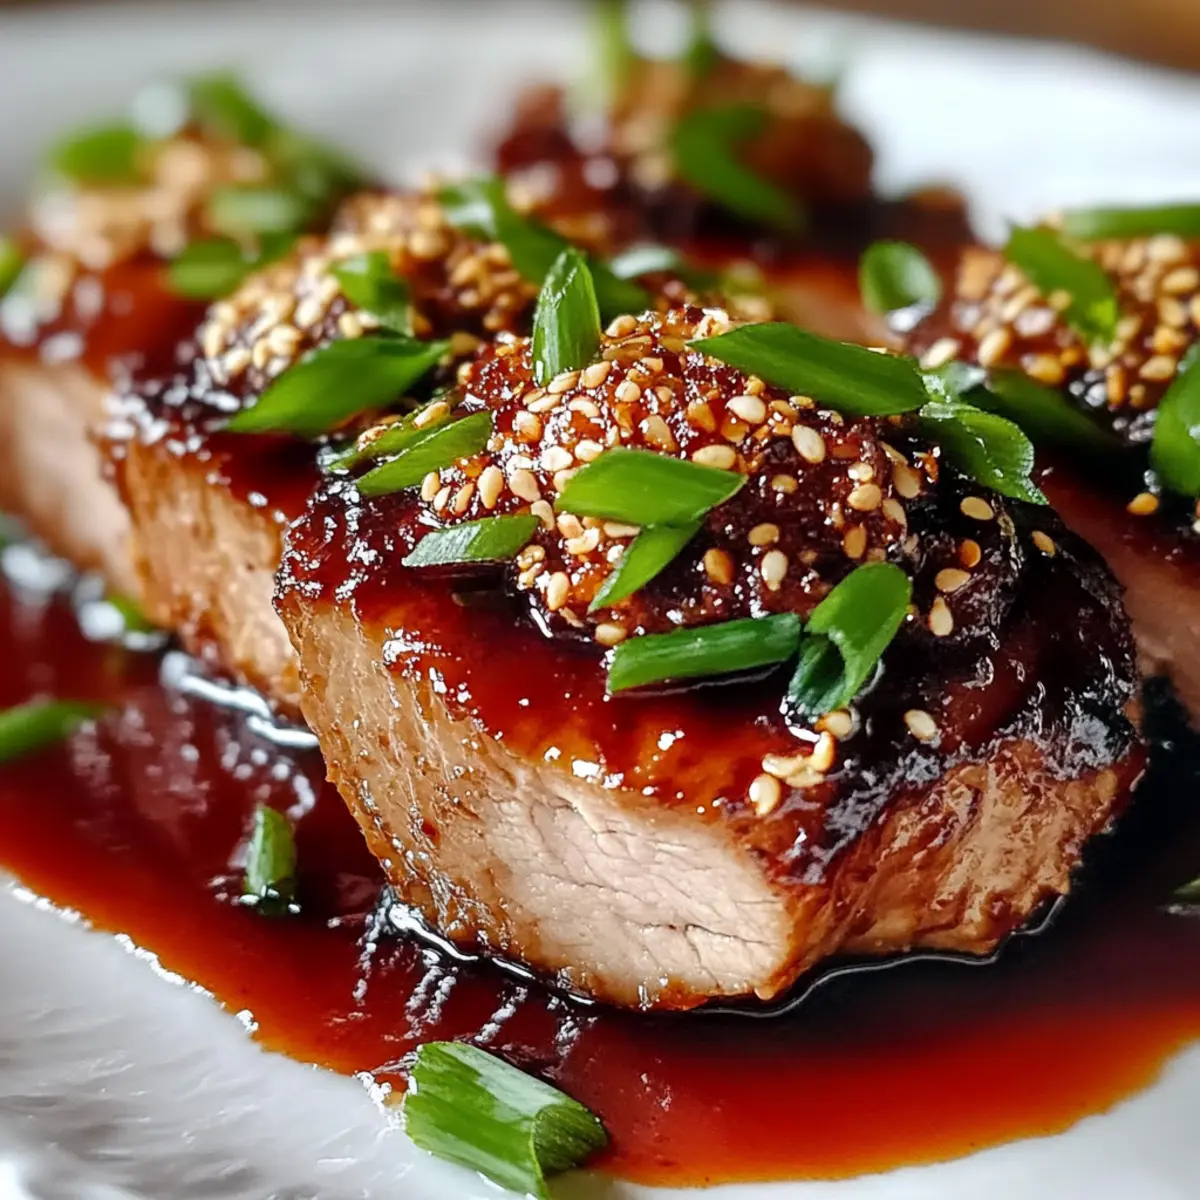
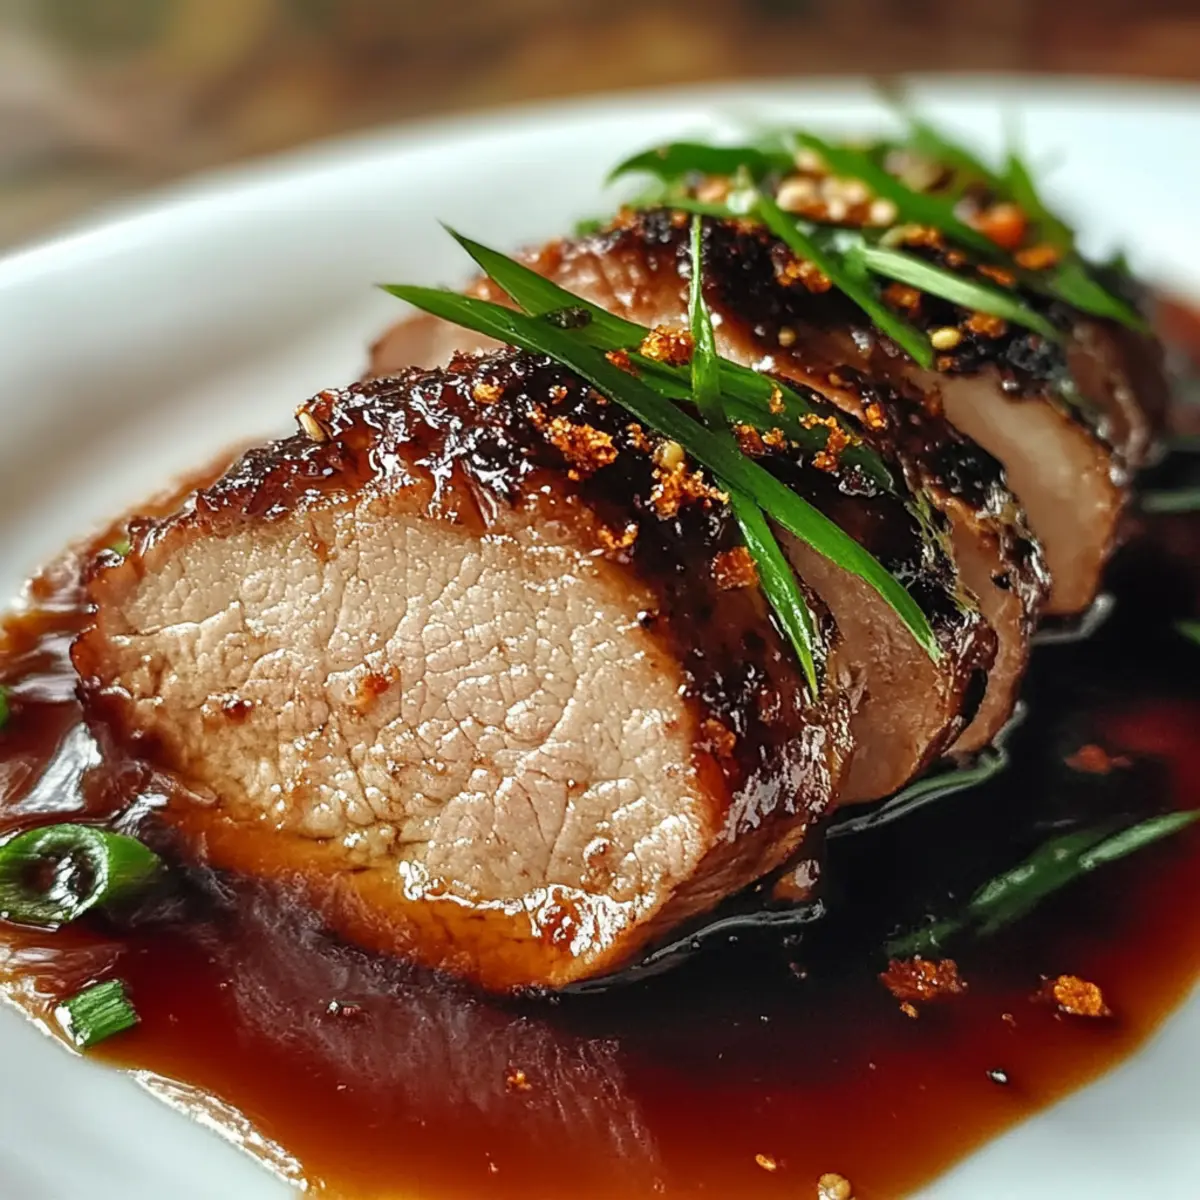
- Green onions – 2, chopped; add freshness and color to your serving.
- Sesame seeds – 1 tablespoon; for that perfect finishing touch that adds crunch.
Seasoning
- Salt and pepper – to taste; essential for enhancing all the flavors in this Tender & Flavorful Asian Pork Tenderloin.
Gather these ingredients, and let the flavor adventure begin!
Step‑by‑Step Instructions for Tender & Flavorful Asian Pork Tenderloin
Step 1: Preheat and Prepare
Start by preheating your oven to 400°F (200°C), creating a warm environment for the pork tenderloin to roast beautifully. While the oven warms up, gather your mixing bowl and whisk, as well as the ingredients for the marinade. This step sets the stage for the vibrant flavors to shine through in your dish.
Step 2: Make the Marinade
In a mixing bowl, whisk together the soy sauce, hoisin sauce, honey, rice vinegar, sesame oil, minced garlic, freshly grated ginger, and Sriracha until well combined. This aromatic marinade is key to achieving the rich flavor profile of your Tender & Flavorful Asian Pork Tenderloin. The mixture should have a glossy appearance, and the smell will awaken your taste buds for the upcoming meal.
Step 3: Marinade the Pork
Transfer the pork tenderloin into a resealable bag or a shallow dish. Pour the vibrant marinade over the pork, ensuring it is completely coated for maximum flavor penetration. Seal or cover the dish and refrigerate for at least 1 hour, though marinating overnight is ideal for deeper flavor infusion. Visualize the tenderloin soaking up all the deliciousness, ready to impress at dinnertime!
Step 4: Bring to Room Temperature
Once marinated, take the pork tenderloin out of the fridge and let it sit at room temperature for about 15 minutes. This step allows for even cooking, ensuring your Tender & Flavorful Asian Pork Tenderloin cooks uniformly. Remember to reserve the marinade for later use, as this will add more depth to the dish in the following steps.
Step 5: Sear the Pork
In a large oven-safe skillet, heat a drizzle of oil over medium-high heat. Once hot, add the pork tenderloin and sear each side for 3-4 minutes until it turns a lovely golden brown. The sizzling sound and enticing aroma signal that you're on the right track to creating a perfectly tender pork tenderloin!
Step 6: Add the Marinade
After searing, pour the reserved marinade over the pork tenderloin, allowing it to soak into the meat and gather flavors. Carefully transfer the skillet to your preheated oven. As you slide it in, watch for the marinade to bubble, hinting at the incredible cooking process unfolding.
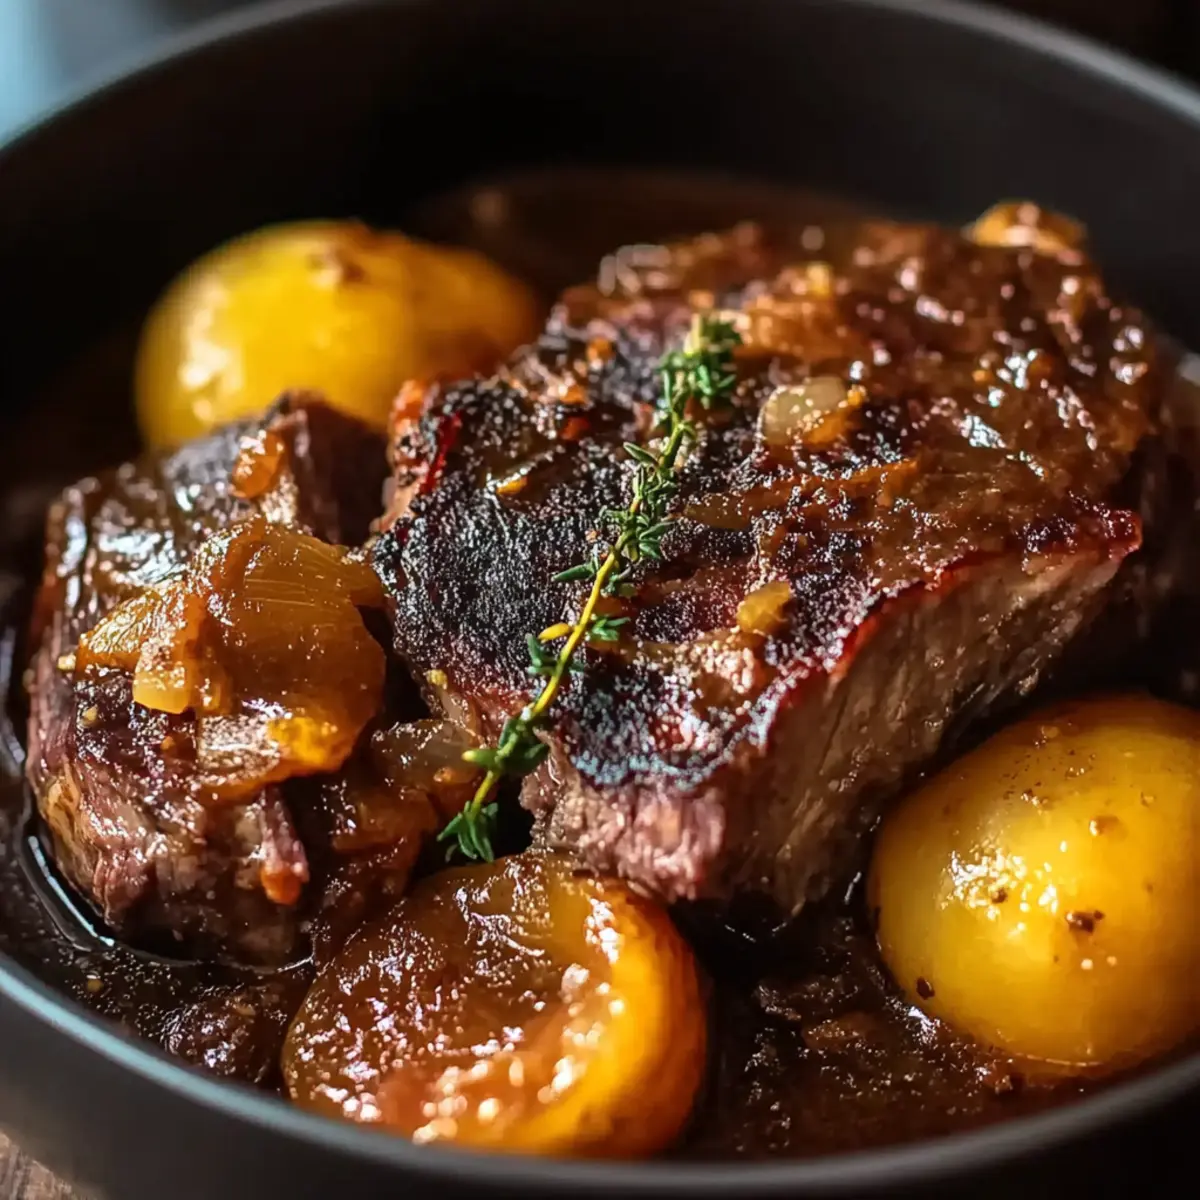
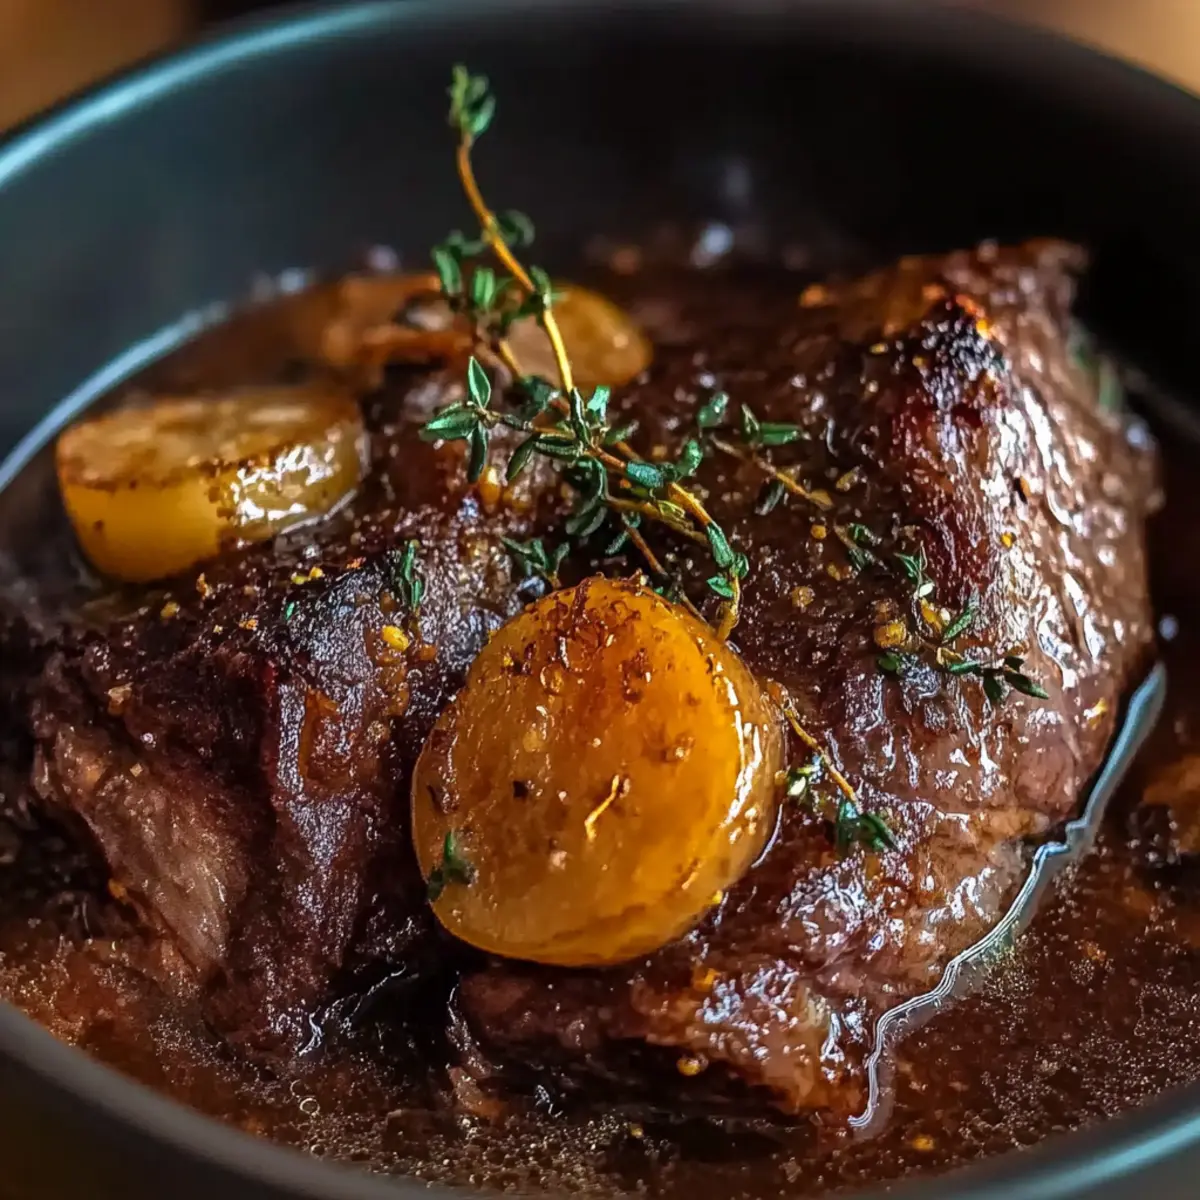
Step 7: Roast to Perfection
Roast the pork tenderloin for 15-20 minutes, basting it with the sauce halfway through for additional flavor and moisture. The internal temperature should reach 145°F (63°C) for a tender and juicy outcome. Keep an eye on the meat, as you want it to have that perfect rosy pink in the center, announcing its doneness without drying out.
Step 8: Rest the Meat
Once cooked, carefully remove the skillet from the oven and let the pork tenderloin rest for 5-10 minutes. This resting period allows the juices to redistribute, resulting in a more succulent bite. The sizzling sounds may subside, but the aroma in your kitchen continues to fill the air, hinting at the delicious meal ahead.
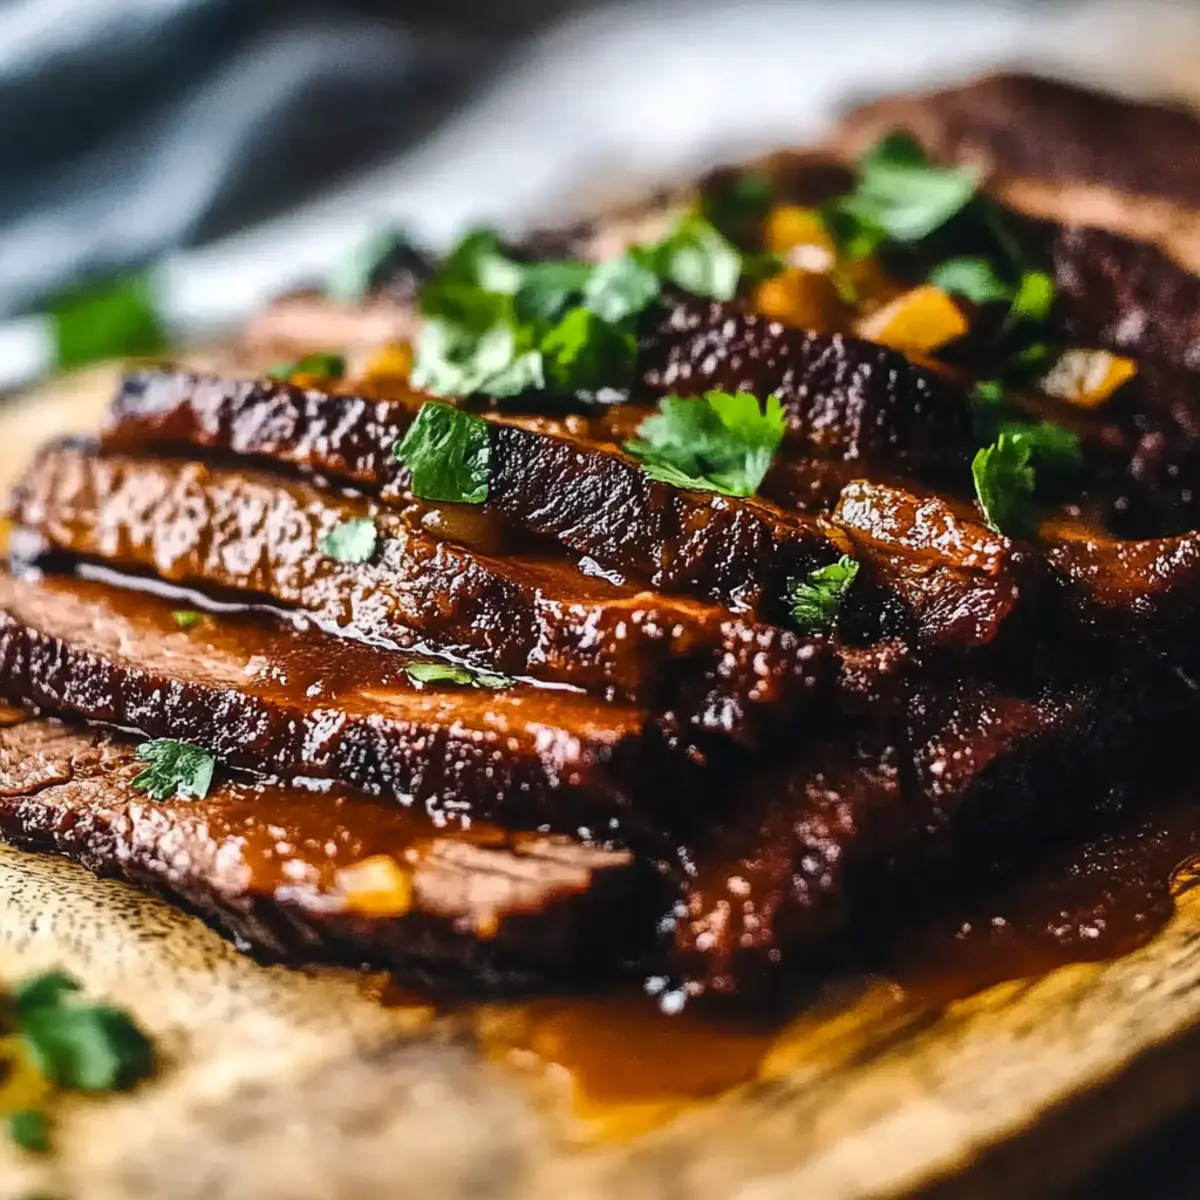
Step 9: Slice and Serve
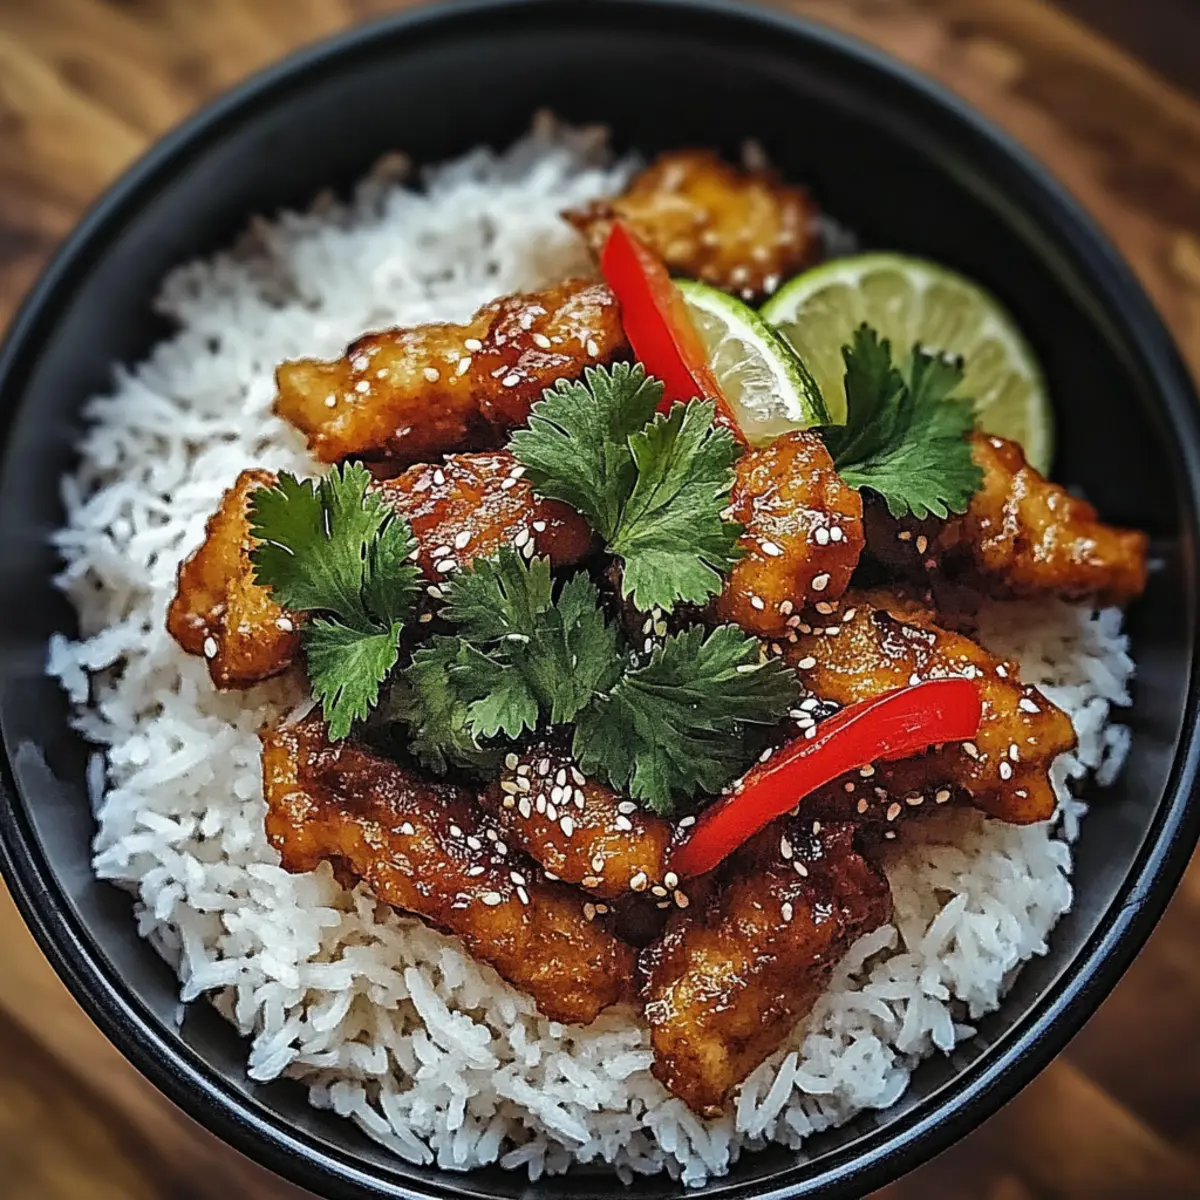
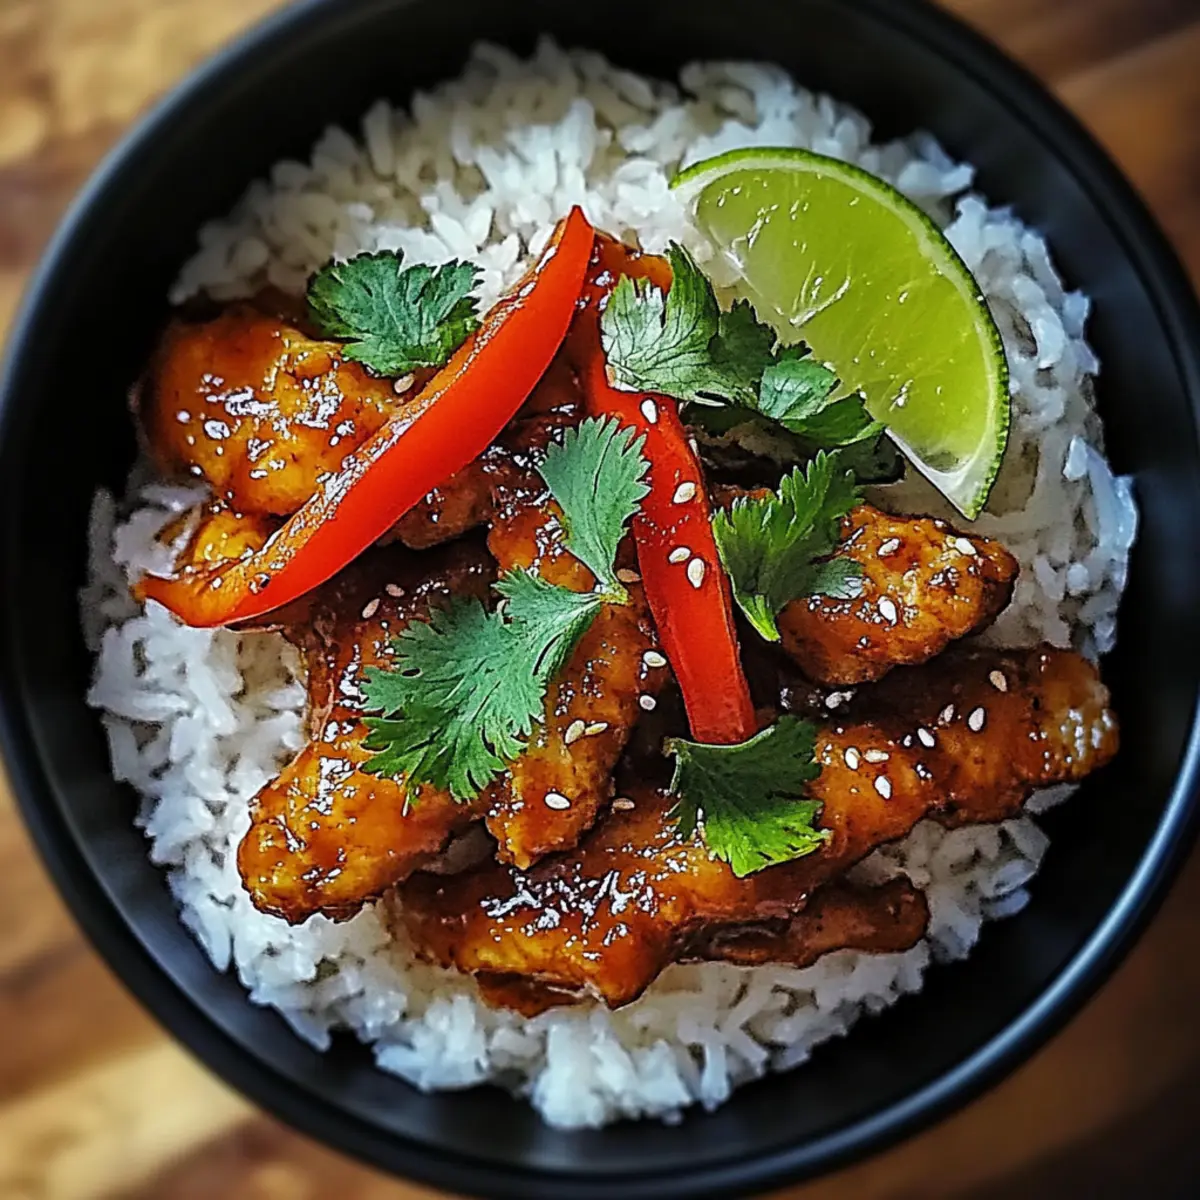
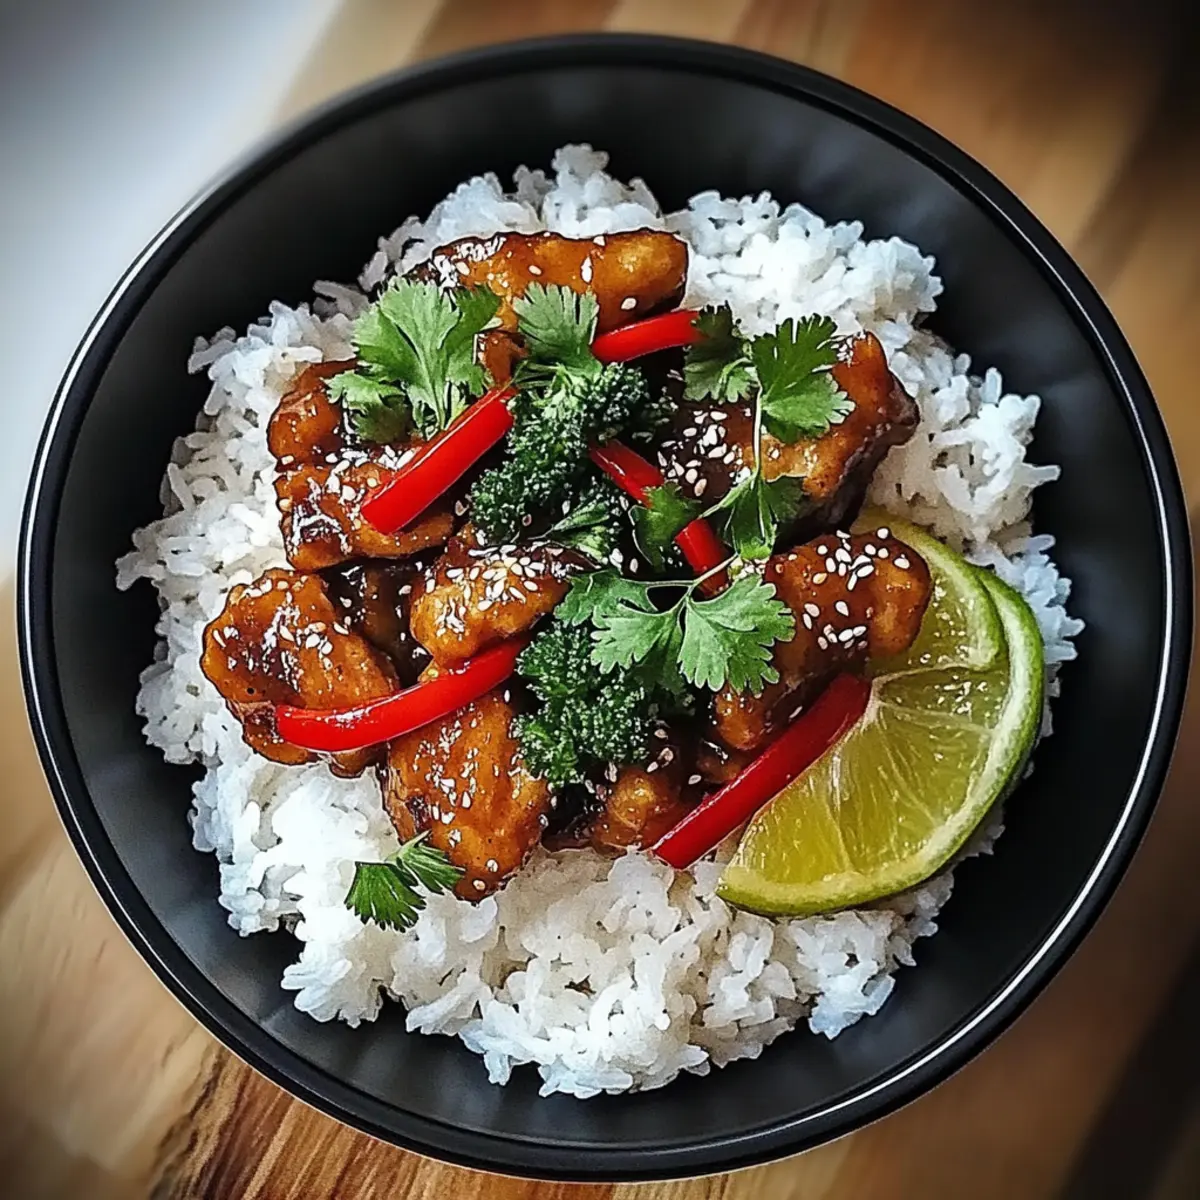
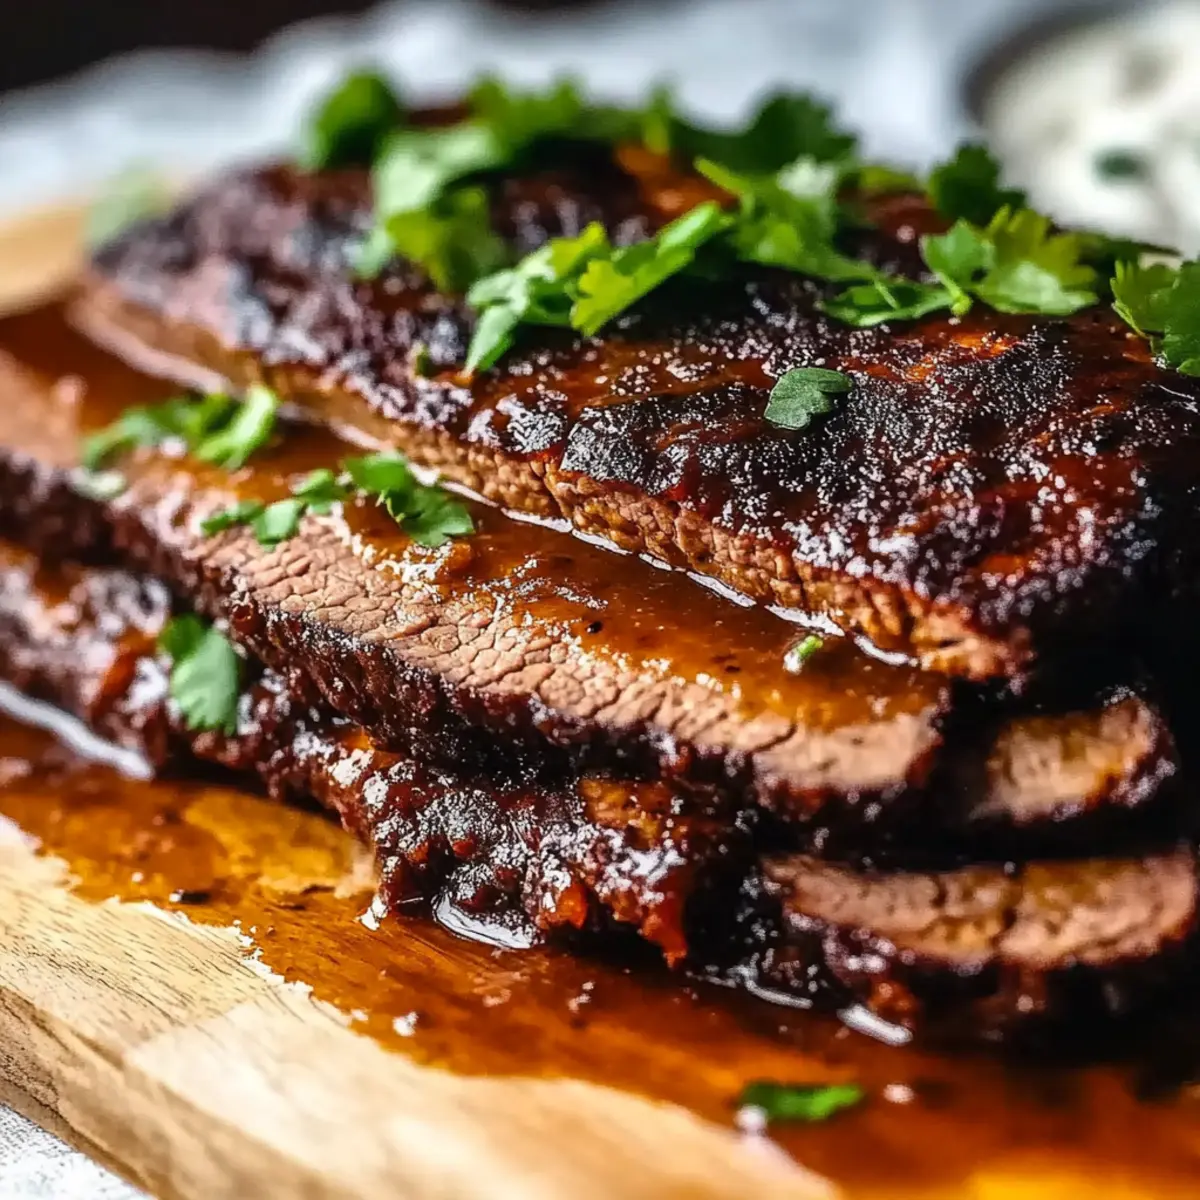
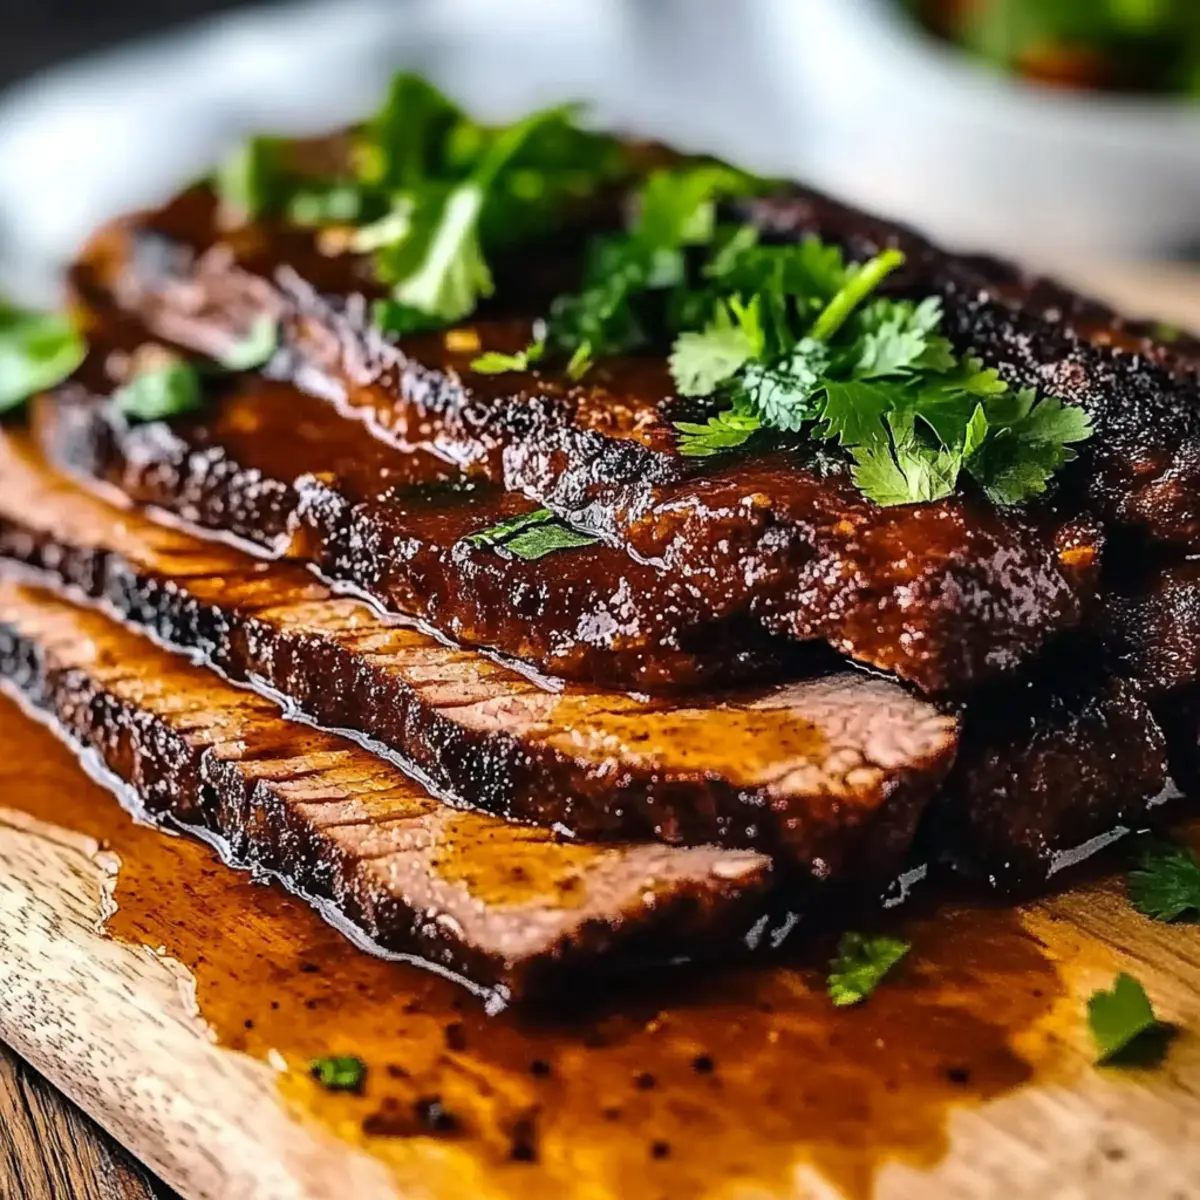
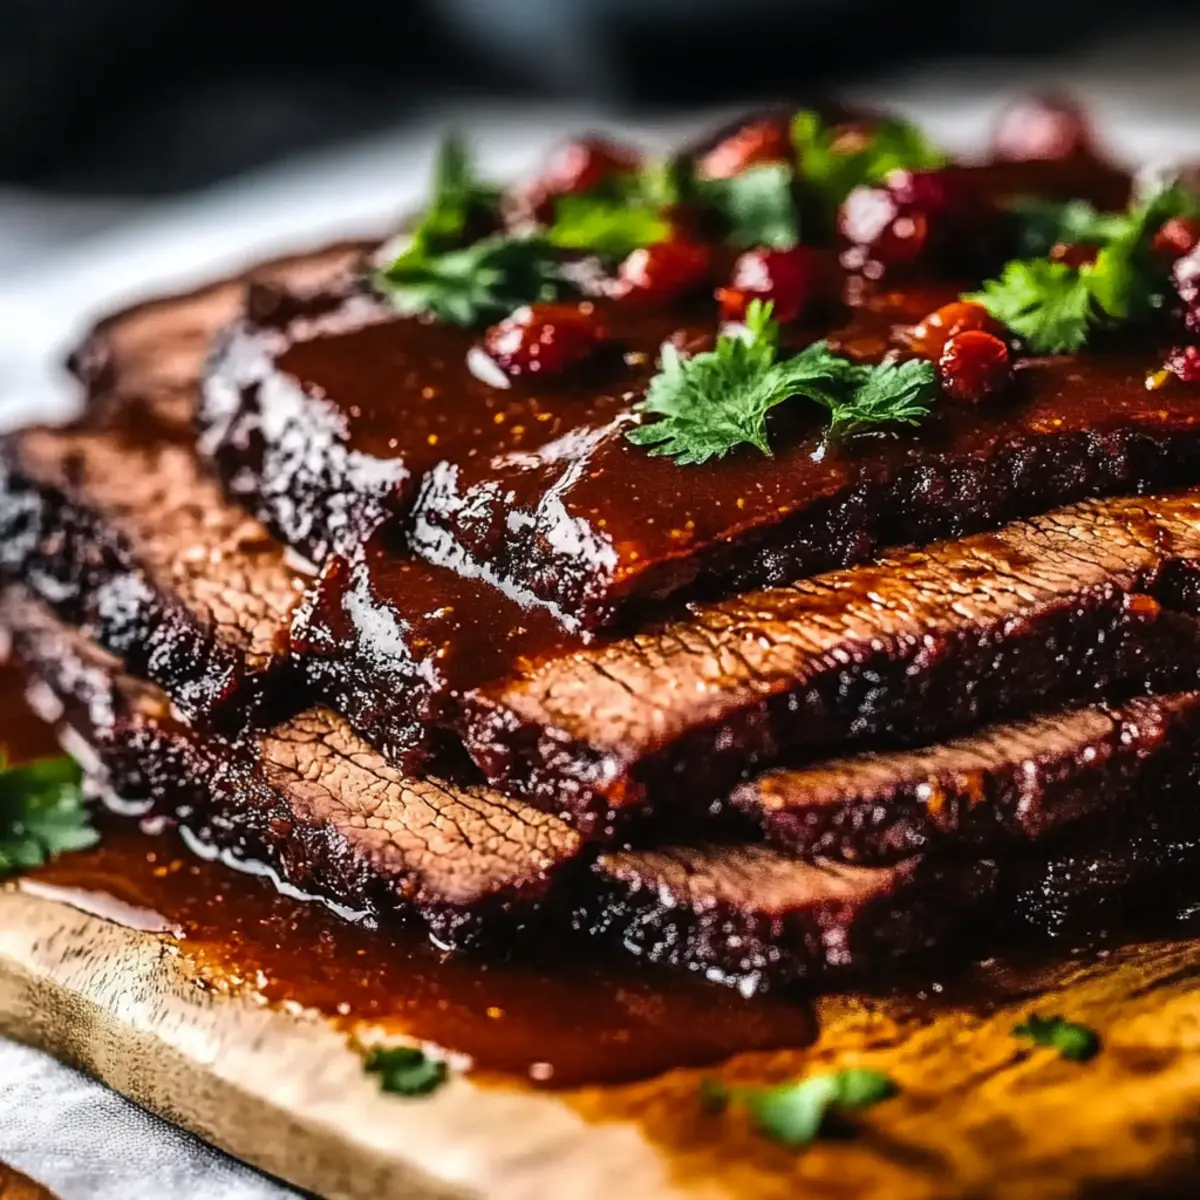
With a sharp knife, slice the pork tenderloin into beautiful medallions, showcasing its tender, juicy interior. Arrange the slices on a platter, drizzling any remaining sauce over the top. Finish off your Tender & Flavorful Asian Pork Tenderloin by garnishing with chopped green onions and sesame seeds, adding color and a delightful crunch to each serving.
Tender & Flavorful Asian Pork Tenderloin Variations
Feel free to explore these creative twists, allowing your taste buds to dance with excitement as you customize this dish!
- Honey Substitute: Use maple syrup for a vegan-friendly alternative that adds a unique sweetness.
- Ginger Kick: Incorporate 1 tablespoon of minced fresh ginger for a bolder, zesty flavor that complements the marinade.
- Chili Paste: Add a teaspoon of chili paste instead of Sriracha for an extra spicy kick that elevates the dish's heat.
- Coconut Aminos: Swap soy sauce for coconut aminos to create a soy-free, slightly sweeter version of this classic Asian dish.
- Vegetable Medley: Add a colorful mix of bell peppers, snap peas, and carrots to the roast for a delicious veggie punch with every bite.
- Herb Infusion: Marinate with fresh herbs like cilantro or basil to introduce an aromatic layer that brightens the flavor profile beautifully.
- Sweet & Savory: Sprinkle brown sugar over the pork before roasting for a delightful caramelized crust that adds a rich sweetness.
- Caramelized Onions: Serve atop a bed of caramelized onions for added sweetness and texture that pairs wonderfully with the pork’s flavors.
Feel inspired to make these variations your own, turning this dish into a personal masterpiece. And if you're looking to enhance your culinary experience further, consider pairing it with fragrant rice, or for a low-carb option, a fresh cabbage salad may do the trick. Enjoy your time in the kitchen!
What to Serve with Tender & Flavorful Asian Pork Tenderloin
Imagine a beautifully set table, where each dish complements the next, enhancing the delightful experience of your main course.
- Jasmine Rice: Fluffy and fragrant, this rice makes the perfect canvas for soaking up the rich sauces from the pork.
- Stir-Fried Veggies: A colorful medley of bell peppers, broccoli, and snap peas adds freshness and crunch to your meal, balancing the tender pork.
- Crispy Spring Rolls: Filled with vegetables and served with a sweet dipping sauce, they provide delightful contrast against the soft texture of the pork.
- Coconut Curry Soup: Its creamy texture and spicy notes pair beautifully with the tender meat, creating a harmonious blend of flavors.
- Asian Cucumber Salad: Cool, crisp, and tangy, this salad refreshes your palate and enhances the umami notes of the pork.
- Sesame Noodles: Soft noodles tossed in a sesame dressing echo the Asian flavors, rounding out your meal with satisfying comfort.
- Lychee Martini: Sweet and fruity, this cocktail adds a festive twist while contrasting nicely with the savory pork flavors.
- Mango Sticky Rice: For dessert, this sweet treat combines a luscious fruit with chewy rice, creating a delightful end to your meal.
Expert Tips for Tender & Flavorful Asian Pork Tenderloin
• Marinate Longer: For the best flavor, consider marinating overnight. This allows the pork to absorb the bold flavors of the marinade deeply.
• Room Temperature: Letting the pork sit at room temperature for about 15 minutes before cooking helps it cook evenly, preventing dryness.
• Baste Regularly: While roasting, baste the pork with the sauce halfway through. This adds moisture and enhances the rich flavor of the Tender & Flavorful Asian Pork Tenderloin.
• Check Temperature: Use a meat thermometer to ensure the pork reaches 145°F (63°C) for perfect doneness. Overcooking can lead to a dry texture.
• Resting is Key: Allow the pork to rest after cooking; this helps retain the juices for a succulent, tender bite. It’s worth the wait!
Make Ahead Options
These Tender & Flavorful Asian Pork Tenderloin are a fantastic choice for meal prep! You can marinate the pork up to 24 hours in advance, allowing the flavors to develop beautifully. Simply follow the marinade steps, place the pork in a resealable bag, and refrigerate. If you're short on time, marinating for at least 1 hour will still yield delicious results. Additionally, you can slice and prepare the garnishes (green onions and sesame seeds) up to 3 days ahead; just keep them refrigerated for freshness. When ready to impress your family, sear and roast the marinated pork as directed, ensuring a quick yet impressive meal that tastes just as delicious as if you made it from scratch on the spot!
How to Store and Freeze Tender & Flavorful Asian Pork Tenderloin
Fridge: Store leftover pork tenderloin in an airtight container for up to 3 days to maintain its delicious flavor and tenderness.
Freezer: For longer storage, freeze sliced or whole pork tenderloin wrapped tightly in plastic wrap and then aluminum foil for up to 3 months; it's perfect for a quick meal later!
Reheating: Thaw in the fridge overnight, then reheat gently in the microwave or on the stove over low heat, adding a splash of marinade if needed to keep it moist.
Room Temperature: Avoid leaving pork tenderloin out at room temperature for more than 2 hours to ensure safety and preserve quality.
Tender & Flavorful Asian Pork Tenderloin Recipe FAQs
What should I look for when selecting pork tenderloin?
Absolutely! Look for pork tenderloin that is pinkish-red with a bit of marbling. Avoid any cuts that have dark spots or a grayish hue, as these indicate age. Fresh tenderloin should feel firm, not mushy, and you’ll want to avoid any packaging that appears bloated or excessively liquid.
How long can I store leftover pork tenderloin in the fridge?
Leftover tender & flavorful Asian pork tenderloin can be stored in an airtight container for up to 3 days in the fridge. It’s essential to cool it down to room temperature before sealing it to lock in freshness and prevent any moisture loss.
Can I freeze my pork tenderloin? What’s the best way to do it?
Yes, you can absolutely freeze your pork tenderloin! First, slice it into medallions or leave it whole, whichever you prefer. Wrap it tightly in plastic wrap, then place it in a freezer bag or wrap it in aluminum foil to prevent freezer burn. This way, your tenderloin can last up to 3 months. For the best results, label it with the date so you know when to use it!
What happens if I overcook the pork tenderloin? How can I fix it?
Very common! Overcooking can lead to a dry and chewy texture. If this happens, try slicing the pork thinly to help it seem less dry. You can also make a quick sauce with a little leftover marinade, heated gently, and drizzle it over the slices for added moisture. Remember, cooking it to an internal temperature of 145°F (63°C) is key to keeping it juicy.
Is this recipe suitable for special dietary needs?
Absolutely! If you have dietary restrictions, this recipe is quite adaptable. For gluten-free needs, opt for tamari or gluten-free soy sauce. If you’re watching your sugar intake, you can swap honey for a low-calorie sweetener. However, always check for allergies to key ingredients like sesame oil and Sriracha—consider omitting those if necessary.
Can I make this dish in advance for a gathering?
Yes, you can! Prepare the marinade and let the pork tenderloin soak overnight. Then, right before serving, sear, roast, and let it rest according to the recipe. Once you’re ready to eat, simply slice and serve. This allows the flavors to develop deeply, making it even more delectable for your guests!
Tender & Flavorful Asian Pork Tenderloin: A Home Cook's Dream
Ingredients
Equipment
Method
- Preheat your oven to 400°F (200°C). Prepare your mixing bowl and whisk with the marinade ingredients.
- In a mixing bowl, whisk together the soy sauce, hoisin sauce, honey, rice vinegar, sesame oil, minced garlic, freshly grated ginger, and Sriracha.
- Transfer the pork tenderloin into a resealable bag or shallow dish. Pour the marinade over the pork, ensuring it is coated. Refrigerate for at least 1 hour.
- After marinating, let the pork sit at room temperature for 15 minutes.
- In a large oven-safe skillet, heat a drizzle of oil over medium-high heat. Sear the pork tenderloin on each side for 3-4 minutes until golden brown.
- Pour the reserved marinade over the pork tenderloin and transfer the skillet to the preheated oven.
- Roast for 15-20 minutes, basting with the sauce halfway through. The internal temperature should reach 145°F (63°C).
- Remove from the oven and let the pork rest for 5-10 minutes.
- Slice the pork into medallions and arrange on a platter, drizzling with remaining sauce. Garnish with green onions and sesame seeds.