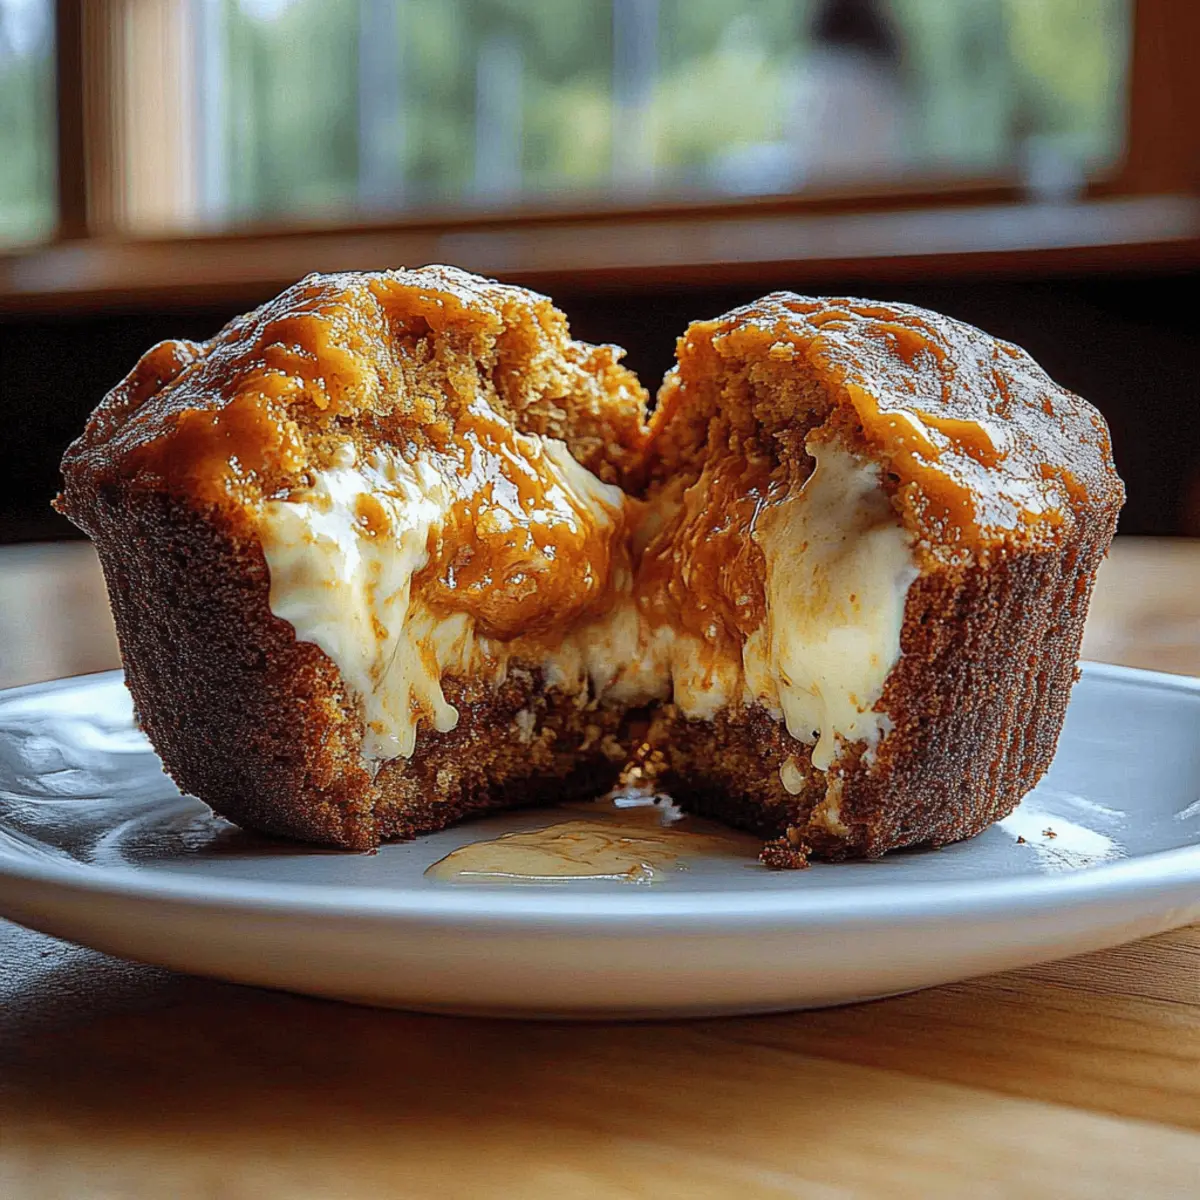
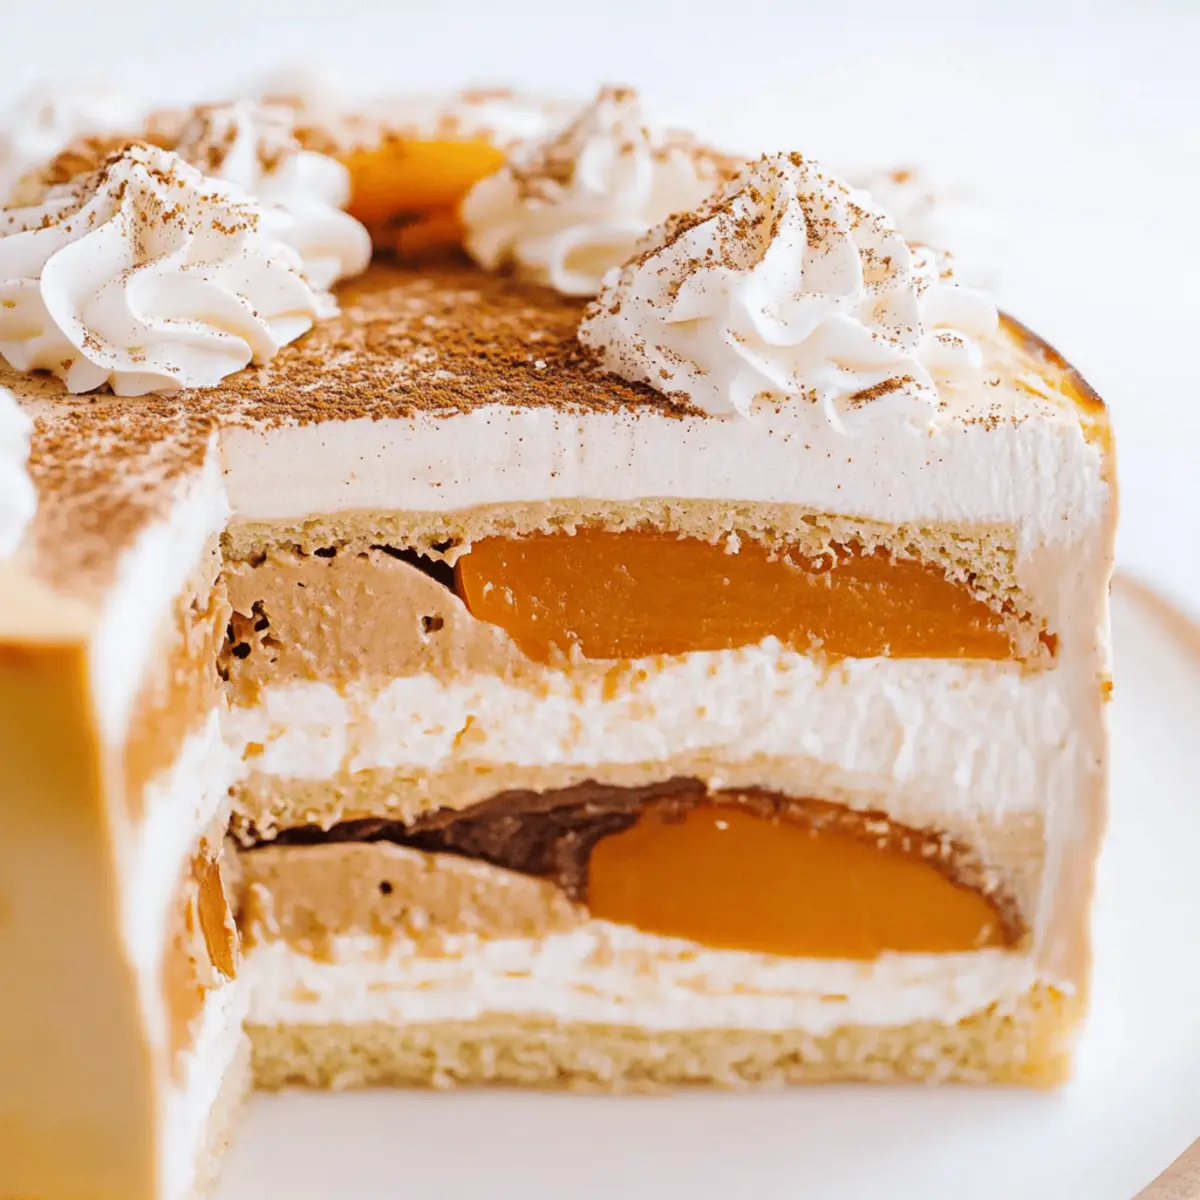
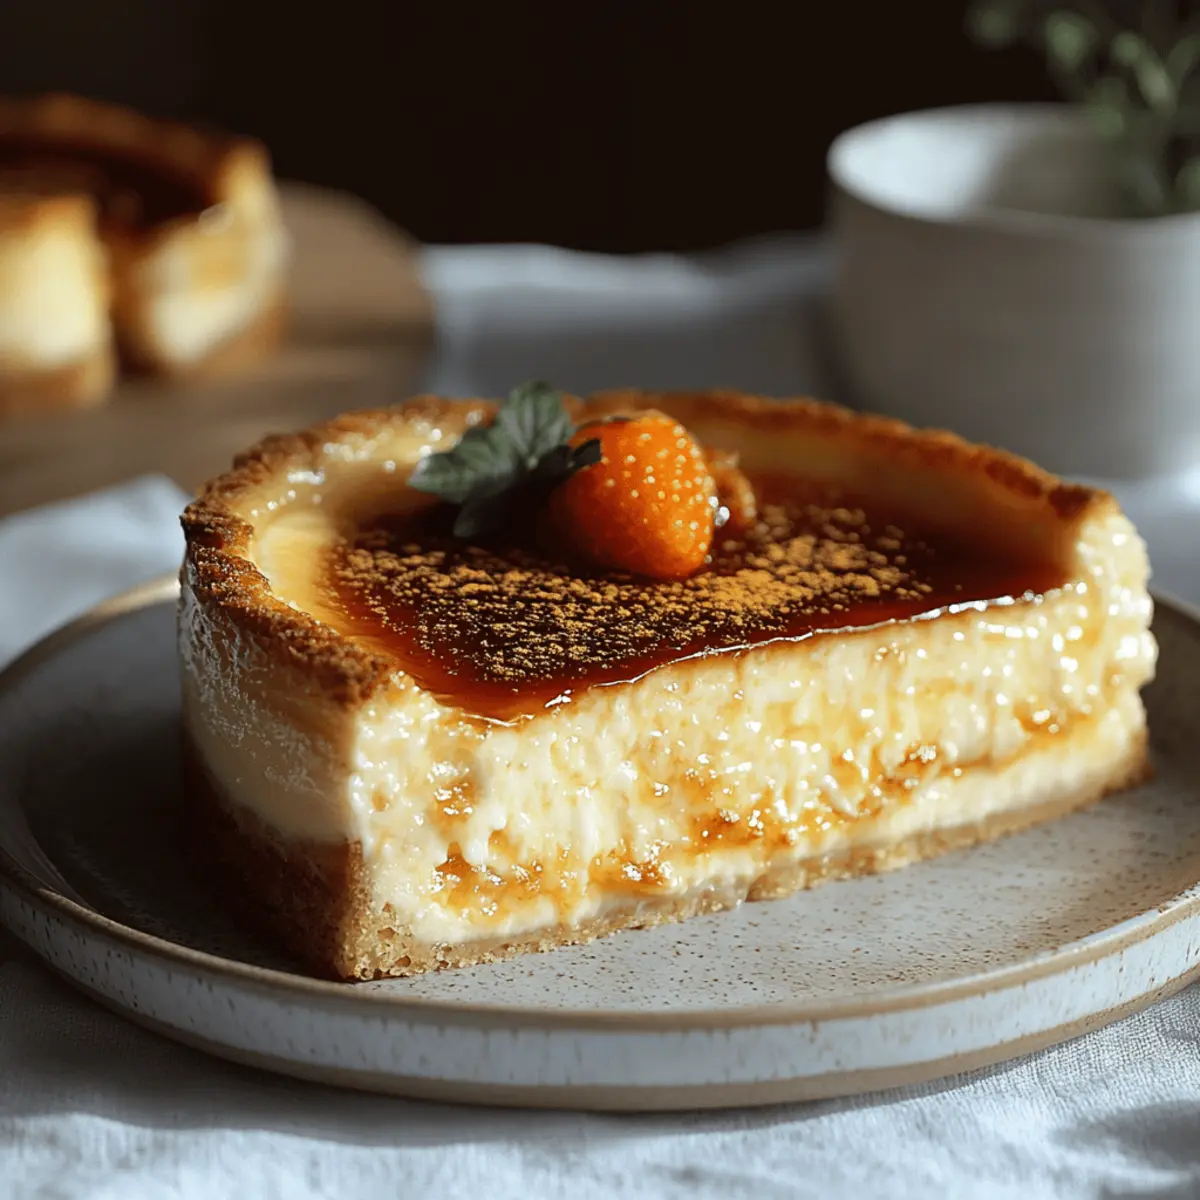
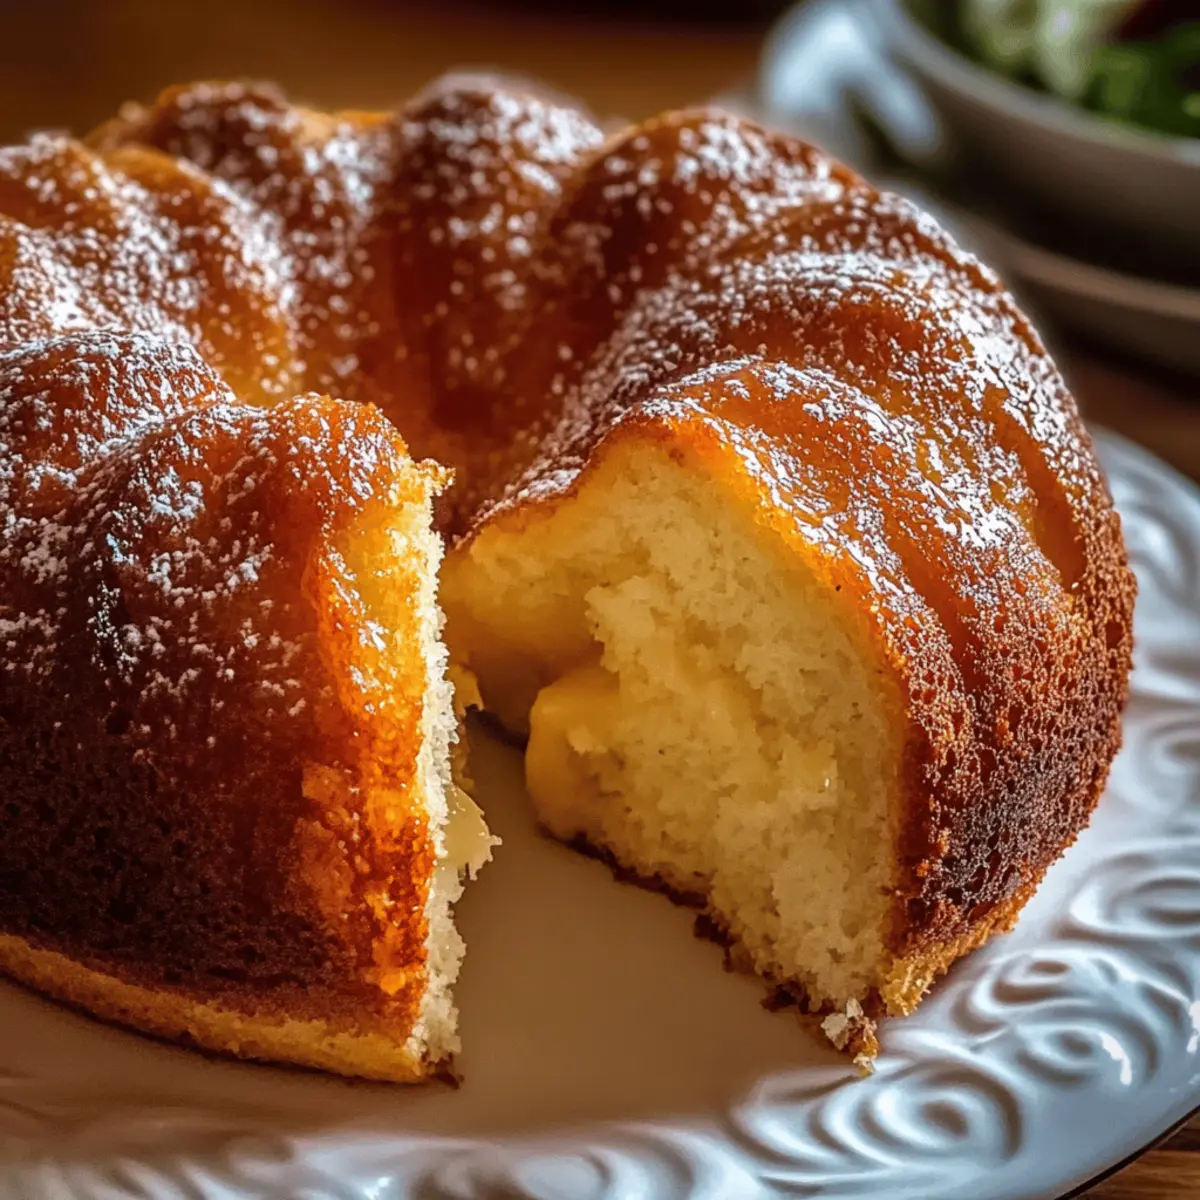
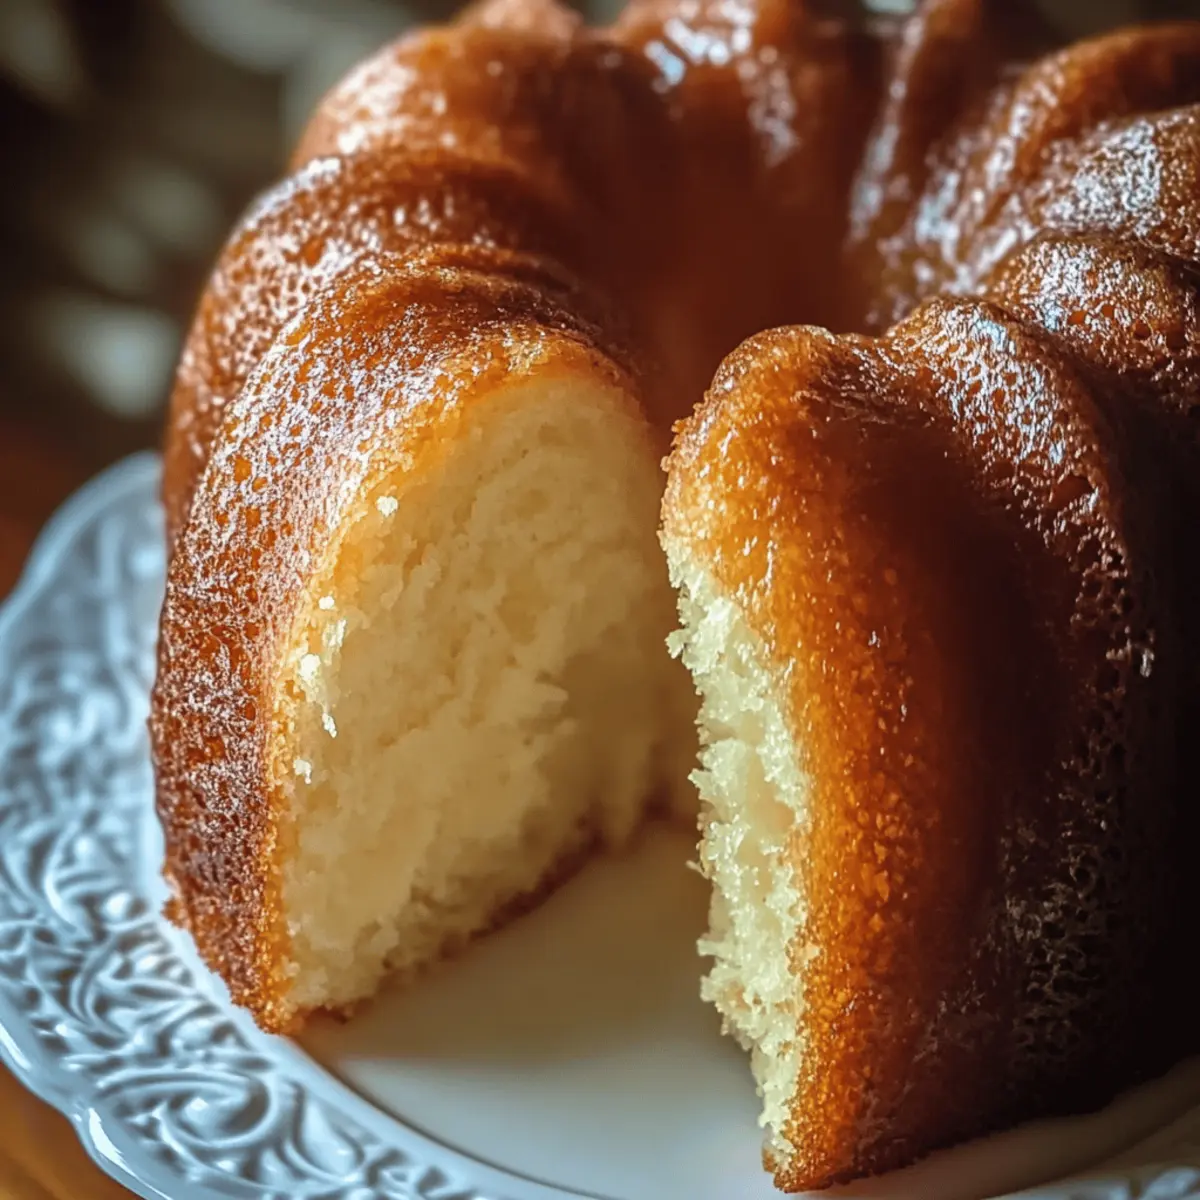
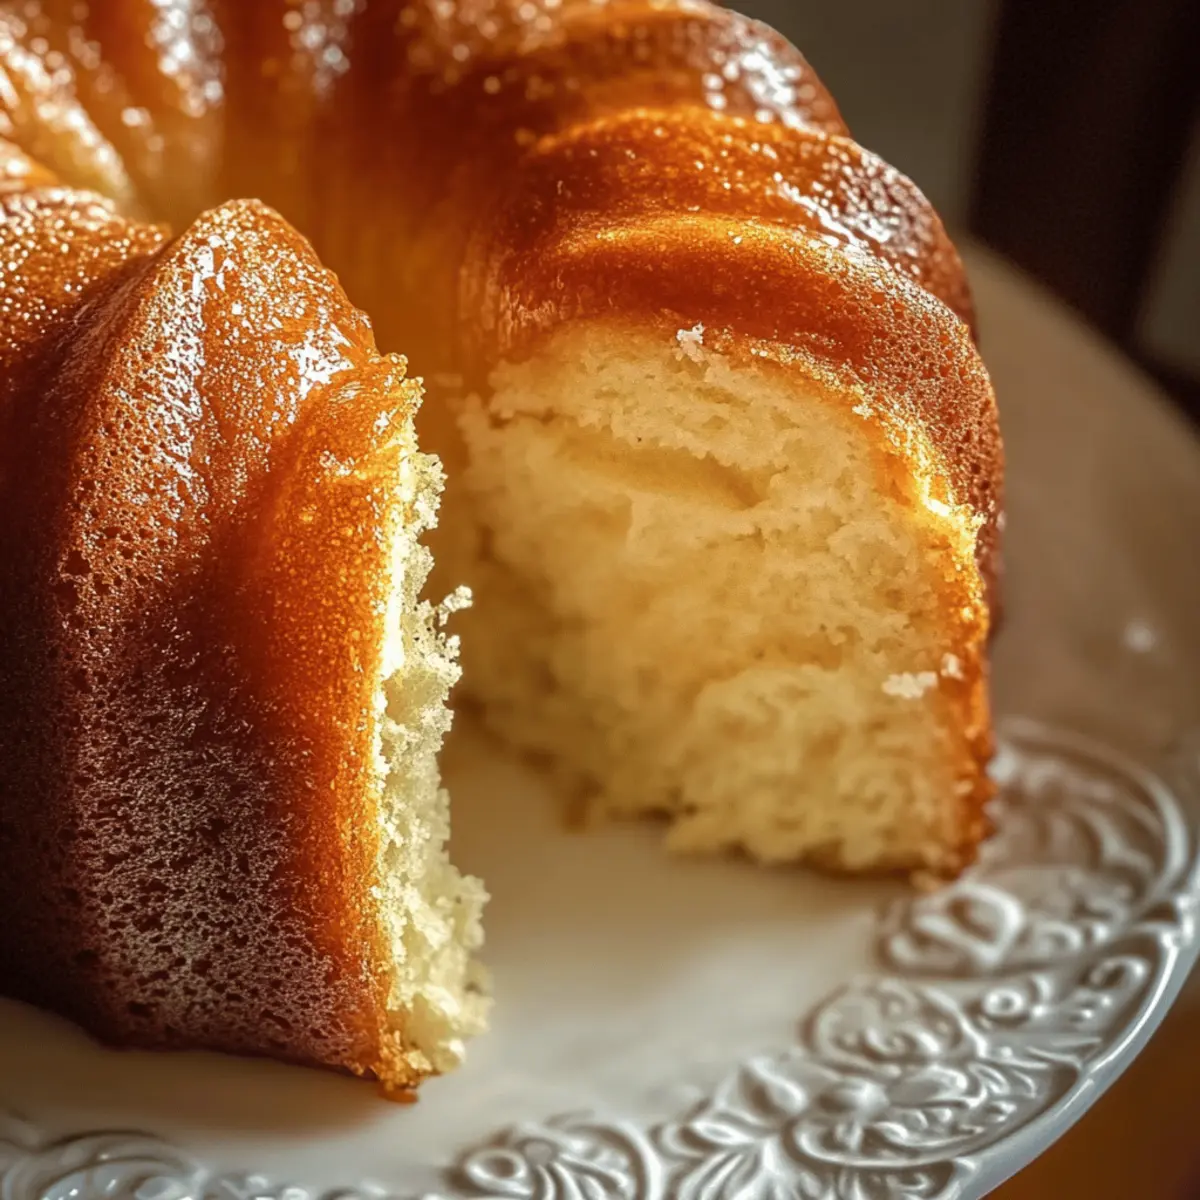
It’s amazing how a simple blend of butter, cream cheese, and sugar can transform into a deliciously moist and dense Cream Cheese Pound Cake that feels like a warm hug on a plate. As I whisk together the ingredients, the anticipation builds for the sweet, comforting aroma that will soon fill my kitchen. This recipe stands out not just for its delightful taste, but also for its effortless preparation—perfect for anyone who craves homemade goodness without spending all day in the kitchen. You’ll find that it’s a guaranteed crowd-pleaser, whether served at a casual gathering or a special celebration. Paired with a sprinkle of powdered sugar or a dollop of whipped cream, this cake is sure to impress. Are you ready to create a timeless classic that’s perfect for any occasion?
Why is this Cream Cheese Pound Cake special?
Irresistible warmth: The comforting aroma that fills your kitchen while baking is just the beginning!
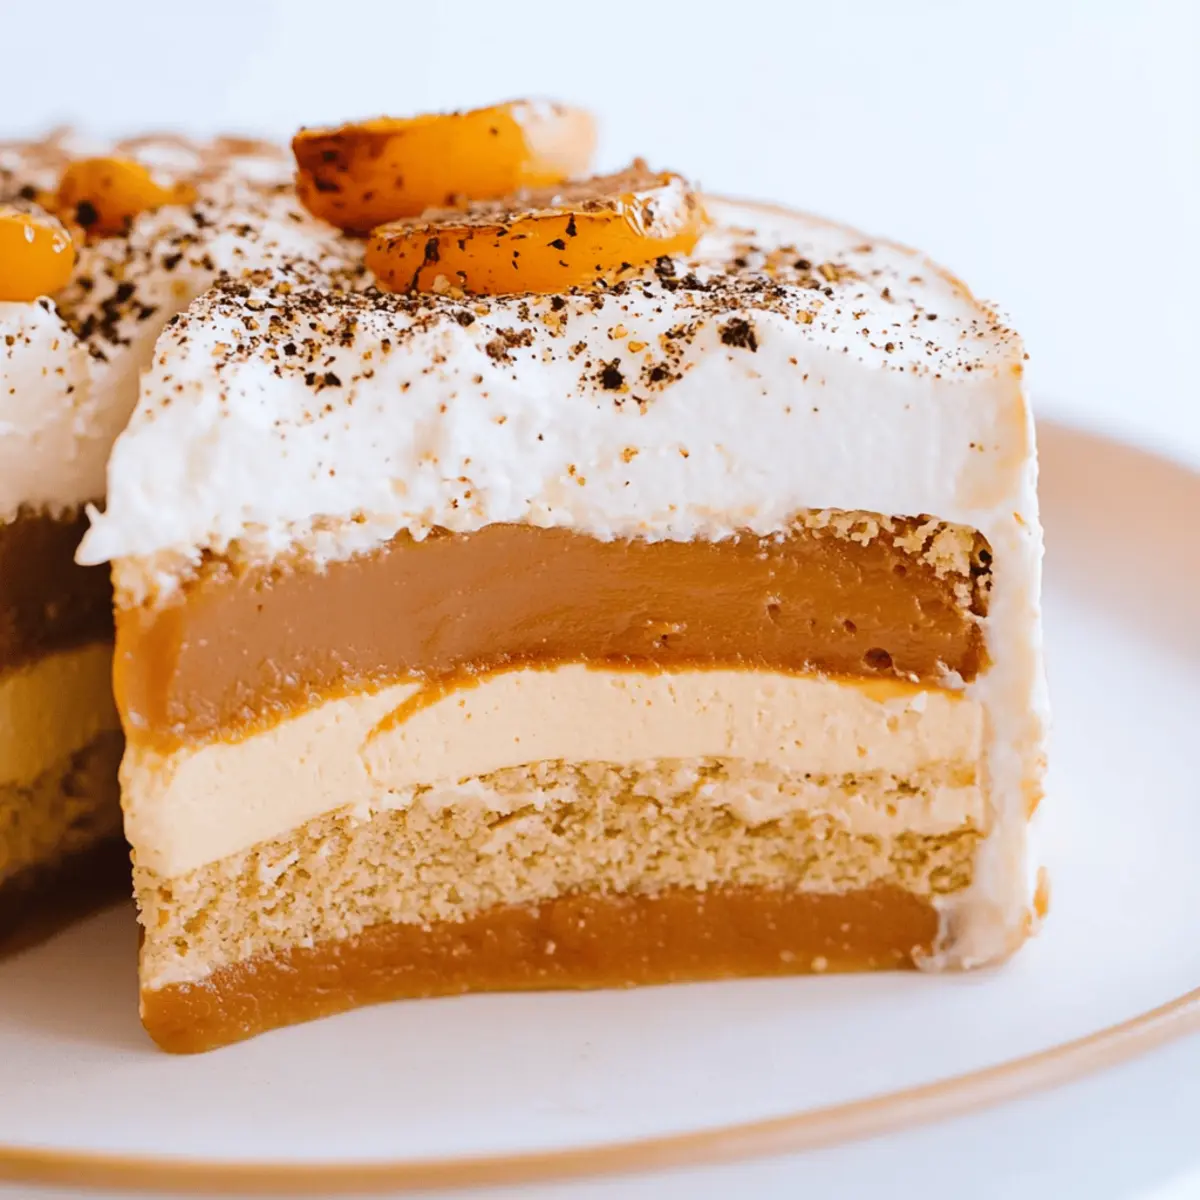
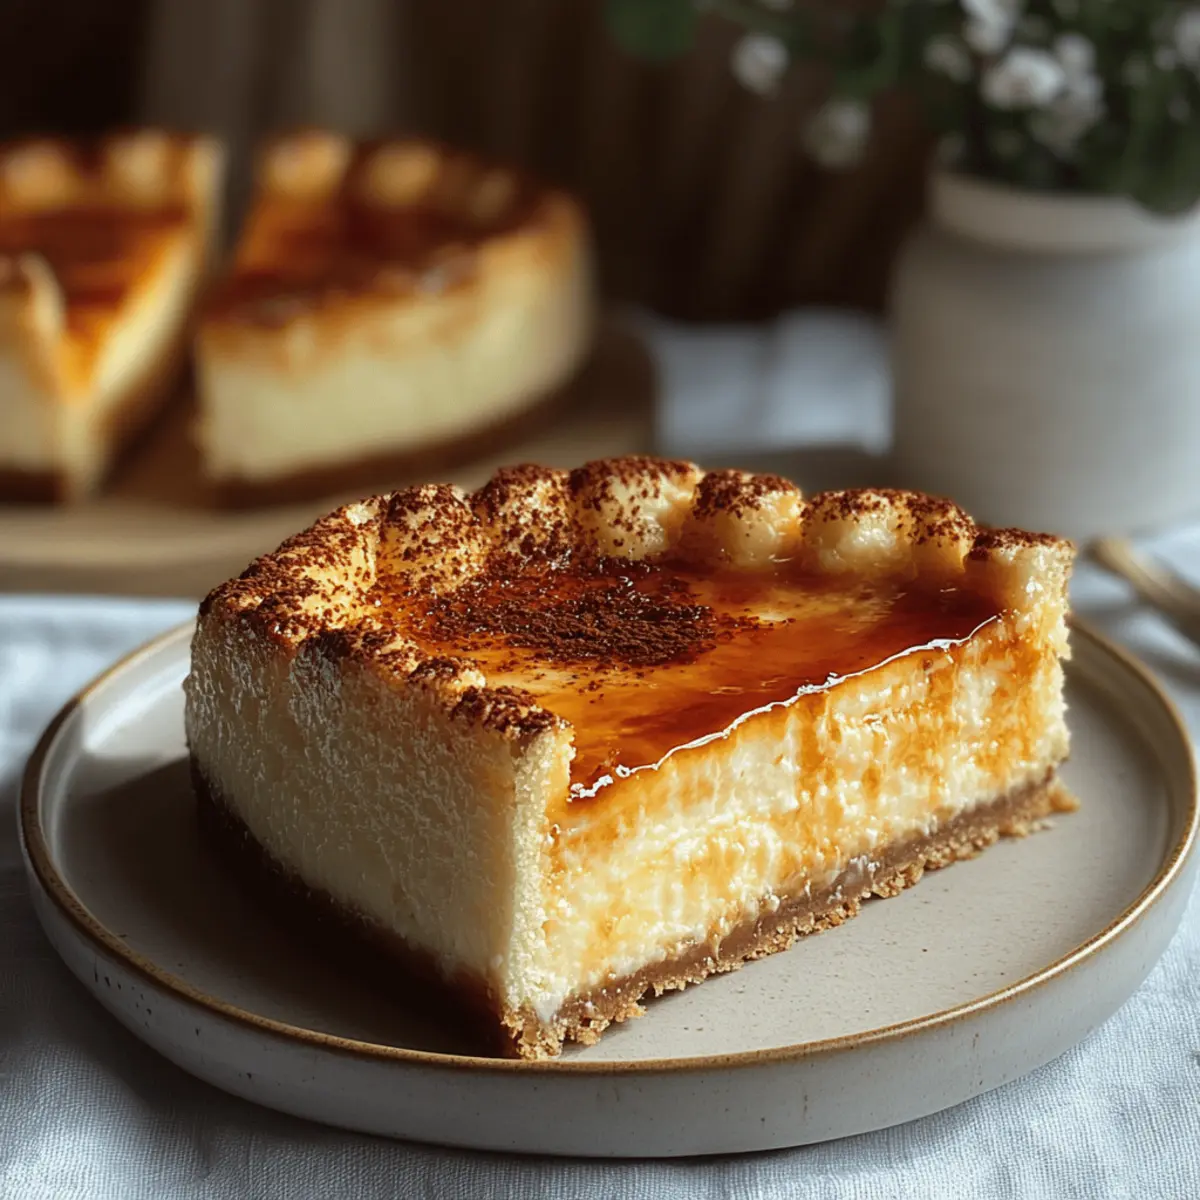
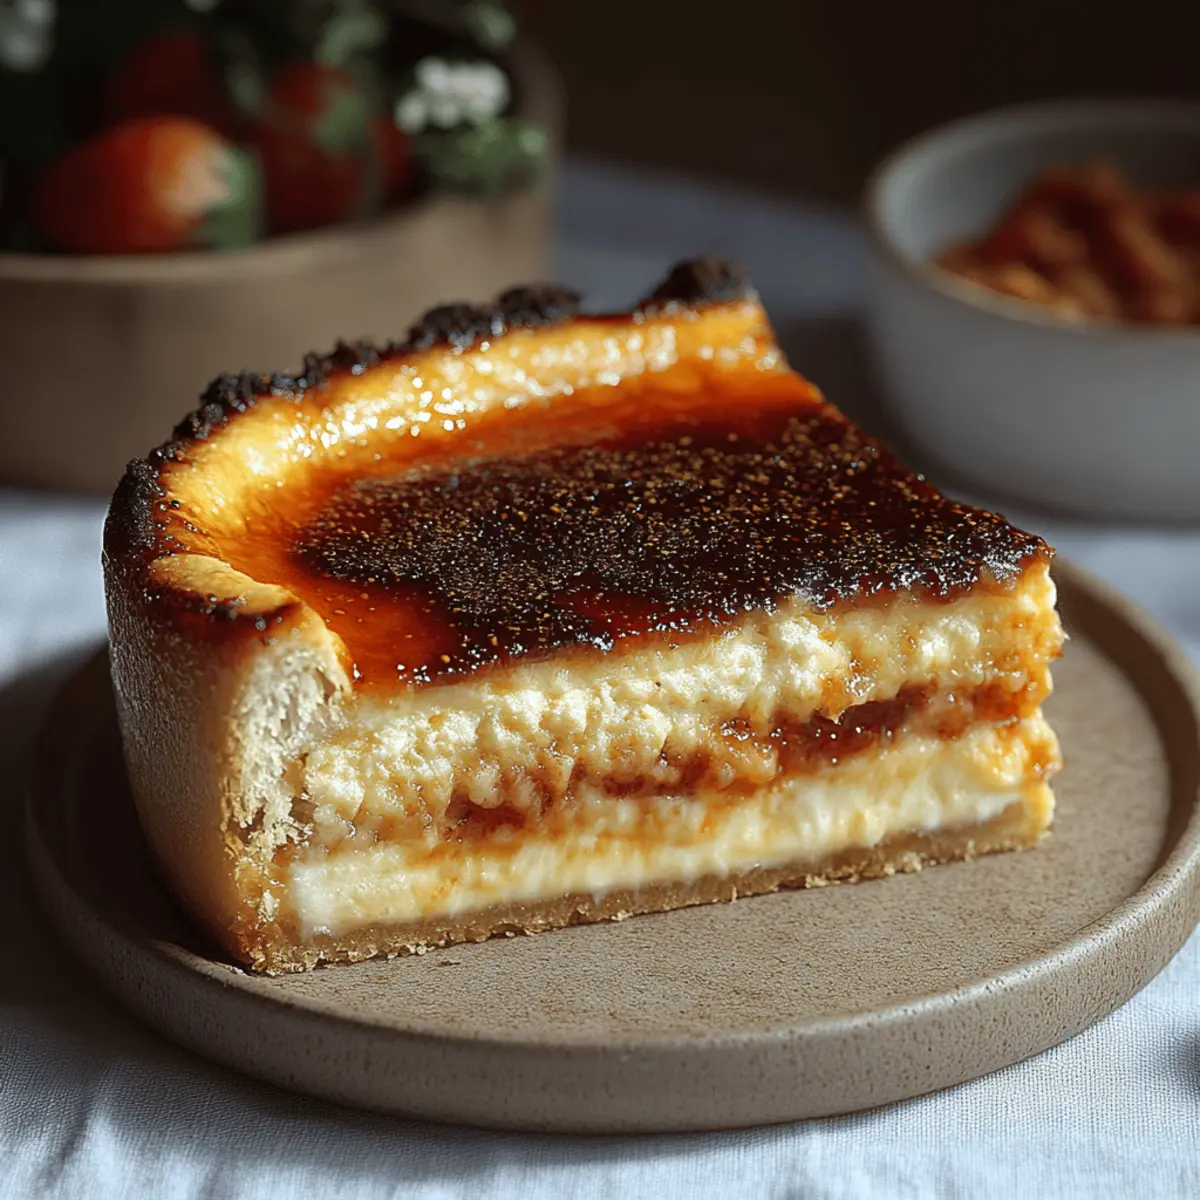
Moist and Dense: This cake strikes the perfect balance, giving you a rich texture that's hard to resist.
Easy Preparation: With just a handful of ingredients and straightforward steps, it's a breeze to whip up any day of the week.
Versatile Delight: Enjoy it plain, or dress it up with toppings like fresh fruit or whipped cream for a stunning presentation.
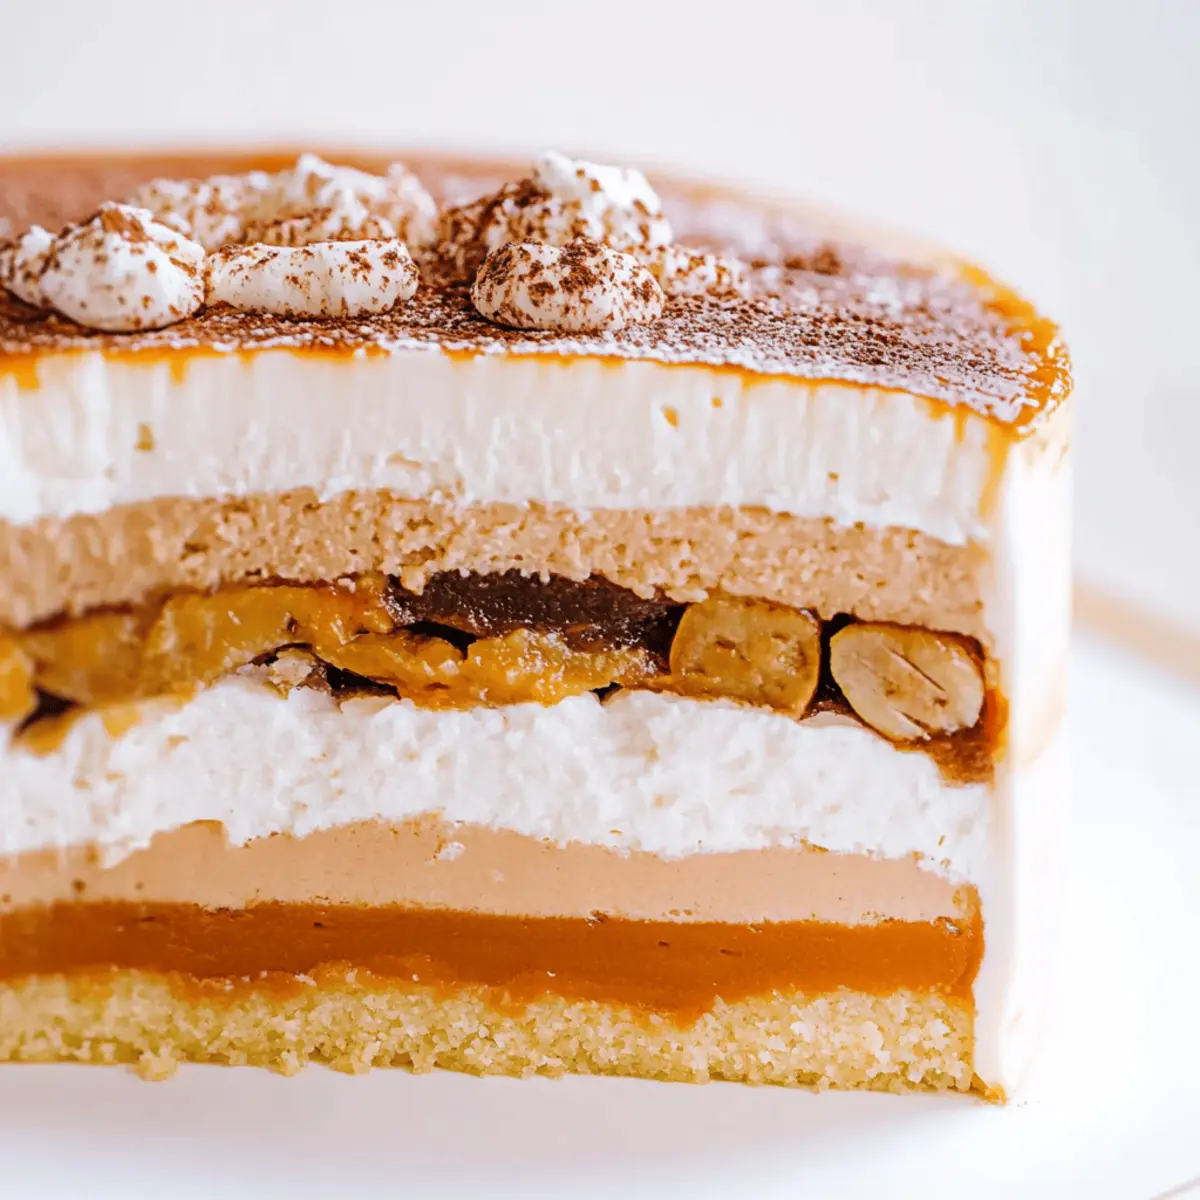
Guaranteed Crowd-Pleaser: Whether it's a family dinner or a festive gathering, this Cream Cheese Pound Cake is sure to be a hit.
Cream Cheese Pound Cake Ingredients
• Discover the essential ingredients for a perfect Cream Cheese Pound Cake.
For the Batter
- Unsalted butter – ensures a rich and creamy base, enhancing the cake's flavor.
- Cream cheese – adds tanginess and moisture, making the cake beautifully dense.
- Granulated sugar – sweetens the batter and aids in creating a tender crumb.
- Large eggs – provide structure and stability, helping the cake rise beautifully.
- All-purpose flour – forms the backbone of the cake; for a lighter texture, consider cake flour as a substitute.
- Baking powder – gives the cake a little lift, contributing to its moistness.
- Salt – enhances all the flavors, making the sweetness pop.
- Vanilla extract – infuses a warm, inviting aroma that perfectly complements the other flavors.
Step‑by‑Step Instructions for Cream Cheese Pound Cake
Step 1: Preheat and Prepare
Begin by preheating your oven to 325°F (165°C). While the oven warms up, take a 10-inch bundt pan and generously grease and flour it, making sure to coat every crevice. This crucial step ensures that your Cream Cheese Pound Cake will easily release from the pan once baked and keep its beautiful shape.
Step 2: Cream the Butter and Cream Cheese
In a large mixing bowl, combine the softened unsalted butter and cream cheese. Using a hand mixer or a stand mixer fitted with the paddle attachment, beat the mixture on medium speed until it's light, fluffy, and well combined, about 3-5 minutes. This step creates a rich base for your cake, setting the stage for a moist and flavorful cream cheese pound cake.
Step 3: Add Sugar Gradually
Next, gradually add the granulated sugar to the creamed mixture while continuing to mix on medium speed. Keep beating until the sugar is fully incorporated and the mixture appears smooth and pale, about 2-3 minutes. This step is vital for achieving the perfect sweetness and texture in your cream cheese pound cake.
Step 4: Incorporate the Eggs
Now it's time to add the large eggs, one at a time. Beat well after each addition to ensure they are thoroughly mixed into the batter before adding the next. This process should take about 5 minutes total and will help provide the rich structure needed for your cake, enhancing its moistness.
Step 5: Mix Dry Ingredients
In a separate bowl, sift together the all-purpose flour, baking powder, and salt. Gradually introduce this dry mixture into the wet ingredients while mixing at low speed. This should be done until everything is just combined; avoid overmixing to keep your Cream Cheese Pound Cake tender and fluffy.
Step 6: Add Vanilla Extract
Stir in the tablespoon of vanilla extract, ensuring it's evenly distributed throughout the batter. The vanilla will enhance the flavor profile of your cream cheese pound cake, resulting in a deliciously aromatic treat that will fill your kitchen with warmth and comfort.
Step 7: Pour and Smooth the Batter
Carefully pour the batter into your prepared bundt pan, smoothing the top with a spatula to create an even surface. This helps ensure your cake gets a lovely rise and bakes uniformly. It’s a simple step, but it can make all the difference in the presentation of your final bake.
Step 8: Bake to Perfection
Place the bundt pan in the preheated oven and bake for 1 hour 15 minutes to 1 hour 30 minutes. You’ll know the cake is done when a toothpick inserted into the center comes out clean and the top has turned a beautiful golden brown. Be patient—the aroma will be worth the wait!
Step 9: Cool the Cake
Once your cake has finished baking, remove it from the oven and allow it to cool in the pan on a wire rack for about 10-15 minutes. This cooling time is crucial as it helps stabilize the cake so it won’t collapse when you flip it out of the pan.
Step 10: Remove and Serve
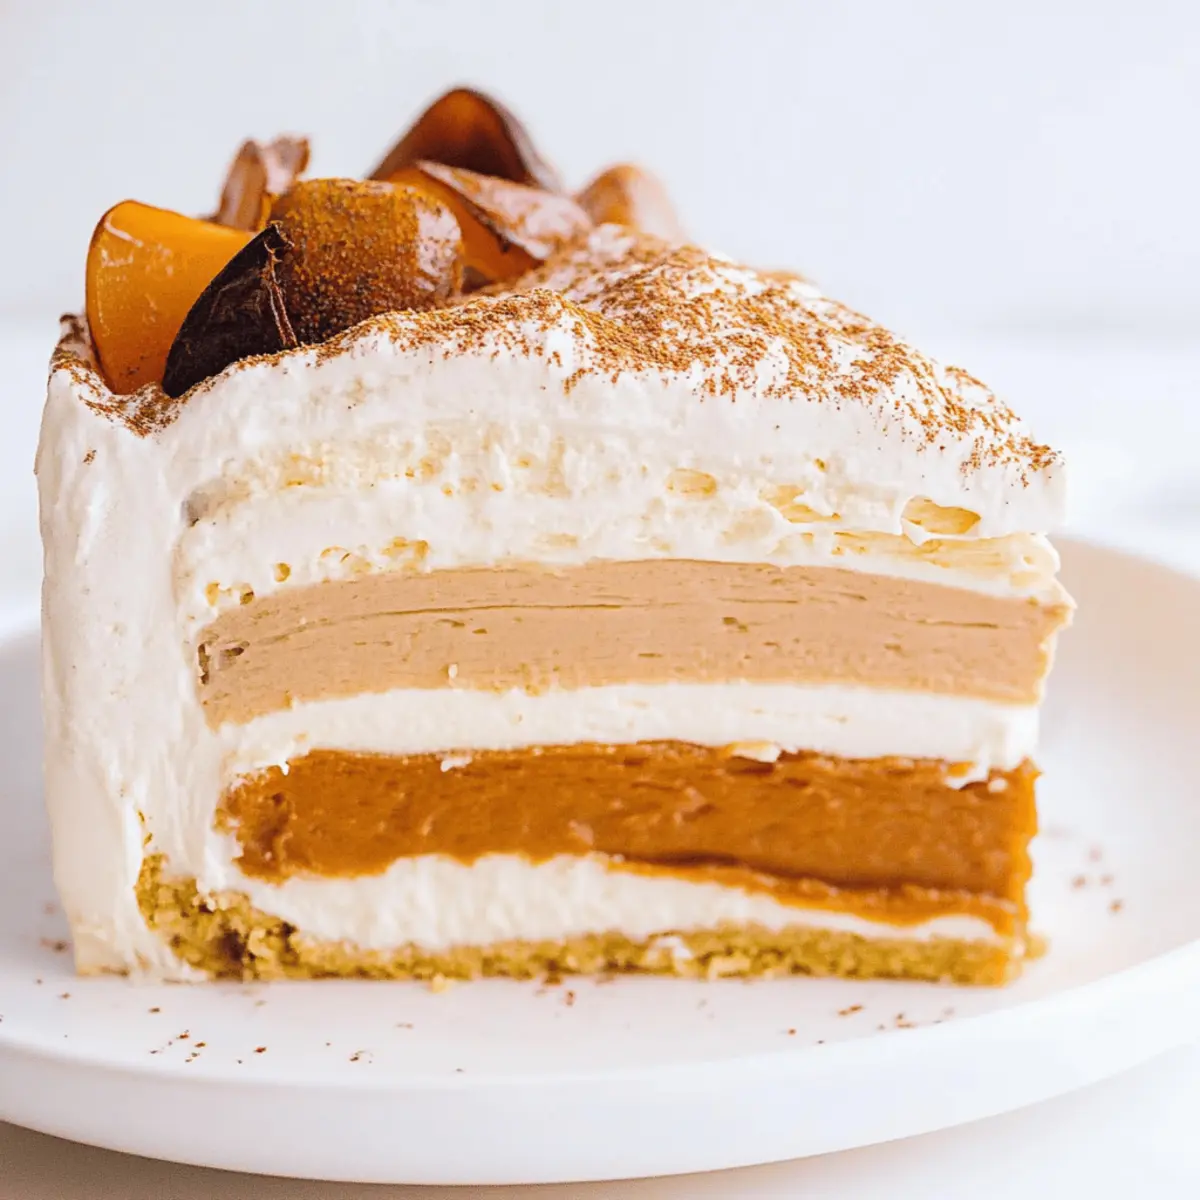
After cooling, carefully invert the bundt pan to release your Cream Cheese Pound Cake onto the wire rack. Allow it to cool completely before slicing. Enjoy it plain or add toppings like powdered sugar or whipped cream to elevate this already delightful treat!
Expert Tips for Cream Cheese Pound Cake
-
Room Temperature Ingredients: Ensure your butter and cream cheese are at room temperature. This helps create a smooth batter and all-around better texture in your Cream Cheese Pound Cake.
-
Avoid Overmixing: Mix the flour just until combined; overmixing can lead to a tough cake. The key is to keep it nice and tender.
-
Check for Doneness: Invest in a toothpick test! Insert it into the center; it should come out clean when the cake is done. This helps avoid under or overbaking.
-
Cooling Time: Don’t rush the cooling process. Allowing the cake to cool for 10-15 minutes in the pan helps maintain its shape for perfect slices.
-
Experiment with Flavors: Add citrus zest or almond extract for a twist! Enhancing your Cream Cheese Pound Cake with different flavors can yield exciting results.
-
Storage Savvy: To keep your cake moist, wrap it tightly with plastic wrap once cooled. It lasts for several days while staying deliciously fresh!
What to Serve with Cream Cheese Pound Cake?
Enhance your delightful Cream Cheese Pound Cake experience by pairing it with these fabulous side dishes and treats.
-
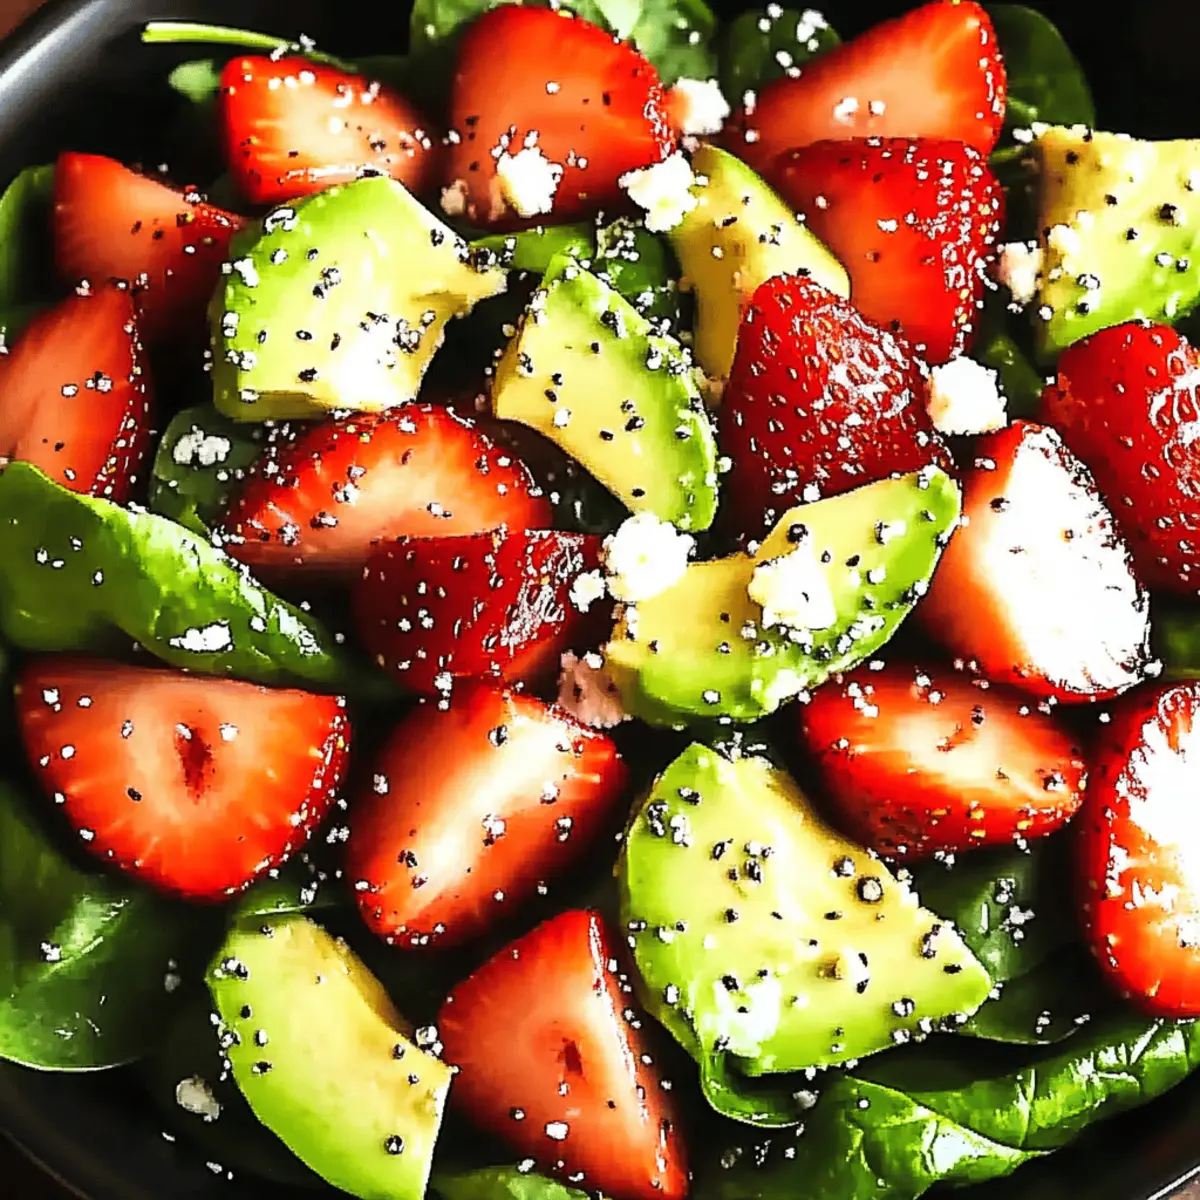
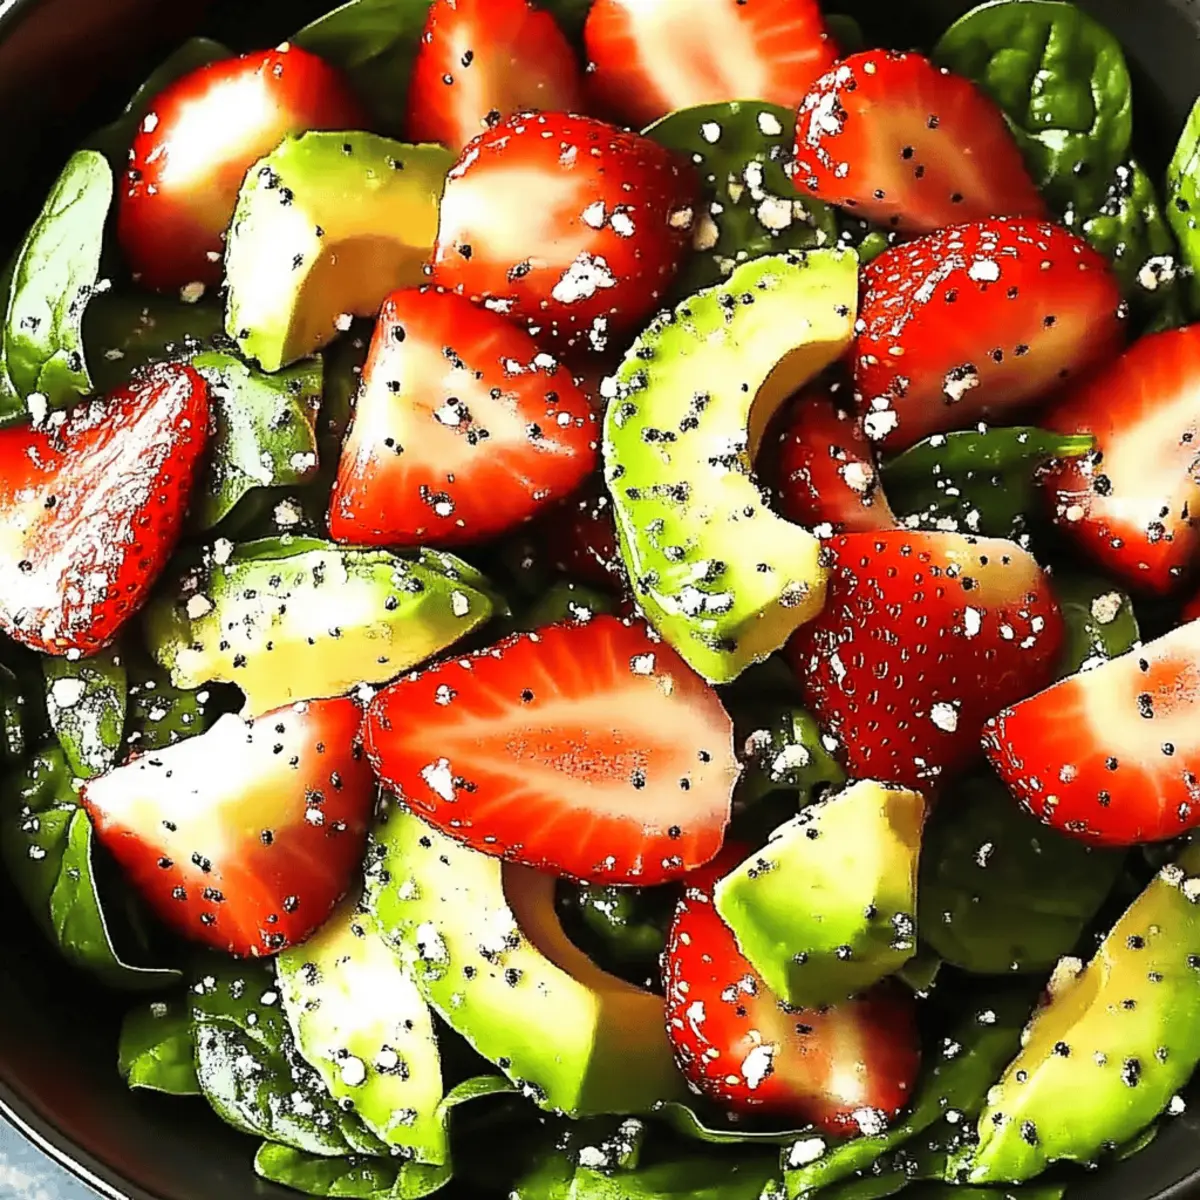
Fresh Berries:
Juicy berries like strawberries or blueberries add a pop of color and a refreshing tartness that perfectly balances the cake's richness. -
Whipped Cream:
A dollop of homemade whipped cream creates a light, airy contrast, making each bite feel luxurious and indulgent. -
Chocolate Ganache:
Pouring a glossy chocolate ganache on top offers a decadent touch, creating a delightful combination of rich flavors that chocolate lovers adore. -
Lemon Glaze:
A tangy lemon glaze provides brightness and zing, cutting through the sweetness and making the cake even more irresistible. -
Vanilla Ice Cream:
The creamy texture of vanilla ice cream served alongside your pound cake adds a delightful coolness, creating a heavenly dessert duo. -
Coffee or Tea:
A warm cup of coffee or soothing herbal tea enriches the experience, enhancing the flavors of the cake while providing a comforting finish to the meal.
Cream Cheese Pound Cake Variations
Feel free to personalize this scrumptious cake with some delightful twists that will excite your palate!
-
Gluten-Free: Substitute all-purpose flour with a gluten-free blend. Adjust baking time slightly to ensure it bakes through.
-
Citrus Zest: Add a tablespoon of lemon or orange zest to the batter for a bright, refreshing flavor that complements the creaminess.
-
Chocolate Swirl: Fold in one cup of melted dark chocolate or chocolate chips for a decadent twist that'll delight any chocoholic.
-
Nutty Addition: Mix in a half cup of chopped nuts, like walnuts or pecans, for a crunchy texture that pairs beautifully with the soft cake.
-
Maple Flavor: Swap the vanilla extract with maple syrup for a warm, earthy aroma that elevates the cake to cozy heights.
-
Berry Burst: Fold in a cup of fresh or frozen berries like blueberries or raspberries for a sweet and tangy layer of flavor. This addition adds color and a lovely fruity note.
-
Spiced Up: Incorporate a teaspoon of cinnamon or nutmeg into the dry ingredients for a gentle warmth that makes every slice feel like a hug.
-
Dairy-Free: Replace cream cheese with a dairy-free cream cheese alternative and use coconut oil instead of butter for a tropical flair. This creates a whole new world of deliciousness!
How to Store and Freeze Cream Cheese Pound Cake
Room Temperature: Keep your Cream Cheese Pound Cake tightly wrapped in plastic wrap or stored in an airtight container for up to 3 days. This helps maintain its moistness.
Fridge: For longer freshness, refrigerate the wrapped cake for up to a week. Just be sure to bring it back to room temperature before serving for the best flavor and texture.
Freezer: To preserve the cake for an extended period, wrap individual slices in plastic wrap followed by foil, and freeze for up to 3 months. Thaw in the fridge or at room temperature when ready to enjoy.
Reheating: If desired, reheat slices in the microwave for about 10-15 seconds or in a warm oven for a few minutes, ensuring the cake remains moist and delightful.
Make Ahead Options
These Cream Cheese Pound Cakes are perfect for busy home cooks who want to save time during the week! You can prepare the batter up to 24 hours in advance by mixing all the ingredients and storing the batter in an airtight container in the refrigerator. To maintain the cake's quality and prevent any loss of flavor, ensure it's tightly sealed. When you're ready to bake, simply pour the chilled batter into the prepared bundt pan and let it sit at room temperature for about 30 minutes before baking to ensure even cooking. This way, you'll have a freshly baked, moist Cream Cheese Pound Cake with minimal effort—ideal for those busy moments when time is of the essence!

Cream Cheese Pound Cake Recipe FAQs
What is the best way to select ripe ingredients for this Cream Cheese Pound Cake?
Absolutely! For the best results, ensure your butter and cream cheese are at room temperature before you begin baking—this helps create a smooth and airy batter. When selecting eggs, choosing large eggs is essential for achieving the right structure in your cake.
How should I store my Cream Cheese Pound Cake, and how long will it last?
To keep your Cream Cheese Pound Cake at its best, tightly wrap it in plastic wrap or store it in an airtight container. At room temperature, it will last for up to 3 days. If you want it to stay fresh longer, refrigerate it for up to a week. Just let it come back to room temperature before serving for the best taste.
Can I freeze Cream Cheese Pound Cake, and if so, how?
Yes, you can! To freeze your Cream Cheese Pound Cake, slice it into individual portions. Wrap each slice tightly in plastic wrap, then cover with foil. This prevents freezer burn and helps maintain moisture. It can be stored in the freezer for up to 3 months. When you're ready to enjoy, simply thaw it in the refrigerator overnight or at room temperature for a few hours.
What troubleshooting tips can you share if my Cake doesn't come out perfect?
If your Cream Cheese Pound Cake turns out denser than expected, it might be due to overmixing the batter once the flour was added. Try mixing until just combined next time. If the cake sinks in the middle, ensure you're using the right egg size and that the cake isn't underbaked. Always test for doneness with a toothpick!
Are there any dietary considerations I should be aware of with this recipe?
While this Cream Cheese Pound Cake is a delightful treat for most, it contains dairy and gluten. If you're cooking for someone with lactose intolerance, consider using lactose-free cream cheese and butter. For a gluten-free version, you can substitute all-purpose flour with a gluten-free baking blend, ensuring the baking powder is also gluten-free. Enjoy experimenting!
Irresistibly Moist Cream Cheese Pound Cake Recipe to Delight
Ingredients
Equipment
Method
- Preheat oven to 325°F (165°C) and grease and flour a 10-inch bundt pan.
- Cream unsalted butter and cream cheese together in a large mixing bowl until light and fluffy, about 3-5 minutes.
- Gradually add granulated sugar and mix until smooth and pale, about 2-3 minutes.
- Add eggs one at a time, beating well after each addition.
- In a separate bowl, sift flour, baking powder, and salt together, then gradually mix into wet ingredients until just combined.
- Stir in vanilla extract until evenly distributed.
- Pour the batter into the prepared bundt pan and smooth the top with a spatula.
- Bake for 1 hour 15 minutes to 1 hour 30 minutes until a toothpick comes out clean.
- Cool in the pan for 10-15 minutes, then invert onto a wire rack to cool completely.
- Slice and serve as desired.