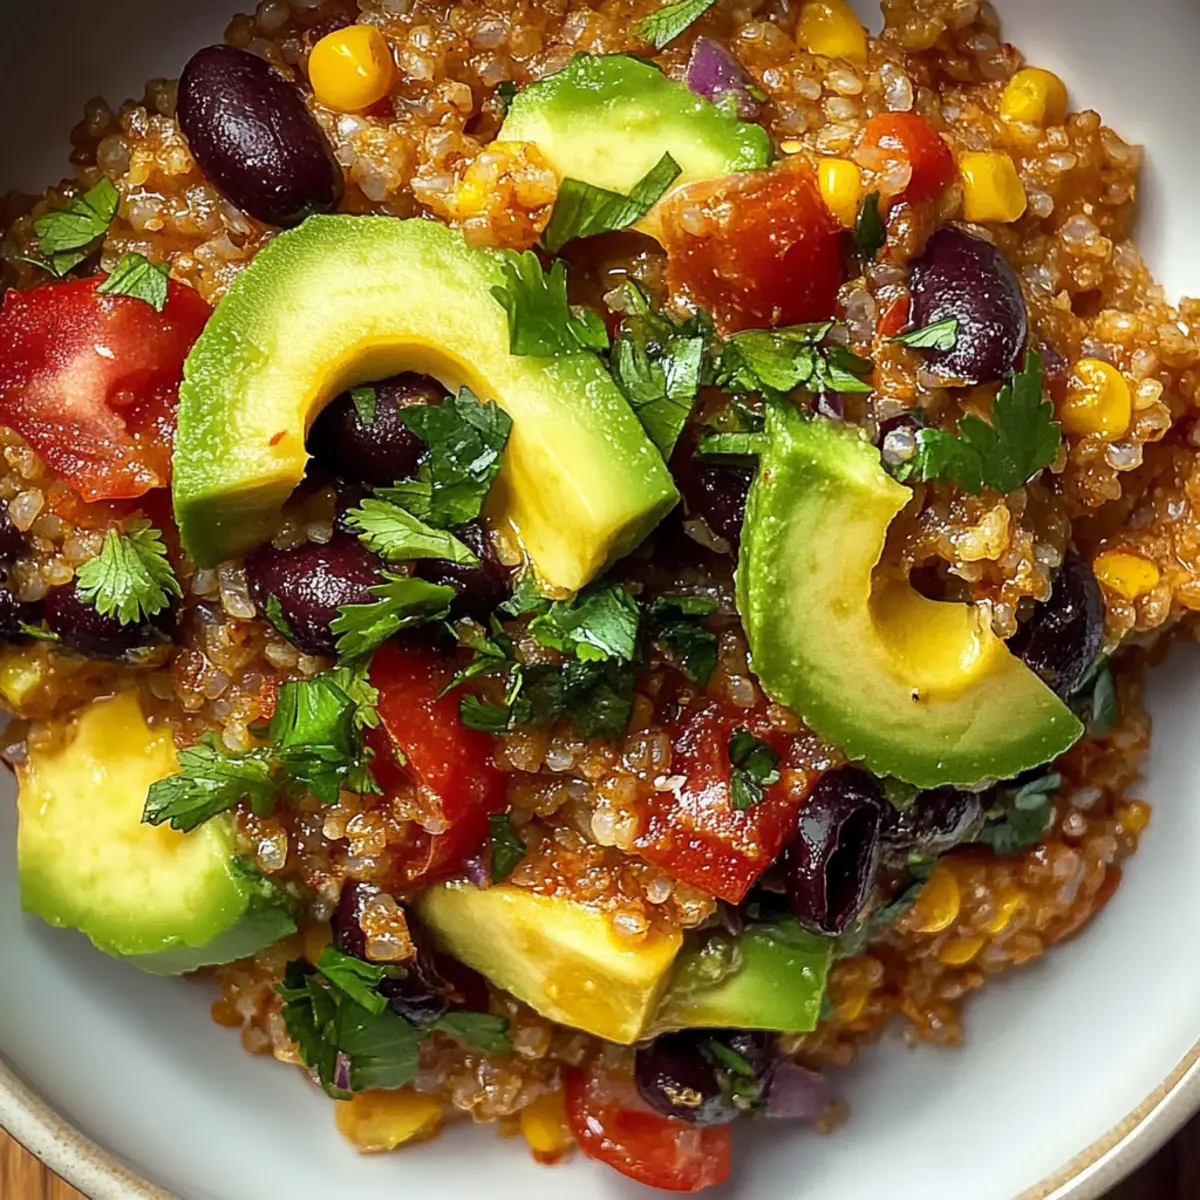
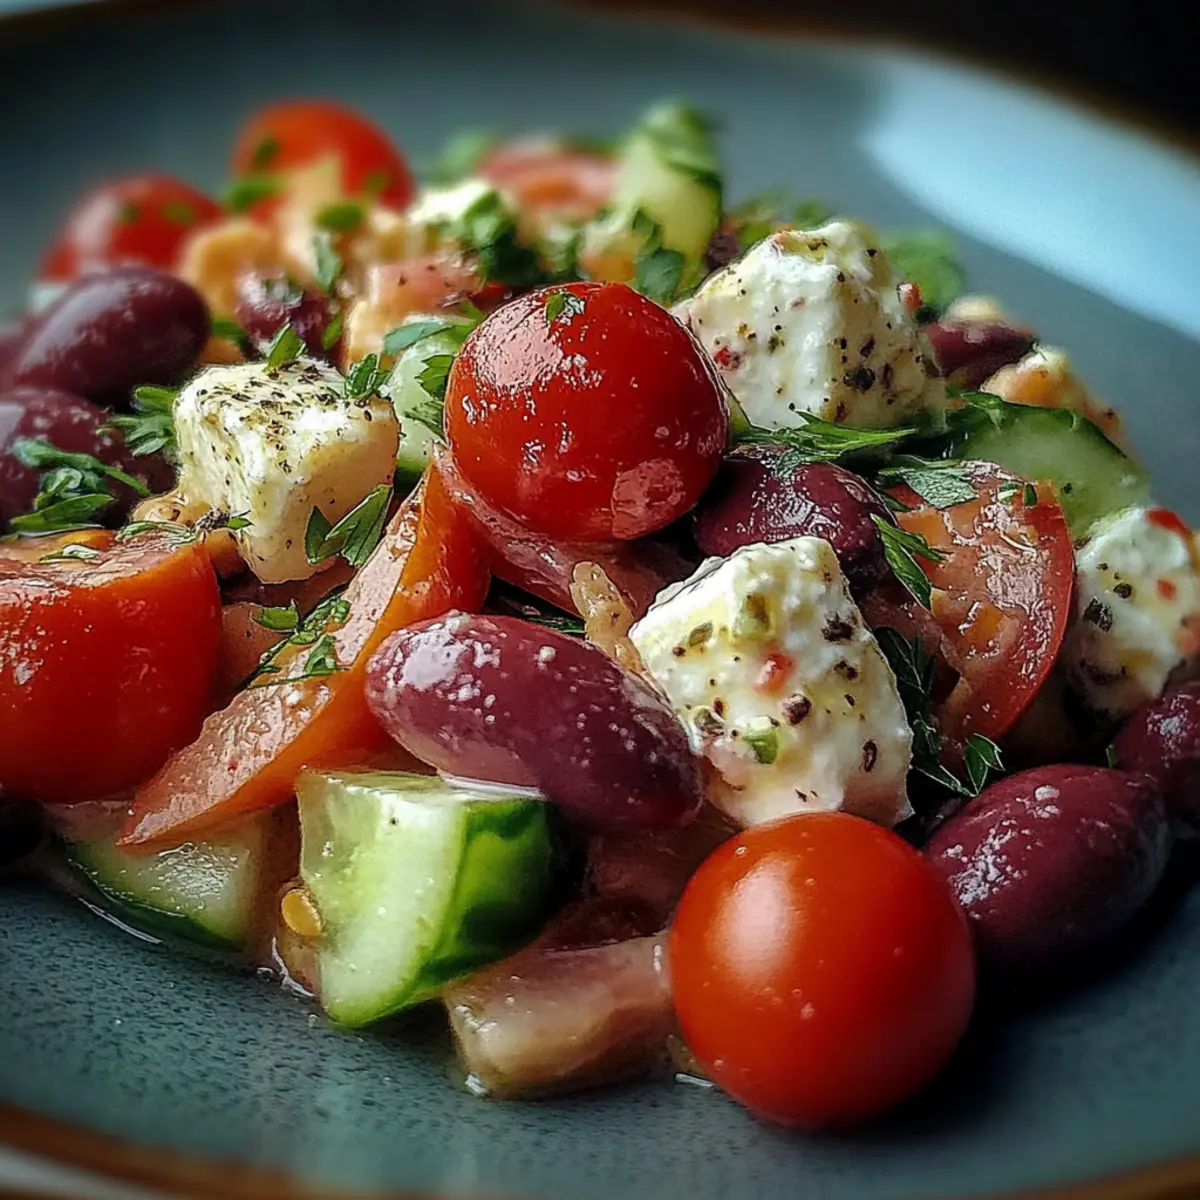
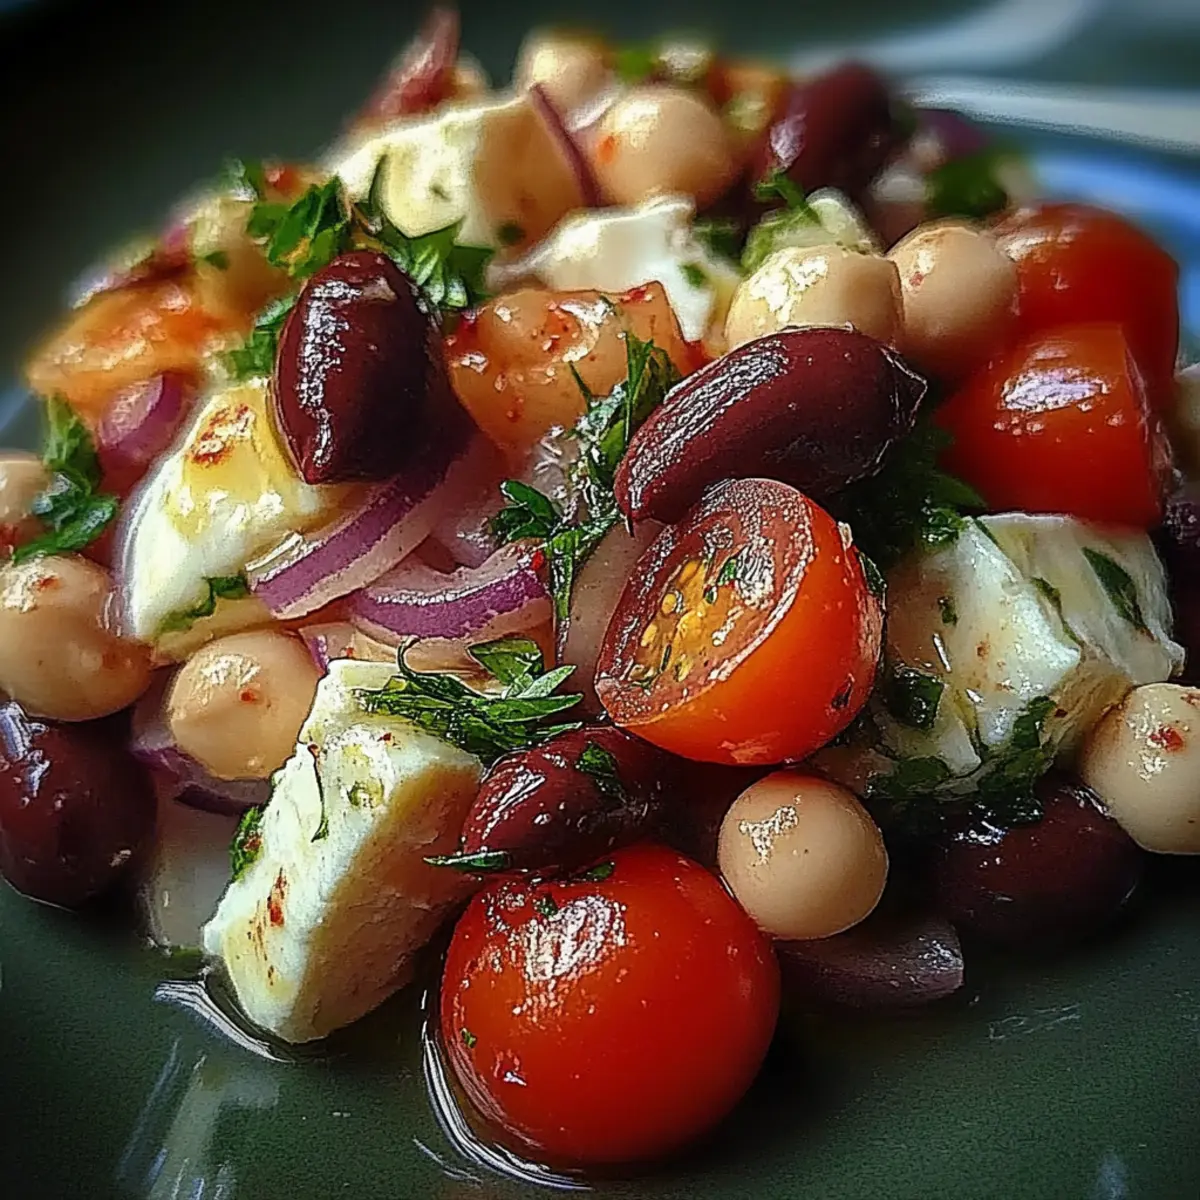
As I tossed together the vibrant ingredients for this Mediterranean Bean Salad With Feta, I couldn’t help but notice how the colors mirrored the sun-soaked shores of Greece. This delightful dish combines the protein-packed goodness of chickpeas and kidney beans with the crisp freshness of cucumbers and bell peppers. What I love most is that it's not just a feast for the eyes—it's also a quick prep, making it perfect for busy weeknights or picnics that call for a crowd-pleaser. Plus, the feta cheese adds a creamy twist that takes this salad to the next level. Trust me, after just one bowl, you’ll be eagerly anticipating leftovers or the next time to serve it! Ready to discover how easy it is to bring a taste of the Mediterranean into your home?
Why is this salad a must-try?
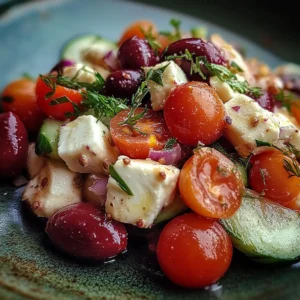
Vibrant flavors: This Mediterranean Bean Salad With Feta bursts with fresh, zesty tastes that will transport your taste buds to sun-drenched coasts.
Quick and easy: With just 20 minutes of prep time, you can whip up a nutritious dish that doesn’t skimp on flavor, perfect for busy weeknights.
Healthy ingredients: Packed with protein and fiber-rich beans, this salad is a powerhouse of nutrition, making it an excellent choice for a light main course or side.
Crowd-pleaser: Serve this salad at your next picnic or gathering, and watch it disappear faster than you can say "Mediterranean!"
Versatile options: Customize it with seasonal veggies or your favorite herbs for a personal touch—this recipe offers endless possibilities! Don’t forget to check out more light bites like our Mediterranean Quinoa Bowl for fresh ideas.
Mediterranean Bean Salad With Feta Ingredients
For the Salad
• Chickpeas – 1 can (15 ounces), rinsed and drained for protein-packed goodness.
• Kidney beans – 1 can (15 ounces), rinsed and drained, adding fiber and texture.
• Black olives – 1 can (15 ounces), sliced for a briny kick that enhances flavor.
• Cucumber – 1 medium, diced; its crunch balances the creaminess of feta.
• Red bell pepper – 1 medium, diced, giving a pop of sweetness and color.
• Cherry tomatoes – 1 cup, halved for juicy bursts in every bite.
• Red onion – ½, finely chopped, lending a sharp contrast to the other ingredients.
For the Topping
• Feta cheese – 1 cup, crumbled; this tangy cheese brings everything together beautifully.
• Fresh parsley – ¼ cup, chopped, adding vibrant freshness that complements the salad well.
For the Dressing
• Olive oil – ¼ cup; this key ingredient brings richness and helps blend the flavors.
• Red wine vinegar – 2 tablespoons, providing a tangy contrast that brightens the dish.
• Dried oregano – 1 teaspoon; a quintessential herb in Mediterranean cuisine, enhancing the salad's essence.
• Garlic – 1 clove, minced; it gives a lovely aromatic touch to the dressing.
• Salt and pepper – To taste; essential for elevating and balancing all the flavors in this Mediterranean Bean Salad With Feta.
Step‑by‑Step Instructions for Mediterranean Bean Salad With Feta
Step 1: Rinse the Beans
Start by rinsing and draining one can each of chickpeas and kidney beans in a colander. Allow the beans to drain completely; this should take about 1-2 minutes. Properly rinsing removes excess sodium and helps enhance the flavors in your Mediterranean Bean Salad With Feta.
Step 2: Combine Fresh Ingredients
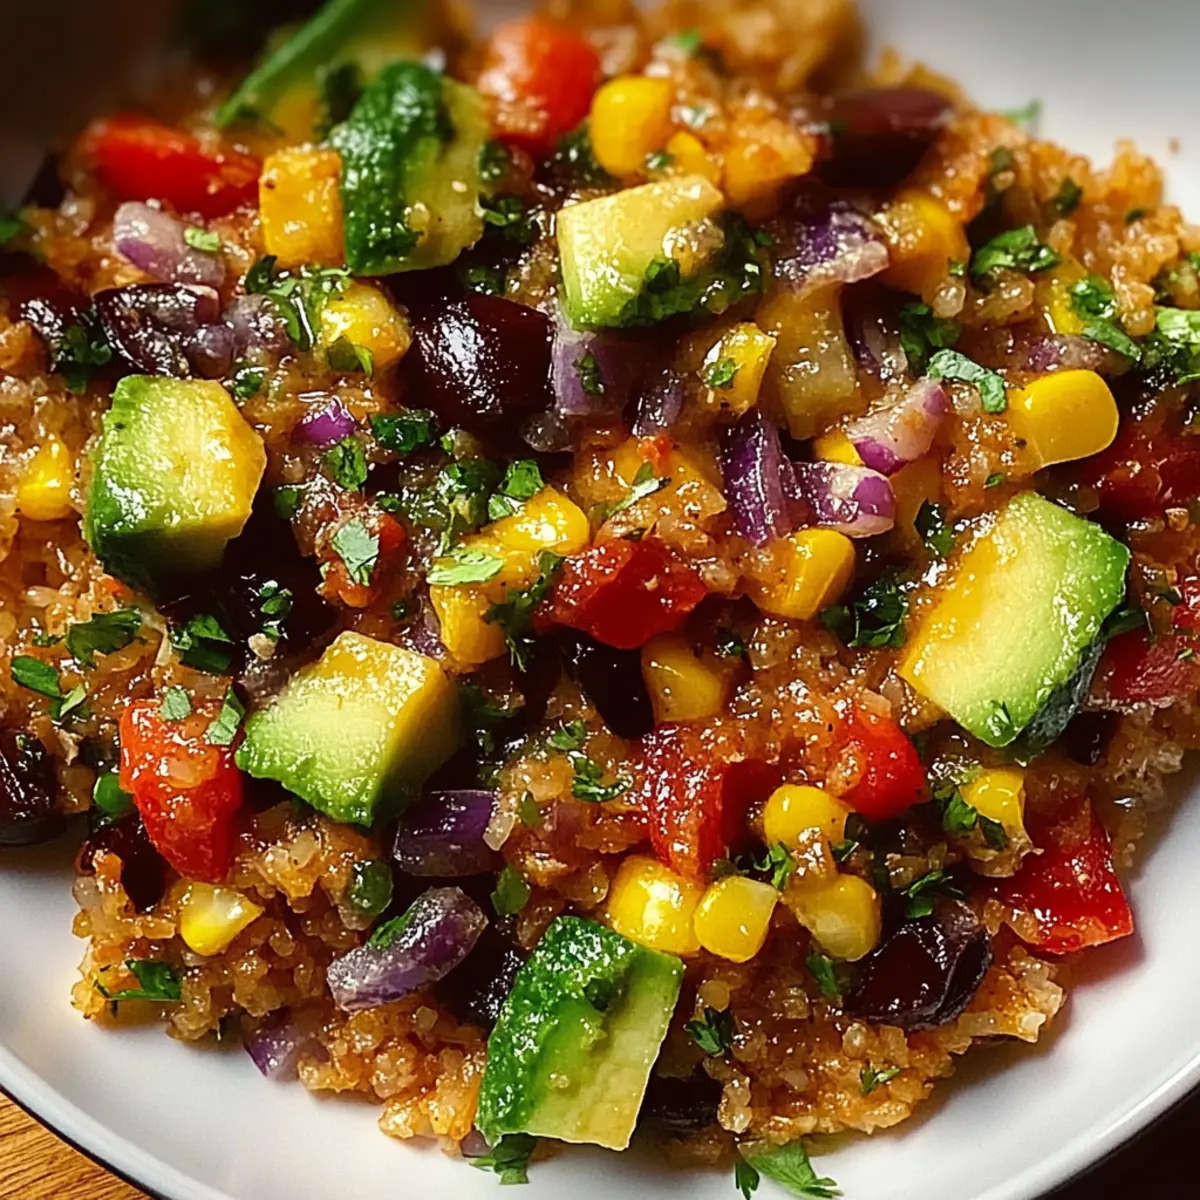
In a large mixing bowl, combine the rinsed chickpeas and kidney beans with one can of sliced black olives, a diced medium cucumber, a diced medium red bell pepper, one cup of halved cherry tomatoes, and half a finely chopped red onion. Stir gently to mix the ingredients, showcasing the vibrant colors of your salad.
Step 3: Whisk the Dressing
In a separate small bowl, create the dressing by whisking together ¼ cup of olive oil, 2 tablespoons of red wine vinegar, 1 teaspoon of dried oregano, and one minced clove of garlic. Add salt and pepper to taste. Whisk until the mixture is well combined and emulsified, creating a beautiful, glossy dressing for your salad.
Step 4: Toss with Dressing
Pour the freshly whisked dressing over the bean and vegetable mixture in the large bowl. Gently toss everything together using a large spoon, ensuring all the ingredients are evenly coated. You’re looking for each piece to glisten with the Mediterranean flavors.
Step 5: Incorporate Feta and Parsley
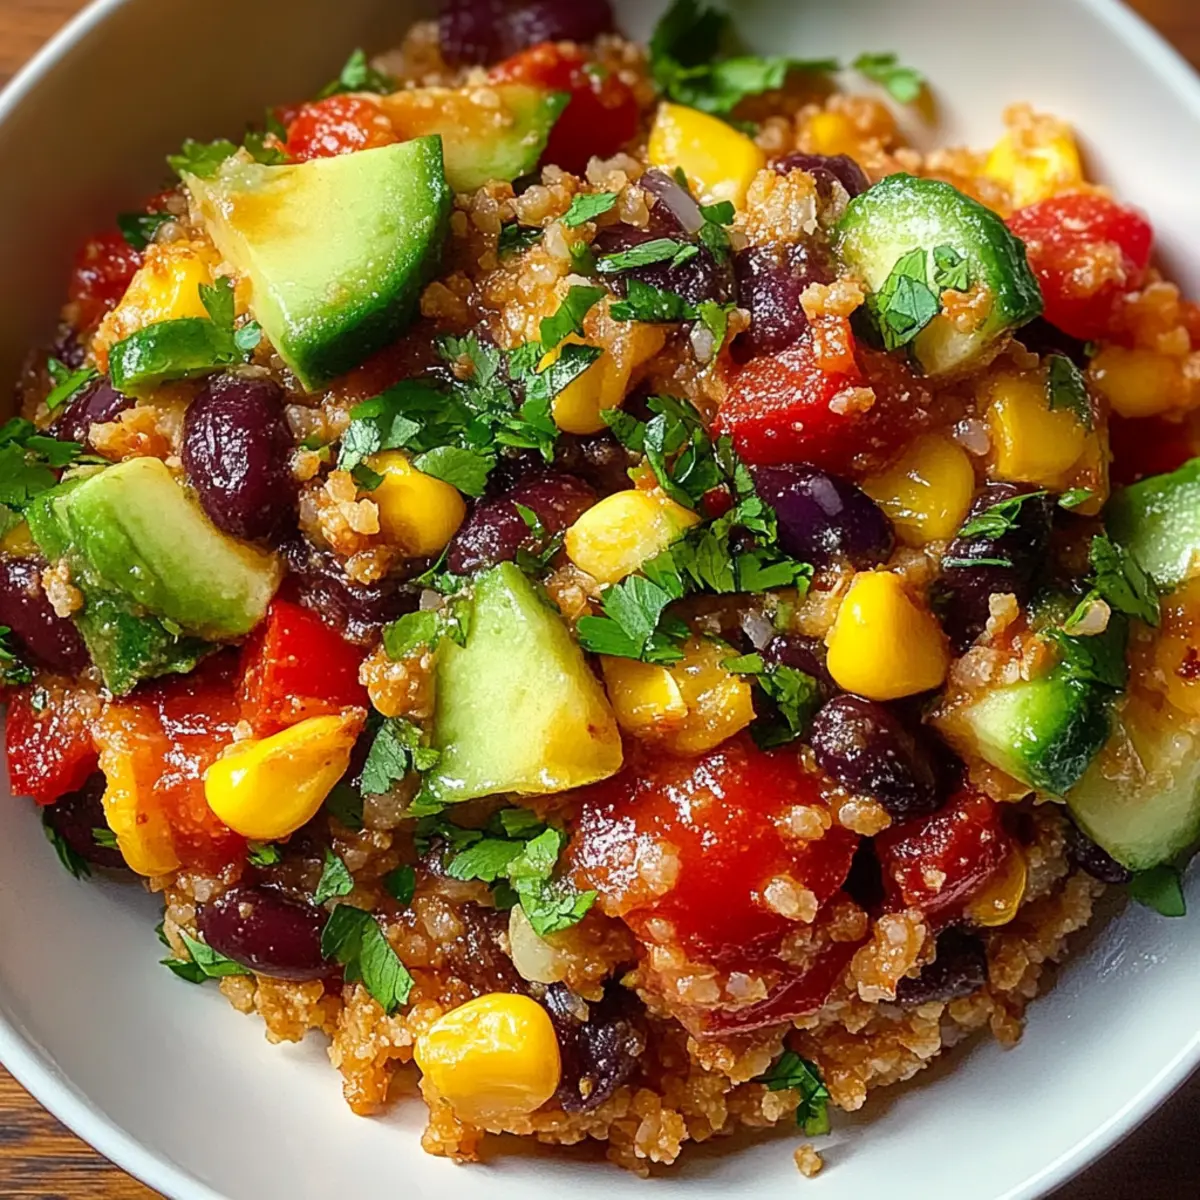
Sprinkle 1 cup of crumbled feta cheese and ¼ cup of chopped fresh parsley over the salad. Toss lightly to incorporate these toppings without breaking the feta too much, allowing the little bursts of flavor to stand out beautifully in your Mediterranean Bean Salad With Feta.
Step 6: Chill the Salad
Cover the salad with plastic wrap or a lid and refrigerate for at least 30 minutes. This chilling time helps the flavors meld together, creating a refreshing blend that elevates the dish. Enjoy the anticipation as the salad cools and those vibrant flavors come together.
Step 7: Serve and Enjoy
When ready to serve, take out the Mediterranean Bean Salad With Feta from the refrigerator. You can serve it chilled or at room temperature. This versatile dish is perfect as a refreshing side or a light main course, ready to impress your guests or nourish your family.

Expert Tips for Mediterranean Bean Salad With Feta
-
Freshness Matters: Use the freshest vegetables you can find. Crisp cucumbers and ripe tomatoes really enhance the flavors of your Mediterranean Bean Salad With Feta.
-
Perfect Feta: When adding feta, crumble it gently. Doing this by hand instead of using a knife keeps the cheese's texture intact, making every bite delightful.
-
Chill Well: Don’t rush the chilling step! Allowing the salad to sit for at least 30 minutes lets the flavors meld beautifully; it's worth the wait.
-
Seasoning Balance: Taste and adjust the salt and pepper after mixing in the dressing. Beans can absorb salt, so it's best to check at the end for the right balance.
-
Customization Options: Feel free to mix in other veggies like bell peppers or leafy greens. This versatility keeps your Mediterranean Bean Salad With Feta exciting every time you make it!
Mediterranean Bean Salad With Feta Variations
Feel free to explore these delightful twists and substitutions to make this Mediterranean Bean Salad With Feta your very own, bringing in more flavor and joy!
-
Dairy-Free: Swap feta cheese with avocado for a creamy, healthy alternative that adds richness without the dairy.
-
Spicy Kick: Add a pinch of red pepper flakes or diced jalapeños to the dressing for a warming heat that lingers on your palate.
-
Herb Infusion: Experiment with fresh herbs like basil or dill instead of parsley. These can offer fresh, aromatic notes that elevate the entire dish.
-
Nutty Flavor: Toss in toasted pine nuts or walnuts for an exciting crunch and an extra layer of flavor that beautifully complements the beans.
-
Garden Fresh: Include seasonal veggies like zucchini or corn. This not only enhances the textures but also makes your salad a colorful celebration of summer!
-
Flavorful Legumes: Try substituting black beans or lentils for the chickpeas. This adds different textures and flavors while keeping it nutritious and satisfying.
-
Vegan Option: Replace the feta with a nut-based cheese or a sprinkle of nutritional yeast for a savory, dairy-free alternative that doesn’t skimp on taste.
-
Citrus Twist: Add a squeeze of lemon juice or a handful of citrus segments to brighten the flavors even more, giving your salad a refreshing zing.
With so many possibilities, each batch of your Mediterranean Bean Salad With Feta can be a unique dining experience! For even more inspiration, consider pairing it with our Mediterranean Quinoa Bowl for a beautifully balanced meal.
How to Store and Freeze Mediterranean Bean Salad With Feta
Fridge: Store any leftover Mediterranean Bean Salad With Feta in an airtight container for up to 3 days. The flavors will continue to meld, creating a delicious second day dish!
Freezer: Although not recommended for freezing due to the texture of the feta, if you must, place in an airtight container. Consume within 1 month for best results.
Reheating: If you’ve frozen the salad, thaw it in the fridge overnight before serving. Toss gently to refresh its flavors before enjoying.
Room Temperature: Avoid leaving the salad out for more than 2 hours, especially on warmer days, to ensure food safety and freshness.
Make Ahead Options
These Mediterranean Bean Salad With Feta is perfect for busy weeknights and meal prep! You can chop all your vegetables (cucumber, red bell pepper, red onion, and cherry tomatoes) and mix the beans up to 3 days in advance, storing them separately in airtight containers in the refrigerator. The dressing can also be whisked together and refrigerated for up to 1 week. Just be sure to keep the crumbled feta and fresh parsley stored separately to maintain their freshness. When you're ready to serve, simply combine everything, toss in the chilled dressing, and enjoy a wonderfully vibrant salad that’s just as delicious as when freshly made!
What to Serve with Vibrant Mediterranean Bean Salad With Feta
Elevate your dining experience by pairing this refreshing salad with complementary dishes that will entice your taste buds.
-
Grilled Chicken Skewers: Juicy chicken marinated in lemon and herbs adds a savory touch that beautifully balances the bean salad's freshness.
-
Pita Bread and Hummus: Soft pita paired with creamy hummus creates a fantastic texture contrast, inviting you to scoop up both delicacies with every bite.
-
Roasted Vegetables: Seasonal vegetables tossed with olive oil and a sprinkle of herbs provide a warm, caramelized addition that enhances the Mediterranean theme.
-
Quinoa Tabouli: This bright and herby salad adds a delightful chewiness, making it an ideal companion for the crisp textures of the bean salad.
-
Greek Yogurt Dip: Cool and creamy, a yogurt dip with herbs offers a tangy counterpart that complements the feta in the Mediterranean Bean Salad With Feta perfectly.
-
Mint Lemonade: A refreshing drink with zingy citrus and a hint of mint adds a revitalizing element, serving as a harmonious counterpoint to the savory flavors of the salad.
-
Fruit Salad: A light and sweet fruit salad featuring seasonal berries and citrus fruits provides a refreshing end to your meal, palate-cleansing after vibrant bites.
-
Baklava: For dessert, this flaky pastry filled with nuts and honey delivers a rich sweetness, making it a delightful finale to your Mediterranean-inspired feast.
Mediterranean Bean Salad With Feta Recipe FAQs
What type of beans are best for this salad?
Absolutely! For the Mediterranean Bean Salad With Feta, I recommend using canned chickpeas and kidney beans for convenience, but you can also use cooked dried beans if you prefer. Just make sure they are tender and well-drained.
How long can I store the salad in the fridge?
You can store leftover Mediterranean Bean Salad With Feta in an airtight container in the fridge for up to 3 days. The flavors continue to develop, so it's delicious even on the second or third day!
Can I freeze Mediterranean Bean Salad With Feta?
While it’s not ideal to freeze this salad due to the texture of the feta cheese, if you really need to store it longer, place it in an airtight container. Consume within 1 month for best quality. Upon thawing, gently mix to refresh the flavors before serving.
What should I do if my salad is too salty?
Very! If your Mediterranean Bean Salad With Feta turns out too salty, try adding diced potatoes or cooked rice, which can absorb some of the excess salt. Adding an extra splash of olive oil or a squeeze of lemon juice can also help to balance the flavors.
Can I make this salad ahead of time?
Absolutely! The Mediterranean Bean Salad With Feta is perfect for making ahead. Just prepare the salad, toss everything together, and store it in the refrigerator for up to 24 hours. This allows all the flavors to meld beautifully together, ensuring a fresh burst of taste when you’re ready to serve.
Is this salad pet-safe?
Not entirely. While the vegetables are safe for pets, the feta cheese should be avoided for dogs and cats due to its high sodium content. Always check each ingredient and consult a veterinarian for any dietary concerns related to your pets.

Mediterranean Bean Salad With Feta for a Fresh Flavor Burst
Ingredients
Equipment
Method
- Start by rinsing and draining one can each of chickpeas and kidney beans in a colander. Allow the beans to drain completely; this should take about 1-2 minutes.
- In a large mixing bowl, combine the rinsed chickpeas and kidney beans with one can of sliced black olives, a diced medium cucumber, a diced medium red bell pepper, one cup of halved cherry tomatoes, and half a finely chopped red onion. Stir gently to mix the ingredients.
- In a separate small bowl, create the dressing by whisking together ¼ cup of olive oil, 2 tablespoons of red wine vinegar, 1 teaspoon of dried oregano, and one minced clove of garlic. Add salt and pepper to taste. Whisk until the mixture is well combined.
- Pour the freshly whisked dressing over the bean and vegetable mixture in the large bowl. Gently toss everything together using a large spoon, ensuring all the ingredients are evenly coated.
- Sprinkle 1 cup of crumbled feta cheese and ¼ cup of chopped fresh parsley over the salad. Toss lightly to incorporate these toppings without breaking the feta too much.
- Cover the salad with plastic wrap or a lid and refrigerate for at least 30 minutes.
- When ready to serve, take out the Mediterranean Bean Salad With Feta from the refrigerator. You can serve it chilled or at room temperature.