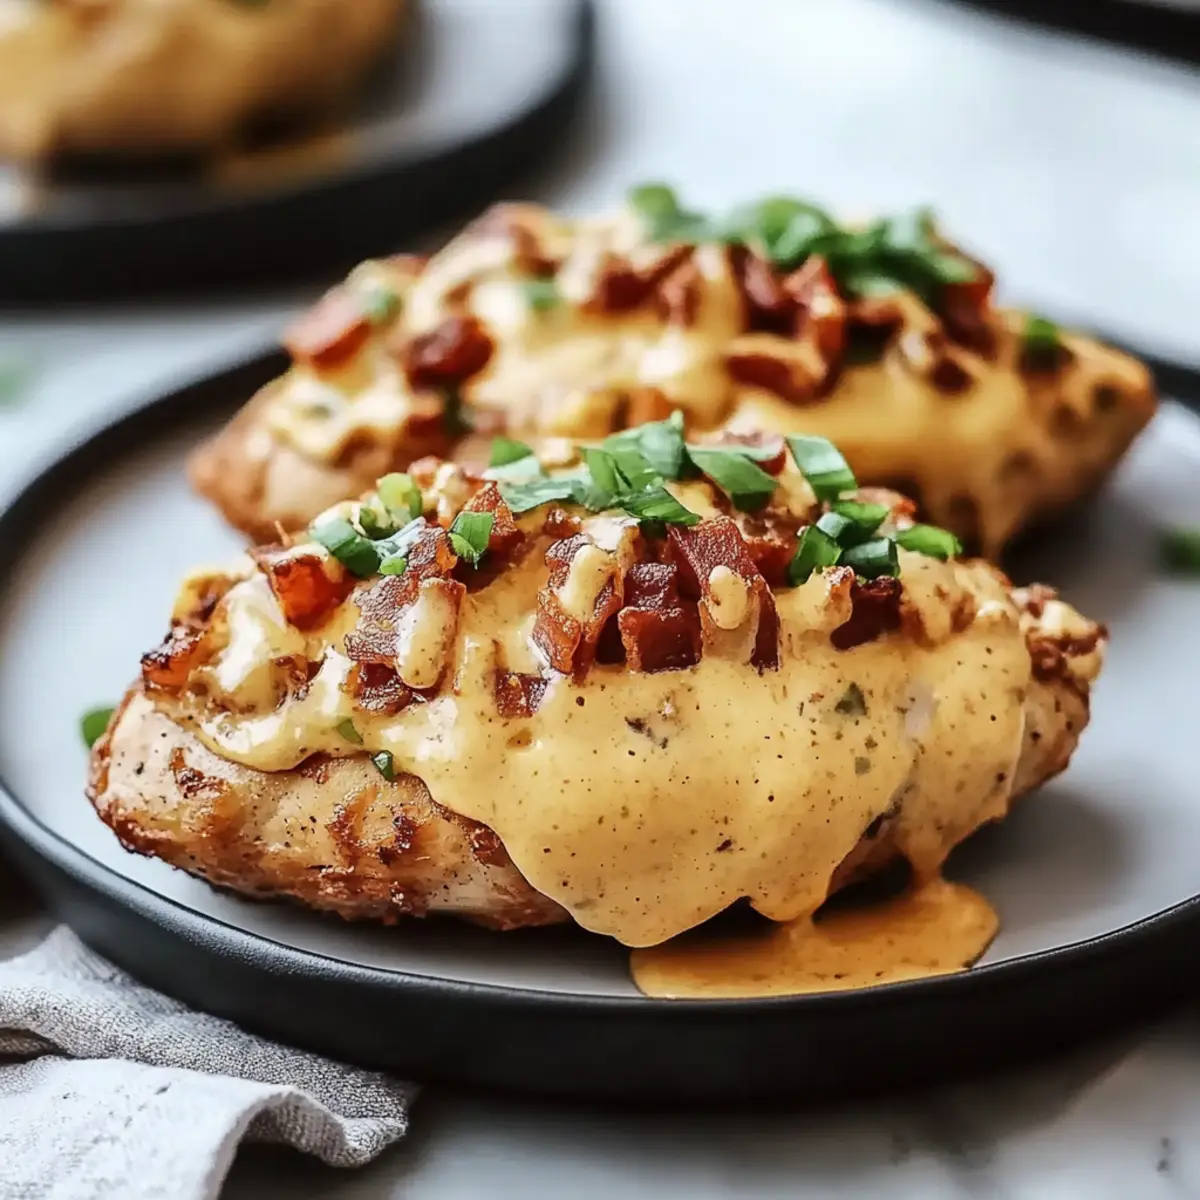
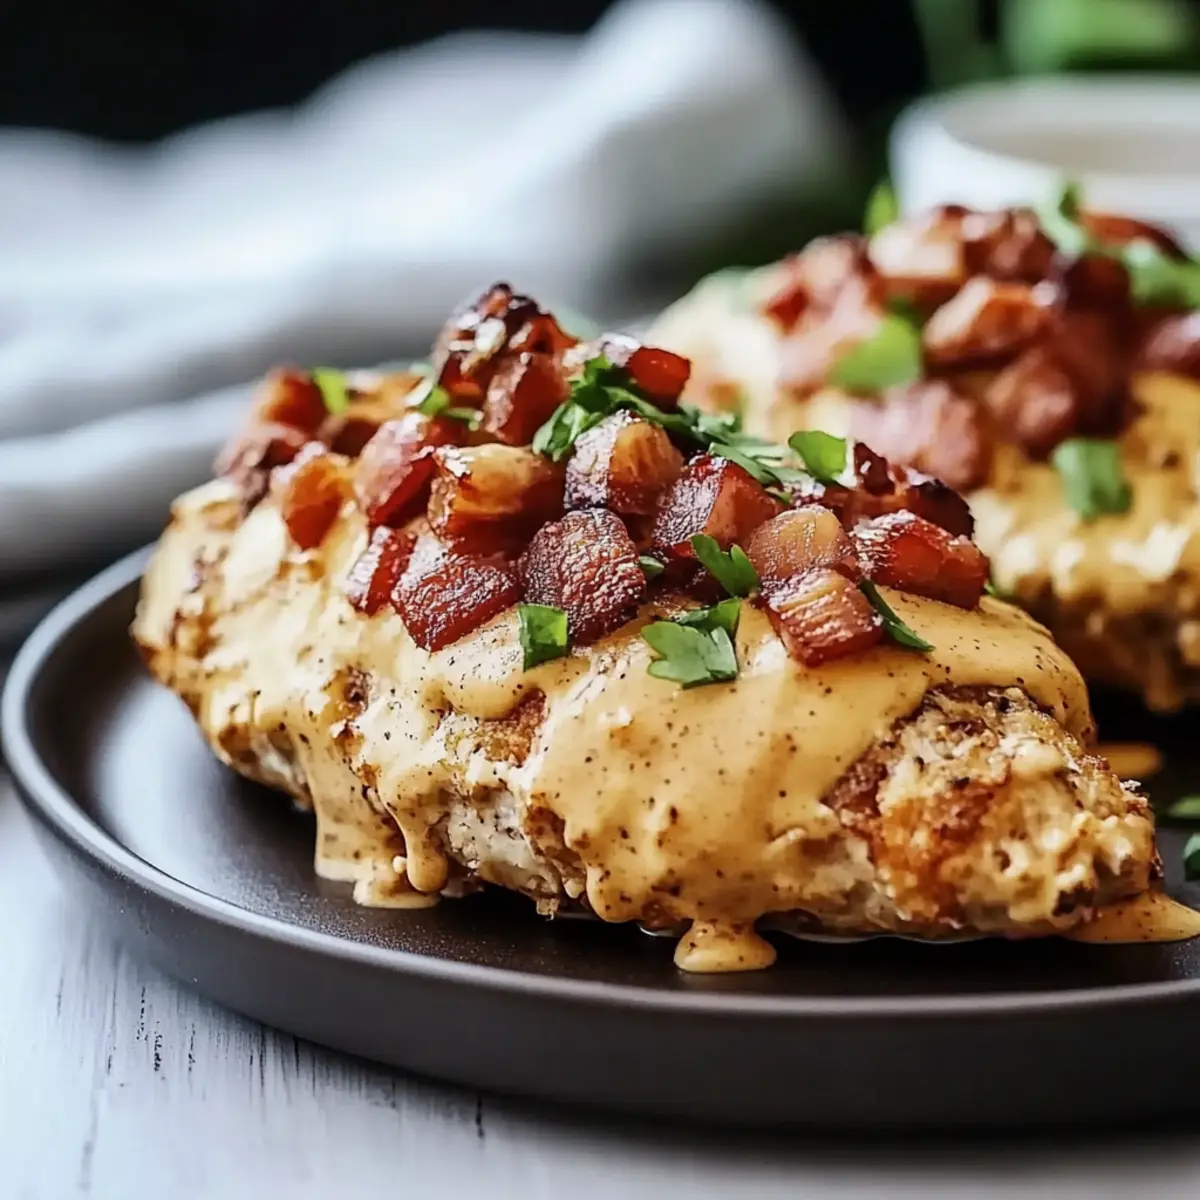
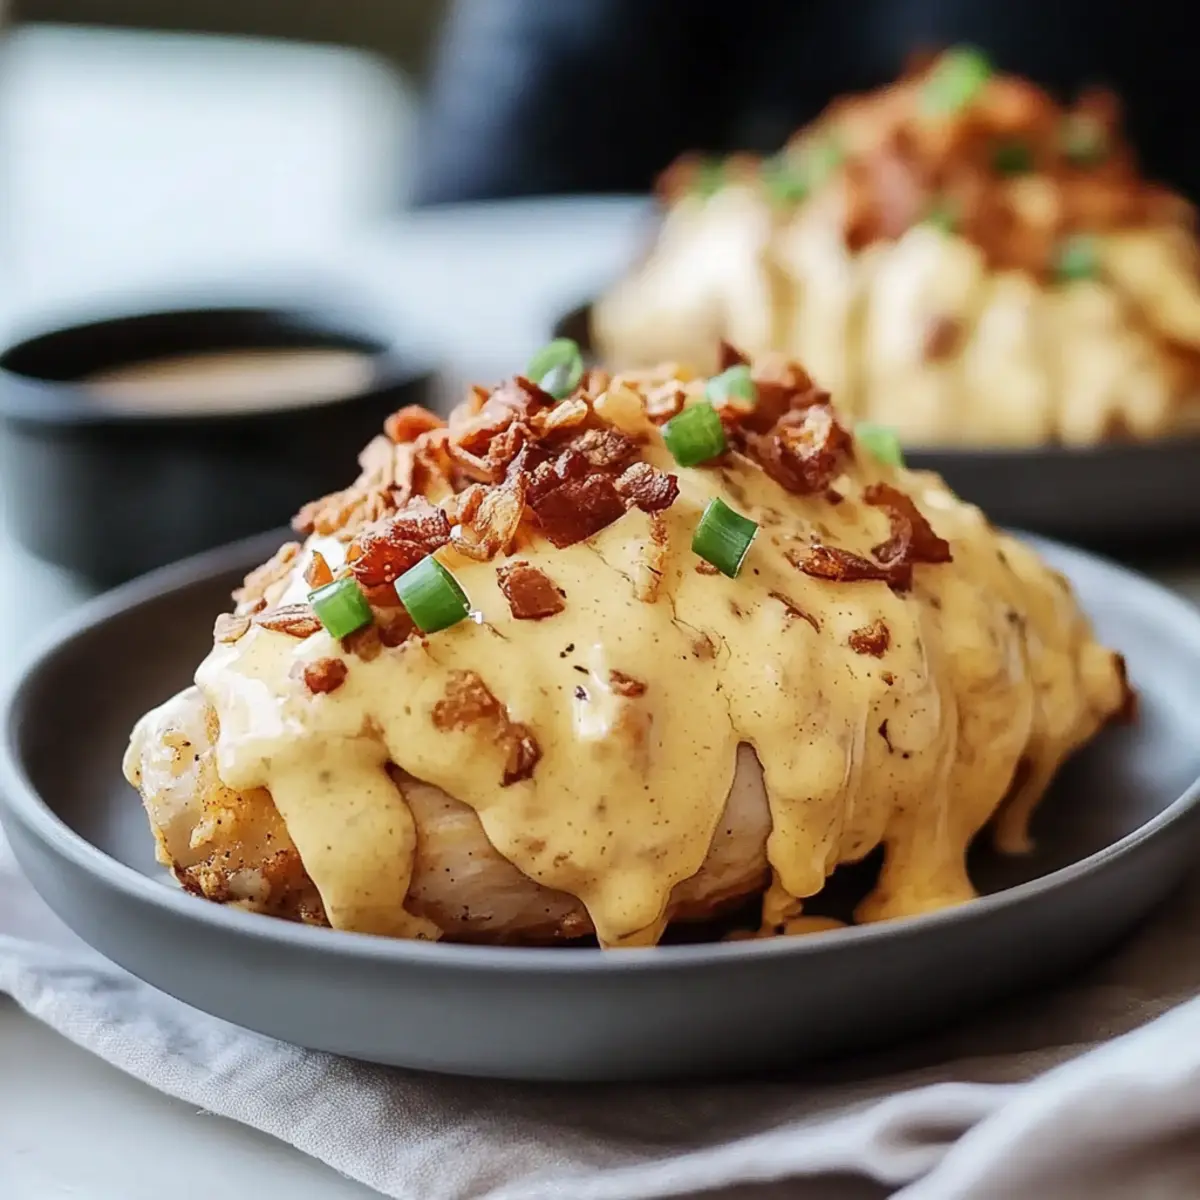
As I rifled through my pantry one busy evening, I discovered just four simple ingredients that transformed my dinner plans. That’s when I created this 4-Ingredient Cheesy Ranch Chicken—an easy recipe that not only delivers on flavor but makes weeknight cooking a breeze. Perfect for busy home chefs tired of the drive-thru, this dish requires just five minutes of prep and can be baking while you kick back and relax. Plus, it’s a guaranteed crowd-pleaser that your family will request again and again. Excited to whip up something delicious with minimal effort? Let’s dive into this cheesy delight!

Why is Cheesy Ranch Chicken a Must-Try?
Simplicity: With just four ingredients, this dish is a breeze to prepare, making it perfect for busy weeknights.
Flavor-Packed: The blend of ranch seasoning and gooey cheese creates a savory explosion that elevates chicken to new heights.
Crowd-Pleaser: It's a dish that kids and adults alike will happily devour, ensuring everyone at the table is satisfied.
Versatile: You can easily adapt it by swapping in different cheese or adding your favorite vegetables for added nutrition.
Time-Saving: Ready in just 35 minutes, you can have a homemade meal without spending hours in the kitchen.
Once you’ve mastered this Cheesy Ranch Chicken, don’t hesitate to explore more flavorful options in my other recipes or check out the perfect side dishes to accompany your new favorite meal!
Cheesy Ranch Chicken Ingredients
• Ready to create this quick comfort dish? Here’s what you’ll need!
For the Chicken
- Boneless skinless chicken breasts – This lean protein option ensures your dish stays healthy while being tender and juicy.
For the Flavor Base
- Ranch seasoning mix – Using a commercial ranch mix packs a flavor punch without any hassle, perfect for your Cheesy Ranch Chicken!
For the Topping
- Shredded cheddar cheese – A rich and melty cheese that perfectly complements the ranch flavor and adds that gooey texture we all love.
For the Creamy Component
- Mayonnaise or plain Greek yogurt – Both add creaminess; Greek yogurt is a lighter alternative that brings a tangy twist!
Step‑by‑Step Instructions for Cheesy Ranch Chicken
Step 1: Preheat the Oven
Preheat your oven to 375°F (190°C). While the oven warms up, take a baking dish and lightly grease it with cooking spray or line it with parchment paper to prevent sticking. This will ensure your Cheesy Ranch Chicken has a perfect, golden brown finish as it bakes.
Step 2: Mix the Base
In a medium bowl, combine ½ cup of mayonnaise (or Greek yogurt) with the ranch seasoning mix. Whisk them together until the mixture is smooth and well-blended, resembling a creamy sauce. This flavorful base will add a delicious tang to your chicken, so make sure it's mixed well for even distribution.
Step 3: Prepare the Chicken
Place 4 boneless skinless chicken breasts in the prepared baking dish, arranging them in a single layer to ensure even cooking. Feel free to pat them dry with a paper towel first, as this helps the ranch mixture adhere better. This is the foundation of your Cheesy Ranch Chicken, providing a juicy and tender main dish.
Step 4: Add the Ranch Mixture
Using a spatula or the back of a spoon, spread the ranch mixture generously over each chicken breast, ensuring they are thoroughly coated. This layer of flavor will infuse the chicken as it cooks, transforming each bite into a savory delight. Don’t be shy—make sure every surface is covered!
Step 5: Sprinkle the Cheese
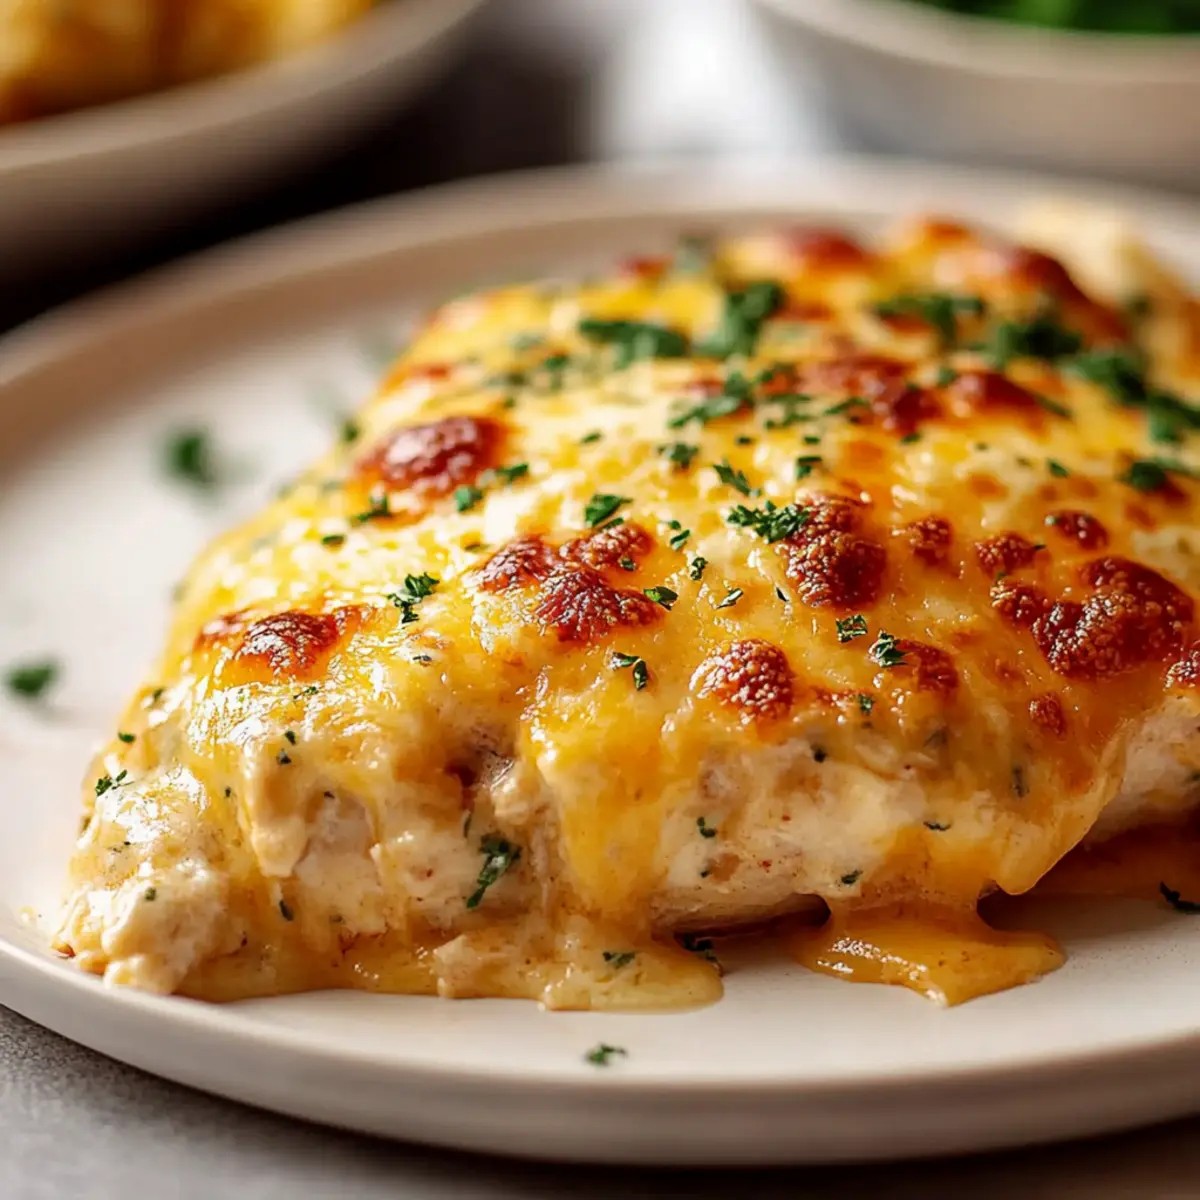
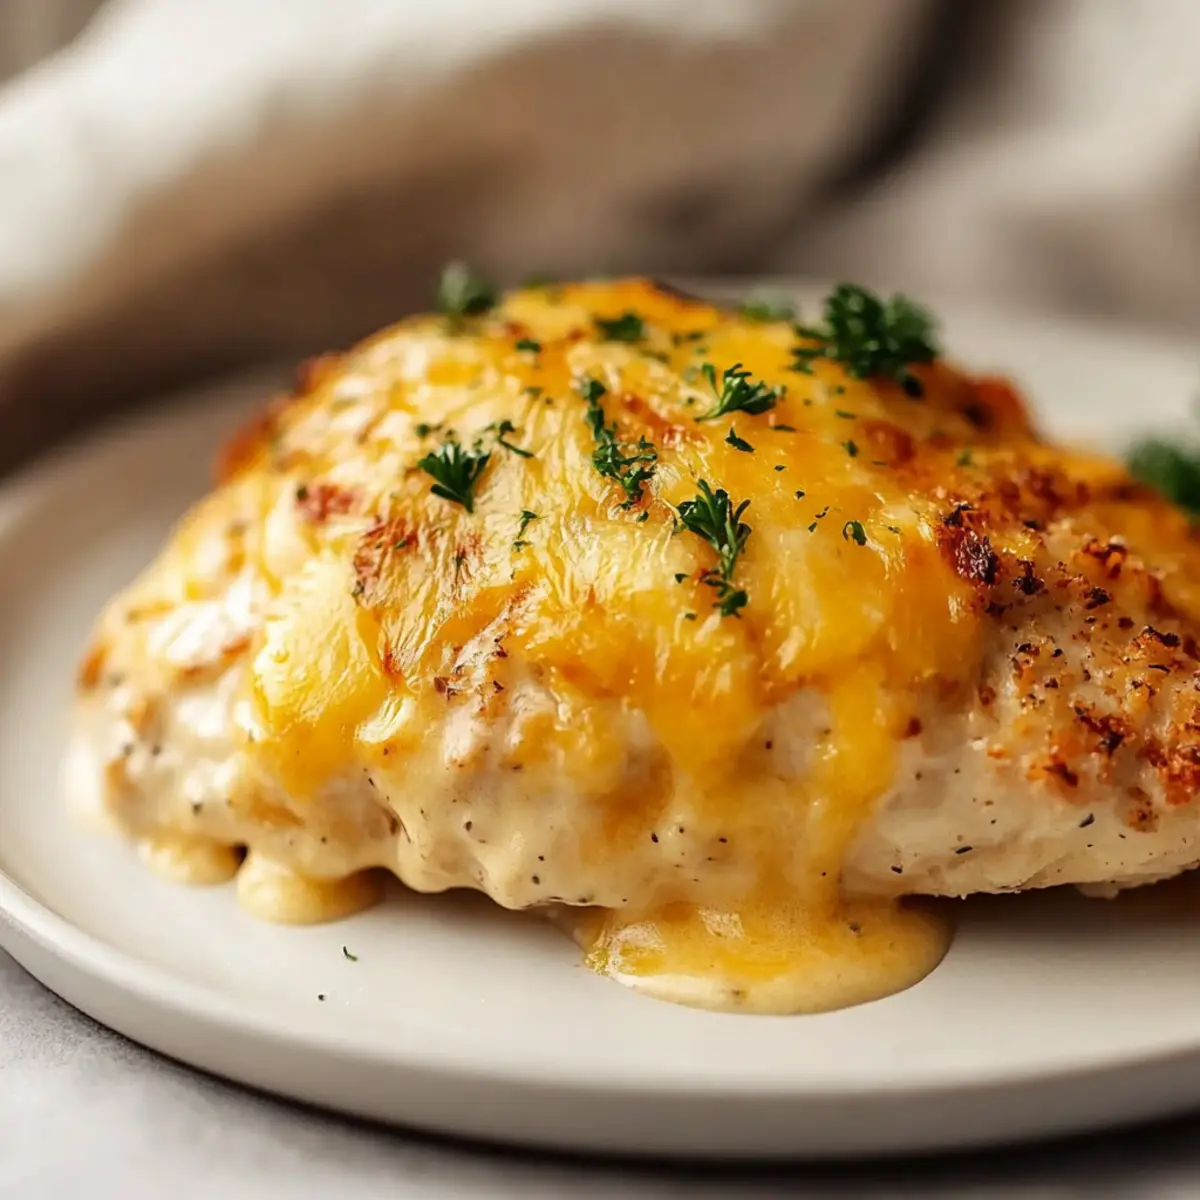
Now it’s time for the best part! Sprinkle 1 cup of shredded cheddar cheese evenly over the top of the chicken. The cheesy layer will melt beautifully during baking, creating a gooey and luscious topping for your Cheesy Ranch Chicken that’s sure to please the whole family.
Step 6: Bake
Place the baking dish in the preheated oven and bake uncovered for 25–30 minutes. Keep an eye on the chicken; it’s ready when the cheese is melted and lightly golden, and the internal temperature reaches 165°F (75°C). This step is crucial for ensuring your chicken is cooked through and full of flavor.
Step 7: Rest Before Serving
Once baked, remove the Cheesy Ranch Chicken from the oven and let it rest for about 5 minutes. This resting period allows the juices to redistribute within the chicken, making every bite deliciously moist. While it cools, prepare any sides you’d like to serve with it, adding a complete touch to your meal.
What to Serve with Cheesy Ranch Chicken
Creating a wholesome family meal is all about those delightful side dishes that bring everything together for a comforting dining experience.
-
Creamy Mashed Potatoes: The fluffy texture of mashed potatoes pairs beautifully, soaking up the cheesy sauce while adding heartiness.
-
Steamed Broccoli: Nutty and fresh, the vibrant green of steamed broccoli adds color and balances the richness of the chicken, making your plate pop.
-
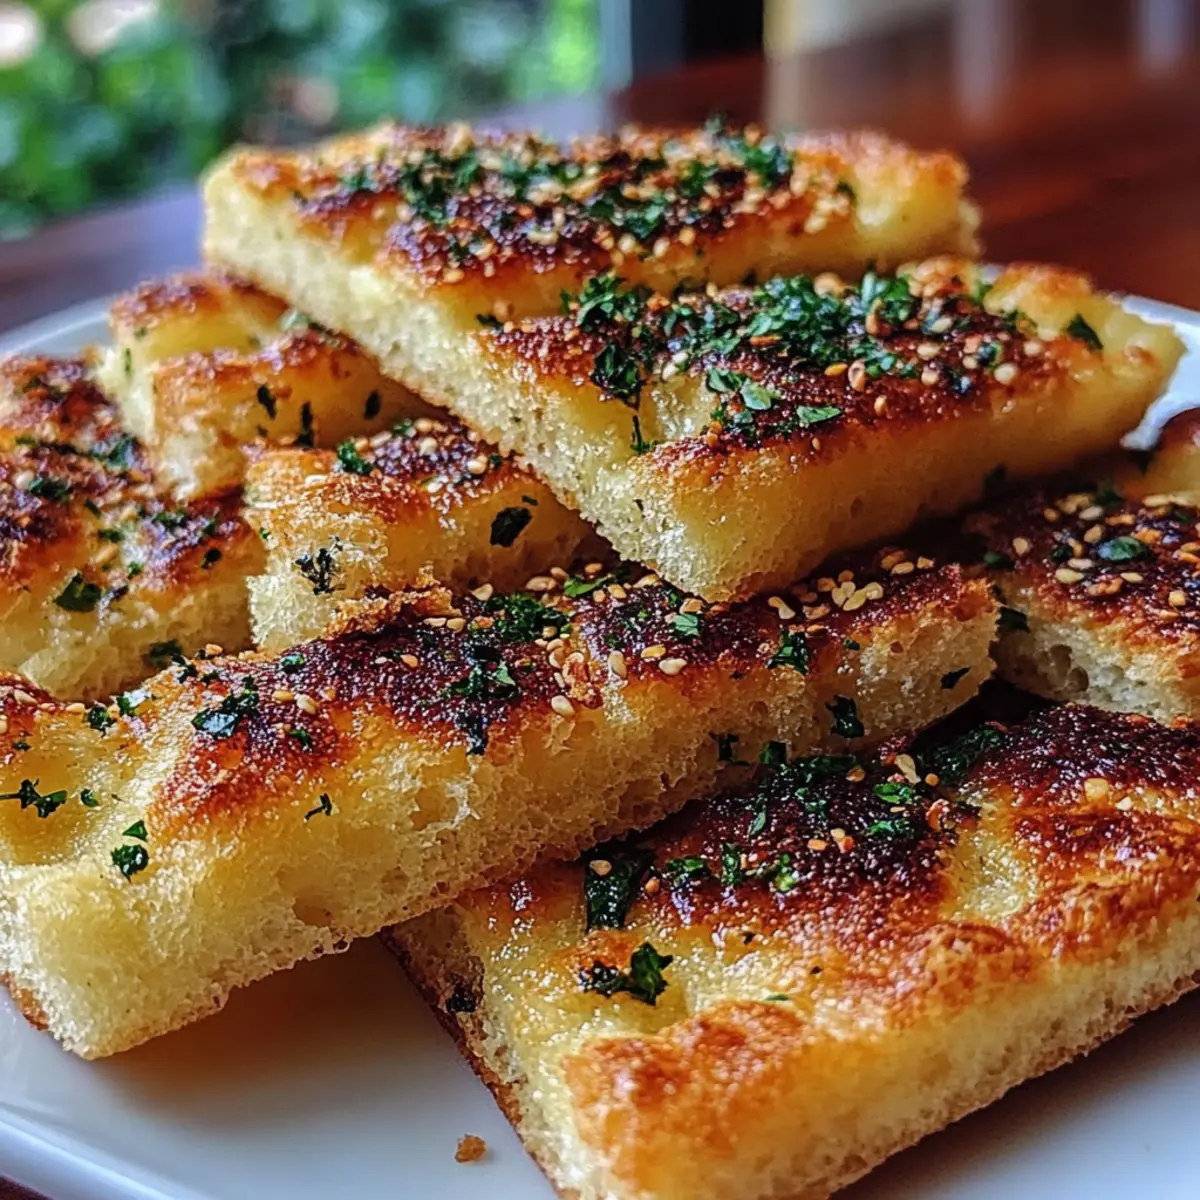
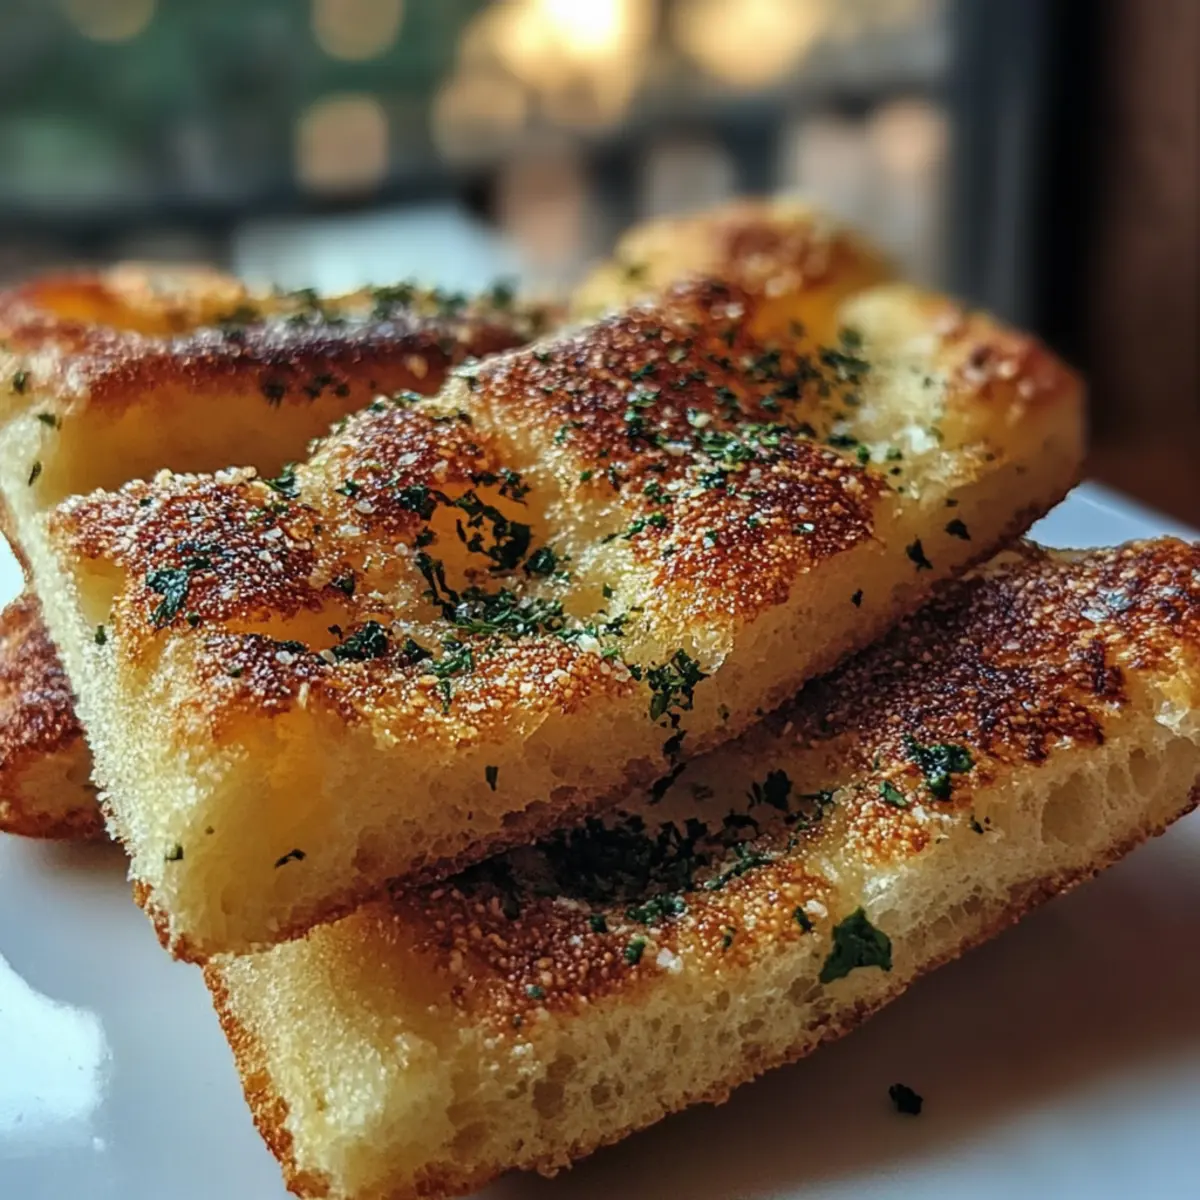
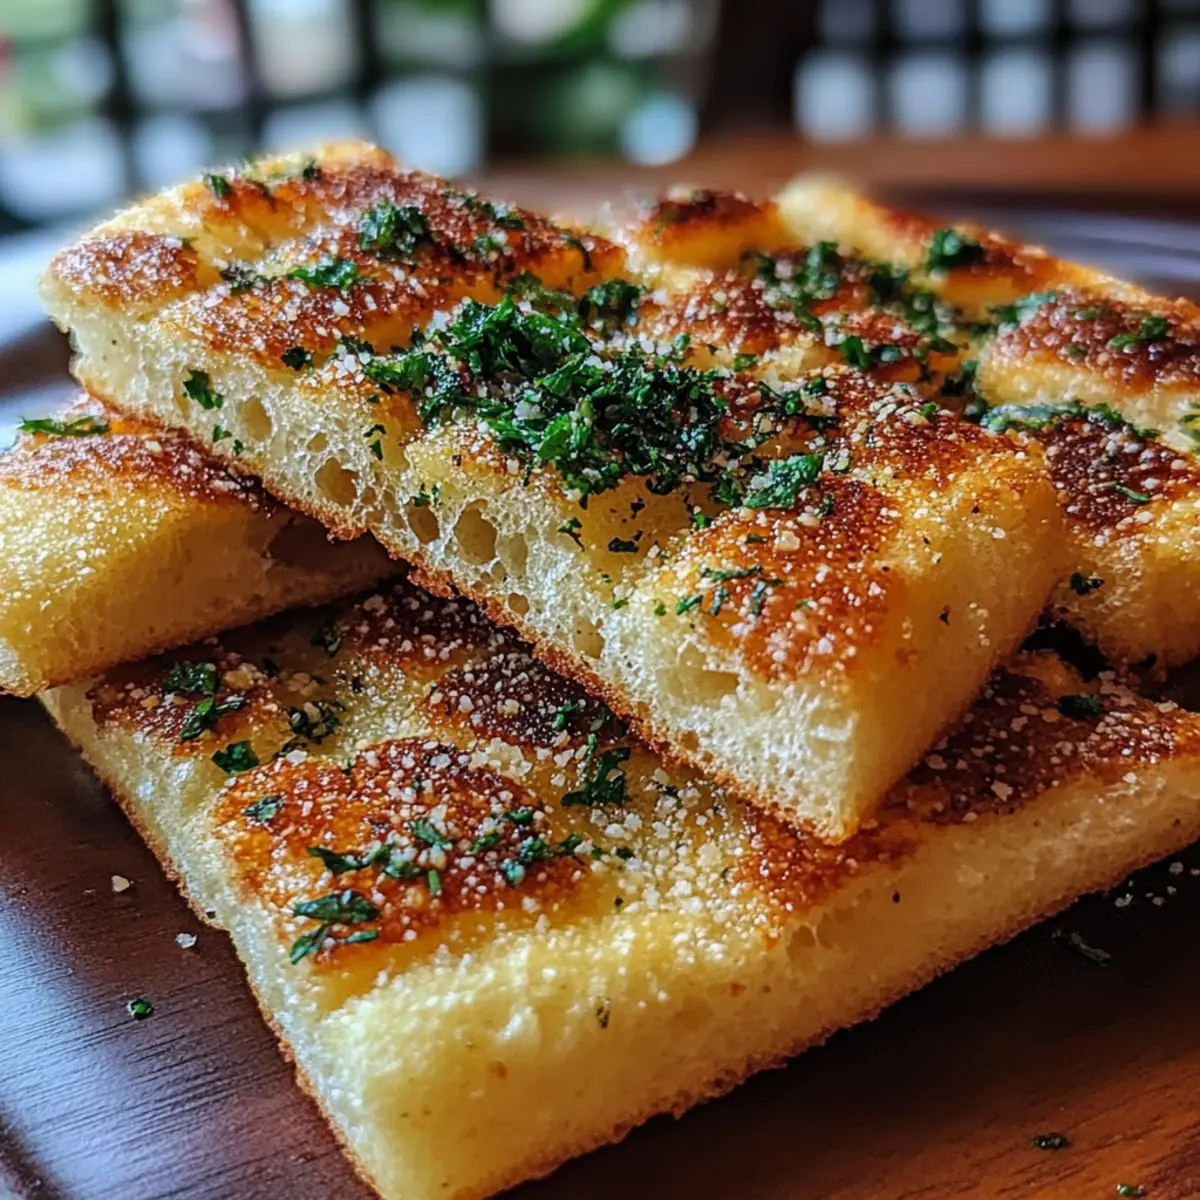
Garlic Bread: Golden, buttery garlic bread is perfect for mopping up extra sauce, bringing a satisfying crunch to each bite of tender chicken.
-
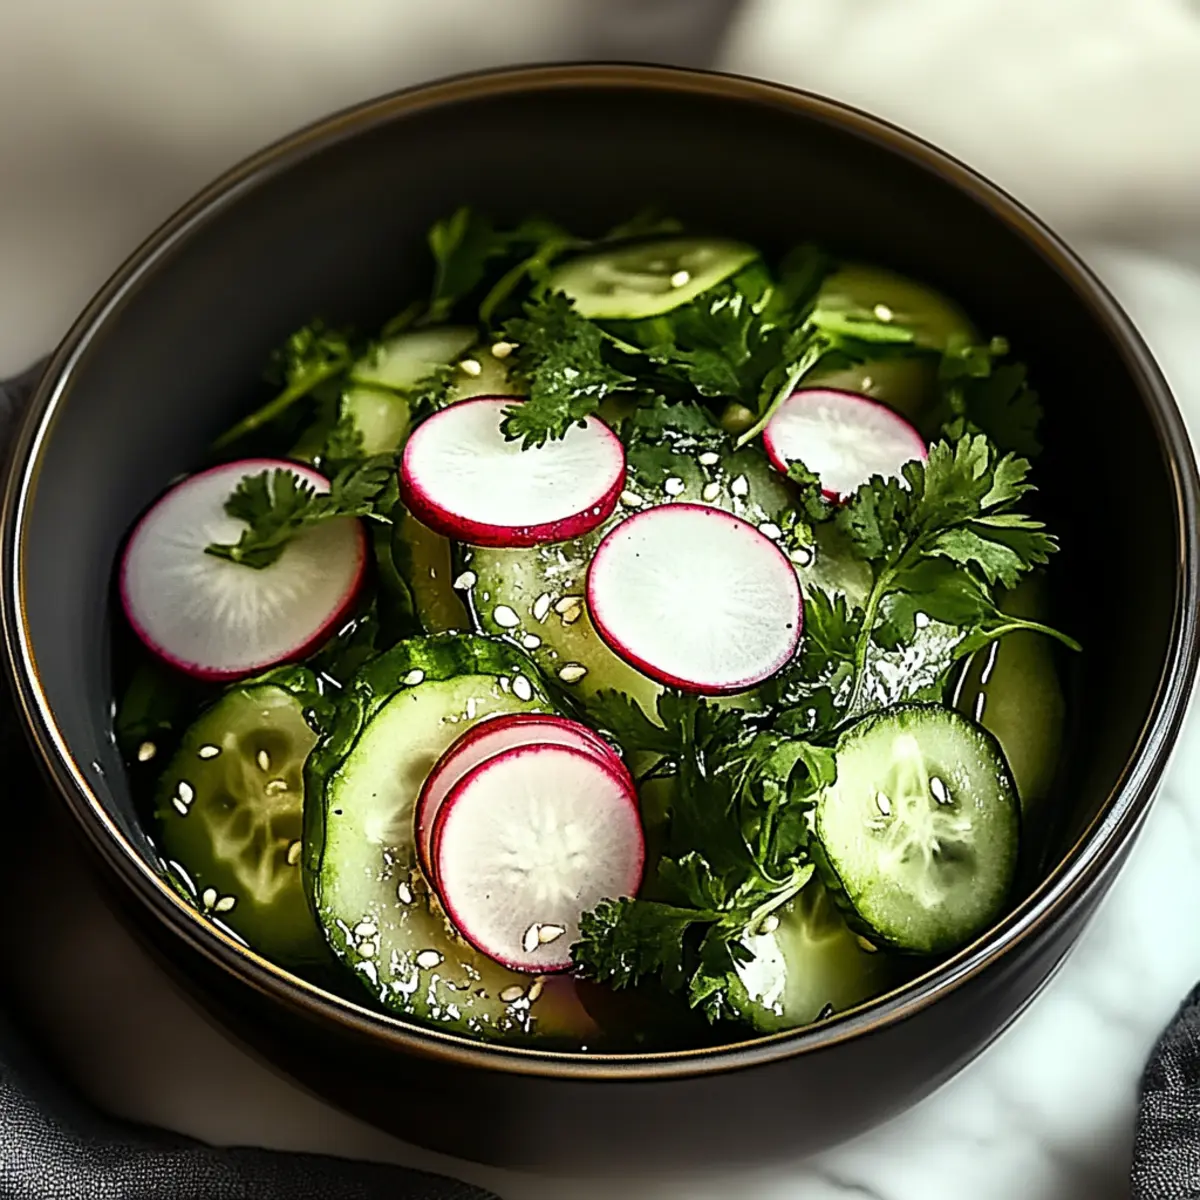
Coleslaw: The cool, crisp texture of coleslaw complements the warm, creamy chicken, and adds a refreshing crunch that your family will love.
-
Caesar Salad: Crisp romaine lettuce dressed with tangy Caesar dressing is a lighter contrast to the cheesy ranch chicken, providing a much-needed freshness.
-
Corn on the Cob: Sweet, buttery corn offers an inviting sweetness that pairs harmoniously with the savory flavors of the chicken.
-
Iced Tea: A glass of refreshing iced tea perfectly quenches thirst and enhances the flavors of your meal, making every bite even better.
-
Chocolate Chip Cookies: For a sweet finish, warm, gooey chocolate chip cookies provide a delightful contrast to the savory main dish, satisfying that sweet tooth!
Storage Tips for Cheesy Ranch Chicken
Fridge: Store any leftover Cheesy Ranch Chicken in an airtight container for up to 3 days. Make sure it cools down to room temperature before sealing to maintain freshness.
Freezer: If you have more chicken than you can eat, freeze it for up to 3 months. Wrap each piece in plastic wrap and then place in a freezer bag, squeezing out as much air as possible.
Reheating: For best results, reheat the chicken in the oven at 350°F (175°C) until warmed through, about 15–20 minutes. This keeps the cheese melty and prevents the chicken from drying out.
Room Temperature: Always discard any leftover Cheesy Ranch Chicken that has been left out at room temperature for more than 2 hours to ensure food safety.
Cheesy Ranch Chicken Variations
Feel free to explore these exciting twists that will make your Cheesy Ranch Chicken even more delightful!
-
Dairy-Free: Substitute the cheddar cheese with a dairy-free cheese alternative and swap mayonnaise for cashew cream to keep it creamy and delicious.
-
Spicy Twist: Add 1 teaspoon of red pepper flakes or hot sauce to the ranch mixture for those who enjoy a little heat. The added warmth creates an unforgettable burst of flavor!
-
Veggie Loaded: Mix in some chopped spinach or diced bell peppers before spreading the ranch sauce to sneak in more nutrition. Every bite will be a colorful surprise!
-
Herb Infusion: Add freshly chopped herbs such as parsley, cilantro, or chives to the ranch mixture for an aromatic boost. This will elevate the fragrance and flavor profile of your dish.
-
Mustard Kick: For a tangy twist, mix in a tablespoon of Dijon mustard to the ranch base. This little addition packs a flavor punch that your taste buds will love!
-
Crunchy Topping: Top your cheese with a sprinkle of panko breadcrumbs mixed with Italian seasoning before baking, giving your Cheesy Ranch Chicken an irresistible crunchy finish.
-
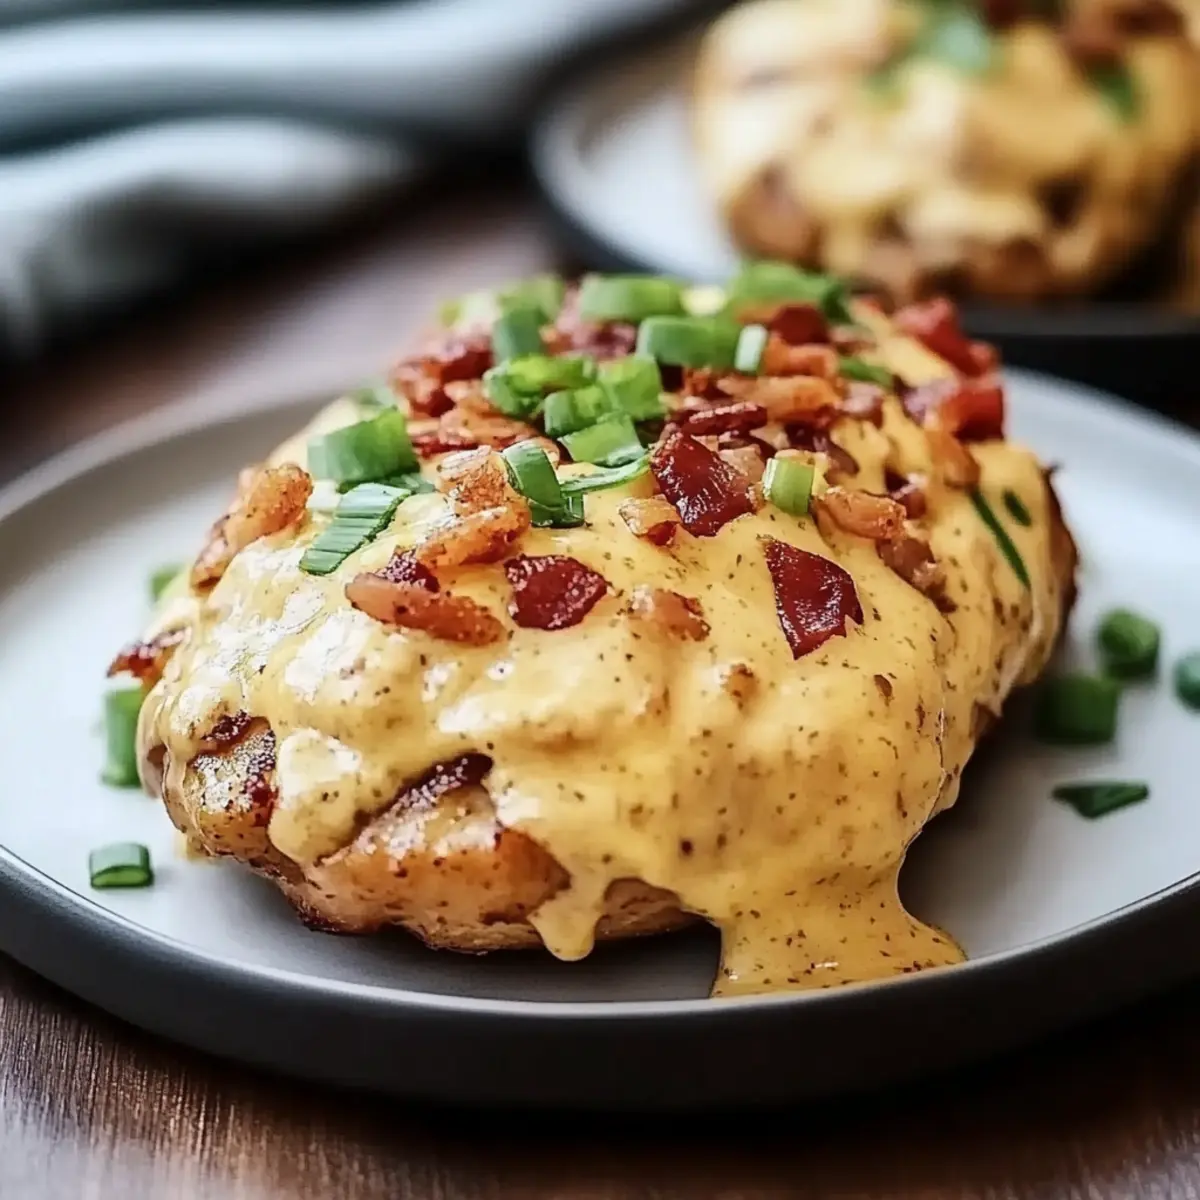
Bacon Lover's Delight: Crumble cooked bacon on top of the cheese before baking for an extra savory layer. The smoky flavor pairs wonderfully with the ranch and cheese!
-
BBQ Flare: Swap out ranch seasoning for barbecue seasoning and use BBQ sauce instead of mayonnaise for a sweet and smoky take on this classic. This version will leave your family licking their plates clean!
Exploring these variations can make this recipe your family’s favorite meal of the week. If you’re looking for perfect side dishes to accompany your Cheesy Ranch Chicken, why not check out my recipe for Easy Garlic Bread? It pairs beautifully!
Expert Tips for Cheesy Ranch Chicken
-
Perfect Cooking Time: Ensure you check the internal temperature reaches 165°F (75°C). Overcooking can lead to dry chicken, which we want to avoid!
-
Flavor Variations: Try adding sautéed vegetables or spices like garlic powder for an extra flavor kick. This can elevate your Cheesy Ranch Chicken to a whole new level!
-
Cheese Swap: While cheddar is a classic, don’t hesitate to experiment with mozzarella or pepper jack for a fun twist. Each cheese brings a different flavor profile!
-
Prep Ahead: If you’re short on time, prepare the ranch mix with chicken earlier in the day, refrigerate, and bake right before dinner. This makes it a great meal for busy nights!
-
Serving Suggestions: Pair with a light salad or steamed broccoli for a complete meal. The freshness of veggies balances the richness of the cheese and ranch.
-
Storage Tips: Leftovers can be stored in an airtight container for up to three days; simply reheat in the oven for the best texture.
Make Ahead Options
These 4-Ingredient Cheesy Ranch Chicken are perfect for busy home cooks looking to save time! You can prepare the chicken with the ranch mixture up to 24 hours in advance by following the first four steps in the recipe, then cover the dish and refrigerate it. This will keep the chicken moist and let the flavors meld beautifully. When you're ready to cook, simply sprinkle the shredded cheese over the top and bake as directed for 25-30 minutes. For further convenience, you can also freeze the unbaked chicken for up to 3 months. Just remember to thaw it in the fridge overnight before baking! Enjoy restaurant-quality flavors with minimal effort, and have a delightful meal ready in no time!

Cheesy Ranch Chicken Recipe FAQs
How do I choose the right chicken breasts for this recipe?
Absolutely! Look for boneless skinless chicken breasts that are plump and firm to the touch. Avoid those with dark spots or an unusual odor, as these may indicate spoilage. If buying fresh, opt for packages dated far into the future for the best longevity.
What’s the best way to store leftover Cheesy Ranch Chicken?
Very simple! Place any leftovers in an airtight container and refrigerate for up to 3 days. Make sure it has cooled to room temperature before sealing to preserve flavor. It’s perfect for a quick lunch or dinner later!
Can I freeze Cheesy Ranch Chicken for later?
Certainly! If you have more chicken than you can enjoy right away, wrap each piece tightly in plastic wrap and place them in a freezer bag for up to 3 months. When ready to eat, thaw in the refrigerator overnight and reheat in the oven to maintain its delicious cheesy texture.
What should I do if my chicken turns out dry?
Oh no! If your chicken ends up dry, it could be due to overcooking. Always use a meat thermometer to check for doneness at 165°F (75°C). If it's dry, consider slicing the chicken and mixing it with a little extra ranch dressing or broth to make it moist and flavorful again.
Is this recipe suitable for anyone with dietary restrictions?
Definitely! If you’re concerned about allergies, you can easily substitute the ranch seasoning for a homemade blend using your own herbs and spices to avoid preservatives. If someone in your household is lactose intolerant, swap the cheese and mayo for dairy-free alternatives or check for lactose-free cheese options.
What can I serve with Cheesy Ranch Chicken to make it a complete meal?
The more the merrier! You can pair this dish with a light and refreshing salad, steamed vegetables like broccoli or green beans, or even some fluffy mashed potatoes for a comforting side. It’s versatile enough to complement any of your favorite sides!
Cheesy Ranch Chicken: Quick Comfort for Busy Nights
Ingredients
Equipment
Method
- Preheat your oven to 375°F (190°C) and prepare a baking dish.
- In a medium bowl, combine ½ cup of mayonnaise (or Greek yogurt) with the ranch seasoning mix and whisk until smooth.
- Place 4 boneless skinless chicken breasts in the prepared baking dish.
- Spread the ranch mixture generously over each chicken breast.
- Sprinkle 1 cup of shredded cheddar cheese evenly over the tops of the chicken.
- Bake uncovered for 25–30 minutes, until the cheese is melted and golden, and the chicken reaches an internal temperature of 165°F (75°C).
- Let the Cheesy Ranch Chicken rest for about 5 minutes before serving.