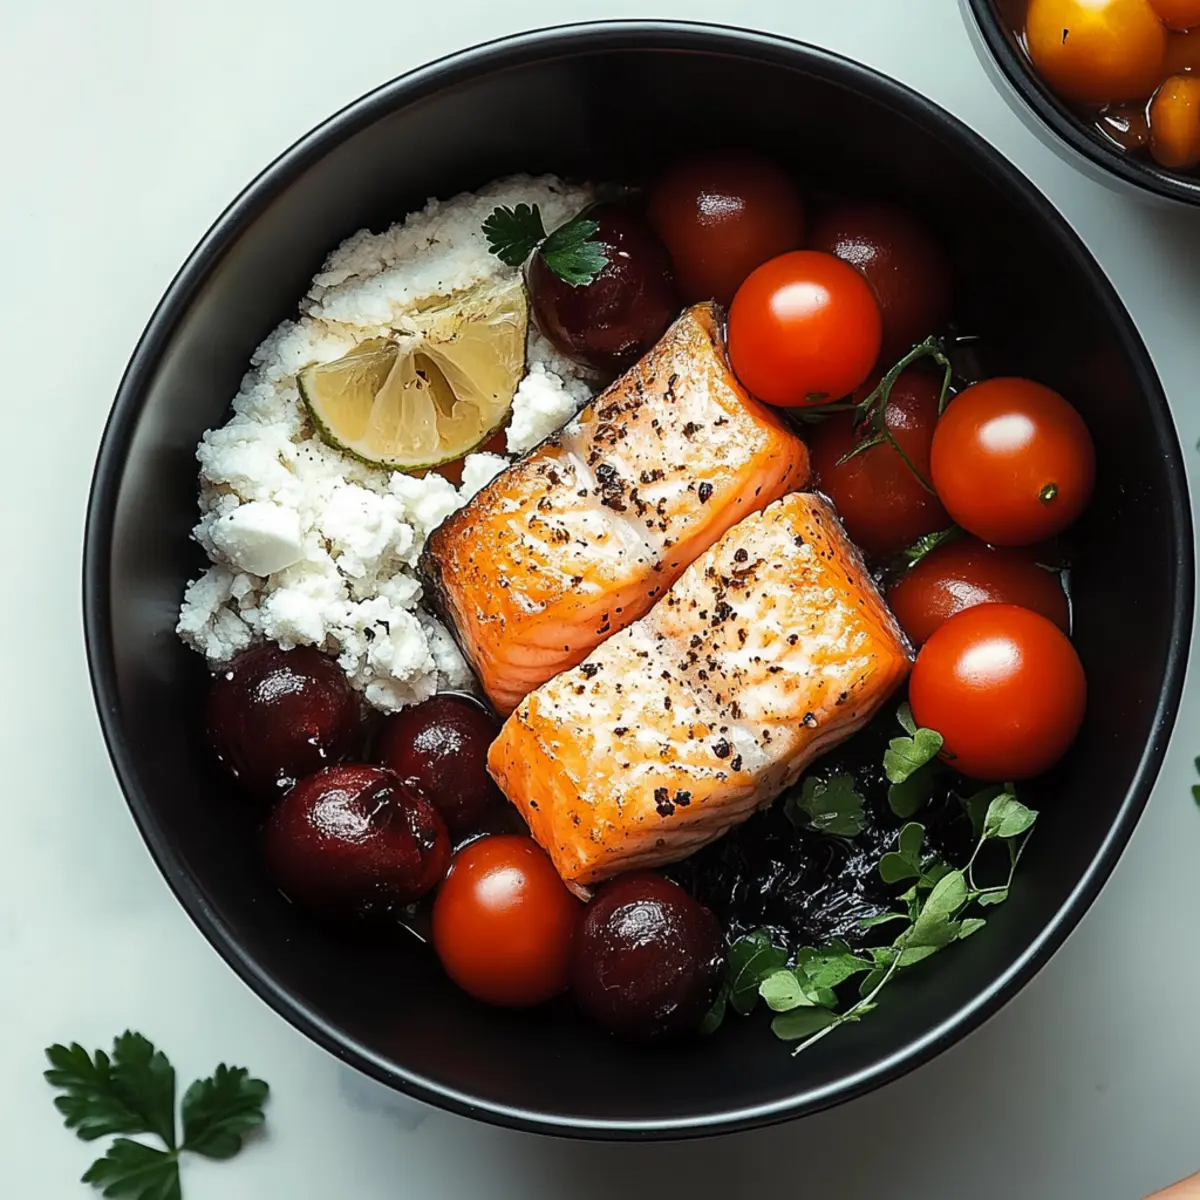
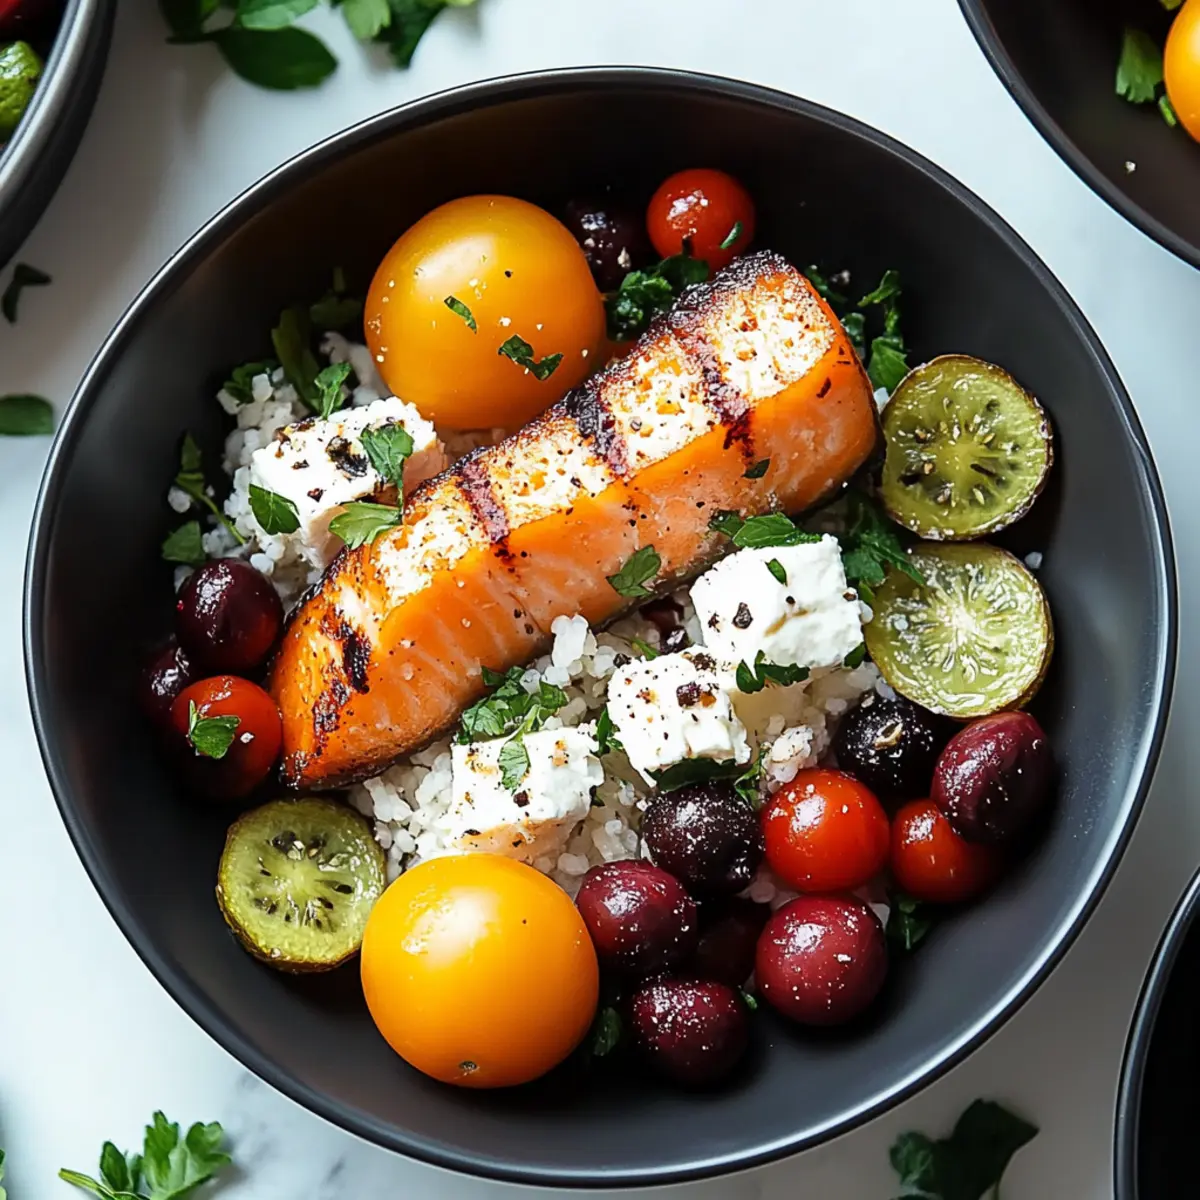
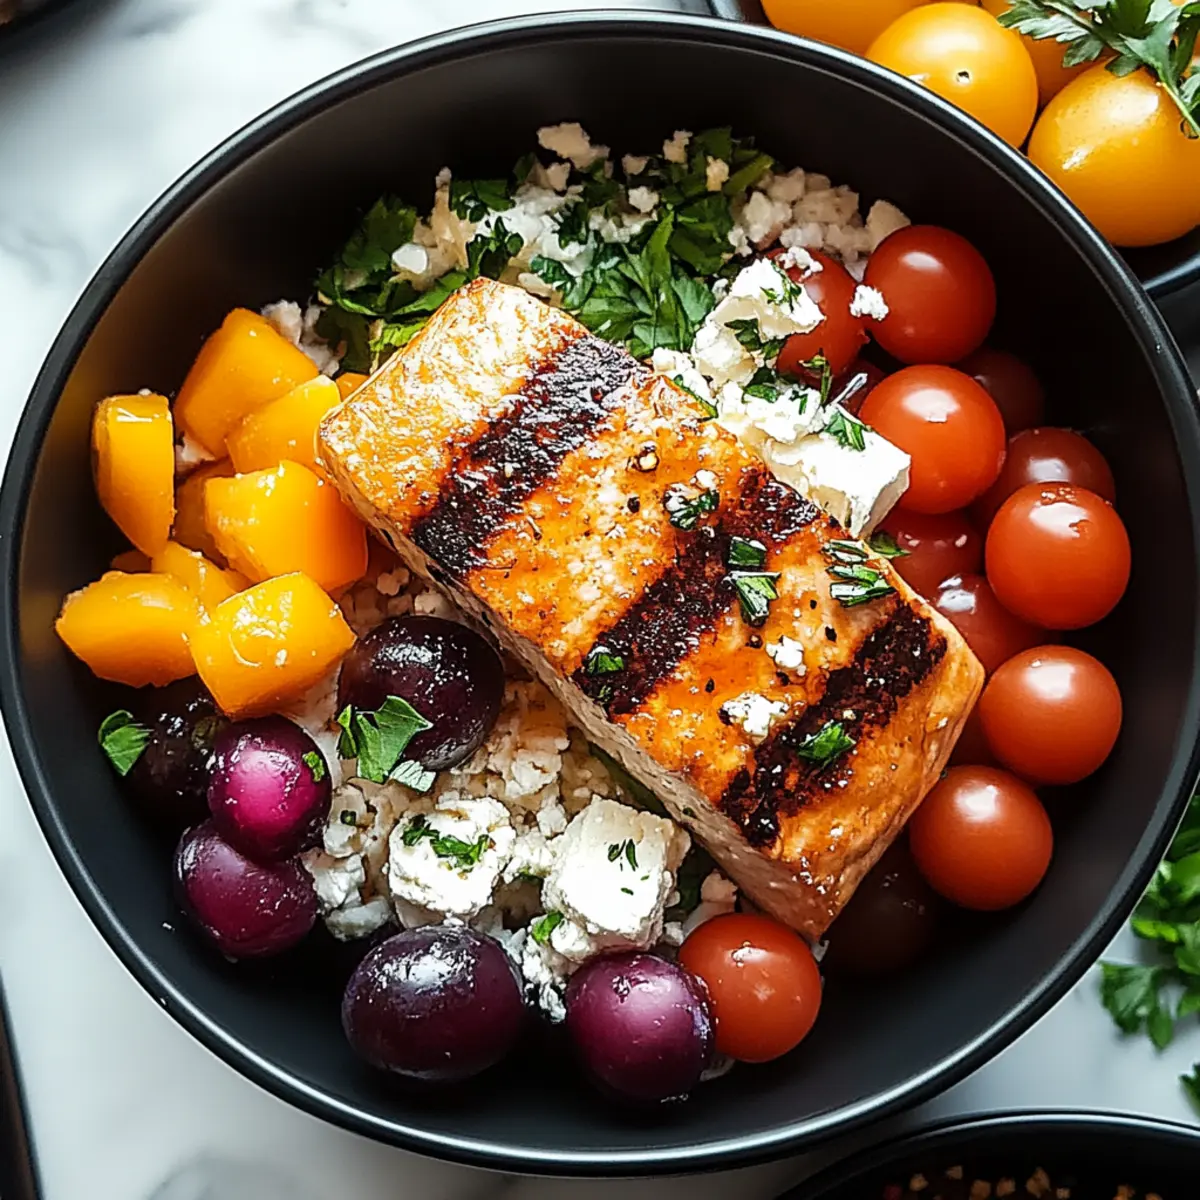
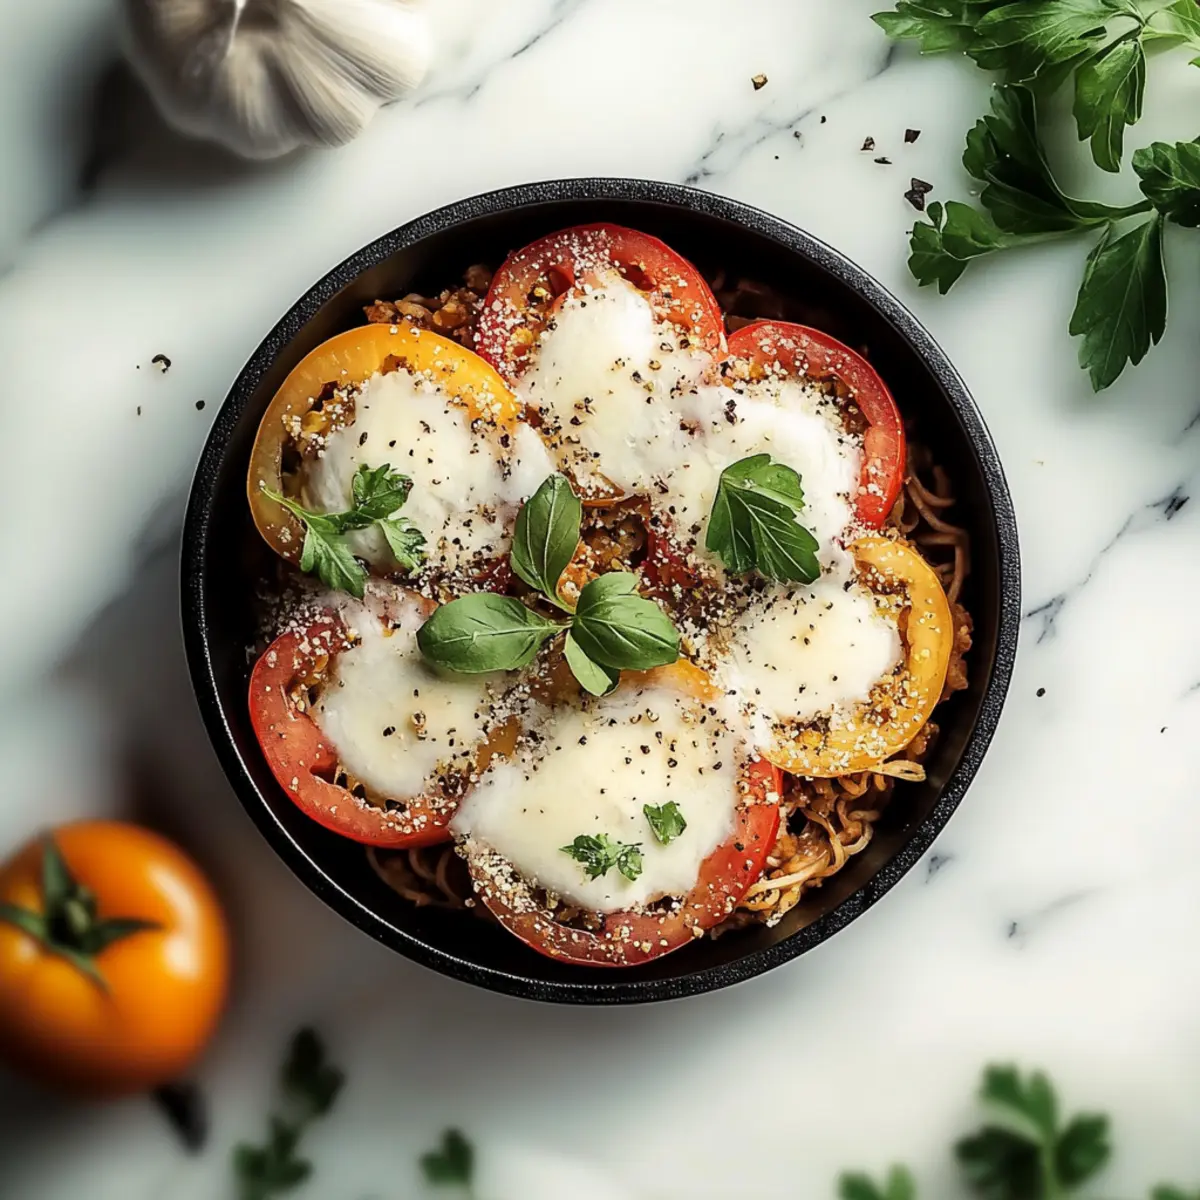
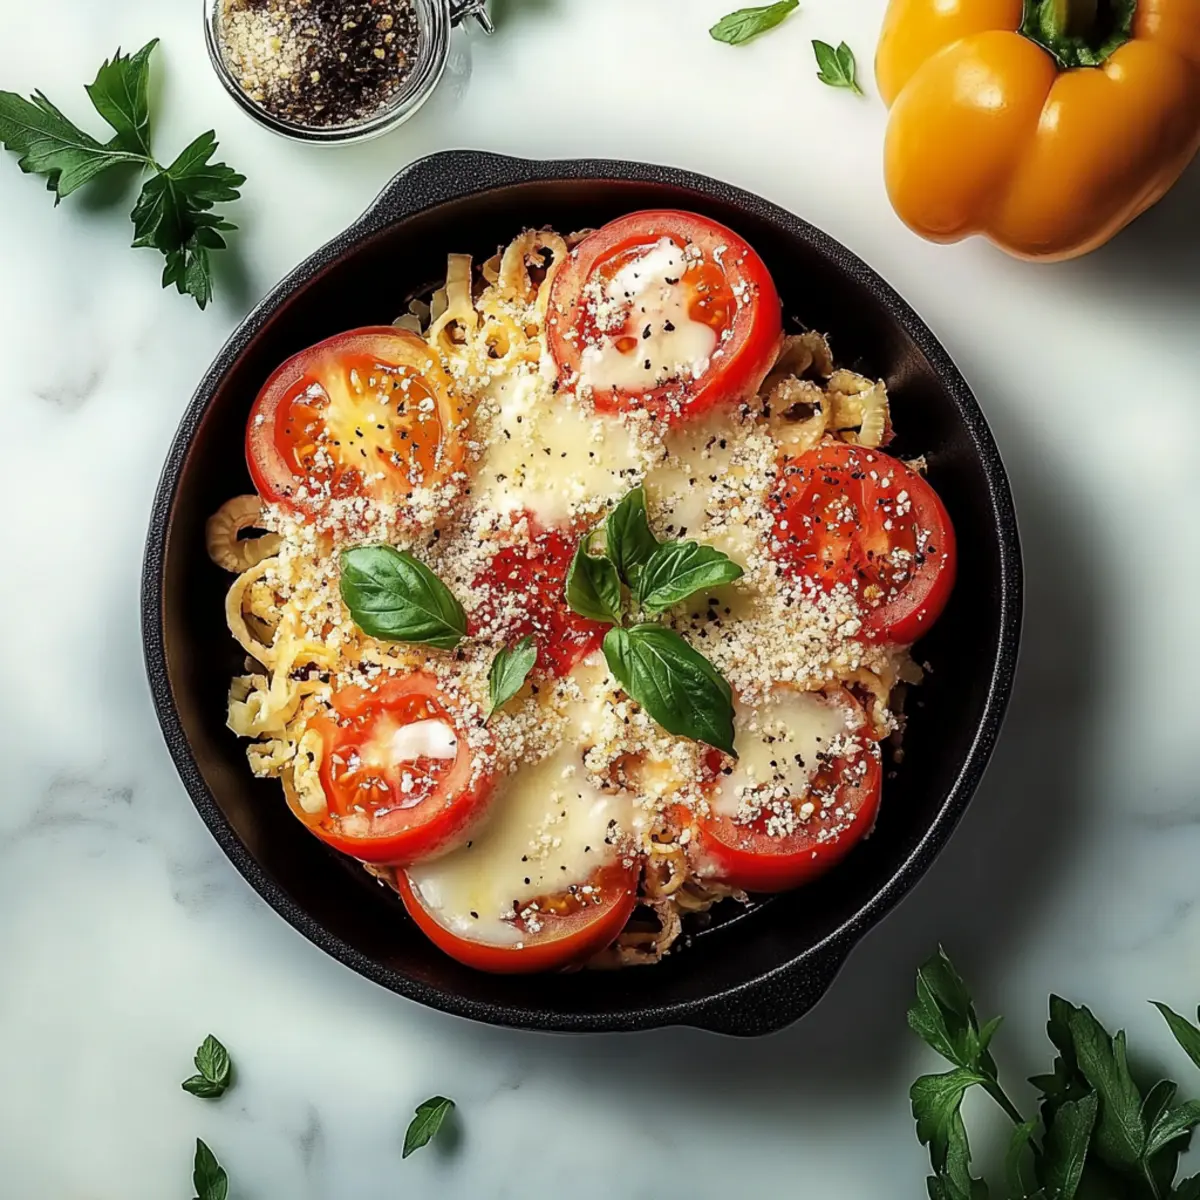
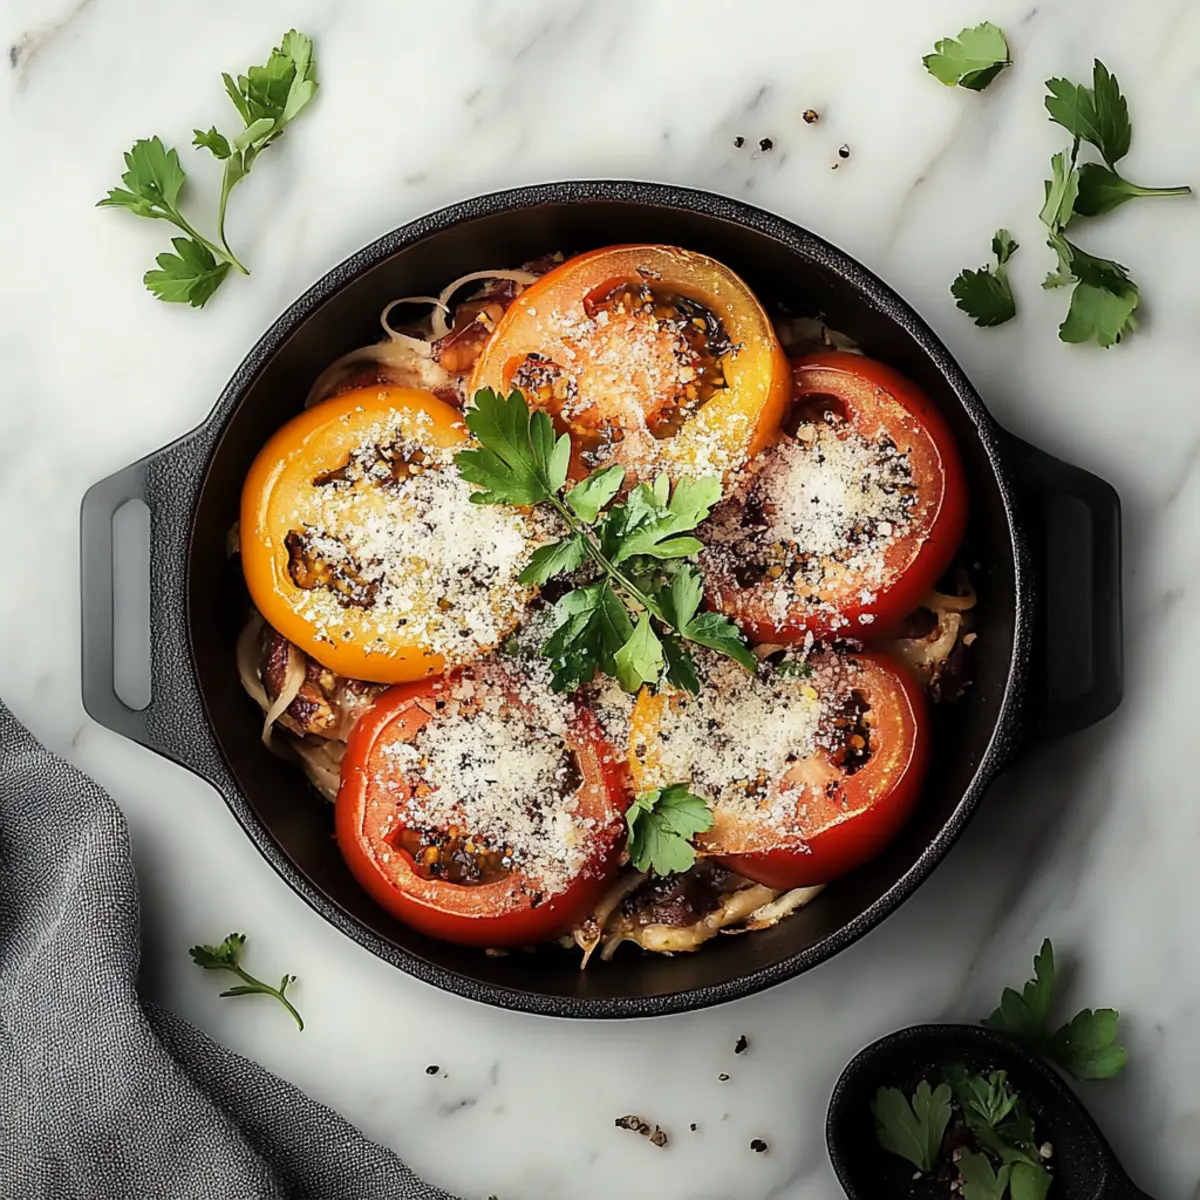
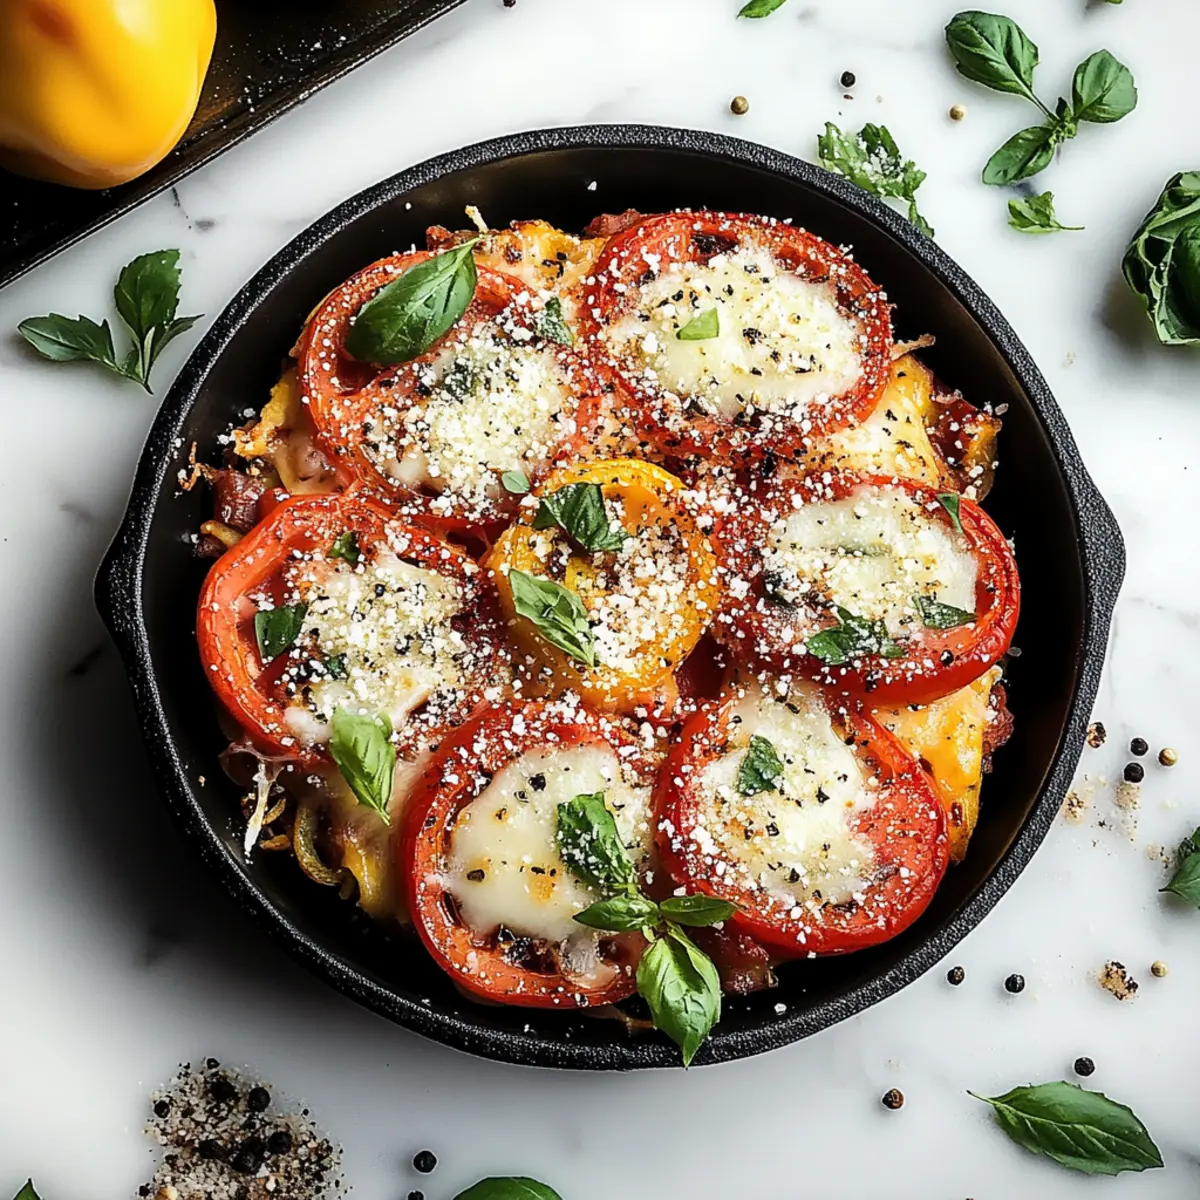
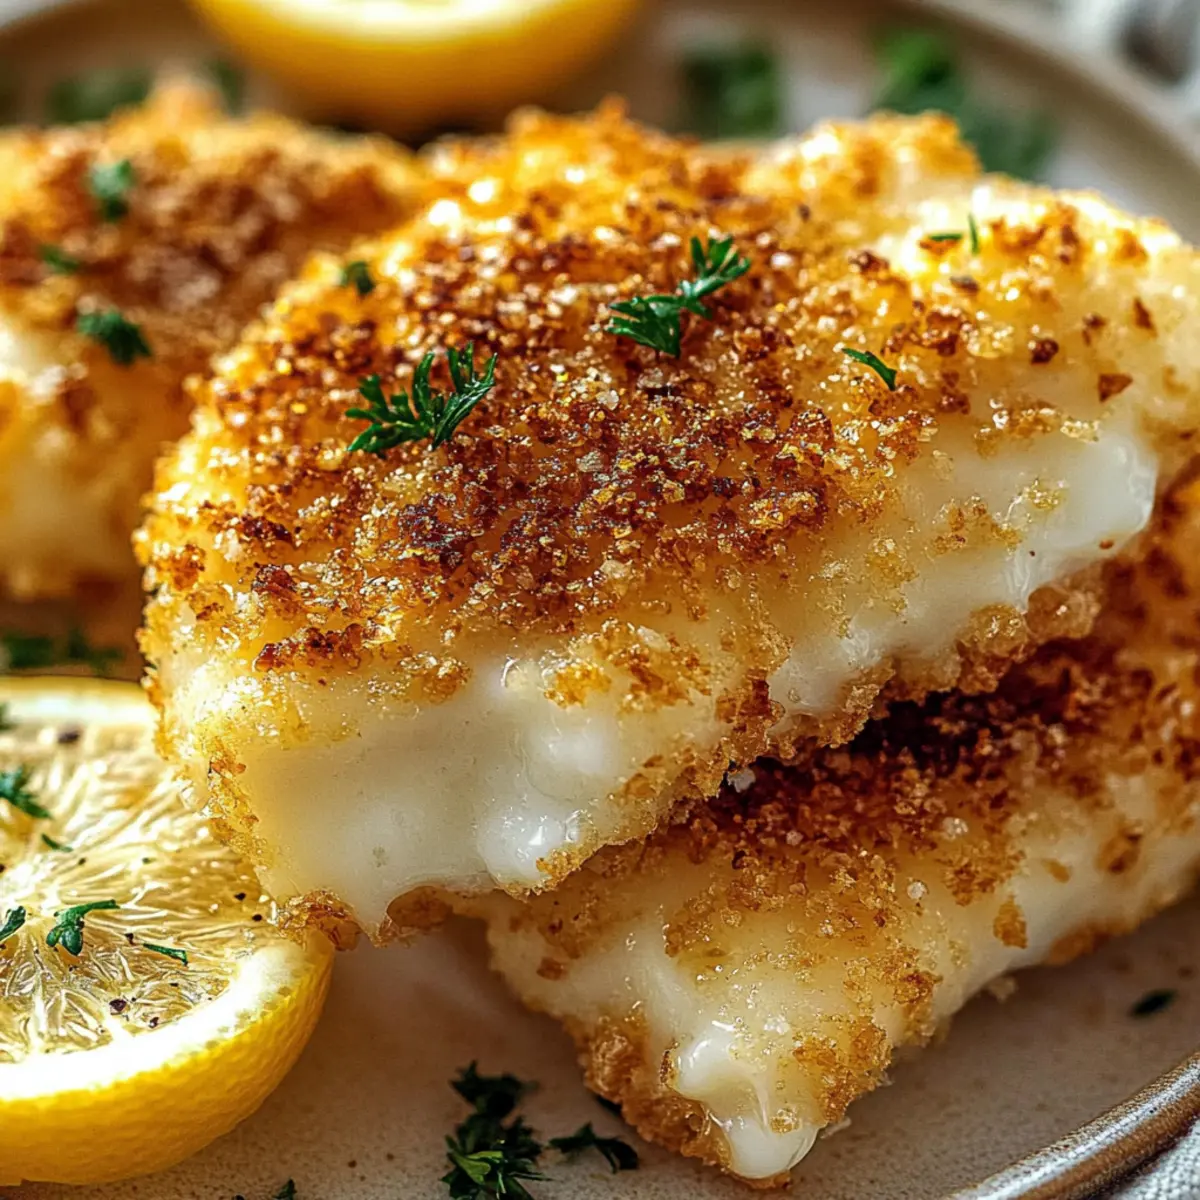
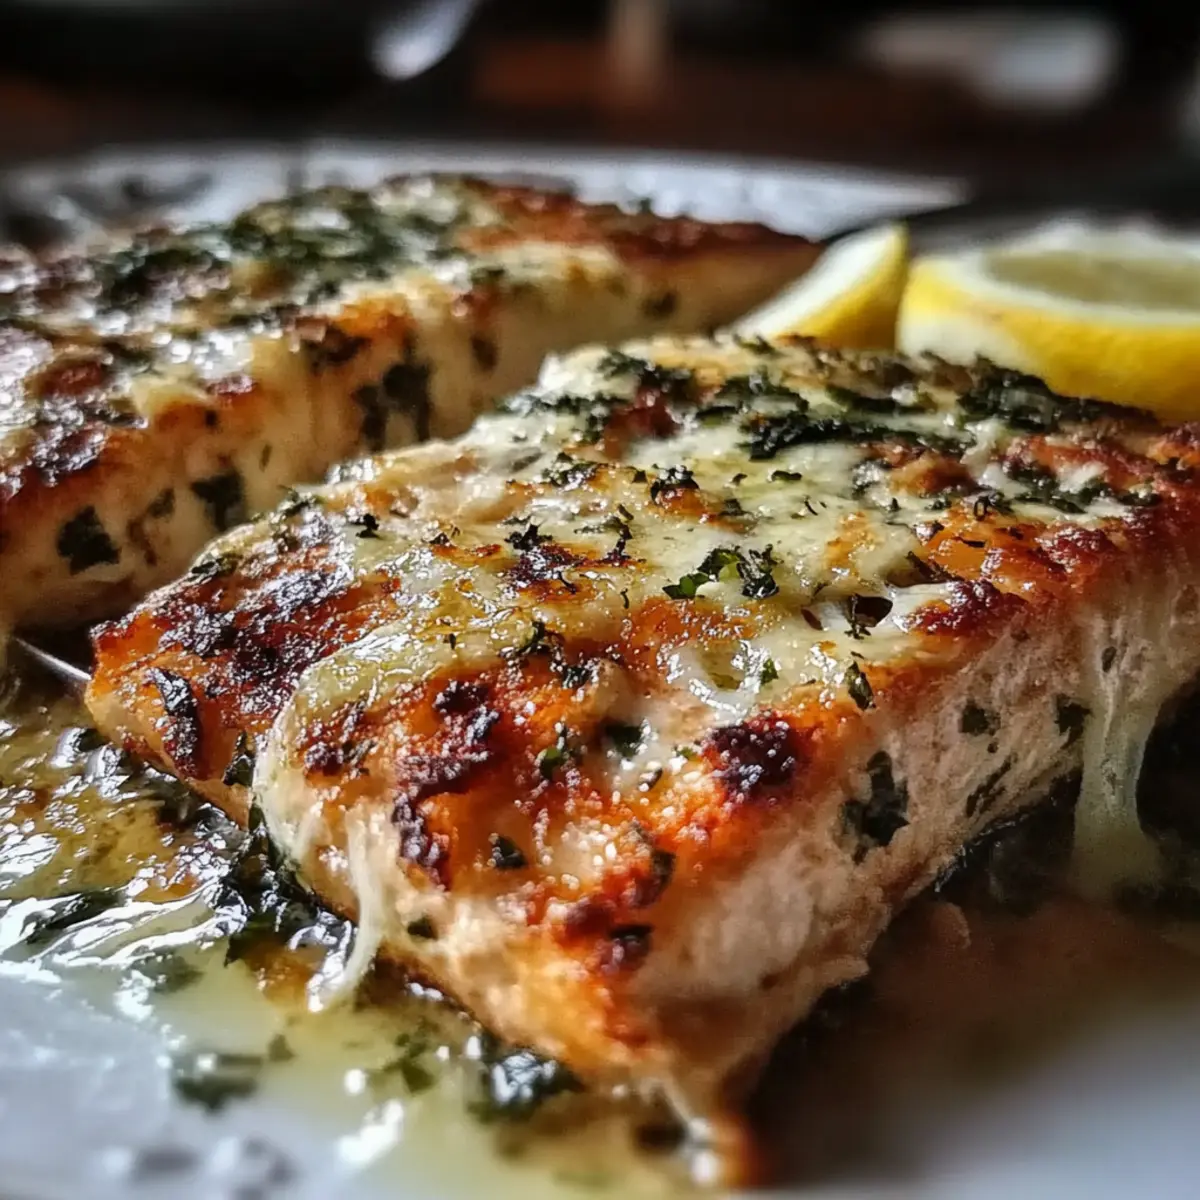
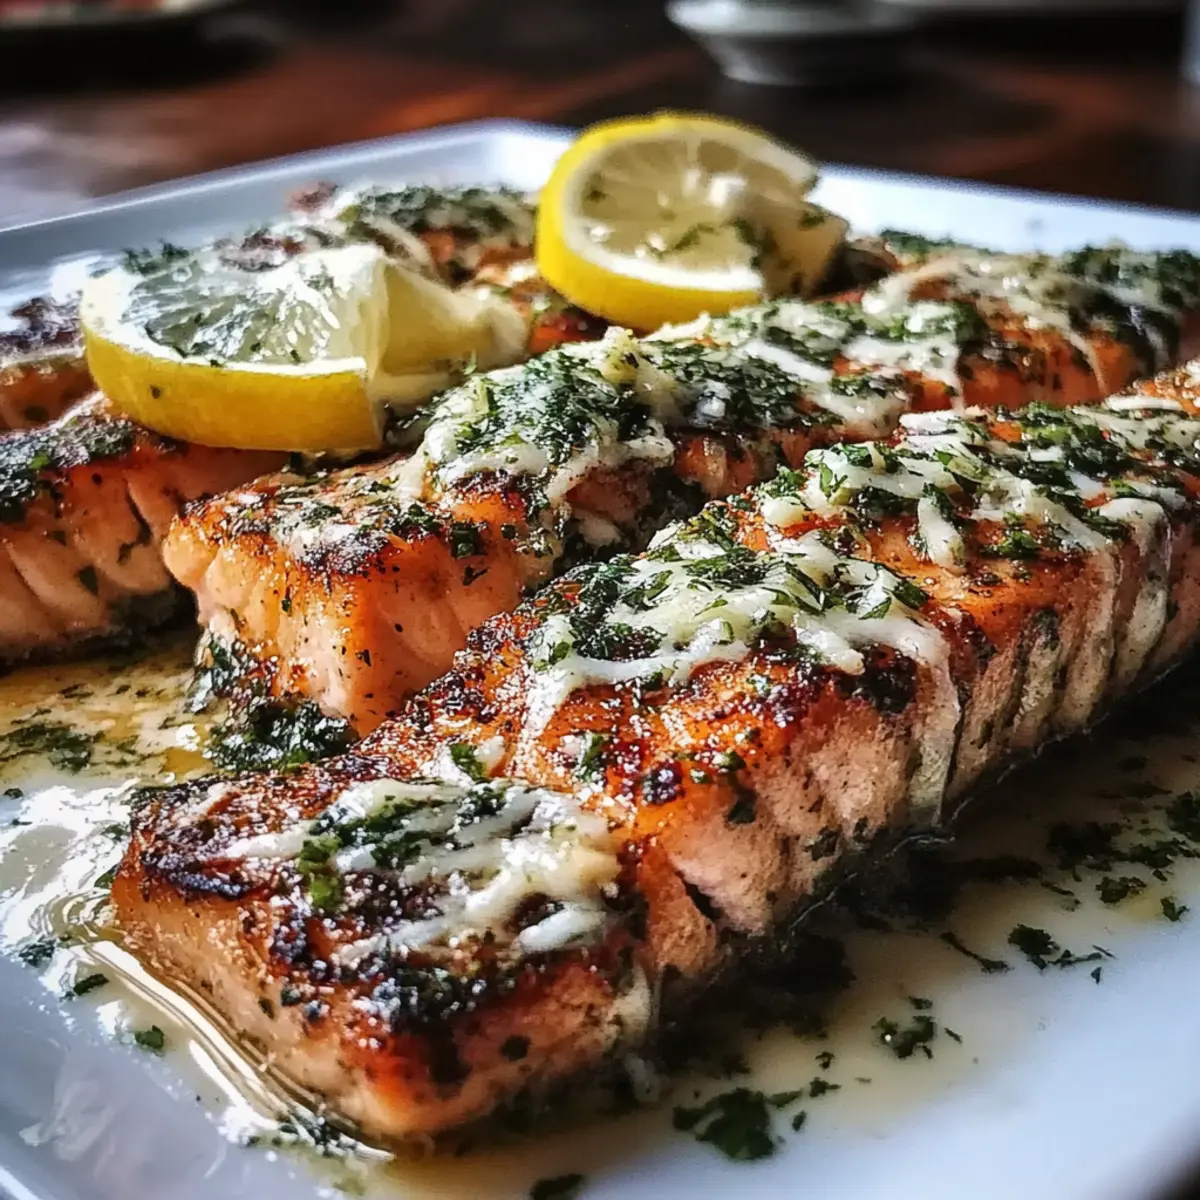
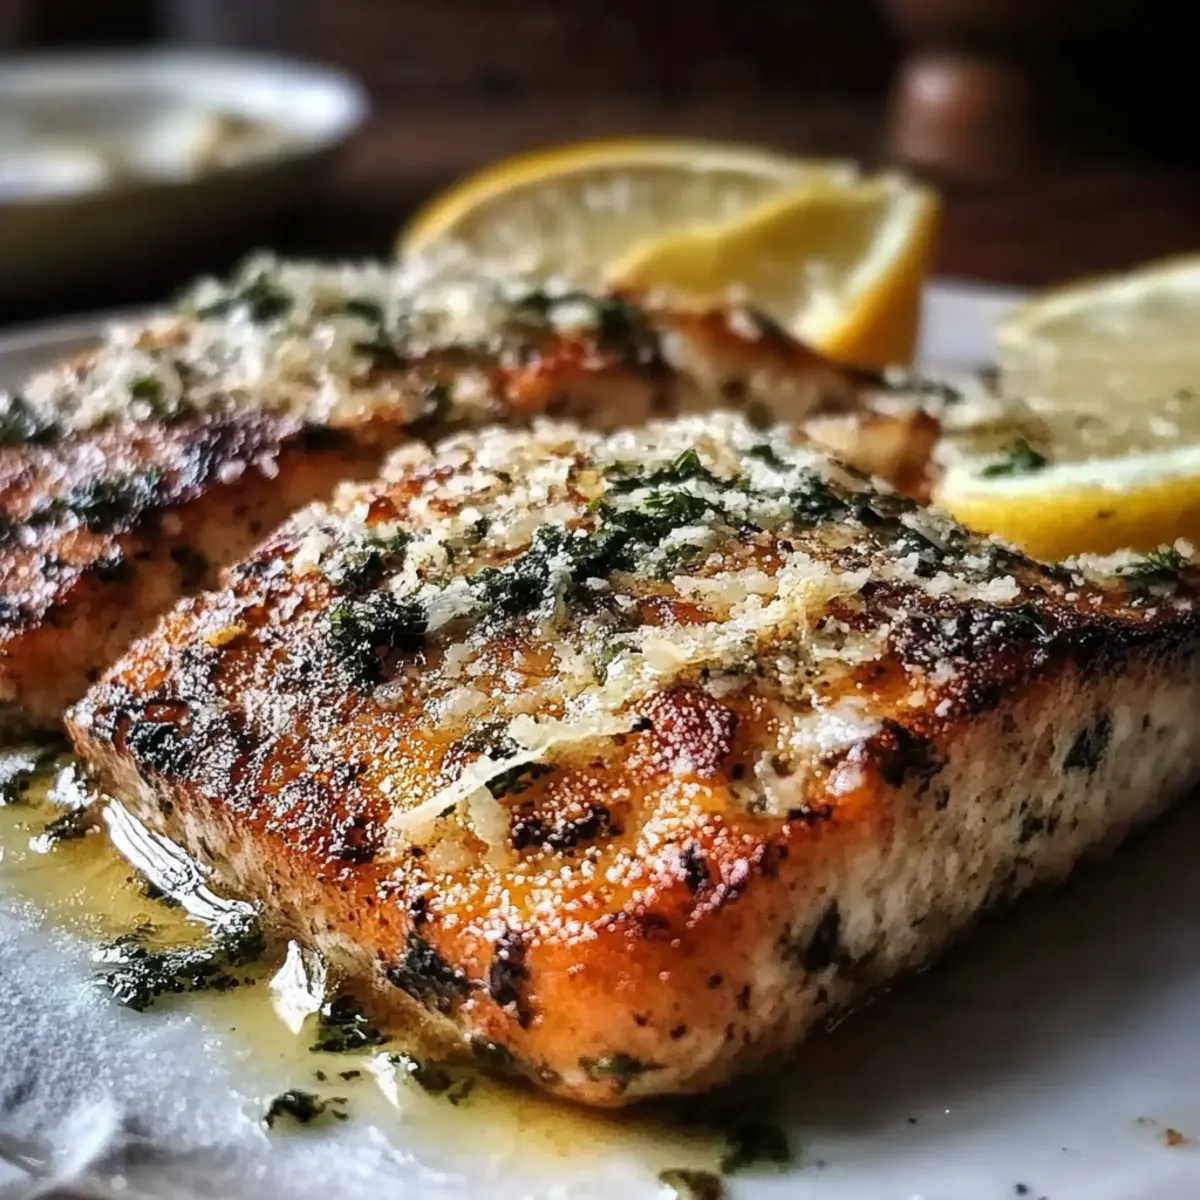
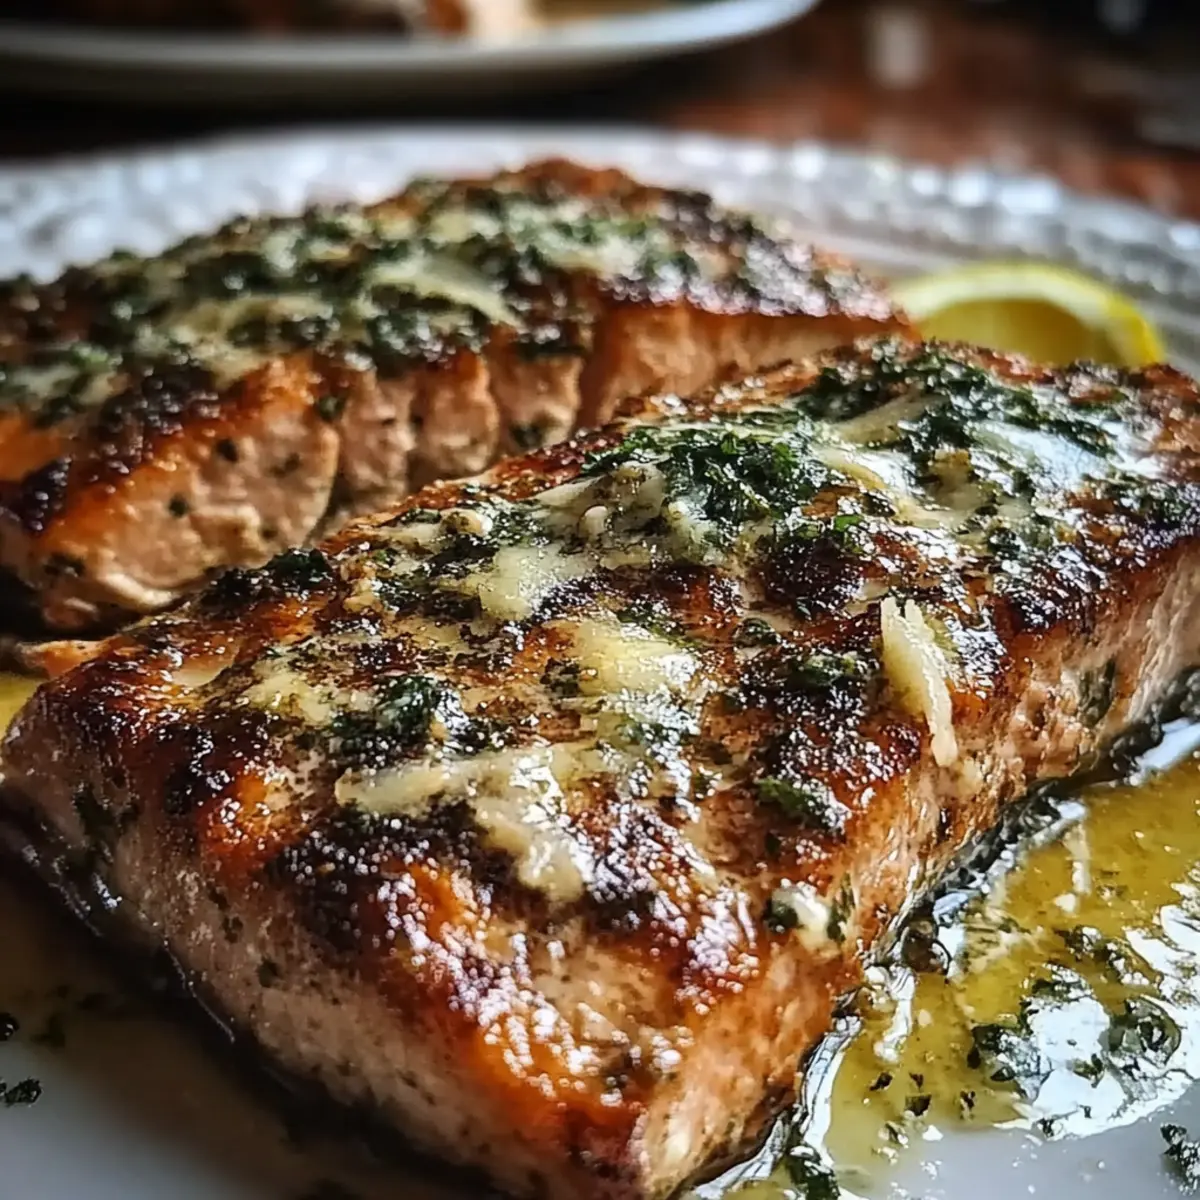
As I stood in my kitchen, the aroma of garlic danced through the air, awakening my senses and igniting my enthusiasm for a home-cooked meal. Today, I’m sharing my delicious Parmesan-Basil Air Fryer Salmon, which has quickly become a weeknight staple. This recipe is not only incredibly quick to prepare, taking just 20 minutes from start to finish, but it also brings a delightful touch of elegance to your dinner table. The crispy, cheesy crust pairs beautifully with tender, flaky salmon and fresh basil, making it a sure crowd-pleaser. Plus, it's a fantastic way to enjoy a healthy dish without compromising on taste! Are you ready to elevate your dinner game with this easy, flavorful recipe?
Why is this salmon recipe a must-try?
Quick Cooking: This recipe comes together in just 20 minutes, perfect for busy weeknights without sacrificing flavor.
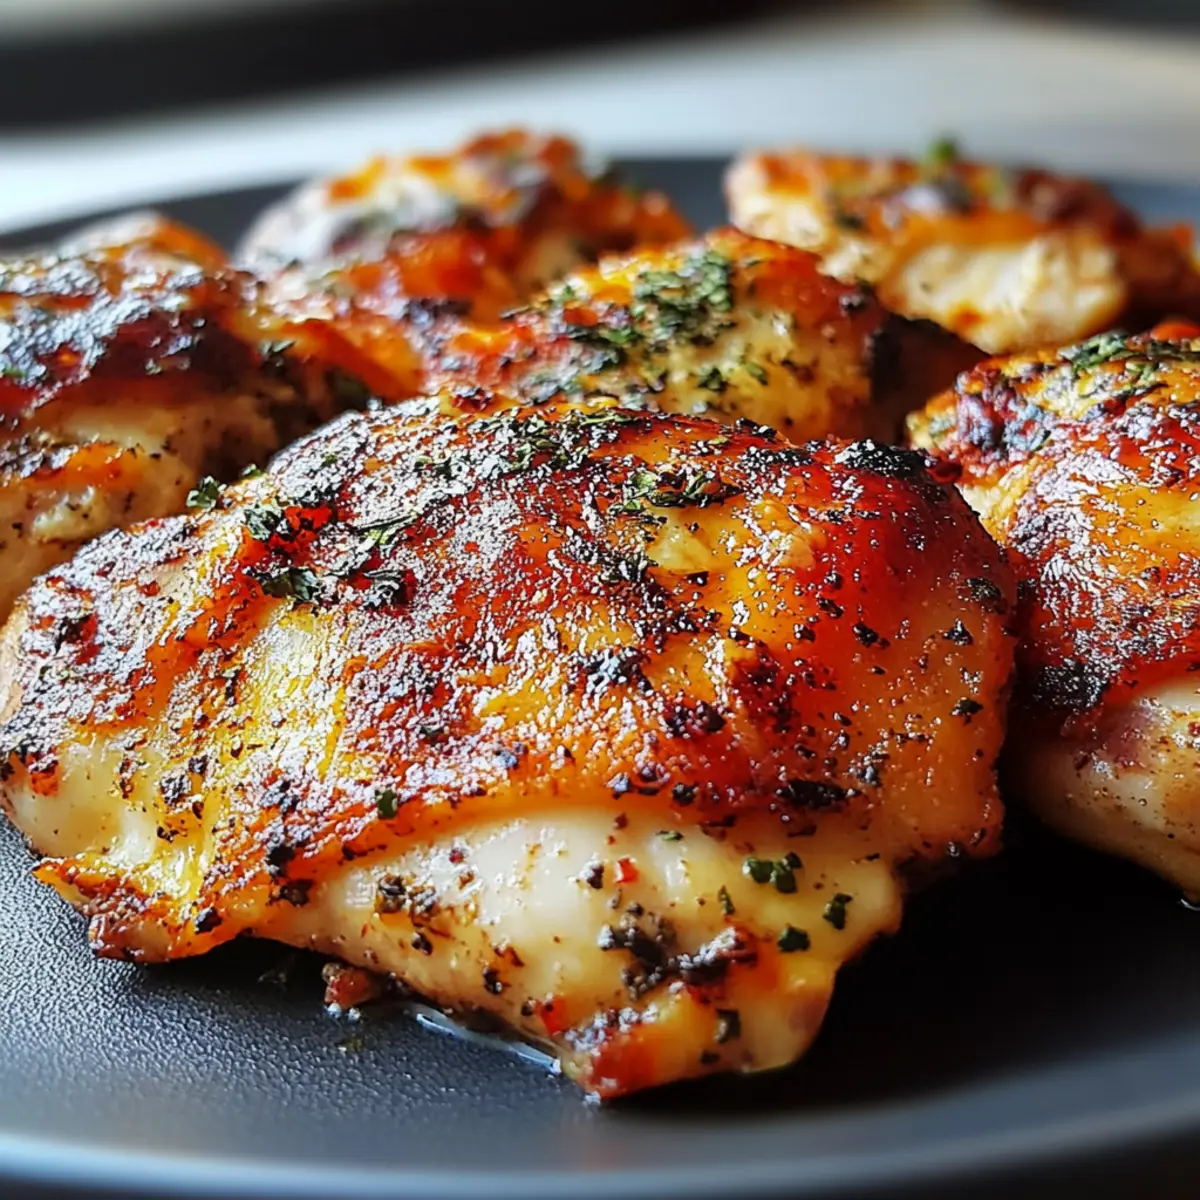
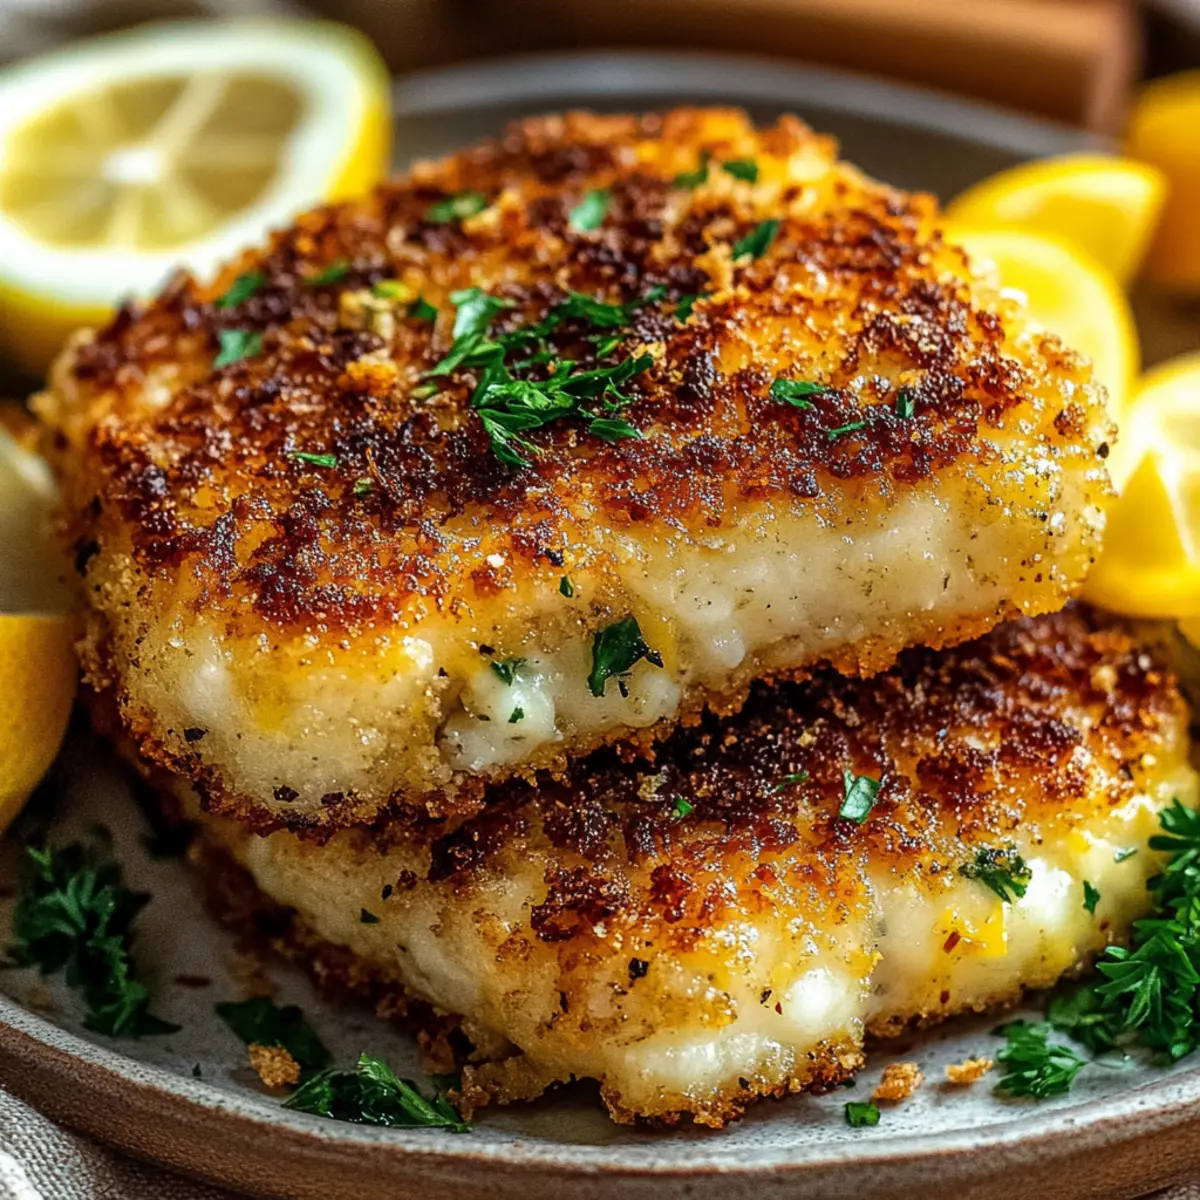
Crispy Excellence: The Parmesan-basil crust gives each bite an irresistible crunch that elevates simple salmon to gourmet status.
Flavorful Freshness: With the addition of vibrant basil and zesty lemon, you'll enjoy a burst of herbaceous and citrus notes.
Health-Conscious Choice: At only 350 calories per serving, this is a guilt-free way to savor a delicious meal.
Versatile Pairing: Serve it alongside a crisp salad or some roasted vegetables for a complete, satisfying dinner that even your guests will rave about!
Parmesan-Basil Air Fryer Salmon Ingredients
Unlock the secrets to this deliciously easy dish!
For the Salmon
• Salmon fillets – 4 fillets, packed with protein and healthy fats, making it the star of your meal.
• Olive oil – 1 tablespoon, used to enhance flavor and help the crust adhere beautifully.
For the Crust
• Grated Parmesan cheese – 2 tablespoons, adds a savory, cheesy layer that becomes wonderfully crispy.
• Chopped fresh basil – 1 tablespoon, infuses the dish with a fragrant herbaceous note that complements the salmon.
• Garlic powder – 1 teaspoon, amplifies the overall flavor with its rich and savory profile.
• Salt – ½ teaspoon, balances the flavors and enhances the natural taste of salmon.
• Black pepper – ¼ teaspoon, adds a gentle kick that rounds out the seasoning beautifully.
For Serving
• Lemon wedges – 4 wedges, perfect for squeezing over the salmon, adding a zesty brightness to each bite!
This Parmesan-Basil Air Fryer Salmon is sure to become a favorite in your home, delivering on both taste and health. Enjoy!
Step‑by‑Step Instructions for Parmesan-Basil Air Fryer Salmon
Step 1: Preheat the Air Fryer
Begin by preheating your air fryer to 400°F (200°C). This step is essential as it ensures even cooking and the perfect crispy texture for your Parmesan-Basil Air Fryer Salmon. Allow about 5 minutes for the air fryer to reach the desired temperature while you prepare the salmon fillets.
Step 2: Prepare the Salmon Fillets
Pat the salmon fillets dry with paper towels to remove excess moisture. This helps to achieve a beautifully crisp crust. Once dry, place the fillets on a clean plate, ready for seasoning. The salmon should appear fresh and vibrant, with a slight sheen.
Step 3: Make the Parmesan-Basil Mixture
In a small mixing bowl, combine the grated Parmesan cheese, chopped basil, garlic powder, salt, and black pepper. Stir well to ensure the ingredients are evenly mixed. This flavorful blend will create a delectable crust that perfectly complements the salmon, adding both texture and taste.
Step 4: Brush with Olive Oil
Lightly brush each salmon fillet with olive oil using a pastry brush. The olive oil not only enhances the flavors but also helps the seasoning to adhere beautifully during cooking. Ensure each fillet is evenly coated for a perfect, golden-brown finish.
Step 5: Season the Salmon
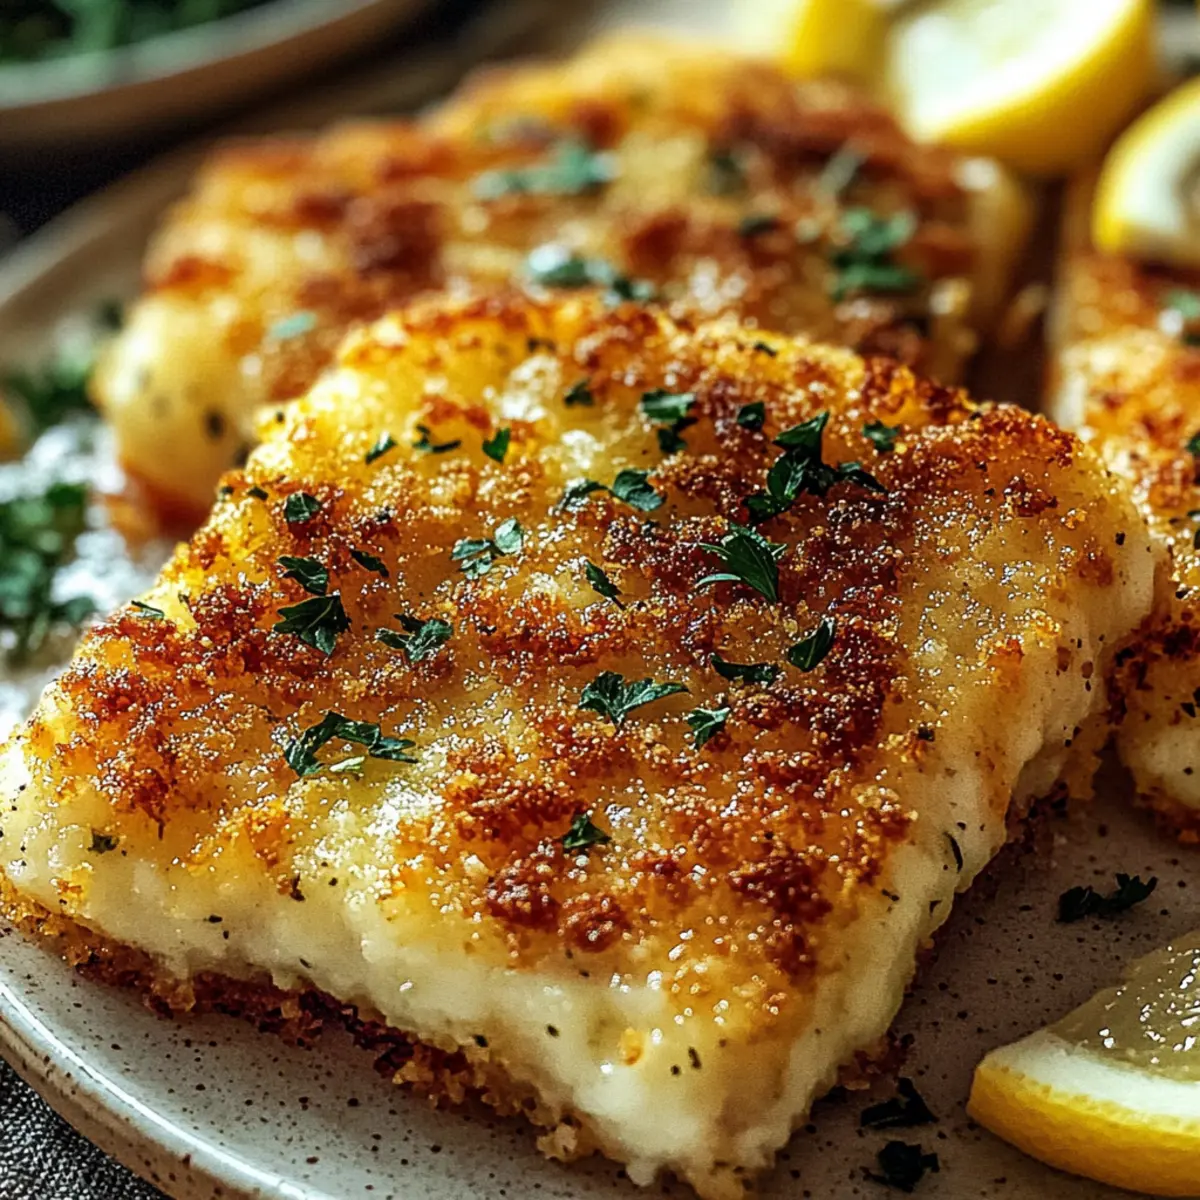
Evenly sprinkle the Parmesan-basil mixture over the top of each fillet, pressing it down gently to ensure it sticks. The blend of cheese and herbs creates a mouthwatering crust that will turn crispy and golden as it cooks. Make sure every bit of salmon is generously covered for maximum flavor.
Step 6: Arrange in the Air Fryer
Carefully place the seasoned salmon fillets into the air fryer basket in a single layer, ensuring they are spaced apart for even cooking. This allows the hot air to circulate freely around each fillet, promoting an even cook and perfectly crispy crust on your Parmesan-Basil Air Fryer Salmon.
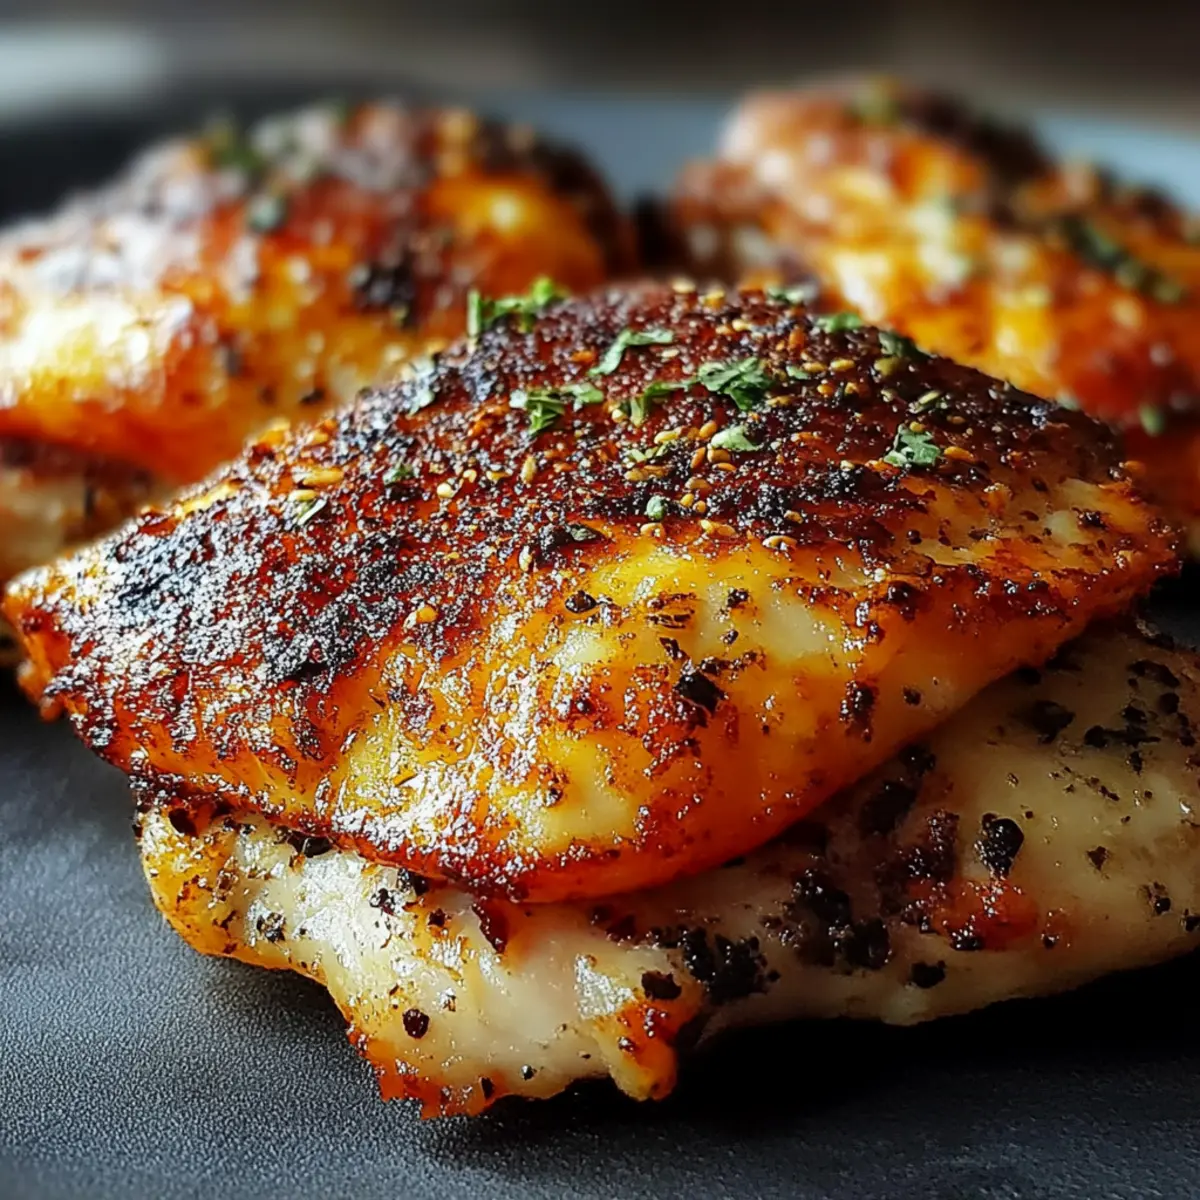
Step 7: Cook the Salmon
Set the air fryer to cook for 8 to 10 minutes. Check the fillets halfway through, and watch for them to flake easily with a fork. The internal temperature should reach 145°F (63°C) for safe eating. The crust should be golden and crispy when done.
Step 8: Serve with Lemon Wedges
Once cooked, remove the salmon from the air fryer and let it rest for a minute. Serve immediately with lemon wedges on the side for squeezing over the top. The zesty lemon adds a burst of brightness that perfectly balances the rich flavors of the Parmesan-Basil Air Fryer Salmon.
What to Serve with Parmesan-Basil Air Fryer Salmon
Elevate your dining experience by pairing your dish with delightful sides and drinks that complement its flavors beautifully.
- Creamy Mashed Potatoes: Their rich, buttery texture contrasts with the crunchy salmon, creating a harmonious blend of flavors on your plate.
- Garlic Roasted Asparagus: Crisp-tender asparagus brings both a pop of color and a nutty earthiness that balances the savory salmon perfectly.
- Citrus Salad: A refreshing salad with oranges, arugula, and a light vinaigrette invigorates your palate, enhancing the salmon’s zesty profile.
- Herbed Quinoa: Fluffy quinoa tossed with fresh herbs offers a delightful chewiness that’s a lovely base for the salmon, adding nutritional value too.
- Steamed Broccoli: Vibrant green broccoli drizzled with olive oil and parmesan adds a crunchy element, perfectly echoing the dish’s flavors.
- Wine Pairing: A chilled Sauvignon Blanc with its crisp acidity and citrus notes beautifully complements the richness of your Parmesan-Basil Air Fryer Salmon.
These pairings will ensure a well-rounded, satisfying meal that your family will cherish!
How to Store and Freeze Parmesan-Basil Air Fryer Salmon
Fridge: Store leftover Parmesan-Basil Air Fryer Salmon in an airtight container for up to 3 days to keep it fresh and flavorful.
Freezer: For longer storage, you can freeze the salmon for up to 3 months. Wrap each fillet tightly in plastic wrap, then place in a freezer-safe bag.
Reheating: To reheat, thaw overnight in the fridge and warm in the air fryer or oven at 350°F (175°C) for about 5-7 minutes to restore crispiness.
Room Temperature: It’s best to enjoy your salmon right after cooking; if left out, do not keep it at room temperature for more than 2 hours to ensure safety.
Expert Tips for Parmesan-Basil Air Fryer Salmon
• Choose Fresh Salmon: Select bright, firm fillets for the best flavor and texture. Fresh salmon makes a world of difference in this dish.
• Dry is Best: Make sure to pat your salmon fillets dry thoroughly. This helps the crust adhere and ensures optimal crispiness when cooking.
• Don’t Overcrowd: Place the fillets in a single layer in the air fryer. Overcrowding can lead to uneven cooking, so give each fillet its space.
• Watch the Time: Keep an eye on the cooking time; each air fryer is slightly different. When the salmon flakes easily with a fork, it’s ready!
• Serve Immediately: Enjoy your Parmesan-Basil Air Fryer Salmon straight out of the air fryer while it's hot and fresh for the best flavor experience.
Make Ahead Options
These Parmesan-Basil Air Fryer Salmon fillets are perfect for meal prep, saving you time for those busy evenings! You can season the salmon up to 24 hours in advance by following steps 2 through 5; simply coat the fillets with olive oil and evenly sprinkle the Parmesan-basil mixture before covering them with plastic wrap and refrigerating. This not only enhances the flavors but also saves you a step when it's time to cook. When you're ready to serve, just place the seasoned salmon in the air fryer and cook for 8 to 10 minutes, maintaining that crispy texture for which this dish is known. Enjoy a healthy, homemade meal with minimal fuss!
Parmesan-Basil Air Fryer Salmon Variations
Feel free to explore these tempting variations to make this recipe your very own!
-
Herb Medley: Mix in parsley or dill with the basil for a fresh herbal twist that tantalizes the taste buds. This combination adds an aromatic layer of flavor that's sure to impress!
-
Gluten-Free: Swap the Parmesan with a gluten-free cheese alternative, ensuring everyone can enjoy this dish without worry. A nutty, vegan cheese works wonderfully too, keeping things light yet flavorful.
-
Spicy Kick: Add a sprinkle of red pepper flakes to the Parmesan-basil mixture for a hint of heat. This subtle spice elevates the salmon and pairs beautifully with the zesty lemon!
-
Crispy Topping: For an extra crunch, mix in some crushed almond or pecan pieces with the cheese. This offers a delightful texture surprise in every bite, making the dish even more exciting.
-
Citrus Zing: Incorporate lime or orange zest into the cheese blend for an unexpected, bright twist. The lively citrus notes enhance the overall freshness and complement the salmon beautifully.
-
Smoked Paprika: Adding some smoked paprika to the seasoning lends a warm, slightly smoky flavor that transforms the dish into a gourmet dinner option. It’s a must for any smoky flavor lovers!
-
Soy Sauce Marinade: Marinate the salmon in a mix of soy sauce and sesame oil before cooking for an Asian-inspired flavor boost. This twist takes your salmon to a whole new culinary dimension!
-
Vegetable Pairing: Serve with roasted asparagus or a medley of colorful bell peppers for a vibrant plate. Roasted veggies not only add nutrition but also introduce a delightful crunch that balances the meal perfectly.
Parmesan-Basil Air Fryer Salmon Recipe FAQs
How do I choose the best salmon fillets?
Absolutely! When selecting salmon fillets, look for bright, firm pieces with a slight sheen and no dark spots. Fresh fillets should have a mild, ocean-like smell rather than a strong fishy odor. Ideally, purchase from a reputable source to ensure quality and freshness.
What’s the best way to store leftovers?
After enjoying your delicious Parmesan-Basil Air Fryer Salmon, store any leftovers in an airtight container in the refrigerator. This will keep it fresh for up to 3 days. Ensure the salmon is completely cooled before sealing it to maintain its texture and flavor.
Can I freeze cooked salmon?
Very much! To freeze your Parmesan-Basil Air Fryer Salmon, wrap each fillet tightly in plastic wrap. Then, place them in a freezer-safe zip bag, removing as much air as possible. This method helps avoid freezer burn, allowing you to enjoy the salmon later for up to 3 months.
How can I reheat cooked salmon while maintaining its crispiness?
To reheat your salmon, first thaw it overnight in the fridge if frozen. Preheat your air fryer or oven to 350°F (175°C). Place the salmon inside for about 5 to 7 minutes, until warmed through. This method helps restore some of that crispy texture while keeping the fish moist.
Is this recipe safe for those with dietary restrictions?
For anyone with allergies, be mindful of the Parmesan cheese used in this recipe, as it contains dairy. You could substitute with a dairy-free cheese alternative. While salmon is safe for most individuals, always consider personal allergies or dietary needs, especially when serving guests or family.
What should I do if the crust isn't crispy enough?
If your Parmesan-Basil crust isn’t as crispy as you’d like, you can try increasing the air fryer temperature by 10 to 20 degrees Fahrenheit (5 to 10 degrees Celsius) for the last few minutes of cooking. Just keep an eye on it to prevent burning! Also, ensuring the salmon is patted dry before olive oil application is crucial for achieving that crispy perfection.
Parmesan-Basil Air Fryer Salmon: Quick and Flavorful Delight
Ingredients
Equipment
Method
- Preheat your air fryer to 400°F (200°C). Allow about 5 minutes for it to reach temperature.
- Pat the salmon fillets dry with paper towels.
- Combine the grated Parmesan cheese, chopped basil, garlic powder, salt, and black pepper in a small bowl.
- Lightly brush each salmon fillet with olive oil.
- Evenly sprinkle the Parmesan-basil mixture over the top of each fillet.
- Carefully place the seasoned salmon fillets into the air fryer basket in a single layer.
- Set the air fryer to cook for 8 to 10 minutes, checking halfway through.
- Remove the salmon from the air fryer and let it rest for a minute. Serve with lemon wedges.