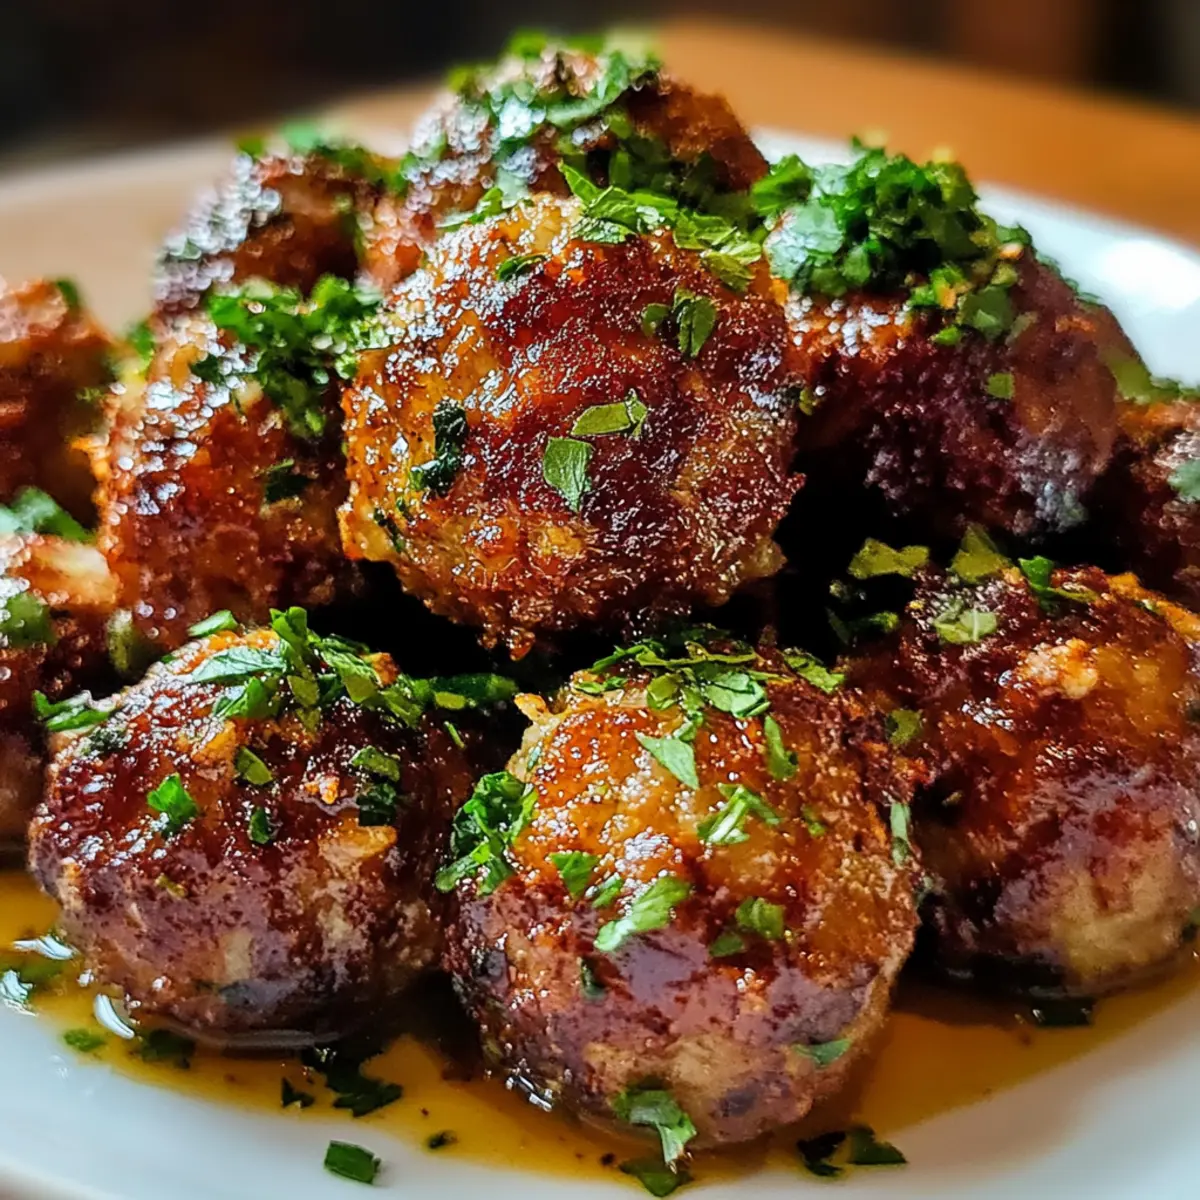
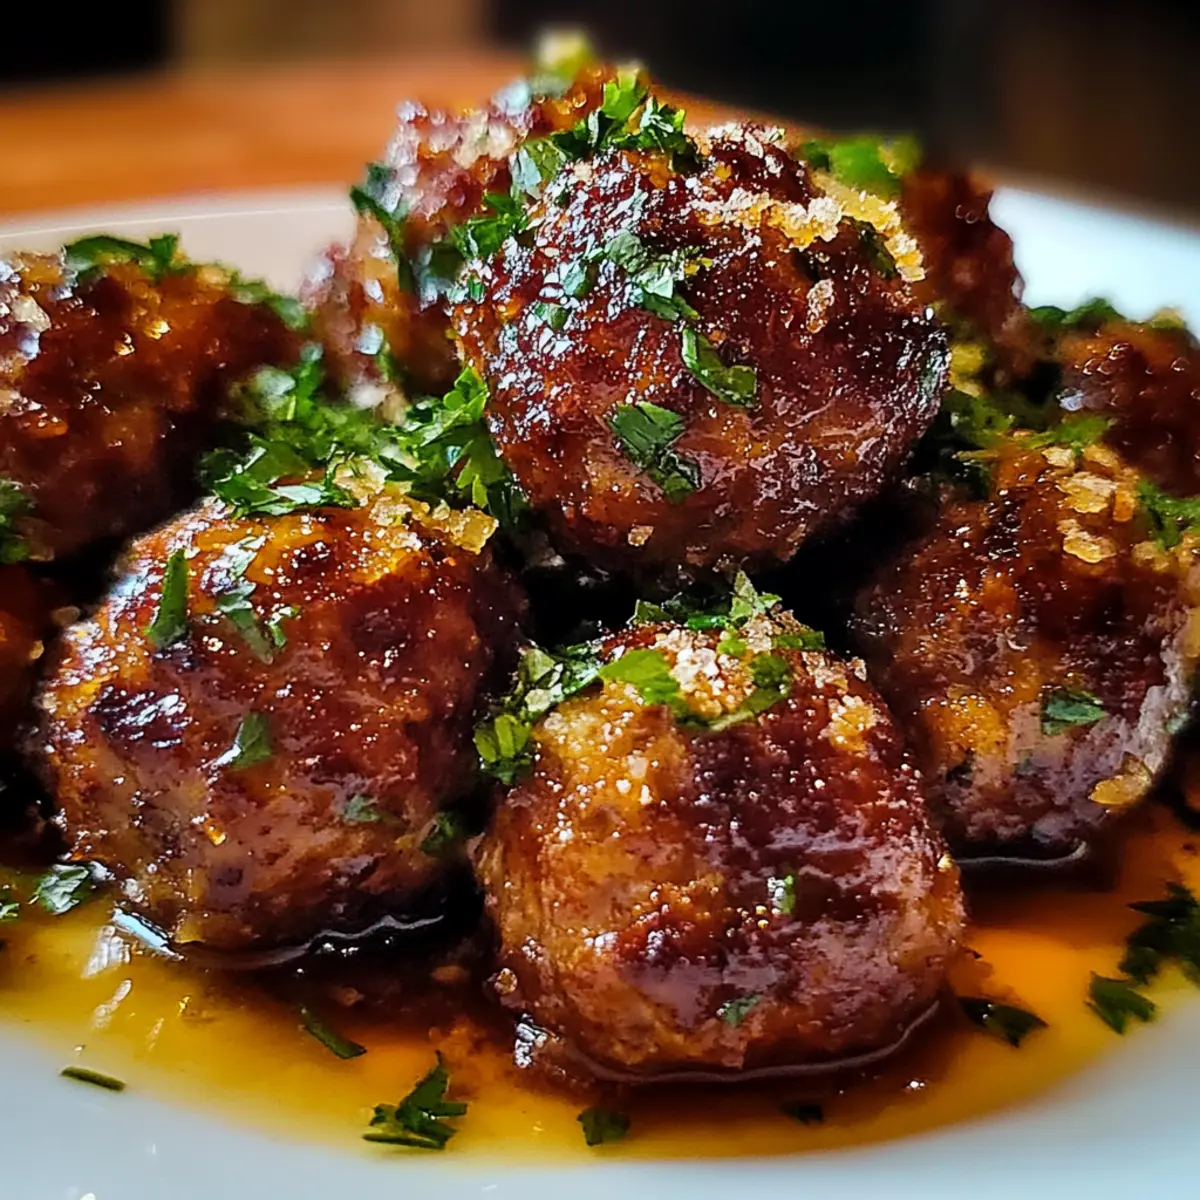
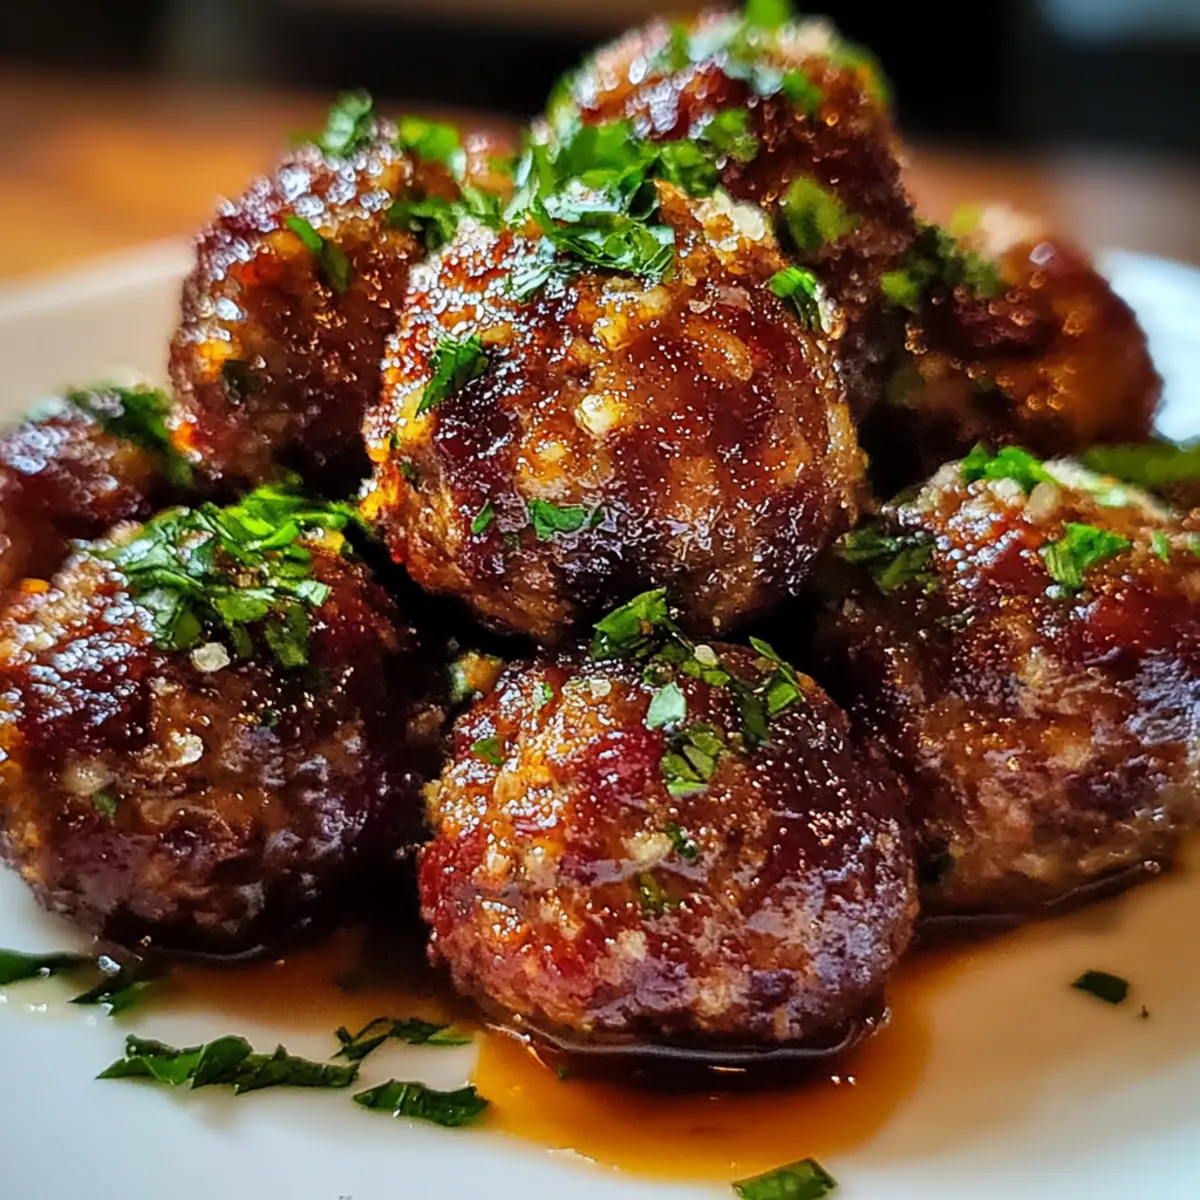
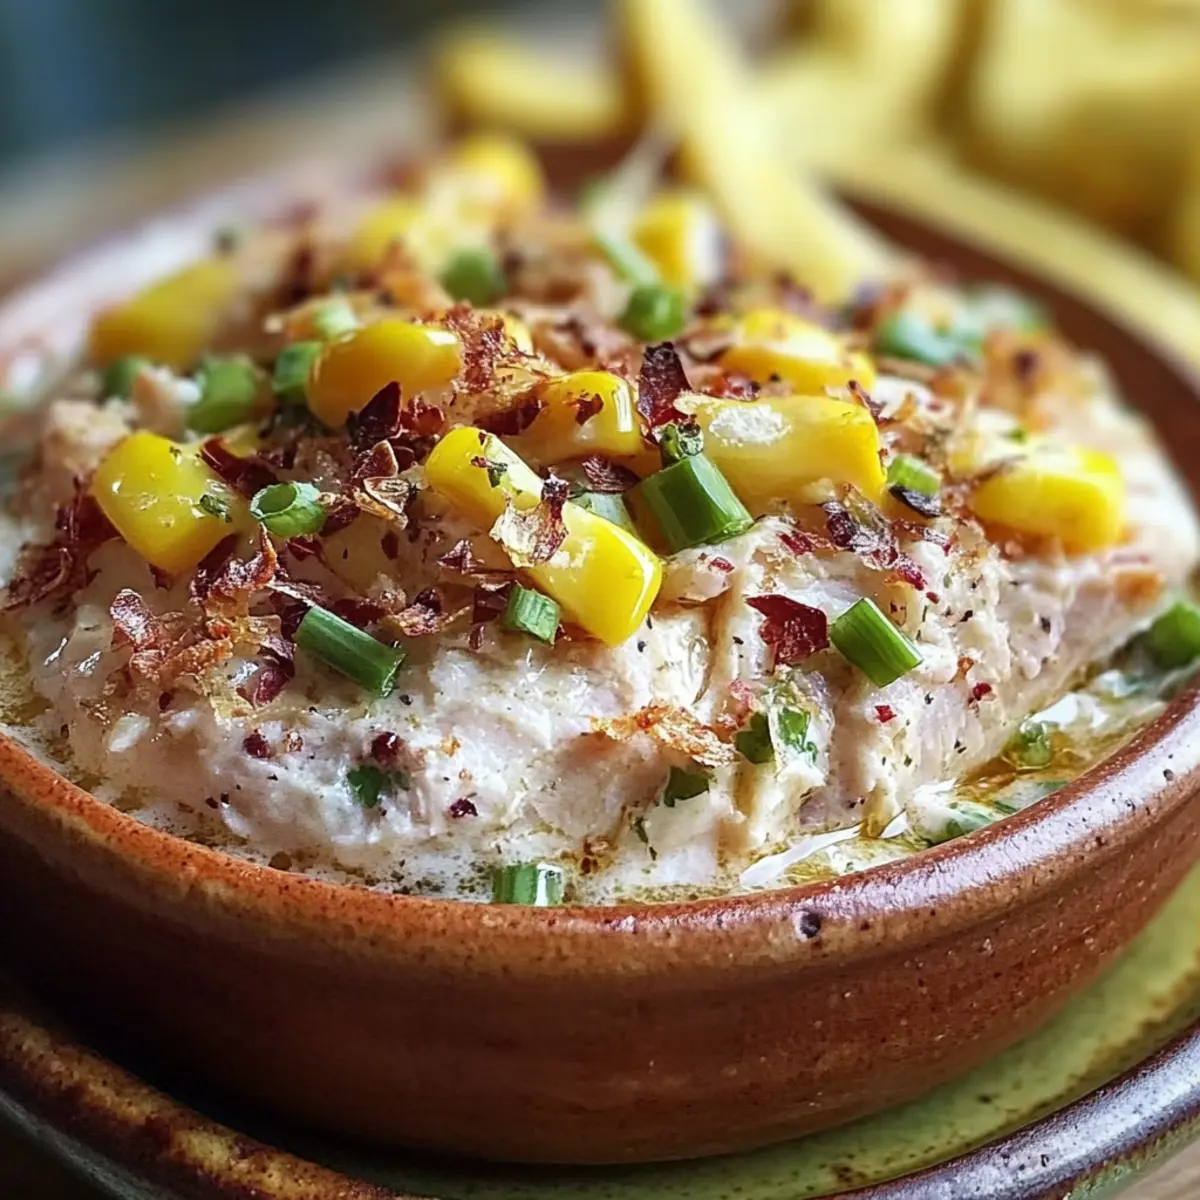
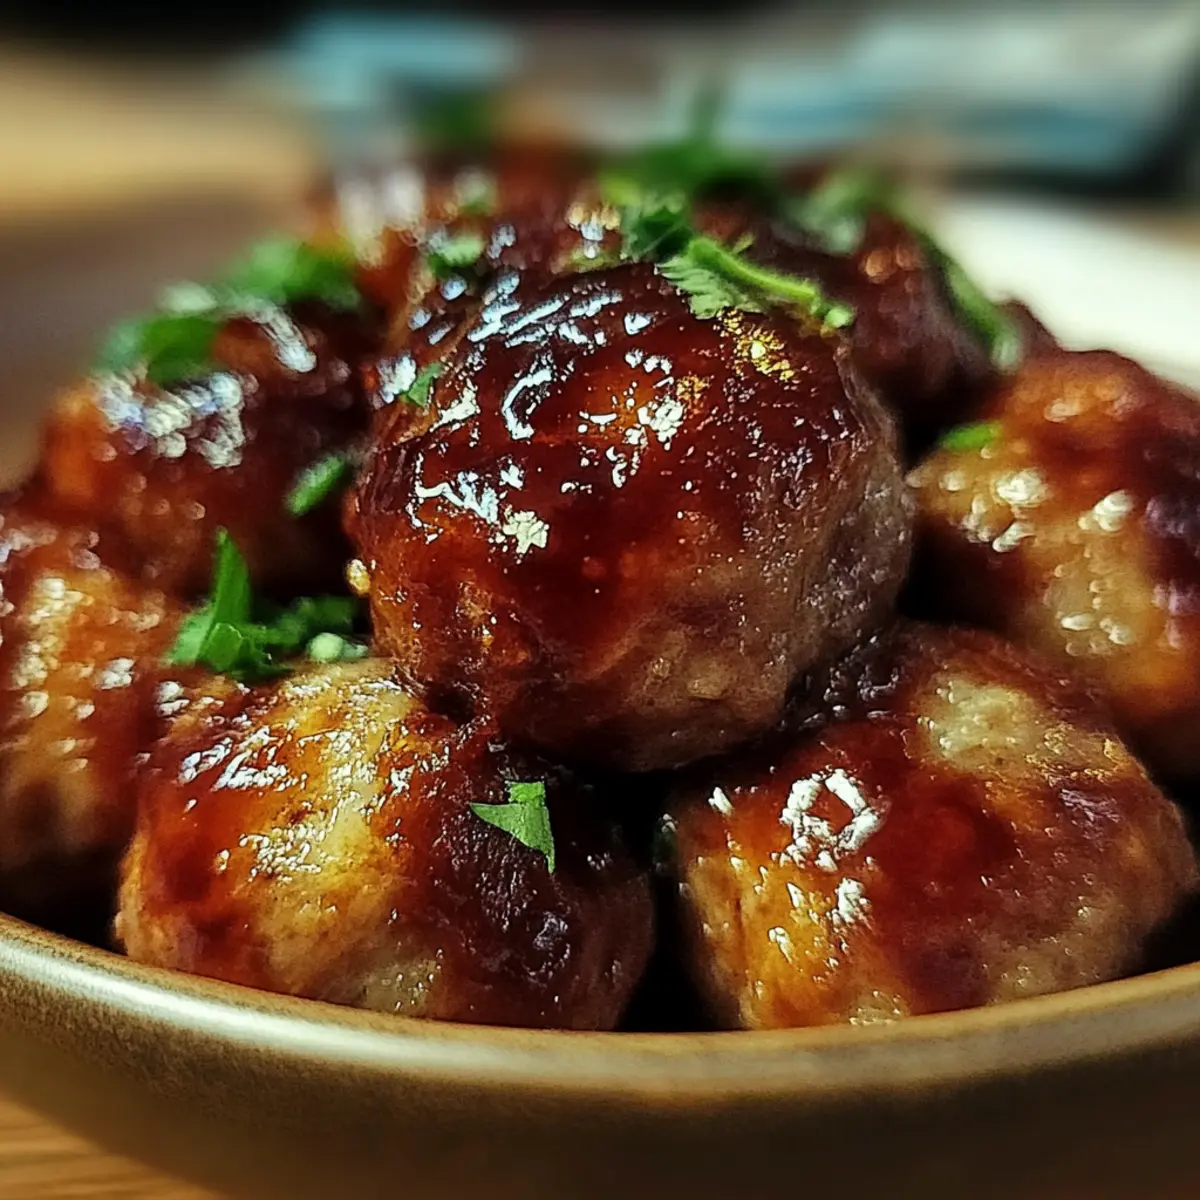
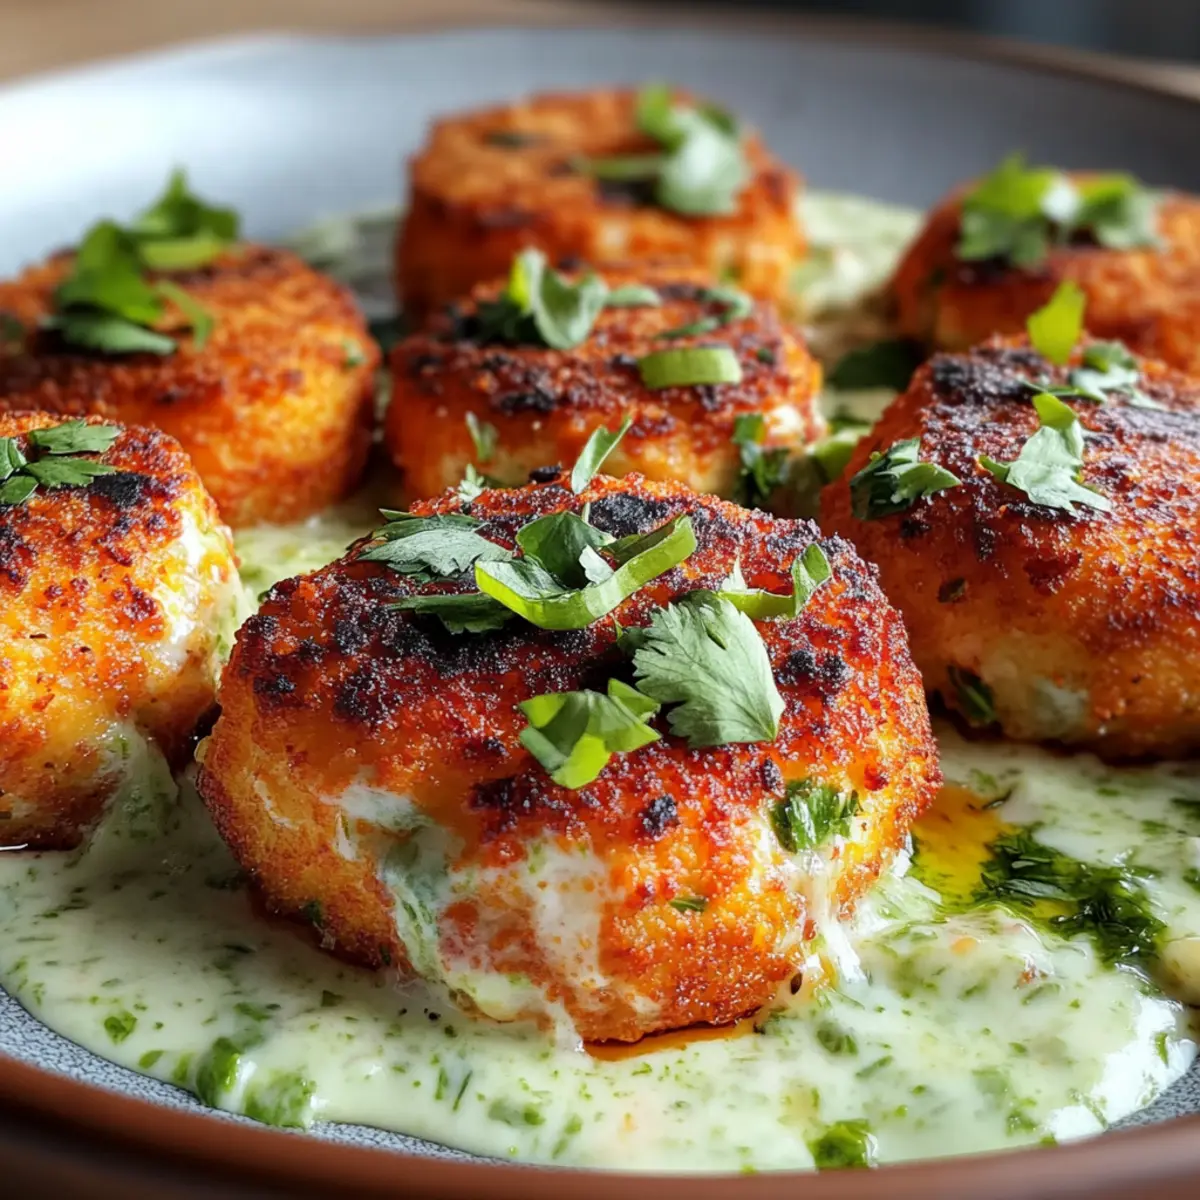
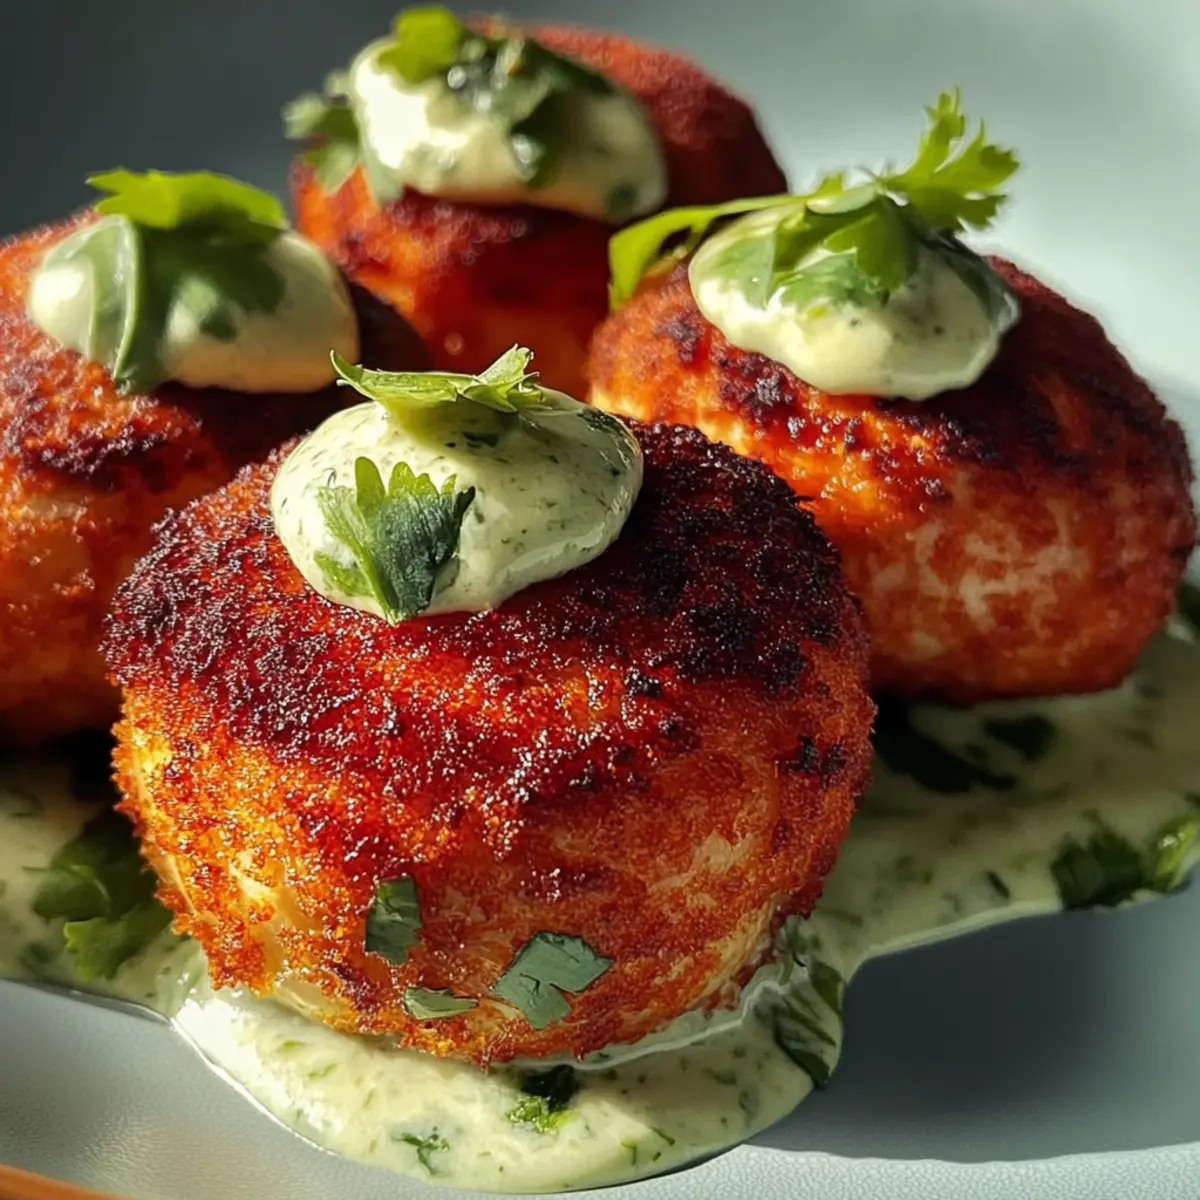
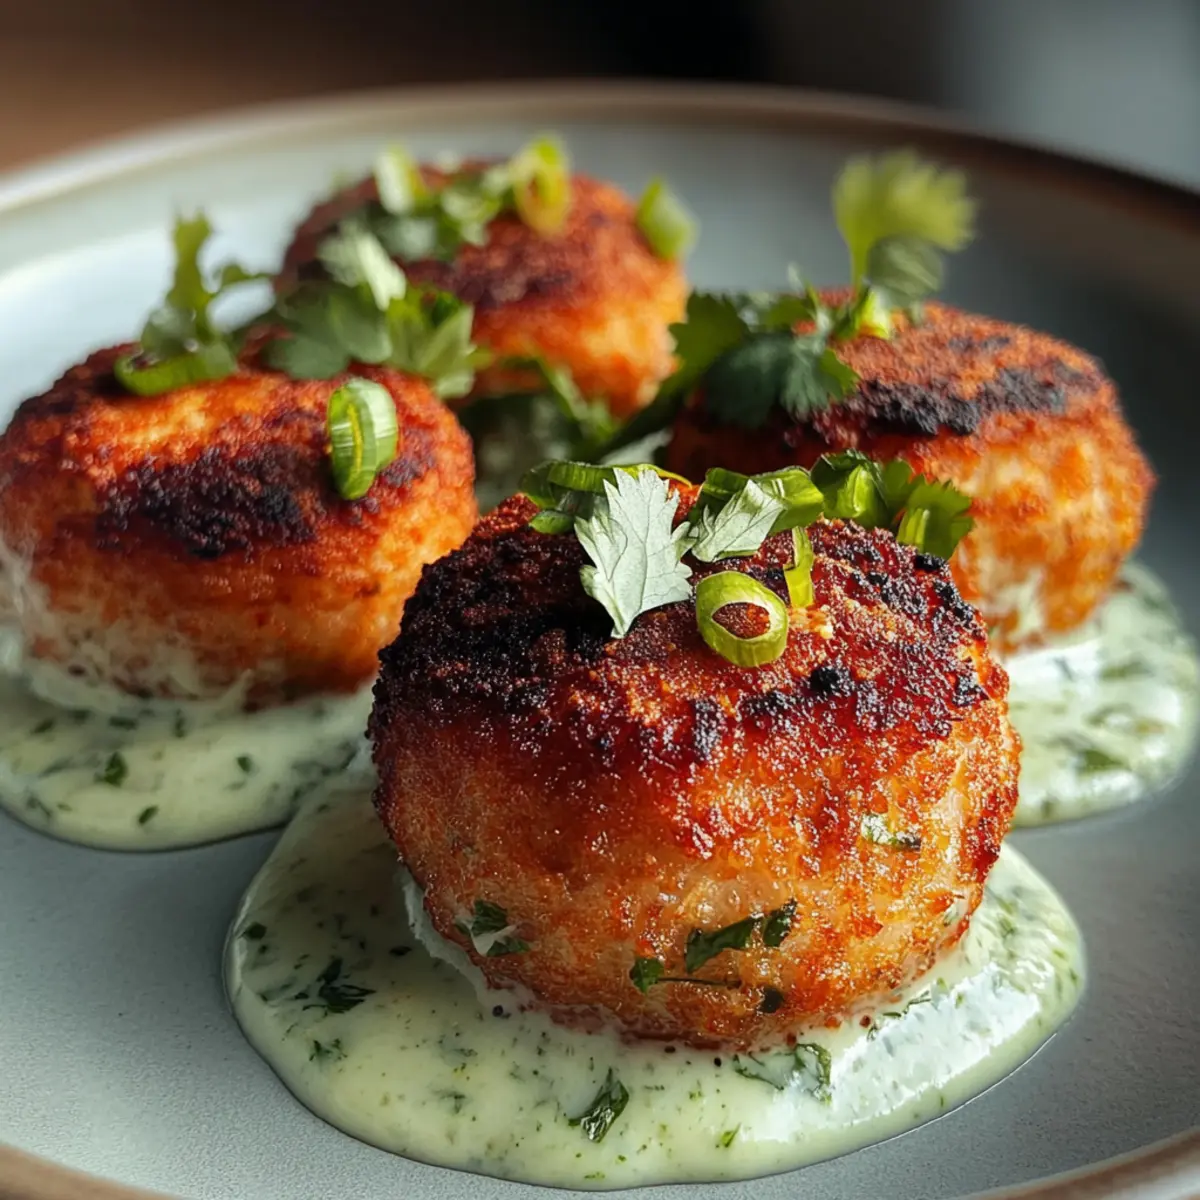
As I stood in my kitchen, the rich scent of fresh salmon mingled with a hint of lemon zest, instantly transporting me to a sunlit coastal market. That's when I realized how much I missed the simple pleasure of crafting something delicious. Enter my Salmon Balls with Creamy Avocado Sauce—a delightful recipe that ticks all the boxes! Not only are these little bites packed with nutrition, but they also come together in just 45 minutes, making them perfect for a weeknight dinner or a cozy get-together with friends. With a crispy exterior and a creamy dipping sauce that elevates each bite, they’re a surefire crowd-pleaser. Ready to impress your taste buds and transform dinner time into something extraordinary? Let's dive into this recipe together!
Why are these salmon balls irresistible?
Flavor Explosion: You’ll love how the tender salmon pairs perfectly with the zesty lemon and fresh herbs.
Crispy Delight: Using panko breadcrumbs gives these bites an amazing crunch that completely elevates the experience.
Quick & Easy: In just 45 minutes, you can whip up this impressive dish, perfect for busy weeknights or casual gatherings.
Nutritious Choice: Packed with protein and healthy fats, these salmon balls are a delicious way to indulge while staying mindful of your health.
Perfect for Dipping: The creamy avocado sauce not only complements the salmon balls but also offers a fresh, tangy contrast that keeps you coming back for more. Discover more healthy flavors with my easy avocado recipes for more delicious eats!
Salmon Balls with Creamy Avocado Sauce Ingredients
For the Salmon Balls
• Fresh salmon, skinless and boneless – the star of the dish, providing rich flavor and nutrition.
• Breadcrumbs (panko preferred) – adds a delightful crunch to each bite.
• Green onions – offer a mild onion flavor that brightens the dish.
• Fresh parsley – enhances freshness and balances the richness of the salmon.
• Garlic (minced) – boosts the flavor profile with its aromatic punch.
• Egg (beaten) – acts as a binder, helping the mixture hold its shape.
• Dijon mustard – introduces a subtle tanginess that complements the salmon.
• Lemon zest – adds a bright citrus note that awakens the palate.
• Salt and pepper – essential seasonings to enhance overall flavor.
• Olive oil – provides a healthy fat for cooking, ensuring a golden exterior.
For the Creamy Avocado Sauce
• Ripe avocado – delivers creaminess and a burst of healthy fats to the sauce.
• Plain Greek yogurt – adds a tangy note while also thickening the sauce.
• Lime juice – brightens the sauce with its refreshing acidity.
• Fresh cilantro (chopped) – infuses the sauce with a herbaceous flavor that pairs beautifully with the salmon.
• Salt and pepper (to taste) – elevate the flavors of the sauce.
• Water (to thin the sauce, if necessary) – adjust the consistency to your liking.
Dive into the delightful experience of making these salmon balls with creamy avocado sauce—you won't be disappointed!
Step‑by‑Step Instructions for Salmon Balls with Creamy Avocado Sauce
Step 1: Preheat the Oven
Start by preheating your oven to 375°F (190°C) if you prefer baking your salmon balls. This temperature ensures a perfectly golden exterior while the inside remains moist and tender. If you decide to cook them on the stovetop instead, simply set that aside for now.
Step 2: Prepare the Salmon
In a large mixing bowl, dice the fresh salmon into small pieces, or pulse it in a food processor until coarsely chopped. Aim to leave some texture for that delightful bite in your Salmon Balls with Creamy Avocado Sauce. You should have about a pound of salmon ready for mixing.
Step 3: Mix the Ingredients
Add the panko breadcrumbs, finely chopped green onions, fresh parsley, minced garlic, beaten egg, Dijon mustard, lemon zest, and salt and pepper to the bowl with the salmon. Mix everything together until well combined; this should take just a couple of minutes and create a wonderfully fragrant mixture.
Step 4: Shape the Salmon Balls
With clean hands, take small portions of the mixture and shape them into balls about the size of a golf ball. They should hold together nicely. Arrange the salmon balls on a baking sheet lined with parchment paper if you are baking them, ensuring they have a little space in between.
Step 5: Cook on the Stovetop
If you prefer stovetop cooking, heat a tablespoon of olive oil in a large skillet over medium heat. Once the oil shimmers, carefully place the salmon balls in the skillet. Cook for about 3-4 minutes on each side until they turn golden brown and are cooked through, making sure not to overcrowd the skillet.
Step 6: Bake in the Oven
For baking, place the prepared salmon balls into the preheated oven. Bake them for 15-20 minutes, checking for doneness; they should be firm to the touch and lightly golden on the outside. Enjoy the delicious aromas filling your kitchen!
Step 7: Prepare the Creamy Avocado Sauce
While the salmon balls are cooking, prepare the creamy avocado sauce. In a blender or food processor, combine a ripe avocado, plain Greek yogurt, lime juice, and chopped cilantro. Blend until smooth and creamy, adjusting the texture to your liking.
Step 8: Season the Sauce
Taste the avocado sauce and season with salt and pepper according to your preference. If the sauce is too thick, add a splash of water to create your desired consistency. This bright and tangy sauce will perfectly complement your salmon balls.
Step 9: Cool and Serve
Once the salmon balls are cooked, remove them from the heat and let them cool slightly on a plate. This resting time allows the flavors to meld beautifully, enhancing your Salmon Balls with Creamy Avocado Sauce experience.
Step 10: Enjoy Your Dish
Serve the warm salmon balls alongside the creamy avocado sauce for dipping. Watch as your family and friends delight in this tasty addition to your dinner table, bringing smiles all around!
How to Store and Freeze Salmon Balls with Creamy Avocado Sauce
Fridge: Store leftover salmon balls in an airtight container for up to 3 days. Keep the creamy avocado sauce in a separate container for the best freshness.
Freezer: Freeze uncooked salmon balls by arranging them on a baking sheet in a single layer for 30 minutes. Once frozen, transfer them to a freezer-safe bag for up to 3 months.
Reheating: To reheat cooked salmon balls, bake them in a preheated oven at 350°F (175°C) for about 10-15 minutes. For frozen balls, cook from frozen, adding a few extra minutes to ensure they are heated through.
Sauce Storage: The creamy avocado sauce is best enjoyed fresh, but it can be stored in the fridge for up to 2 days. If it darkens, a little squeeze of lime juice can help refresh its color and flavor.
Salmon Balls with Creamy Avocado Sauce Variations
Feel free to make these salmon balls your own with delightful twists and substitutions that will tantalize your taste buds!
- Gluten-Free: Swap panko breadcrumbs for gluten-free breadcrumbs or crushed rice cereal for a crispy texture.
- Spicy Kick: Add 1-2 teaspoons of your favorite hot sauce or a pinch of cayenne pepper to the salmon mix for a delightful heat.
- Mediterranean Flair: Mix in chopped sun-dried tomatoes and feta cheese for a savory Mediterranean twist that sings with flavor.
- Herbaceous Boost: Experiment with fresh dill or tarragon in place of parsley for a fragrant, aromatic enhancement.
- Baked Version: For fewer calories, bake your salmon balls instead of frying for a healthier option that still keeps all the yummy flavors intact.
- Creamy Swap: Use sour cream in the avocado sauce instead of Greek yogurt for a different tang that pairs beautifully with the salmon.
- Zesty Lime: Add lime zest to both the salmon mixture and the sauce for an extra hit of citrus that elevates the overall brightness.
- Savory Cheese: Incorporate finely grated Parmesan or cheddar cheese for a rich, gooey texture inside the salmon balls that will melt in your mouth.
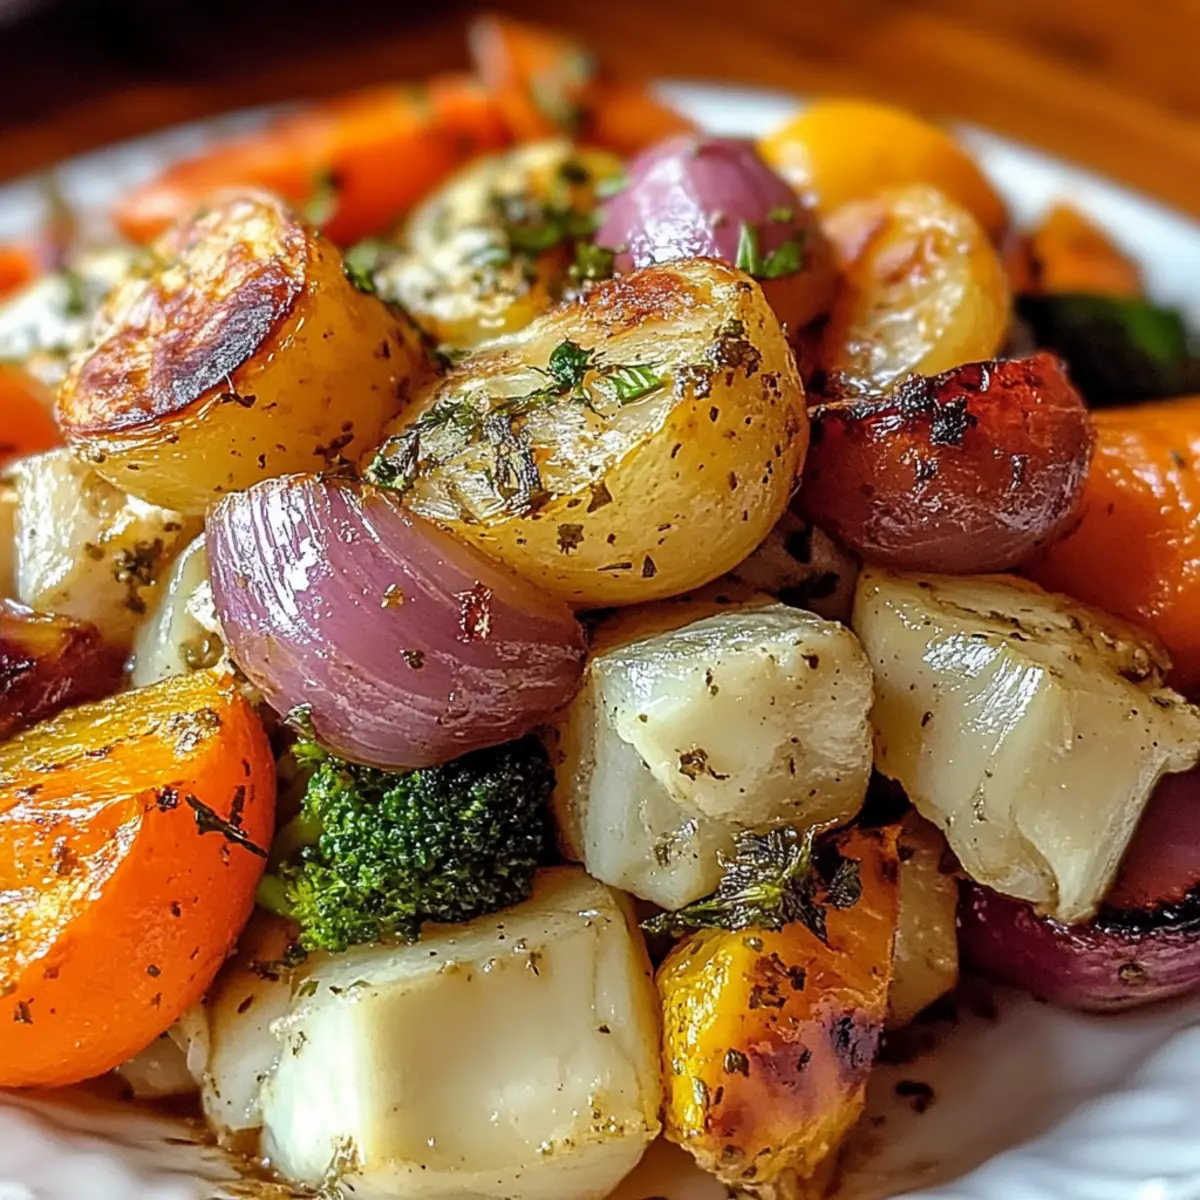
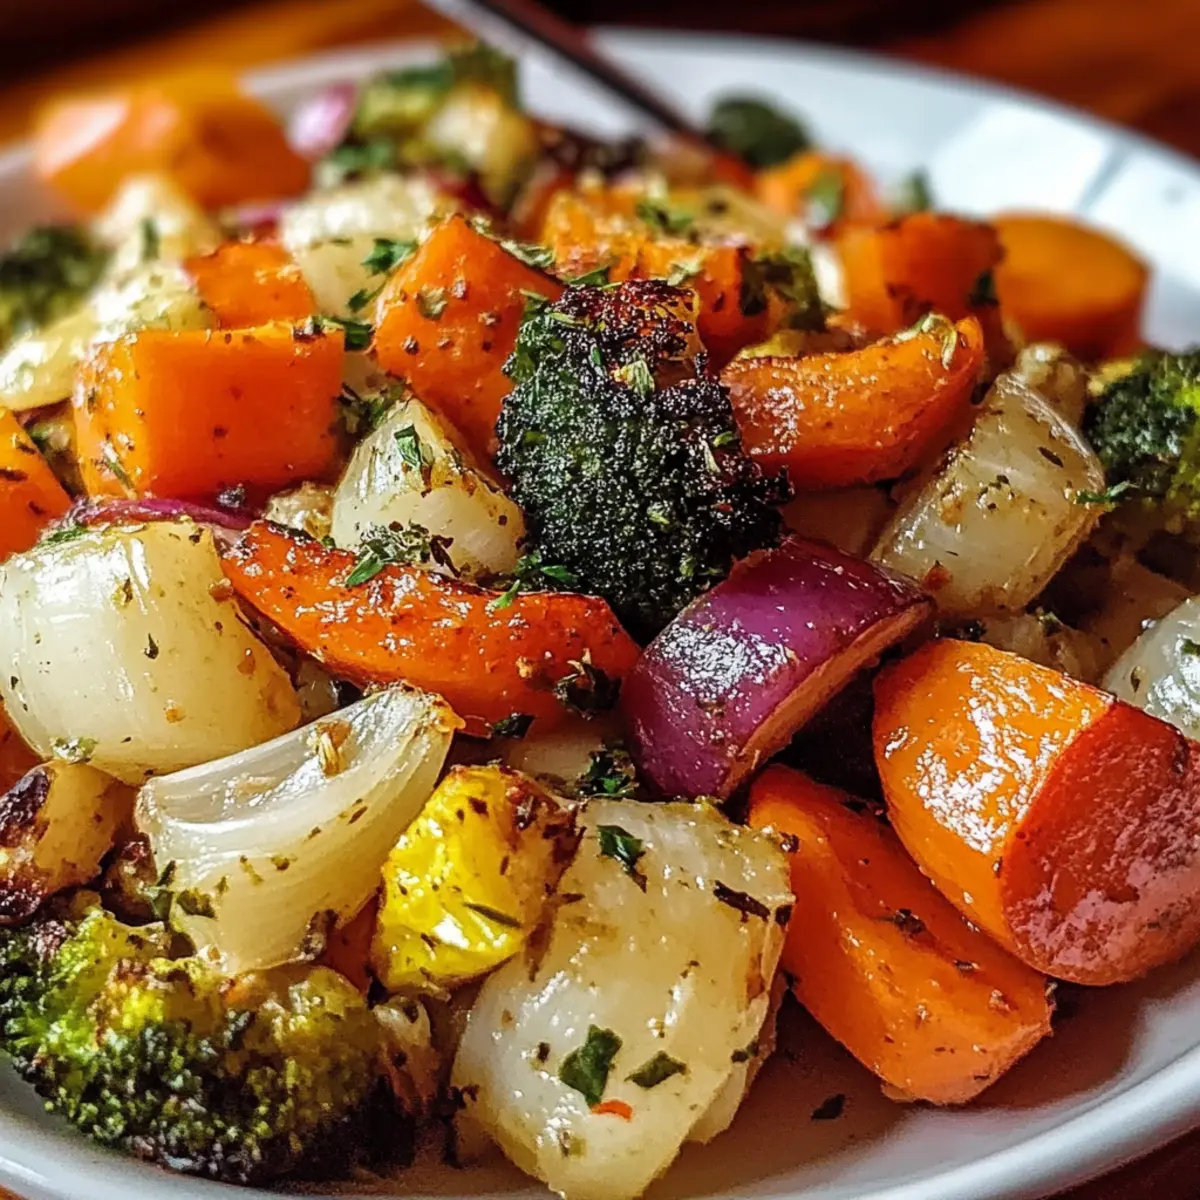
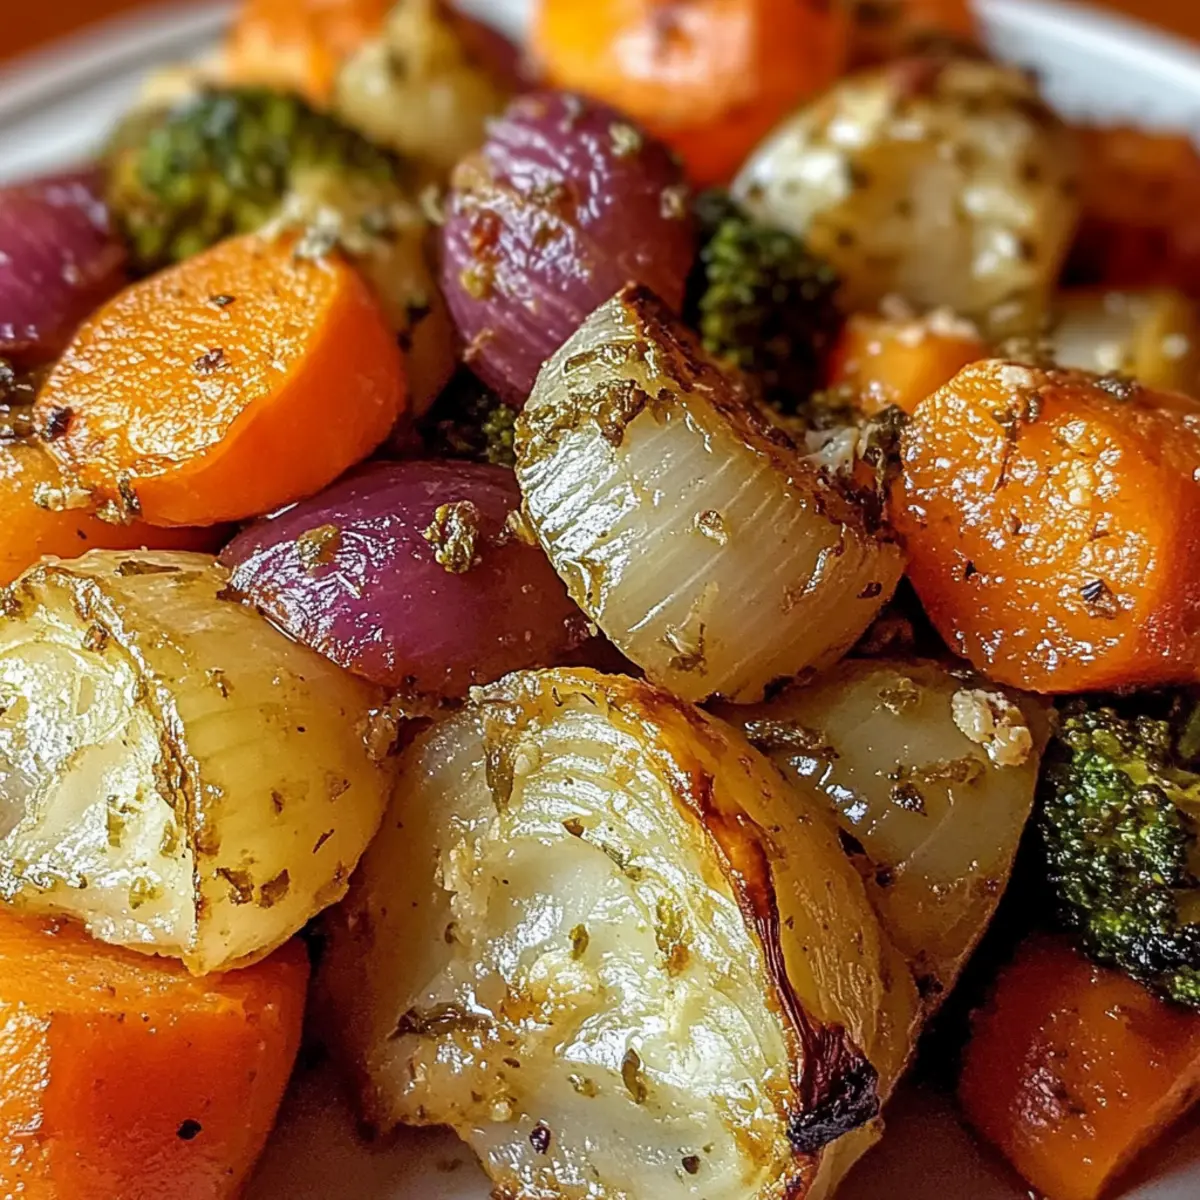
As you explore these variations, don’t forget to serve them with a side of refreshing salad or some crispy easy roasted vegetables that complement this vibrant dish perfectly!
What to Serve with Salmon Balls with Creamy Avocado Sauce
Create a delightful dining experience with these flavorful pairings that heighten the enjoyment of each bite.
-
Crispy Kale Chips: These add a crunchy texture that complements the tender salmon balls. Tossed with a sprinkle of sea salt, they enhance the overall crunch factor.
-
Quinoa Salad: Light and nutritious, a quinoa salad with cherry tomatoes, cucumber, and a lemon vinaigrette offers a refreshing contrast to the richness of the salmon.
-
Coleslaw: A creamy or vinegar-based coleslaw can deliver a tangy bite that perfectly balances the flavors. Its crisp texture is a great addition to your plate.
-
Grilled Asparagus: The slight char from grilling gives asparagus a delightful smoky flavor. Its earthiness pairs well with the brightness of the avocado sauce.
-
Herbed Couscous: Fluffy couscous with fresh herbs like parsley and mint can introduce a light and fluffy element that absorbs the creamy avocado sauce well.
-
Lemon Rice: Flavored with lemon and herbs, this zesty side creates a fresh backdrop that brightens the meal, perfectly complimenting the salmon balls.
-
Sparkling Water with Lime: Maintain a refreshing palate with lightly flavored sparkling water infused with lime juice to cleanse your taste buds between bites.
-
Mini Fruit Tart: For a sweet ending, treat your guests to mini fruit tarts filled with fresh seasonal fruits. The sweetness contrasts beautifully with the savory elements of your meal.
Expert Tips for Salmon Balls
-
Fresh Salmon: Always choose fresh, skinless, and boneless salmon for the best flavor and texture. Frozen may not yield the same quality in your Salmon Balls with Creamy Avocado Sauce.
-
Binding Agent: When mixing ingredients, ensure the egg is well incorporated; this will help hold the salmon balls together during cooking.
-
Don’t Overmix: Mix gently! Overmixing can lead to a dense texture; keep some nice flakes of salmon in your mixture for that perfect bite.
-
Heat Management: If cooking on the stovetop, avoid using high heat, which can burn the exterior before the inside is cooked through. Medium heat is your friend!
-
Adjusting Consistency: For the avocado sauce, blend until smooth, but if it’s too thick, don’t hesitate to add a little water gradually to reach your desired creaminess.
-
Perfectly Seasoned: Always taste the creamy avocado sauce before serving. A pinch of salt can really elevate the overall taste and balance the flavors in your Salmon Balls with Creamy Avocado Sauce.
Make Ahead Options
These Salmon Balls with Creamy Avocado Sauce are fantastic for meal prep and can save you valuable time during busy weeknights! You can prepare the salmon mixture and shape the balls up to 24 hours in advance; just cover and refrigerate them to maintain freshness. For the creamy avocado sauce, it's best to make it fresh right before serving to avoid browning, but it can be prepped up to 3 days ahead if stored in an airtight container. When you're ready to cook, simply take the salmon balls out of the fridge, bake or sauté as directed, and enjoy restaurant-quality results with minimal effort!

Salmon Balls with Creamy Avocado Sauce Recipe FAQs
What type of salmon is best for these salmon balls?
Absolutely! For the best flavor and texture, I'd recommend using fresh skinless and boneless salmon. Look for bright pink color and a firm texture without any dark spots, which indicates freshness. If fresh isn't available, you can use frozen salmon, but be sure to thaw it completely and pat it dry to remove excess moisture.
How should I store leftover salmon balls?
You can store leftover salmon balls in an airtight container in the fridge for up to 3 days. I often keep the creamy avocado sauce in a separate container to maintain its freshness. If you're worried about the sauce darkening, a squeeze of lime juice can help brighten it back up!
Can I freeze uncooked salmon balls?
Certainly! To freeze uncooked salmon balls, arrange them in a single layer on a baking sheet and place the sheet in the freezer for about 30 minutes until they are firm. This helps them keep their shape. Once frozen, transfer them to a freezer-safe bag and they can be stored for up to 3 months. When you're ready to cook, there's no need to thaw; just bake or pan-fry them directly from frozen!
What if my avocado sauce is too thick?
No worries! If your creamy avocado sauce turns out too thick, just add a splash of water, one tablespoon at a time, and blend until you reach your desired consistency. You want it creamy but not so thick that it doesn't drizzle off a spoon. A little extra lime juice can also enhance the flavor if needed.
Are these salmon balls suitable for those with egg allergies?
If you or someone you're serving has an egg allergy, you can substitute the egg with a flaxseed meal. Mix 1 tablespoon of flaxseed meal with 3 tablespoons of water and let it sit for about 5 minutes until it thickens. This will help bind the ingredients together just like the egg would!
How do I know when the salmon balls are properly cooked?
You’ll know your salmon balls are cooked through when they are golden brown and firm to the touch—this usually takes about 15-20 minutes in the oven or 3-4 minutes per side on the stovetop over medium heat. If you have a kitchen thermometer handy, the internal temperature should reach 145°F (63°C) for safe consumption. Trust me, the crispy exterior and tender inside will make it all worth the wait!
Delicious Salmon Balls with Creamy Avocado Sauce You’ll Love
Ingredients
Equipment
Method
- Preheat your oven to 375°F (190°C).
- Dice the salmon into small pieces or pulse in a food processor until coarsely chopped.
- Mix in a large bowl the salmon, panko breadcrumbs, green onions, parsley, garlic, egg, Dijon mustard, lemon zest, salt and pepper until well combined.
- Shape the mixture into golf ball-sized balls.
- Cook in a skillet with olive oil over medium heat for 3-4 minutes on each side until golden brown, or bake for 15-20 minutes in the oven.
- For the creamy avocado sauce, blend avocado, Greek yogurt, lime juice, and cilantro until smooth.
- Season the sauce with salt and pepper, and add water to adjust consistency if needed.
- Cool the salmon balls slightly before serving.
- Serve the salmon balls warm alongside the creamy avocado sauce.