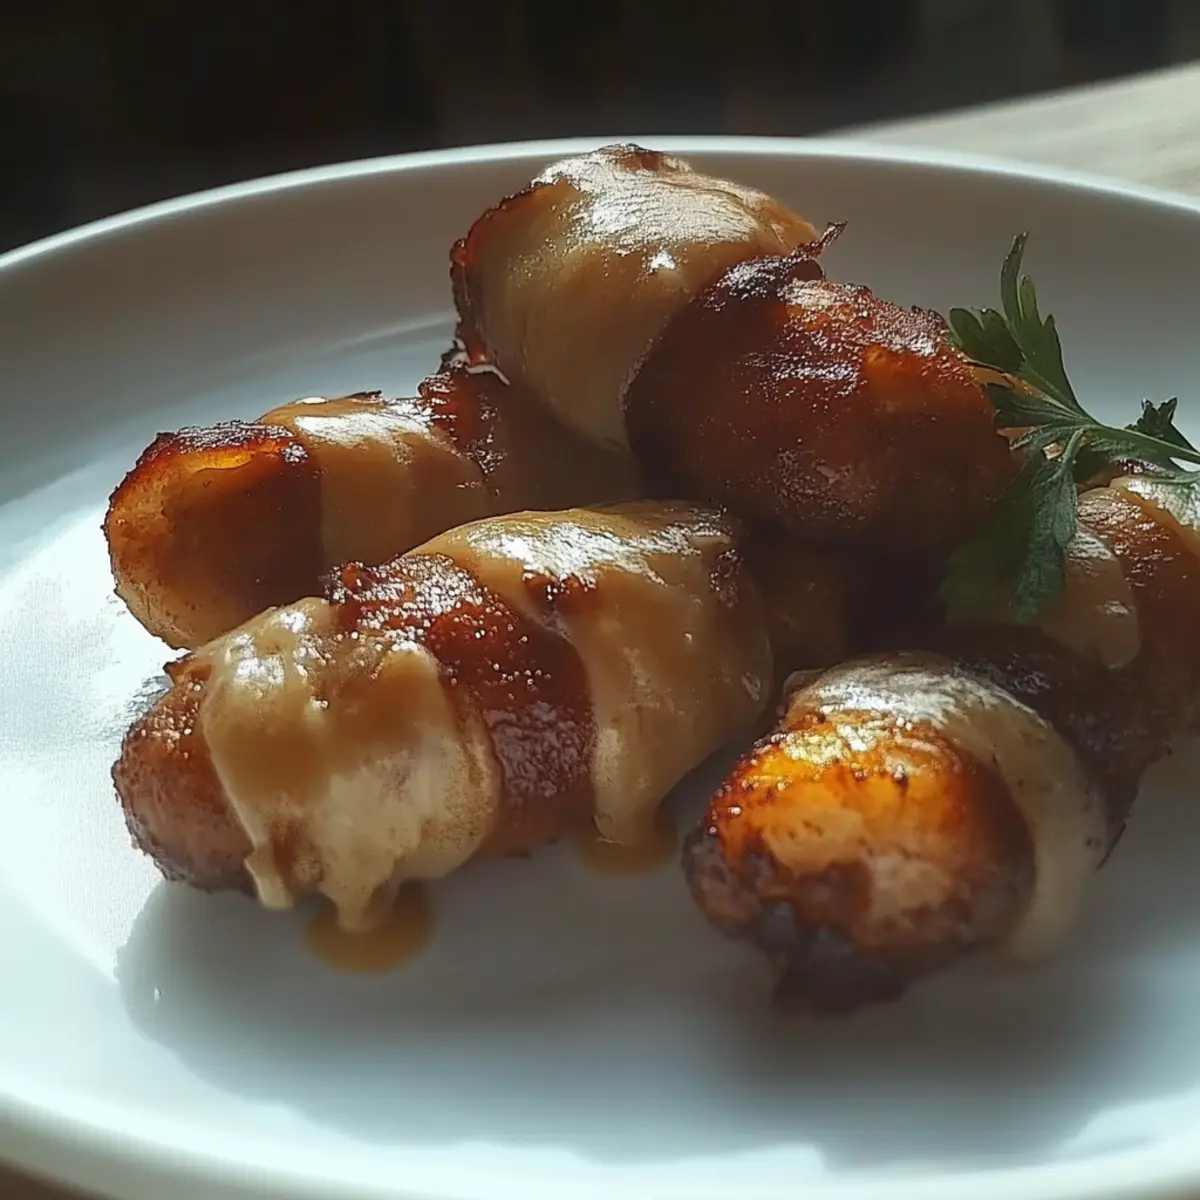
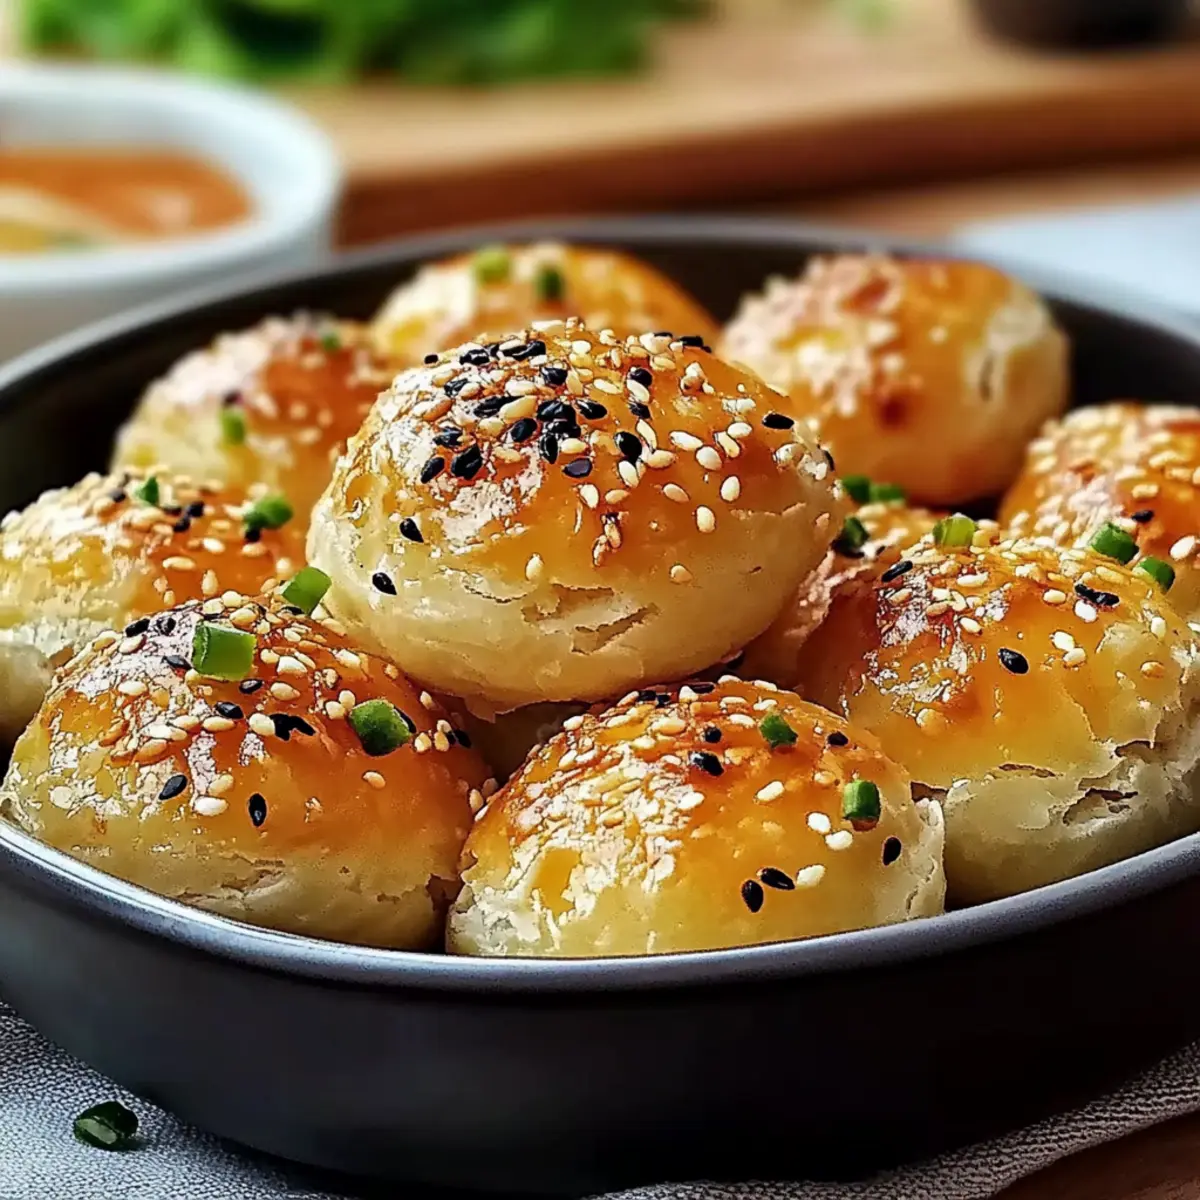
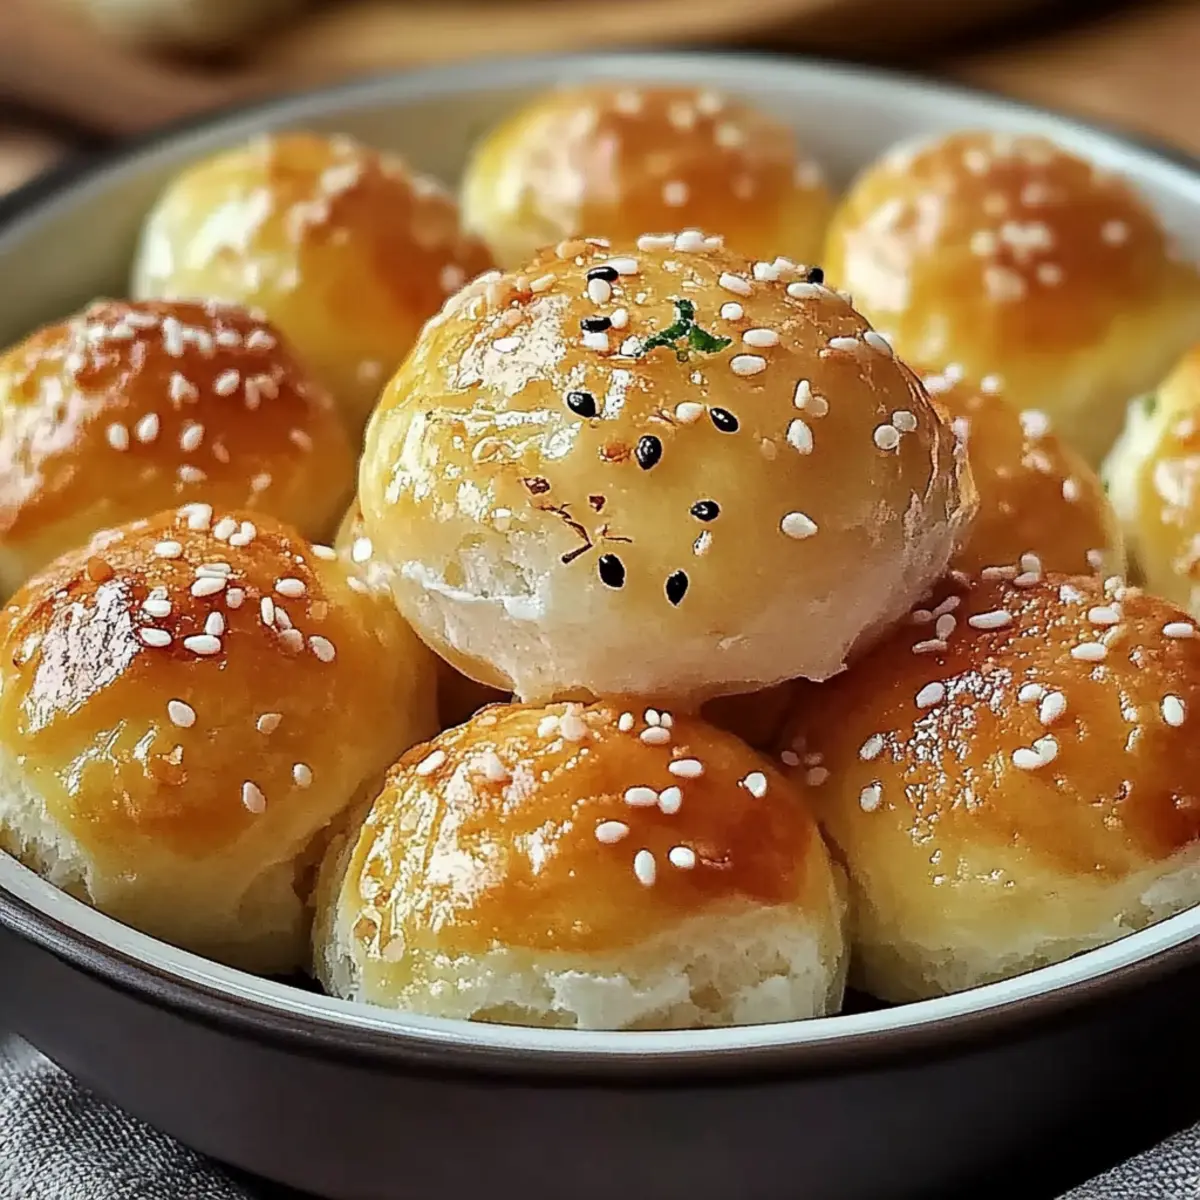
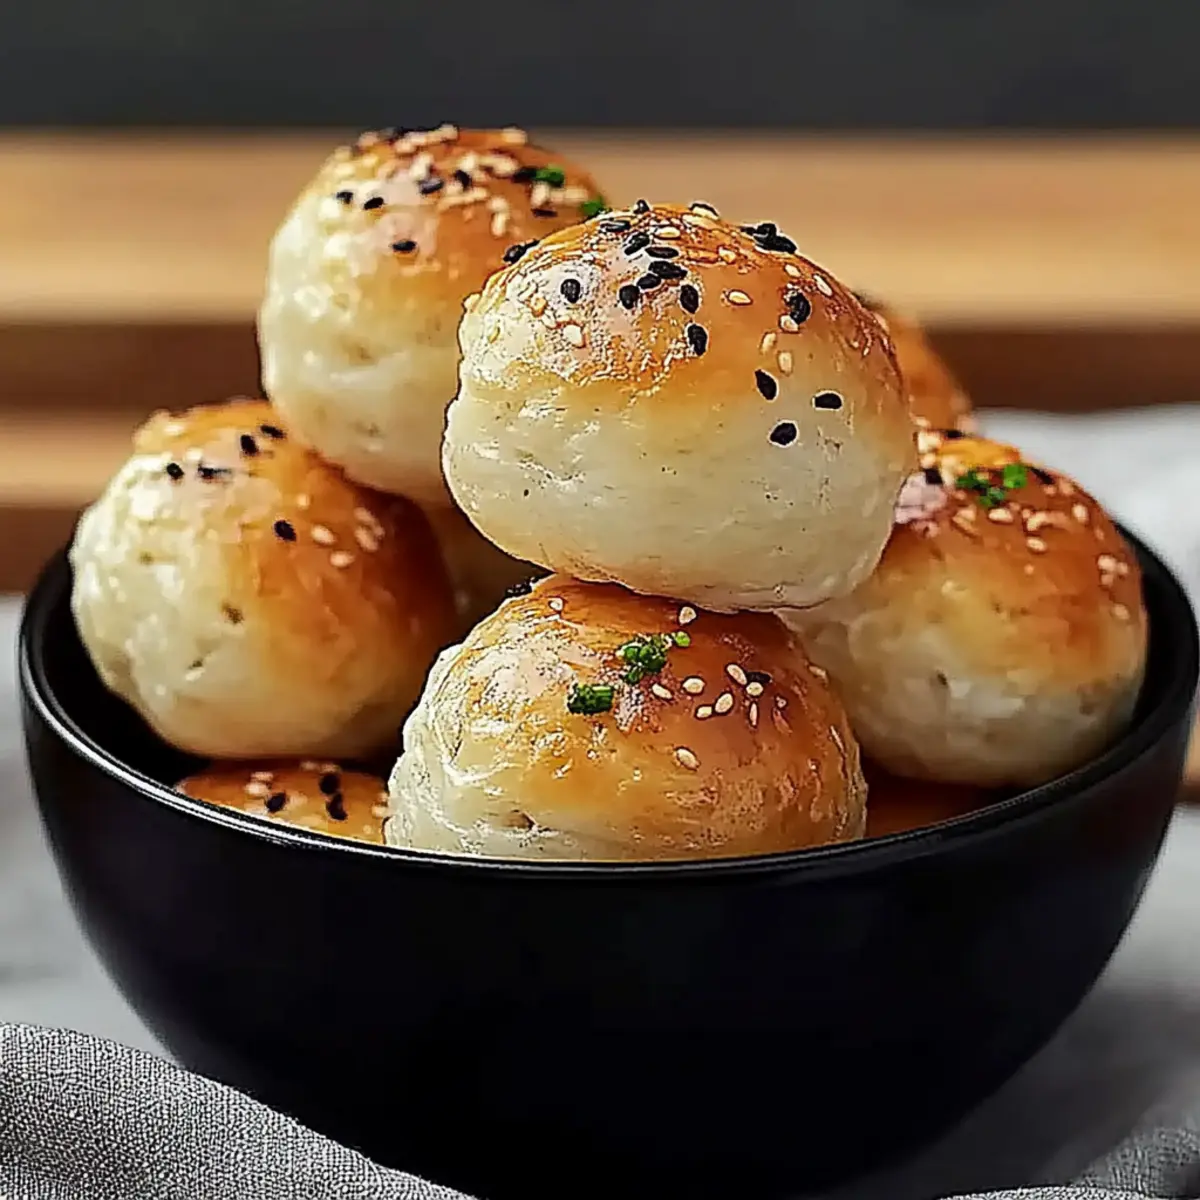
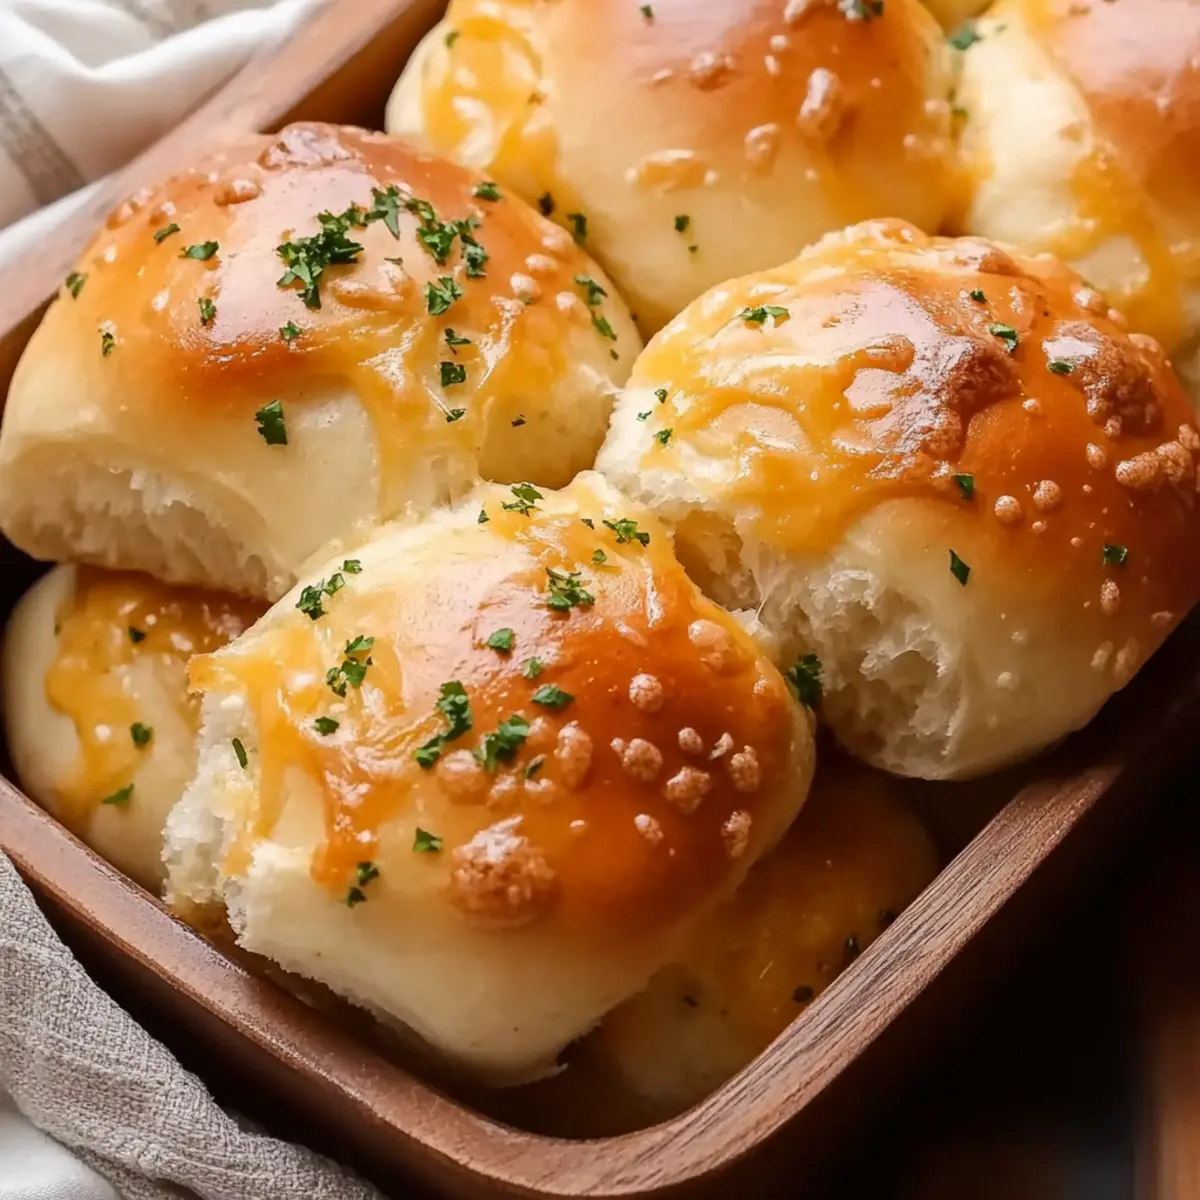
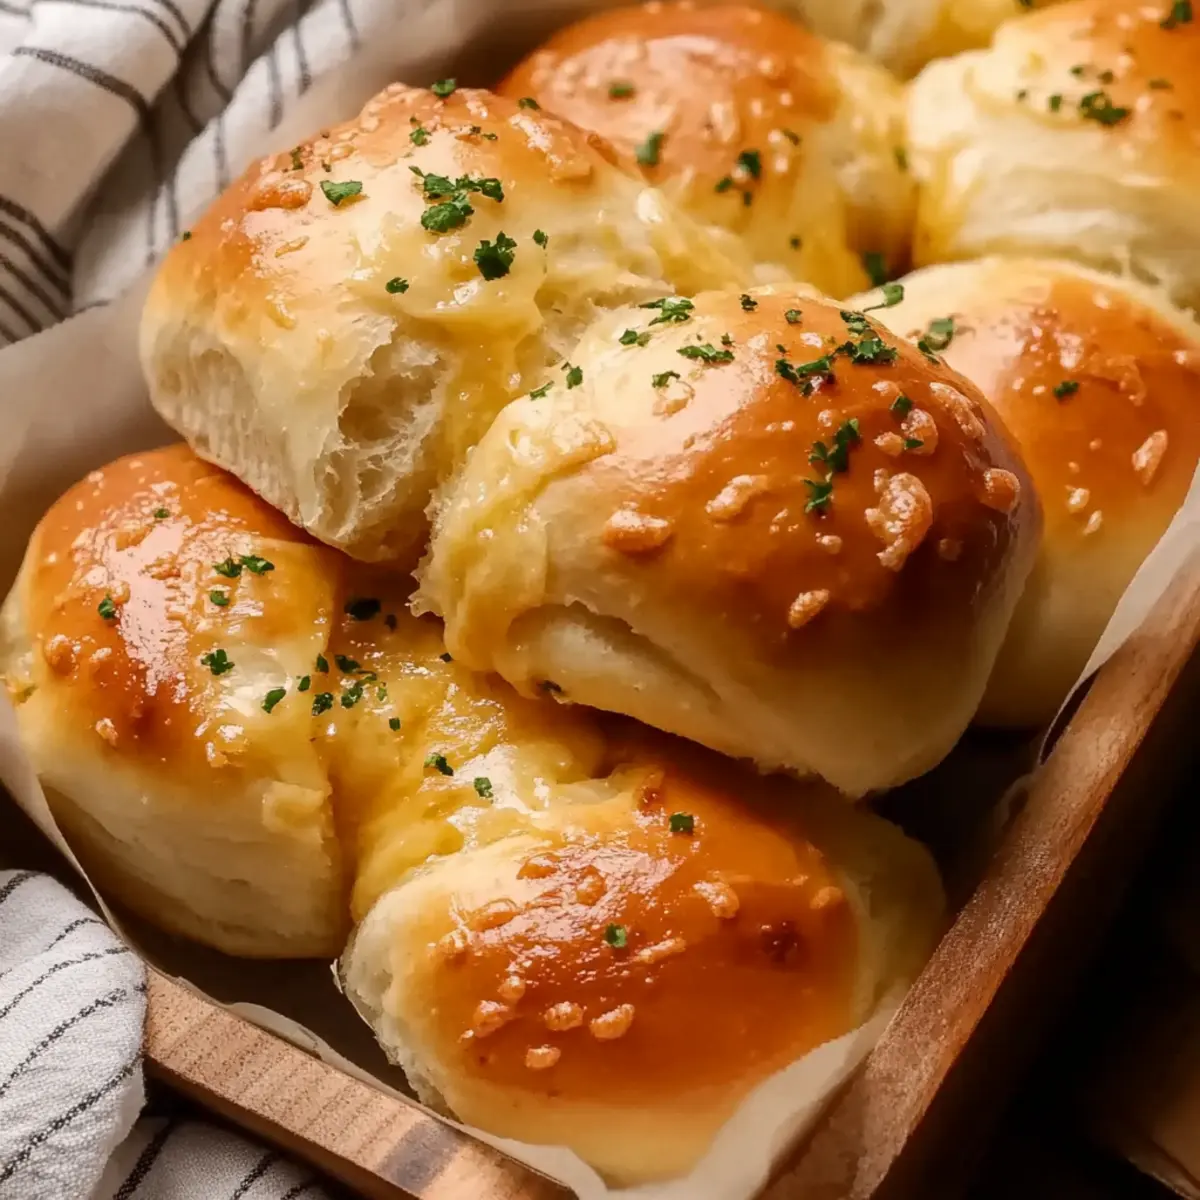
As I stood in my kitchen, the earthy aroma of garlic mingling with the scent of warm, rising dough filled the air—an instant invitation to dive into comfort food bliss. There's something magical about homemade Cheesy Garlic Dinner Rolls that transforms an ordinary meal into a memorable feast. Whether served alongside your favorite soup or as a standalone snack, these rolls come with two irresistible perks: they’re simple to whip up, and their gooey, cheesy surprise center makes them an instant crowd-pleaser. Imagine pulling apart a warm roll, the cheese stretching deliciously, each bite bursting with flavor and comfort. Ready to elevate your dinner game? Let's roll into the recipe and bring a sprinkle of joy to your dinner table!
Why Are These Rolls So Irresistible?
Irresistible Flavor: The rich combination of cheese and garlic will awaken your taste buds, offering a savory punch in every bite.
Easy Preparation: With just a few simple steps, these rolls are manageable for any home chef, making them perfect for busy weeknights.
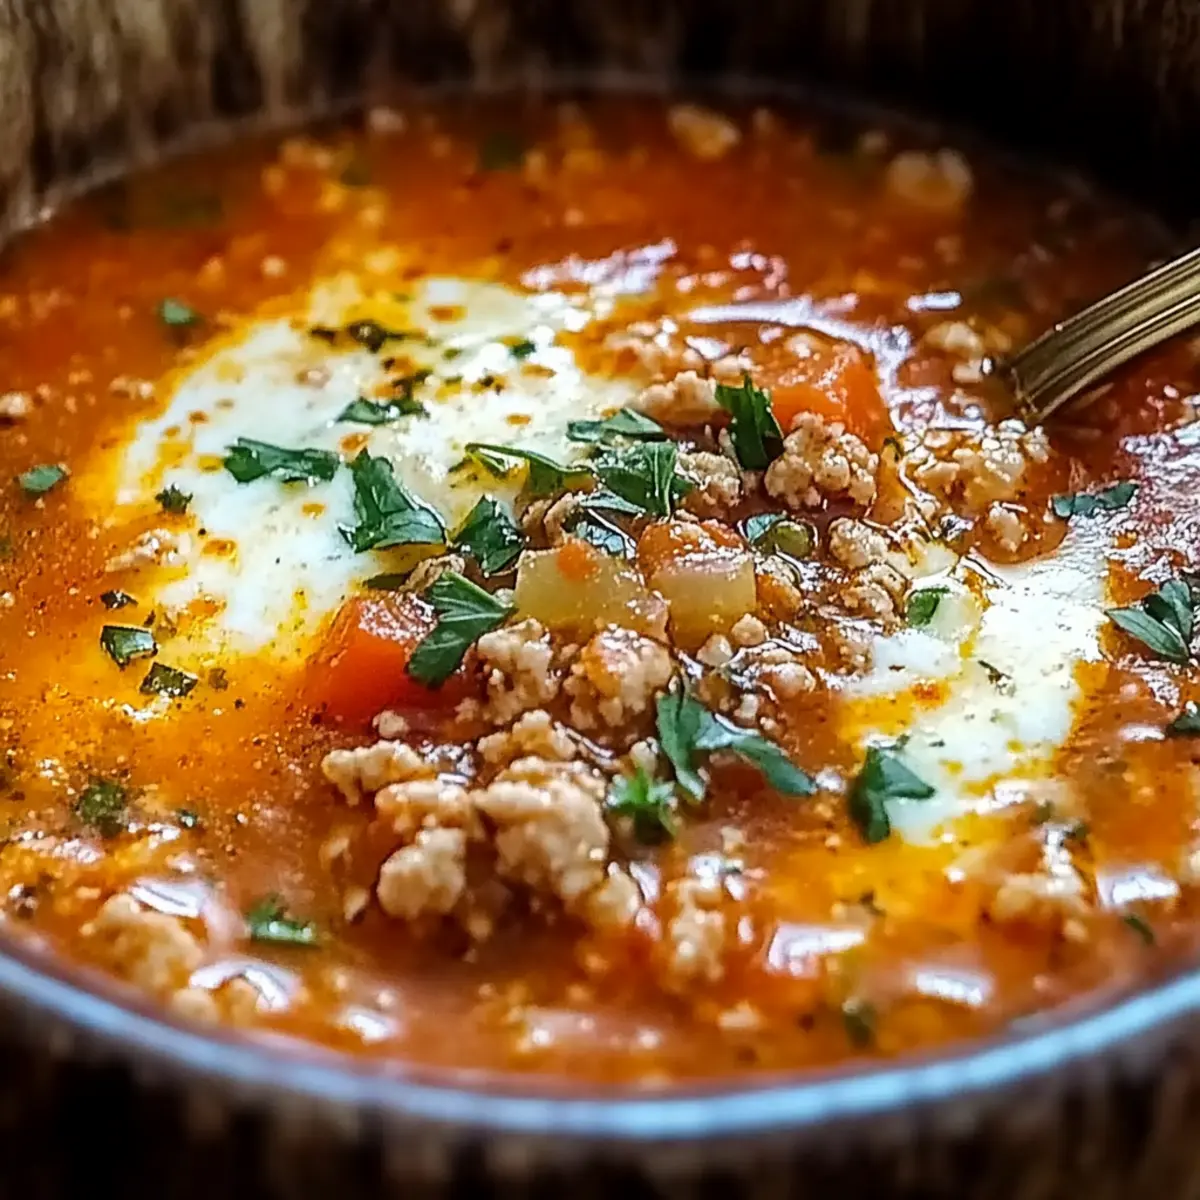
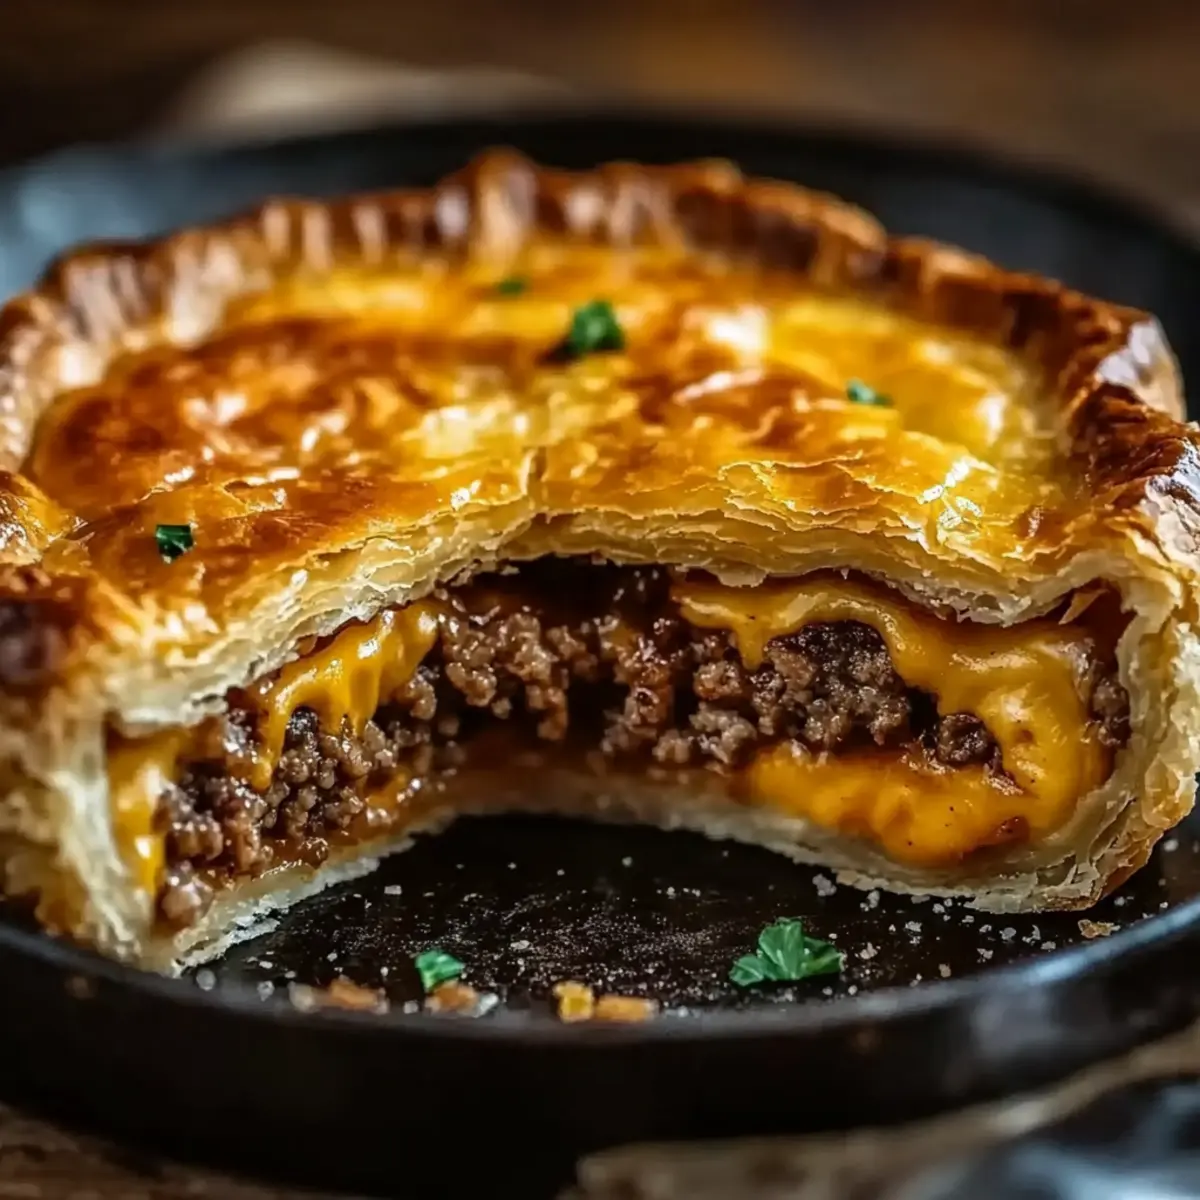
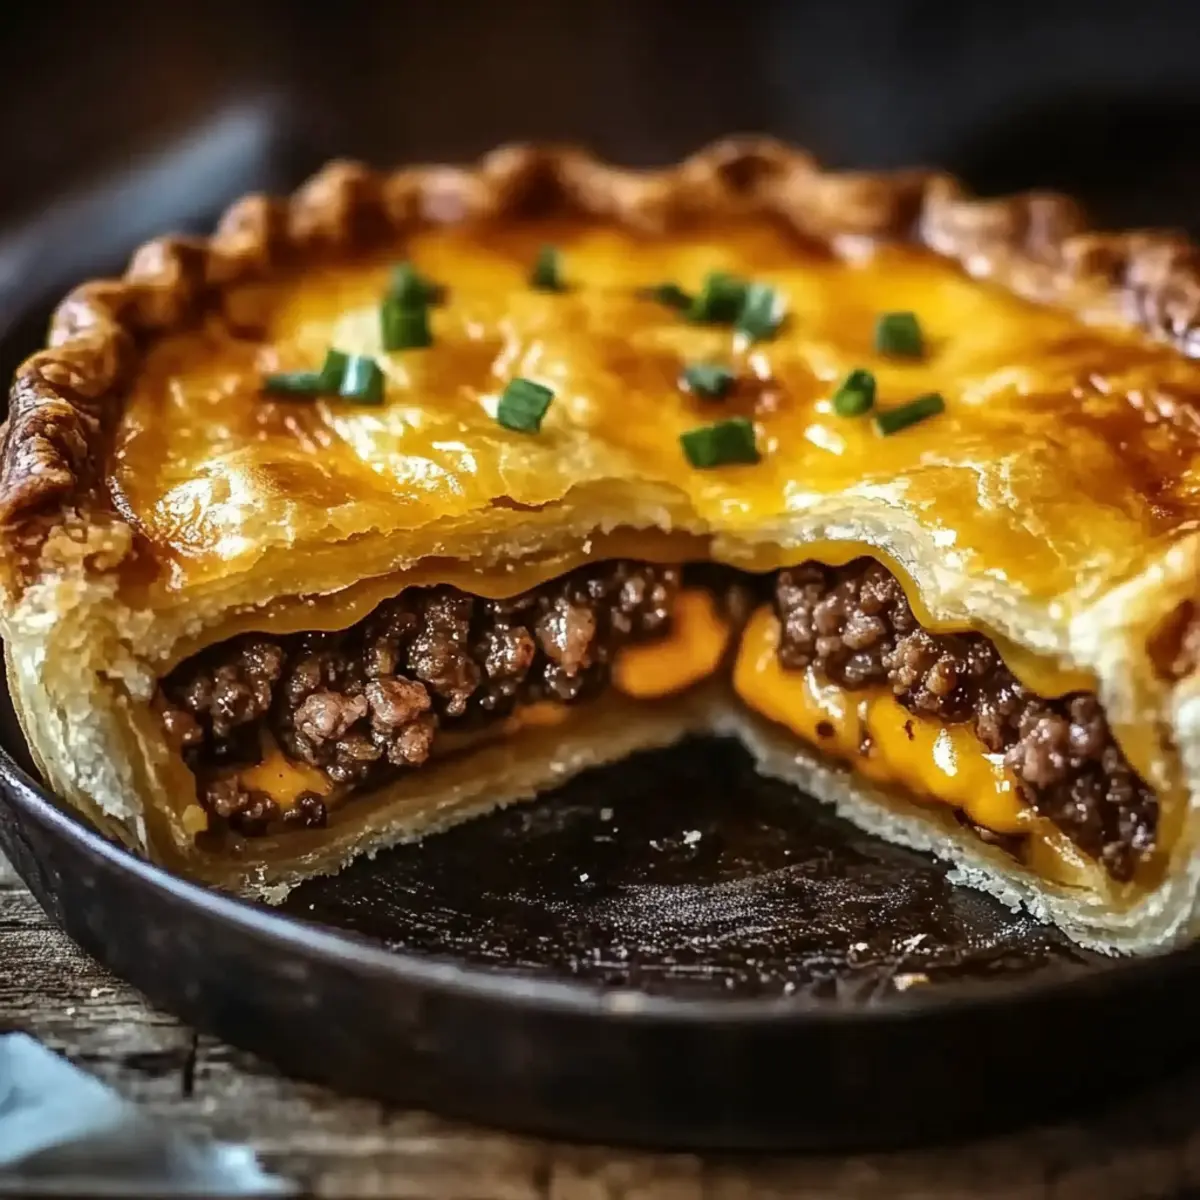
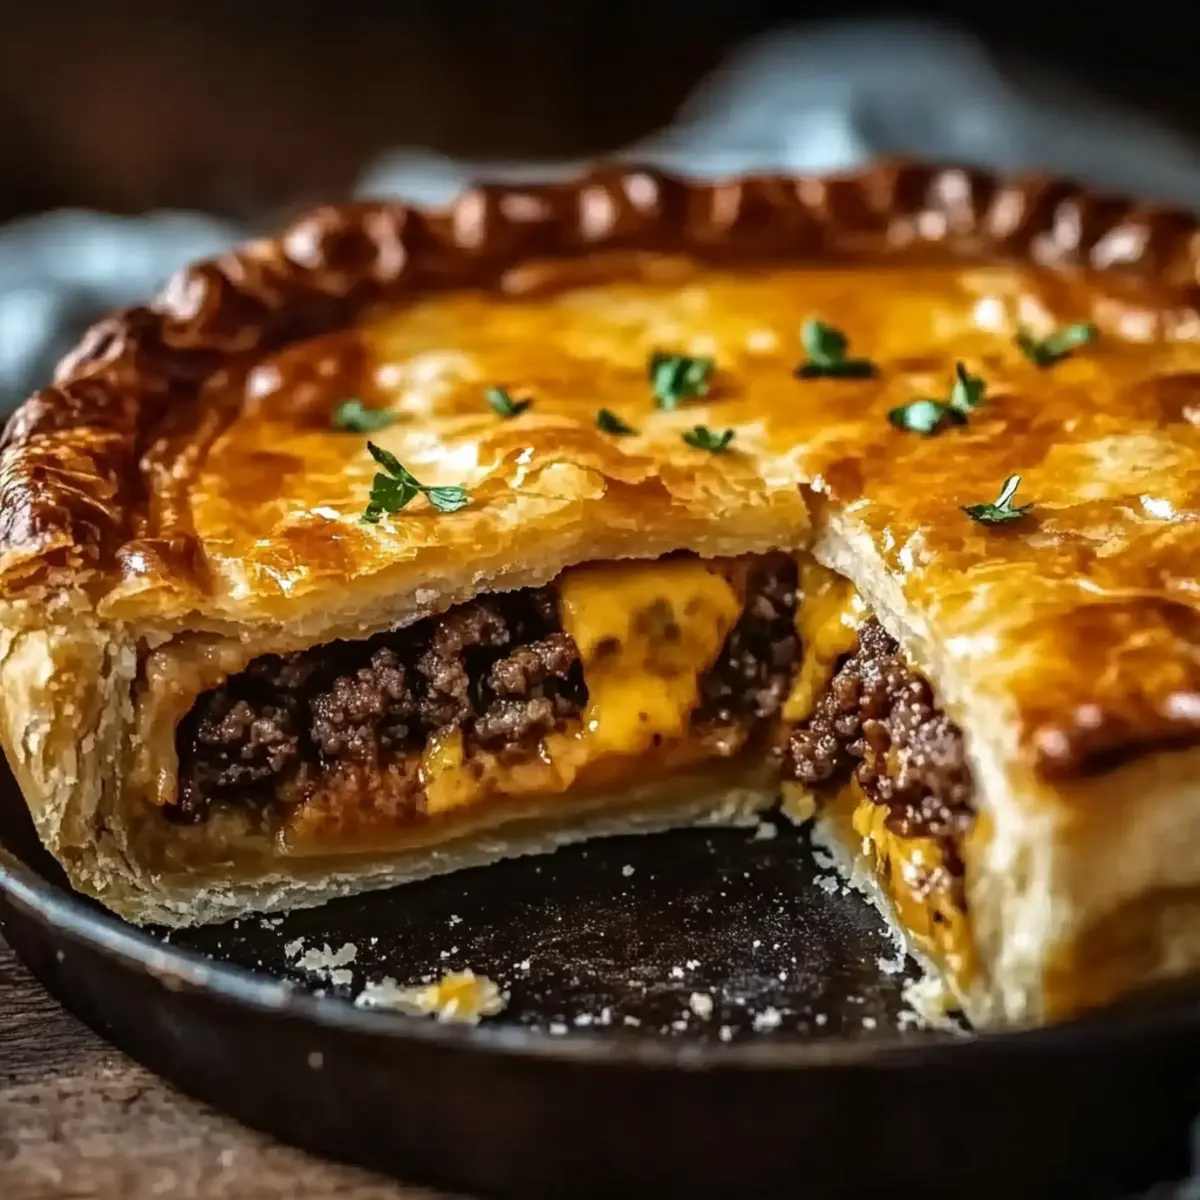
Versatile Side Dish: Pair these rolls with your favorite soup, or enjoy them stand-alone, much like my Cheesy Ground Beef recipe.
Time-Saving Delight: While they take a bit of time to rise, the hands-on prep is quick, allowing for an effortless kitchen experience.
Crowd-Pleasing Appeal: Serve them at your next gathering and watch them disappear—everyone loves warm, cheesy rolls!
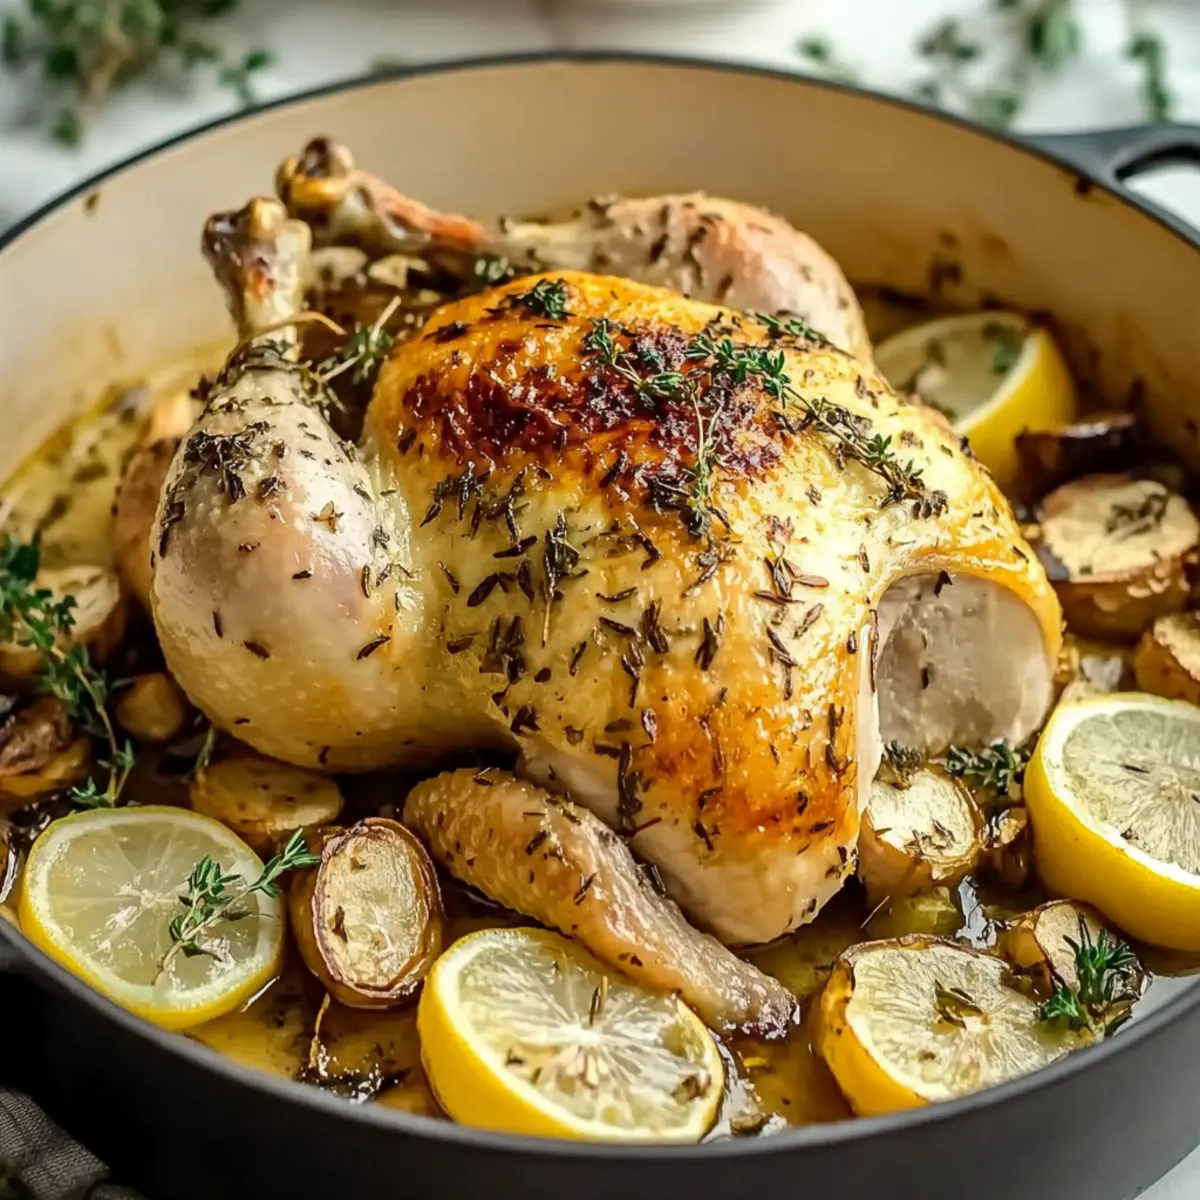
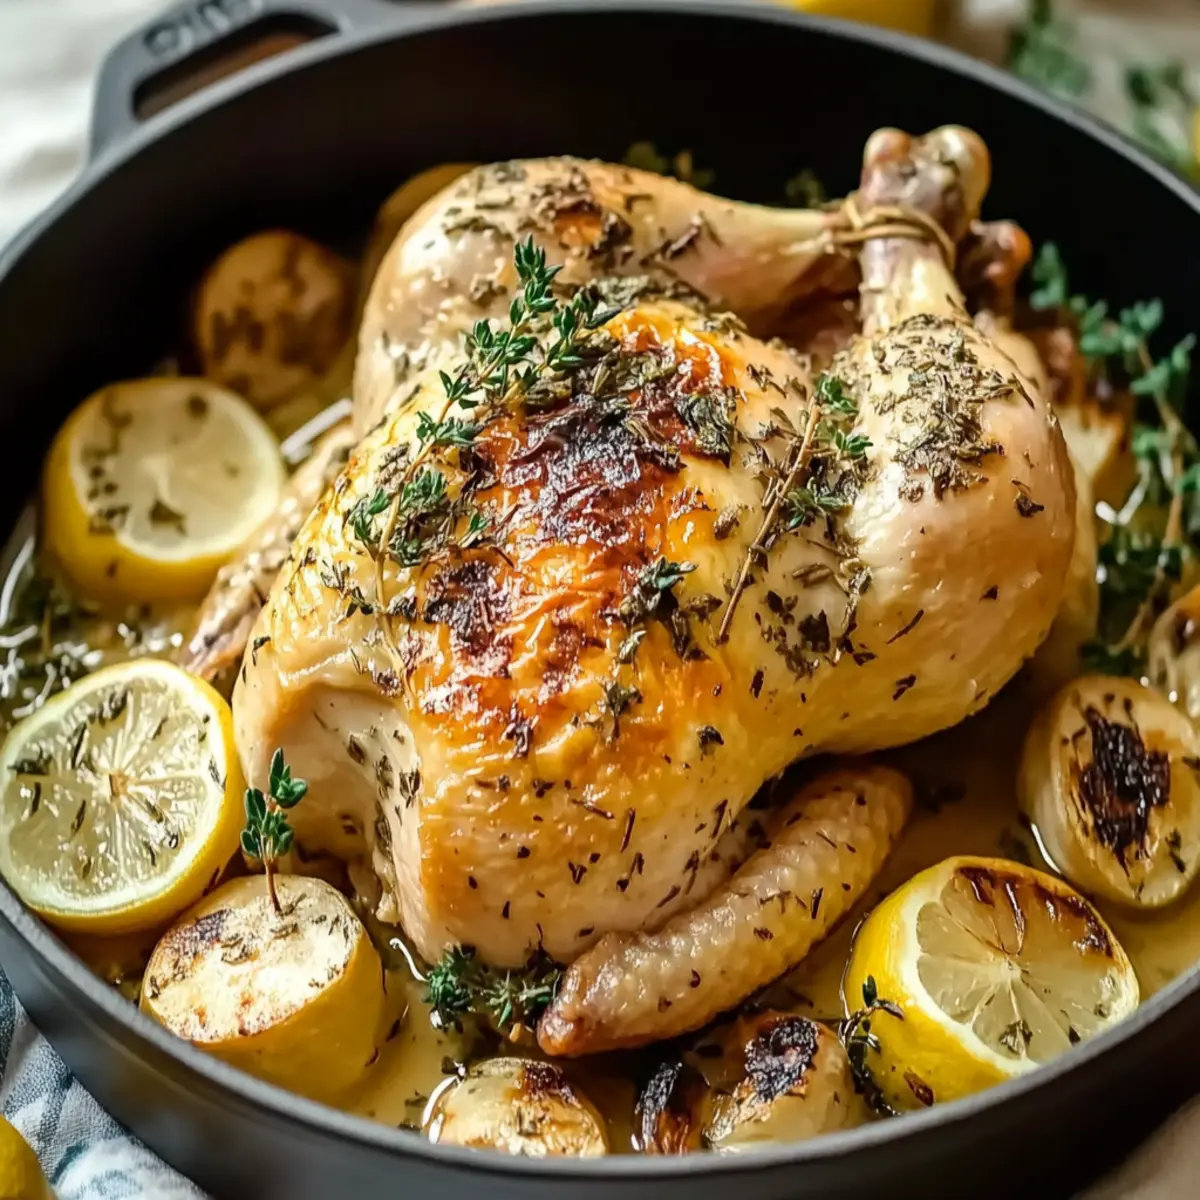
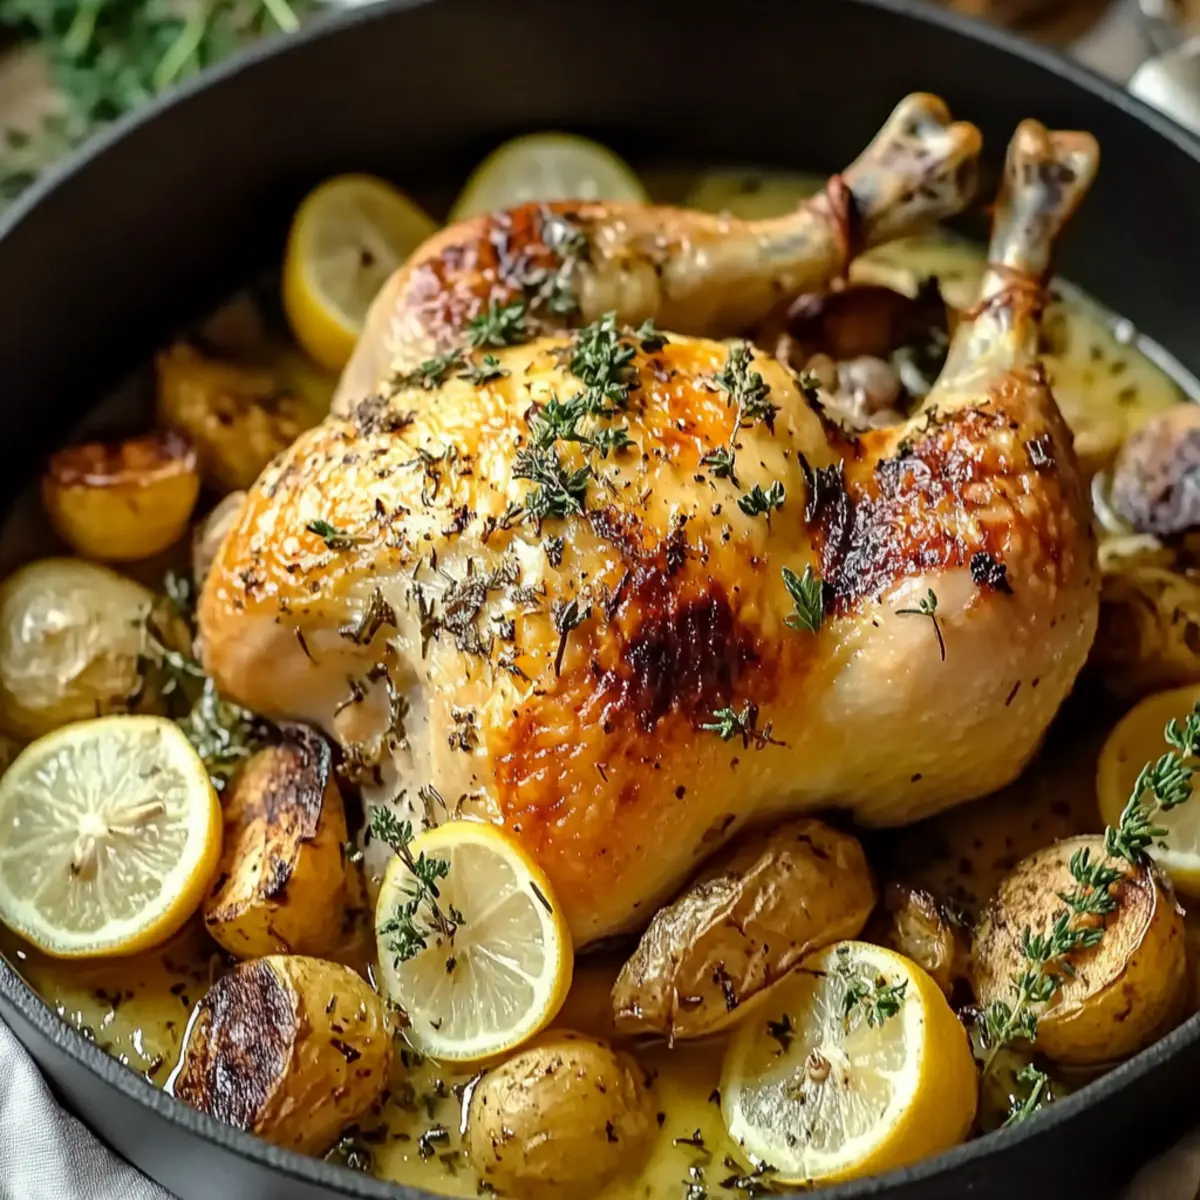
Embrace the homemade goodness, and don’t forget to try them alongside a comforting bowl of Garlic Butter Chicken for a feast that satisfies!
Cheesy Garlic Dinner Rolls Ingredients
Get ready to whip up something extraordinary with these simple yet delightful ingredients!
For the Dough
• Warm milk – this activates the yeast for fluffy rolls.
• Sugar – helps to feed the yeast and enhances the flavor.
• Active dry yeast – the magic ingredient that makes the rolls rise beautifully.
• Melted butter – adds richness and a lovely flavor to the rolls.
• Salt – balances the sweetness and enhances overall taste.
• Large eggs – give the dough structure and richness.
• All-purpose flour – forms the base of your dough for the perfect texture.
For the Filling
• Shredded cheese – any cheese of choice adds gooey goodness; mozzarella is a classic!
• Minced garlic – infuses each roll with that irresistible garlic flavor.
For Finishing Touches
• Additional melted butter – brushing on these rolls gives a beautiful sheen and extra flavor.
• Fresh parsley – for a pop of freshness and color, making them look as good as they taste!
These Cheesy Garlic Dinner Rolls are a delightful addition to any meal, promising to bring joy to your dinner table!
Step‑by‑Step Instructions for Cheesy Garlic Dinner Rolls
Step 1: Activate the Yeast
In a small bowl, combine 1 cup of warm milk, 2 ¼ teaspoons of sugar, and 2 ¼ teaspoons of active dry yeast. Allow this mixture to sit for about 5-10 minutes until it becomes frothy and bubbly, signaling that the yeast is alive and ready to work its magic in your Cheesy Garlic Dinner Rolls.
Step 2: Mix the Dough
In a large mixing bowl, add ¼ cup of melted butter, 1 teaspoon of salt, and 2 large eggs, mixing them thoroughly. Gradually incorporate the frothy yeast mixture and then slowly add 3 ½ cups of all-purpose flour while stirring. Continue until a soft, shaggy dough forms, preparing it for kneading.
Step 3: Knead the Dough
Lightly flour a clean work surface and turn out the dough onto it. Knead the dough for about 5-7 minutes until it is smooth and elastic, ensuring an enjoyable texture in each bite of your Cheesy Garlic Dinner Rolls. If needed, sprinkle a bit of flour as you knead to prevent sticking.
Step 4: Let the Dough Rise
Place the kneaded dough in a greased bowl, covering it with a clean towel. Set the bowl in a warm area and let it rise for 1-2 hours, or until it has doubled in size. This crucial step allows your rolls to become fluffy and airy.
Step 5: Prepare the Filling
While the dough is rising, mix together 1 cup of shredded cheese (your choice) and 2-3 cloves of minced garlic in a separate bowl. Set this delicious mixture aside; it will be the tasty surprise inside each Cheesy Garlic Dinner Roll!
Step 6: Shape the Rolls
Once the dough has risen, gently punch it down to release the air. Divide the dough into 12 equal pieces. Flatten each piece slightly and place about 1 tablespoon of the cheese-garlic mixture in the center. Pinch the edges to seal and shape each piece into a ball.
Step 7: Second Rise
Arrange the rolls seam-side down in a greased baking dish, leaving space between them. Cover them and let rise for another 30-45 minutes, or until the rolls have become puffy. They are almost ready to shine as part of your Cheesy Garlic Dinner Rolls!
Step 8: Preheat the Oven
Preheat your oven to 375°F (190°C). While it heats, brush each roll with additional melted butter to ensure a golden-brown crust. This step not only enhances the flavor but also gives your rolls a beautiful sheen when they come out of the oven.
Step 9: Bake the Rolls
Carefully place the rolls in the preheated oven and bake for 20-25 minutes, or until they are golden brown and puffed up. The enticing aroma will fill your kitchen, making it hard to resist these Cheesy Garlic Dinner Rolls!
Step 10: Finish with Butter and Parsley
Once baked, remove the rolls from the oven and immediately brush them again with melted butter. Sprinkle fresh chopped parsley over the top to add a burst of color and freshness. Your Cheesy Garlic Dinner Rolls are now ready to be enjoyed warm and comforting!
Storage Tips for Cheesy Garlic Dinner Rolls
Room Temperature: Store leftover rolls in an airtight container at room temperature for up to 3 days. This keeps them soft and delicious for your next meal!
Fridge: If you need to store them longer, place the rolls in the fridge for up to a week. Just be sure to wrap them well to prevent them from drying out.
Freezer: For longer storage, freeze the Cheesy Garlic Dinner Rolls in a single layer on a baking sheet. Once frozen, transfer them to a zip-top bag and enjoy them for up to 3 months.
Reheating: When ready to enjoy, reheat from frozen in a preheated oven at 350°F (175°C) for about 10-15 minutes, or until warmed through and fluffy again.
Expert Tips for Cheesy Garlic Dinner Rolls
Perfect Dough Texture: Ensure your dough is soft and elastic by kneading it thoroughly for 5-7 minutes. This step is crucial for achieving the ideal Cheesy Garlic Dinner Rolls.
Don’t Over-Proof: Keep an eye on your dough while it rises. If it over-proofs, the structure can weaken, leading to less fluffy rolls.
Sealing Method: When shaping the rolls, make sure to pinch them tightly to seal in the cheesy filling. This prevents the mixture from leaking out during baking.
Even Baking: To achieve an evenly baked roll, place them apart in the baking dish. This allows hot air to circulate and gives each roll room to puff.
Golden Finish: Brushing the rolls with melted butter before and after baking adds flavor and helps achieve that irresistible golden-brown crust.
With these helpful tips, your Cheesy Garlic Dinner Rolls will be the star of your dinner table!
Cheesy Garlic Dinner Rolls Variations
Feel free to let your creativity shine by customizing these rolls to suit your taste preferences!
-
Whole Wheat: Swap out half of the all-purpose flour with whole wheat flour for a healthier twist.
Adding a nutty flavor, whole wheat flour provides more fiber while still keeping that familiar texture. -
Herb-Infused: Mix in dried herbs like oregano or basil into the dough for added flavor.
The aroma of herbs complements the garlic perfectly and creates a delightful scent while baking. -
Spicy Kick: Add crushed red pepper flakes or jalapeños to the cheese filling for some extra heat.
This will spice things up, making these rolls a fun and daring addition to your meal! -
Cheese Variety: Experiment with different types of cheeses, like pepper jack or feta, for unique flavors.
Each cheese brings its own special twist, turning the rolls into a new favorite with every batch! -
Vegan Option: Substitute dairy ingredients with plant-based alternatives, such as almond milk and coconut oil.
These flexible replacements keep the rolls fluffy and allow everyone to enjoy their cheesy goodness. -
Garlic Lovers: Increase the number of garlic cloves or use roasted garlic for a deeper flavor.
Rich and savory, roasted garlic adds a luxurious texture that takes these rolls to the next level. -
Stuffed Surprise: Consider adding cooked bacon or sautéed mushrooms into the cheese filling for extra heartiness.
These savory additions turn a simple roll into a fulfilling snack that delights both family and guests. -
Dipping Sauce: Serve with a warm marinara sauce or garlic butter for dipping alongside the rolls.
This keeps the flavor interactive and adds a fun element to your meal—perfect for family gatherings!
With these variations, each batch of your Cheesy Garlic Dinner Rolls can be an exciting new experience, ensuring they never grow old. Pair them with a comforting soup or my delectable Cheesy Scalloped Potatoes for a truly delightful meal!
Make Ahead Options
These Cheesy Garlic Dinner Rolls are a joy to prepare ahead of time, making your busy weeknights smoother! You can make the dough and shape the rolls up to 24 hours in advance; simply place them in a greased dish, cover tightly with plastic wrap, and refrigerate. When you're ready to bake, let them sit at room temperature for 30 minutes to rise again. Alternatively, you can freeze the shaped rolls for up to 3 months. Just bake them straight from the freezer, adding a few extra minutes to the baking time. This way, you'll have delicious, warm rolls ready at a moment's notice – just as delightful as if they were made fresh!
What to Serve with Cheesy Garlic Dinner Rolls
Indulge in the delightful experience of a well-rounded meal, where each bite is a symphony of flavors and comfort.
-
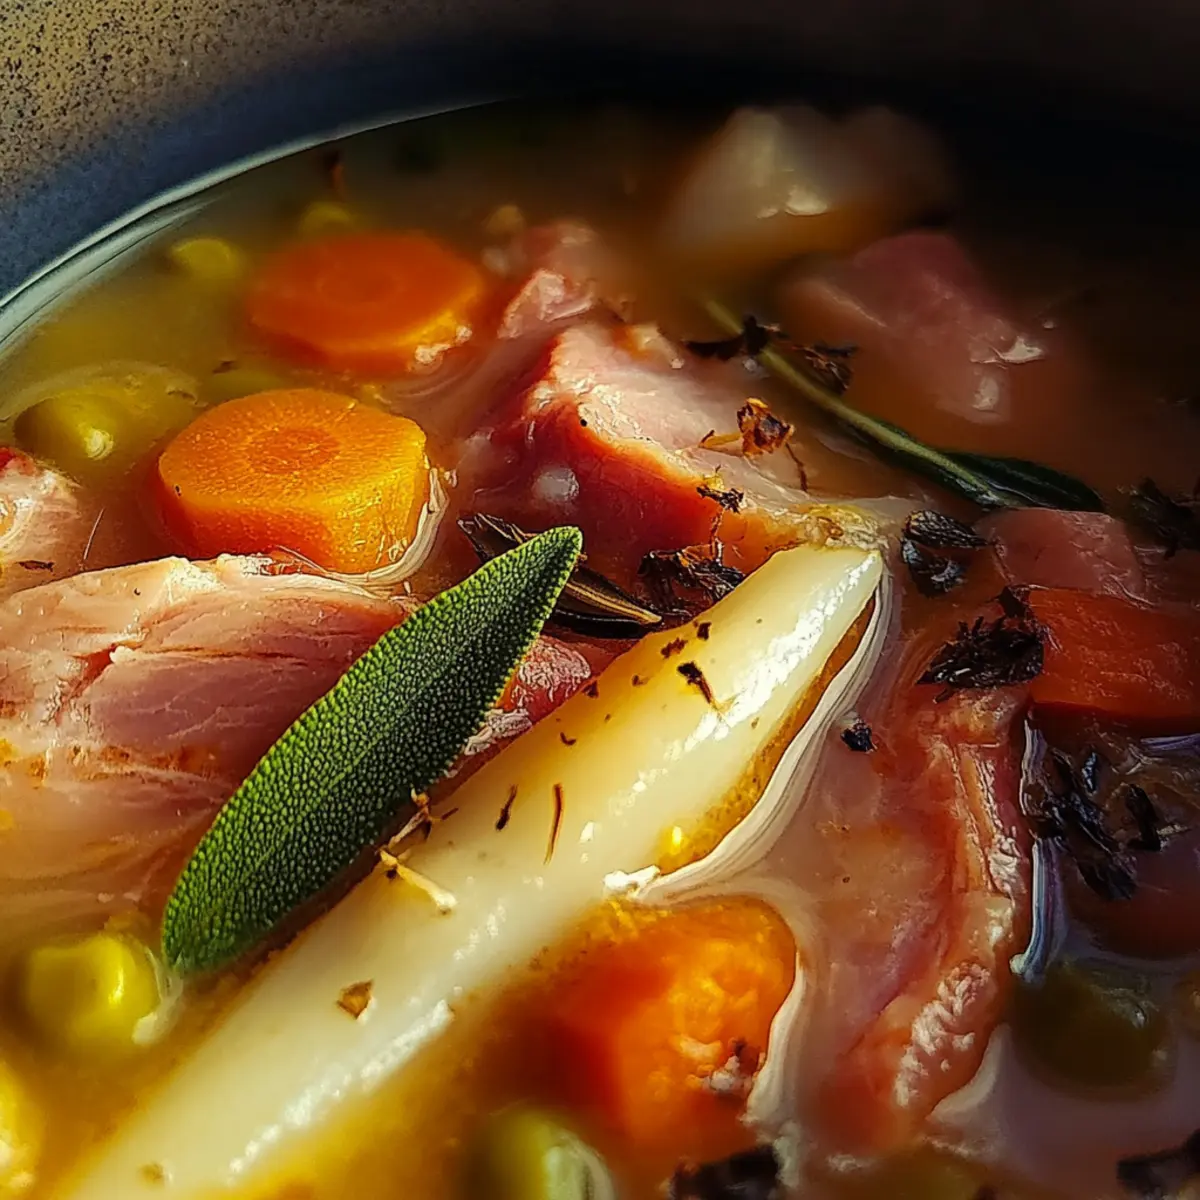
Creamy Tomato Soup: The rich, tangy soup provides a perfect dip for your rolls, enhancing their cheesy goodness.
-
Savory Baked Chicken: Pairing with succulent chicken elevates the meal, balancing the flavors while satisfying hunger.
-
Fresh Green Salad: A light, crisp salad brings a refreshing contrast to the warm, cheesy rolls, adding a pop of color.
-
Herbed Potato Wedges: These seasoned wedges deliver a hearty crunch, complementing the rolls' soft texture beautifully.
-
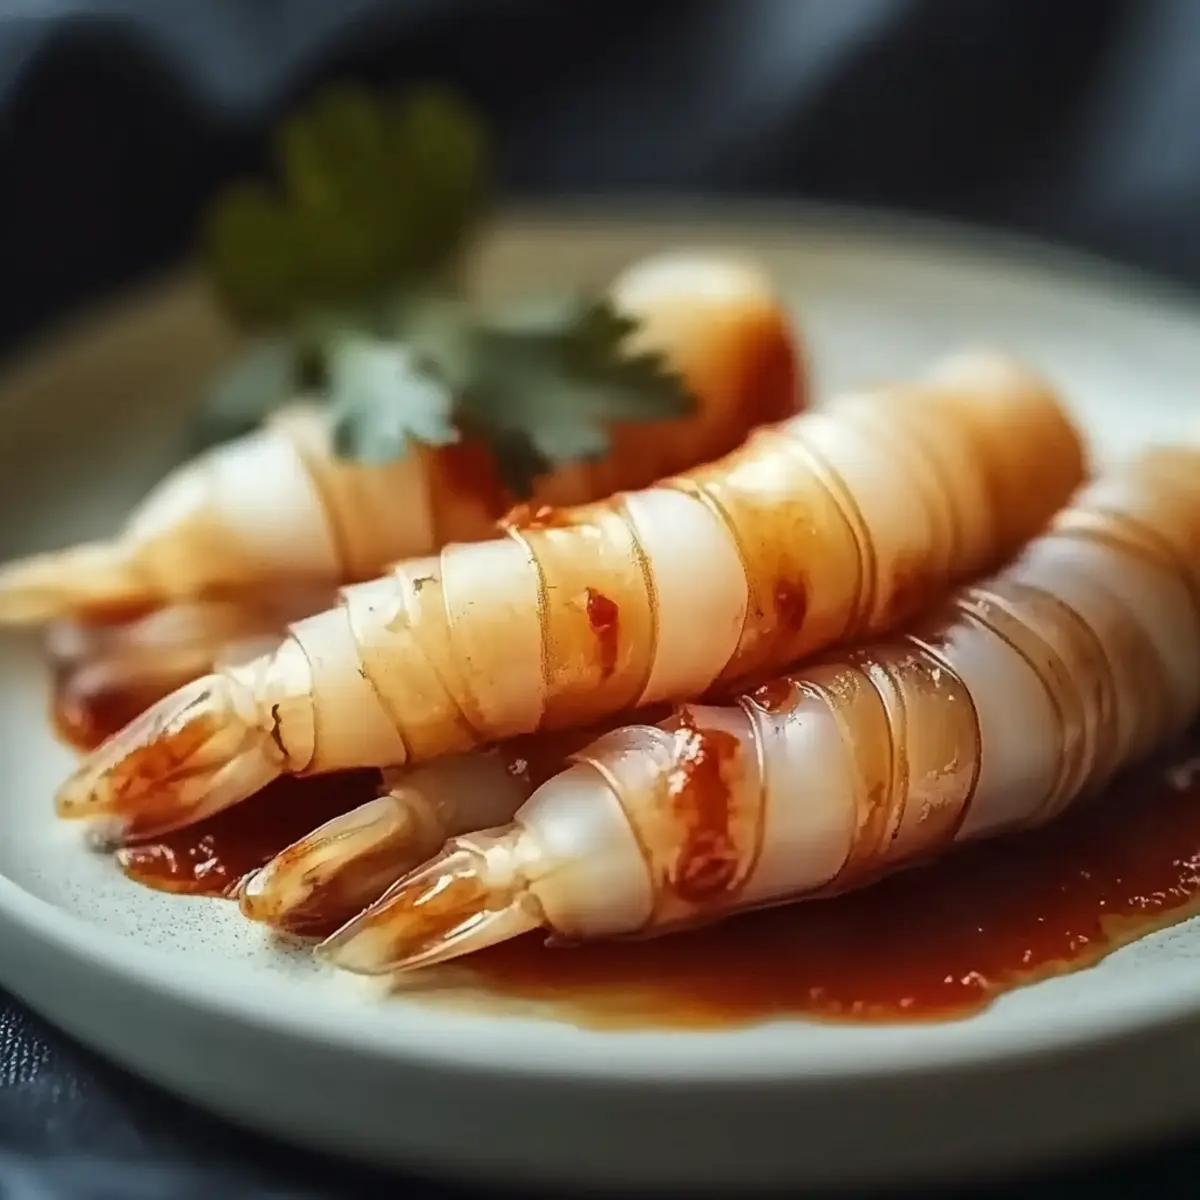
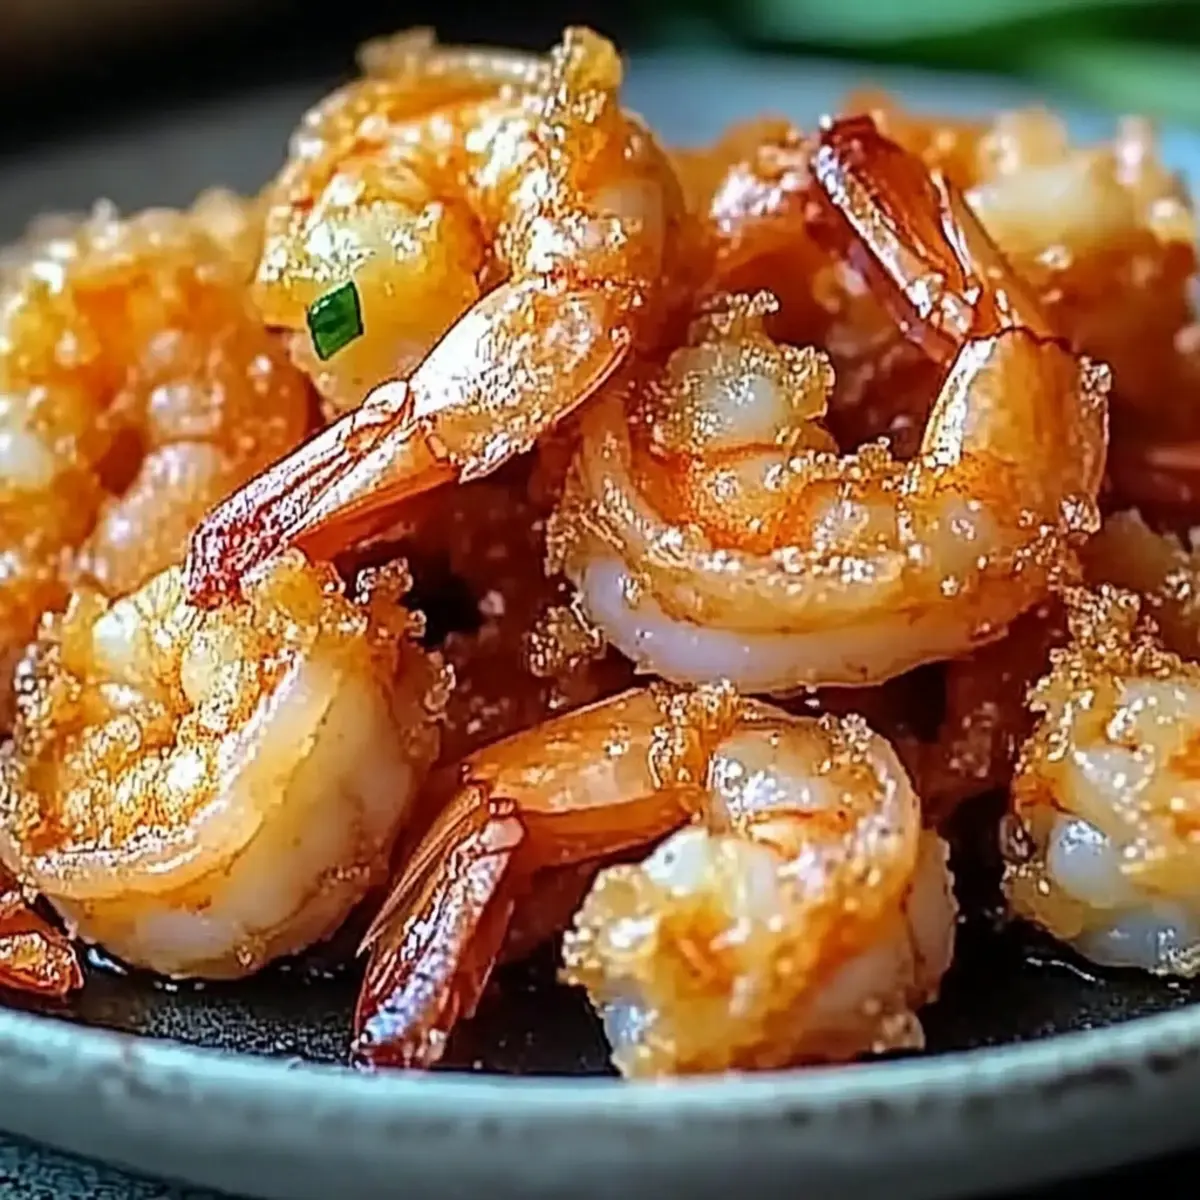
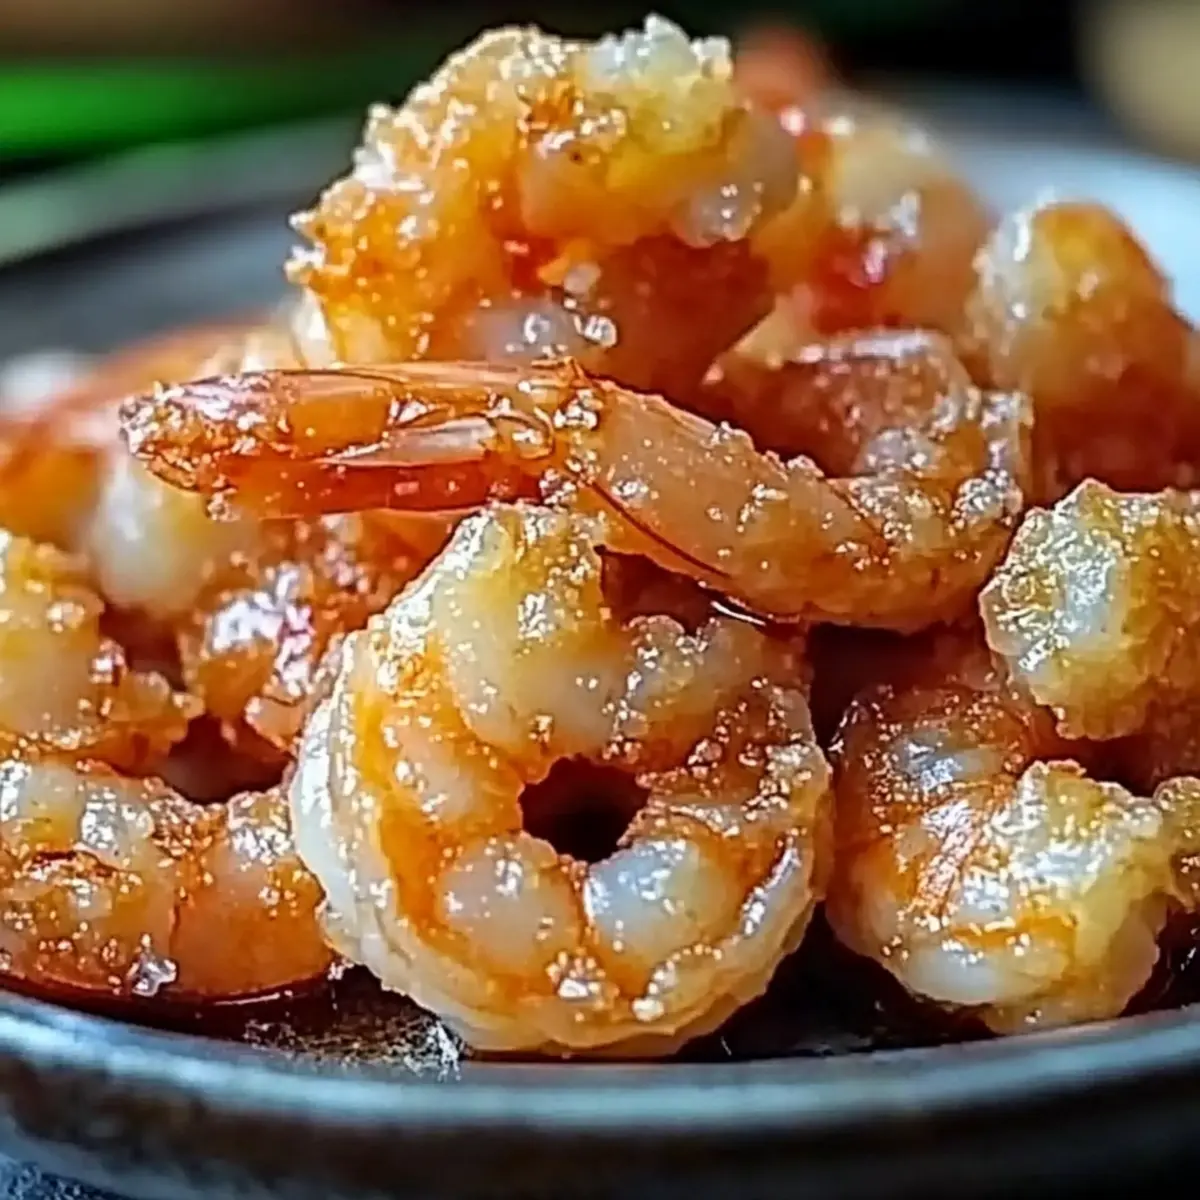
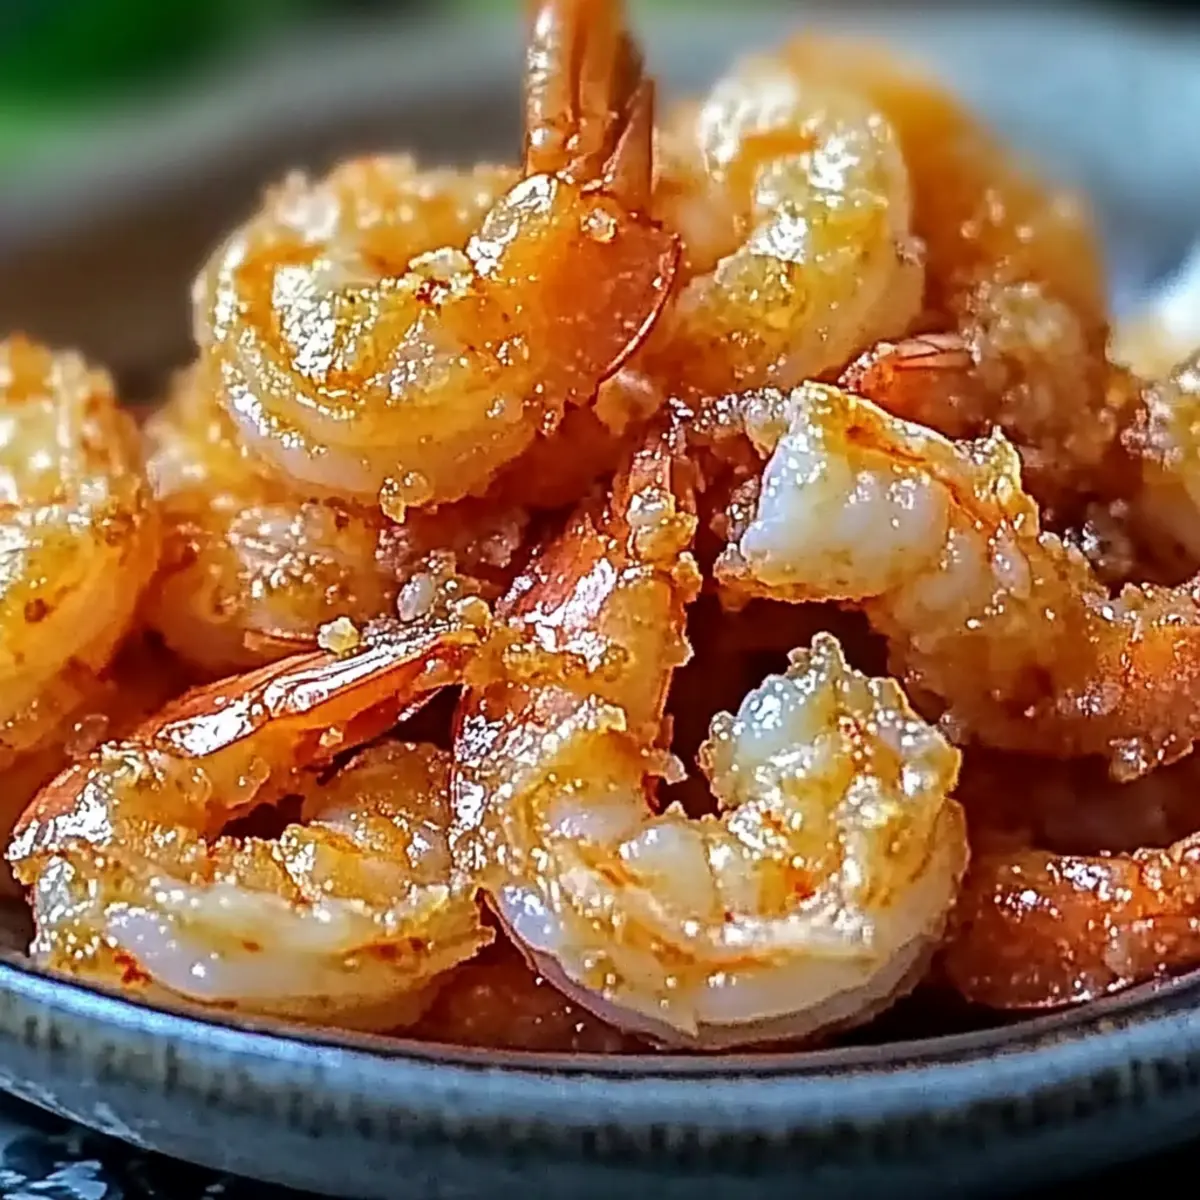
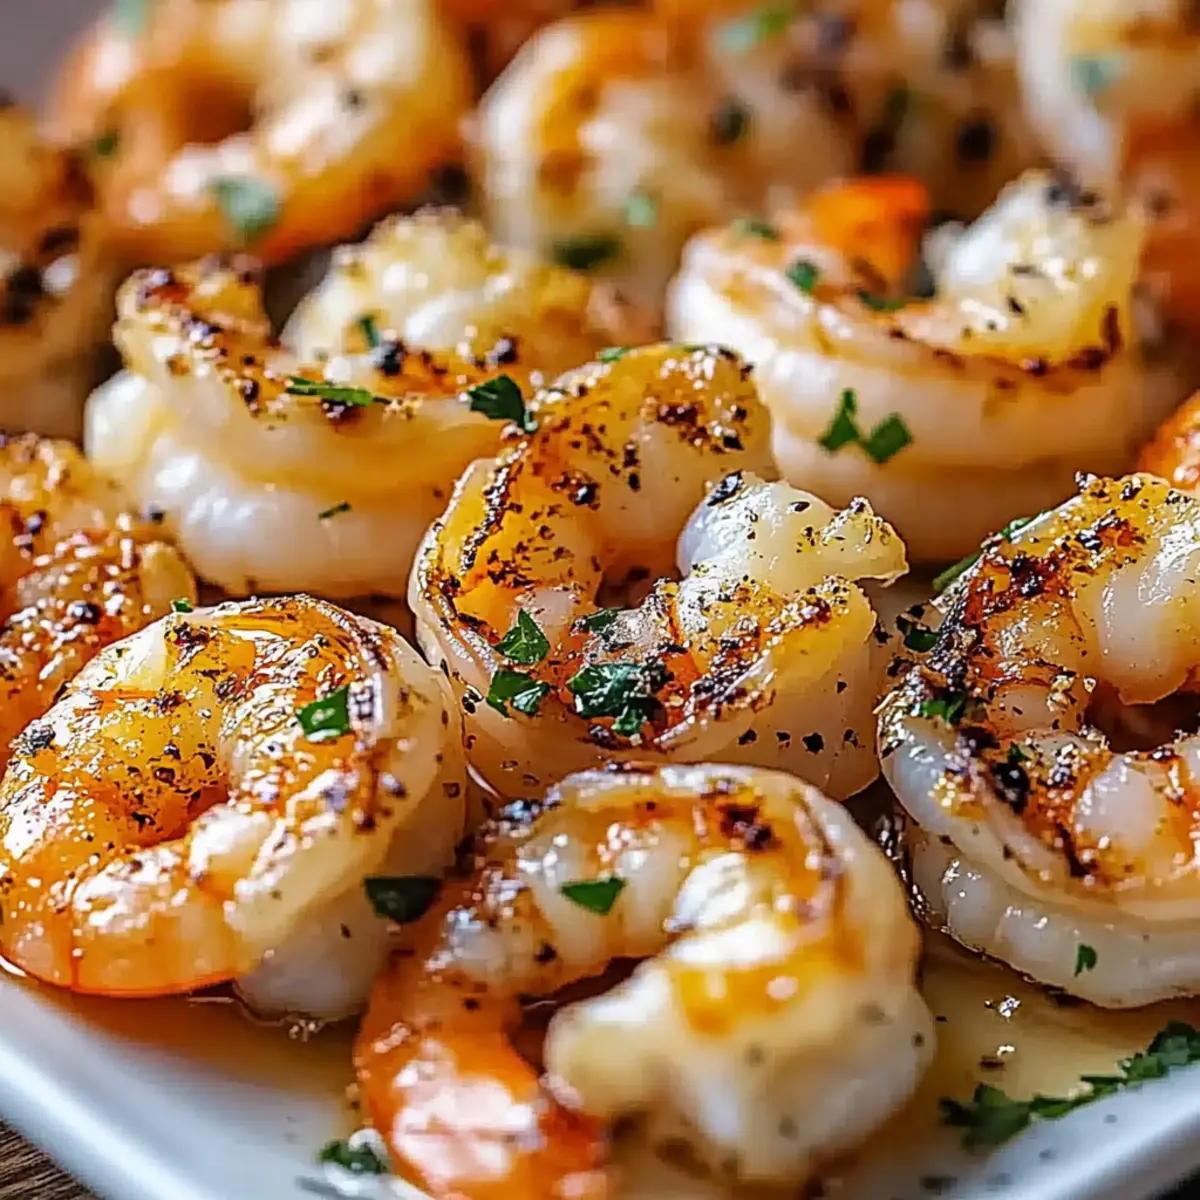
Garlic Butter Shrimp: The garlicky shrimp intertwines smoothly with the rolls, creating a deliciously cohesive garlic experience.
-
Roasted Vegetables: Colorful roasted veggies add nutritional flair and natural sweetness, harmonizing wonderfully with the savory rolls.
-
Warm Honey Butter: A small scoop on top of a roll? It makes for an irresistible sweet finish that's sure to delight your taste buds.
Enjoy these pairings as you savor the magic of your Cheesy Garlic Dinner Rolls—every option adds a lovely touch to your table!
Cheesy Garlic Dinner Rolls Recipe FAQs
How do I choose the right ingredients for my Cheesy Garlic Dinner Rolls?
Absolutely! For the best flavor, use freshly minced garlic and high-quality cheese like mozzarella or cheddar. Make sure your milk is warm but not hot, to properly activate the yeast without killing it. Check your yeast’s expiration date to ensure it will work effectively and give your rolls that lovely rise.
How should I store leftover Cheesy Garlic Dinner Rolls?
You can store your leftover rolls in an airtight container at room temperature for up to 3 days. If you want to keep them longer, refrigerate them for up to a week, making sure they are well wrapped. The more they’re sealed, the fresher they’ll remain!
Can I freeze Cheesy Garlic Dinner Rolls?
Yes, you can! To freeze your Cheesy Garlic Dinner Rolls, place them in a single layer on a baking sheet until completely frozen. Once frozen, transfer them to a zip-top freezer bag and they will stay good for up to 3 months. When you’re ready to enjoy, just preheat your oven to 350°F (175°C) and bake directly from frozen for 10-15 minutes until warmed through.
What if my dough doesn’t rise properly?
Very important question! If your dough hasn’t risen properly, check a few things: ensure your yeast was fresh and activated (look for that frothy top when mixing with warm milk). If the area was too cold, try again in a warmer spot. You might also need to give the dough a bit more time—sometimes making a cozy nook in a cozy corner helps it along!
Are there any dietary considerations for Cheesy Garlic Dinner Rolls?
Yes! If you’re serving these rolls to those with dietary restrictions, you can substitute the all-purpose flour with a gluten-free blend. For dairy-free alternatives, try using plant-based cheese and a vegan butter substitute. Always be mindful of the ingredients to accommodate allergies and dietary needs; I often recommend checking labels for hidden allergens.
How long does it take for Cheesy Garlic Dinner Rolls to rise?
The rising process can take 1-2 hours for the first rise until doubled in size and 30-45 minutes for the second. Factors like room temperature can affect the exact timing—warmer spaces will speed it up, while cooler areas may take a bit longer, so just be patient!
Irresistible Cheesy Garlic Dinner Rolls for Cozy Nights
Ingredients
Equipment
Method
- In a small bowl, combine warm milk, sugar, and active dry yeast. Let sit for 5-10 minutes until frothy.
- In a large mixing bowl, mix melted butter, salt, and eggs. Add the yeast mixture, then gradually incorporate flour until a soft dough forms.
- Knead the dough on a floured surface for 5-7 minutes until smooth and elastic.
- Place the dough in a greased bowl, cover with a towel, and let it rise for 1-2 hours until doubled in size.
- Mix shredded cheese and minced garlic in a bowl for the filling.
- Punch down the risen dough, divide it into 12 pieces, and flatten each piece. Place filling in the center, seal, and shape into balls.
- Arrange the rolls seam-side down in a greased baking dish, cover, and let rise for another 30-45 minutes.
- Preheat oven to 375°F. Brush rolls with melted butter before baking.
- Bake for 20-25 minutes until golden brown.
- Brush with melted butter and sprinkle with parsley before serving.